|
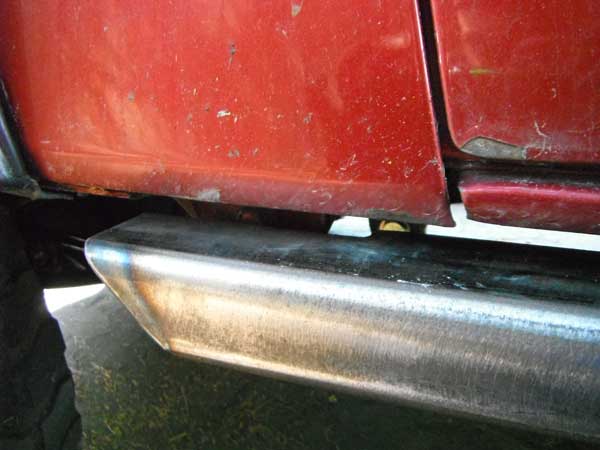
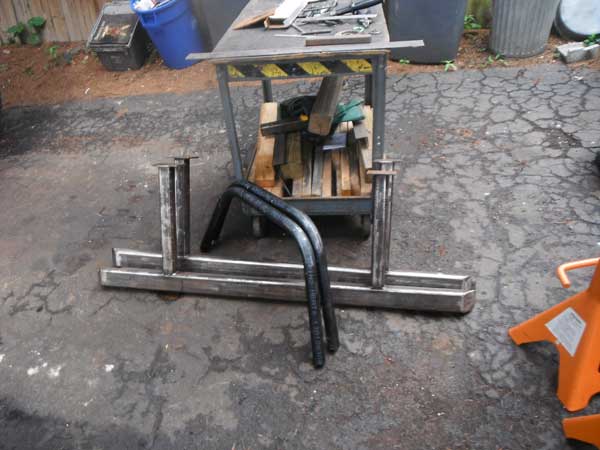
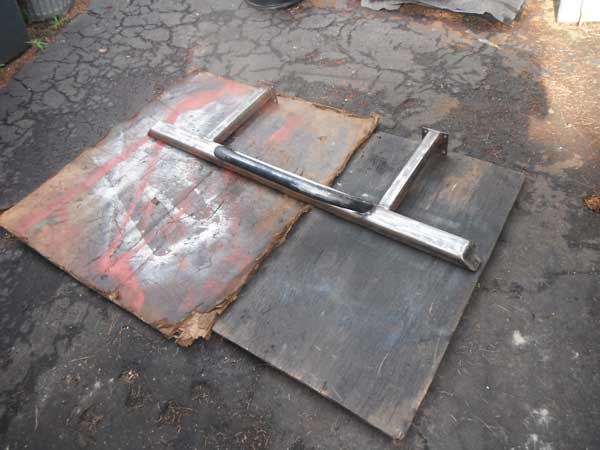
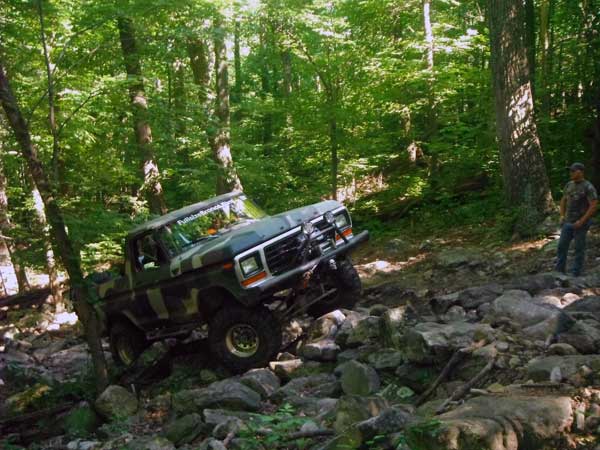
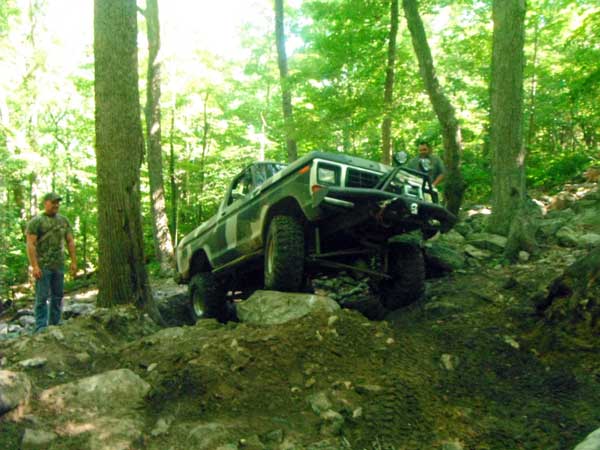
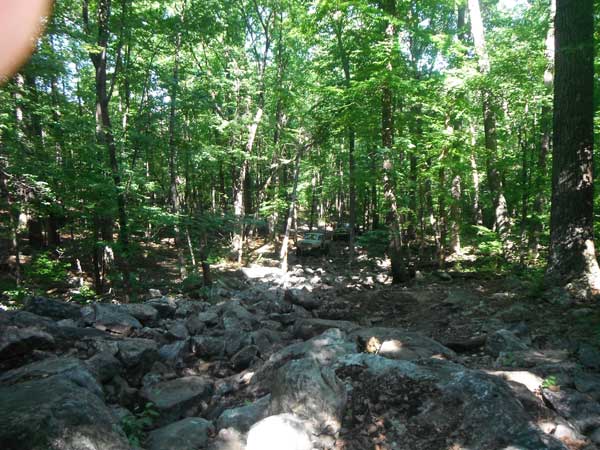
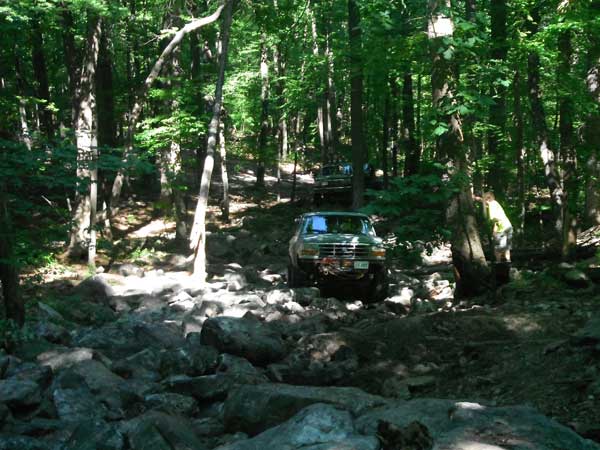
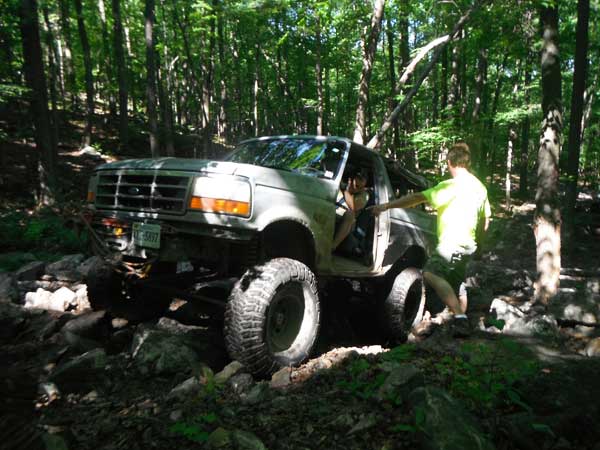
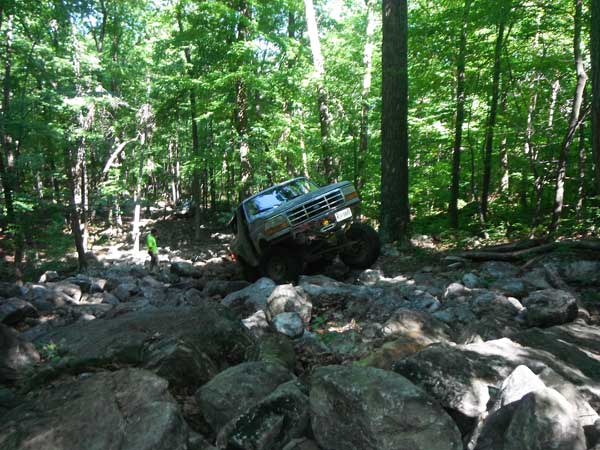
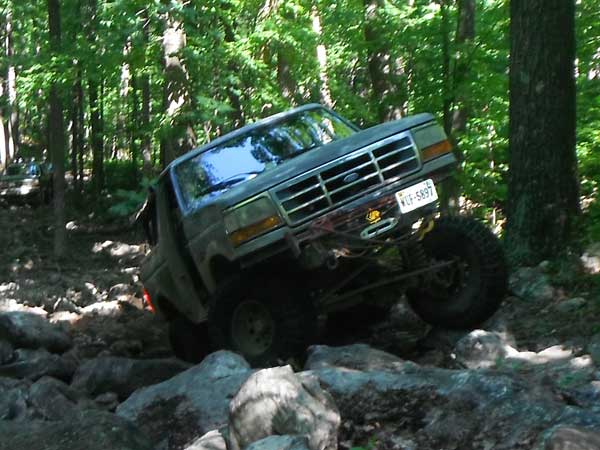
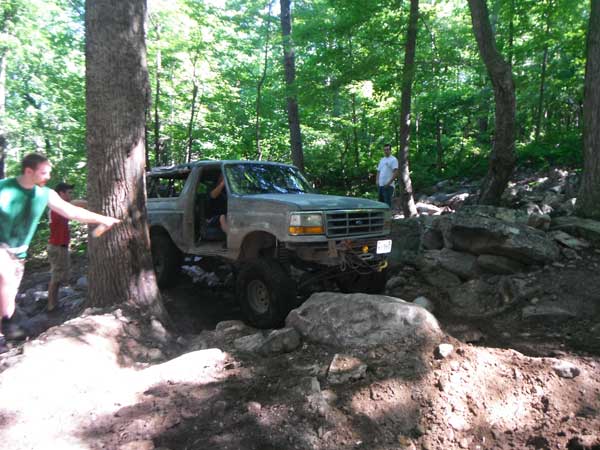
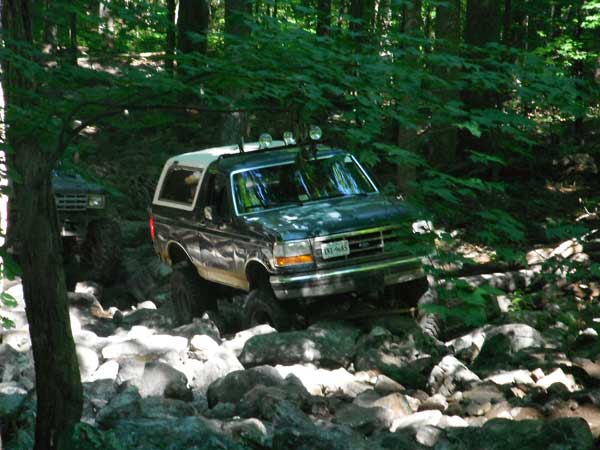
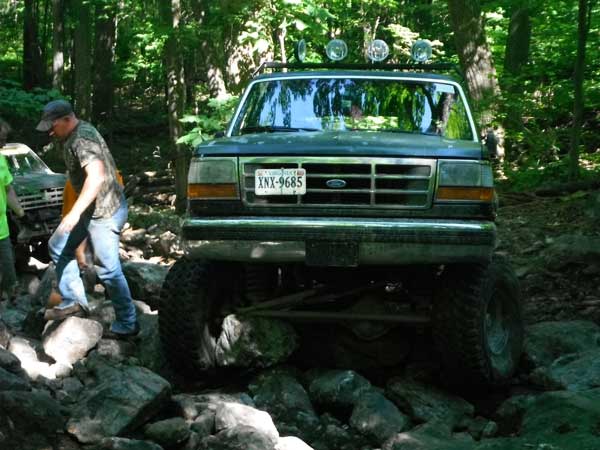
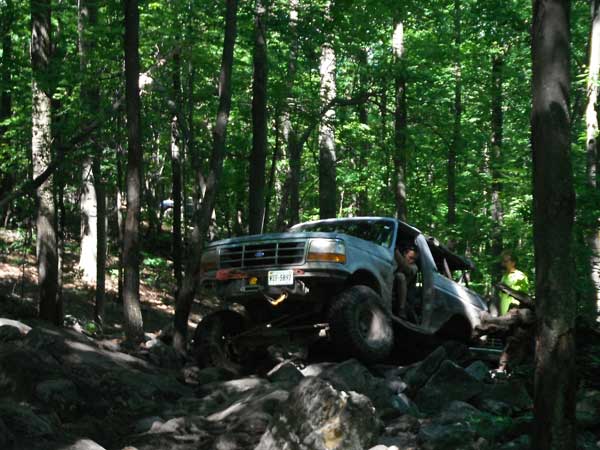
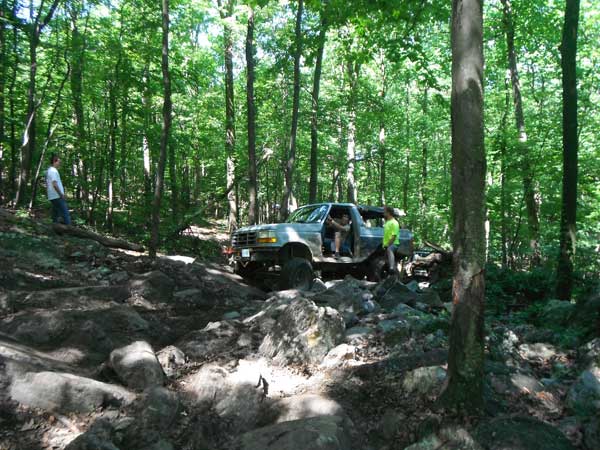
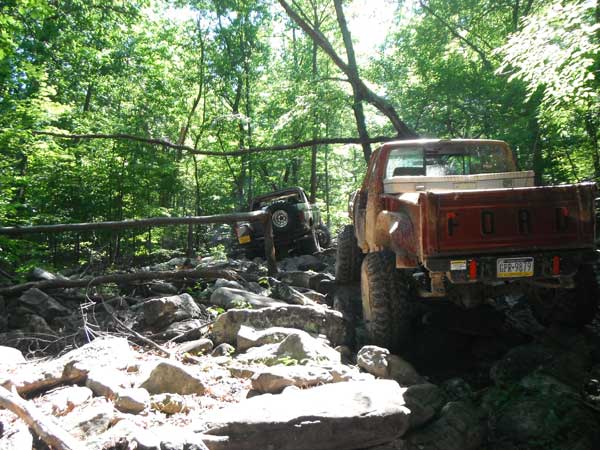
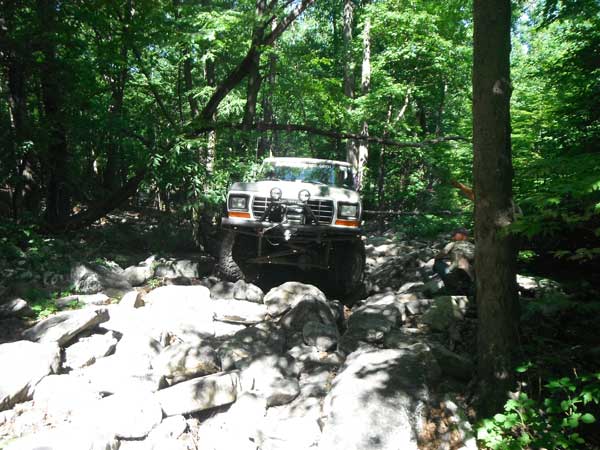
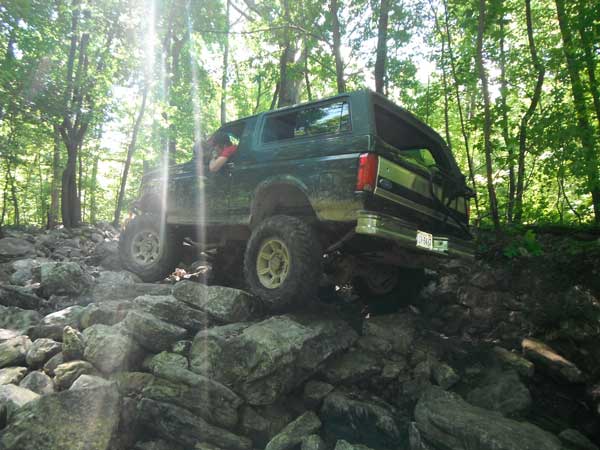
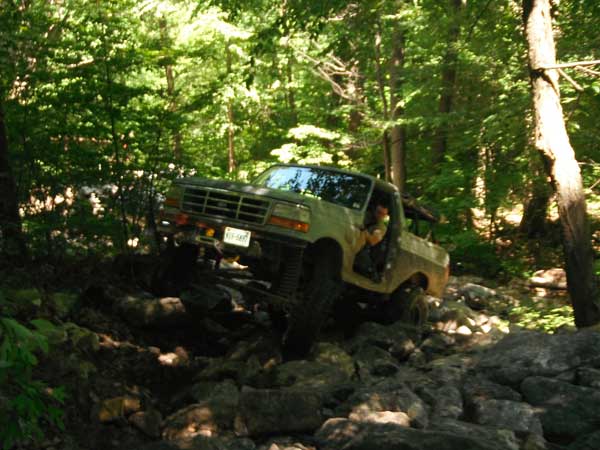
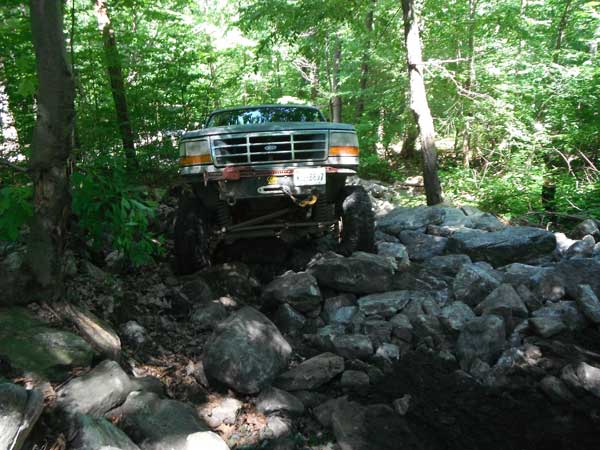
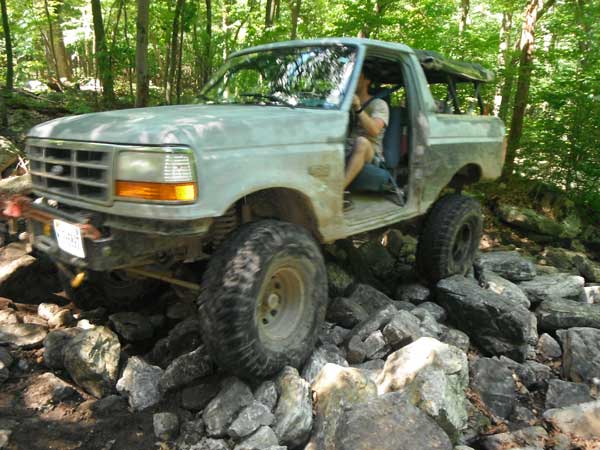
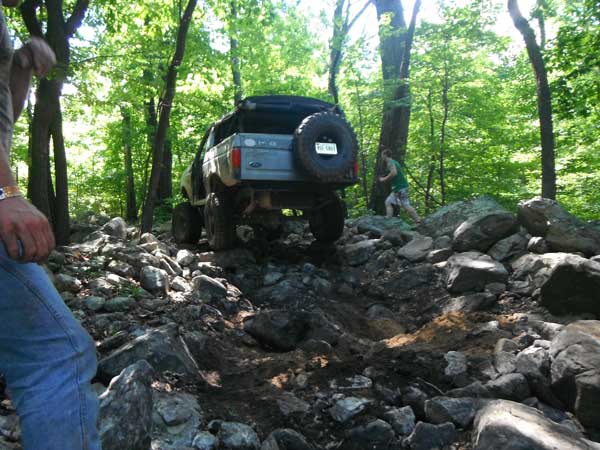
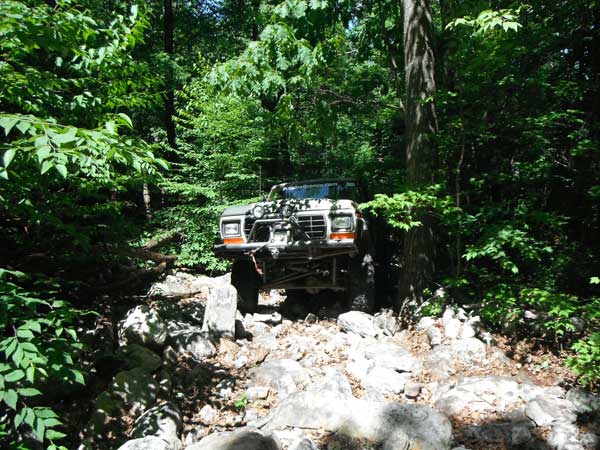
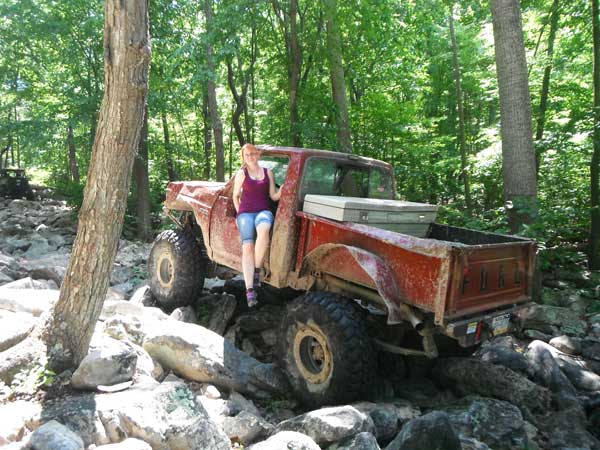
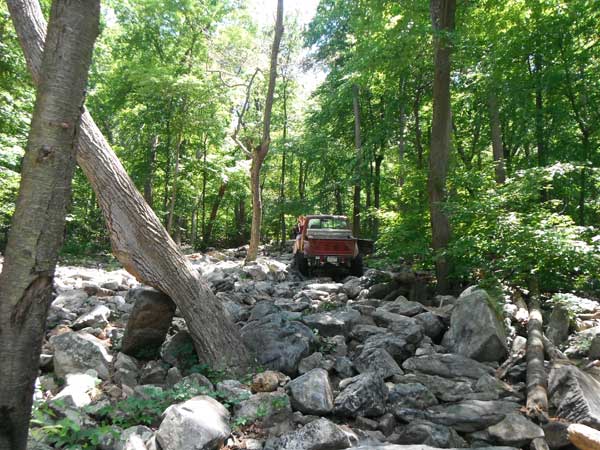
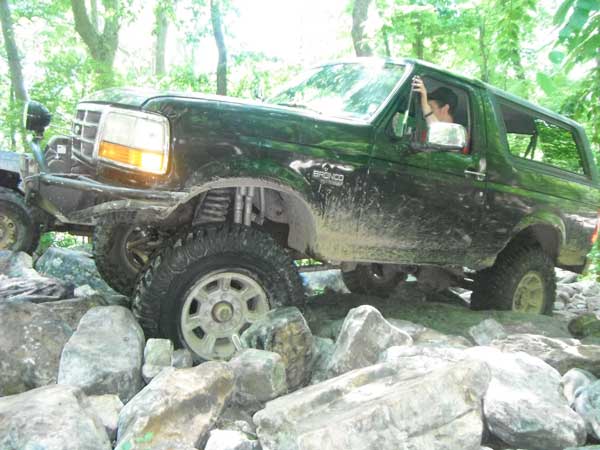
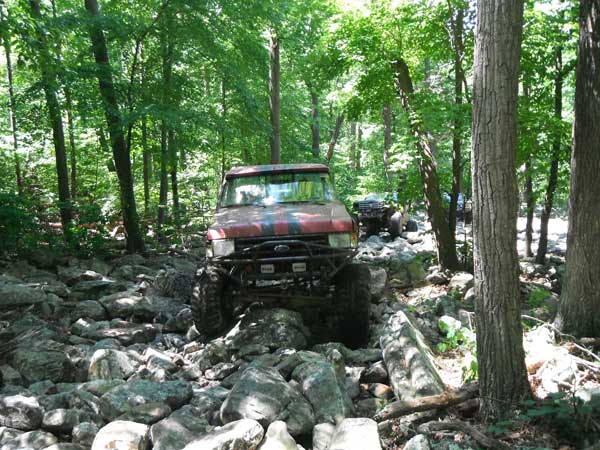
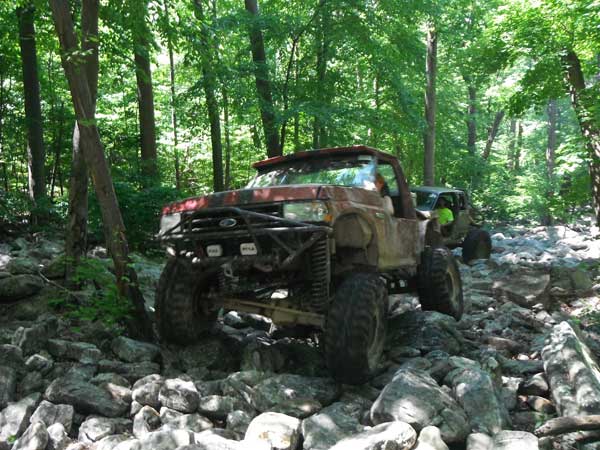
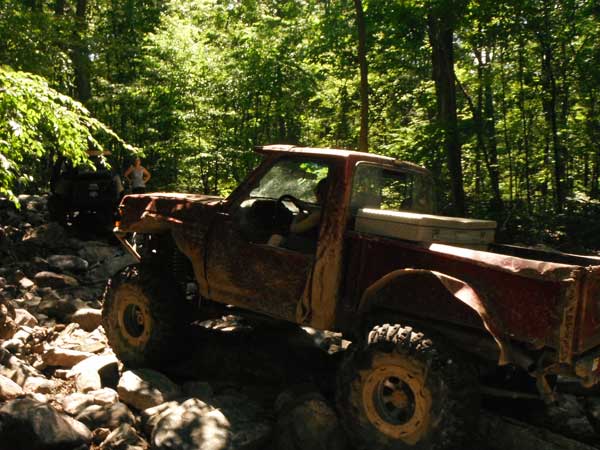
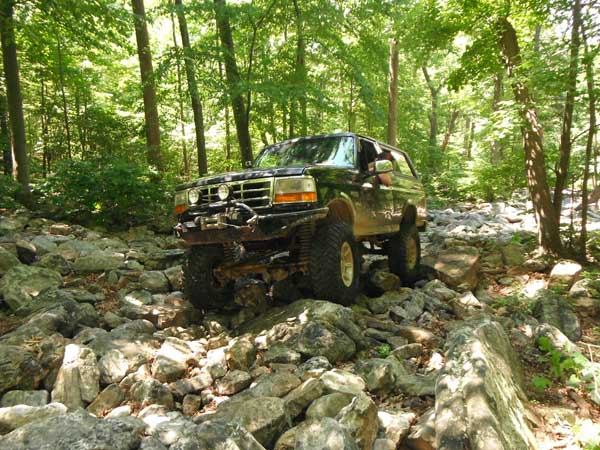
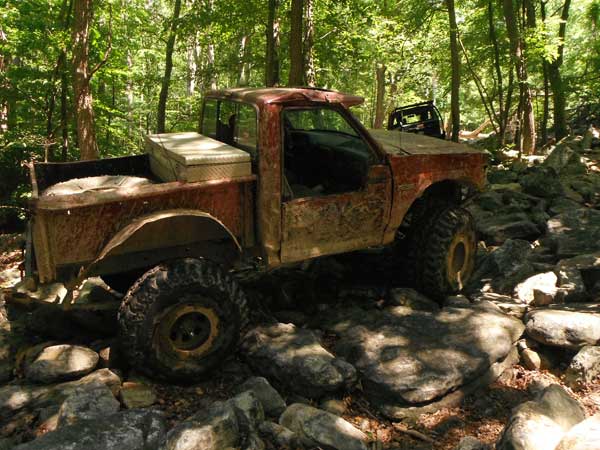
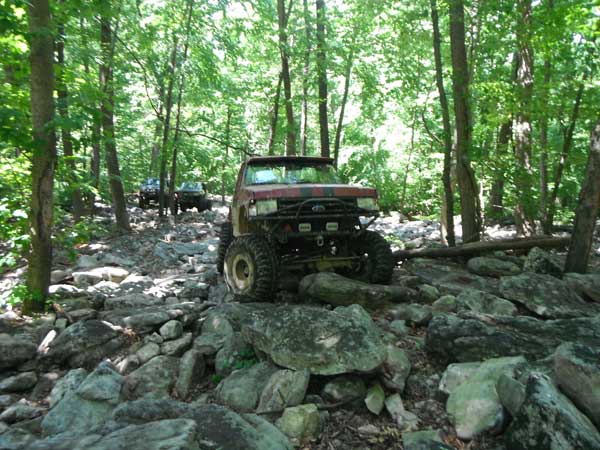
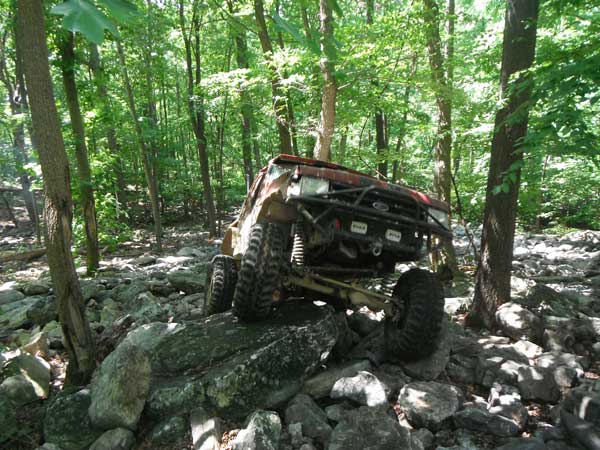
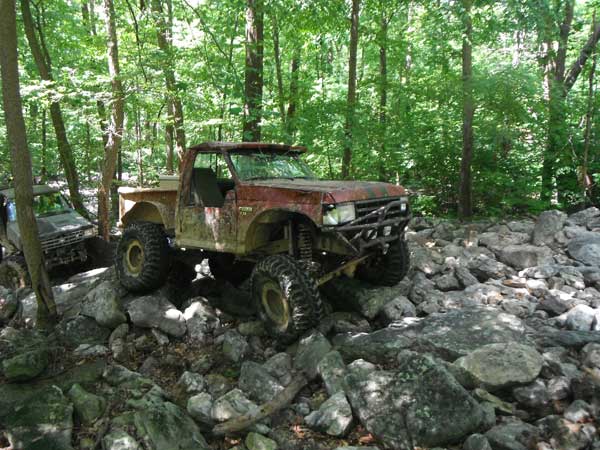
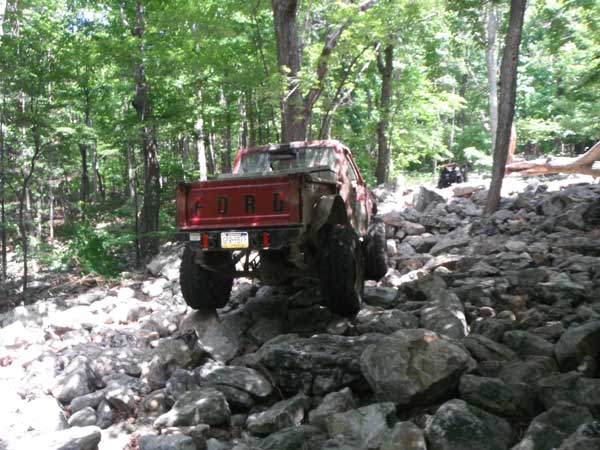
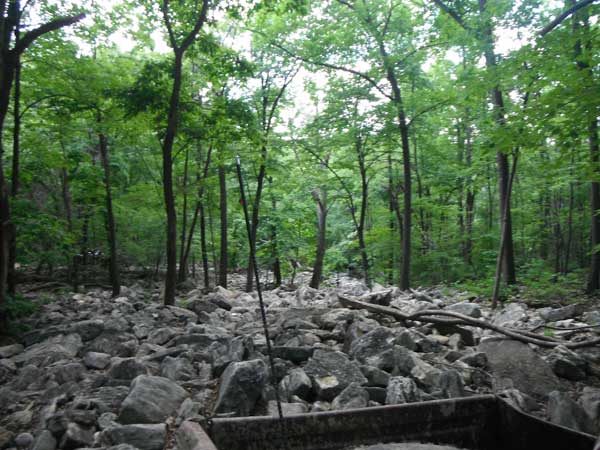
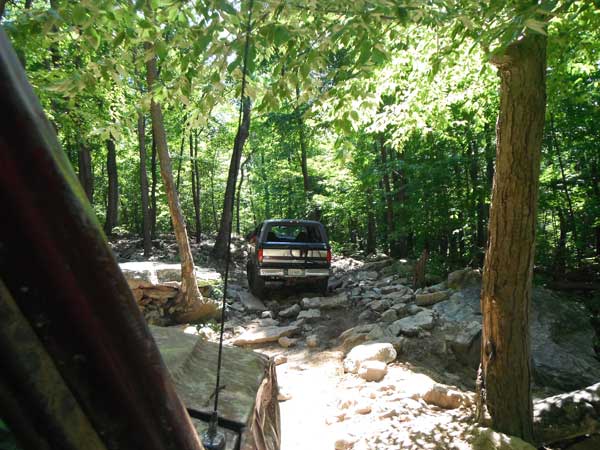
Ok so here we go, MEB's annual Winter Ride @ Rausch Creek. There was a pretty good turnout, it looked like a dozen rigs were there yesterday, and half of em were FSBs. Unfortunately, with the crazy deep slushy snow, we ended up breaking into smaller groups, because there were many places where a rig on 35s was struggling to go. It was pretty nasty out there. The worst of it was the parking lot though, it was a sheet of ice in the morning! 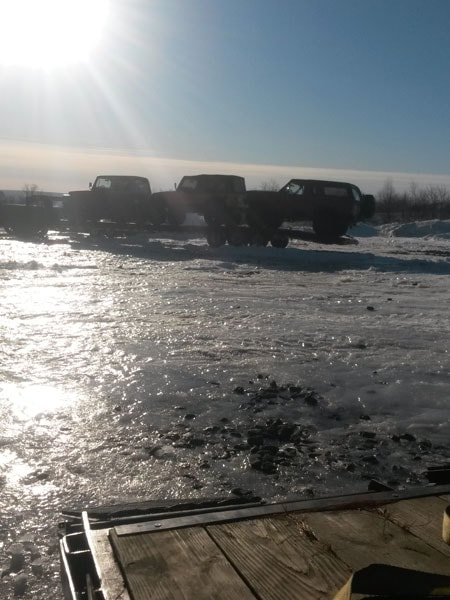 Pretty much right off the bat I seized a caliper and it was dragging HARD. Had to pull the rear left off and remove it because it was killing me in the snow. Im sure theres a pic of it somewhere. Ground clearance for the win! The group I rolled with was on a minimum of 36s, and people were dragging their diffs everywhere. 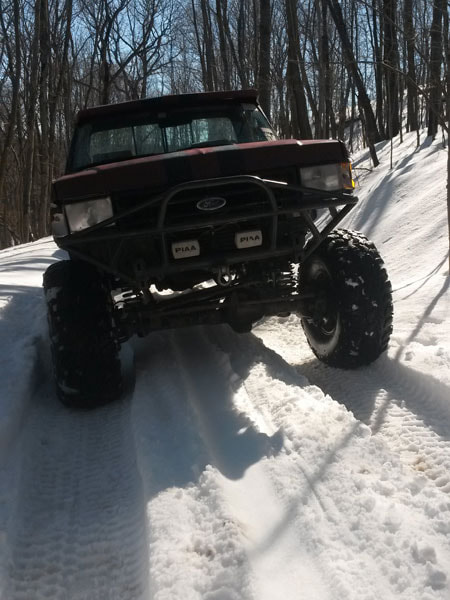 Considering that we were cutting paths through fresh snow all day long, this made for some interesting challenges at times. 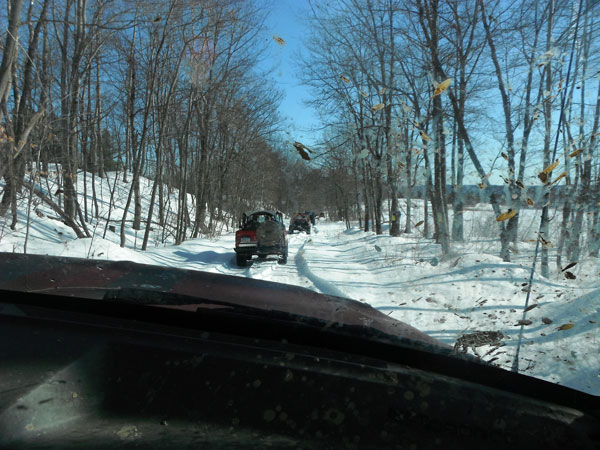 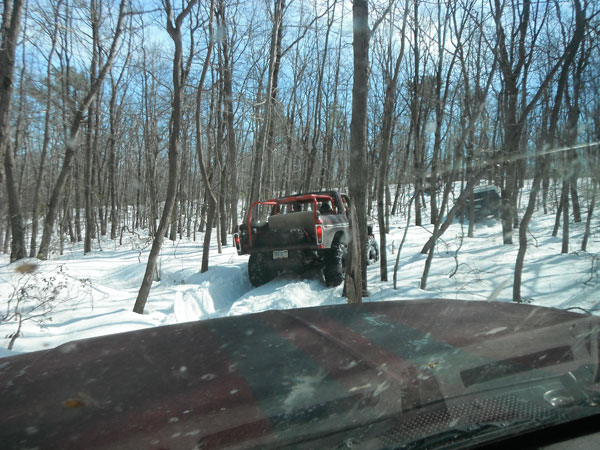 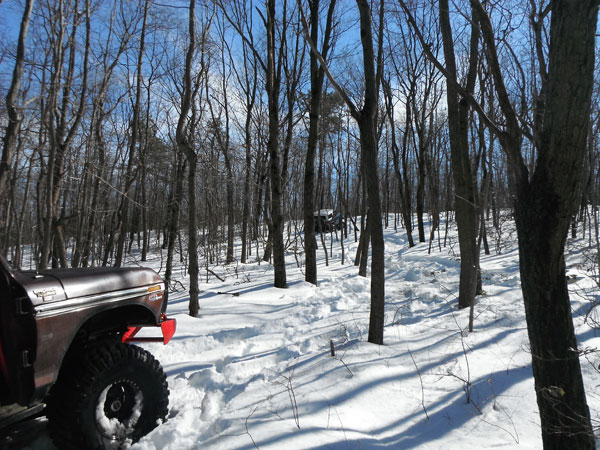 This was a pretty nice EB, but the Fun Countrys were not the best choice for the snow. He had lots of traction issues, despite being locked front/rear 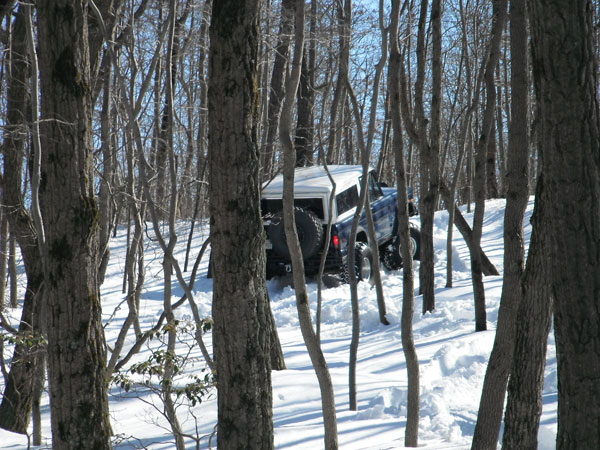 digging in pretty hard. snow was almost knee deep in this area of the park 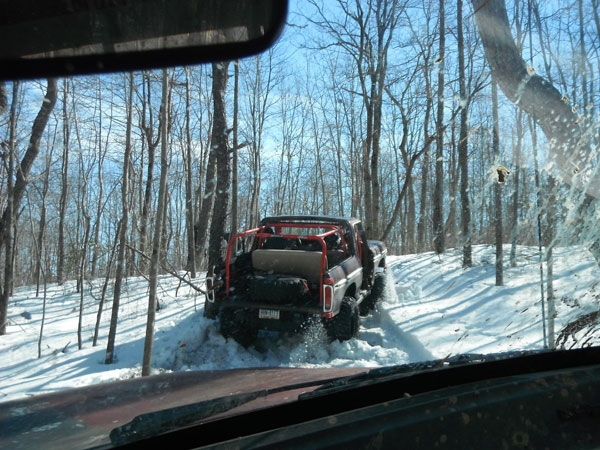 You wont see a rock, unless you get stuck and start digging; the snow was so deep that no one hit bottom unless they got stuck 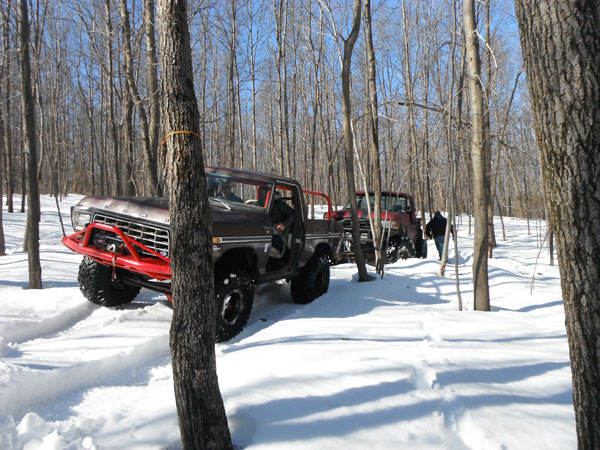 This was a pretty wicked hill climb; Chris tried to get to the top and was almost successful before getting stuck. The dude in the blue EB (sorry I forgot his name) was going for it but back down, I assume due to lack of traction; the FCs were not the best tire for this heavy snow  Ryan givin 'er hell on the left path 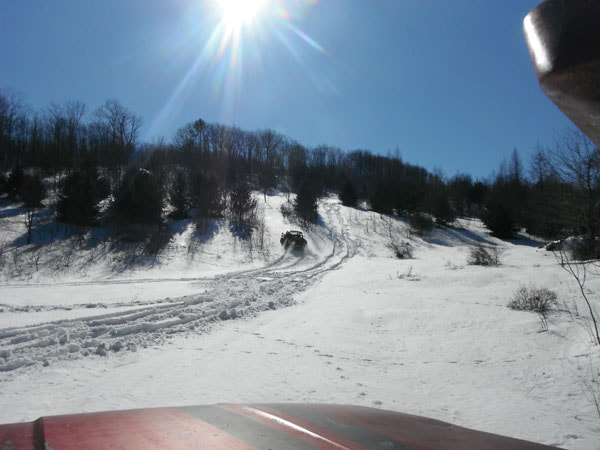 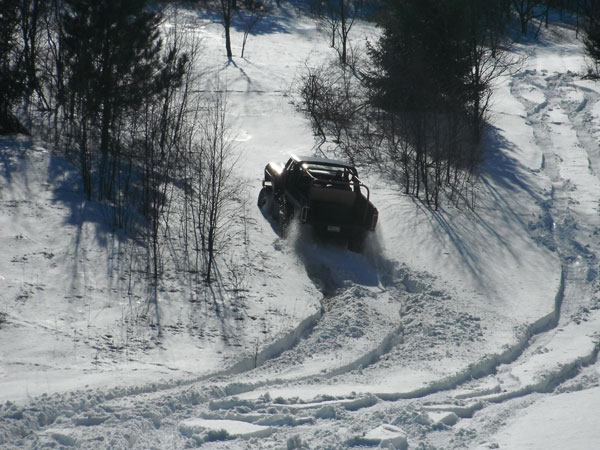 You can see in these next two, he starts digging in pretty good, but eventually got stuck and had to back down 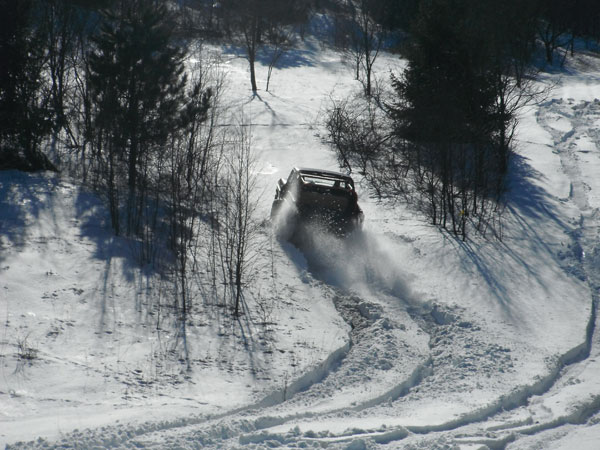 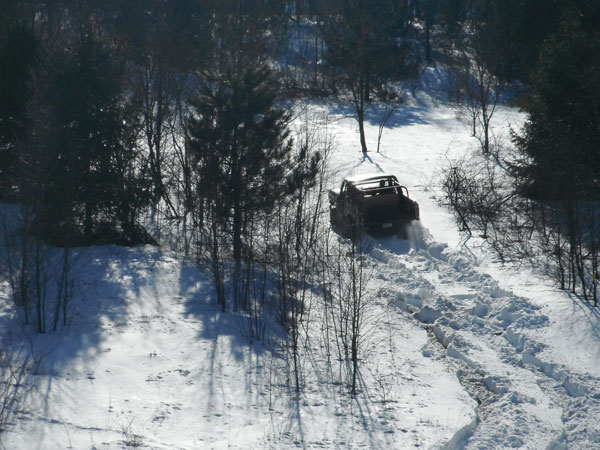 We went for it and made it all the way up the right path, so im hoping some pics or vids of that show up! ...and finally a panoramic my bud shot on his phone: 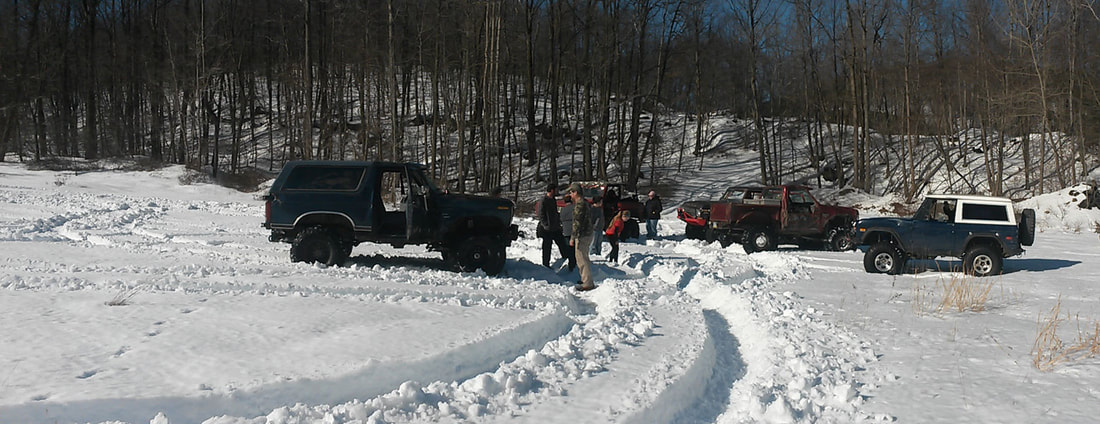 All said, I had an awesome time. The seized caliper really sucked the power down, we did way better after it was off the truck. Darrel did pretty good but being behind me most of the day I didn't really get many pics of him. I ran into several other FSB members, but we all got split up early on due to smaller rigs getting stuck, and atleast one broken axleshaft, so I never got to wheel with anyone else. There's more pics from the trip over on FSB. Half-cab Tracker! 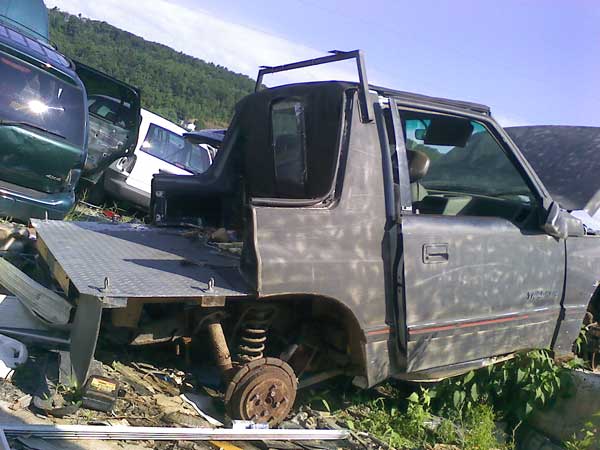 ...complete with diamond-plate bed, and soft-top folded down with window cut into it 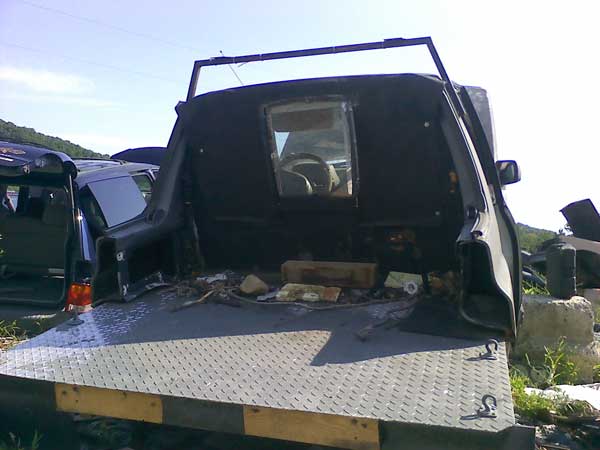 yep, plywood wall, and lots of spray foam. Cant imagine why this ended up here! 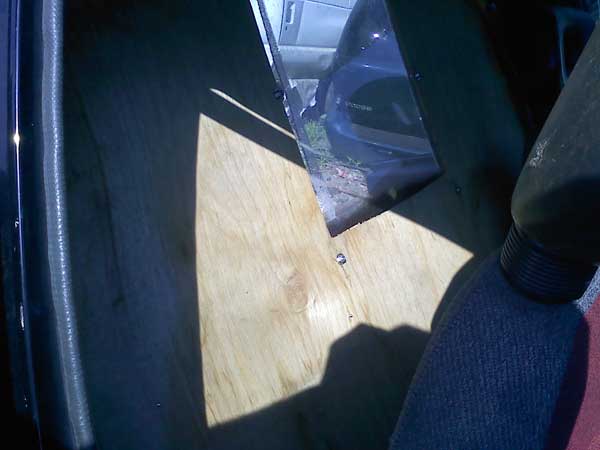 Cool old Ford 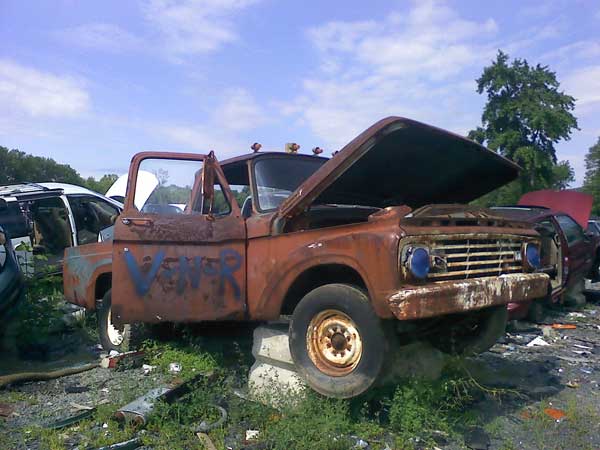 Burned up Scout. One of many scouts in the yard 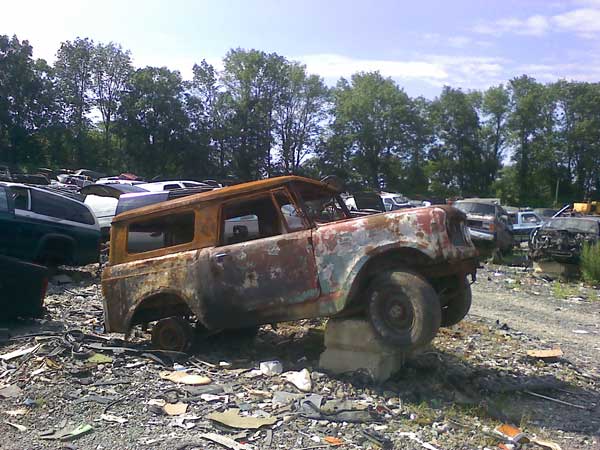 Another stubbed off van! 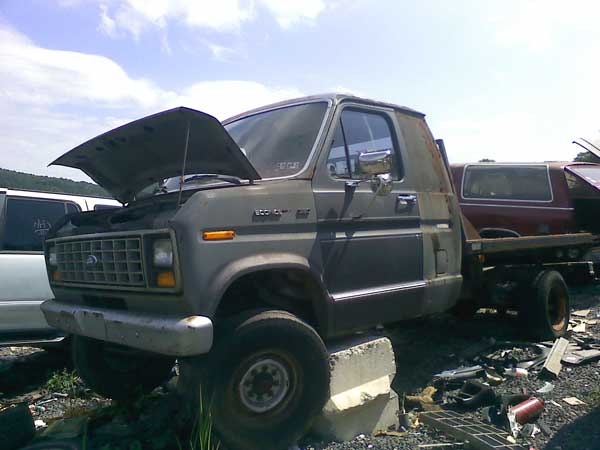 This one was done really well, we had a hell of a time finding the seam. Whoever built this thing took their time with it. 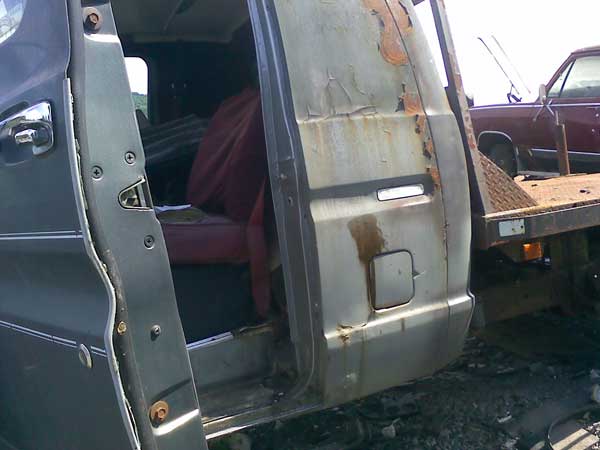 complete with flatbed! 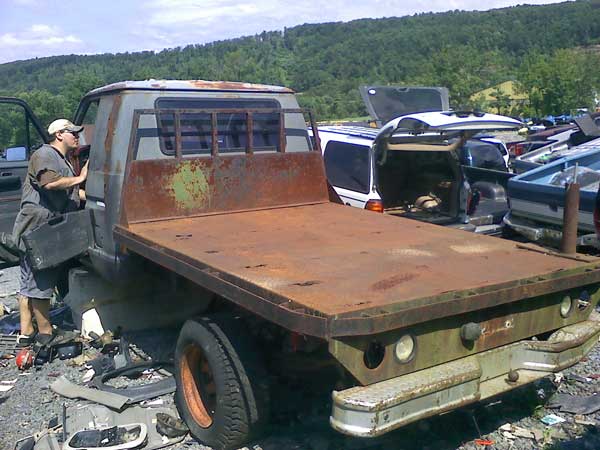 Ok, next project. Started this one before my trip, didn't get to finish till this week. Damn rain & humidity delayed me as well, but theyre done. So I bought a piece of 2*3, .250 wall, 16' long, at the scrap steel yard for $50. So I decided to make some steps for the diesel. 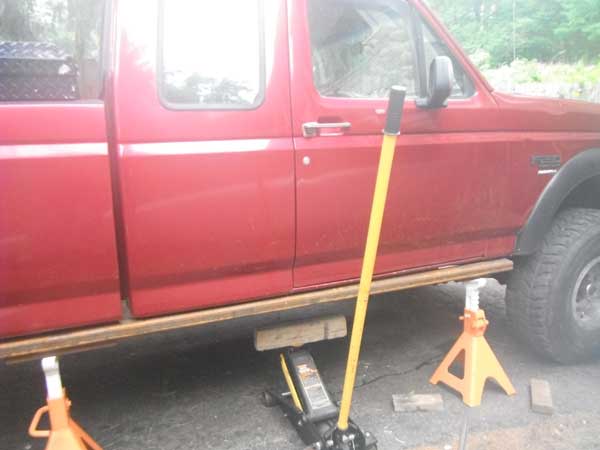 Looking at fitment 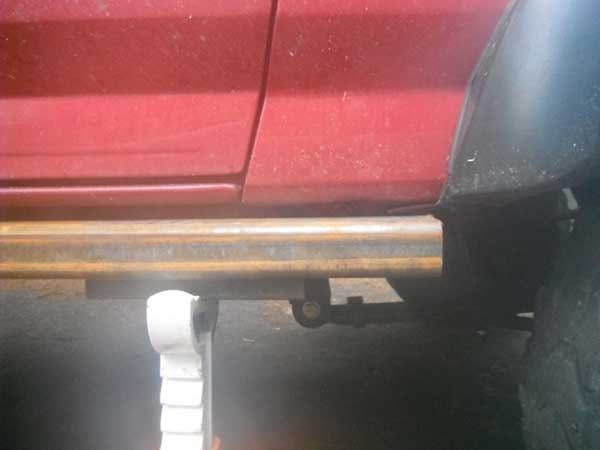 Deciding where to cut them off at 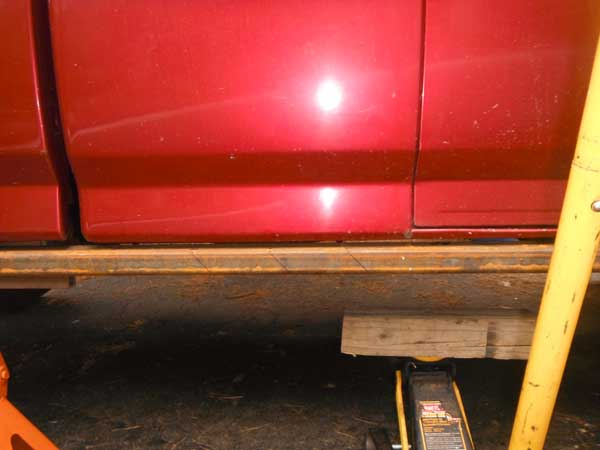 Cut down 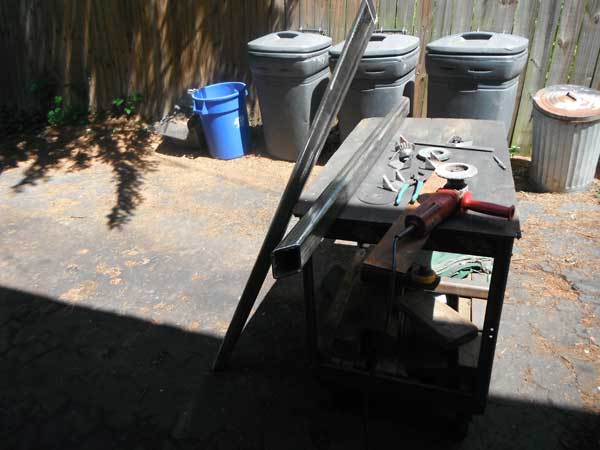 Basic idea
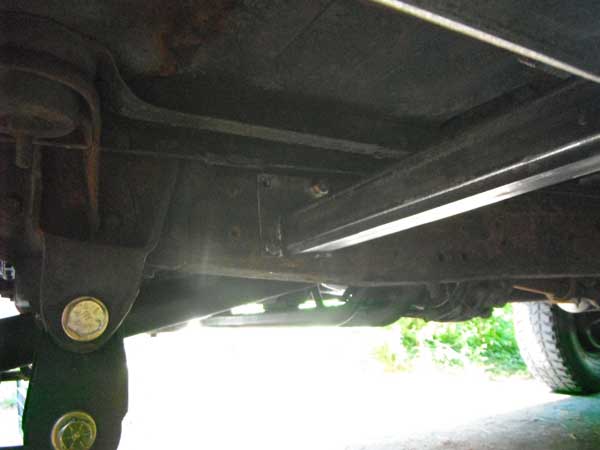
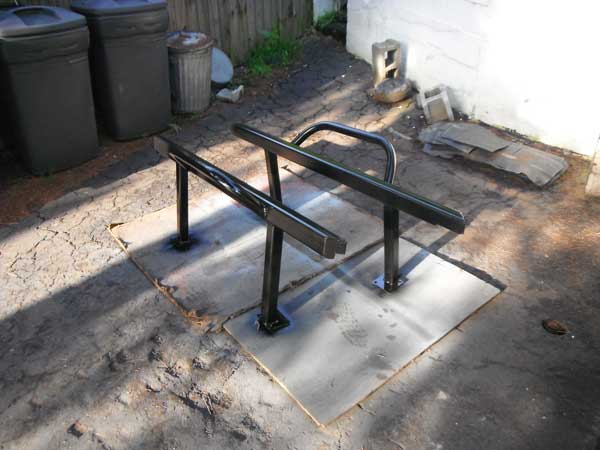
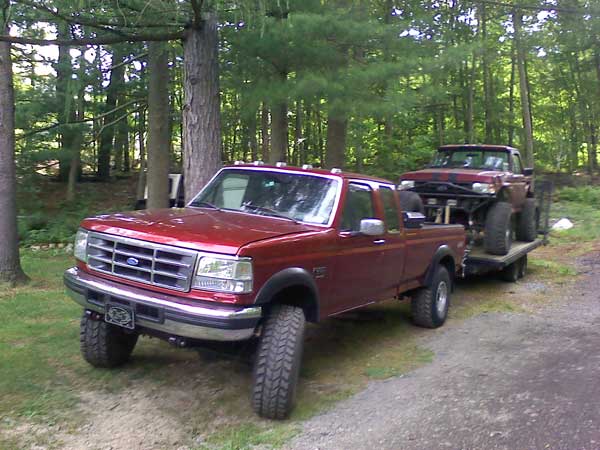
Has to fit around the bolt for the fender: 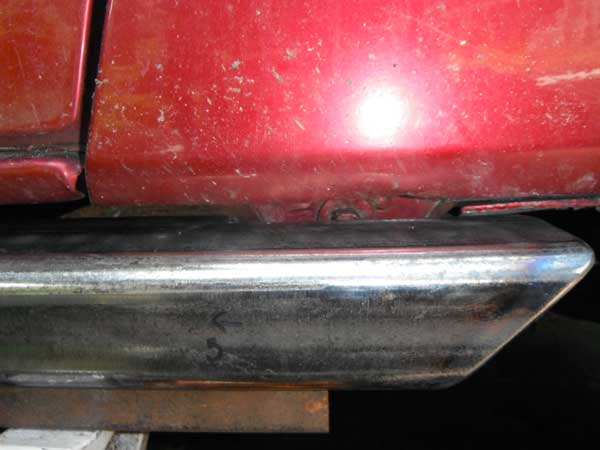 Both cut, notches to clear fender bolt closed in 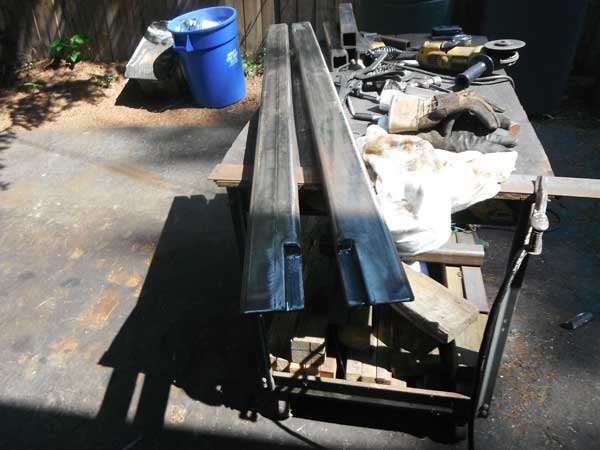  Mocking up legs: 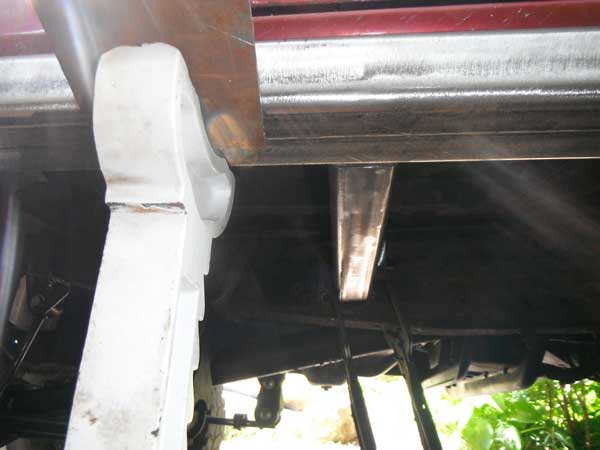 ...and all welded up 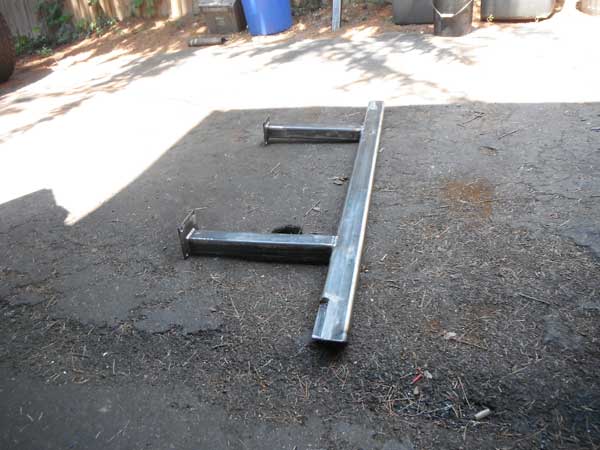 ...and bolted to frame 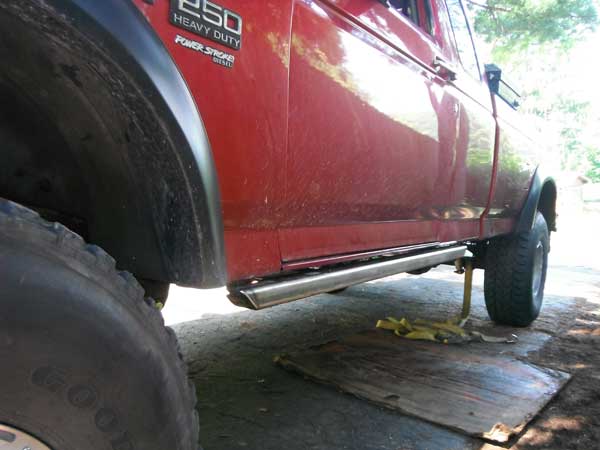
Next up, steps:
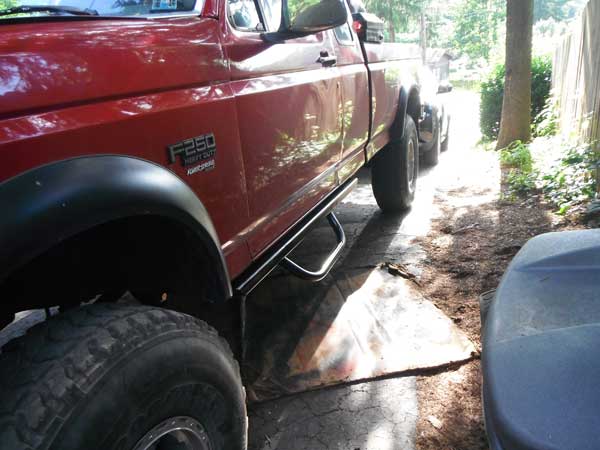
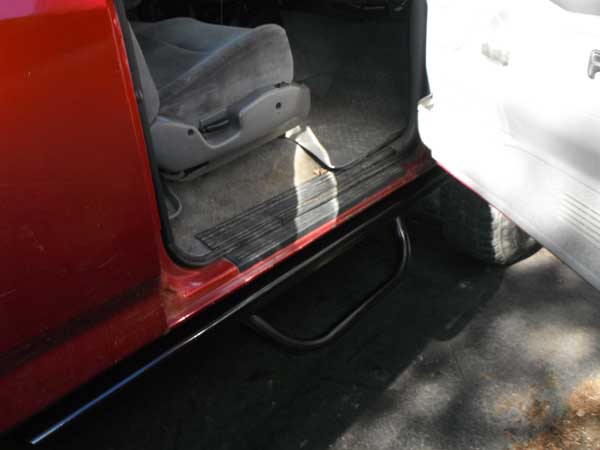
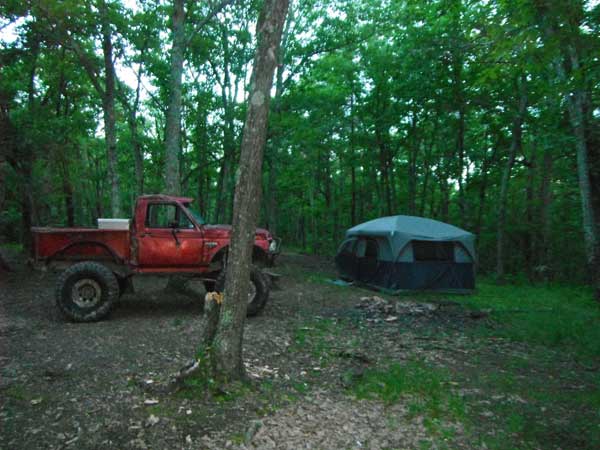
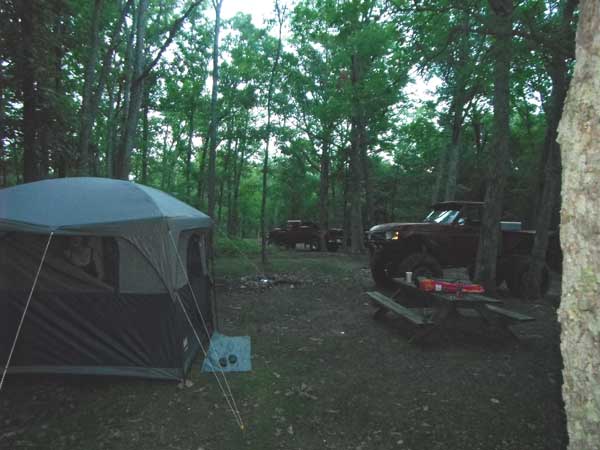
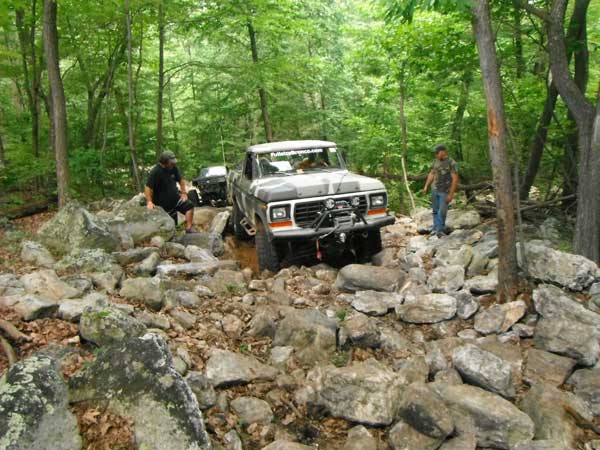
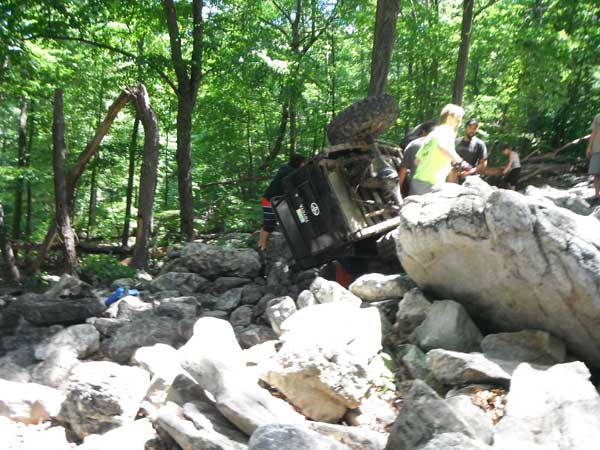
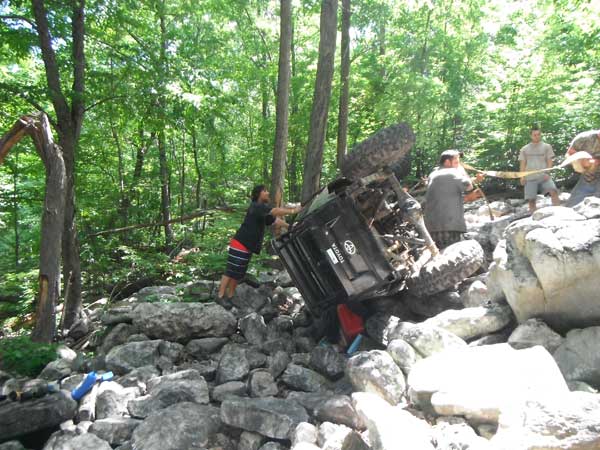
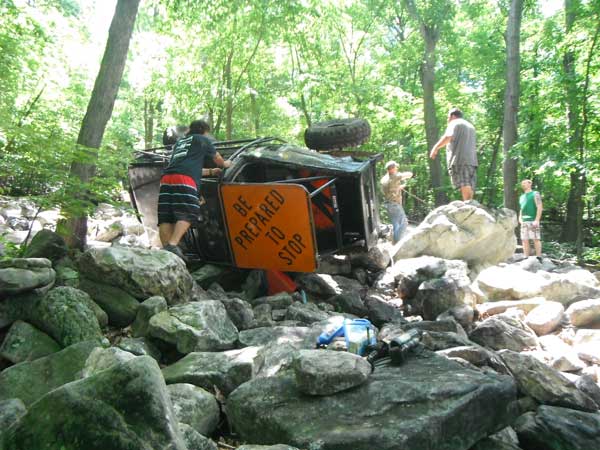
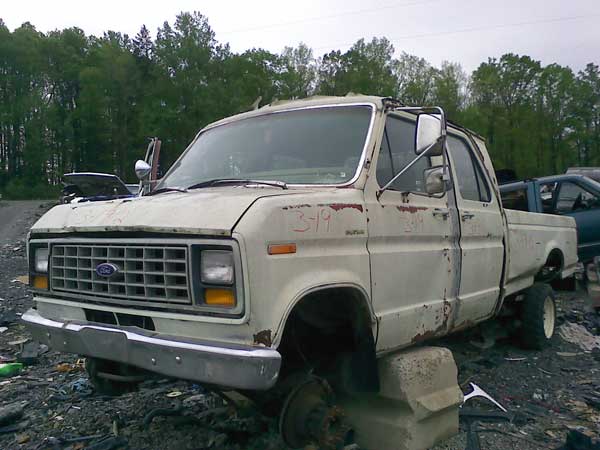
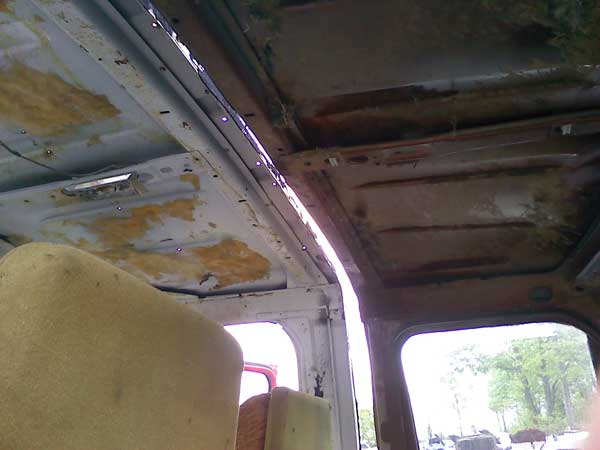
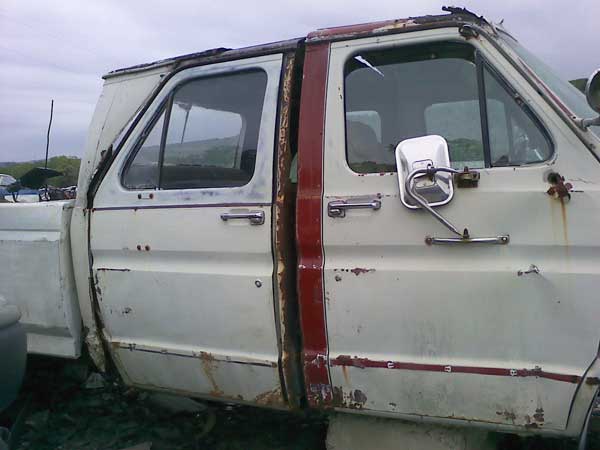
...and for the finishing touch, 2" grip tape. 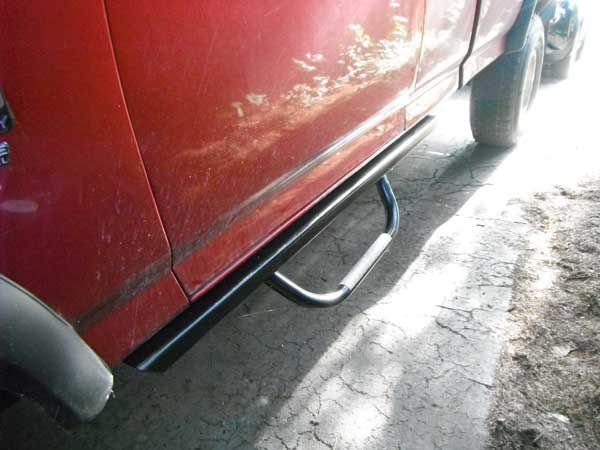 I know its not ideal for a rock crawler to have that step hanging down, but this thing only gets wheeled if we need a trailer offroad, so it shouldnt be an issue, and they definitely make it easier for my vertically-challenged wife to get in & out, so im calling it a win! So the water injection works great. It makes a huge difference to EGTs while towing. So a little bit about the system, now that ive had time to use it. First up, its amazing. I consumed almost 20 gallons towing the bronco to VA, however I was loaded way heaver then I normally am, and that was with the cruise set at 65 for the whole trip. It works amazing, I was tuning it on the way down, and found at 100% duty cycle, it will drop my EGTs from 1200 to 900 in ~ 30 seconds That's going uphill, at 65mph. Yeah, it works awesome. Of course, tuned that high consumes a ton of water, so I throttled it back a bit for the ride home. But yeah, awesome. Being able to tune it on the fly with the CMGS was awesome, it would've been a major pita to pull over after every hill to adjust a manual boost switch until I found a setting I liked. So yeah, i bought the CMGS kit because it is the most tunable. Its my understanding that the basic kits which use a boost switch, merely turn on when you hit your desired boost level. The CMGS & VC2 are both progressive controllers. This means you set a start point (say 5psi) where they start injecting, and progressively ramp up injection rate as boost increases until it gets to 100% duty cycle, which you also set. For example, I have mine set to come on at 5PSI, and to run at 100% at 20 PSI. The controller will progressively inject more until it gets to 100%, whereas the simple boost switches are just on/off. This actually allows me to inject more water since it doesn't inject at 100% at 5PSI like it would if I only had a switch. The main difference between the CMGS & the VC2 is the controller, the CMGS is a shaped like a standard 2 1/16 gauge whereas the VC2 is a big square controller. Functionally they are the same. Both the CMGS & the VC2 can use the Failsafe Control Box (FCB or FSB, same thing), which is basically a brain that stores info about your system. It is designed as a secondary failsafe because if it senses something out of the ordinary it also will shut the system down and tell the controller to display a specific error code. I like it because it is basically a second system monitoring the injection, to make sure nothing goes wrong. Not required unless you go big with 2 injection pumps and 2 nozzles. But that's the big boy stuff, like 350 HP and up trucks, not what i have, so not a requirement. My kit also has a solenoid instead of check valve. The idea here is, the controller must turn on the solenoid in order to inject water; this means there is no chance of the system dripping into the intake when the engine is off or im parked on a hill, etc. Basically eliminates the chance of accidental hydro-lock. Also nice is that if something goes wrong, the controller drops the ground, which shuts the solenoid down preventing the pump from injecting anything. The cool thing about their kits is you can buy a basic kit now, and then just add components to it later if you wanted to upgrade. Id recommend either the CMGS or VC2 even if you get a stripped down system because the progressive injection is badass. No matter what kit you get, upgrade to the solenoid for the comfort of knowing there is no check valve to potentially fail or leak through. I would not bother buying a tank from them, id get one elsewhere since you can get more for your money that way. You can run up to 30% methanol which adds a decent amount of HP, altho you dont necessarily need to. Methanol is fairly expensive per gallon, however i recently discovered this: msds.walmartstores.com. Turns out their cheap Super Tech Windshield Washer Fluid is apparently just over 30% methanol, with the rest being water and a dash of food coloring. So that's what im running in the tank. Since i dont need the HP boost, all summer im running straight water and then in the winter ill add methanol to the tank as needed, to keep it from freezing. This year's RoundUp was held on June 27-29 at Big Dogs Offroad down in Virginia. We decided to make the trip, so we packed heavy for 4 days of camping and wheeling! Camping was at The Cove Family Campground in Gore, and was a pretty nice place to camp. We didnt get a ton of pics; we ended Friday early due to throwing a caliper clean off the front of the truck, but fortunately we were able to get parts locally and fix it for Saturday. After our trail guide's rollover me & dawn switched seats and she drove for the remainder of the day which was a nice change of pace. Theres more pics from the event in a thread over on FSB. Just finished installing my Cooling Mist water/meth injection system yesterday, so it still needs some tuning but that's basically it. Heres where i decided to install the controller. Its visible, but doesn't blind me at night (it is pretty bright) 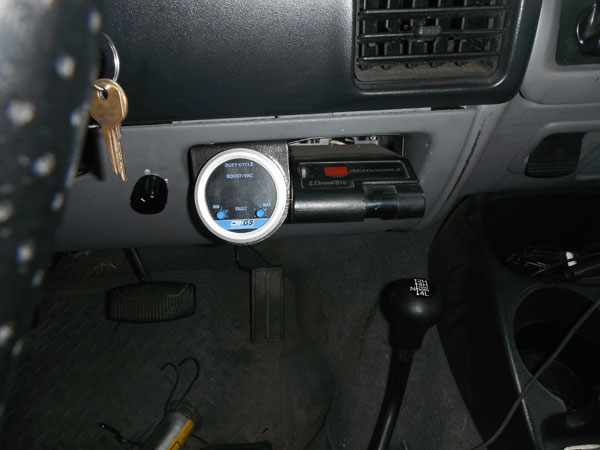 Powered up: 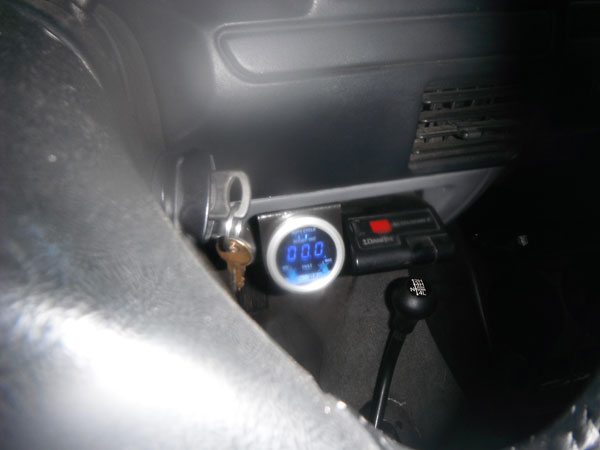 Had to build a fairly extensive wiring harness to hook it all up 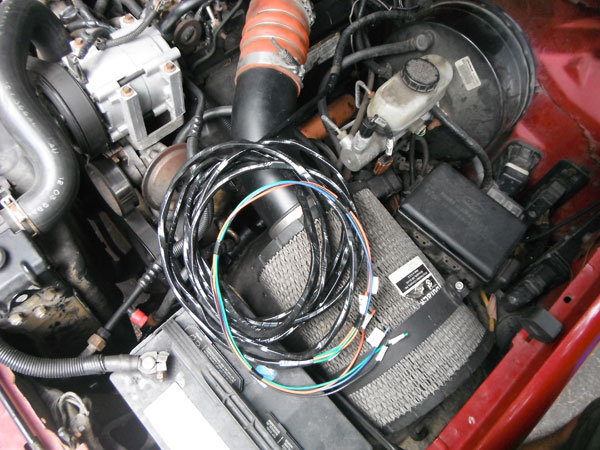 The kit comes with a 1 gallon tank, but IMO that's pretty small for a diesel so I bought a 12 gallon tank from the tank depot, and installed it in the toolbox here. While the tank is awesome, I didn't expect the 6-8 week lead time to get it! 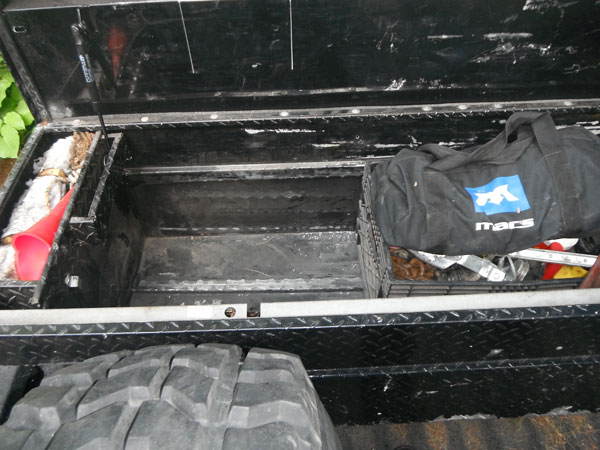 Divider to keep stuff away from it 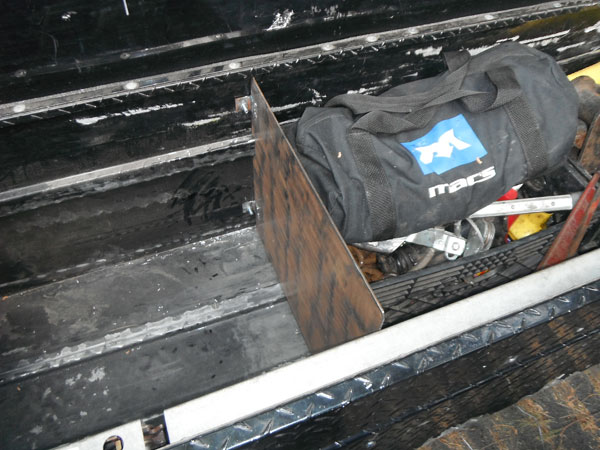 Heres the tank: 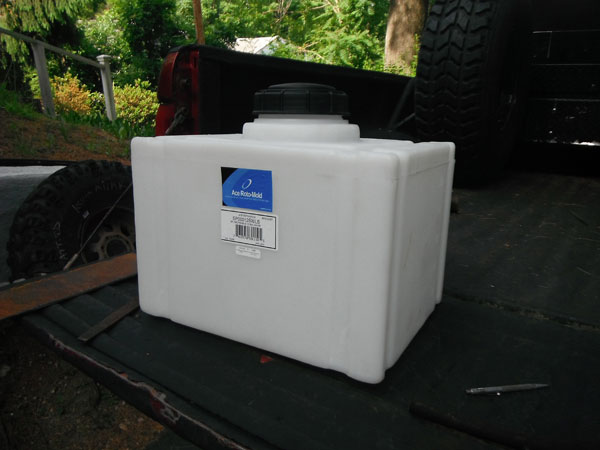 Complete with a vented cap 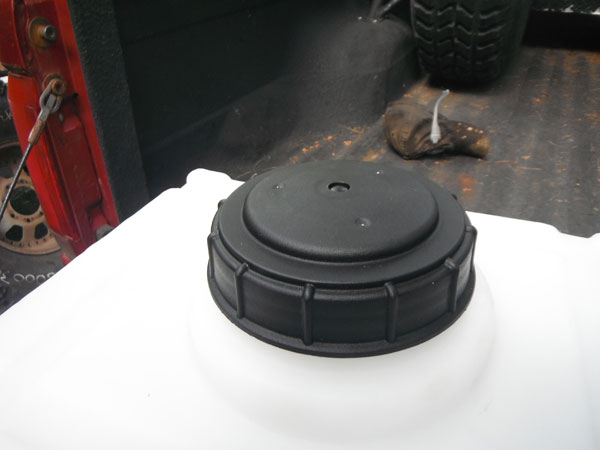 sump, with 3/4" fitting 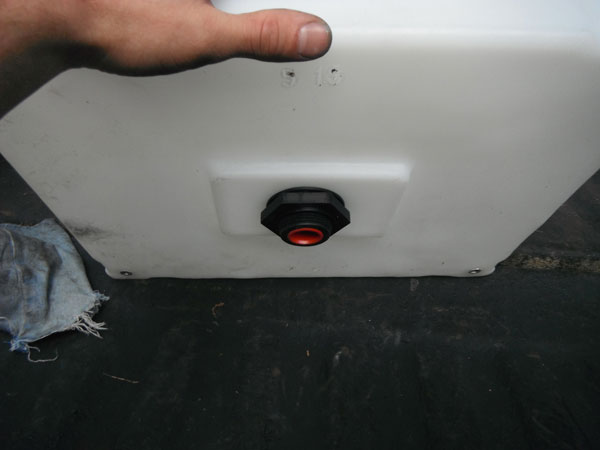 ...and here's the basic idea 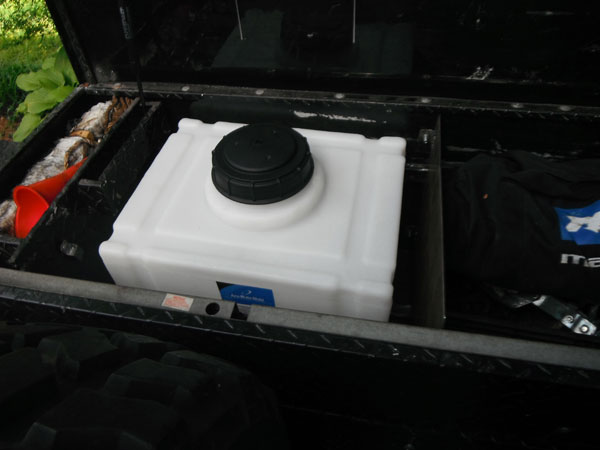 So I had to build a carriage to hold the tank securely, and get the sump high enough that the tank can gravity-feed the pump that will be installed next to it 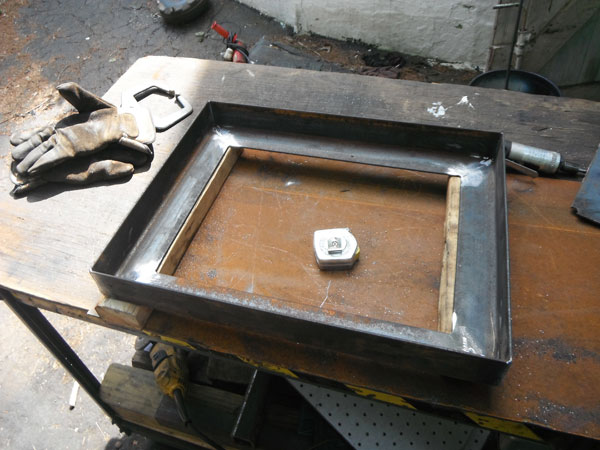 Mock-up, with pump sitting there 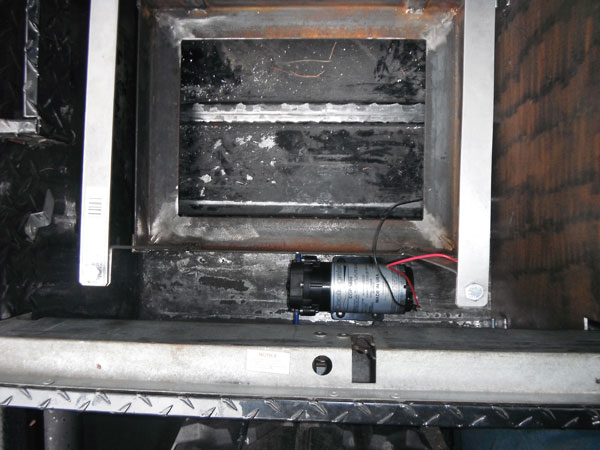 Had to put a notch in the toolbox lid to clear tank 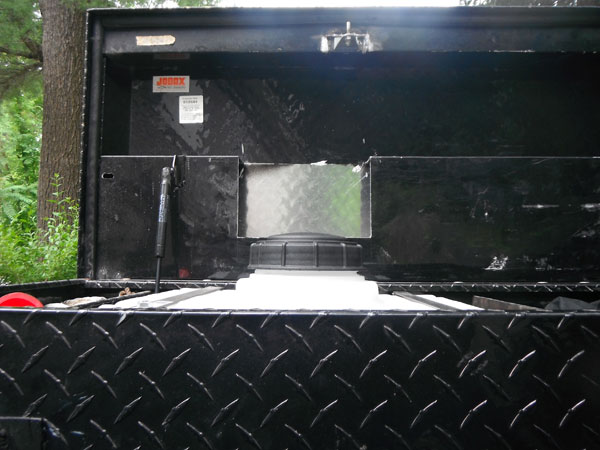 Carriage complete, with tabs for other parts of the system 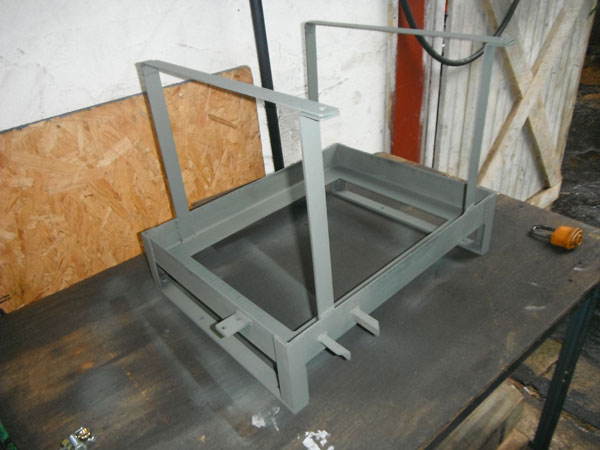 Finished and painted 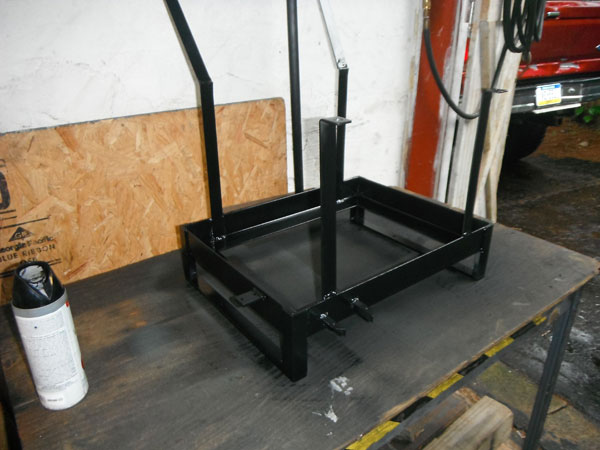 Note the foam padding on the straps, to keep them from rubbing on the tank 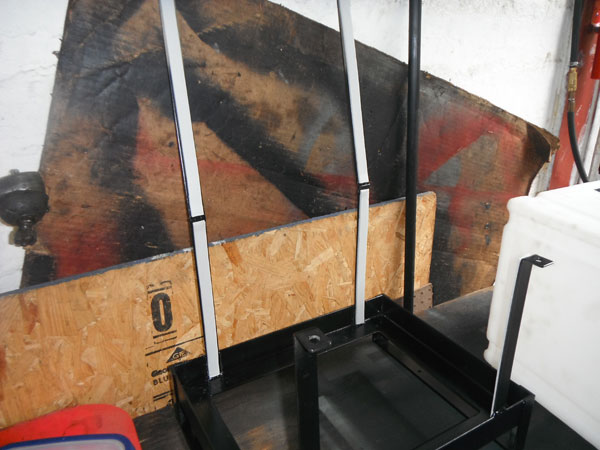 Had to install a float in the tank. When empty, it will throw an error code, and shut the system down so the pump doesn't run dry 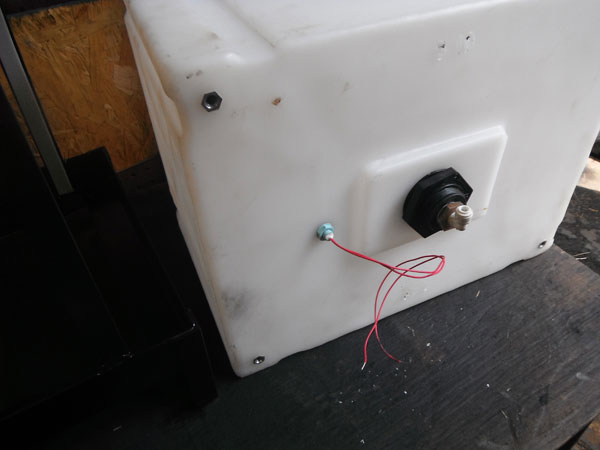 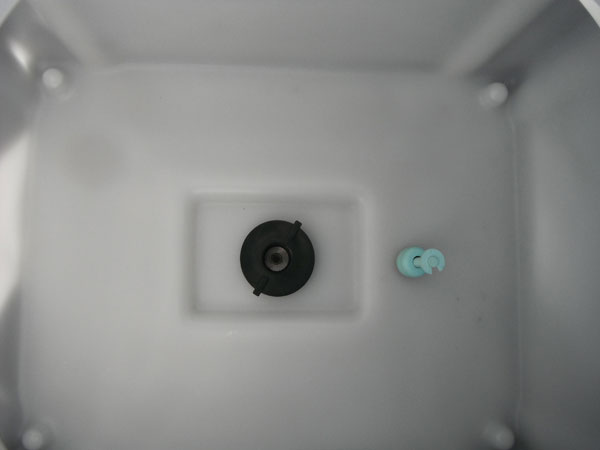 Here is the general idea before the final install in the truck 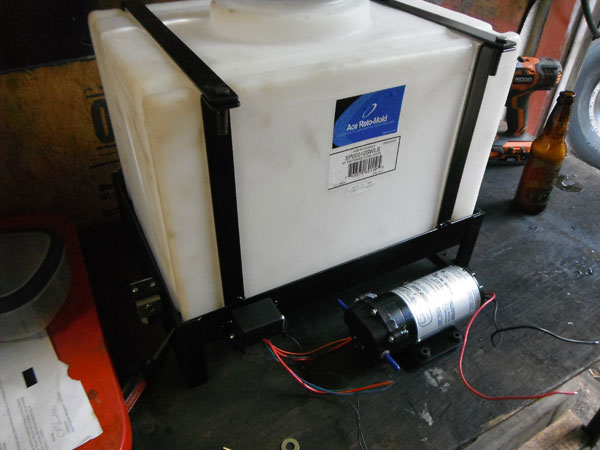 On the side of the frame is a solenoid that the controller turns on when injecting. This defaults closed, so if anything goes wrong with the system the ground drops out and it closes, preventing the system from over injecting. Also closed when the key is off, so it is impossible for the tank/pump to siphon and fill intake with water. In front, next to the pump, is the Failsafe Control Box, which is basically the brain of the system. It learns your system, and if it senses anything is awry, it alerts the controller in the dash, which is when the system will shut down and display an error code. It has lots of conditions for keeping the system in-line, and is tunable through the dash controller. I opted to install these items here, in an effort to keep the system contained to the toolbox. The FCB could go anywhere, but I didn't want to clutter up space under the hood or dash, and it seemed logical to keep the solenoid close to the pump. Ok, divider installed: 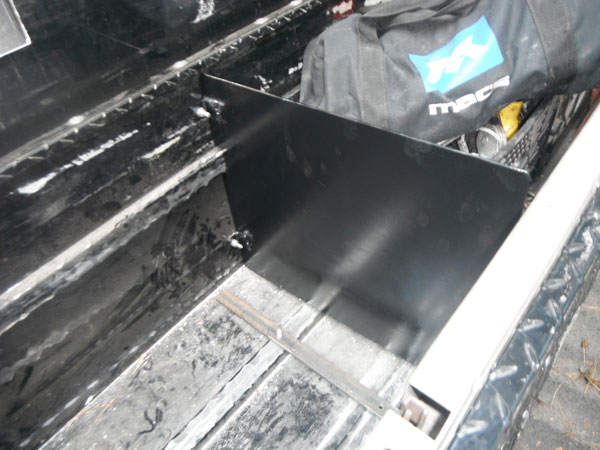 Wiring in progress. I like weatherpacks. Used em for years with zero problems, and they make the system easy to disassemble. 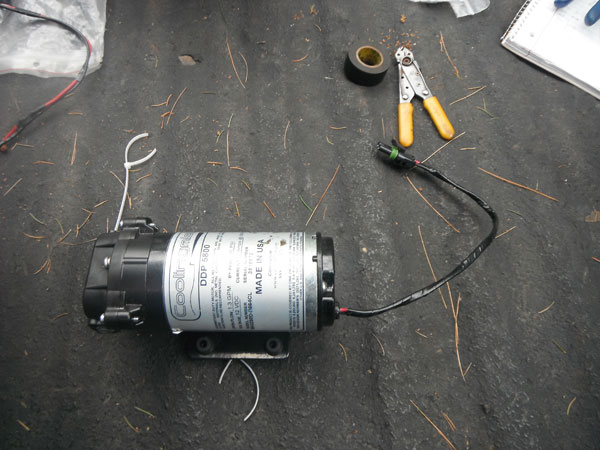 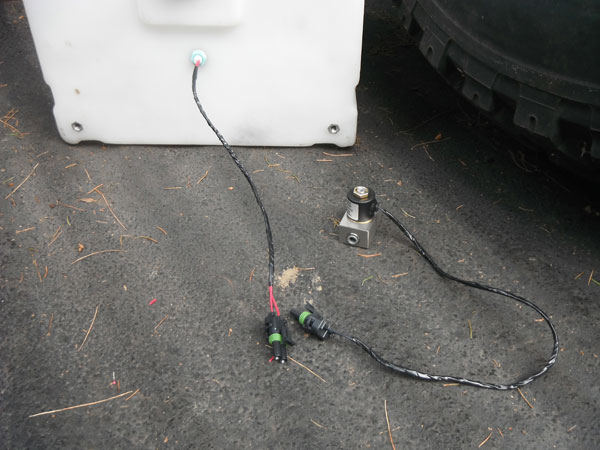 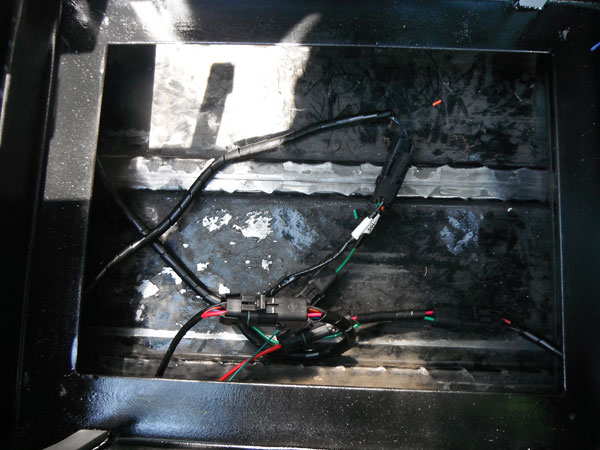 The supply tube is nylon tubing. I have it wrapped in split loom for extra protection 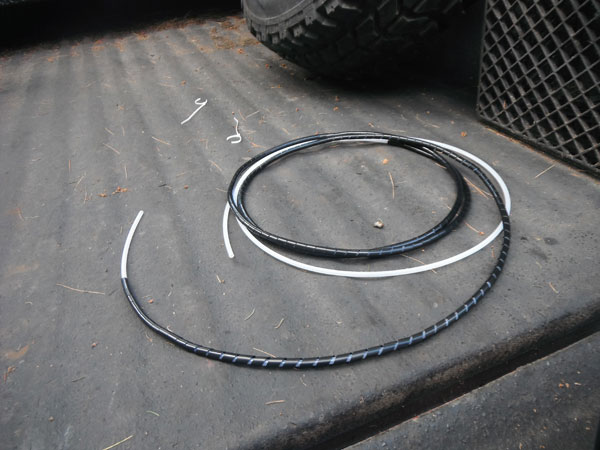 ...and this is where the injector goes (pipe plug in intake). Moved injector post-turbo at recommendation of people on PSN 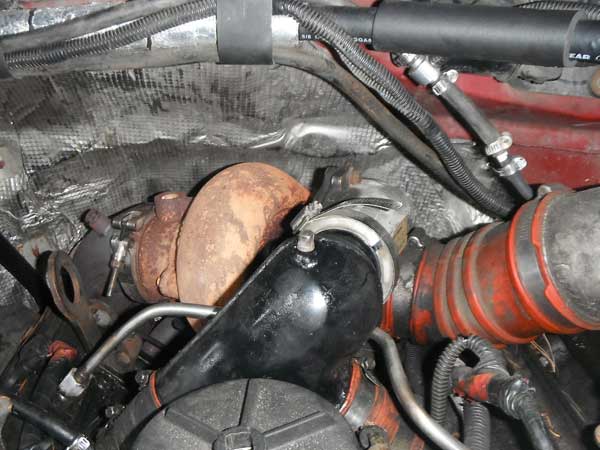 So that's basically it. I drove it to work for the first time last night, and it definitely does the job well! I have Baby Swamps (injectors) with an E4OD, 4.10s & 37s so EGTs are always a concern for me, but I was flying (needle pegged) and couldn't get it to 1200º no matter how hard I tried. Im gonna have to hitch up the trailer to get a heavier load on the truck, in order to tune it better. So yeah, its awesome. This is the new Superduty Shackle Reversal kit for 92-97 F350s offered by Precision Metal Fabrication. I purchased this to replace the Sky 3.5" Shackle Reversal I have been running ion my F250 since 2005. Why you ask? Because my F350 leafs from 1995 are pretty much worn out, and the SD leafs ride better, that's why! The new kit, ready to be installed. I ordered their 2.25" lift kit, with the optional tow points & front receiver. 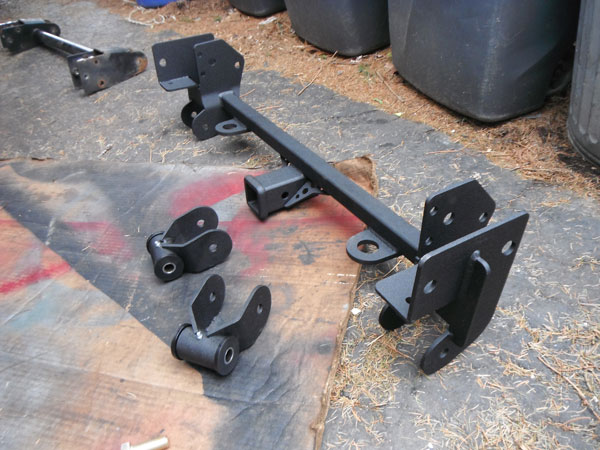 I think its pretty nicely built, and the welds are superb. This kit was designed primarily for the diesel crowd, is designed to fit around the 6.0 PSD intercooler, and comes with tons of different ways to bolt to the frame to make install as painless as possible, regardless of whats under the hood/behind the grill. 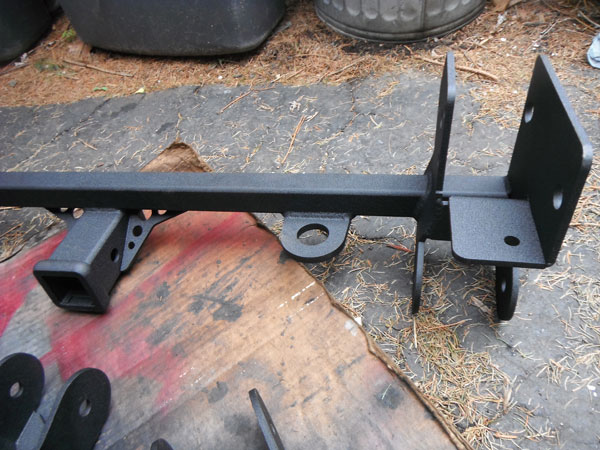 My 'new' leafs, next to my old ones. Specifically theyse are X-Codes, which not everyone likes, but they were cheap ($30 for the pair), and are arched enough to add the additional lift I needed to clear my 37s. Also: They ride a tad better than my old leafs do, despite being a much higher spring rate. 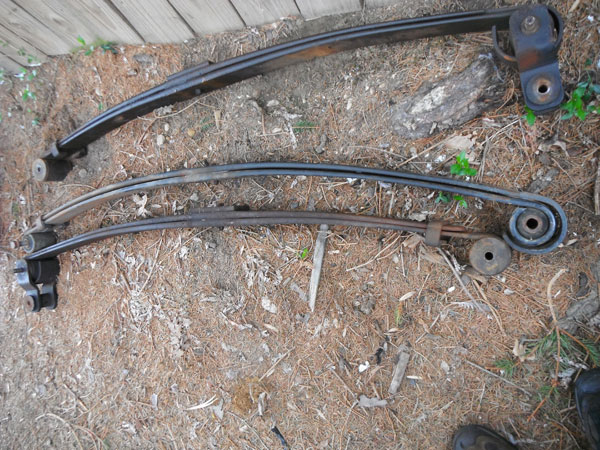 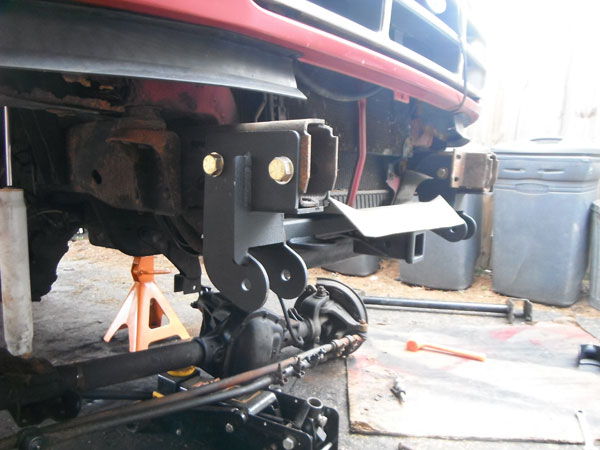 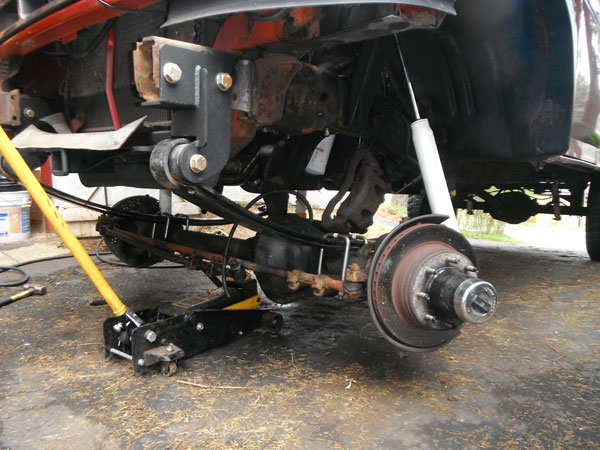 This pic shows how much farther forward the front spring eye goes. Also, tight clearances around the OEM bumper 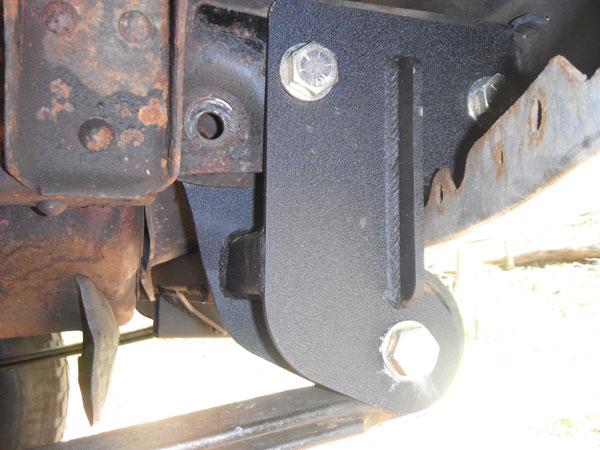 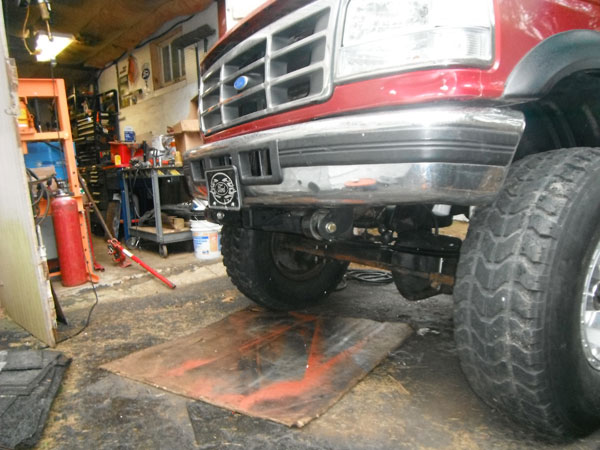 the lift ended up pretty much right where I was before, which was exactly what I was hoping for. So the X-codes add ~1" lift over the more popular SD leafs. 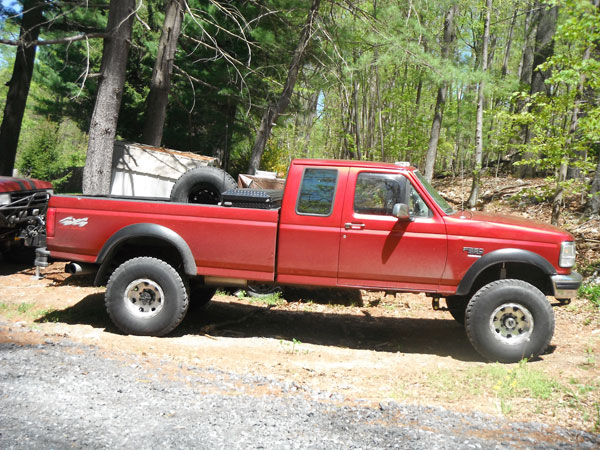 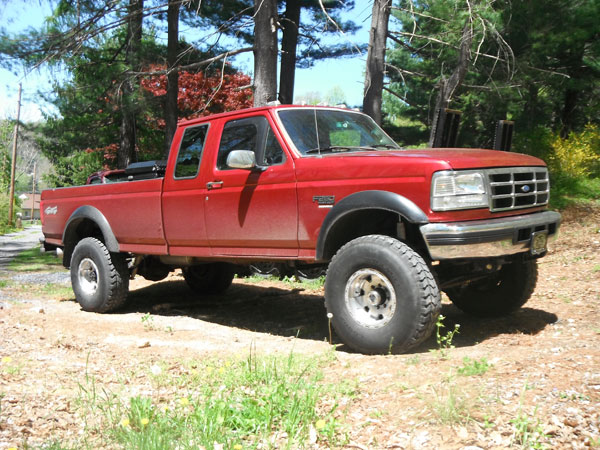 I swapped it in in two afternoons after work, it was easier than the old Sky kit as it uses existing holes in the frame whereas the Sky kit I had to drill a ton of holes. I finished it ~ a month ago now, and id say it rides a tad better than it did before. the springs are stiff, but I can feel the suspension working more than it did with my 95 F350 leafs. Add in all new tracbar & swaybar bushings, and its a cornering mofo now This June ill have owned my F250 9 years. This November ill have had the bronco 13! I must be getting old. At least this one is still in decent shape though. Just finished cleaning/polishing the wheels, and doing a good clean on the body, couldn't resist snapping a few pics. 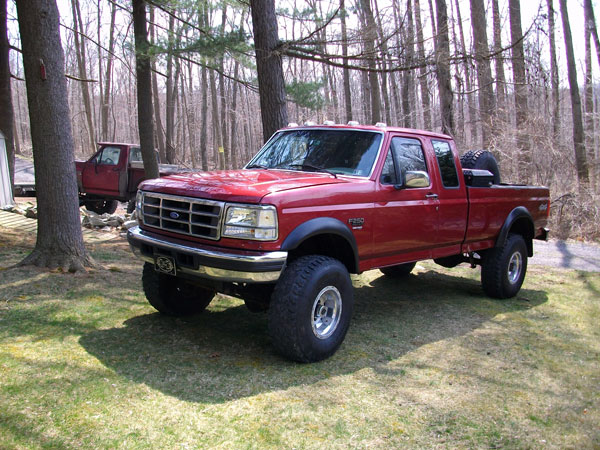 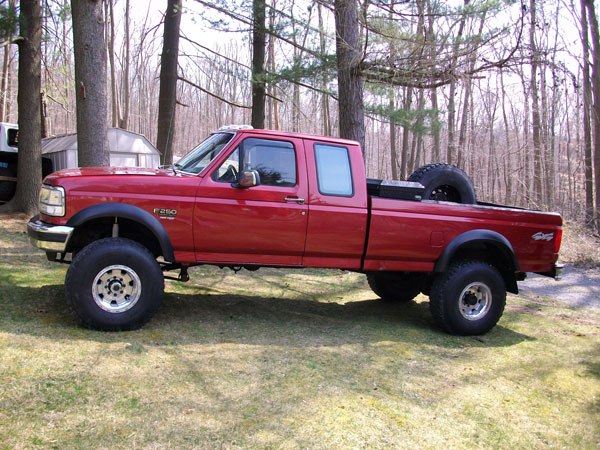 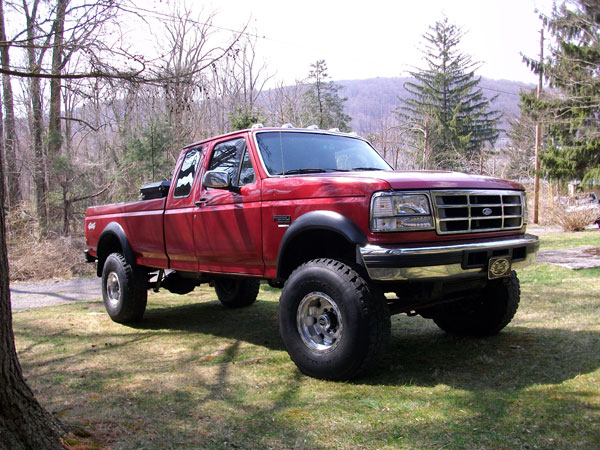  Theres been a few dents & scrapes along the way, but she's gonna be around for the long haul, so in another year or two, the body is getting the full resto treatment. Yesterday's trip. Lots of booty fab stuff goin on this time! Here's what looked like a pretty cool Ranger, until we got closer to inspect:  the rear flares were steel, im guessing trailer fenders, but the front flares are tires 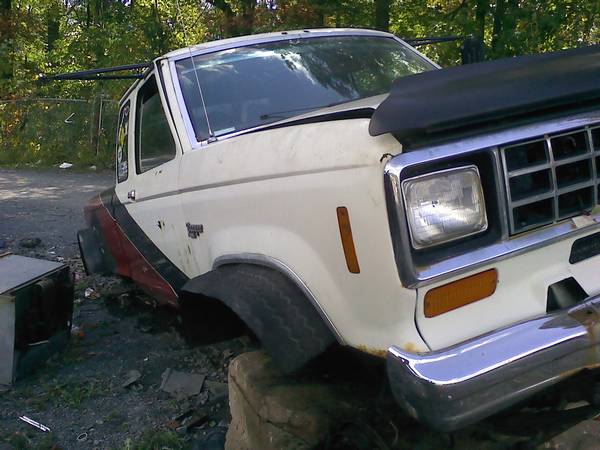 Leaf SAS, but look closer. We'll start with the shackles that lay flat against the frame: 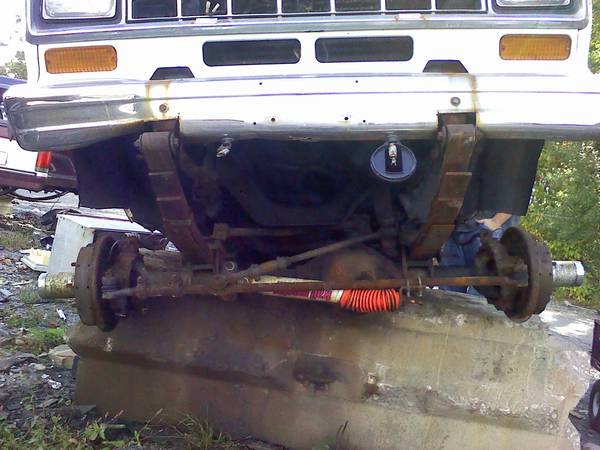 90s F350 tracbar hacked in all booty fab style 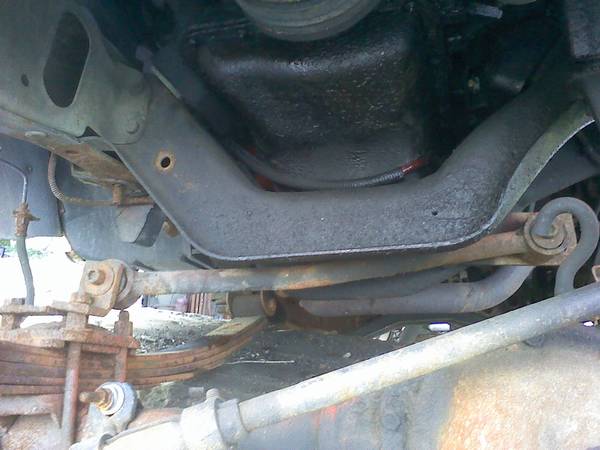 low pinion, drum brake, kingpin 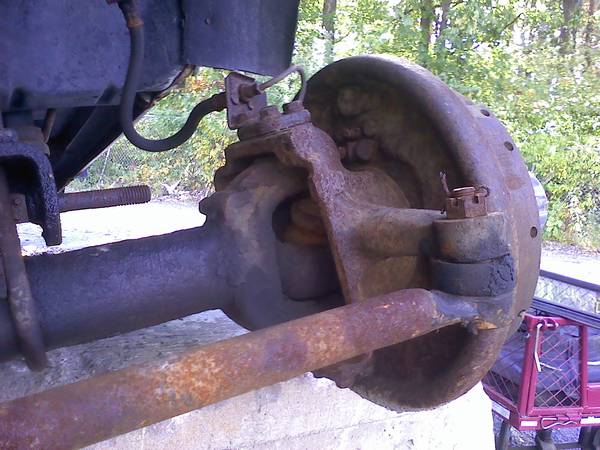 complete with a rat-rod shifter! 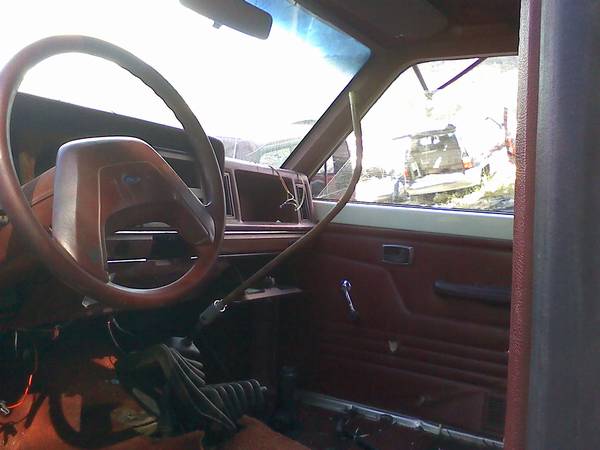 Random Grand Cherokee. Apparently Beanified. 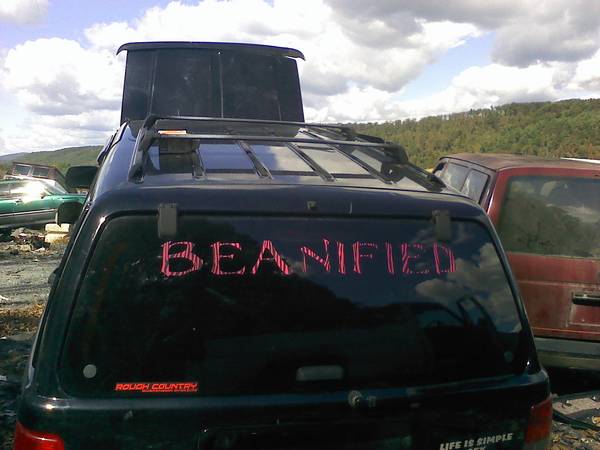 Cool SASed Stepside? 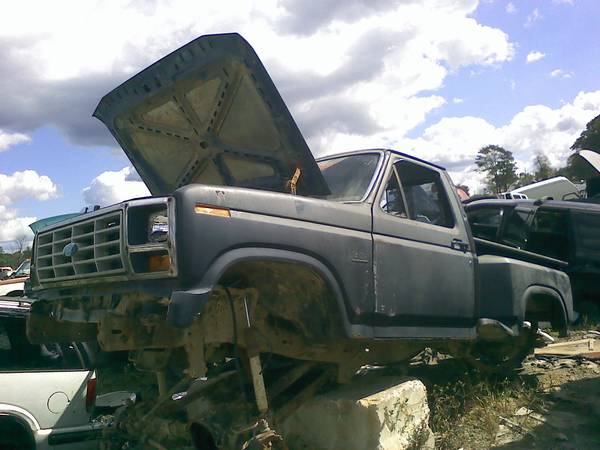 Coil D44, most of the pieces are strewn about the yard. Someone wanted the carrier. 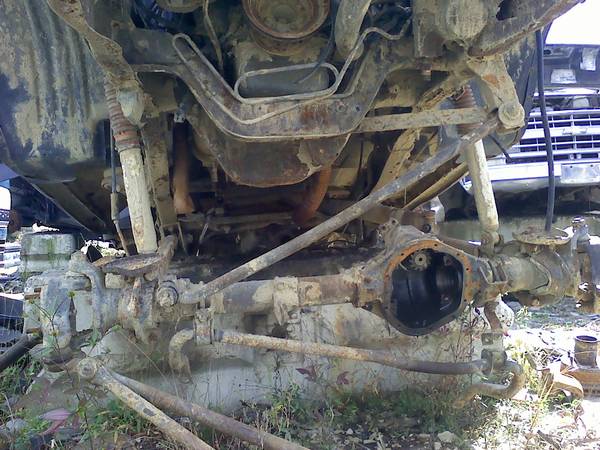 Booty-fab radius arms w/ tractor joints. No wonder theyre both bent 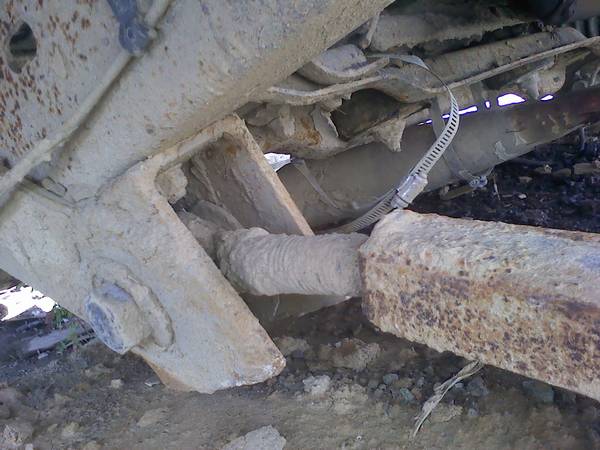 Ignition system in the cab. Mustve been a mudder. Plywood door panels! 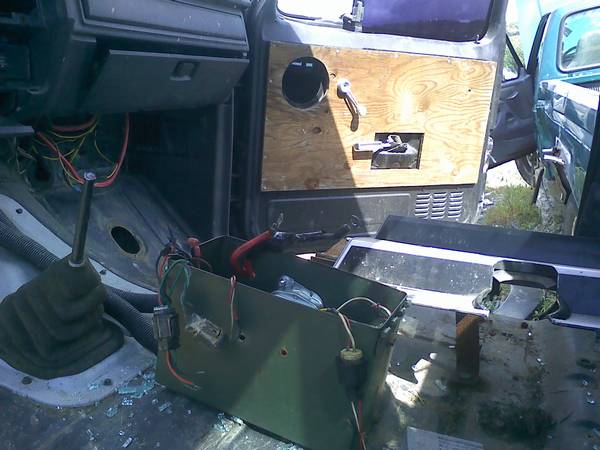 One of many jeeps there, one of 2 mail jeeps there. 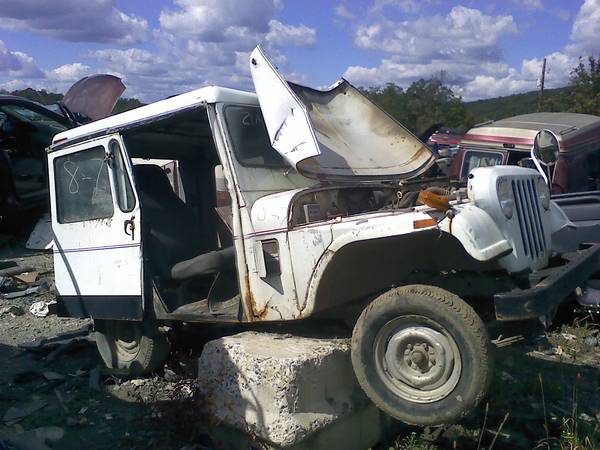 F250 Hi-Boy. Still has the divorced NP205 in it. 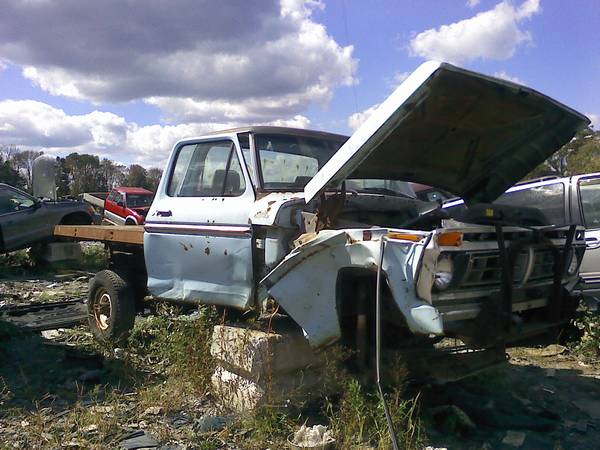 Superduty in junkyard. Rare find. Pretty much stripped too. 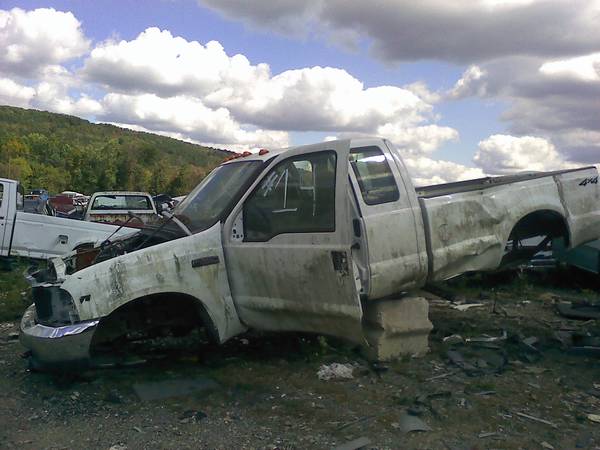 I stole the front leafs & front shaft (1350 double cardan). Leafs are for my F250, the DC will be used for a new rear shaft for the bronco next year. In the background is a Taurus fan i snagged for a coworker. 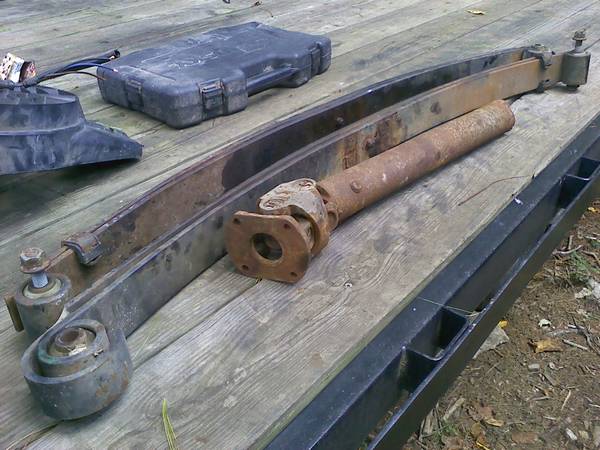 I saw another lifted Ranger too, but it was a typical TTB lift kit, nothing fancy. If the weather is nice ill be out junkyard hoppin tomorrow too, so maybe ill find some more cool stuff! We found a badass conversion van! Check this thing out:
It was two van cabs put together, complete with a dog house out back! Then the back of a p/u cab i guess all mostly- welded together, with an 8' bed out back. Dunno what the frame was, but only one end was dually. It was cool & weird. |