|
its time for the next round of upgrades! 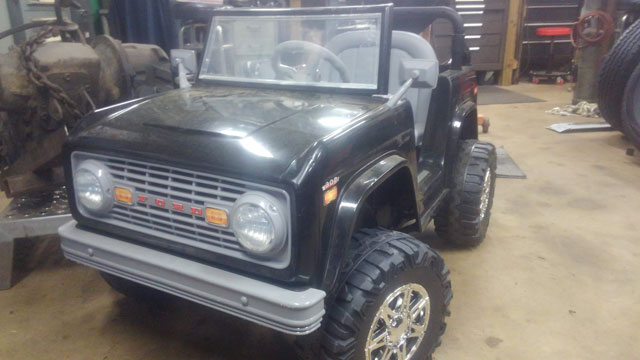 While they body is superb, the powerplant leaves a lot to be desired. 6v, one wheel drive just doesnt cut it. It puts along ok in the driveway but doesnt go at all in the lawn, which seems to be a common complaint for these things. Fortunately last year i got my hands on a second one cheap, so i swapped a second motor/gearbox into it to make it 2wd. But, the 6v system just isnt torquey enough. Enter ML Toys 12v conversion! 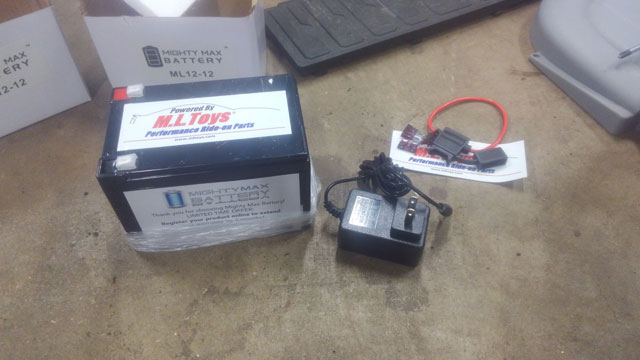 Its as simple as it looks- a new 12v battery to replace the 6v one, a new in-line fuse, and a new battery charger that still plugs into the stock charging port. Interestingly enough, the body is already designed to accept either a 6v or 12v battery, which means the bigger battery just sets in place like it belongs there. You can see the second gearbox/motor installed as well. That was a simple swap as well since the body was apparently designed to be 2wd all along. 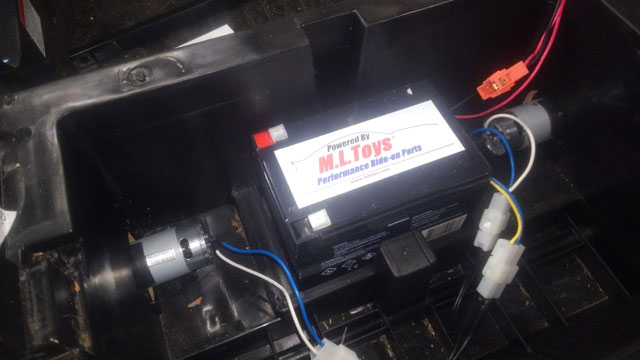 ...and the verdict is in....it runs like a champ now! 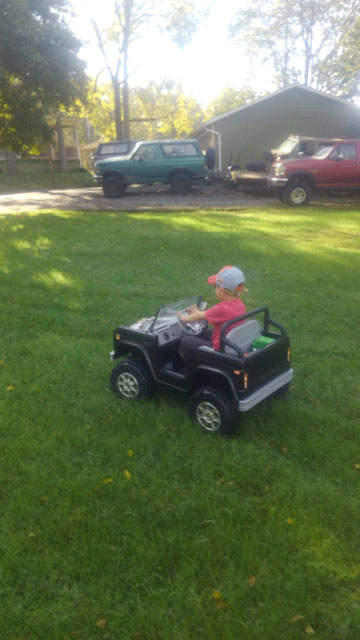 This was just what it needed to get the little guy cruising around the yard! The 12v conversion is just torquey enough to get it cruising around the yard, without it being too fast. Altho next year once hes good at driving this thing, maybe we'll look into that 18v conversion they sell... Found the older air-oil cooler in the garage: 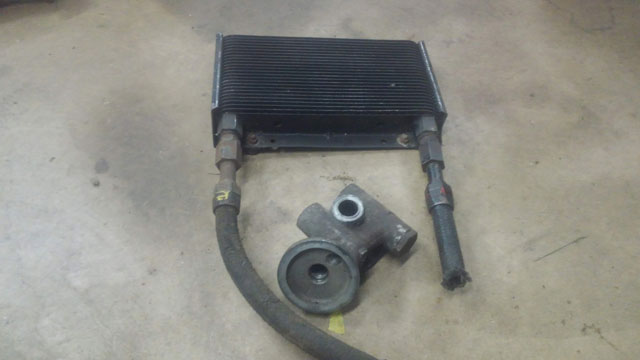 Fits in there better that the coolant based cooler, but still doesnt clear frame: 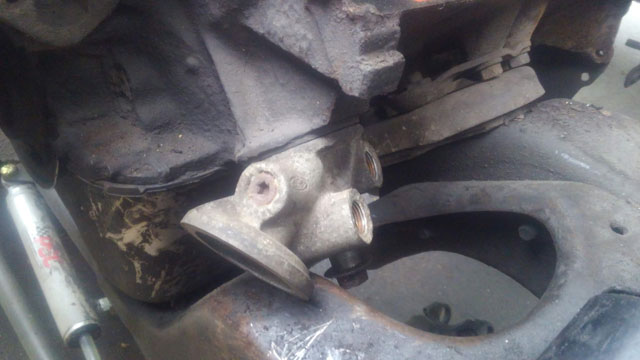 This is good enough to verify our original plan will work for either cooler/adapter. So now the block can come out! 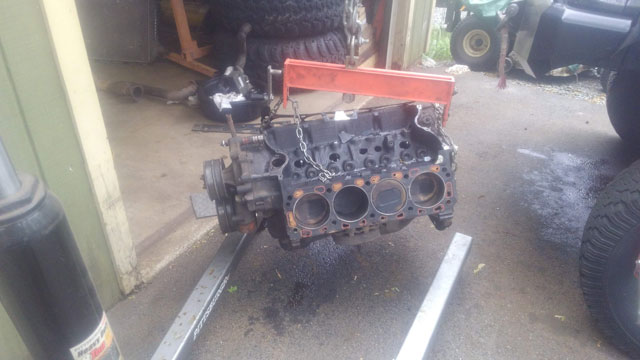 The parts pile has grown: 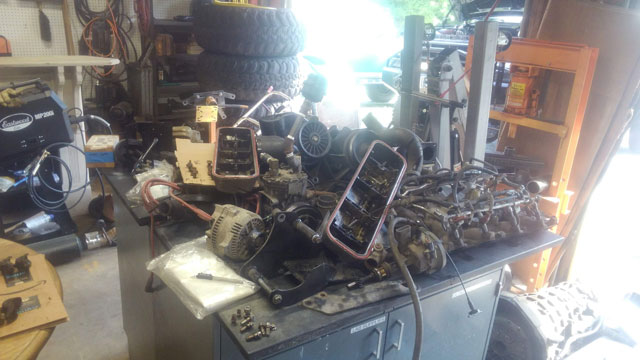 Theres really not much left to remove at this point: 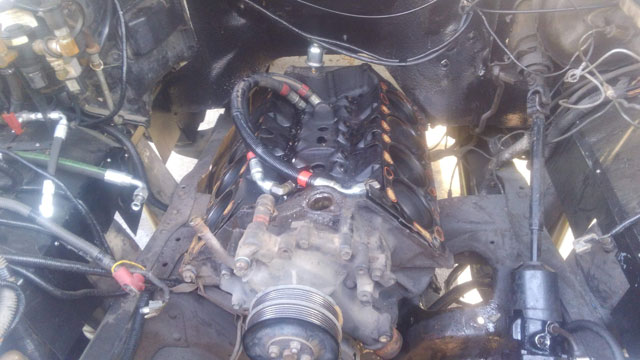 So, one of the things i would like to run, is the OEM oil cooler. Thus far i have been using a remote mount unit with a smaller filter due to a lack of free space. So before i pull the block out, i decided to see what it would take to get it to fit. So this is the '95+ oil cooler. Water cooled. It fits in pretty tight against the block, and intersects the lower radiator hose. 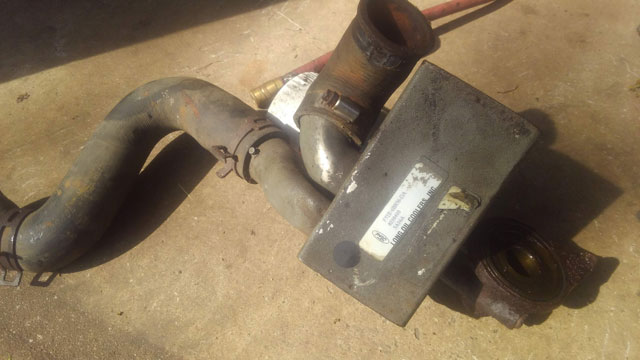 This is pretty much the orientation when installed on the motor. The oil filter ends up sticking out forward, under the belt drive, where its pretty easy to access 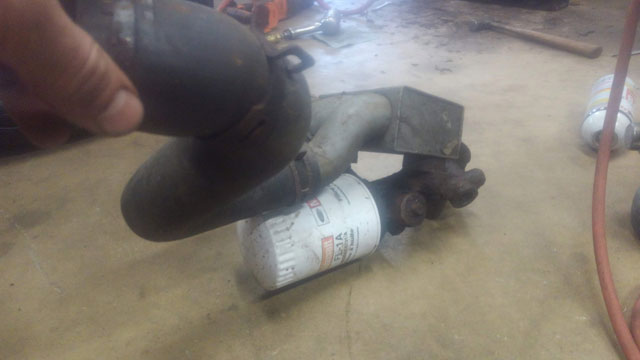 On the right is the OEM oil filter stud, if the filter is threaded directly onto the block. On the left is the bolt & adapter if youre running the OEM oil cooler: 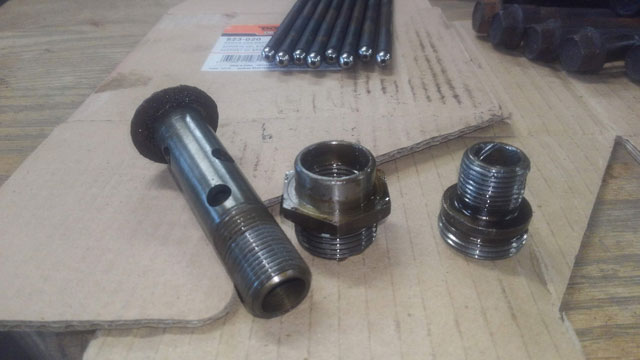 Warning: this next pic is pretty terrible. The big block oil cooler will not clear the small block engine crossmember, altho we already knew that. The question is, what do we have to do to make it fit? 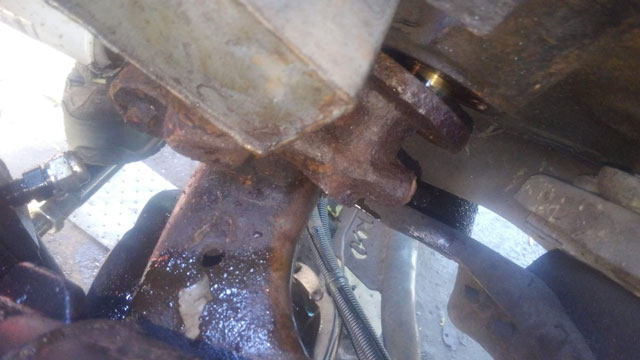 Unfortunately, it looks like this entire section will have to be removed: 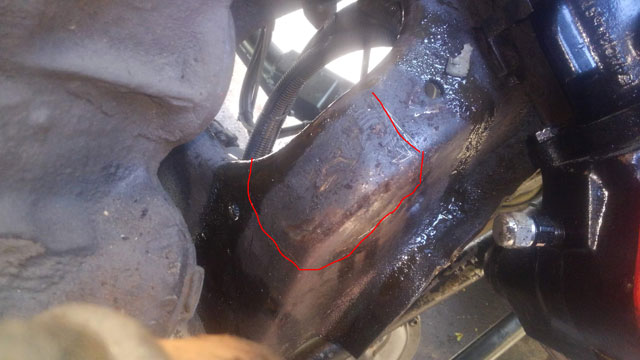 In the long run, i feel running the oil cooler would be the best solution, so once the block is out, im going to clean the frame, and see what i can do, to make this work. Stay tuned! Ok, were making progress here: 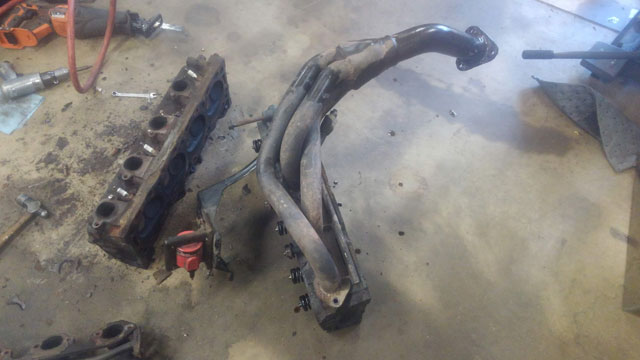 The driver head/header is now off. I still need to separate these, but on this head its only 2 bolts so it should go easier. Same thing with this header; if the set is reusable this AIR tube will be removed: 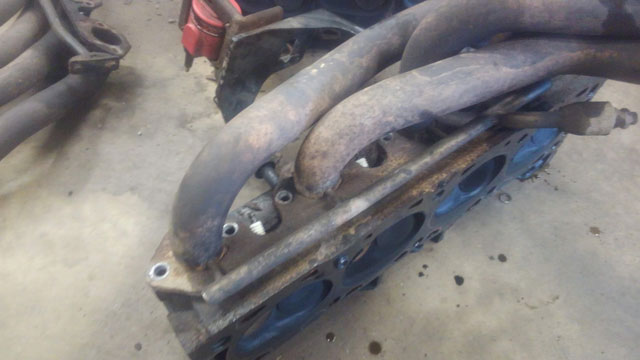 I was looking down into the block, and the cam looks rough. Probably just going to replace it: 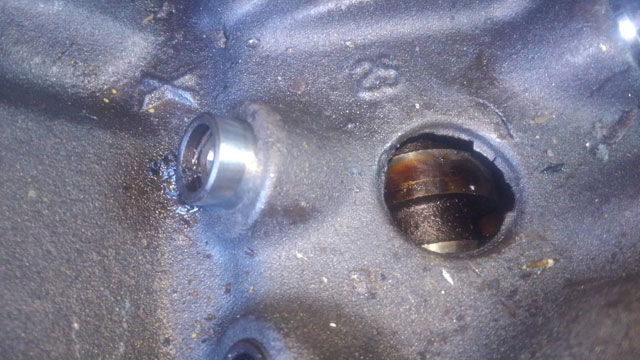 Before i pull the block though, i was to experiment with this: 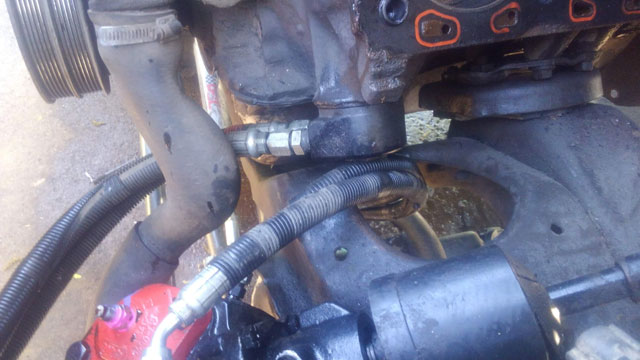 Thats my remote oil filter mount, with the hoses for the ram assist running down thru the hole for the oil filter. i have the late model oil cooler, and it fits pretty tight against the block. Im curious to see what it will take to get it to fit in the small block engine crossmember. If its only requires some minor mods to the frame, then i might do it once the block comes out. F*cking finally! 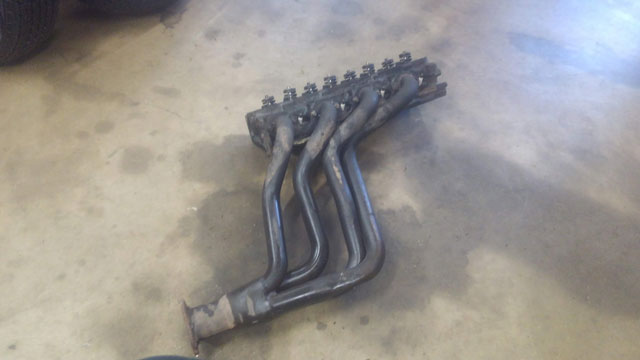 This was not an easy task to do. I actually had to sneak the sawzall down next to the header and put a small slice into the frame so the header would come out, w/o unbolting the body mounts: 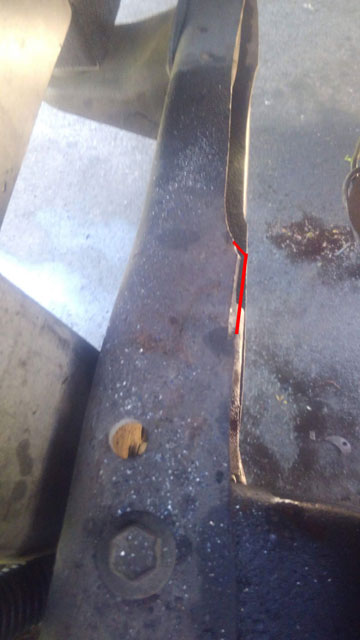 Its very minor, but i intend to clearance this area a bit more and make it look nicer, once the engine is out. Moving forward, i succeeded in getting the header off the head: 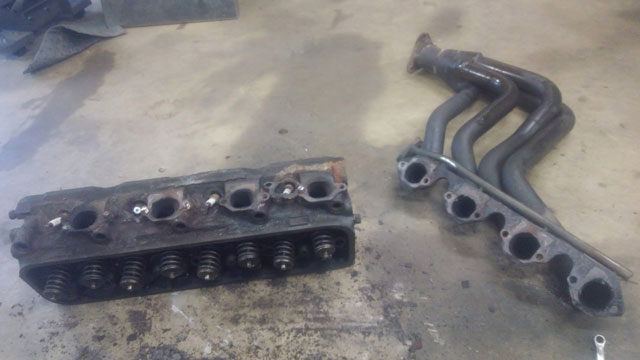 I am a little concerned for the condition of the header flange however. This still has old gasket on it that needs to be removed, but it still looks a bit rough in my opinion: 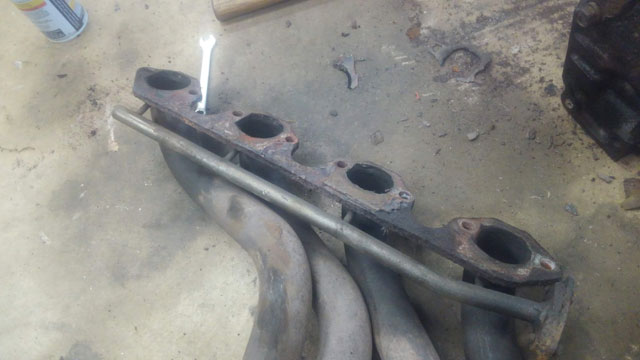 Considering headers for a 460 are pretty expensive, i think its worth my time to clean them up, sand blast em, and see if theyre gonna be ok to reuse. If so, im going to remove the tube for AIR, since the broncos dont use that emissions system anyway. Ok, so, i made a mistake many years ago, that im correcting today. Way back in '05, when i was still in the process of doing the oneton swap, i made a custom transmission crossmember. I made is a single piece, super high clearance. It worked well, but it was a pain to install/remove. The last time i installed it, was before i had the exhaust system built for the 460. Well, turns out there wasnt enough room to remove it, so i had to cut it in half to get it out: 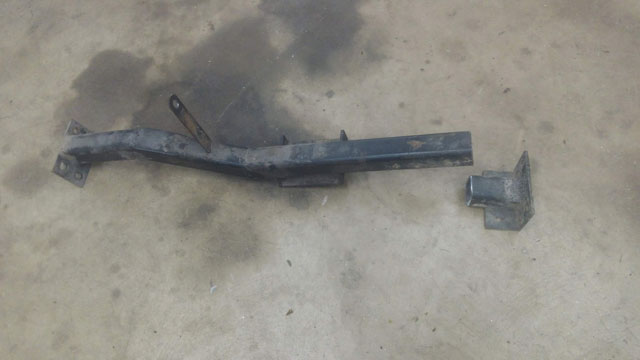 I figured now is the time to make it two-piece, before i remove the exhaust system entirely. So i cut up some 4" flat pate into squares, and made some flanges to bolt the two halves back together: 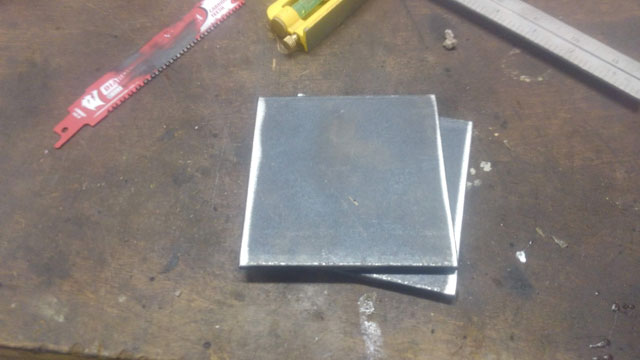  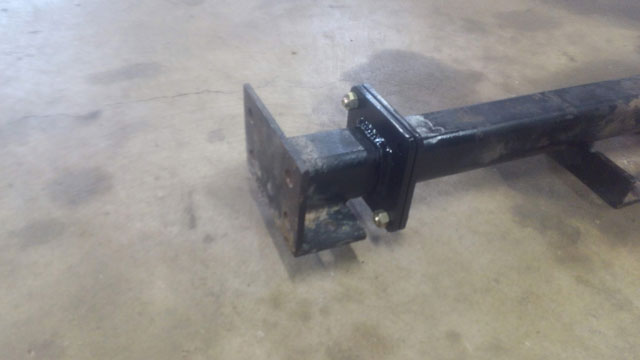 Now that ive verified that it still fits in the truck, i can remove the exhaust: 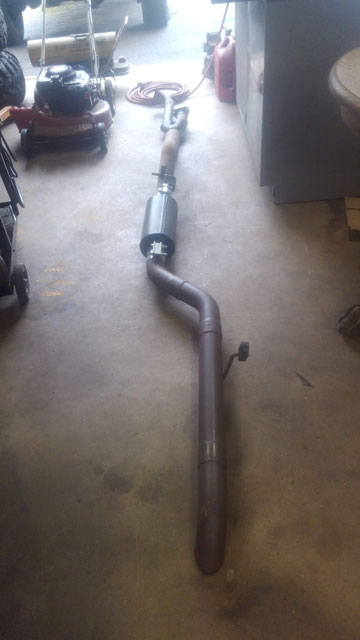 From there i pulled the radiator & electric fan, and then started stripping the accessory drive: 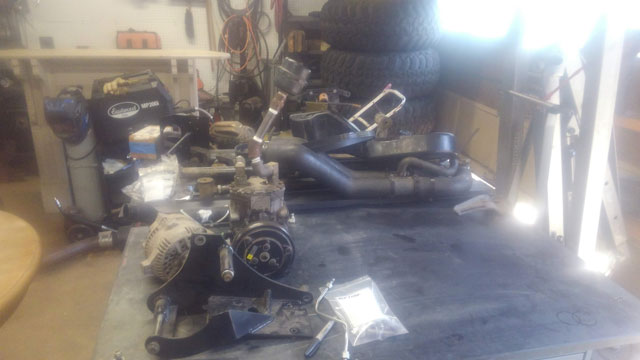 Pulled the intake to make it easier to get the motor out. The distributor is frozen and wont come out 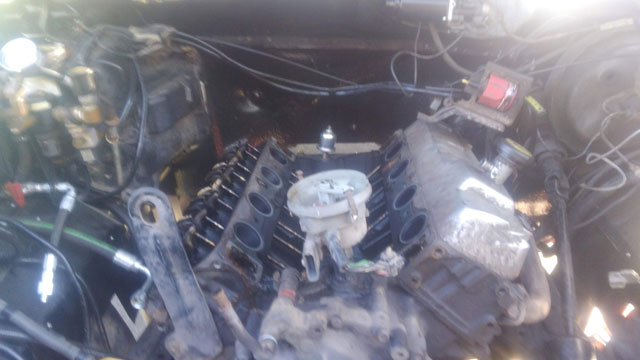 Fast forward 5 days. The headers were installed with stainless ARP bolts. These are the only ones i got out. 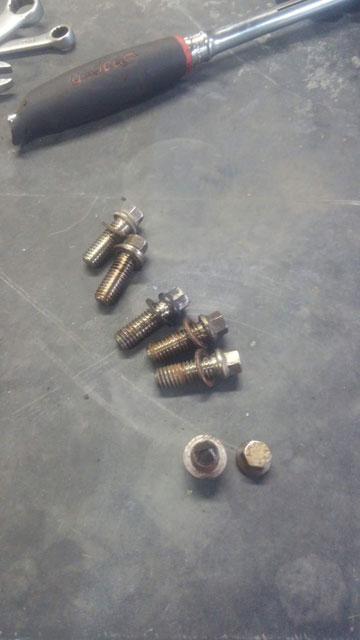 That's it. The rest seem to have welded them to the heads. Its a bit of an issue. At this point i may have to pull the heads with the headers still installed. |