|
So the other day I power-washed the frame. Took the opportunity to hit the hard top too, it was pretty bad from all those years in the woods 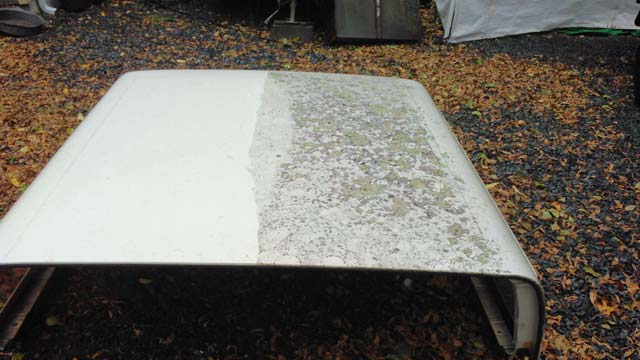 Better now, but will still need work when the time comes. 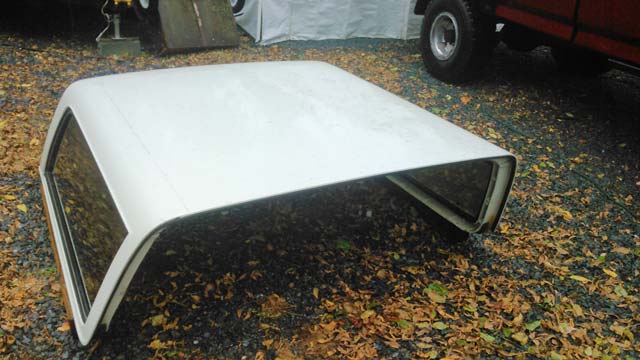 Frame back in the garage, ready for more disassembly 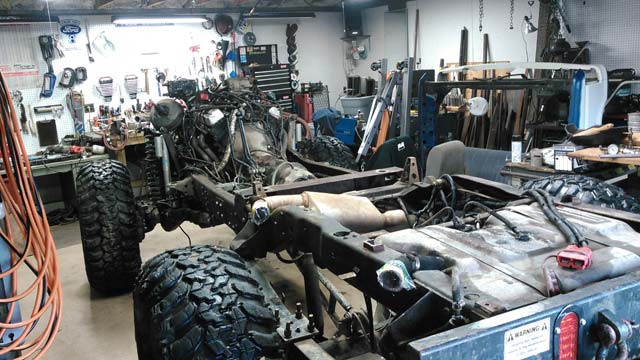 This is the x-member I built to put the p/u cab on, in process of removal in this pic. Tomorrow ill bolt the factory body mount brackets back onto the frame, that I salvaged from the parts truck frame. 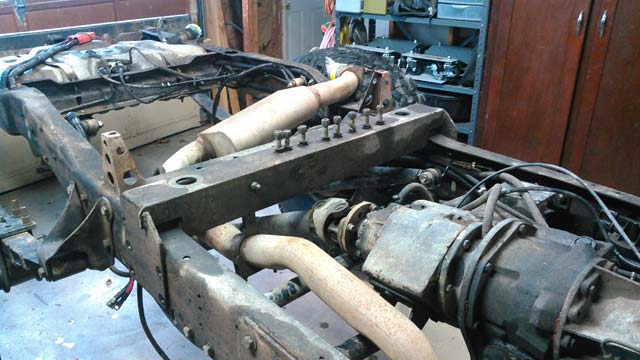 Also not pictured: I removed all cables for the rear mount batteries, and all the OBA plumbing. Chopped off more of the exhaust. Removed the rear bumper & dropped the tank, planning on a new poly one once i get further along. I removed the brackets on the frame for the stepside bed (still installed in the previous pic), and I removed the rest of the front bumper which was still welded to the frame. Now im back to a 'stock' frame to work off of, for bumpers front & rear (coming much later on). So that gets us to about a week or so ago, when I started dismantling it. All glass removed: 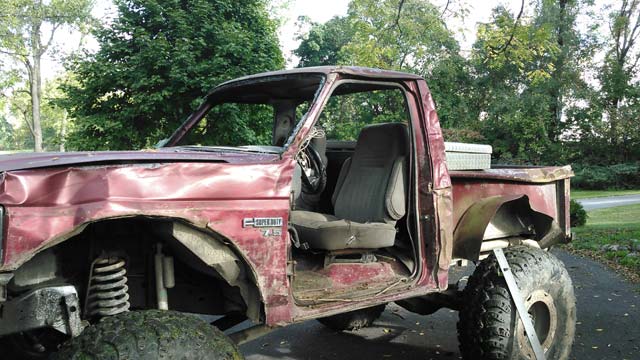 Top gone! 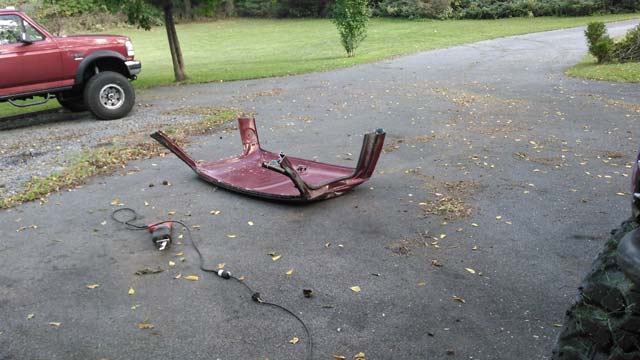 My new convertible! 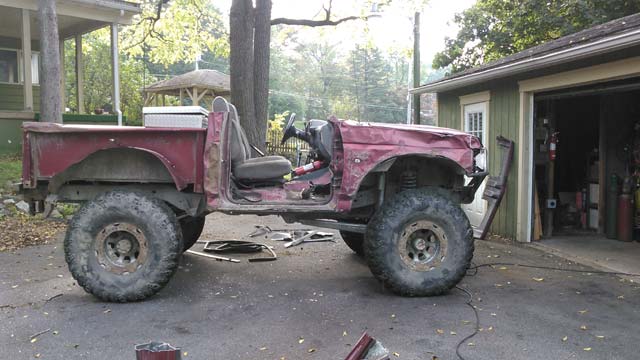 Still runs at this point so i drove it into the garage for the night: 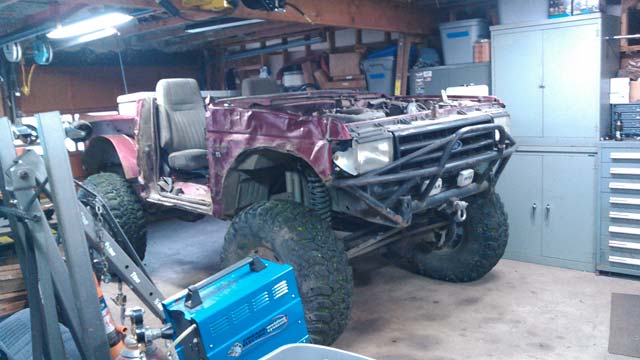 Next day, Bed is gone. Im saving this part: 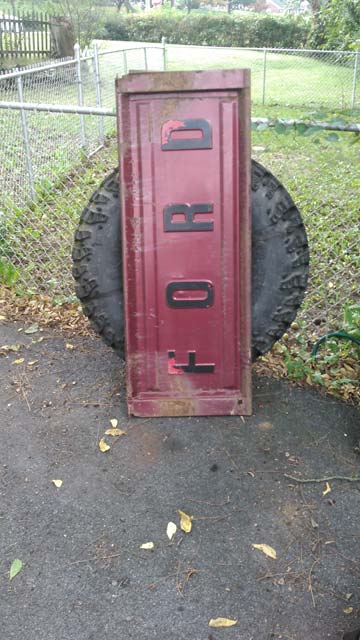 Bed off  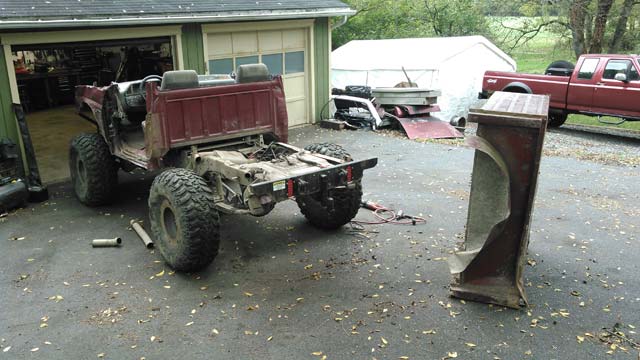 Day 3, started stripping the front-end 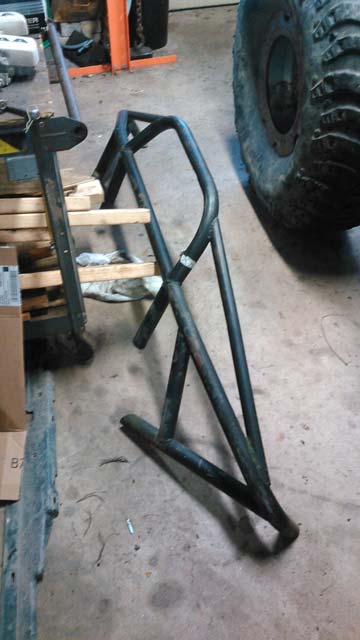 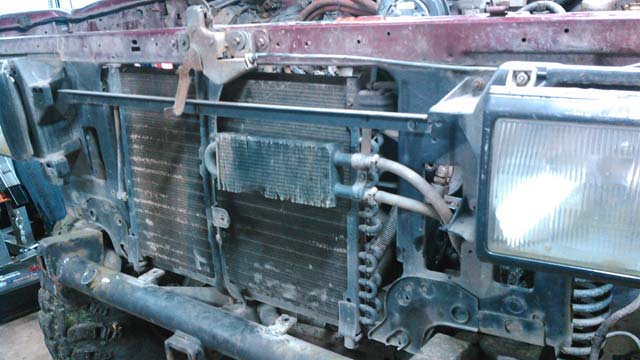 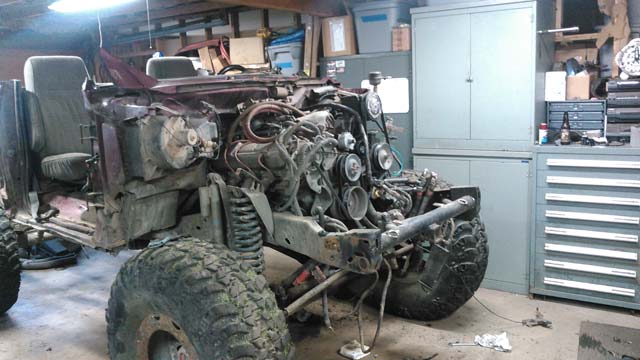 Here's a good reason to cage your truck: The cab corners twisted enough I couldn't get to the seatbelt bolts!  ...and finally! 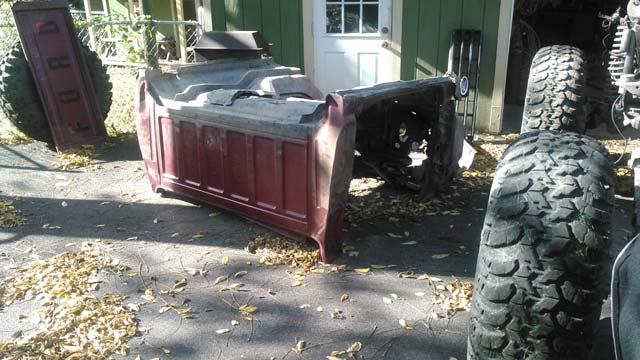 Stripped down to basically nothing at this point 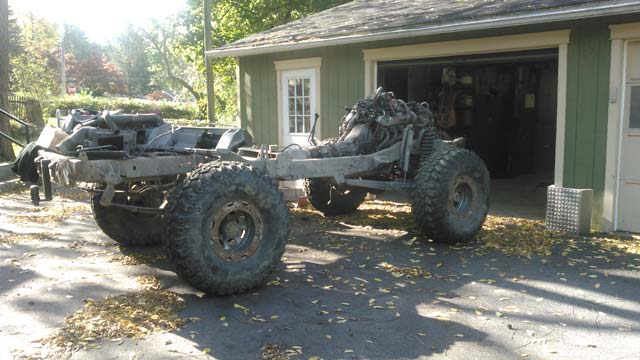 This catches us up to today. Tomorrow I begin loading up the truck as I have a mountain of steel to scrap from cutting up both trucks. I painstakingly removed the harness from both so I can reuse them, along with a bunch of other parts, which made the disassembly take about a week, altho its obviously all done now. So the plan for this week is to dump all the scrap steel, and then just get the frame clean. Then I have a few things I have to do, before dropping the new tub on the frame. Getting ever closer now! So with that done, I moved back over to my bronco. The time has come, for her to shed her sheetmetal once more. I decided to snap a few pics in the yard since this'll be the last time she ever looks like this! 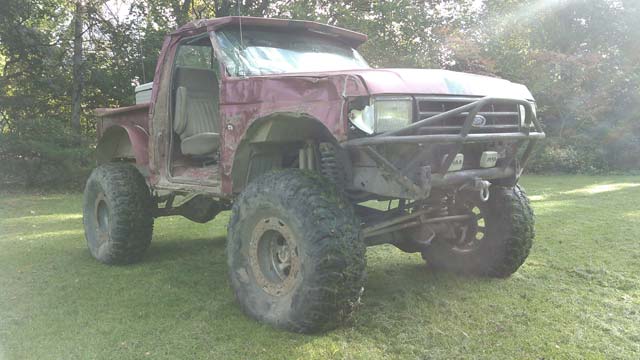 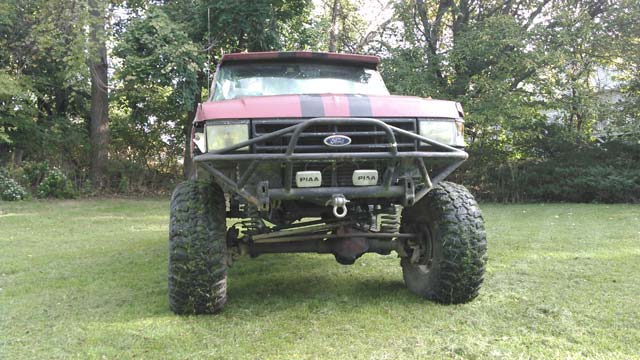 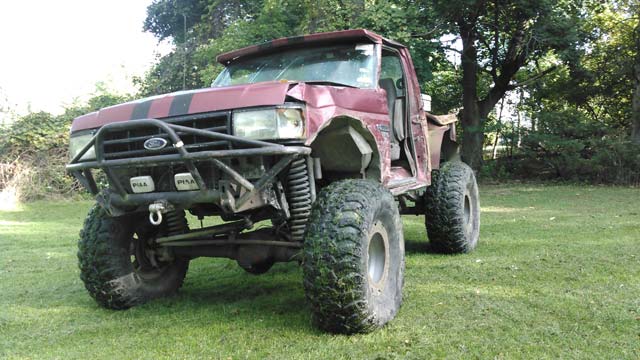 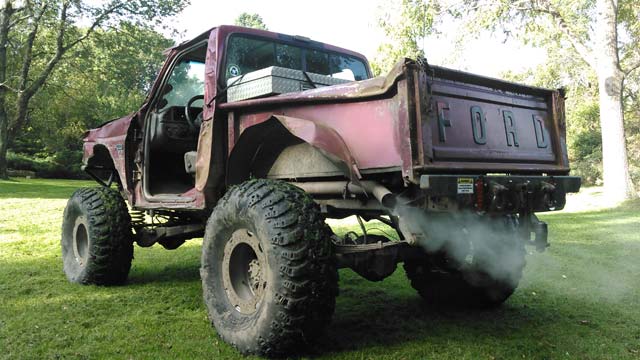 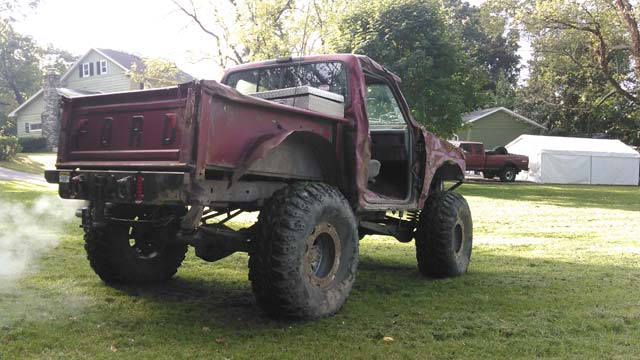 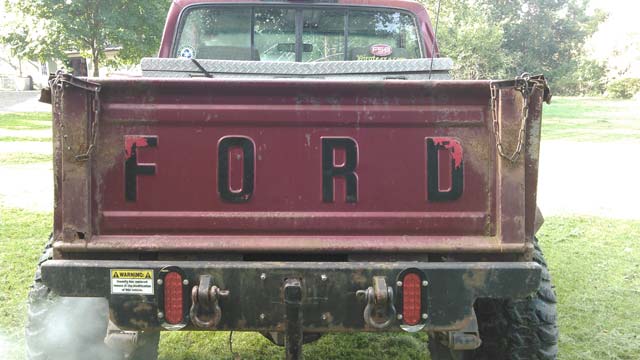  Ok, documented, now it 's time for the sawzall! (IMO, anyway). I bought a spray gun from Al's Liner, along with their HNR (heat & noise reducing paint), and their spray-on bedliner. Spray gun. This is more like an texture gun; it has a 6mm(!) nozzle 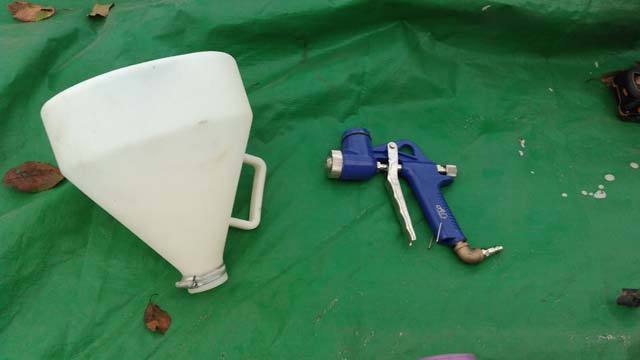 The Heat & Noise Reducer is some kind of ceramic paint; its supposed to be pretty good at what it does so I figured why not. The test patch, dialing in the gun mostly 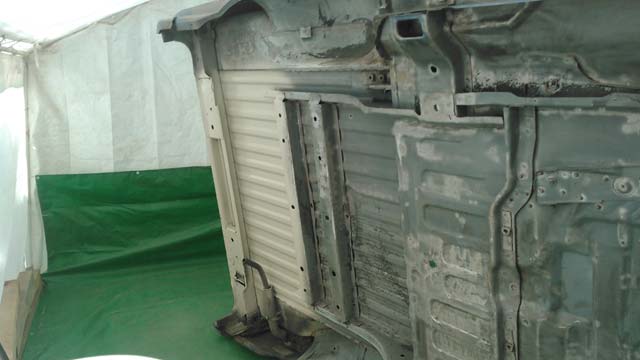 ...and the whole underside sprayed! Went up into the wheel wells, and up the firewall 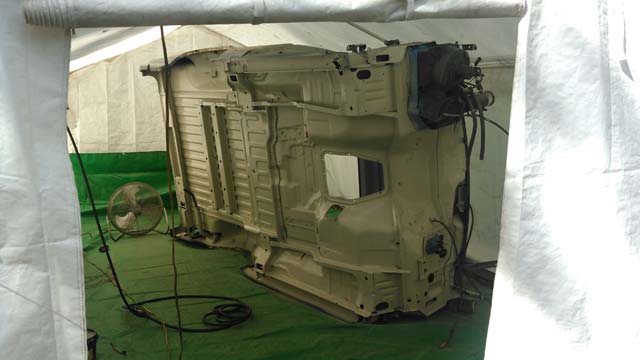 It goes down pretty easily 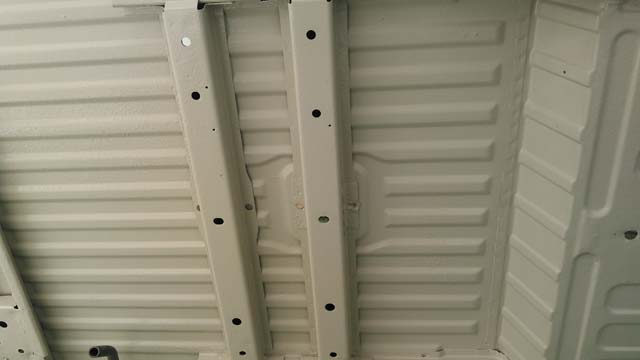 Theres a slight texture to it; I suspect with some more adjusting I could get it smoother though 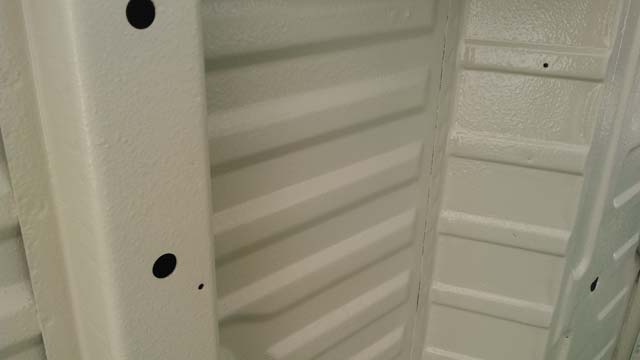 The texture is a non-issue though, because of the next part: Al's Spray-on Bedliner This is a 3-part polyurethane bedliner, that is fully tintable. On the left of the pic is a small bottle of surface prep, plus a bottle of my color tint: black 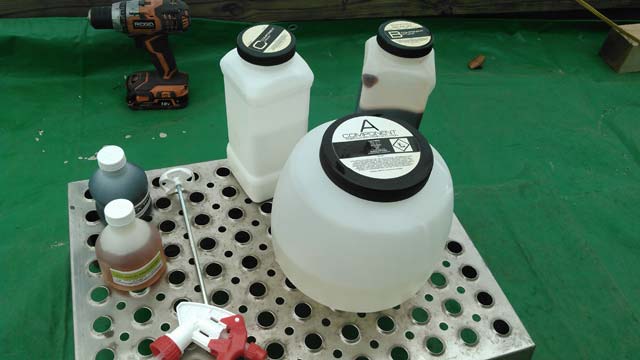 I recommend some kind of respirator, this stuff is wicked! (im not joking) 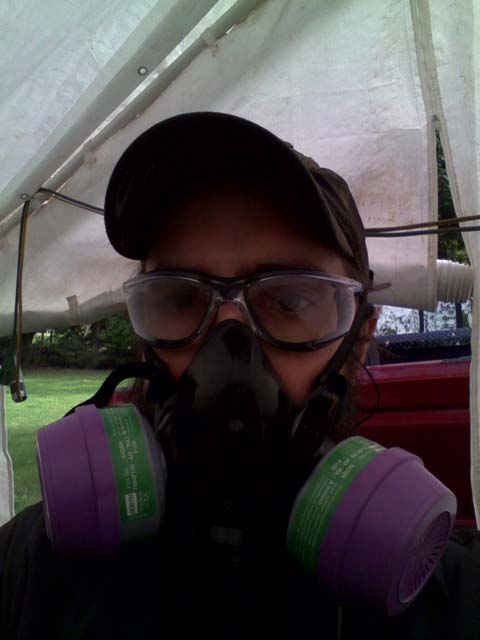 ...and holy crap its done! 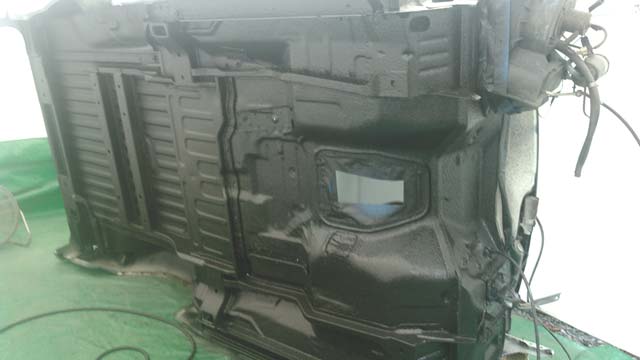 This part goes FAST. They claim the kit, after mixing, has to sprayed within 20 minutes or it will start to cure in the gun. Well no worries there, moving along at a decent pace you can spray an entire kit in ~10 minutes The whole underside took 2 kits, glad I bought an extra one when I ordered em. I sprayed the whole underside, up into the wheel wells and all under-body xmembers, and halfway up the firewall as well 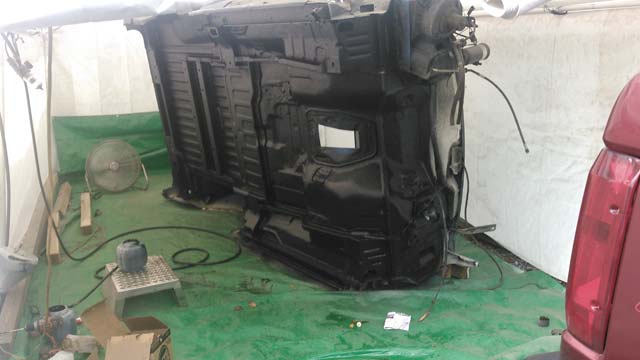 ..and the money shot: This stuff looks (and feels) exactly like rhino or Line-X 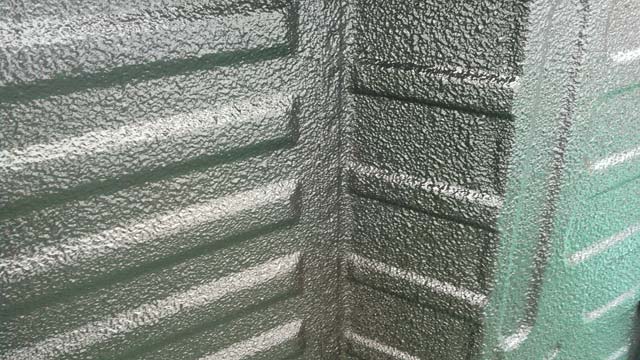 I am super impressed with it, I think its going to work awesome. Its ~$85 per kit on Amazon, so it cost me ~$170 to spray the underside. Im going to order 3 kits for when I spray the interior just to make sure I can get it as thick as I want it. So it works out to about half what the local Rhino/Line-X dealers charge. So a hot humid summer filled with mandatory OT has kept me from making much progress, which left me reluctant to update this. However at this point I think ive got something worth posting. I finished stripping the donor frame. Saved some brackets, body mount parts and the rear leafs, and chopped up the rest. 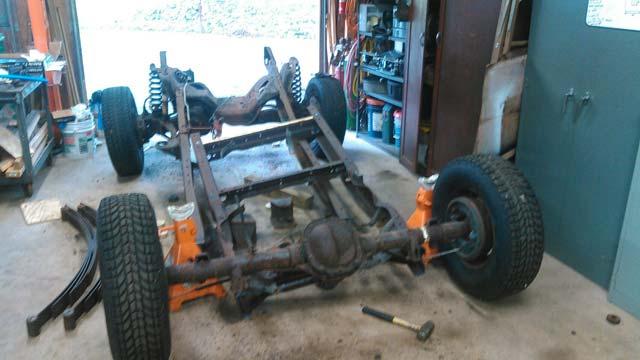 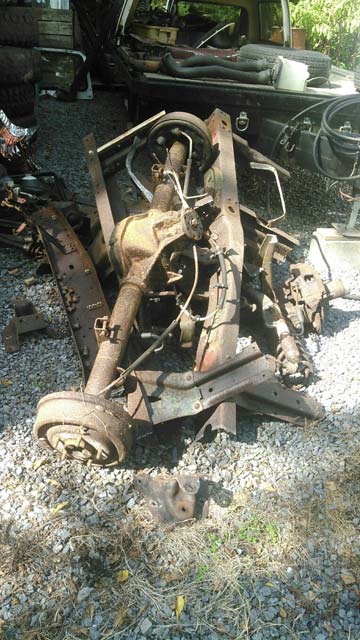 I succeeded in removing this piece of box tubing from the rear of the body, that the previous owner welded in in place of body lift pucks. He did a pretty nice job, but im not running a body lift so it had to go. 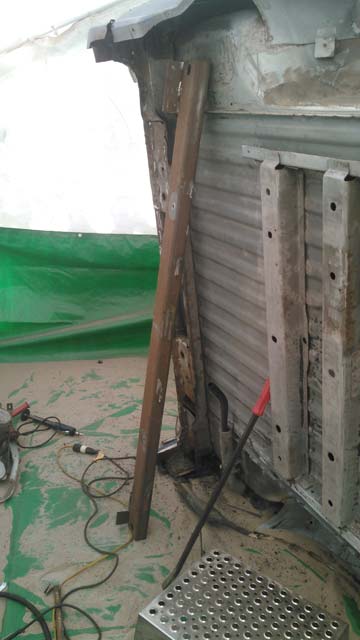 Sand blasted and painted the battery tray + air box parts  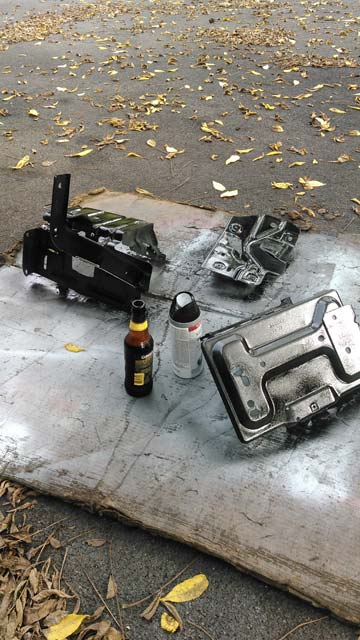 And I finished sandblasting the underside of the tub too: 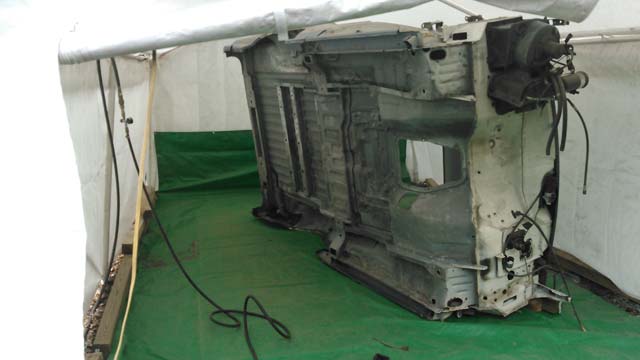 |