|
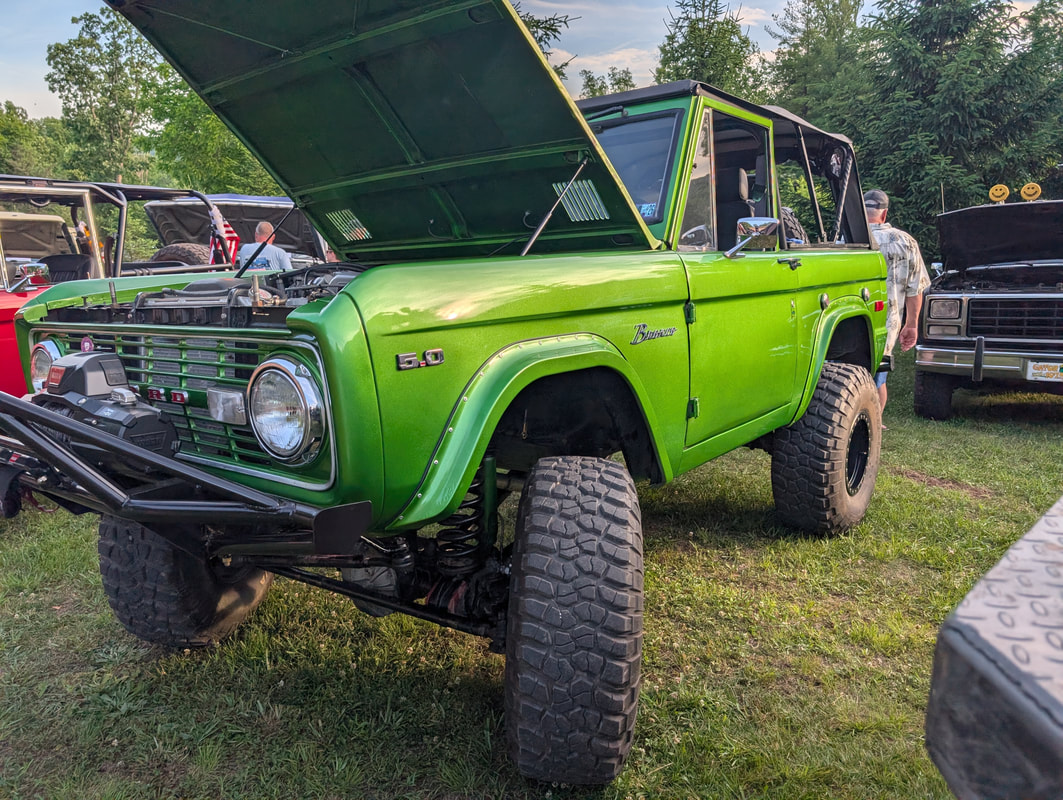
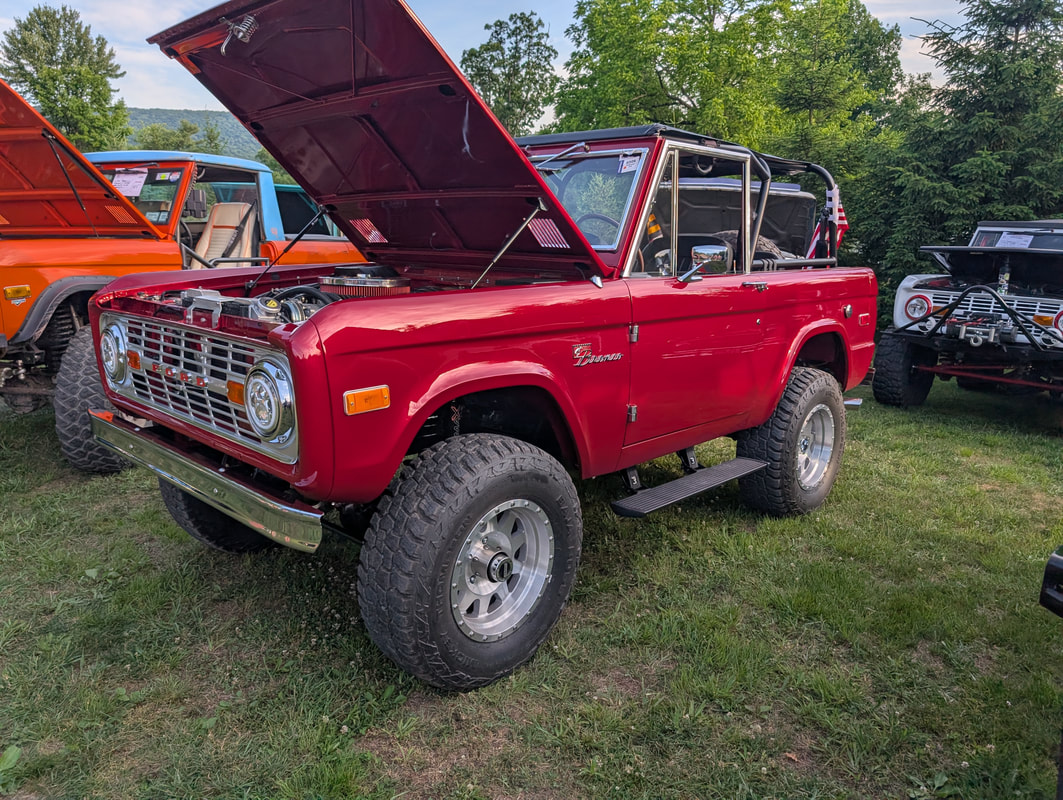
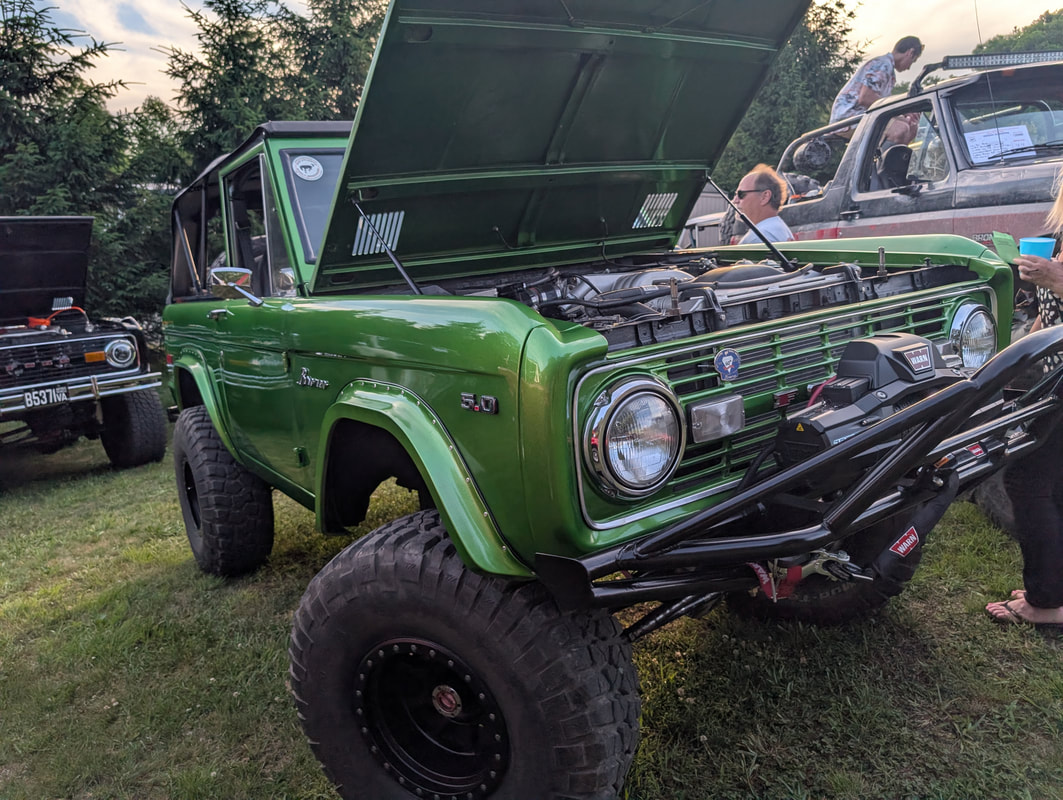
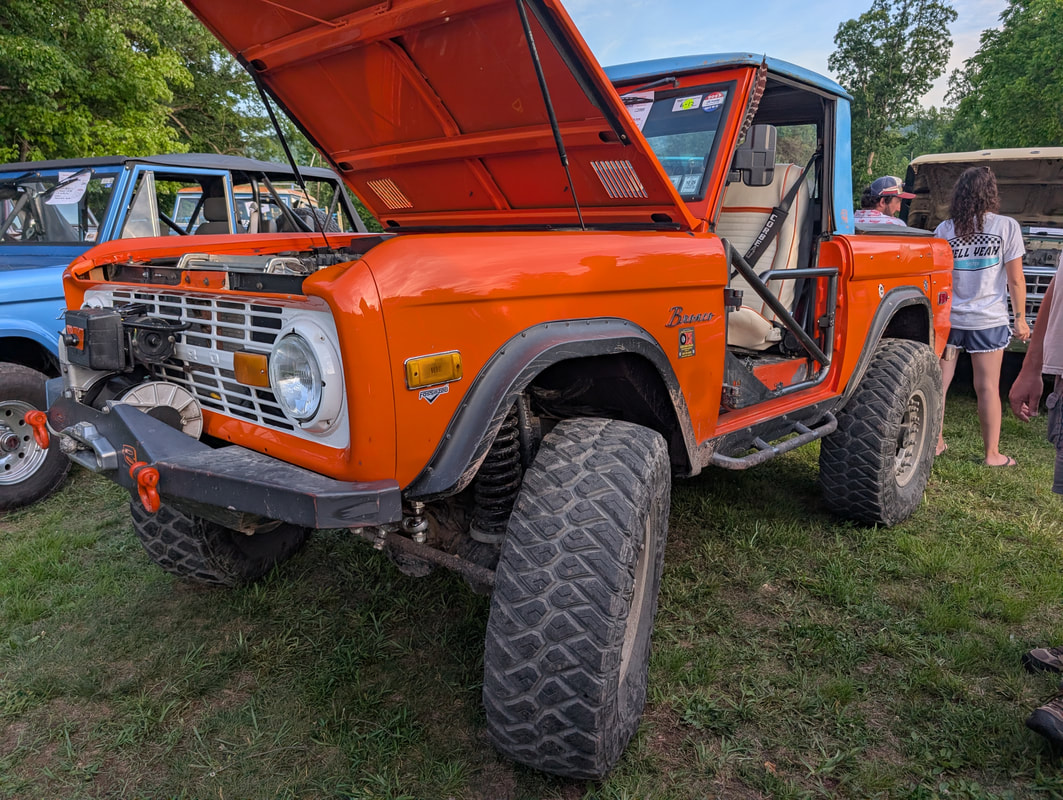
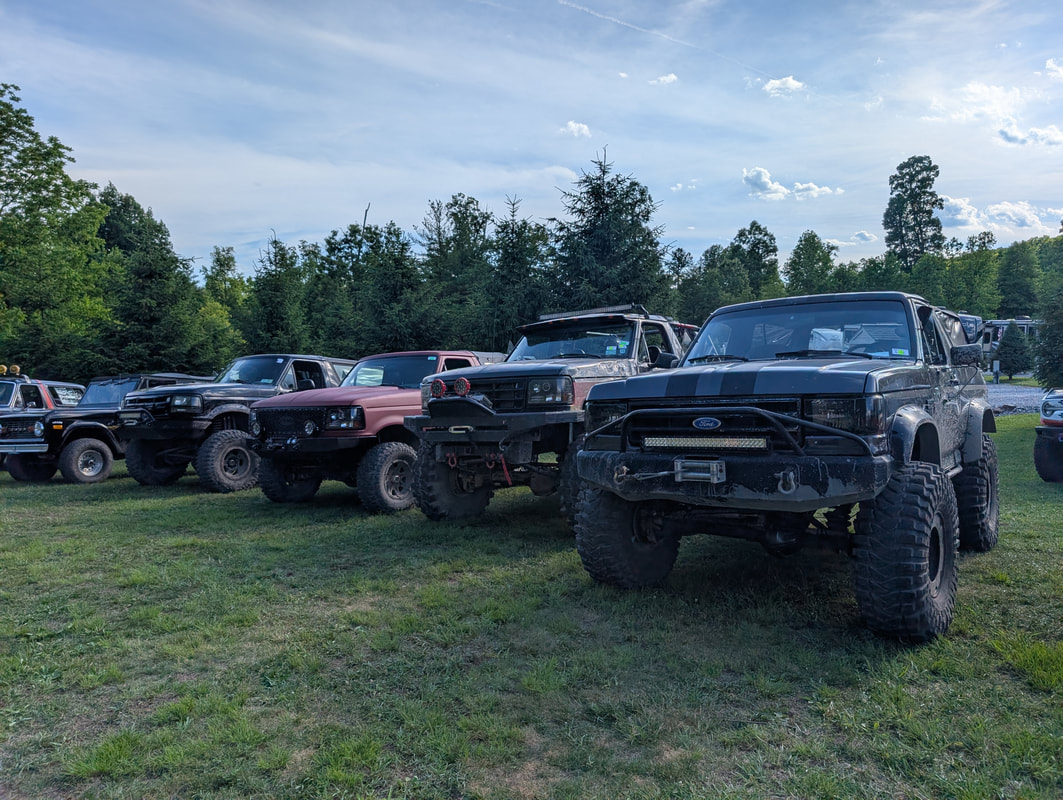
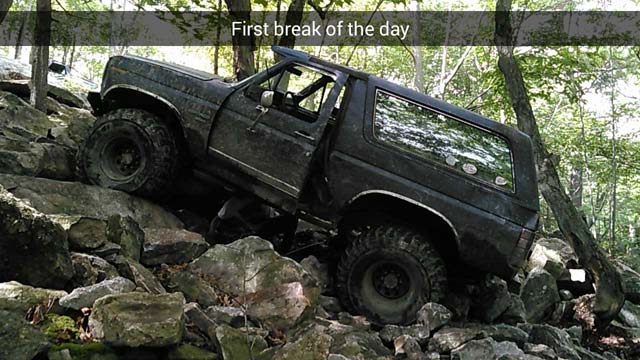
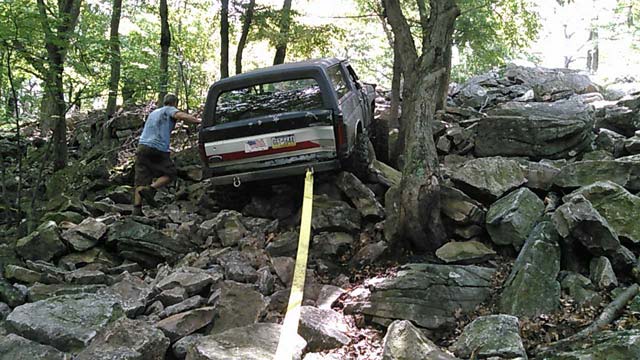
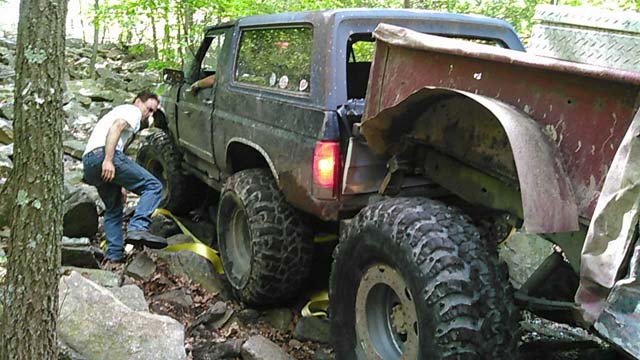
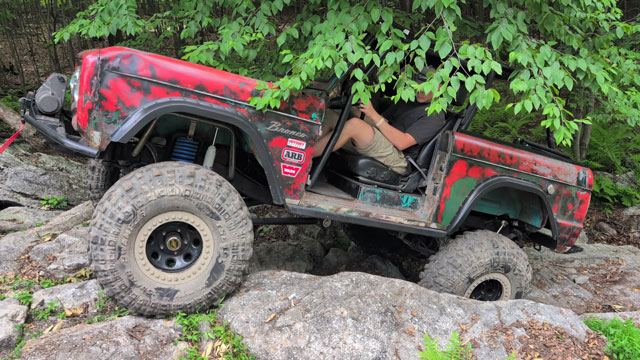
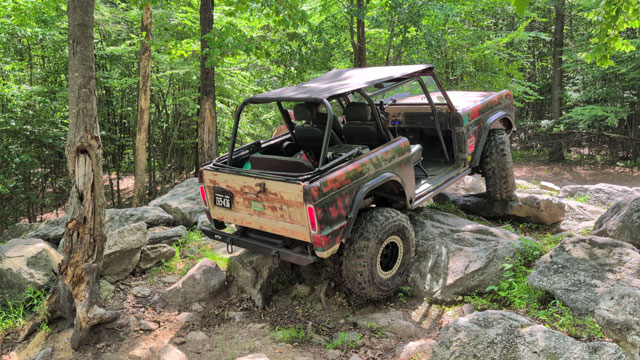
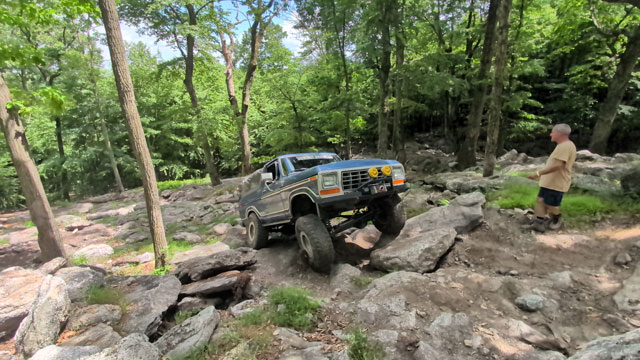
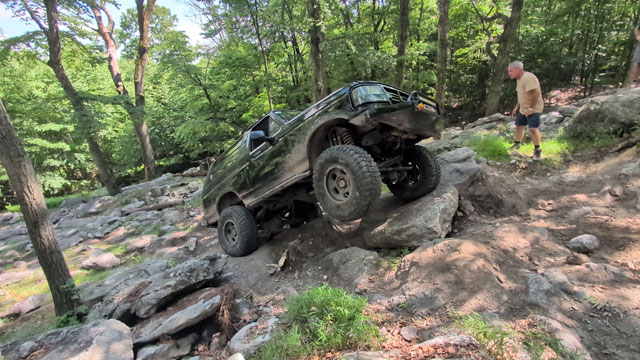
Sunday we loaded up and went on home. Got everything unloaded and then just sat down and relaxed! Monday i decided to bust open my passenger door and see what happened. I think its safe to say the window isnt salvageable: 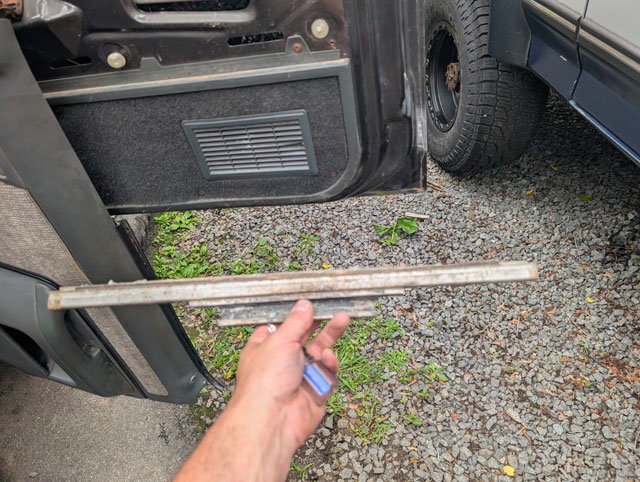 what a mess 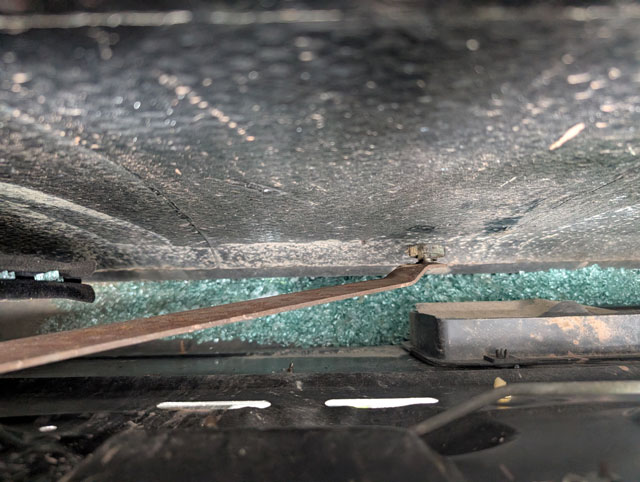 Door all cleaned up, and ready for a spare window 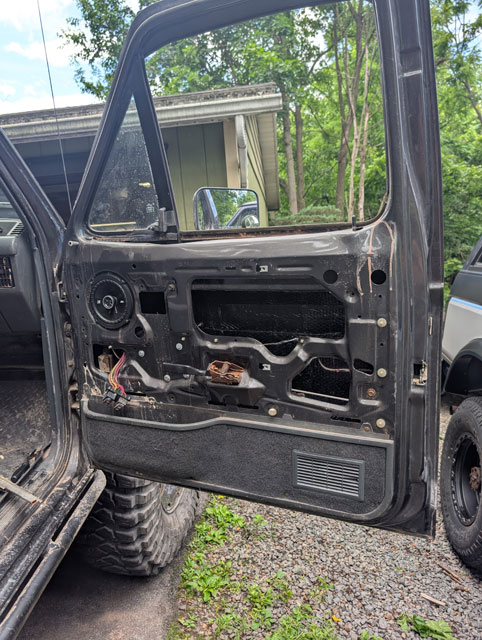 ...and done!  Just in time too, ended up raining again Monday night. Also, just because i thought it would be cool:  New bearings for my alternator should be showing up tomorrow, which means Friday i should be able to get that rebuilt and then we'll be ready to go for the next trip Saturday! In the morning they got a bunch of broncos together for the group photo for the club. Ended up being too many to see and they had to take the pic with a drone: 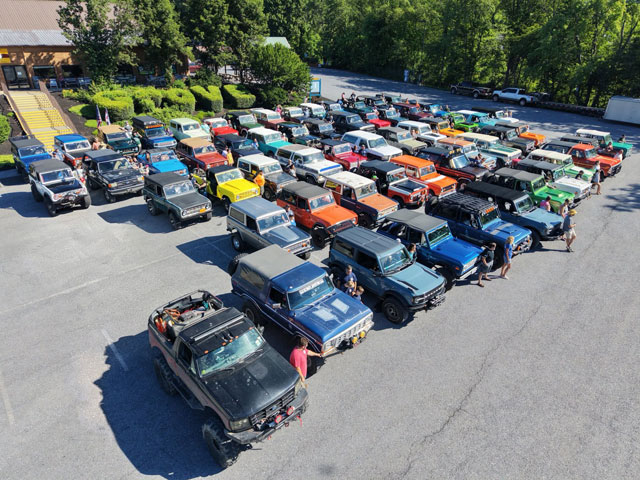 Alternator in the bronco started squaling something awful (front bearing) so i opted not to go back out wheeling for fear of it dieing on the trail. So me and the little dude played some mini golf, hit the pool, drove some r/c cars around, etc....basically had a laid back vacation day :smokin: Went back to the pavilion for dinner saturday and the raffles, etc before heading back to the cabin for a fire and some smores! 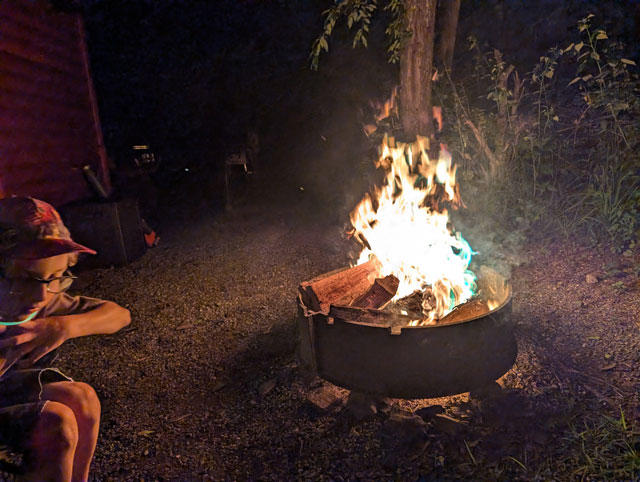 Friday Pt.2: After we got back from Rausch Creek we hopped in the pool, and then went over to the pavilion for the big car show, dinner, etc. Friday, pt.1: Rausch Creek Went over to Rausch Creek. Had my navigator with me: 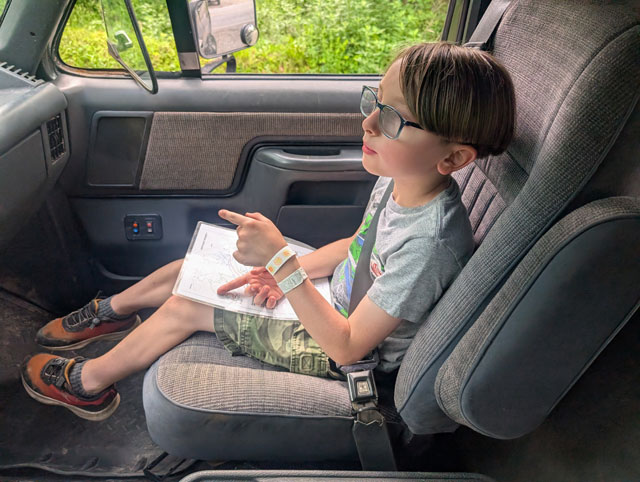 Ended up over on the NE side of the park with a pretty big group, 9 or 10 in total i think. Joe from Bock's Garage was there, his dad with his one-ton K5, our usual wheelin buddy Jim, Rich, Tim (with that sweet 6G on portals), and a bunch of EBs. Little dude had his TRX4M Bronco out and was running the trails every time stopped for the group 026.jpg 027.jpg little dude spotted a lizard so we had to get a pic of it 031.jpg 032.jpg 035.jpg 039.jpg 042.jpg Joe's dad tried the ledge on F trail, the two of us are the only ones who were able to get up and over it 043.jpg Joe giving it another go 048.jpg 045.jpg Got a good luck at the under carriage, this thing is pretty heavily armored! 046.jpg I have some video of the day that im going to try to put together at some point, but not a single pic or vid of me on the trail, except for a poser pic at lunch. I have more pics and vid of the kiddo running his r/c bronco around than i do of mine :laughing: 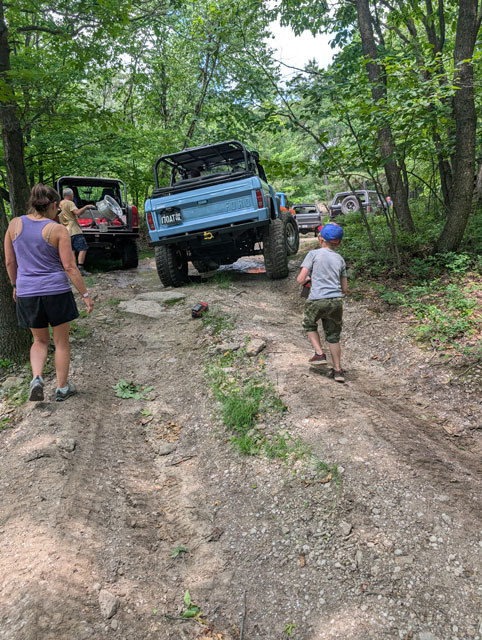 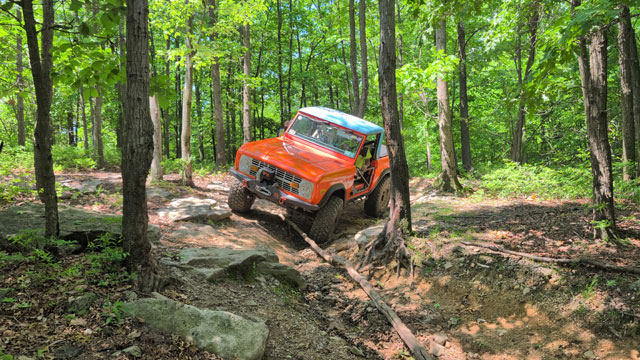 little dude spotted a lizard so we had to get a pic of it 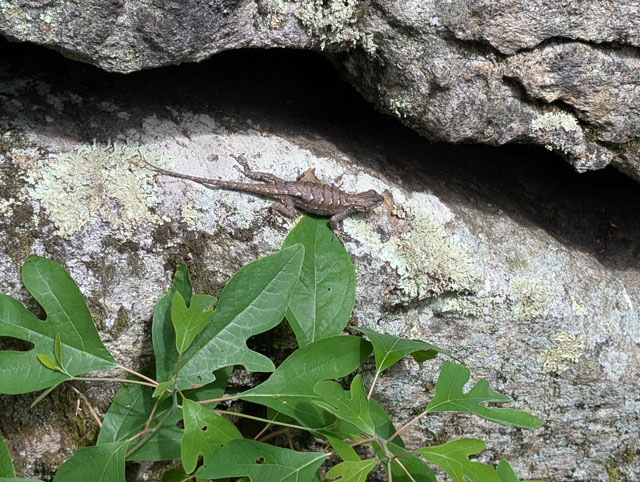
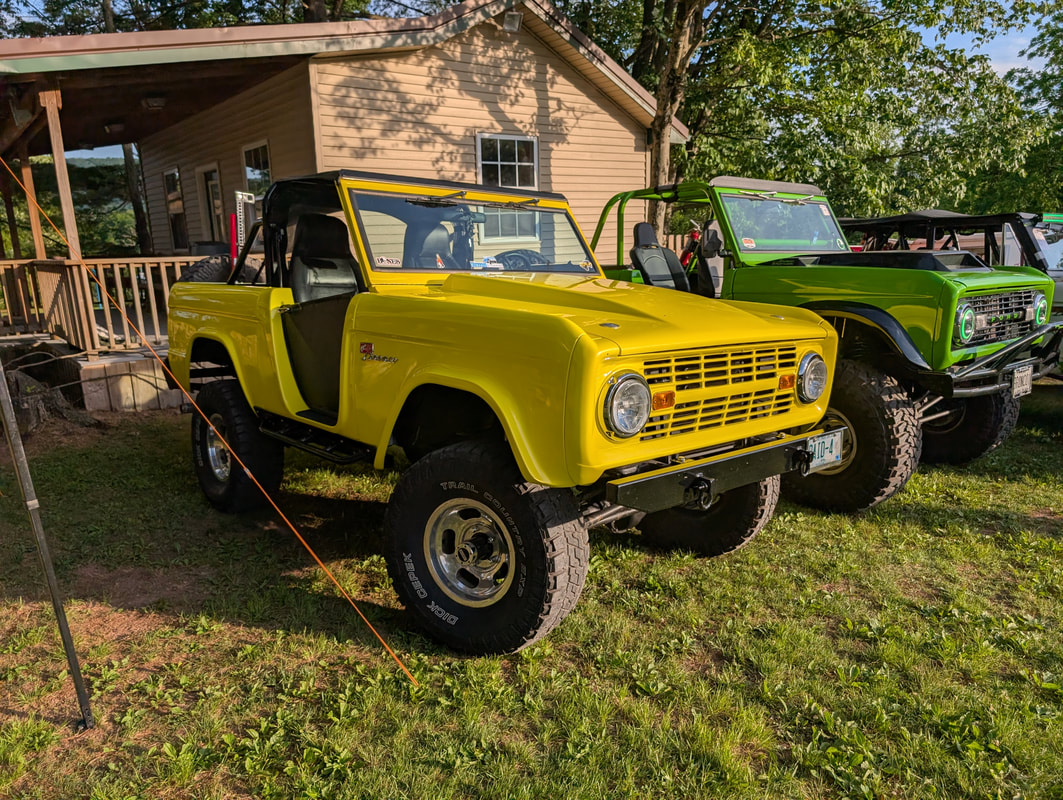
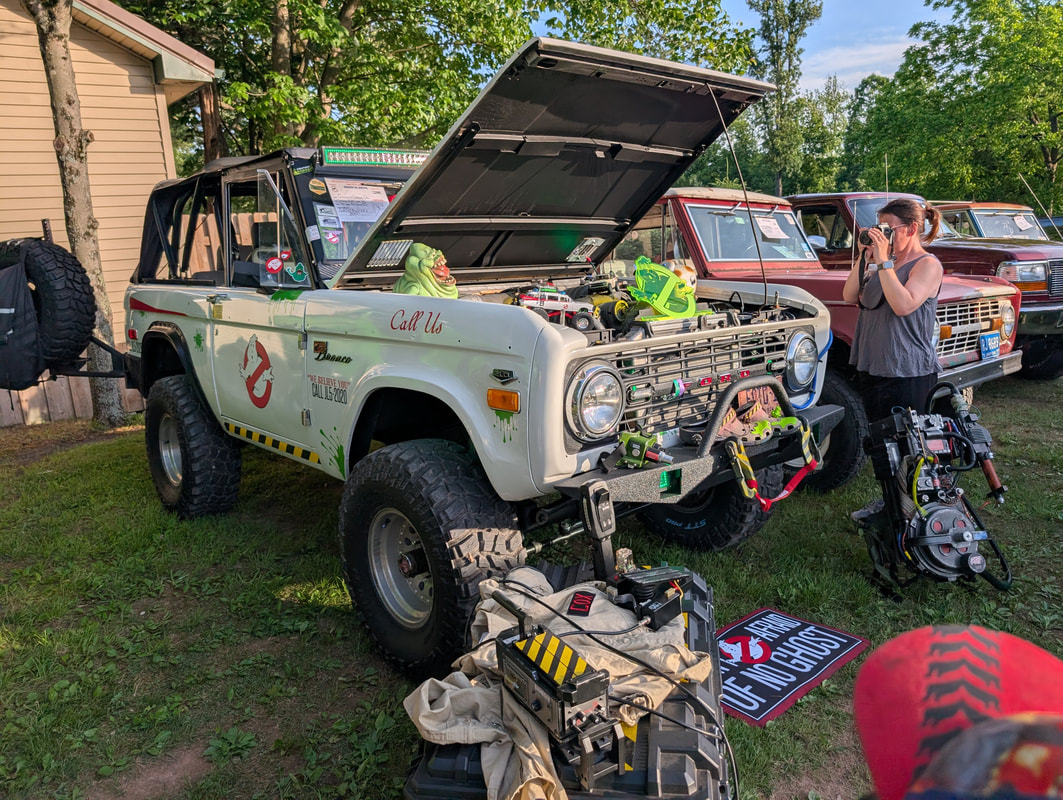
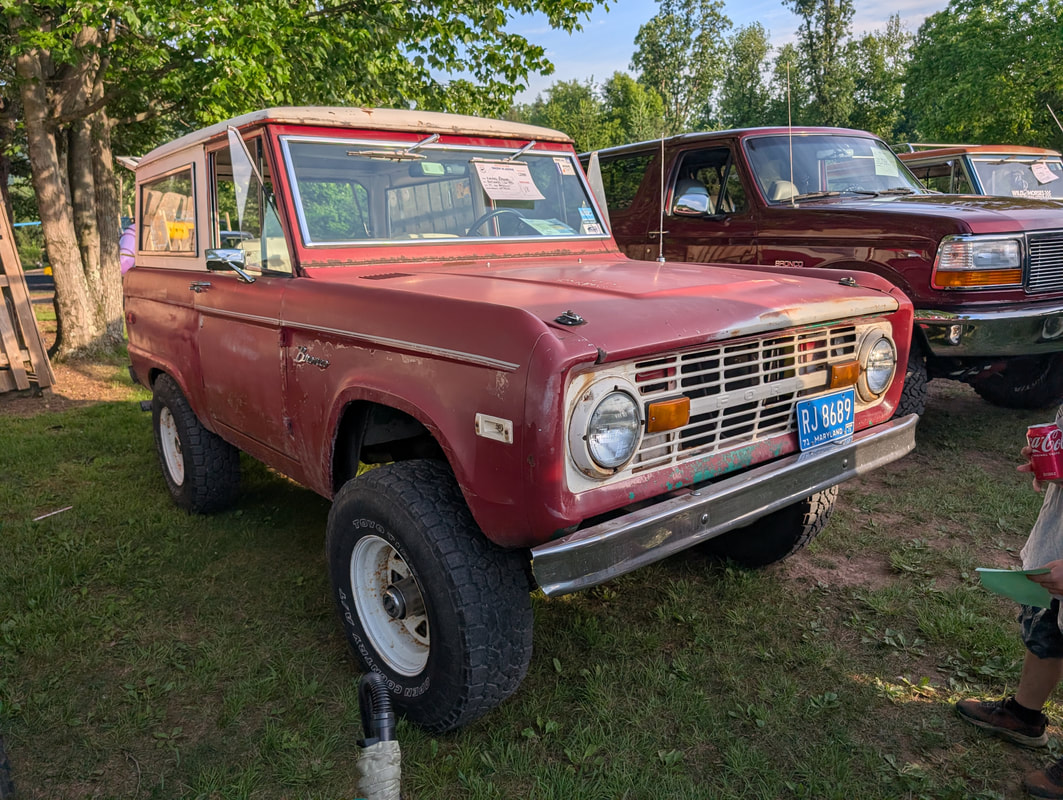
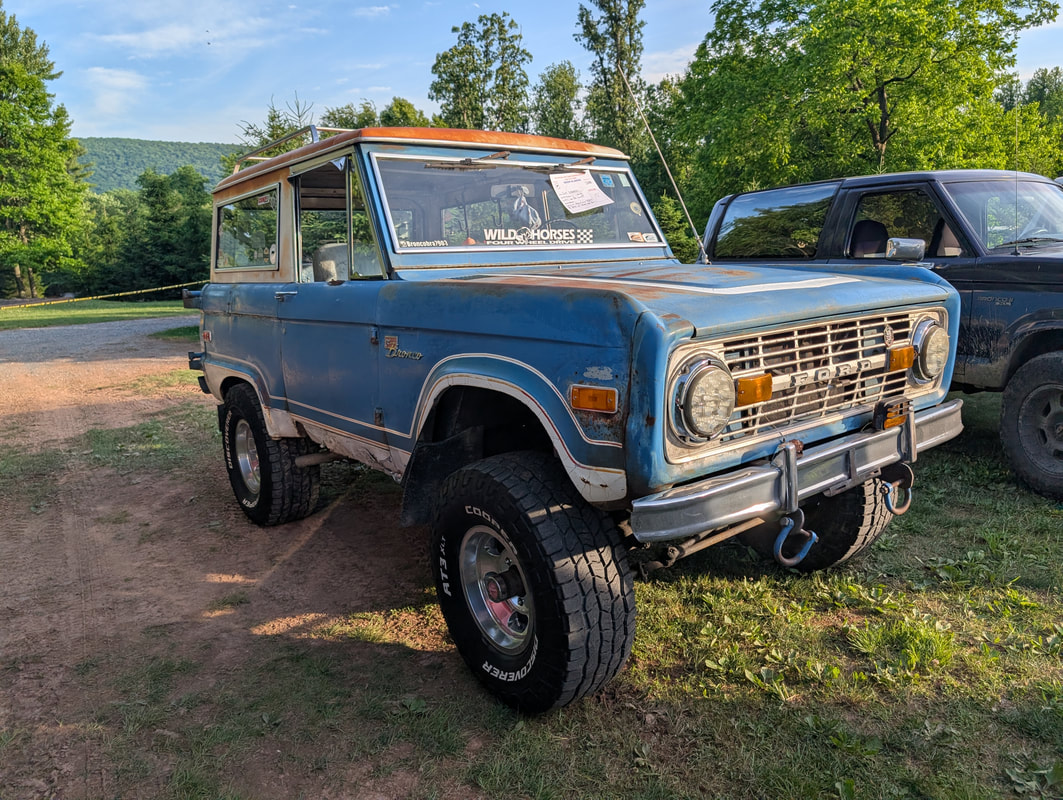
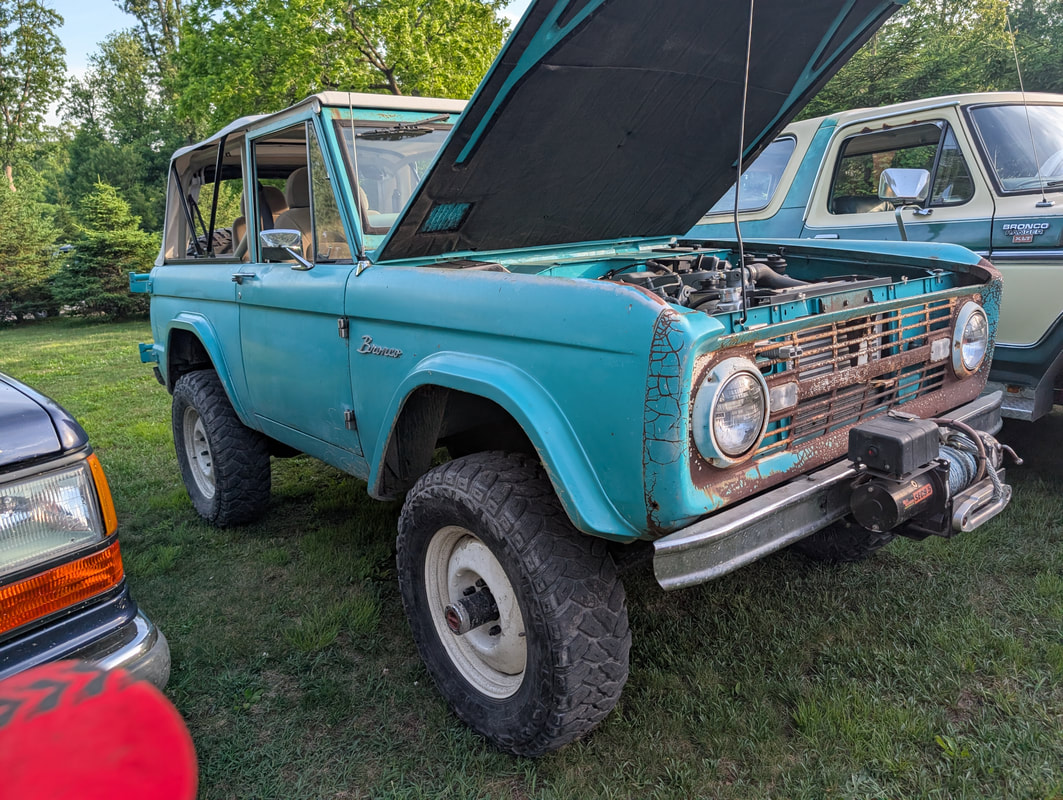
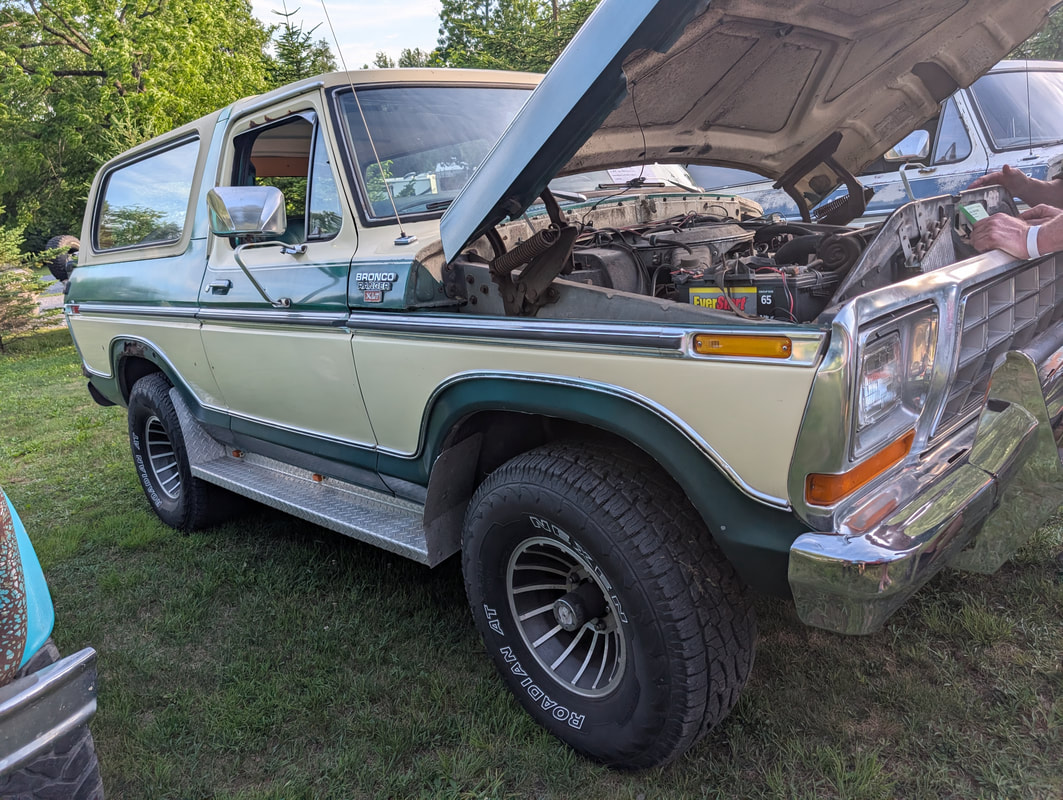
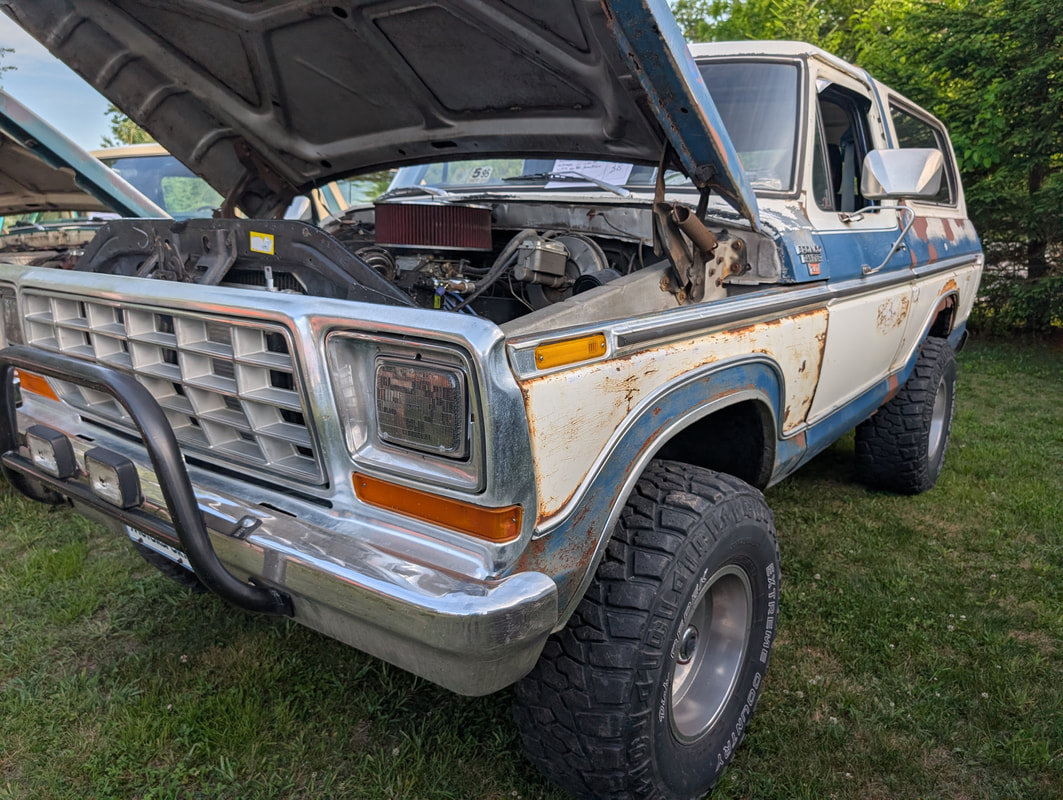
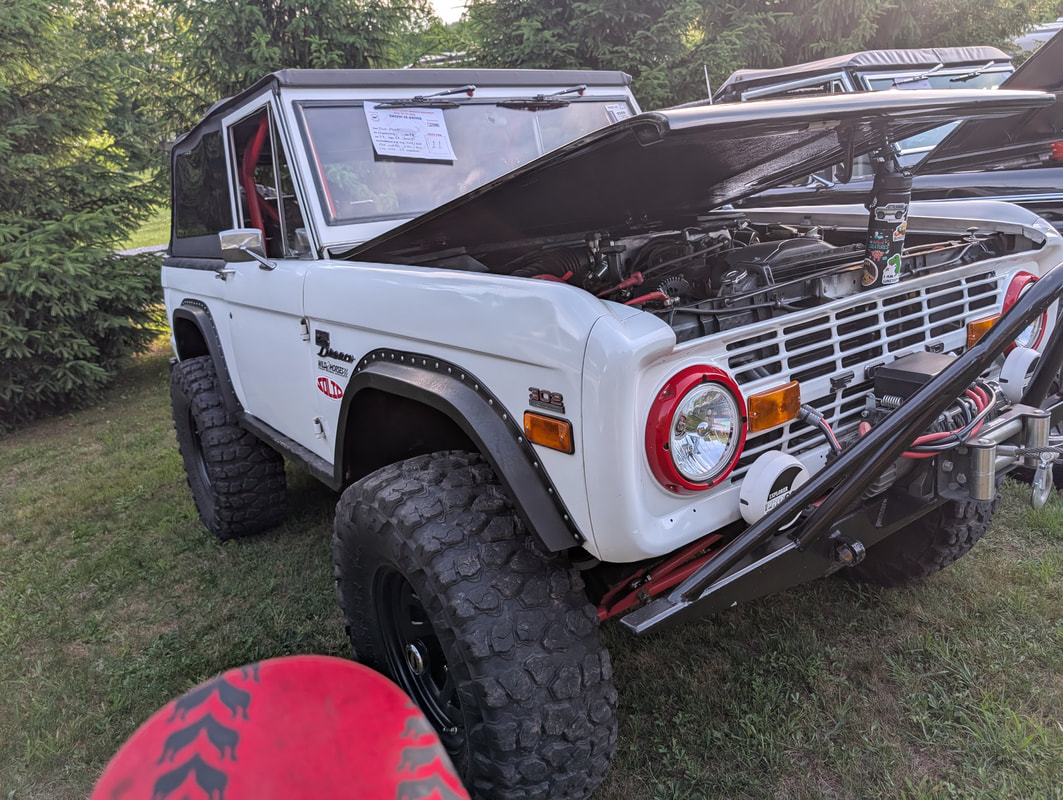
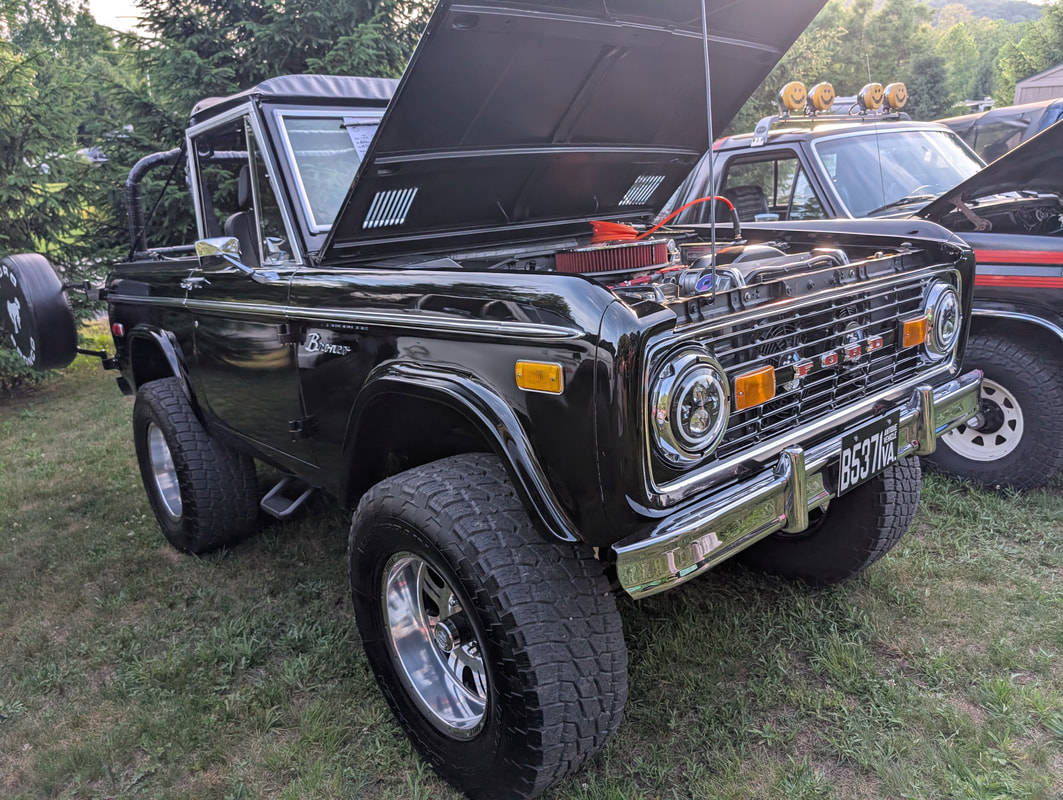
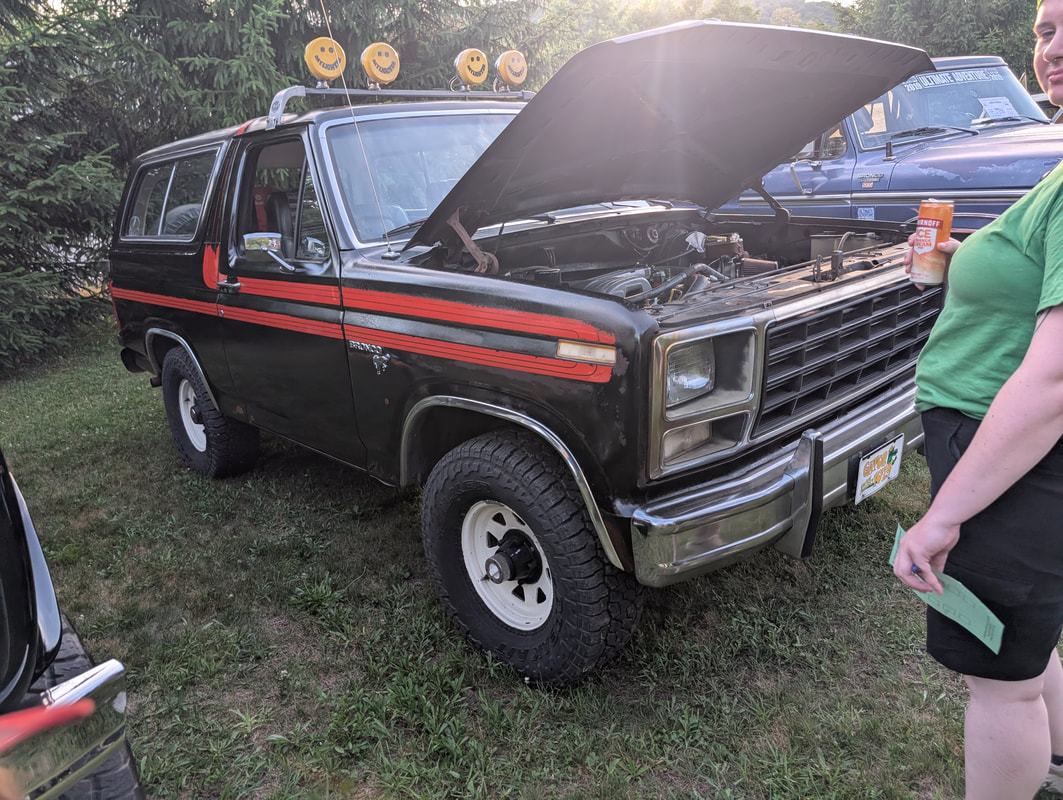
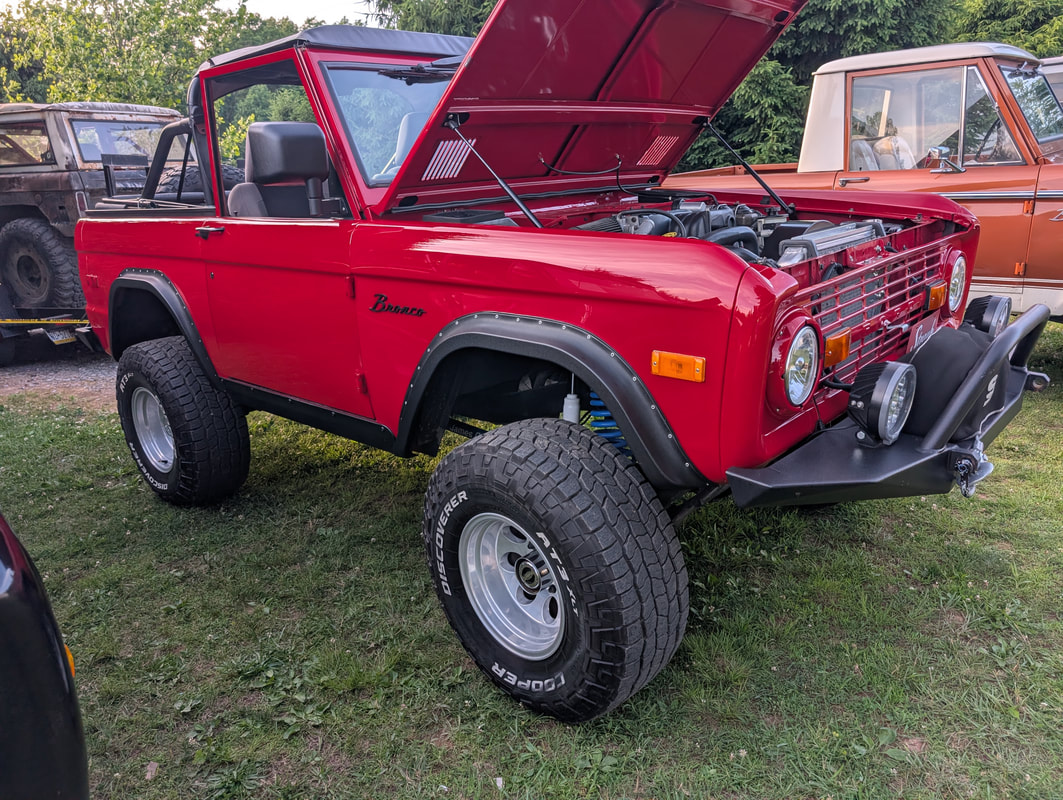
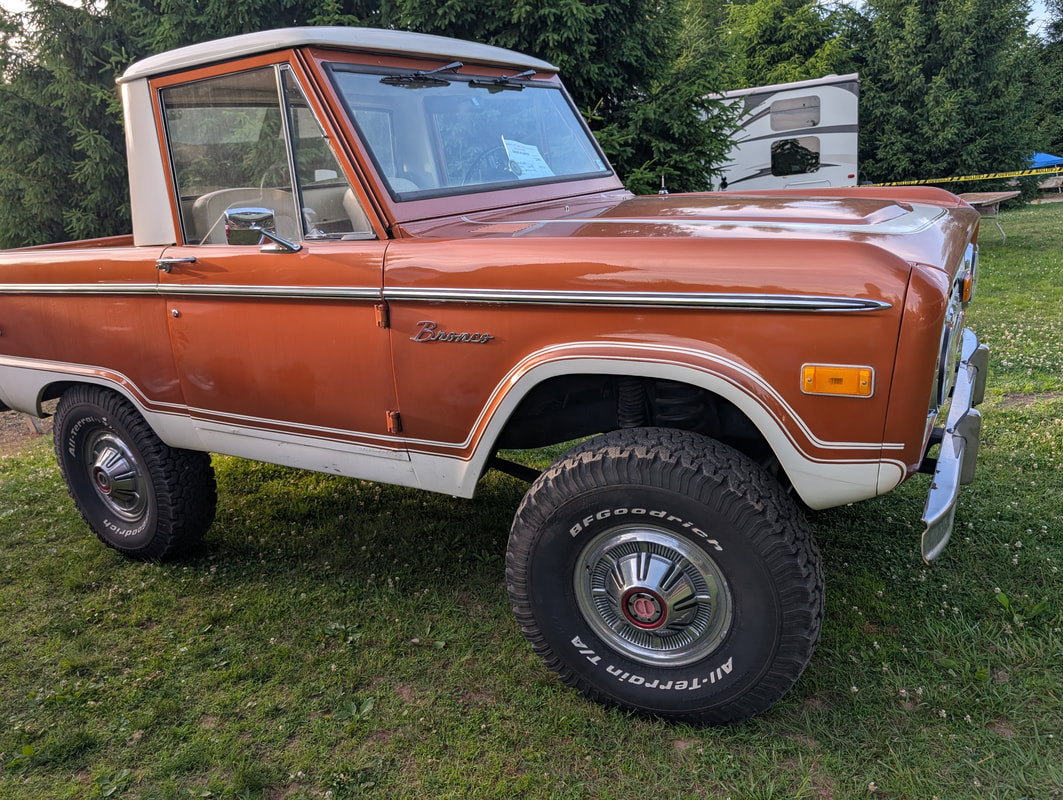
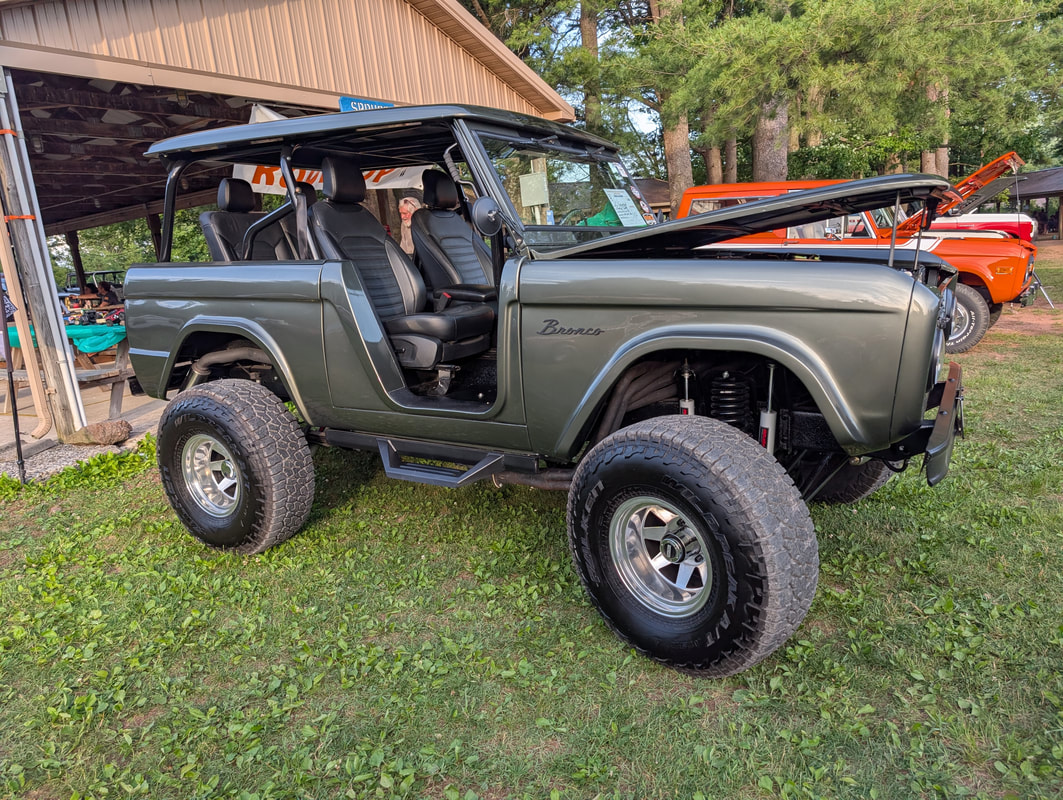
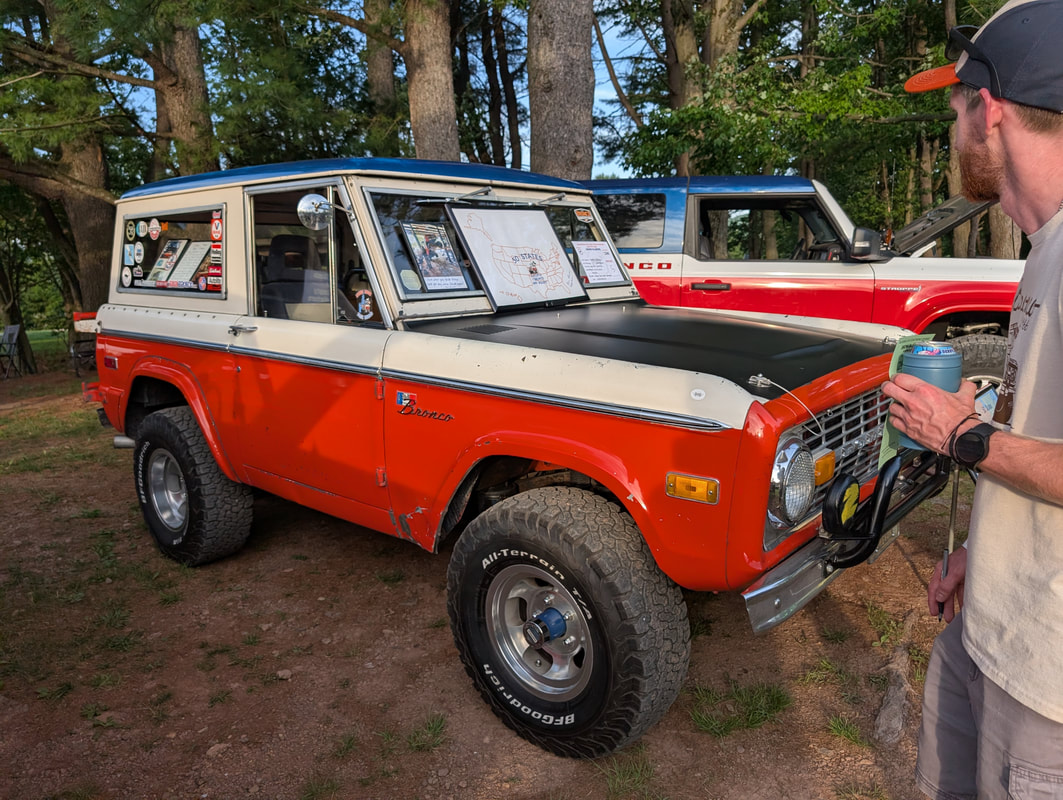
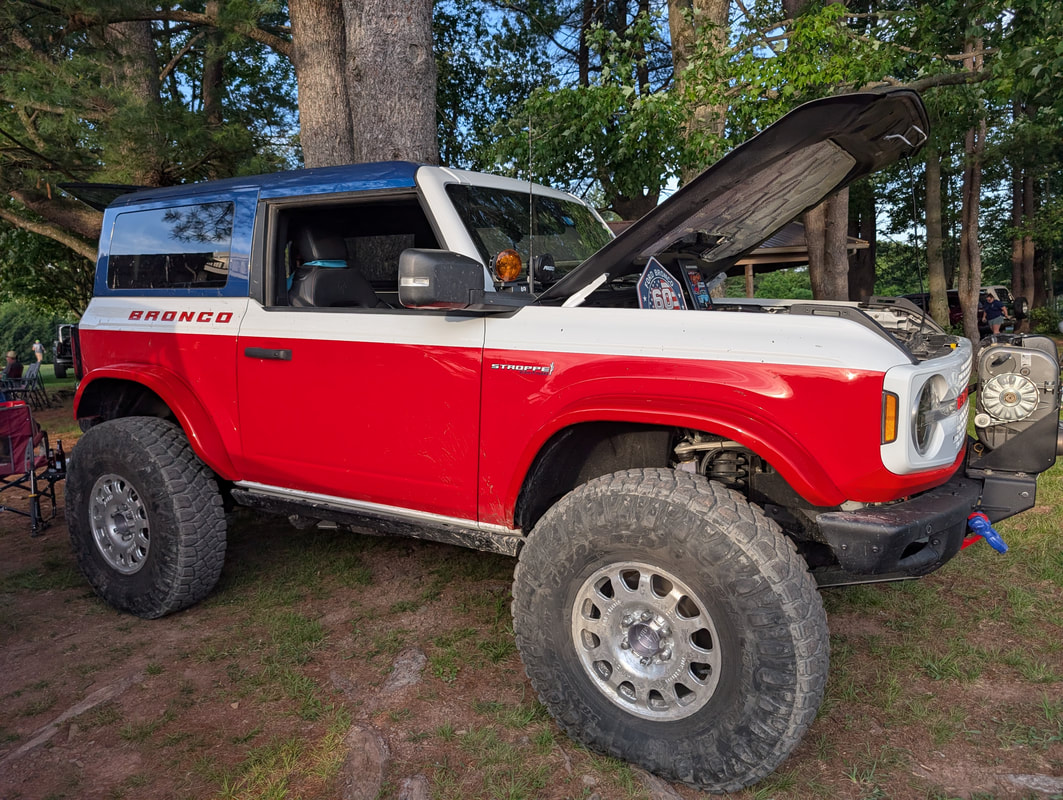
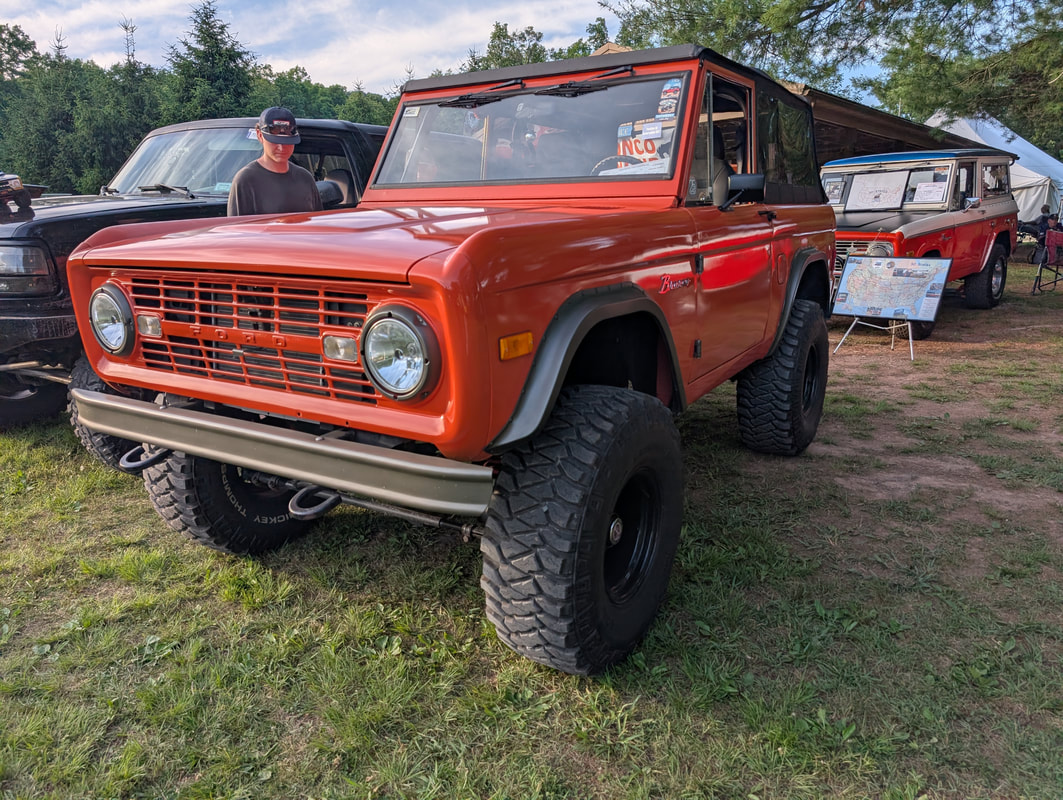
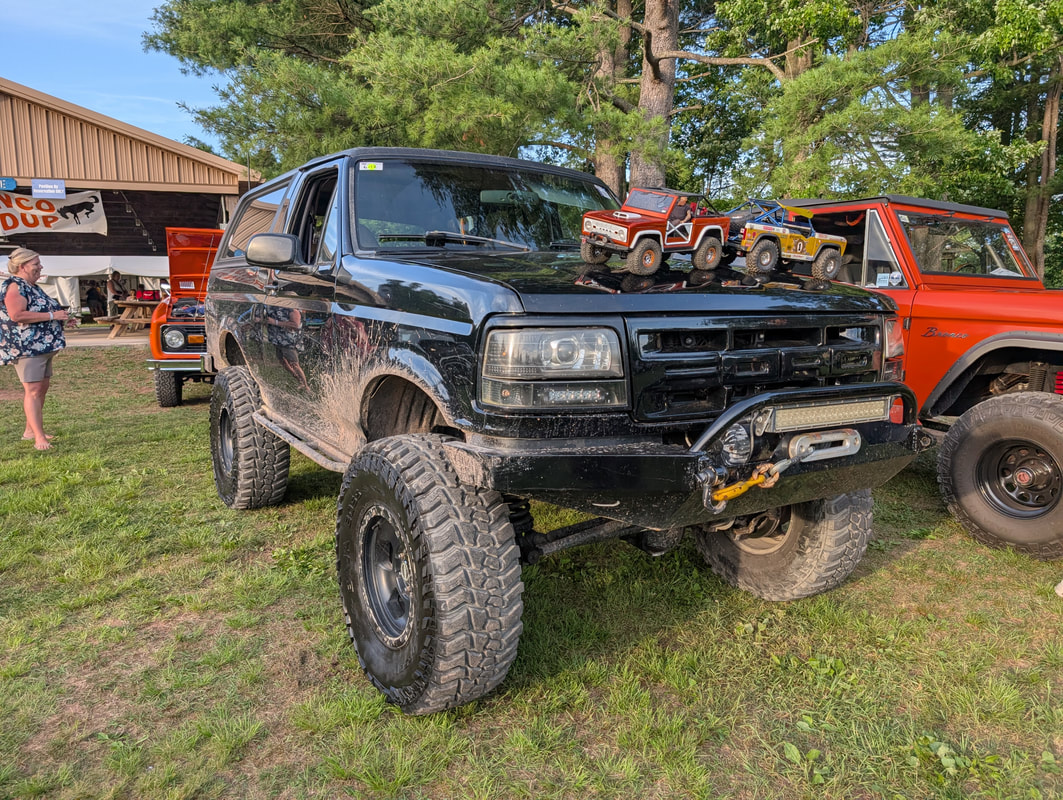
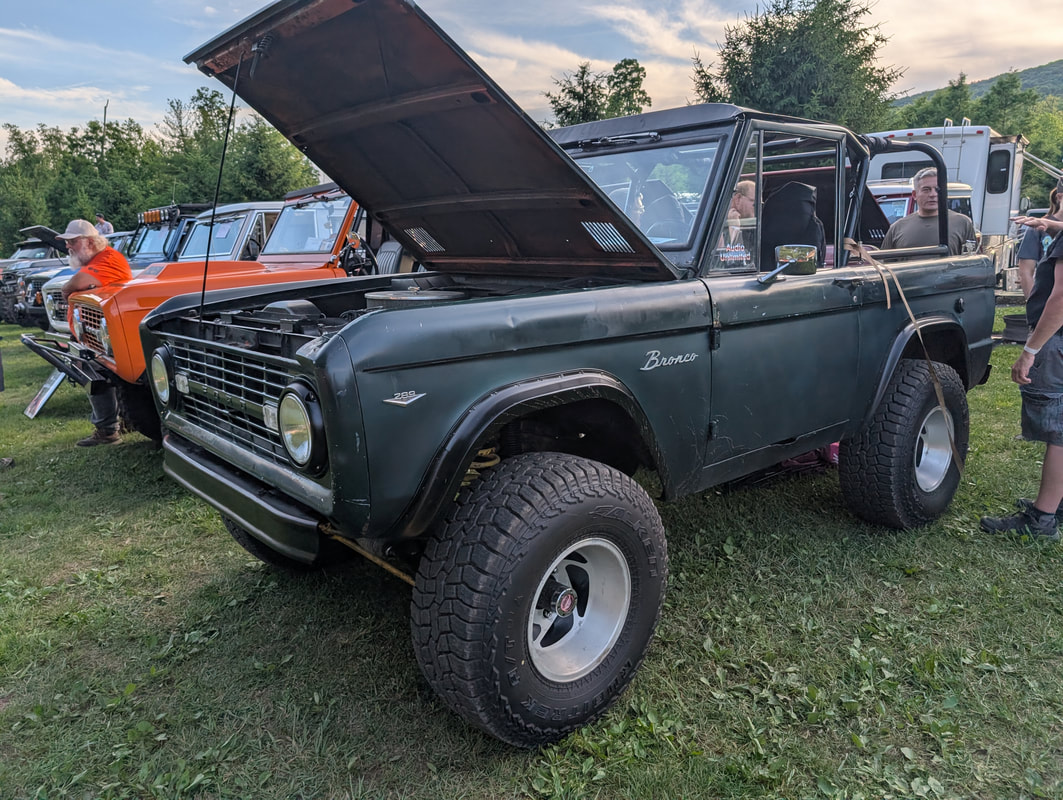
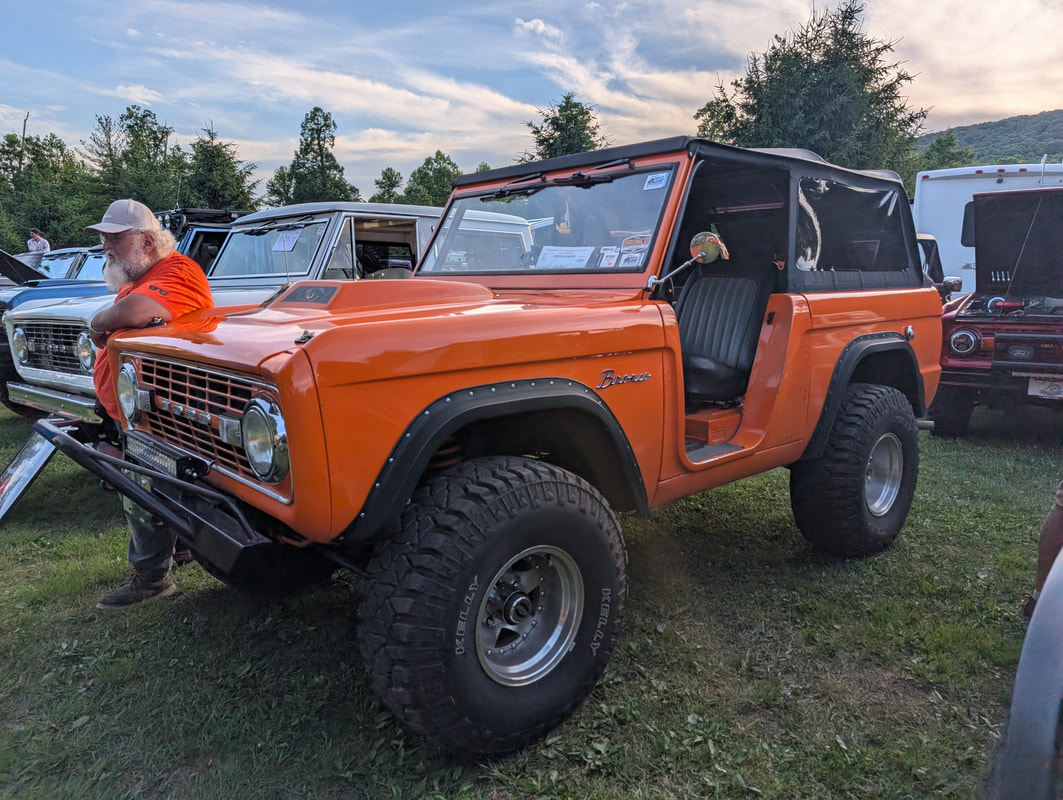
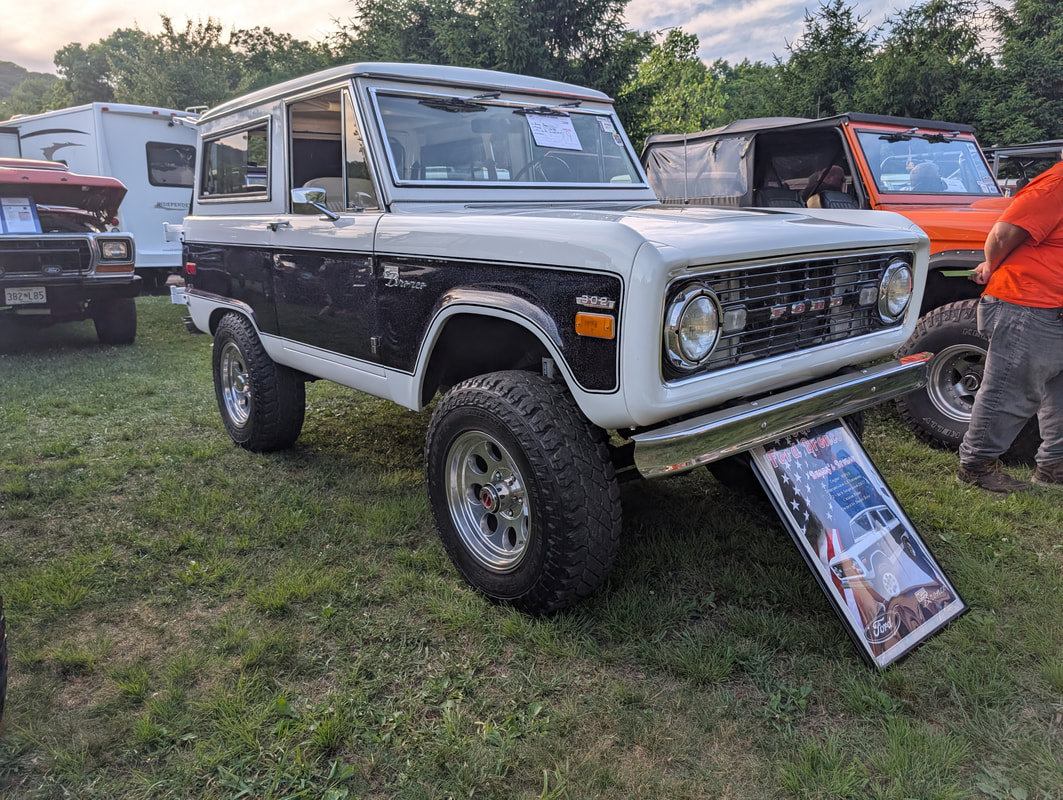
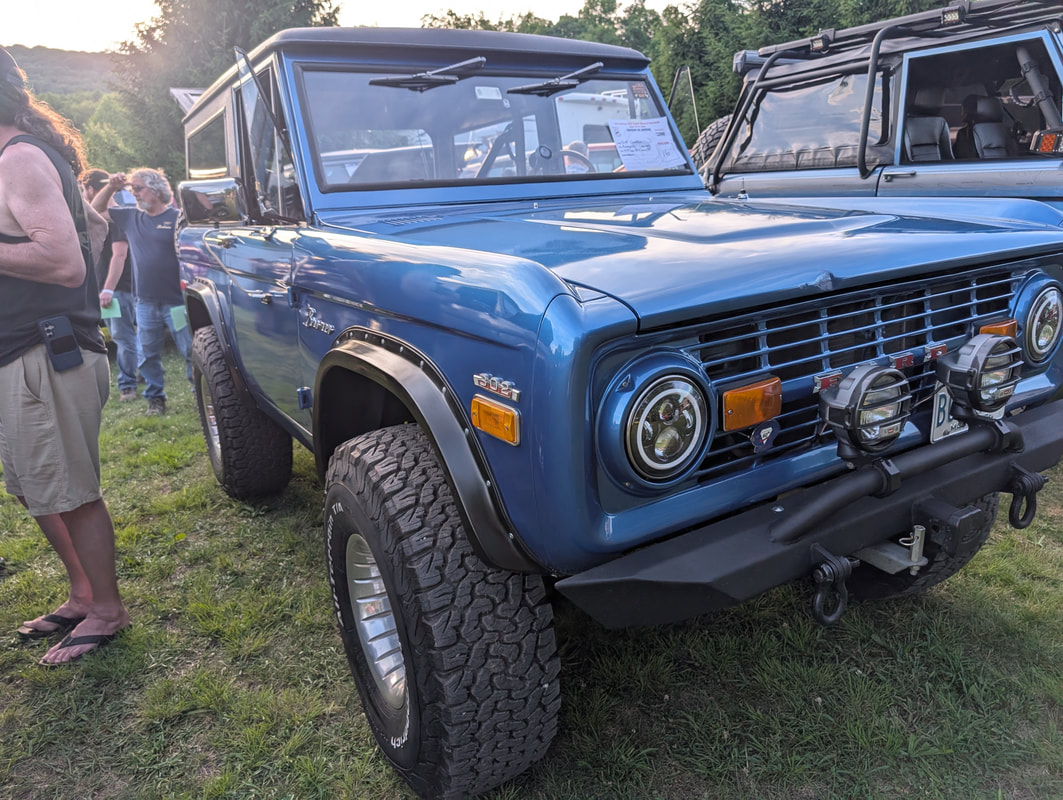
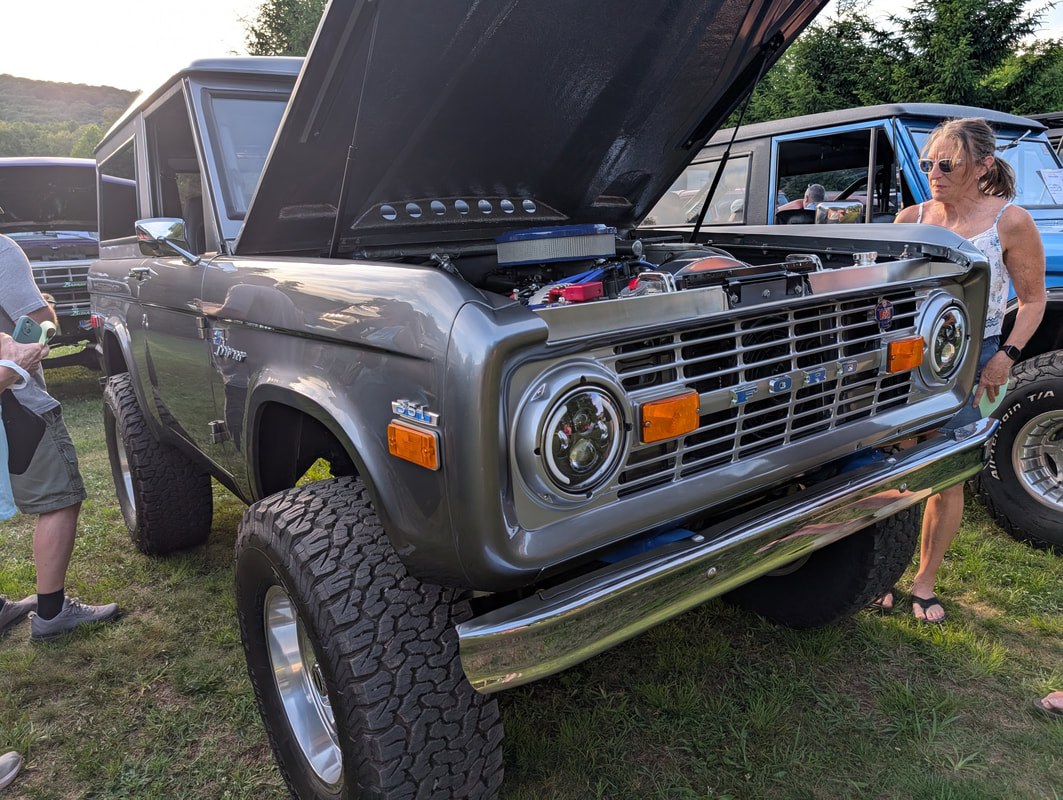
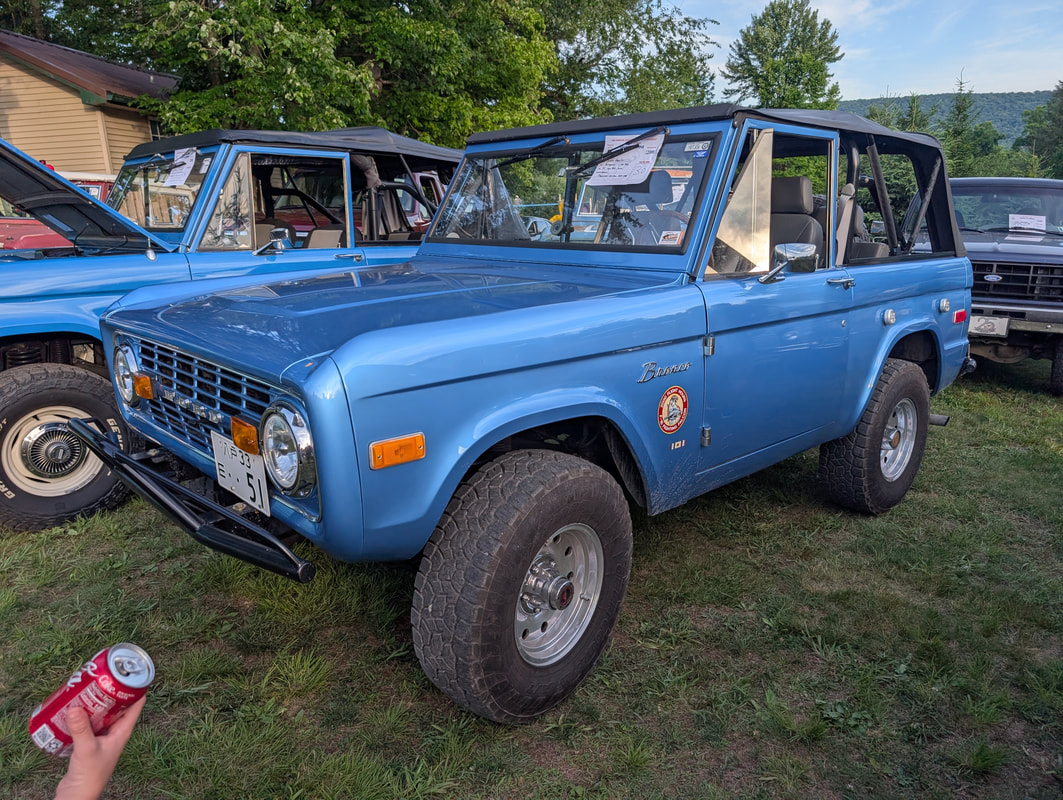
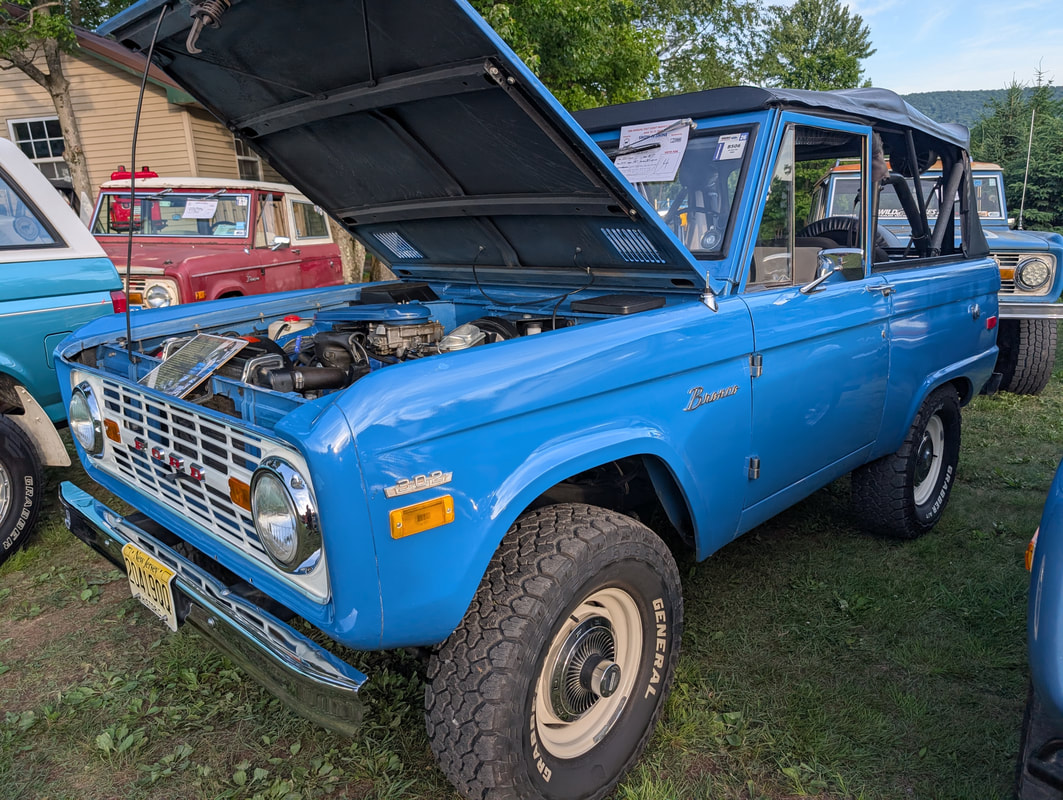
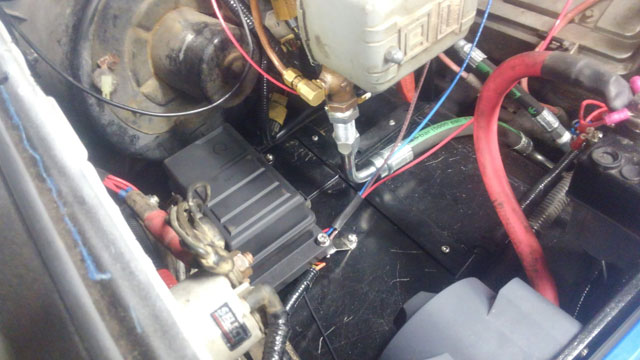
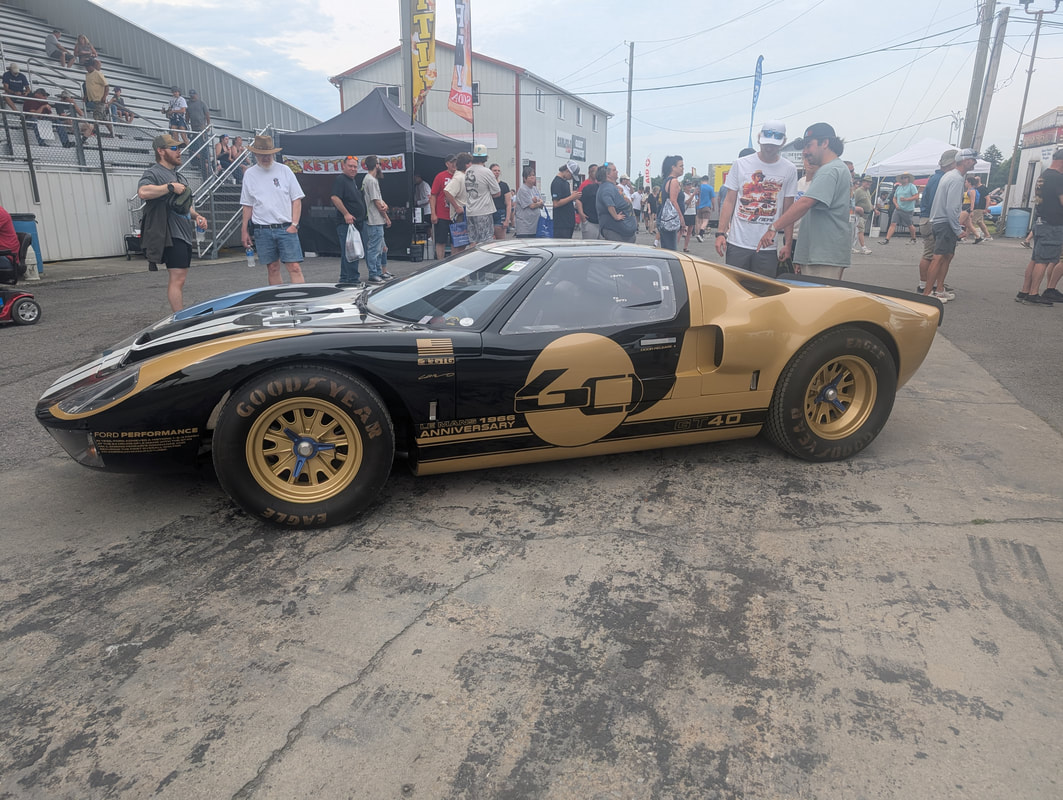
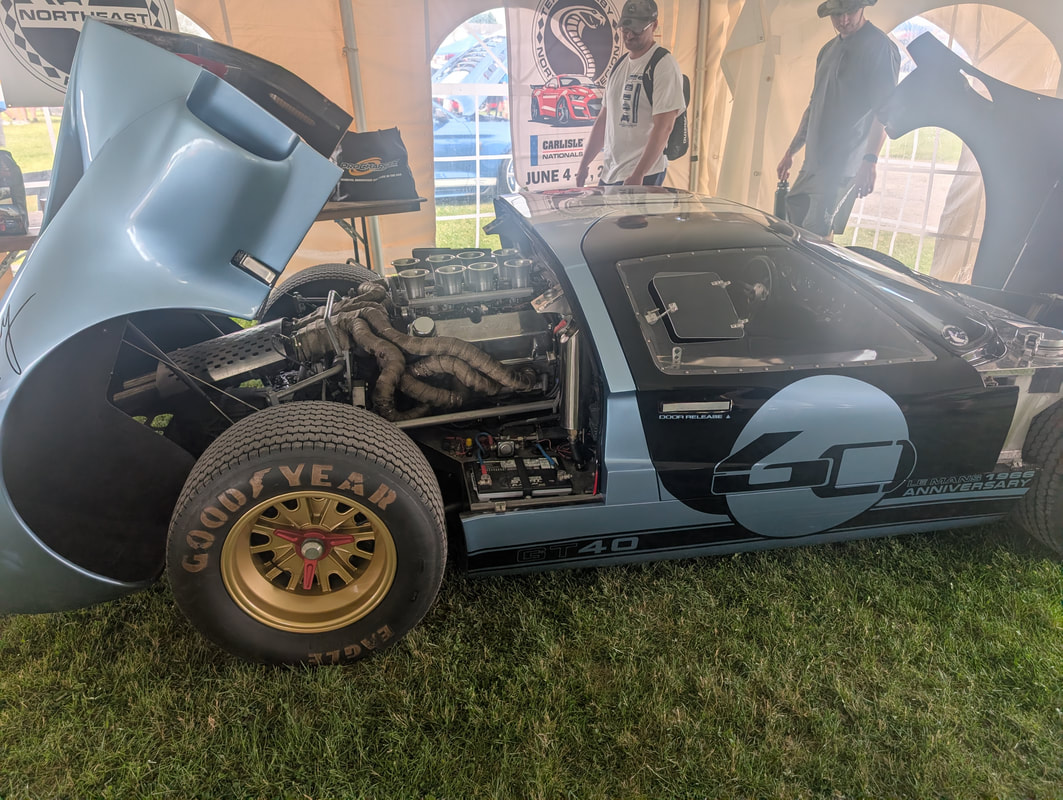
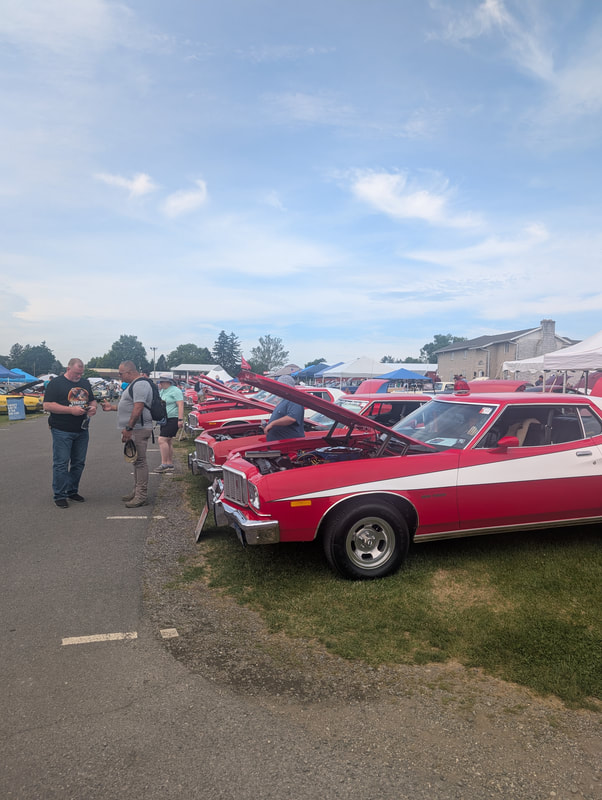
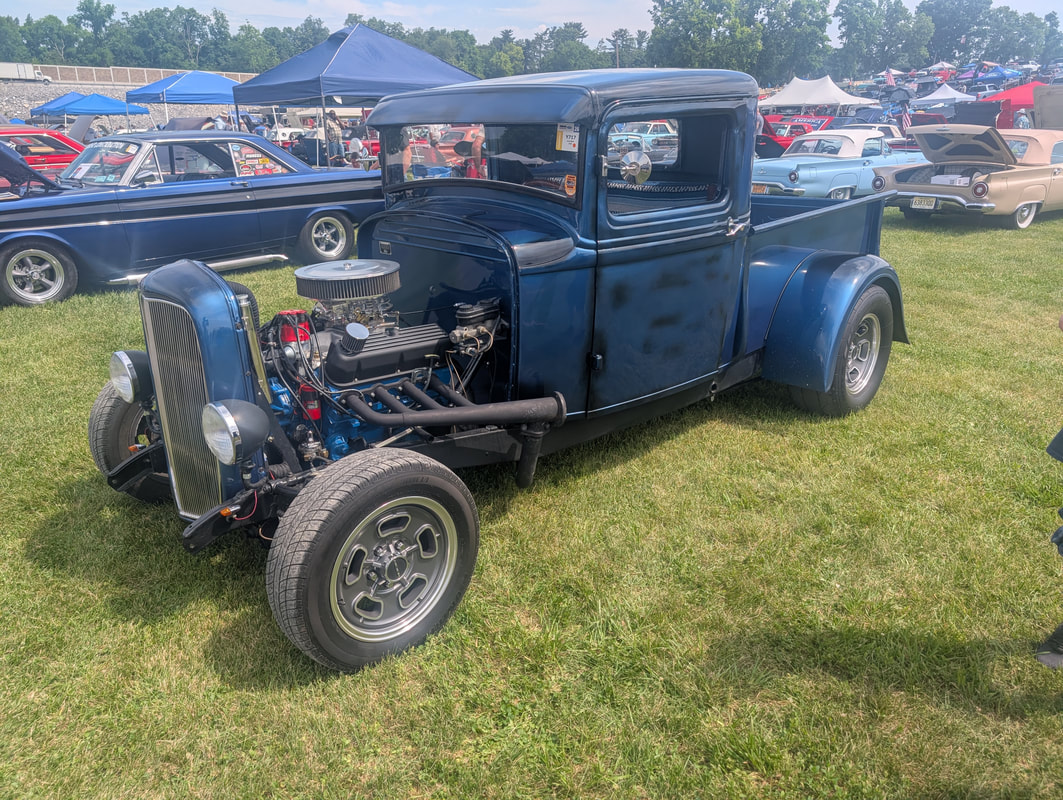
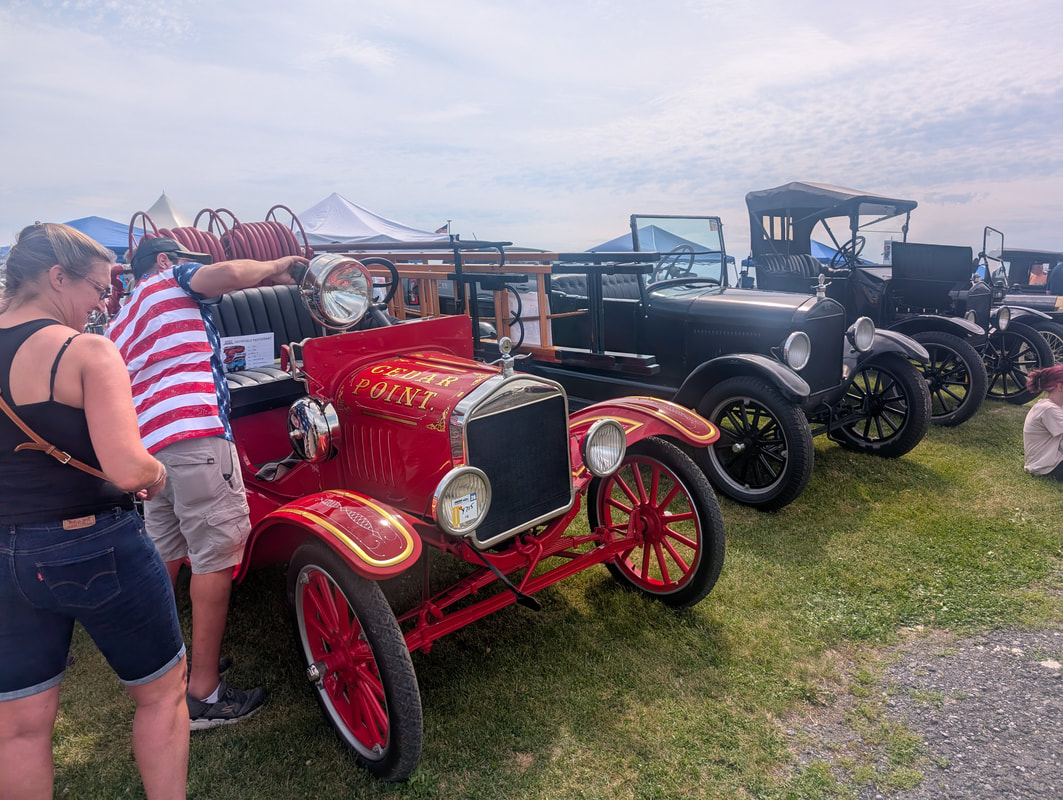
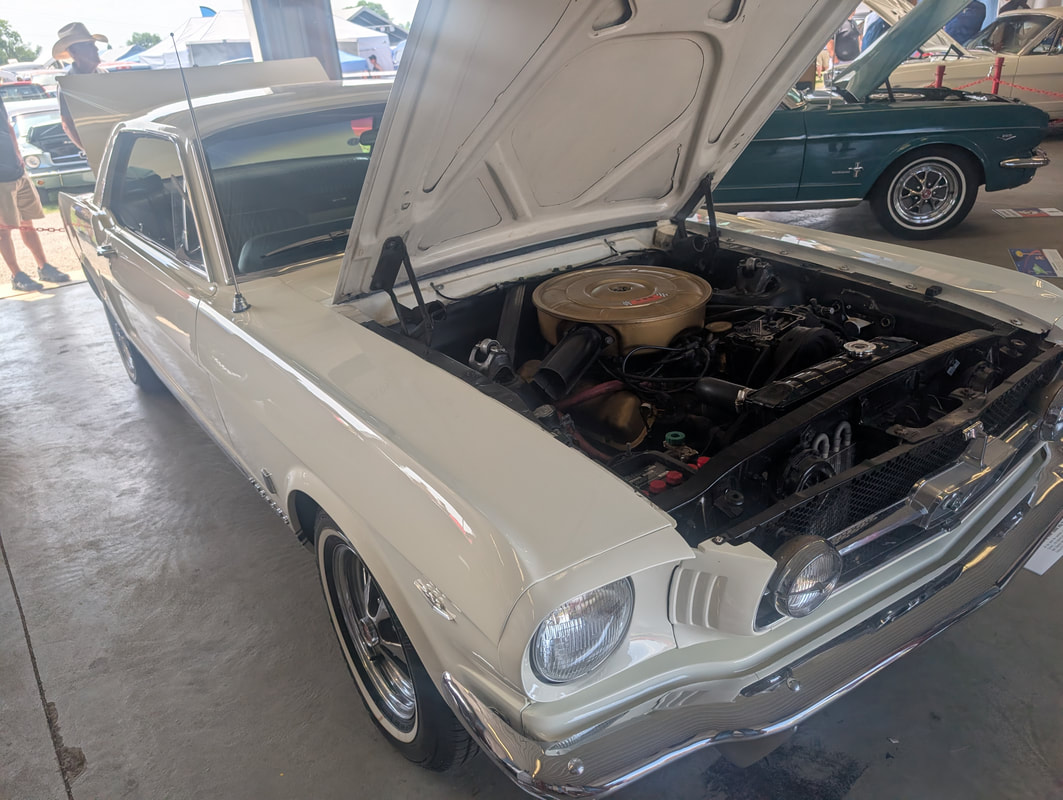
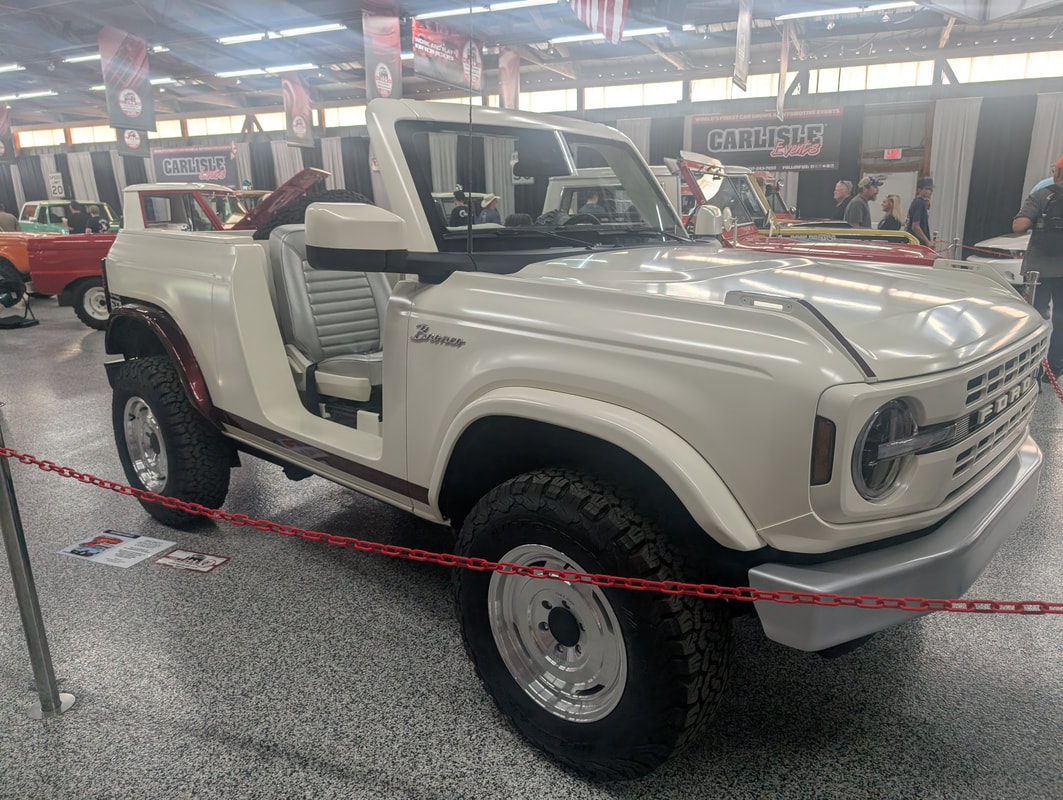
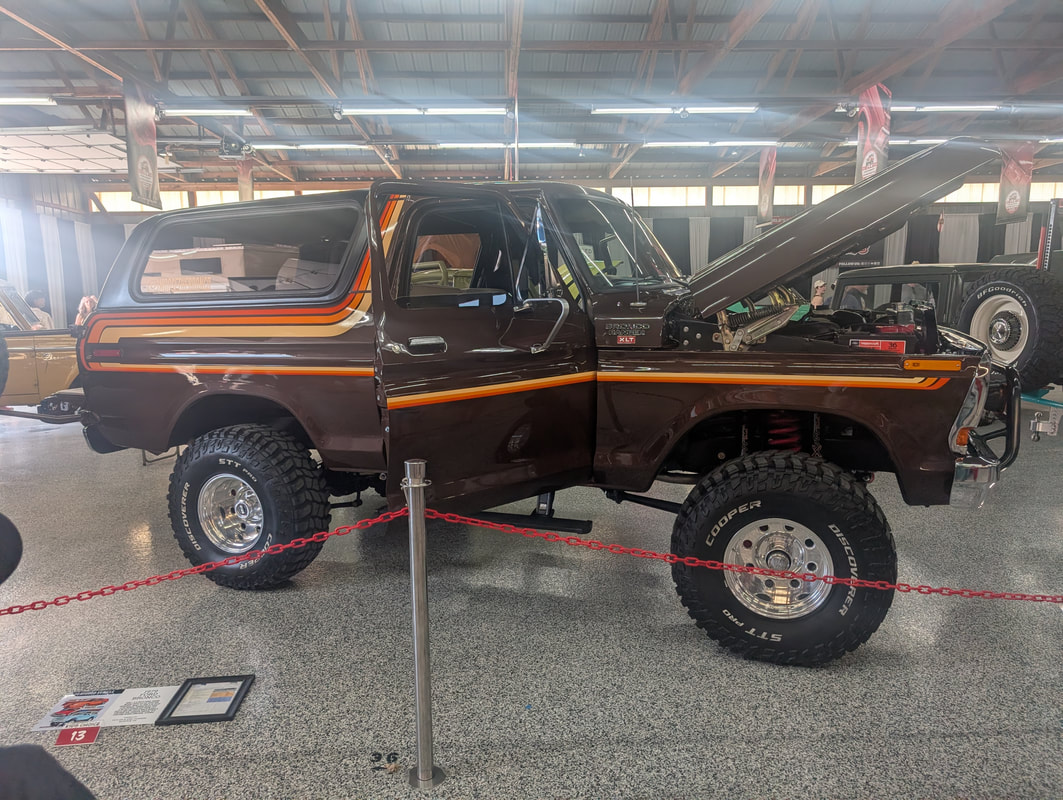
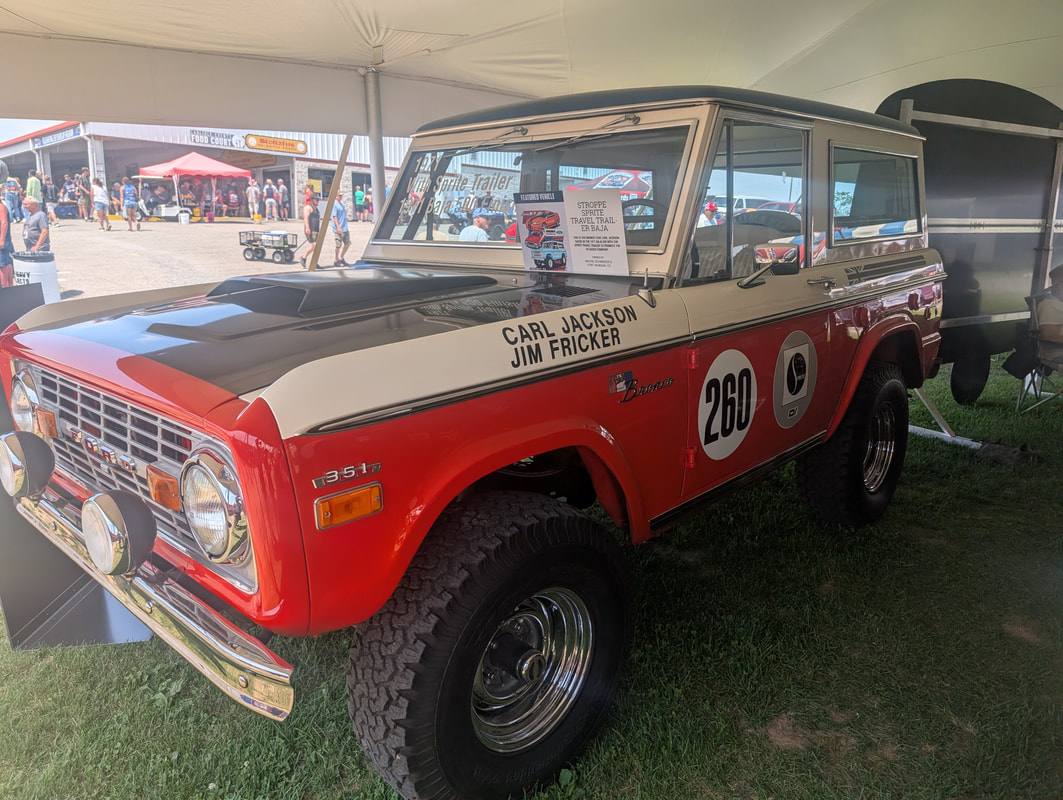
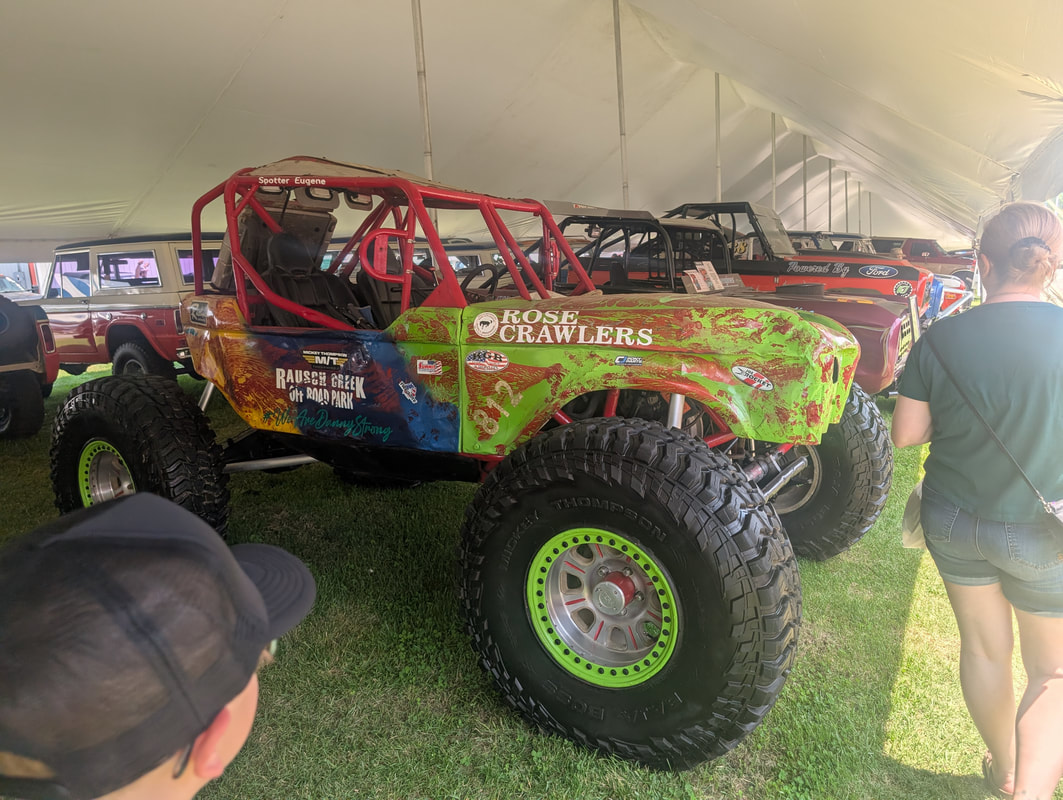
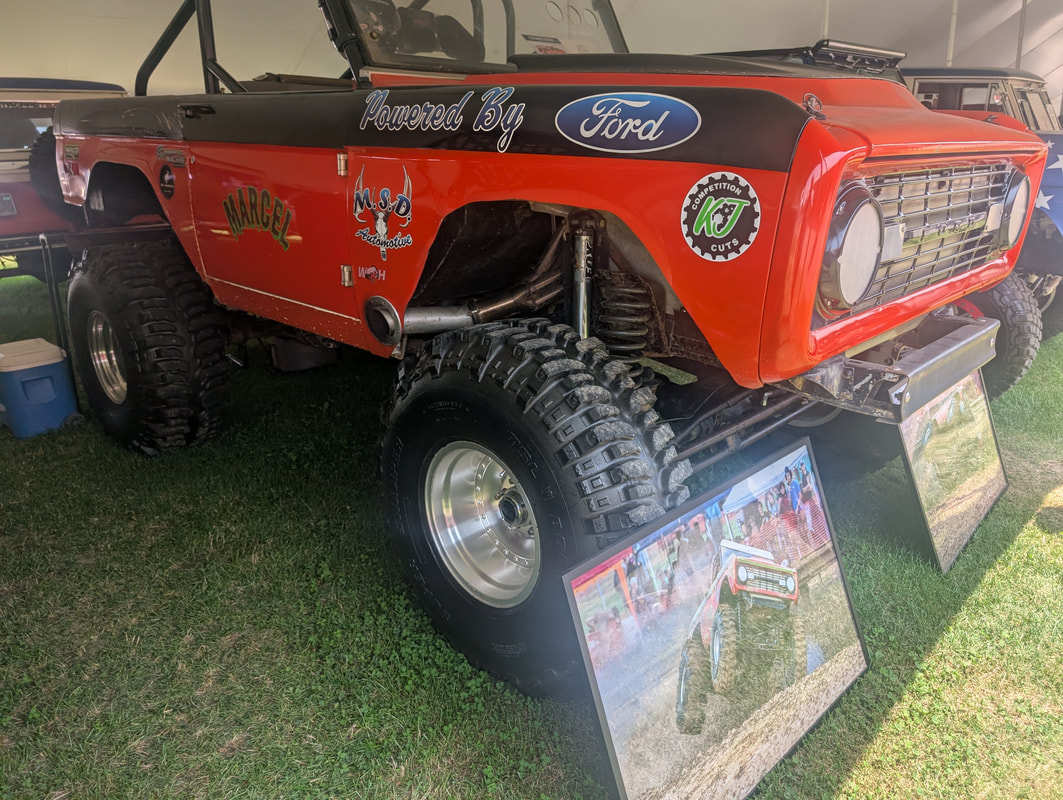
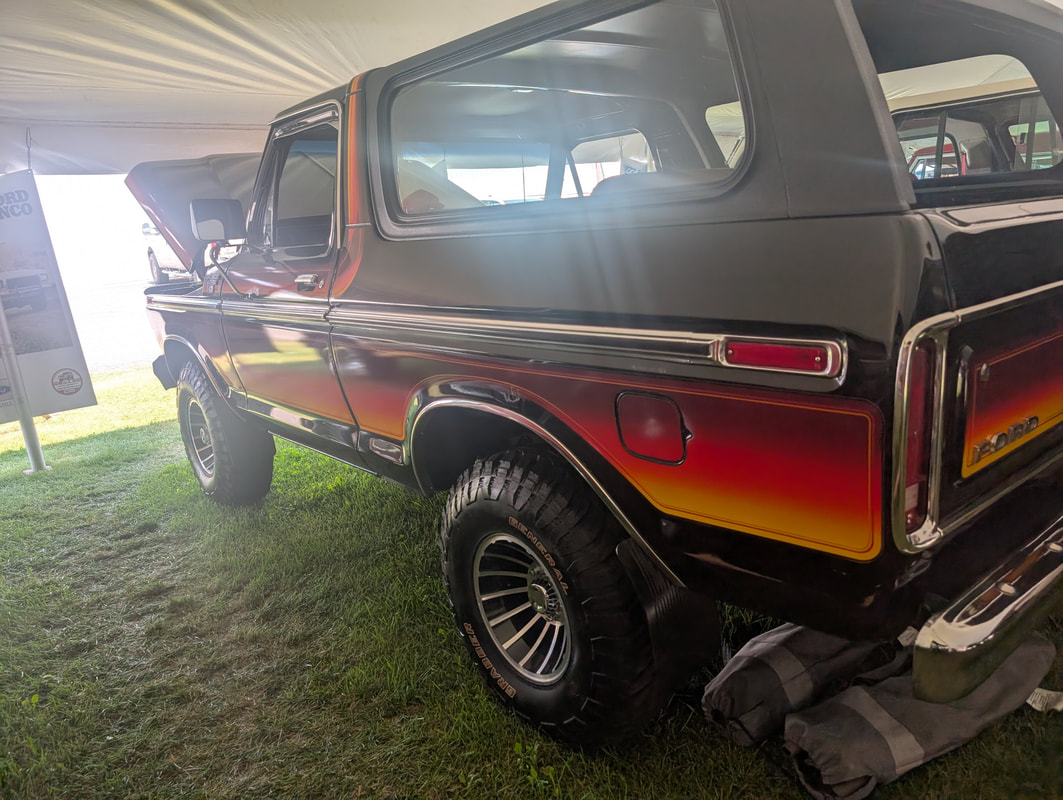
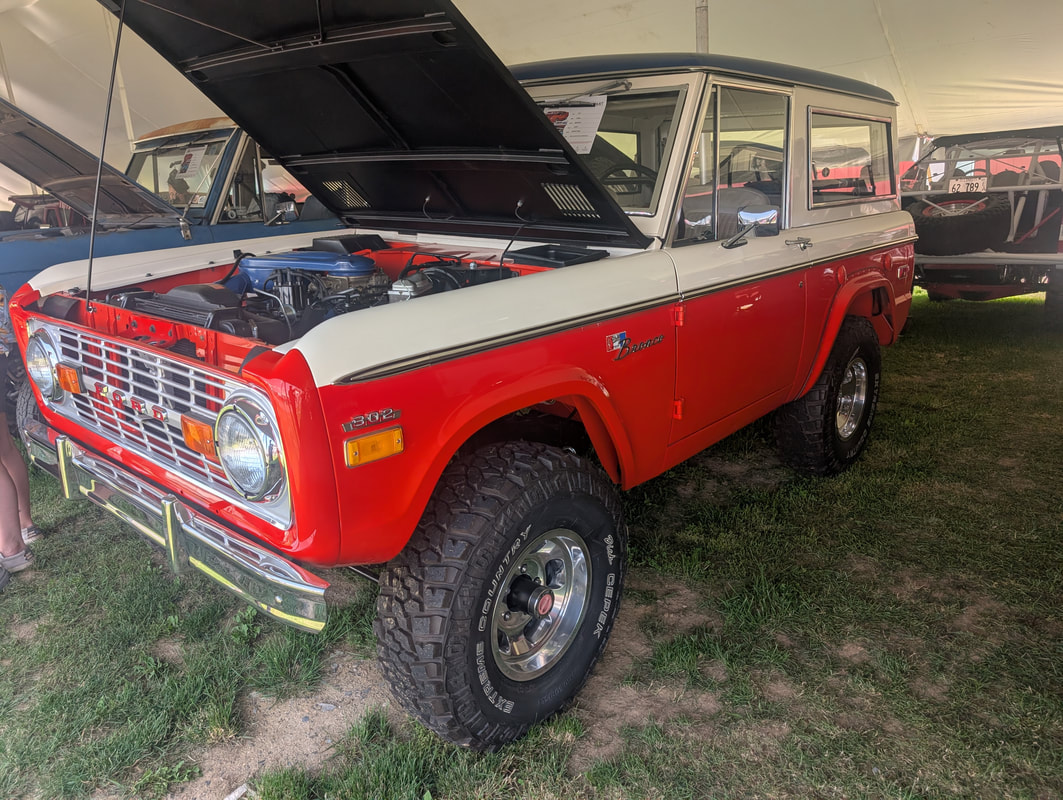
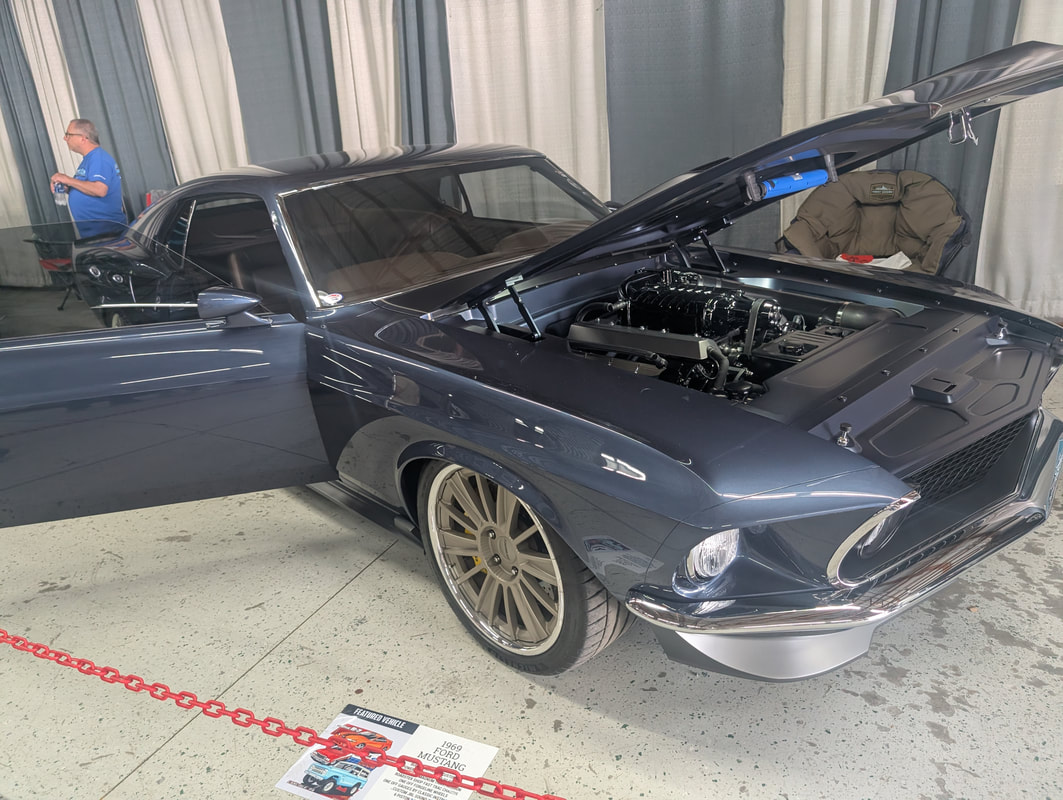
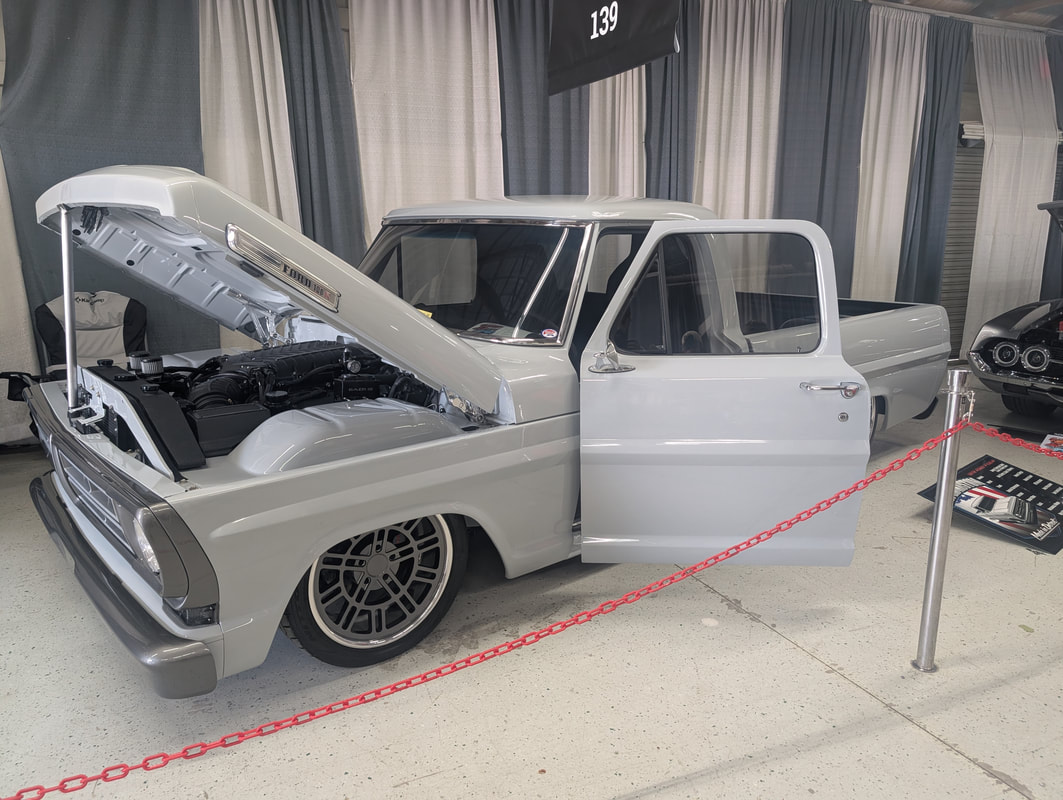
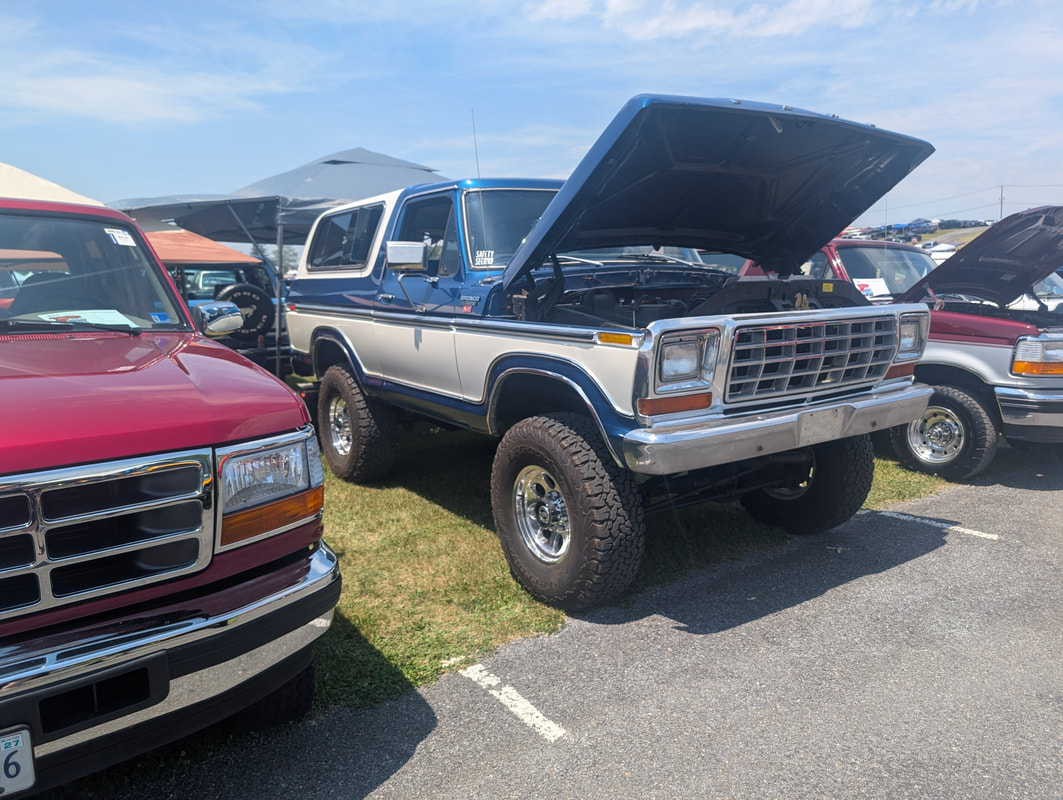
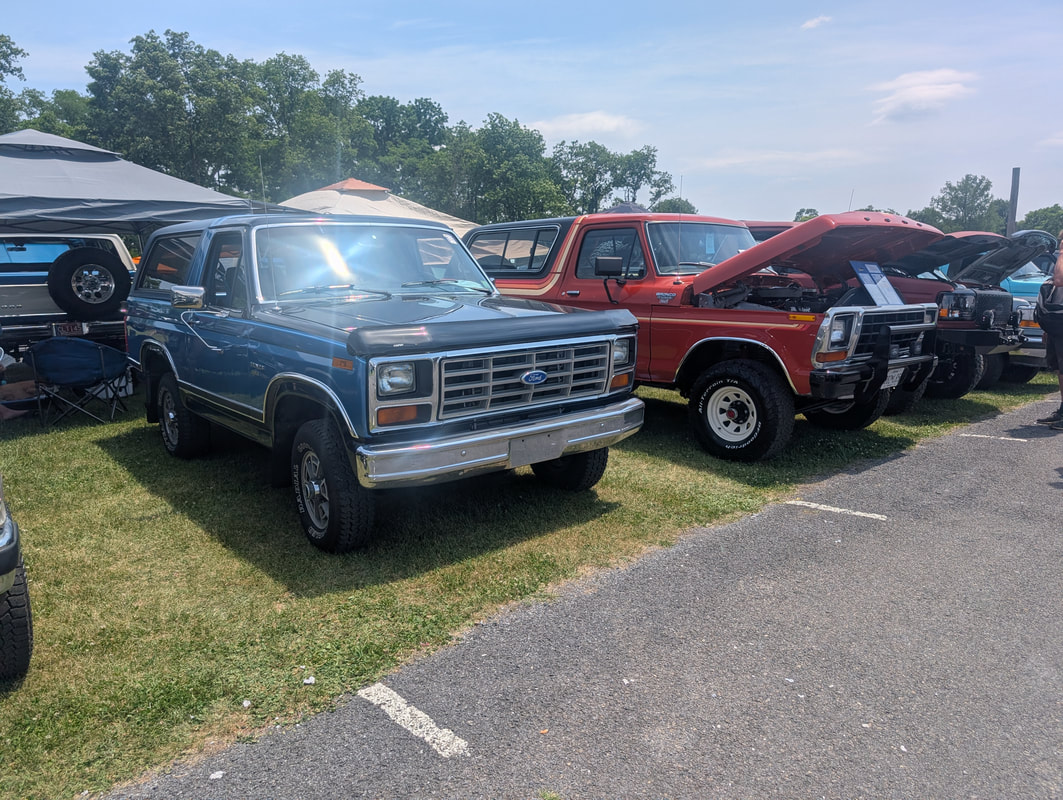
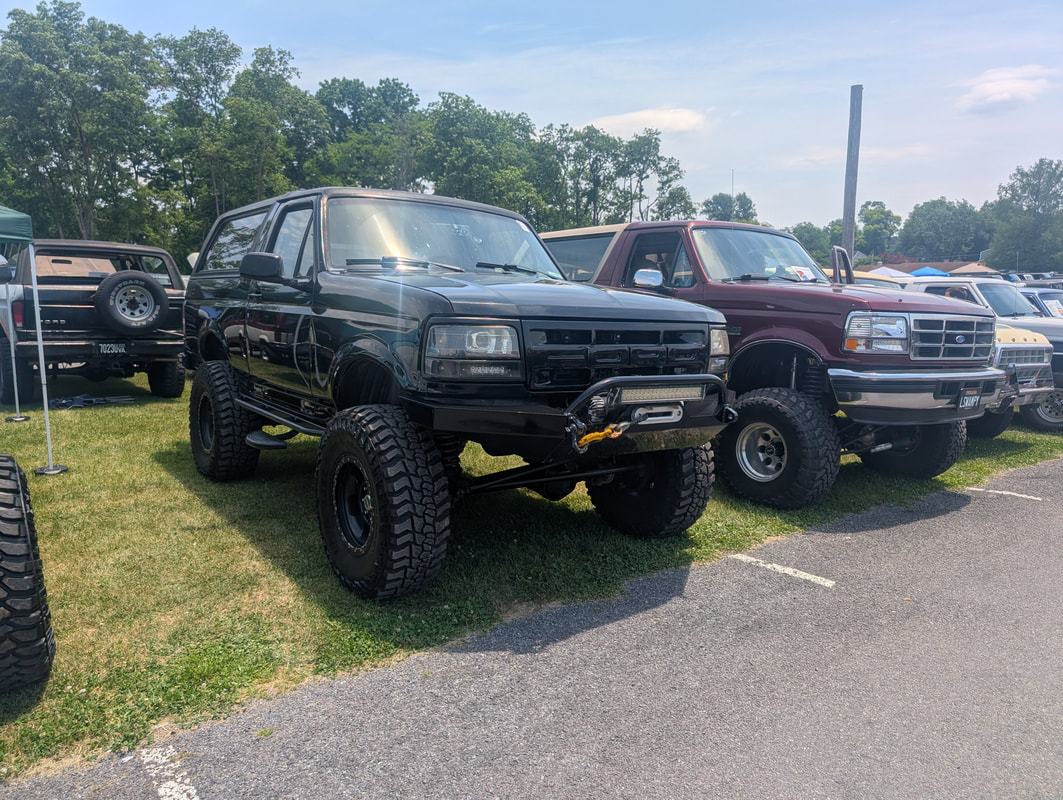
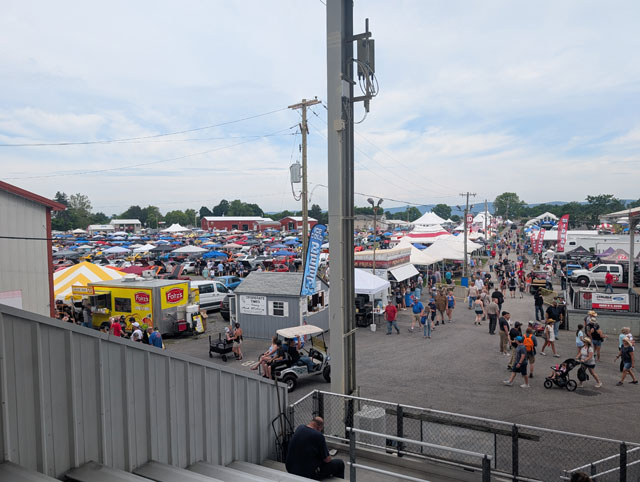
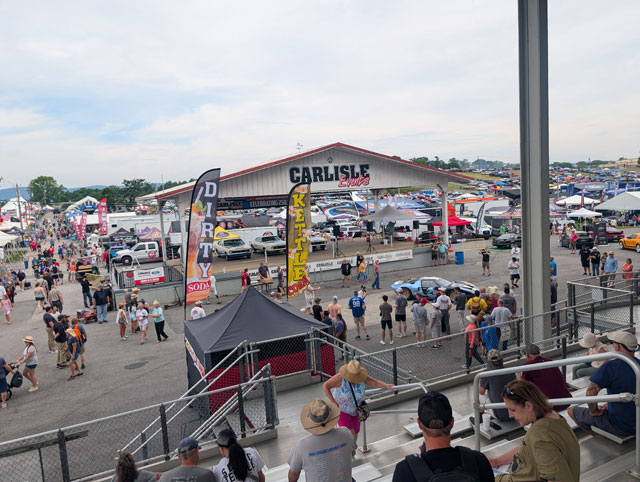
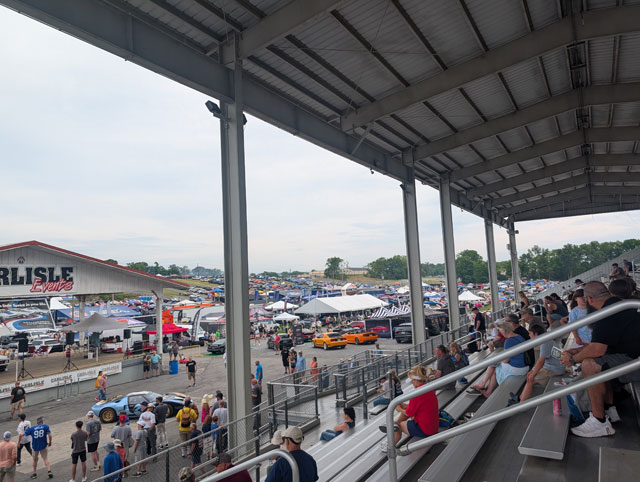
Joe's dad tried the ledge on F trail, the two of us are the only ones who were able to get up and over it 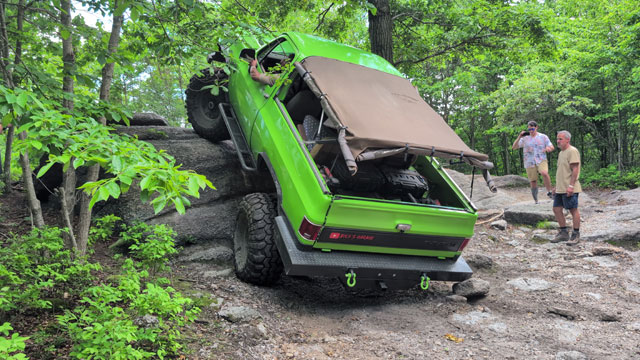 Joe giving it another go 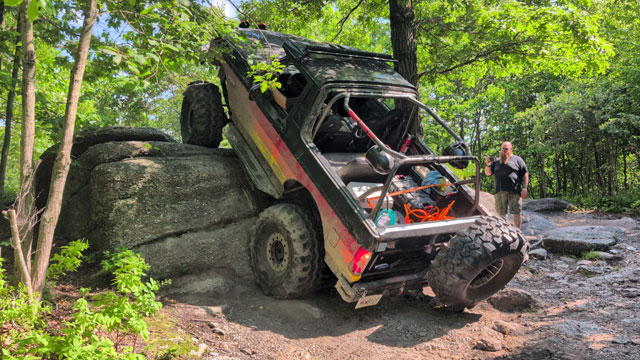 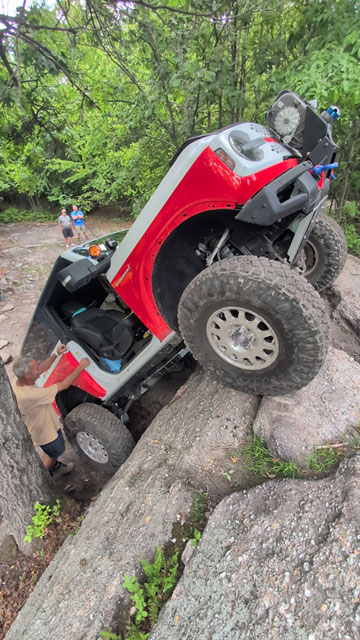 Got a good luck at the undercarriage, this thing is pretty heavily armored! 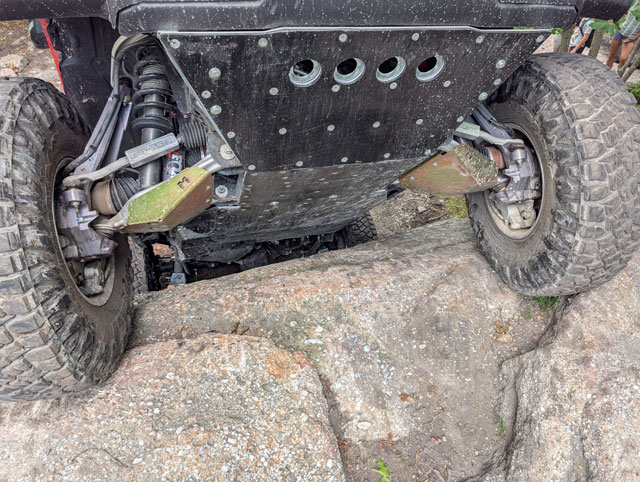 I have some video of the day that im going to try to put together at some point, but not a single pic or vid of me on the trail, except for a poser pic at lunch. I have more pics and vid of the kiddo running his r/c bronco around than i do of mine! Thursday! The arrival, where the truck & trailer lived for a few days 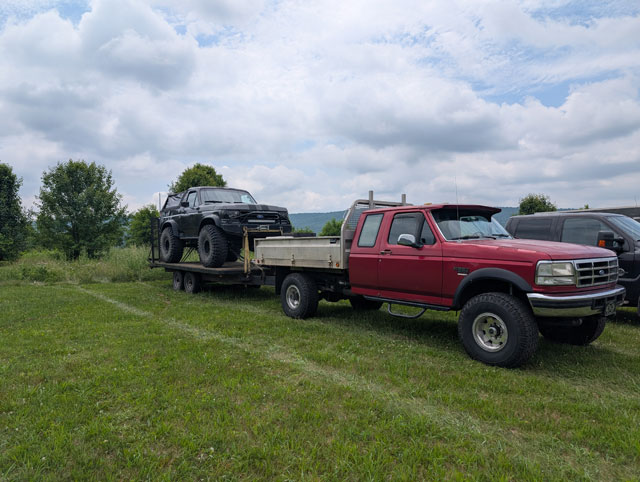 ...and up at the cabin, unpacked and getting comfy! 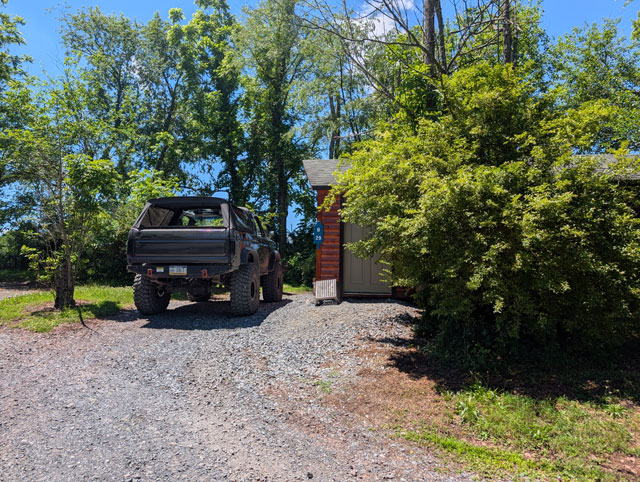 We went up to the pavilion to check in for the event. They had a couple things going on, like doing a 'basics' class for the kids. Boys on this one: 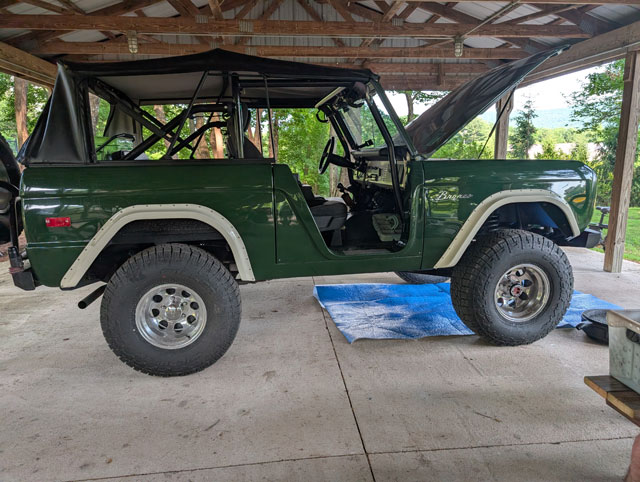 ...and girls working on this one  little dude thought it was cool, and ended up helping with the oil change 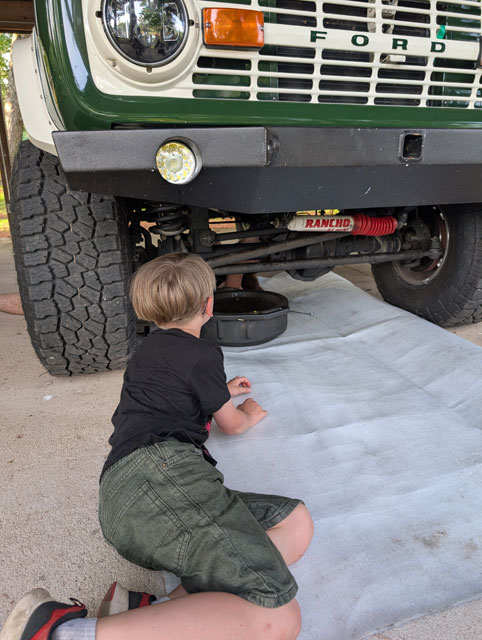 Most people walked up to check in, but some drove up for the check-in, like this one-ton leaf sprung bronco 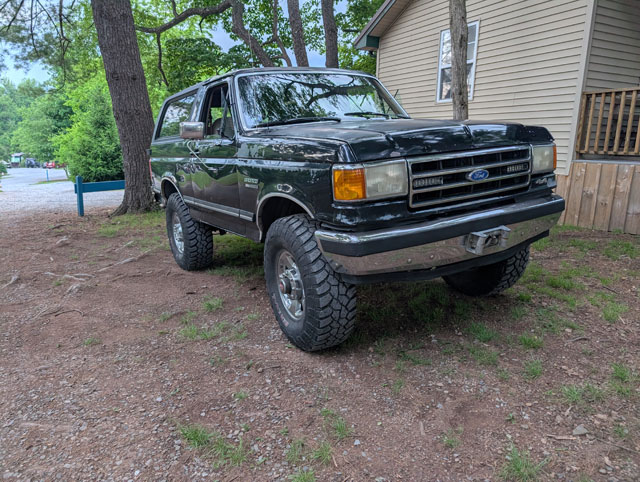 The Ghostbusters bronco (which the little dude thinks is super cool) 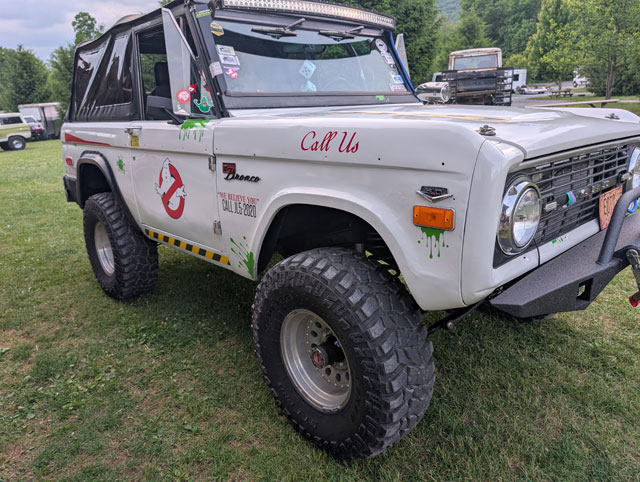 This sweet 6G on 74Weld portals (that we ended up wheeling with on Friday) 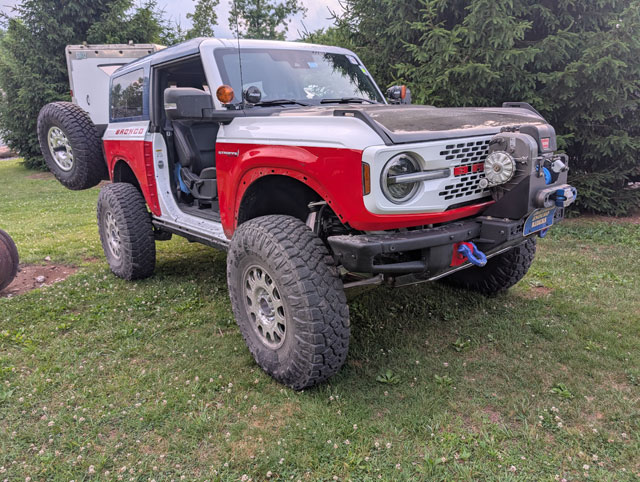 And this really sweet half cab: 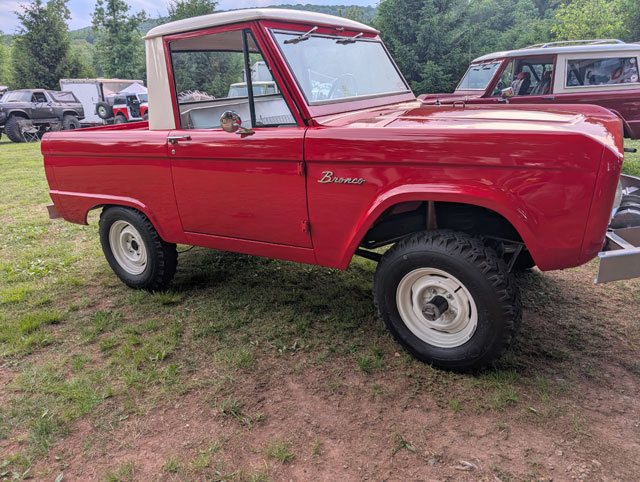 with the weirdest locking hubs 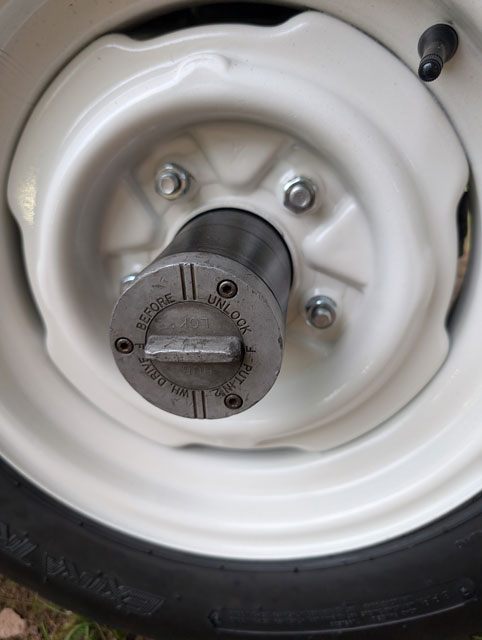 and this cool old shaft-driven mechanical winch 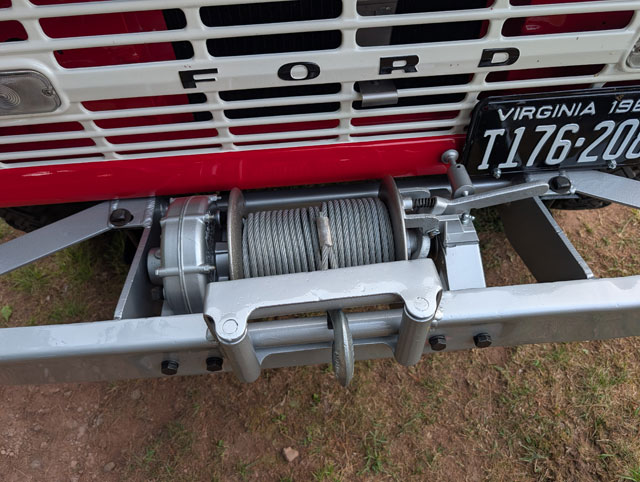 Hung out for a little while, until the storm started rolling in over the mountain 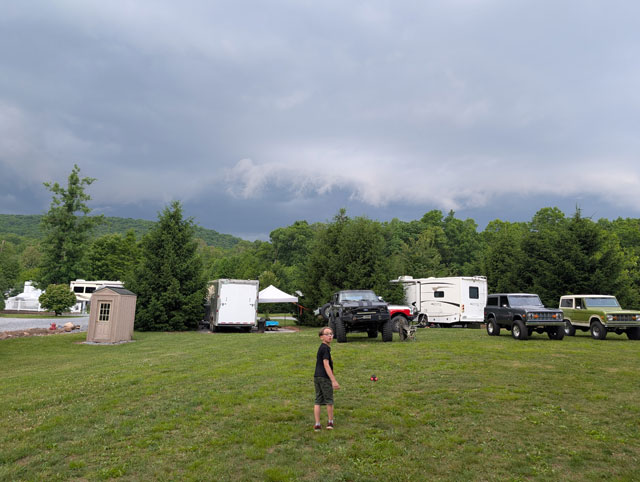 It downright poured too. Conveniently my passenger window must have fallen off the track when we rolled it down earlier, and then wouldnt go up. Even more convenient, that after the storm passed, when i tried to get it to go up, it shattered! Fortunately with the way the wind was blowing it didnt really rain in the window, and then it didnt rain again until after we got home. 3538 vehicles in total at the show! The second largest show in Carlisle's history! We didn't bring my 88, instead we all rode up together in her '90. It was probably for the best, we got there around 930 and it was packed, it was difficult to navigate the showfield in the morning to even get to the row we were supposed to be parked in. I don't think we saw the whole field; it was sunny and 90-92° out, and with no escape from the sun/heat, was too much for the wife and kiddo to handle so we ended up leaving around 230 I think. Photo dump incoming: That's most of what I took honestly, altho I know the wife took more. For sure there was a ton more really cool vehicles we didn't get pics of. It was like sensory overload for the kiddo with so much going on so we spent the day kind of just all over the place so he didn't get overwhelmed. Overall it was pretty cool, the vehicles were packed in pretty tight which made it hard to get pics of a lot of them, and it was just too hot for the kiddo and my Irish wife to survive all day. Also, I'd bet there were 2000 mustangs there, there were so many that we got bored of looking at them. Not the 60s of course those are cool, but the newer ones don't interest us much. Same as the 6G broncos- there were a lot of them there but we didn't look at most of that whole section. The field was huge, it took us awhile just to get the lay of the land, and we never saw everything. There was a full swap meet too, but im told it would have taken most of the day just to walk that! There was a dyno there that the mustang crowd was all playing on all morning, all the specialty cars (like the GT40) they were driving up to the grandstands for special displays, celebrity panels, there was a burnout contest up at the grandstands (that was after we left), and figure with 3500+ cars there had to be 4-5k+ people walking around. It was cool and everyone had fun, but it was a big show. Ive never been to a show so big before, it was crazy. Tack the heat on top and it was a bit much to take it all in. I had thrown some folding chairs in the back of her bronco that we brought along but i didnt think to pack a canopy, so there really wasnt much escape from the heat. If it wasnt for that i think we would have stuck around longer, the crowd was really crazy at 9 because thats when gates opened to the public, but it calmed down and was much more manageable to explore the show after 11-12, it was just too hot by then. You really need to go for multiple days to hope to see it all. Wifey's 90 has been running great since the PCM swap, so thats cool. Getting ready for the All Ford Nationals this weekend, decided to swap the dry-rotted window felts on hers: 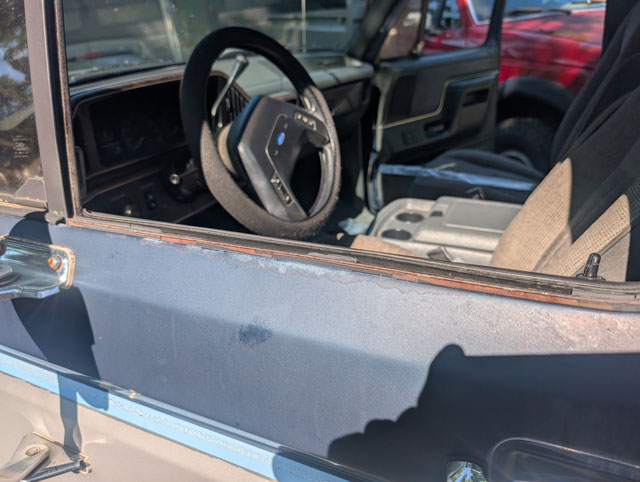 Much better! 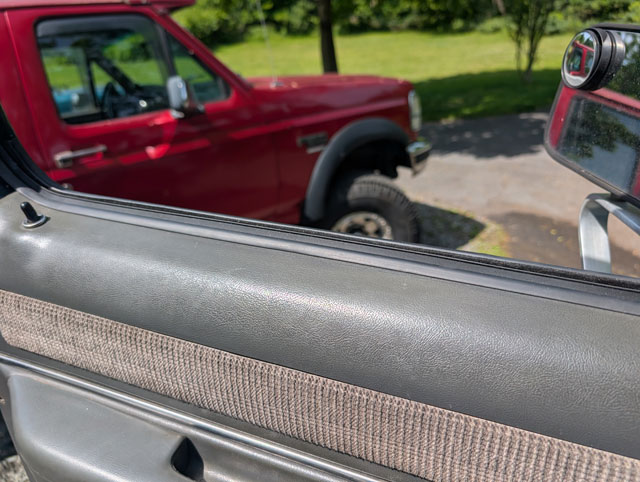 Got hers all cleaned up and looking about as good as its gonna get:  And ive got mine all cleaned up and loaded up as well: 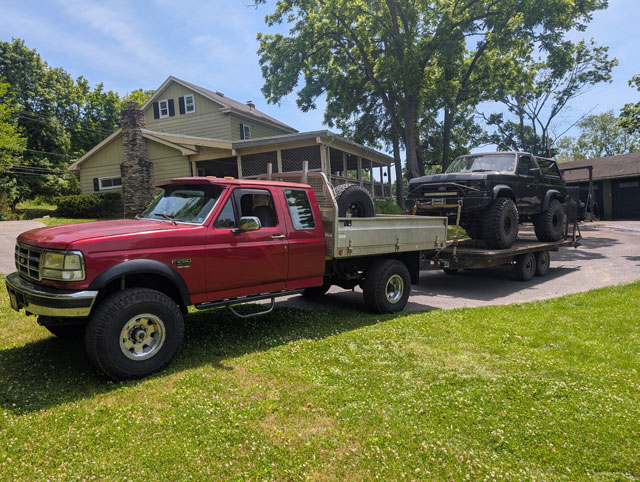 Tomorrow is the kiddo's 9th birthday so we're taking him to Hershey Park, and then bright and early Saturday morning we're off to Carlisle! Reman ECU showed up Saturday but it rained all weekend so i got it swapped in this morning. 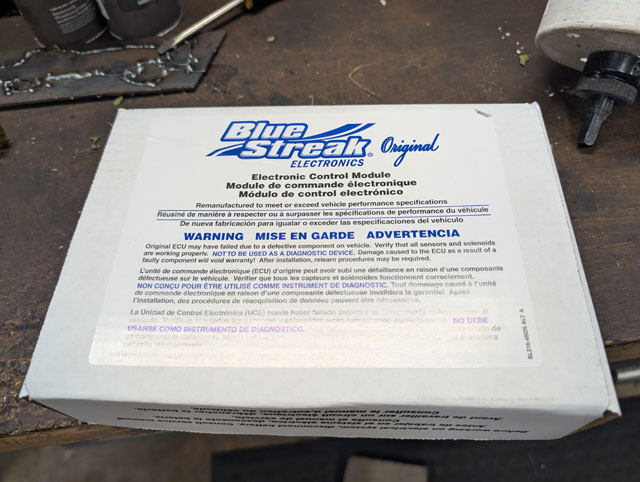 At least it looks nice on the outside 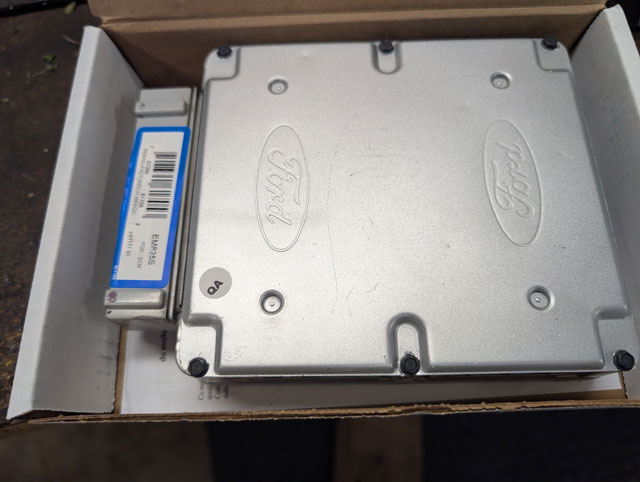 Cracked it open, looks good inside too 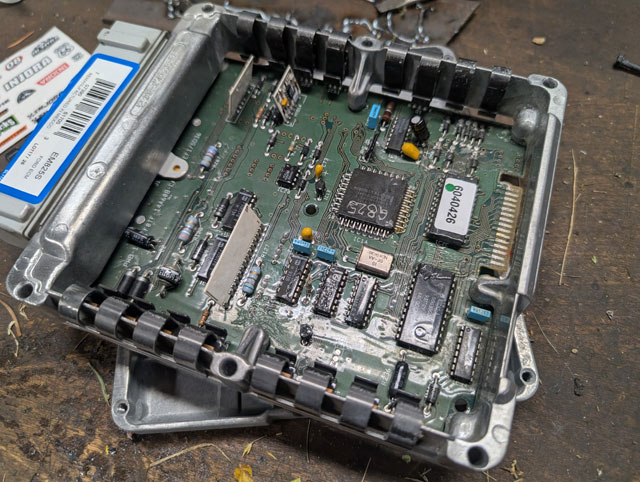 Much nicer repair job than the old one had 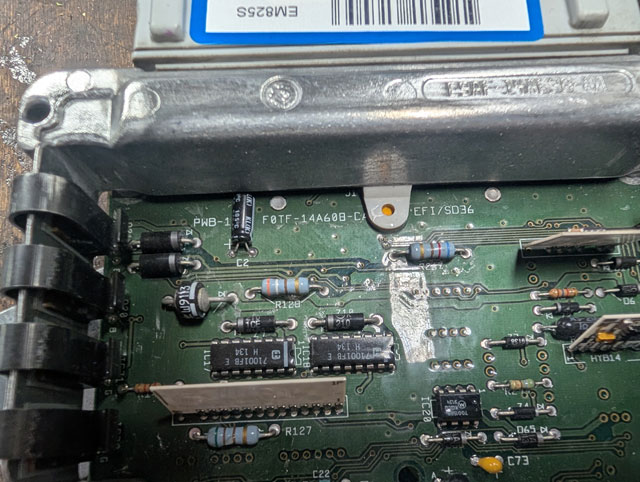 ...most importantly though, it seems to run just fine! 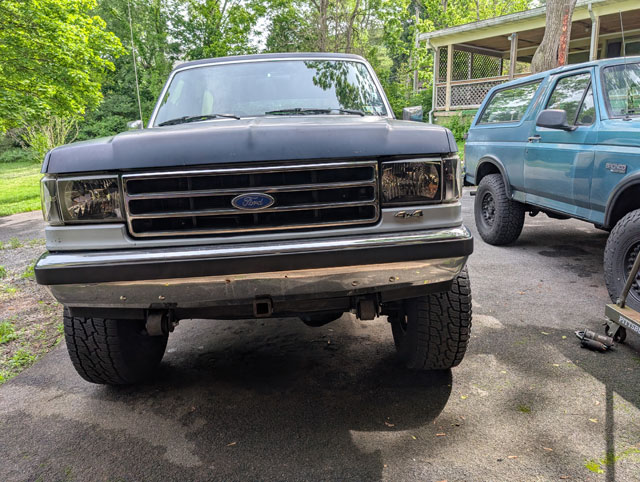 Drove it around this morning and so far so good. Gonna have to use it to run errands all week and see how it goes. So of course, her bronco got jealous and wanted attention too. We were all over the place last weekend in it, and it wasnt running right. Warm idle is rough, and its running rich. Only code it threw was "system rich". Not super helpful at all! So been troubleshooting it, and couldnt really find anything. This morning after work i pulled it up to the garage and dug in 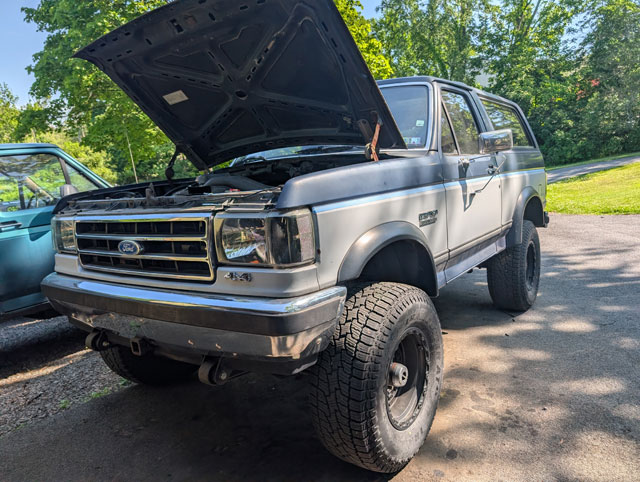 Did all the typical tests for timing, fuel pressure, TPS, IAC, etc, didnt find anything. It has a cardone PCM in it from a year or two ago, figured id pull it out to inspect. Well, its bad. 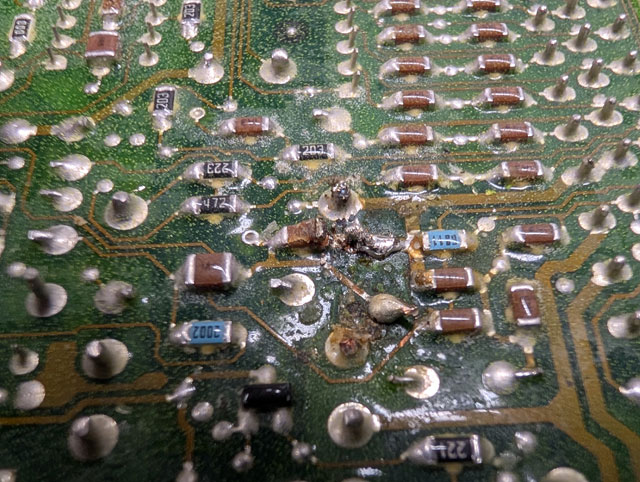 Capacitor on the back blown, not even on the board anymore. On the flip side is one of the capacitors that usually fails, guessing the rebuilder damaged this one during the 'repair' and it recently failed. There are other suspect spots on the board as well, all near previous repairs. Dont have a spare 351/E4OD PCM so i ordered one from Blue Streak Electronics which is supposed to be here Friday. Here's hoping. |