|
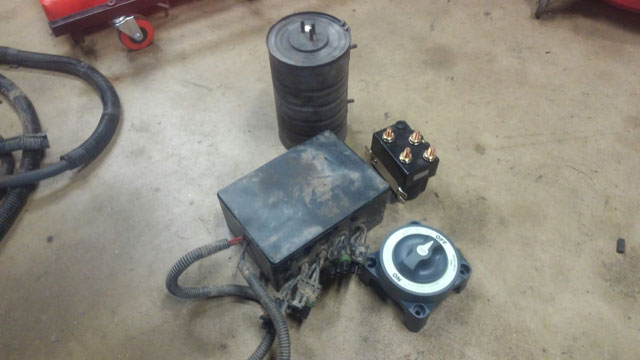
I wanted to put a CB back in this thing, so i decided to use the Cobra All-In-One i used to have in my old Samurai. If youve never seen one before, this is the whole thing! 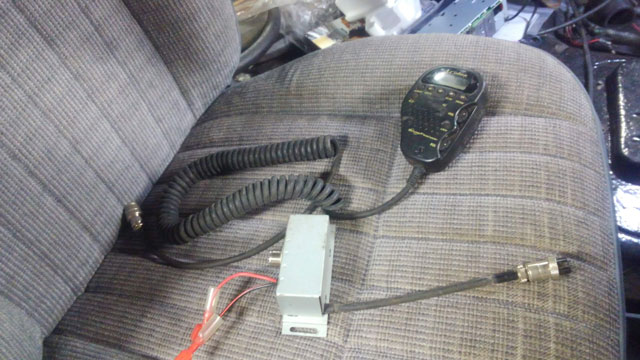 That box goes under the dash somewhere, and all the controls are in the mic. Considering how small Samurais are, it was nice to have something this small to fit into it easier, and the mic is removable so i always kept it in the glovebox until i needed it. It wasnt easy, but i was able to get it stuffed into the dash back there: 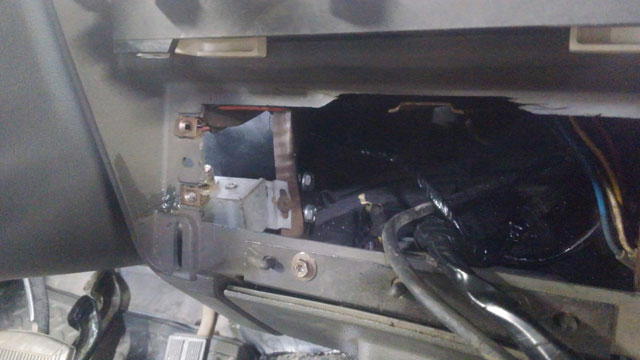 I have yet to route the antenna wire, that should happen next week. Plan is to put the antenna in the corner of the bumper to protect it. I gotta get a new one; i still have the antenna from my zuk but its only 3', i dont think thats gonna cut it there!  So this is the headunit i settled on. Kenwood KMM-BT728HD. Its a digital media receiver which means it doesnt play cds, but it does support ipod control, which is all i need! Its also super stubby, which means ive got extra room behind it for things like my CB antenna cable and other wires. 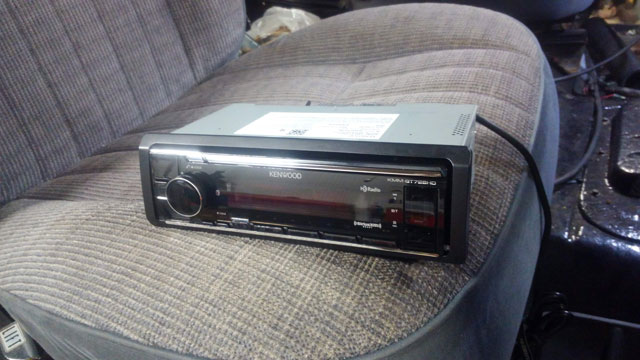 So this officially puts the interior at ~90% complete now! 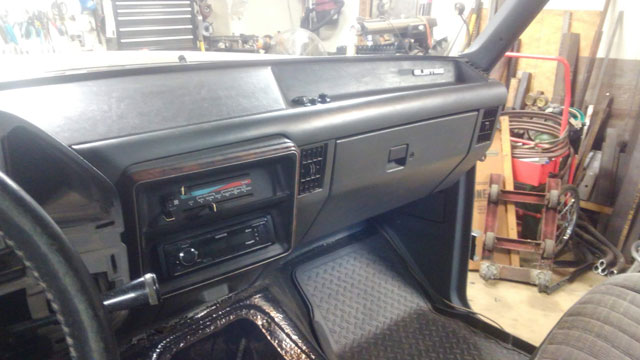 Ok so lets move into the interior for now. I needed to get this mess cleaned up. Its wiring for the door + speakers, dome light switch, elec tcase ecu and the heater box. So i disassembled the harness and routed them all separately to clean this corner up a bit. 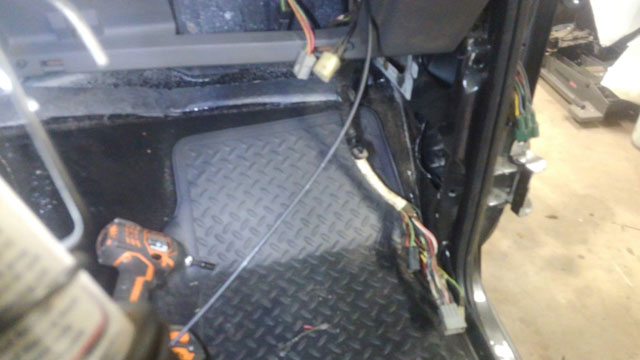 Much nicer! 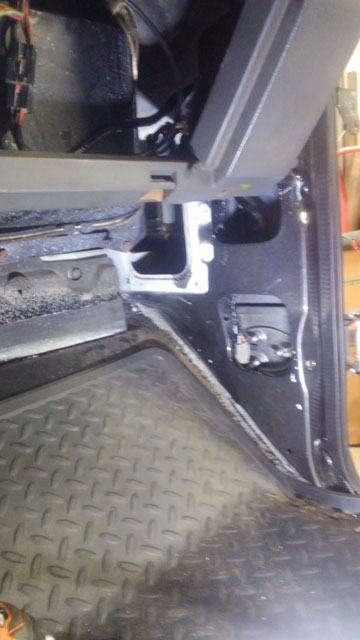 So now heres the reason im working on cleaning up the kick panels. Im retrofitting the 80-86 floor vents in this thing! 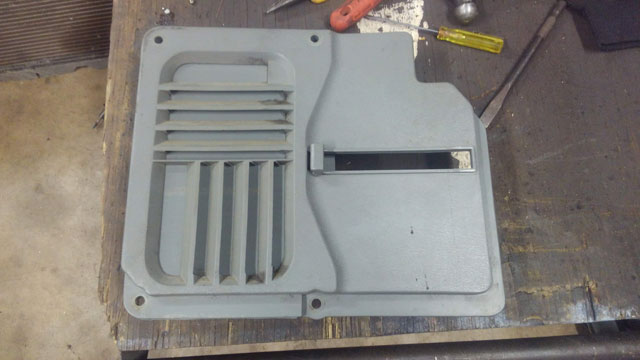 The 4 screws that install it hold it together, but theres also 2 plastic pins that glue the assy together. So we have to carefully disassemble it, so we can re-glue the pins later 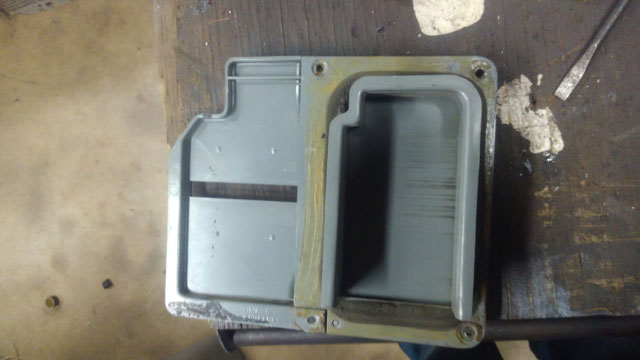 The whole thing broken down 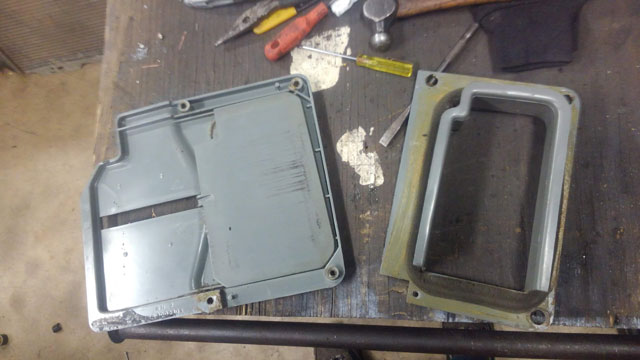 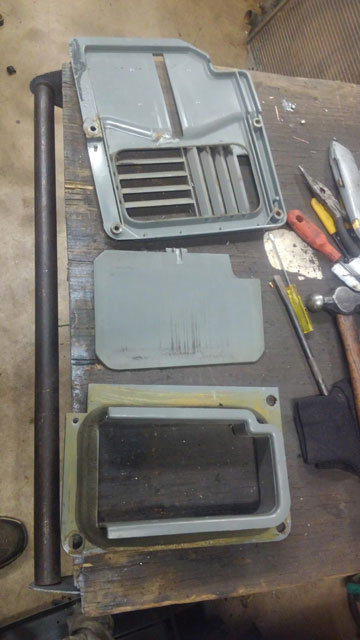 Parts painted, and i bought cheap foam and weather stripping from Lowes to replace all the dryrotted seals 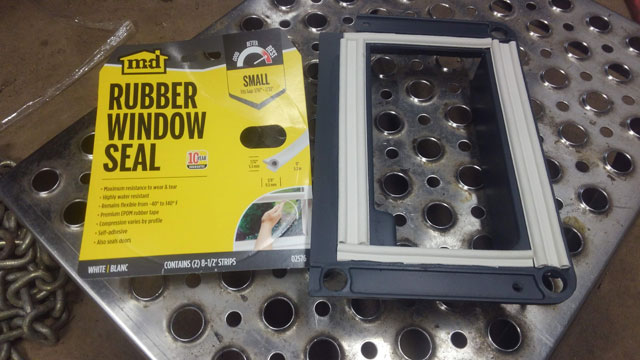 the halves clamped back together, so i could re-epoxy the two pins  all done, with the correct kick panel 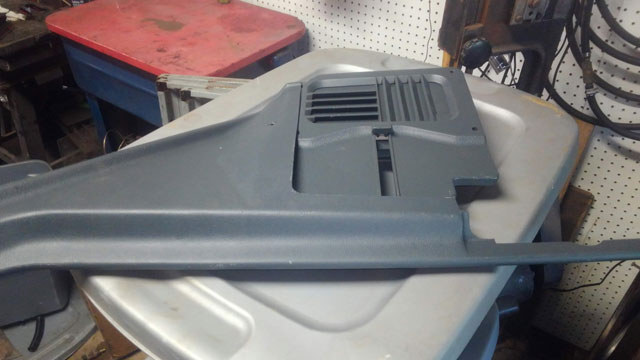 ...and finally, installed! 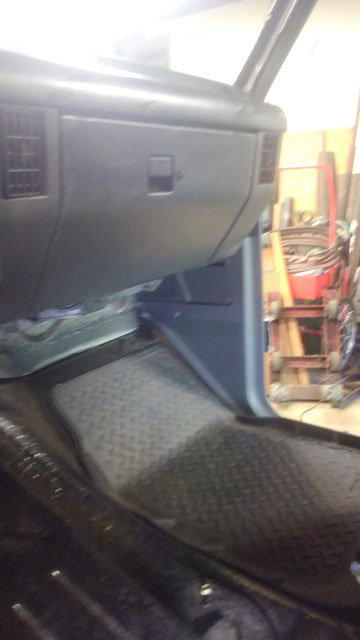 I hope this was worth the effort, i guess time will tell! So for a very long time, now, my remote oil filter has been hanging down underneath the bronco. So its time we get this thing reinstalled! 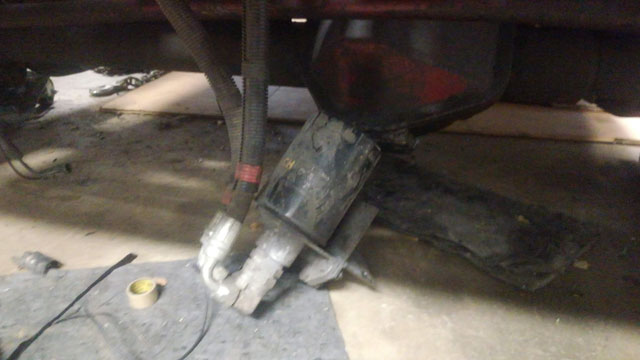 With my fenders liners being different this time, my original mount/location for it no loner exists. So im doing it a little differently. Bought a derale mount with side ports, and the stubby Motorcraft oil filter 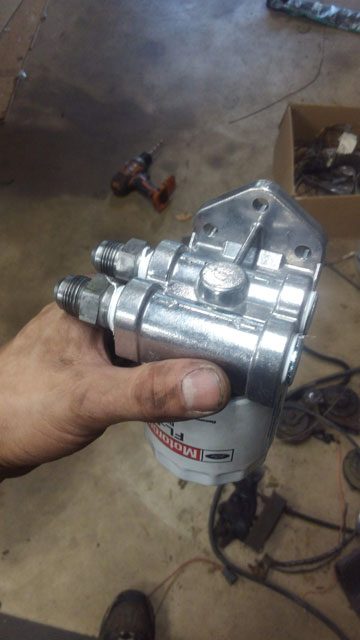 This is where im mounting it. It look super roomy there, but once you add in the intake tubing and the radiator, its actually very tight. 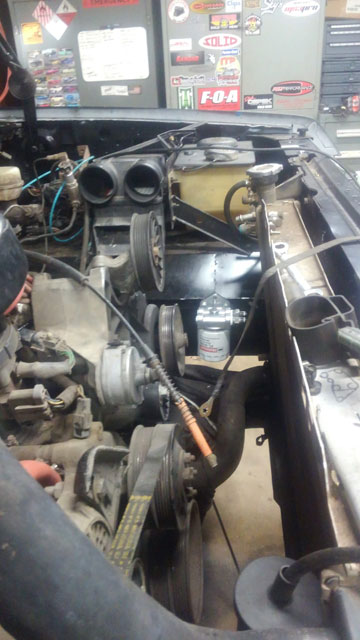 My original hoses ended up needing to be shortened 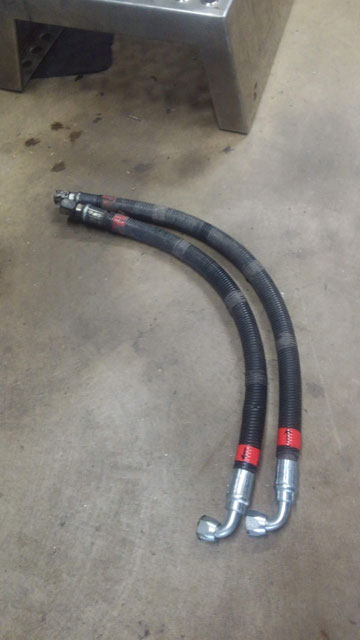 installed: 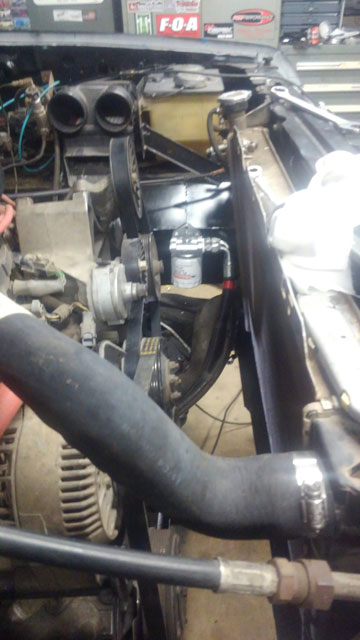 closeup w/ intake reinstalled. Theres just enough room to fit it all, and just enough room to drop the filter 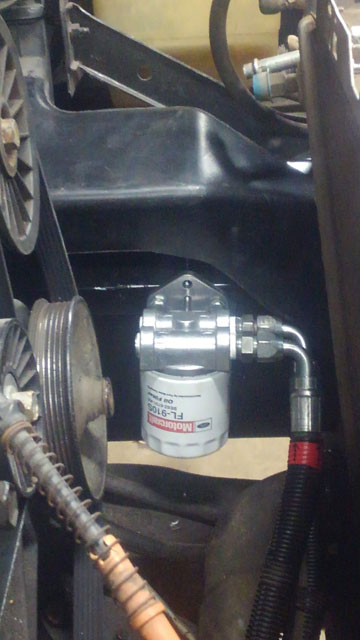 So with that done, lets look at the battery tray. This whole section of the harness was disassembled. Ford had very long pigtails going to the head & turn signal lights so i shortened both to clean up the mess of wires. That plug that hangs down near the headlight is 2 grounds for the harness (it goes to the battery ground on the frame). One for the ECM and one for the ABS ECU. Obviously im not using the ABS anymore but i left the ground in the harness. I also added an additional two ground wires into the plug which both ground to the battery ground as well. These wires also ground to the fender, which gives me a good ground location for some future electrical accessories. 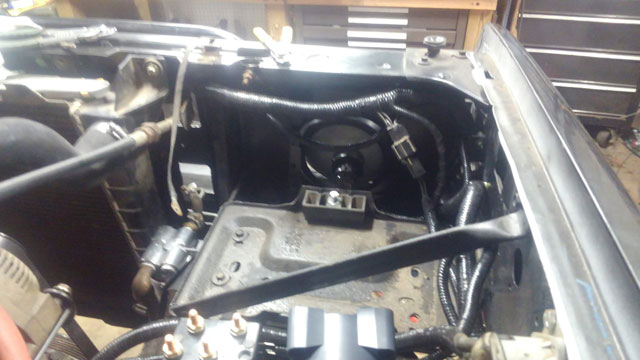 Starter relay reinstalled, all the alternator wiring plus my 250a mega fuse for the alt. Basically, the last of the harness is now done except for battery cables! 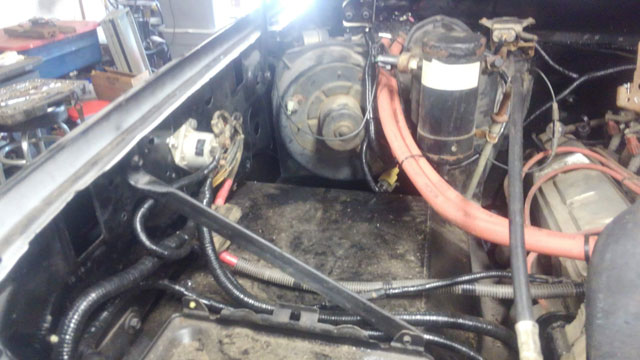 However, that dead space of the fender is gonna get filled up, once i start adding in everything else i still need:
 Been tinkering with this thing on and off while rebuilding my buddies Caprice Classic, and then in short breaks while fixing the green bronco. Ive been very scattered on what ive been doing, but this portion is now done, so here's an update! I started working on the interior. Got the B-pillar trim and seatbelts installed. Lower belt cover panel, the steel frame work for the rear cargo panels blasted painted & installed, and even the whole harness for the rear cargo light and rear speakers (new speakers installed as well): 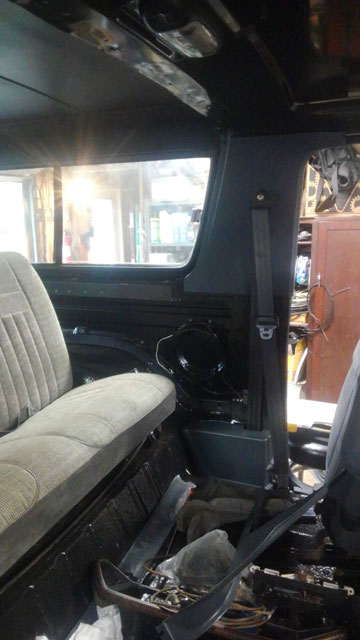 I dont have a pic, but i completely rewired the rear right speaker. From the factory, it would run across the floorboard from the left speaker to the right. But i dont like having those wires exposed, so i ran them thru the dash, under the passenger kick plate to the passenger B-pillar and to the speaker from there. So now theres no exposed wires in the interior whatsoever. So, back in the spring i found these in the junkyard: 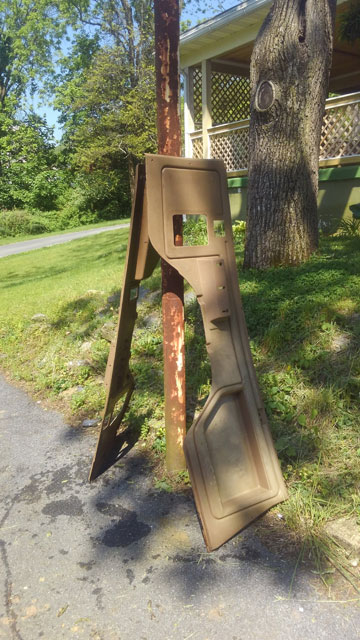 In good shape, just tan. So it took a while, but i got them cleaned, sanded, primed, and painted! 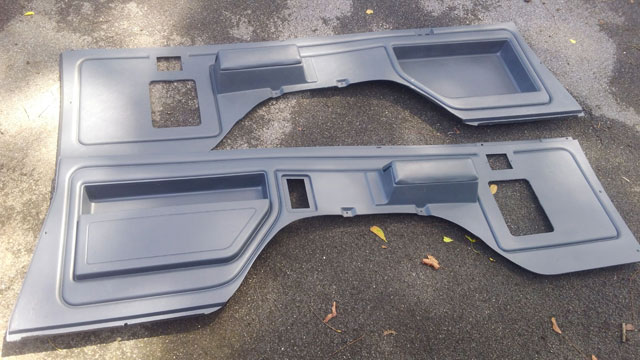 applying sound deadener: 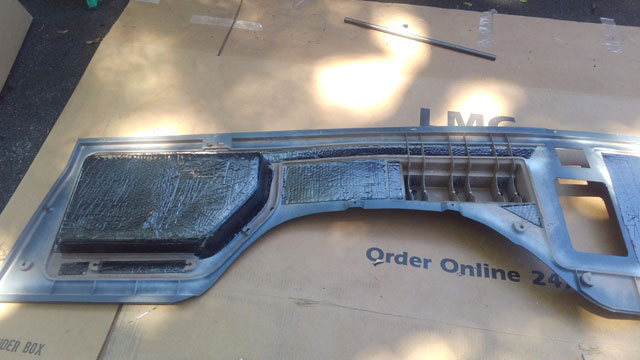 ...and installed! 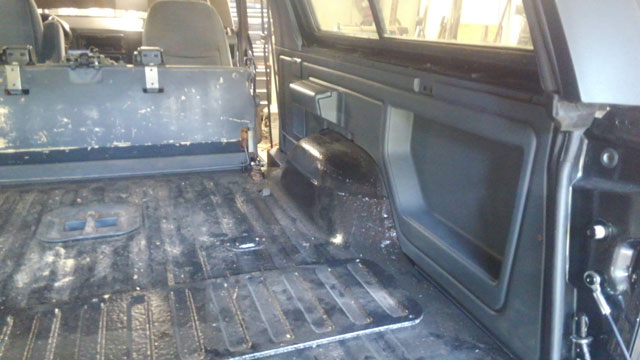 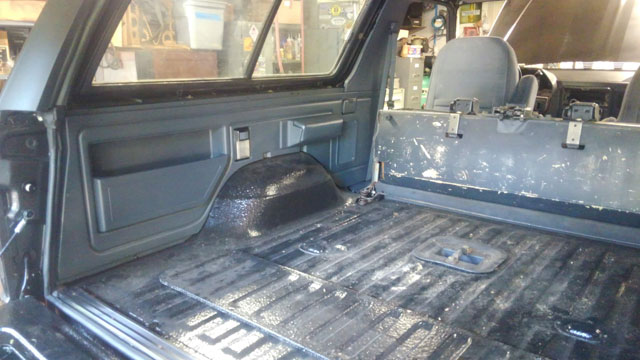 In following with my 'no chrome' theme, i disassembled the cargo light, sanded it, and painted it black. Then color matched the button to the panels. I also bead blasted the ash trays, and color matched them as well. I now have a full set of black hard top trim for the interior, which i might install just to finish it all off once i touch up all the pieces. So this was kind of a big deal for me, because it means the back half of the interior is now 100% complete! I have been tinkering under the hood this whole time working on the wiring harness, and trying to come up with a new location for the remote oil filter. There is a lot of stuff im adding (remote winch wiring, elec fan controller, aux lighting, OBA, line lock, ARB control + more) so i still have an absolute ton of wiring to do before its all done, but i dont need all of it done right this second. So im working on the engine under-hood harness currently. If all goes well, i should have all of that sorted by the end of the week. Cross your fingers, cuz if all goes well, im finally gonna fire the engine next week! 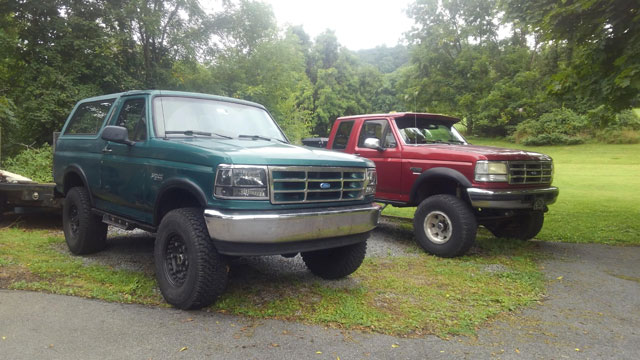 It lives again! What a crazy adventure. So we had the storms from the hurricane that dumped almost two feet of rain on us which definitely delayed me! A poorly installed intake gasket that i re-did, new Ford Racing lifters, and the craziest coolant leak youve ever seen that led to swapping out for a different set of stock heads, but finally she's a runner once more! Hopefully there will be no more problems popping up, cuz i am ready to turn some wrenches on the big bronco and finally get her running again! Got the heads off today: 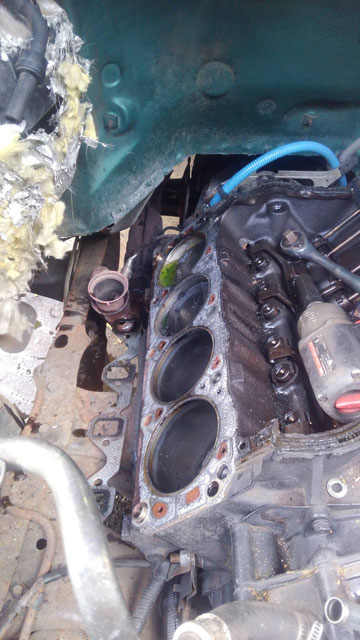 #4 was definitely blown 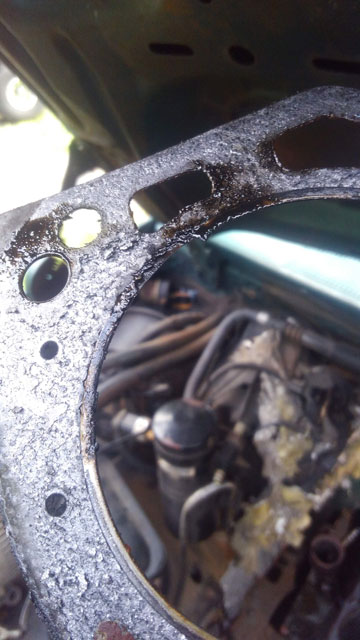 Luckliy the rest of the motor appears ok, so i guess im get some gaskets and put it back together! |