|
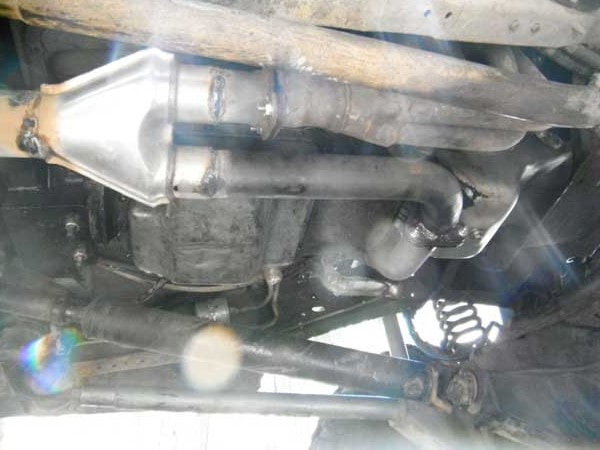
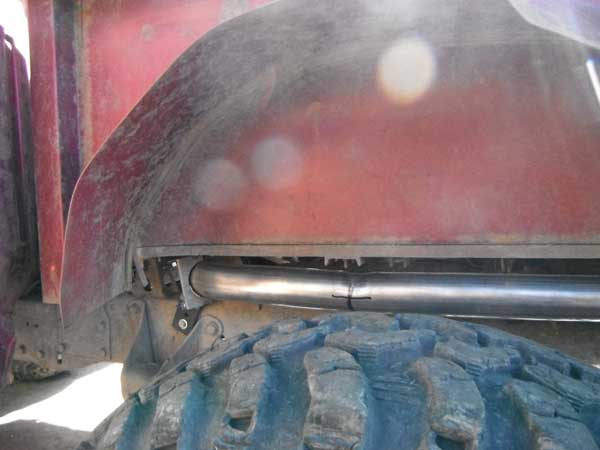
The closest matching header i cound find, was made by Doug Thorley. Its ceramic instead of stainless, and they are worth more new than i paid for the engine/trans. But, theyre only available in ceramic coated and mine are stainless. Both have 3/8" flanges, 1.75" primaries, and both have a d.side header that wraps down under the motor. I bring this up, because i was unable to find collector gaskets that matched the flange, including gaskets from Thorley. So mine are either old ones, or some other brand i cannot locate. So after a bunch of wasted time ordering miscellaneous gaskets that didnt fit, and i finally broke down and made my own set.  They are made from a sheet of Percy's carbon collector gasket material, available from Jegs for $12. it looks like carbon sheet with felt on both sides. Apparently they are working, because i dont have any leaks, altho it does not have much run time on it at all, so we will see. I finally got the exhaust done yesterday. Its tucked up as high as we could get it. Actually, i removed my OBA tank to make room for the muffler, so i am going to remount that in some free space under the tool box next to the batteries. The exhaust is 2.5" into the Y, 3" out, to a Flowmaster. Just a mild rumble, nothing crazy, and its nice & quiet. IMO theres nothing worse than a loud truck when youre trying to hear your spotter offroad, so i think this will work out well. 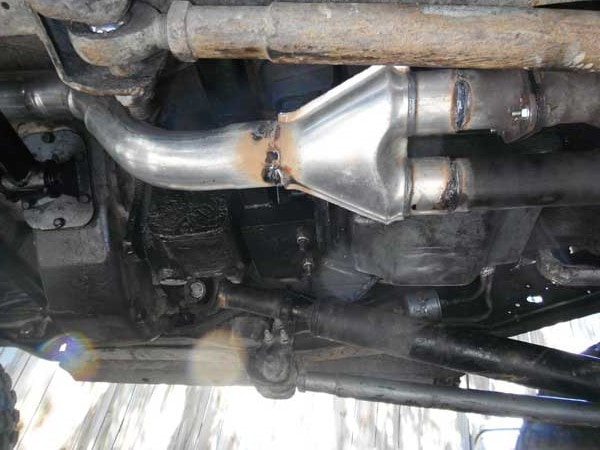 The O2 sensor is in the top of the y-pipe, but you cant see it.
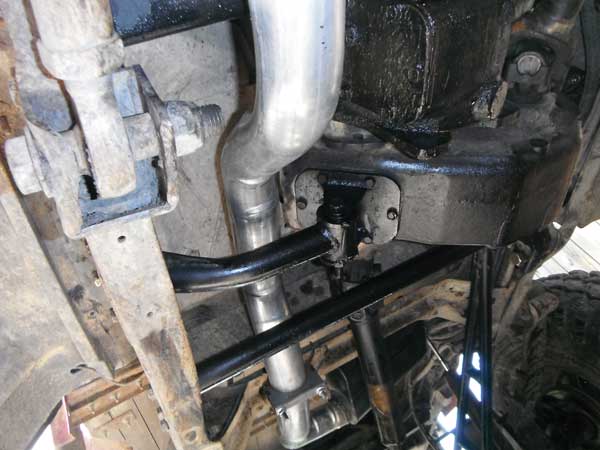
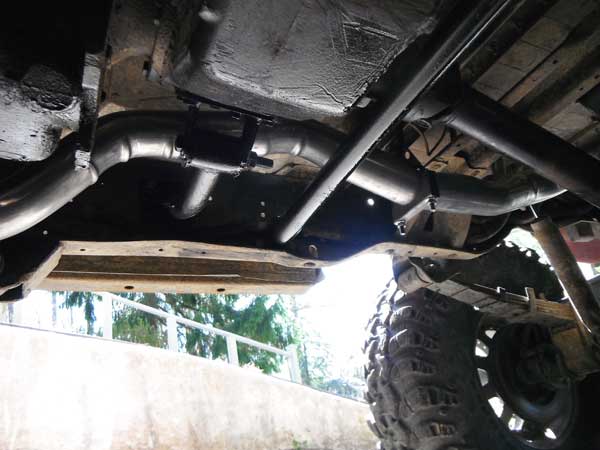
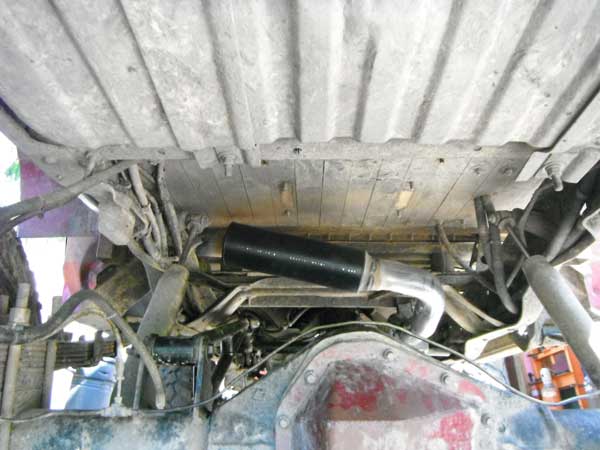
Looks like a tight fit but its not, the pipe is right above the spring, and still underneath the bed. The tire comes up into the wheel well and slightly rubs the side of the bed, but will never come close to the pipe. These pics dont show it well, but the pipe exits right next to the shackle hangar. Its tucked up pretty tight, but i didnt notice until now that the pics make it look like it sticks way out. I dont think ill be able to smash it on anything. 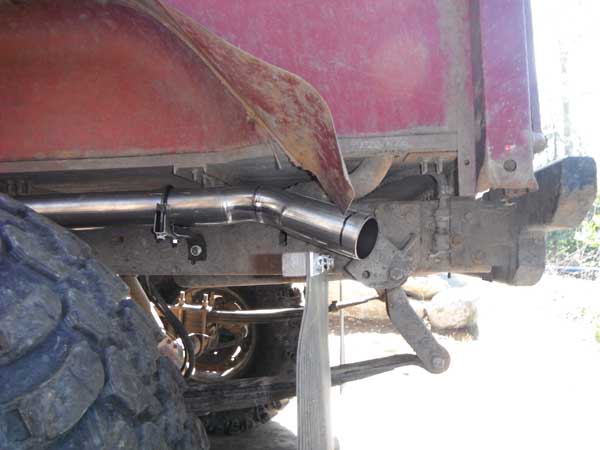 There was no room for the muffler forward of where it is, with all the extra xmembers under there. And once the muffler was in there, the only way to get back to the pass side was to made a 180º bend, so i opted to have it go out the d.side. It is a very tight fit under there with 3" pipe. I could have had the muffler go on straight and then have the pipe run under the tank & out the pass side, but ive already smashed the tank a few times, i know a 3" pipe wouldnt survive under there. This whole exhaust is a series of compromises to get the pipe tucked up where i wont smash it as easily. Ok, heres where we left off:  Made a plate to bolt to the York 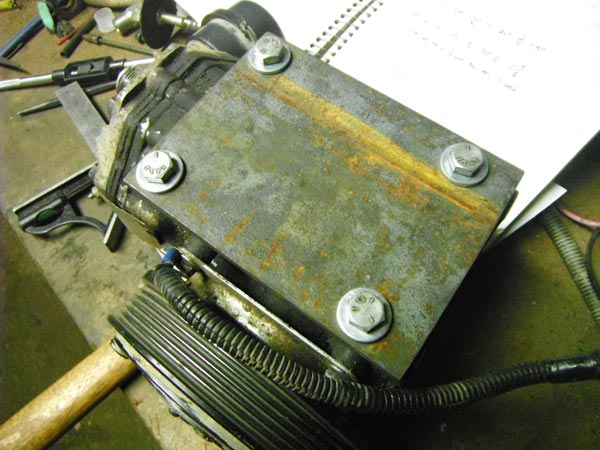 ...and one to bolt where the idler was. Note: the mounting pattern isnt square: 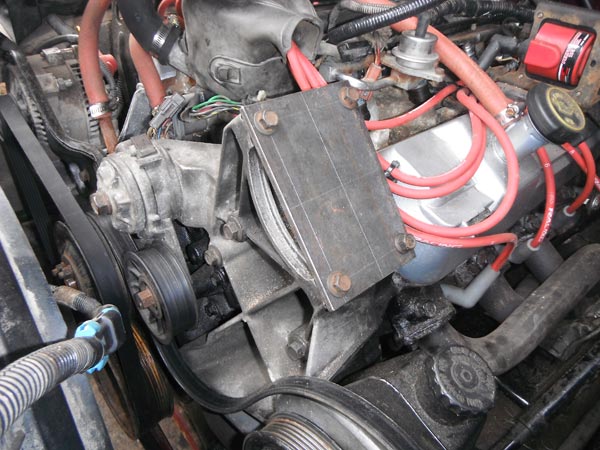 This next part was a little difficult. I had to figure out where the clutch had to go, so the belt would run square. Not impossible, just requires measuring the clutch depth and comparing it to the ilder. Tacked in place to take some measurements: 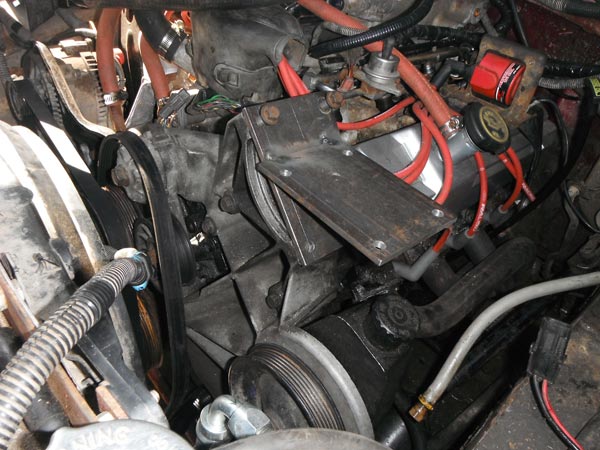 Everything looked good, so i welded it all up and painted it.  Pump installed on bracket. Gotta do this first. Those 2 bolts on the bottom just barely fit in there 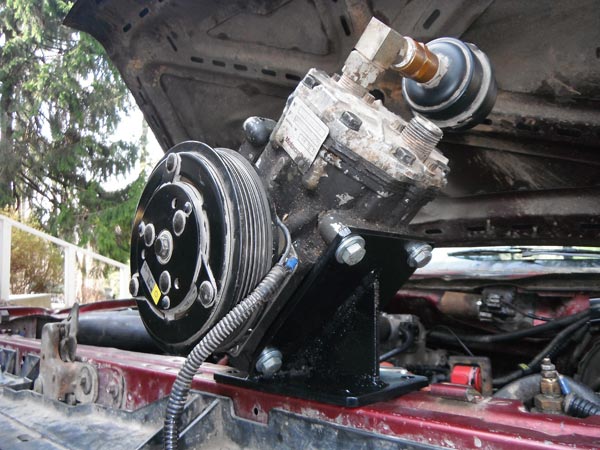 ...and installed! It might seem like its high up there (it is higher than the idler was), but its nowhere close to the hood and i have good belt engagement with both the York & the Saginaw. 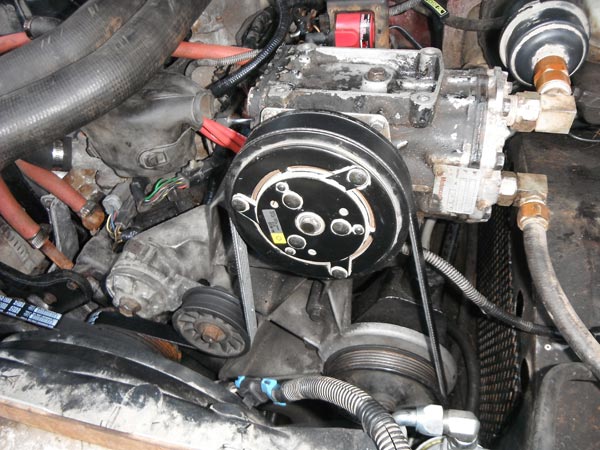 And here's my new custom belt routing diagram, complete with belt p#s  So the truck needs an O2 sensor, but im putting it off till i get an exhaust on the truck, which wont happen for about two weeks. So today i decided to mess with the OBA a bit. I needed to find a left hand York, since mine is right hand, and cant be laid over the way i want. Well, it just so happens i have a left hand, but the threads were broken off the pressure port. Well, that is no longer the case! Ive had this pump sitting around for close to 10 years now. Its off a 70s Ford, and the outlet port was busted off, but i saved it because its a 210, and the pump was good. Well, today it got revived! 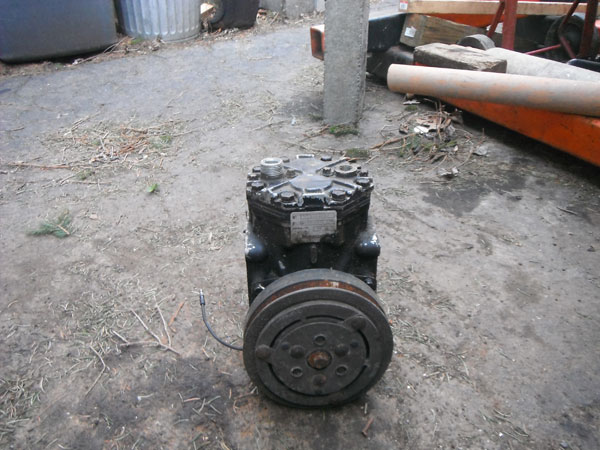 With the top cap removed. Pretty neat looking. The valves in the middle are the pressure side, the little holes around them are on the suction side.  Top cap of mine removed. Not quite as clean! But notice it is a mirror image. 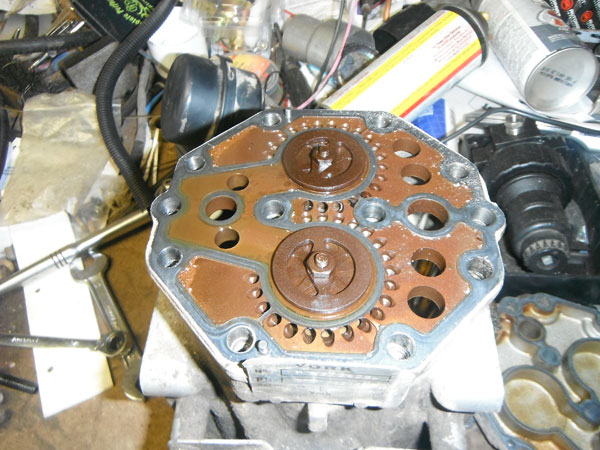 So, you just take the cap off the good one, rotate 180º, and reinstall on the other pump. Done! 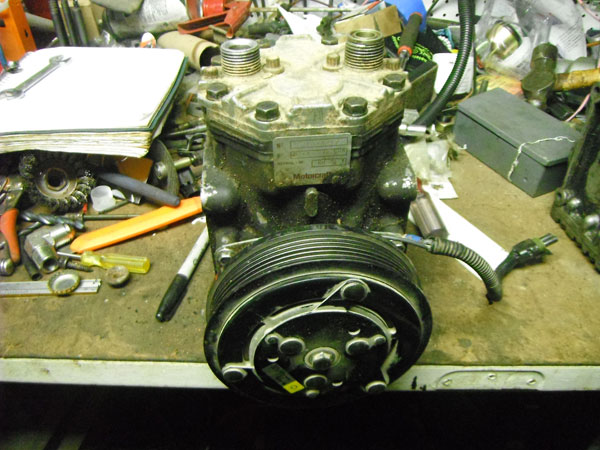 Tomorrow i will start designing a new bracket to mount it on the motor. Shouldnt be too hard to have it all done by the end of the week. Remote oil filter hoses finished, wrapped in loom, and i marked on both ends which direction the oil flows, so i didnt accidentally plumb it backwards: 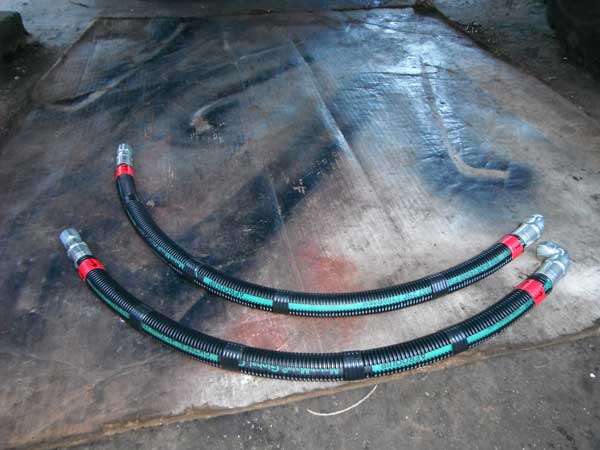 My homebrew hackjob O2 sensor, until i get the exhaust done: 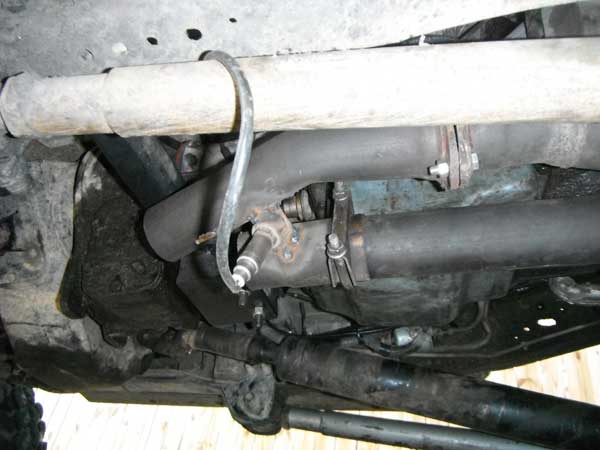 Airbox mods! Since i moved the box to the other wheel well, i had to move the crankcase breather to the other side of the box. So, drill a 1" hole, file a small notch into it for the stock filter and reinstall 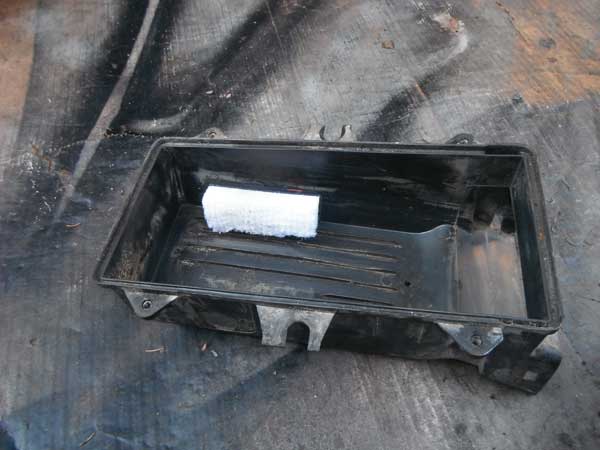 ...and the airbox installed in its new home 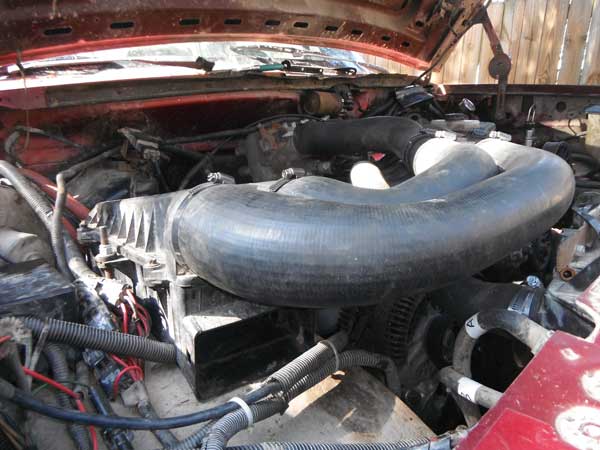 I cut the last elbow off the end of the 86 hoses, and it all fit together nicely. In this pic the IAC & crankcase breather had not yet been plumbed. 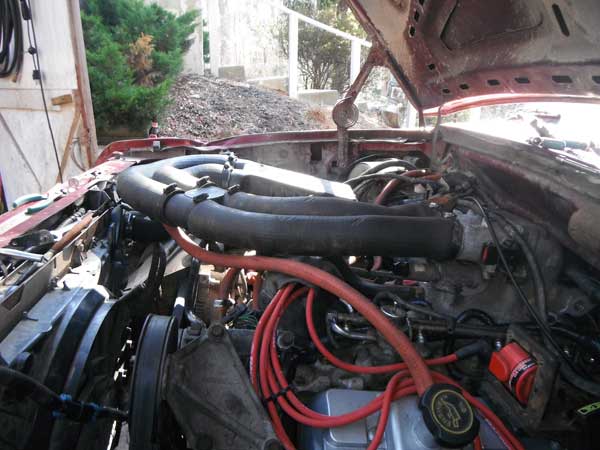 Plently of clearance under the hood  One set of freshly rebuilt injectors (just did this about 3 hours ago) 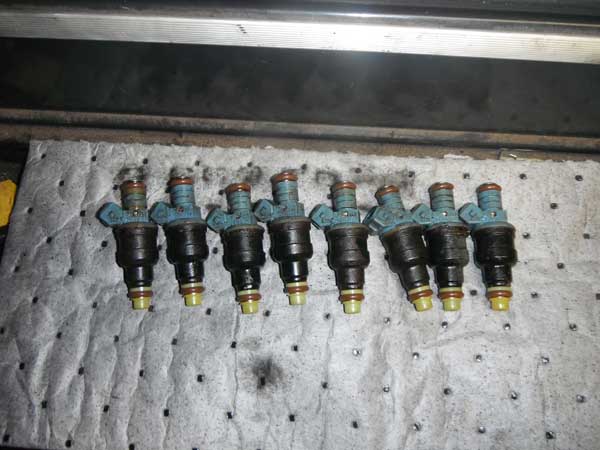 Also, its good to double check your firing order, to make sure the picture you looked at was right. The truck is now running 100%!! Items left to do:
|