|
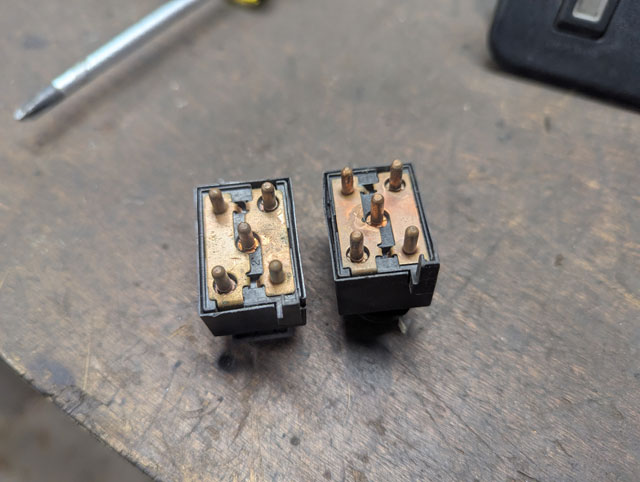
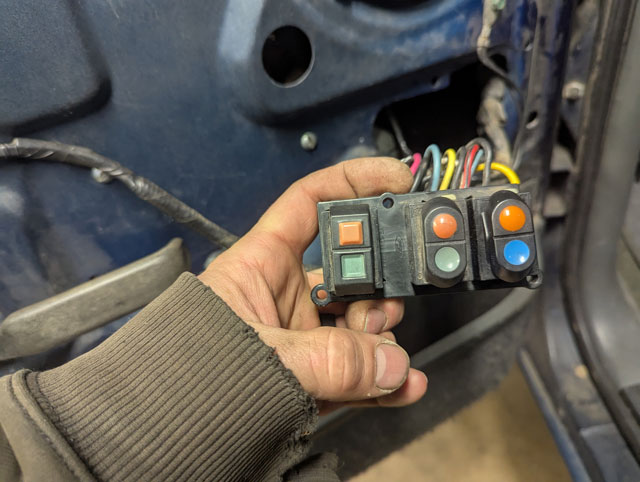
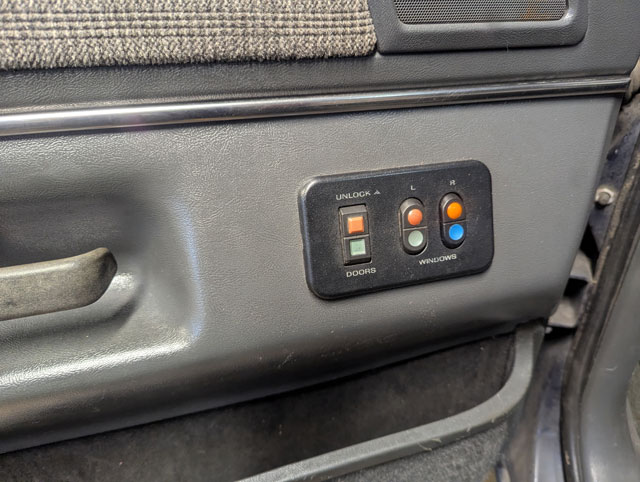
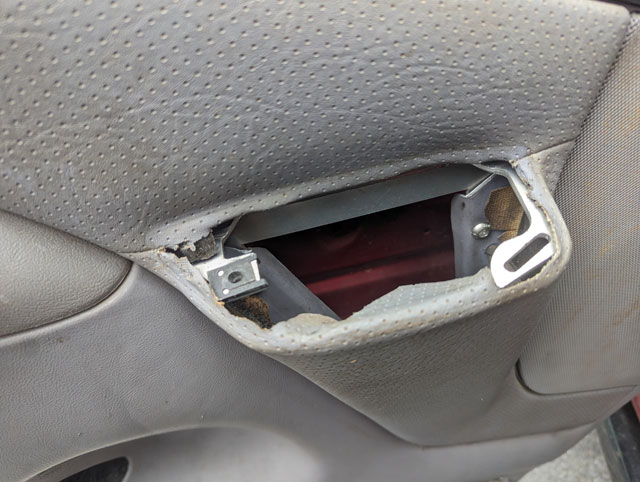
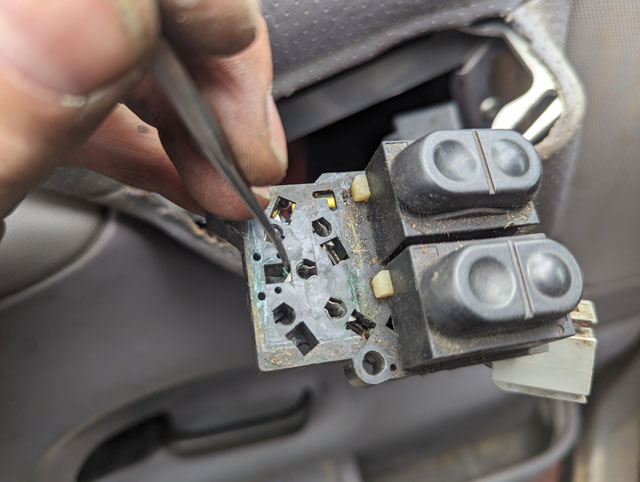
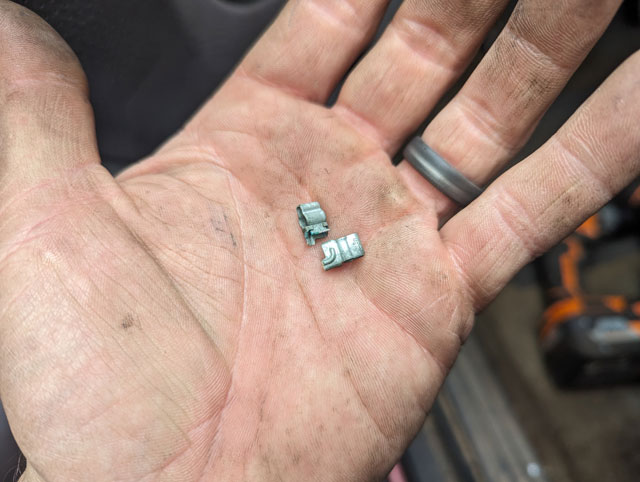
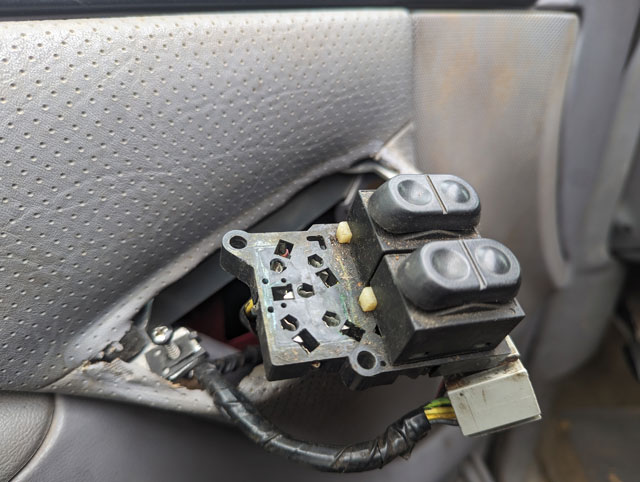
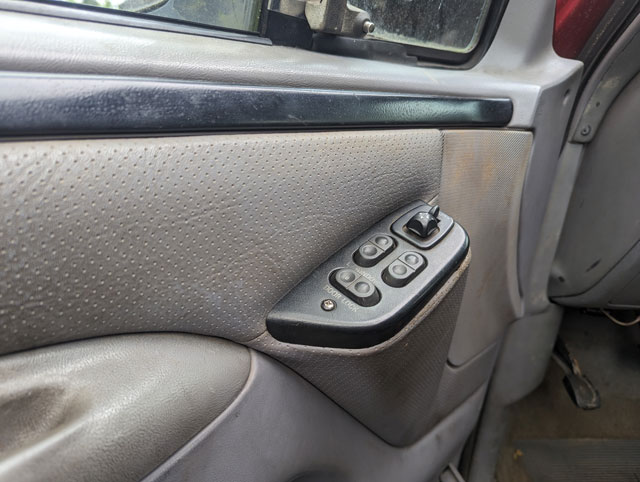
Couldnt get the window in the back of the green bronco to roll down from either switch. Hot wired the window to get it to roll down and then did some troubleshooting- turns out it would roll up from the key switch in the bumper but thats it, no other function worked on either switch. 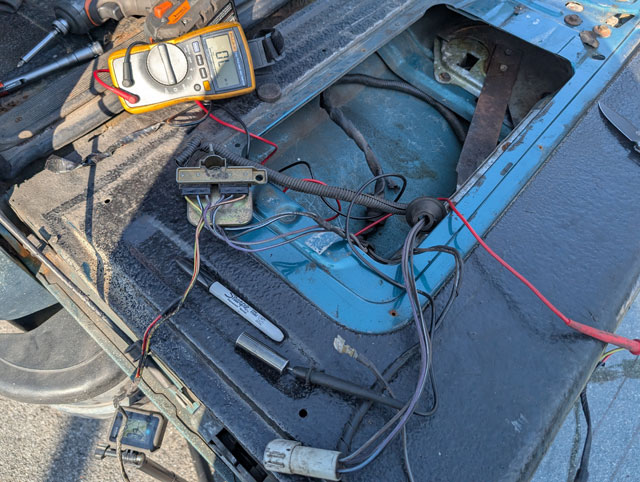 Dug deeper, and figured out that the ground path through the 'Up' switch in the tailgate had failed, causing it to not roll down from the tailgate switch 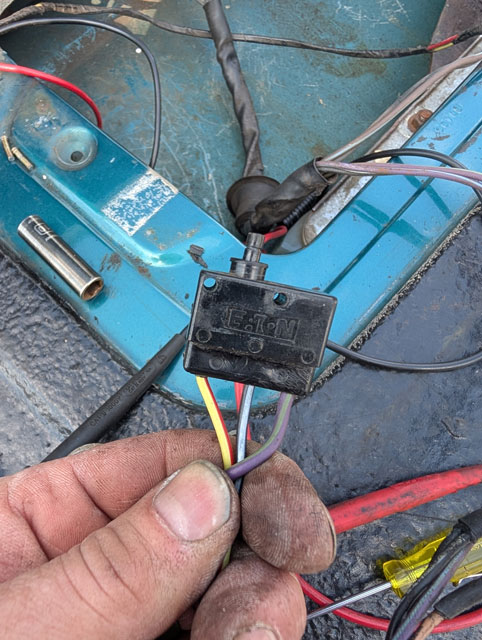 Decided to do some destructive exploration. Busted the corner off the switch to inspect the contacts. Fixed it, but i also lost the spring and busted the corner off, so technically its still broken lol 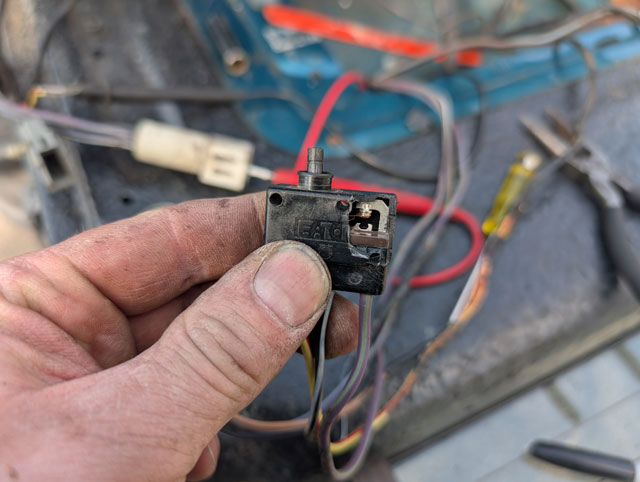 With the path through this switch broken, neither up nor down would work on the dash switch, and down wouldnt work on the tailgate switch. Fortunately ive got a parts bronco in the garage so i stole one of the switches out of that harness and bolted it into mine using some 2.5mm hardware from one of the r/c trucks 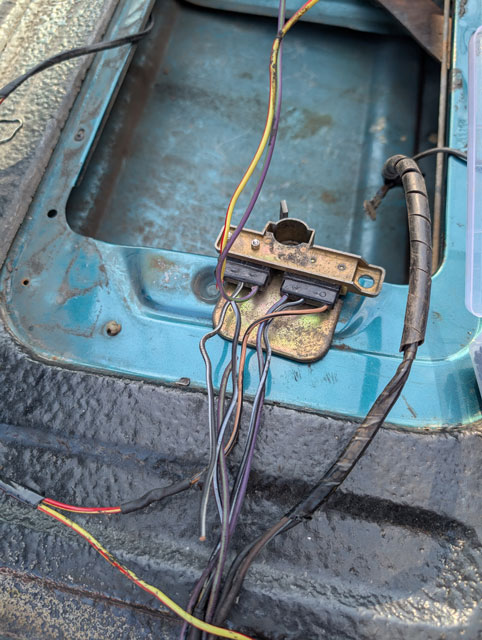 ...and here we are, replacement switch successfully wired into my harness. Now i just have to put it back in the bronco and we're back in action 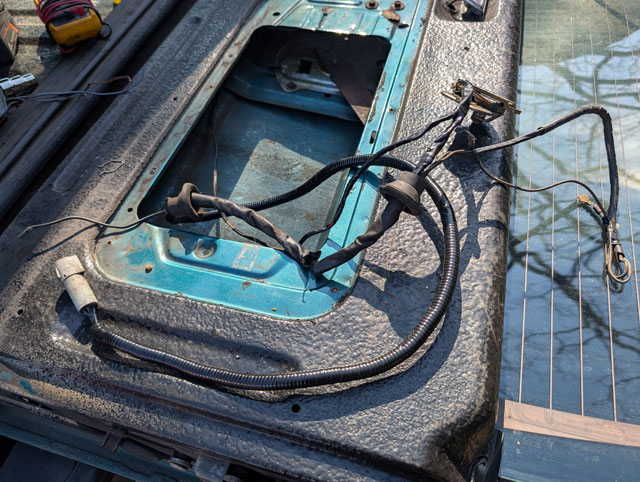 Ok, job done, time to get back to the parts bronco!   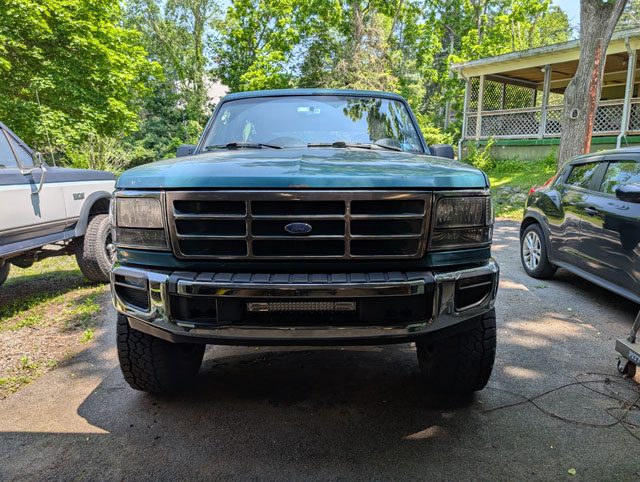 Bumper's installed, now weve got to wire it up. First up, i found the pigtails for the OEM fog lights  I built a harness using them for both fog lights, plus a deutsch connector for the lightbar 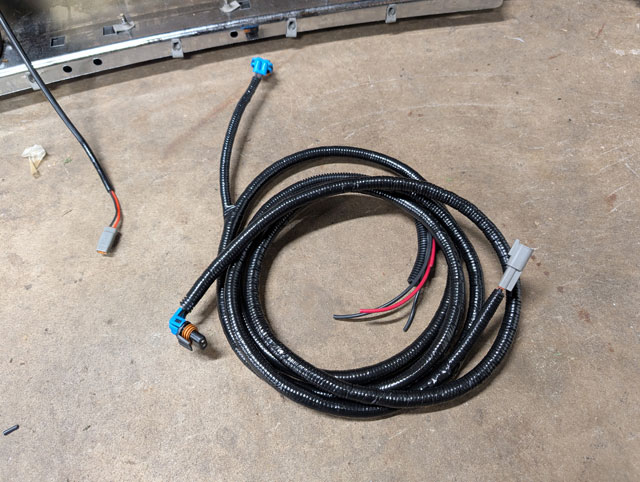 This pic shows how tight the bumper & fog light is to the body, how i trimmed the fog light bracket for tire clearance, and the harness itself, safely tucked up out of harms way 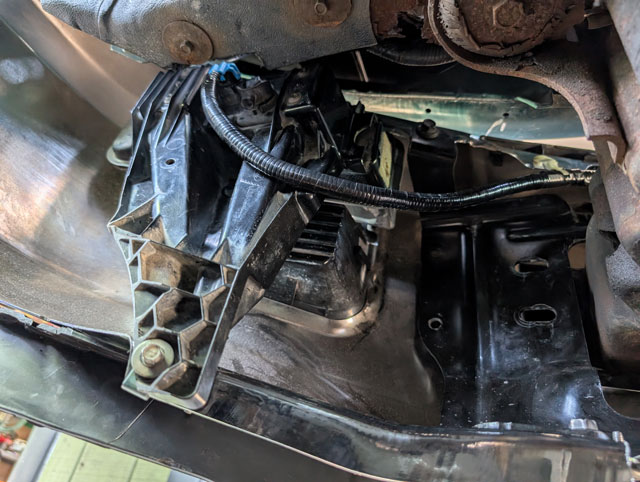 ...and the tie-in for the light bar. I reused some old OEM wire keepers to keep the harness tucked up nice and tight  i bought a small 2-relay fuse box from Amazon 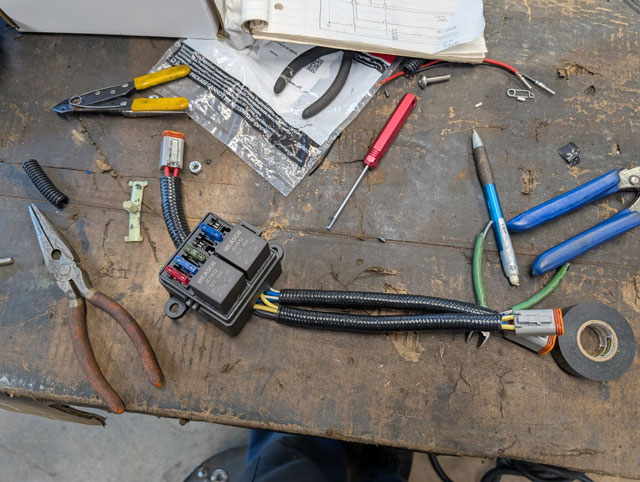 ...that i mounted here in some free space next to the battery 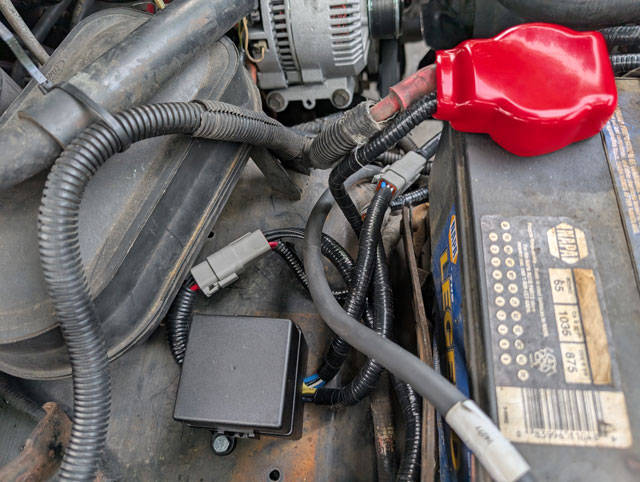 Im using 4 of the fuses. One for switch power, 2 for the two relays, and a 4th that i wired up now, but will be used for a future project. For control wiring, i found these cool flange connectors from deutsch that im using to pass power back & forth thru the firewall  From the firewall (under the dash) the wiring comes to this plug  which plugs into this 2-gang switch panel using a a pair of Carling Contura V switches 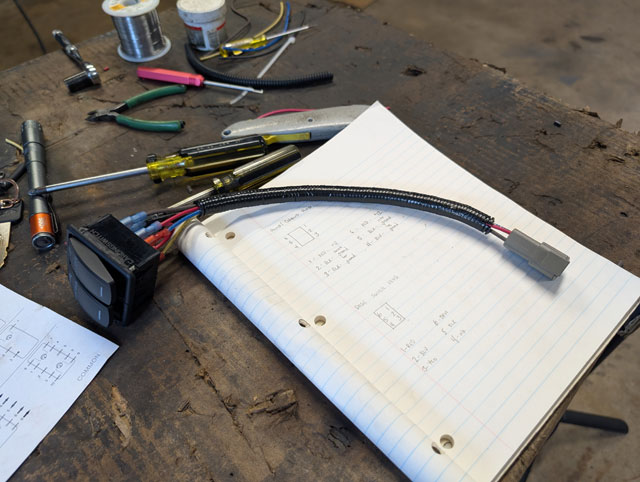 cut a hole in the dash to make some room... 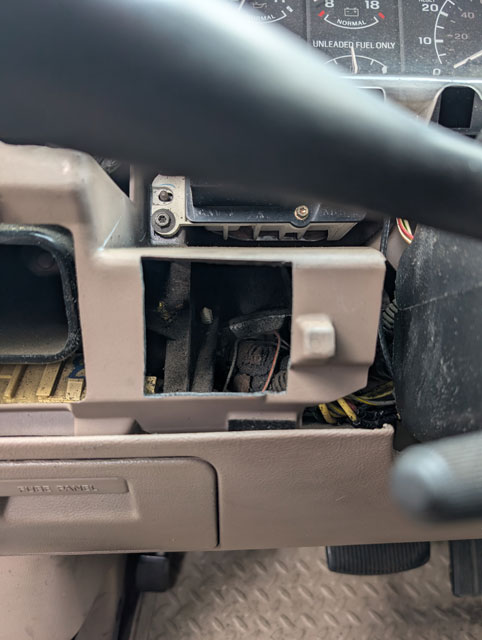 ...and the switches are installed!  ...from the driver seat  ...and the completed project!  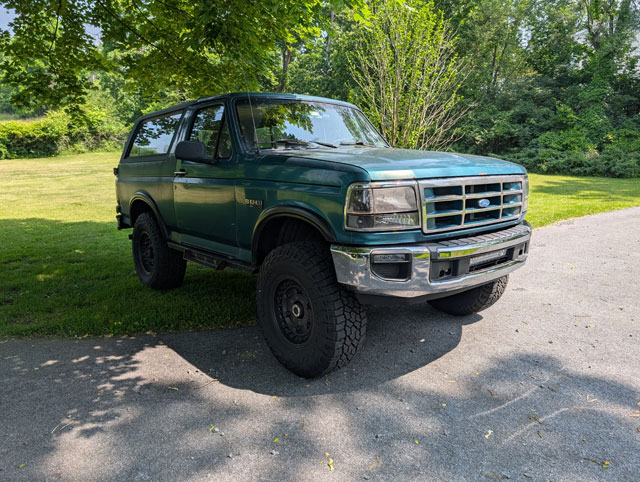 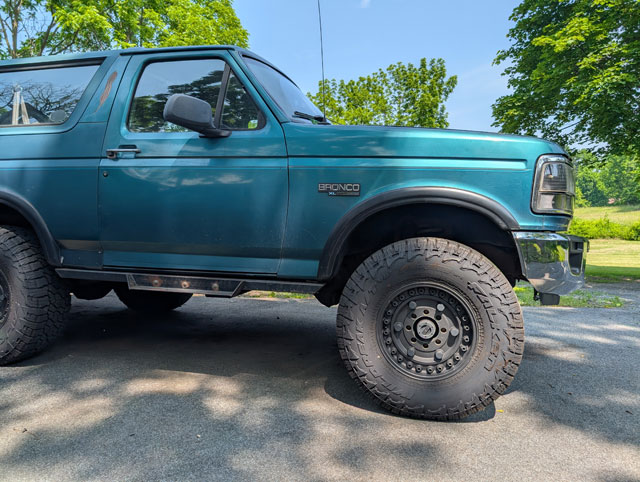 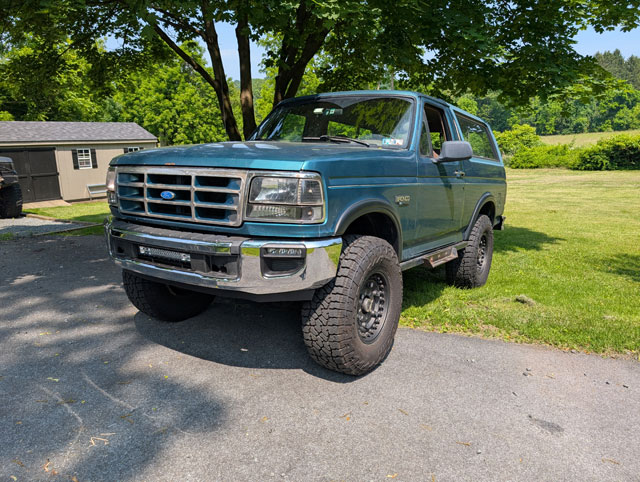 Weve got the '90 in the garage for some repairs 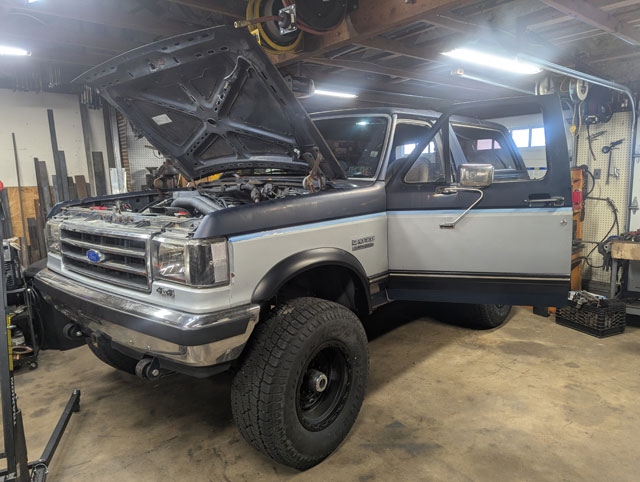 Troubleshooting the door locks, it seems the drive door lock switch has a burned contact. Took it apart and cleaned it but i cant get it to work any more. Did a search on line, and Dorman makes the power window switch, but not the door lock switch. Of course, they make them for the 92-97 trucks, but once again theres no love for the Bricknose trucks. So lets see what we can do. I dug out some spare parts; heres a spare driver door switch panel for a 87-91, and a passenger door switch panel for a 92-97: 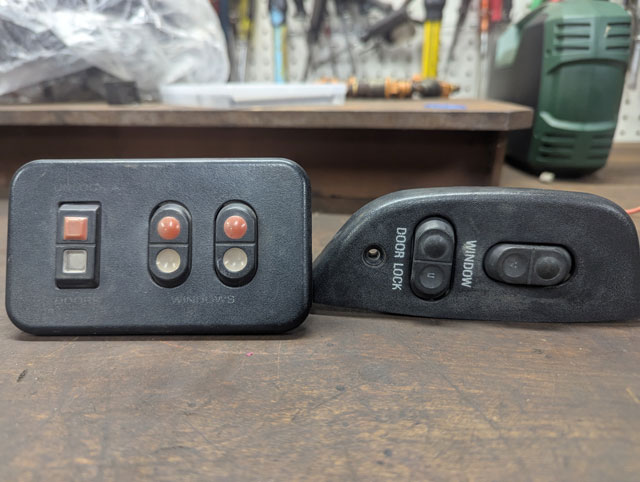 At first glance, the 87-91 door lock switch has a very similar footprint to the 92+ switch. Even the alignment pin is the same. So this is promising.
It even plugs right into the socket! And the door locks work properly as well 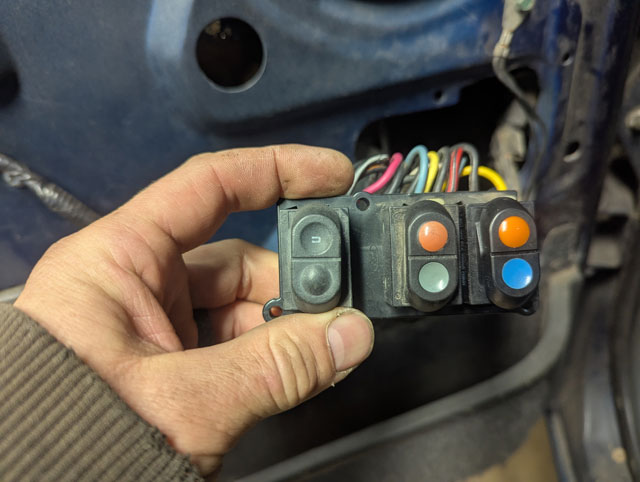 It does look kind of dumb in the older door panel though 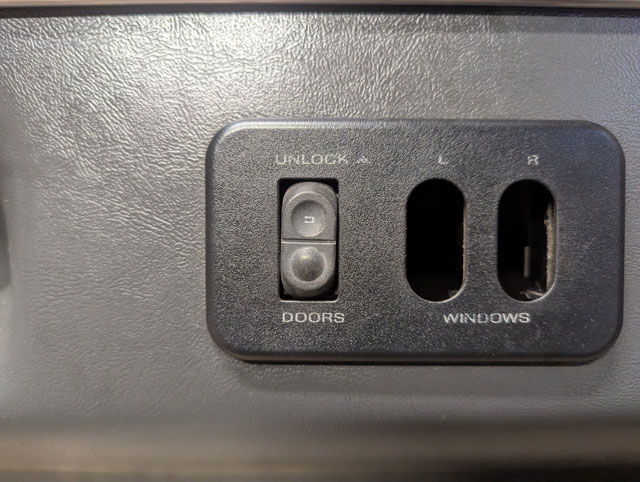 So i popped the covers off both switches and aside from the rocker theyre basically identical, which means we can swap the old squared-off rocker onto the newer switch body 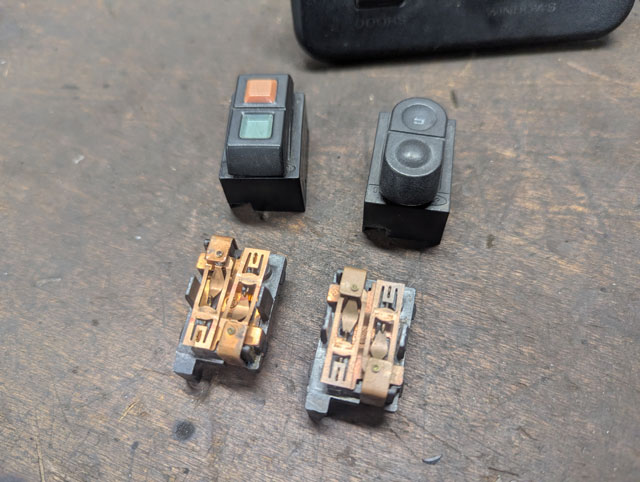 ...and done!
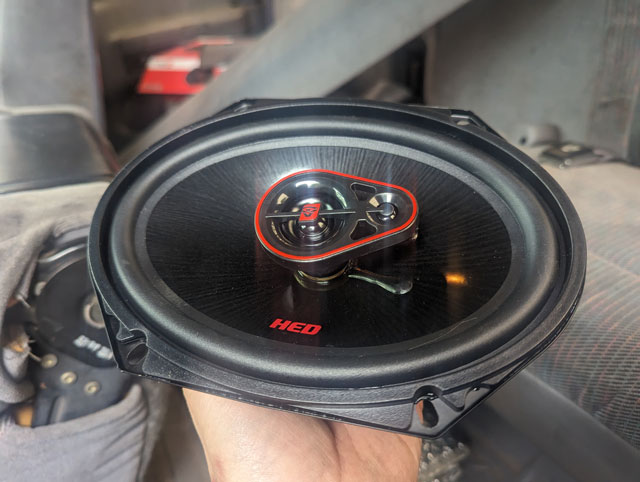
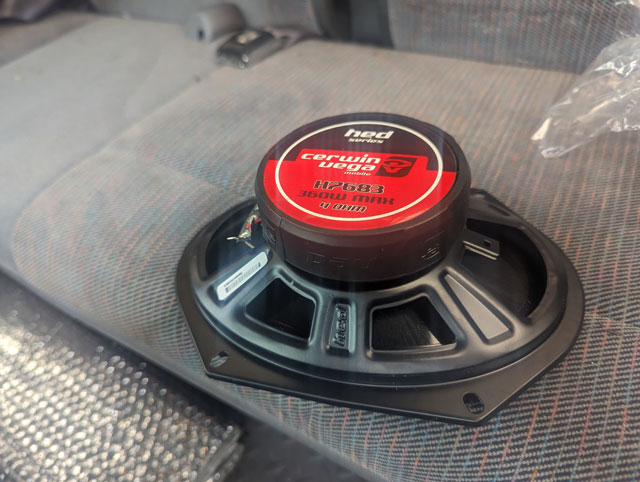
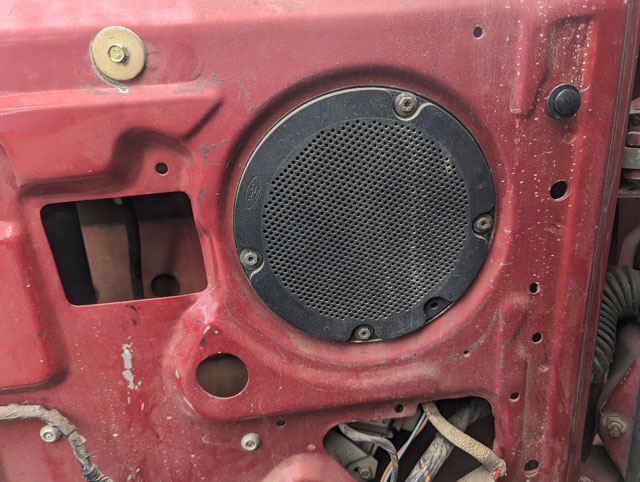
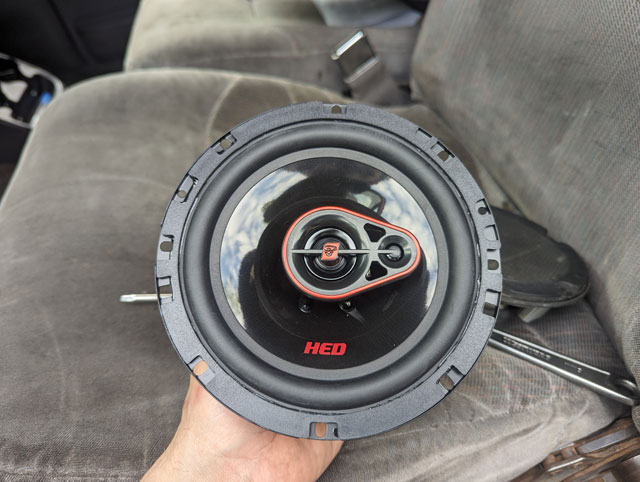
So this was actually a pretty easy way to fix the door locks, and since you can get replacement switches for the 92+ trucks, now the next time i have a switch fail ill just grab a brand new 92+ switch and swap the rocker over, instead of trying to get the contacts in the old switch cleaned up and hoping itll work. Last time... 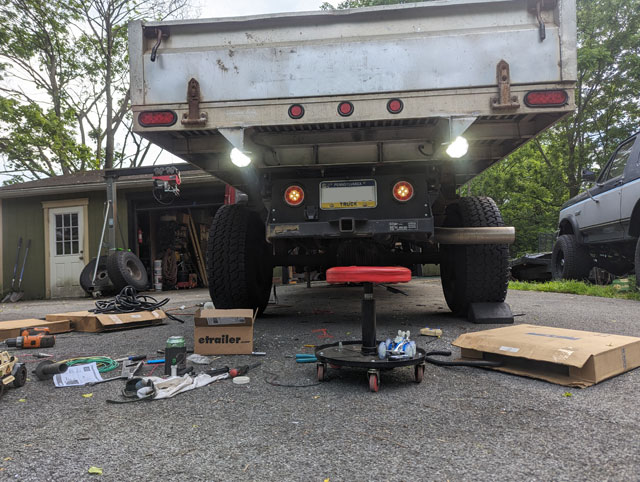 Got a chance to mess with them, on a night where it wasnt raining 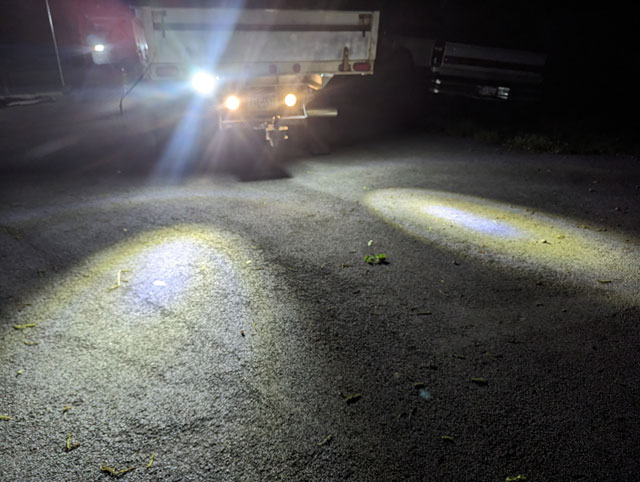 They hotspot a bit (i guess theyre more of spotlights than flood lights), but they still do a good job of lighting up behind the truck. The driveway isnt flat, so theyll probably nee4d some minor adjusting once i get it back on the road. But, thats good enough for now, lets move to the interior, shall we? After almost 30 years, i guess its time to replace the OEM paper core speakers. Oh and maybe switch to a double din headunit while im in there? 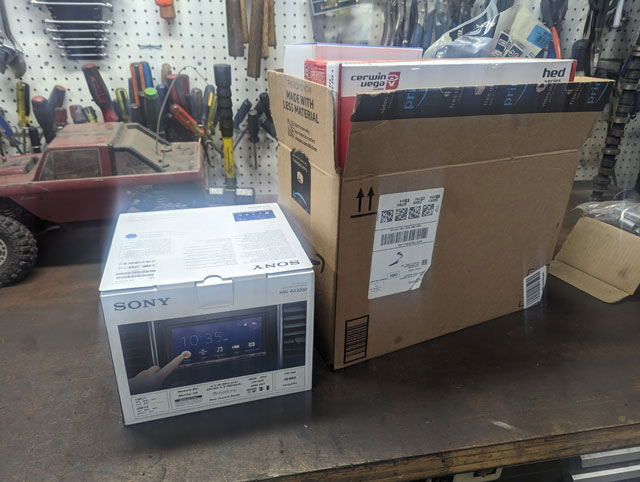 Out with the old... 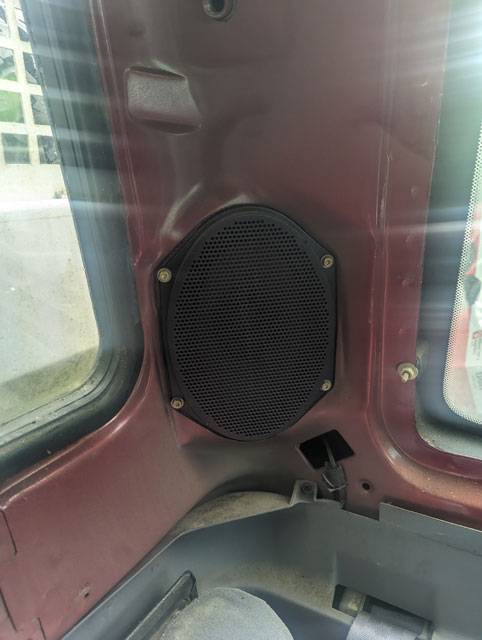 ...and in with the new!
Had to buy a set of 1/4" spacers, because the bigger magnets didnt fit inside the C-pillar 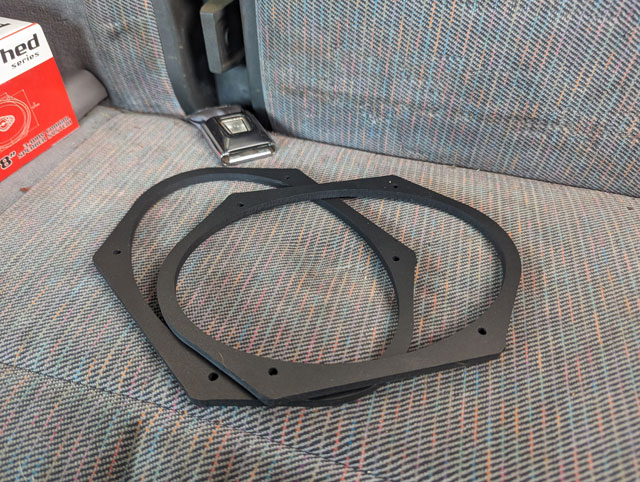 Much better. 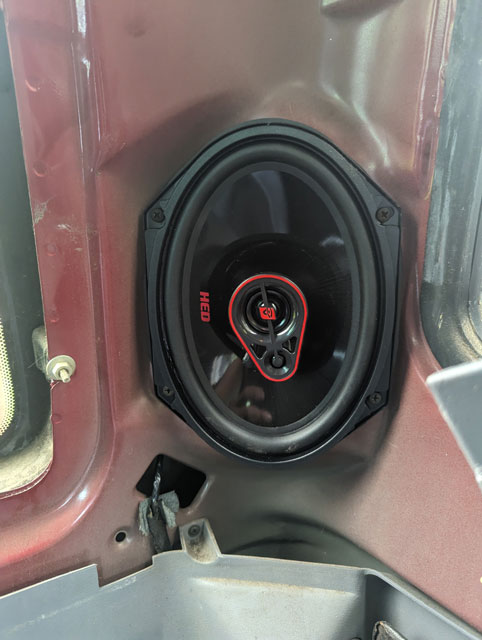 Moving on to the doors...
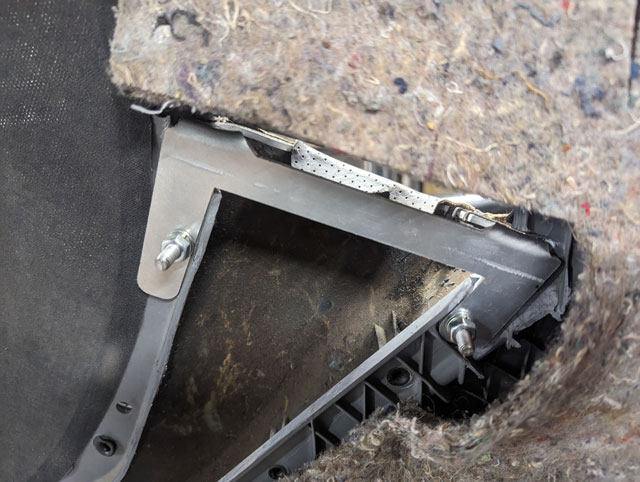
While i was in there, and since i had some extra laying around, i decided to add some sound deadener to the doors: 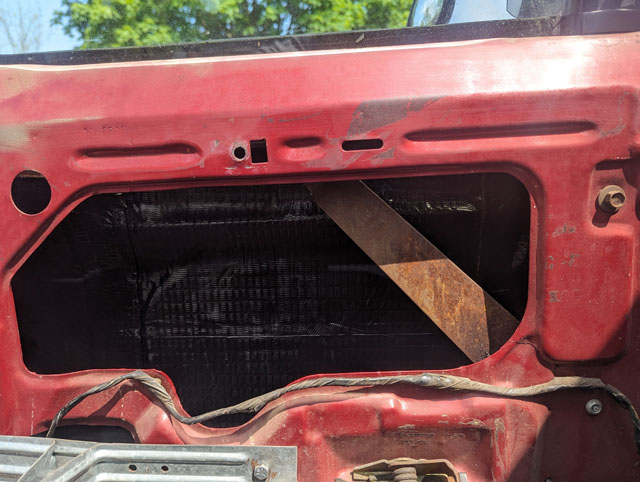 ...and done! 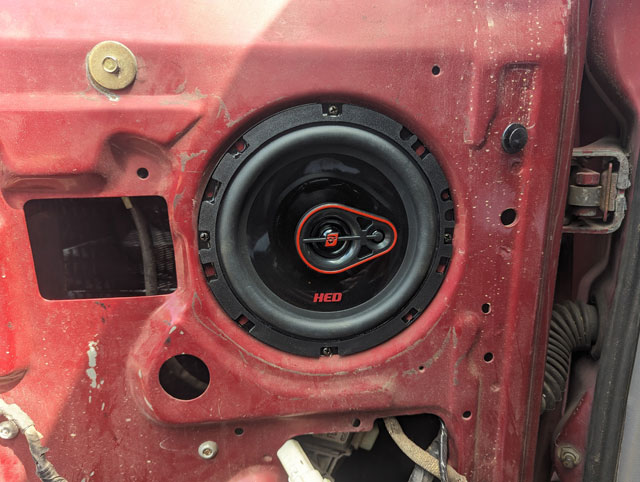 For reference, the one-touch window module i spliced into the down circuit for the driver window. The module is from, IIRC, a Taurus. Theyre in lots of mid 90s Ford cars. 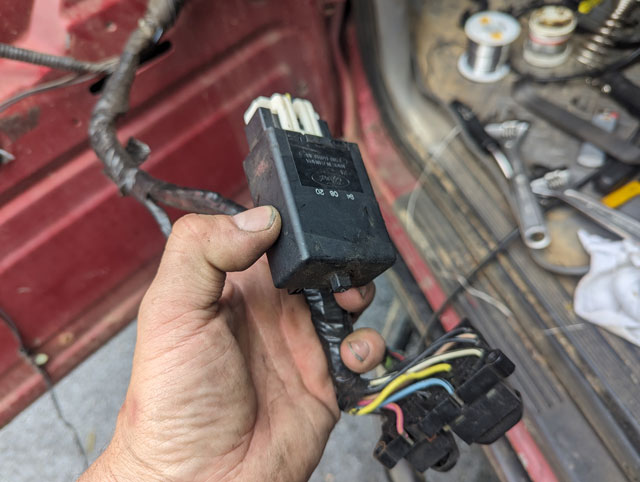 Since the door panel was off, i took the time to install a repair bracket in the door from Complete Performance:
While i was in there, i managed to break not one but two pins in the socket for the door switches, rendering my door locks unusable. Guess we're gonna fix that too! 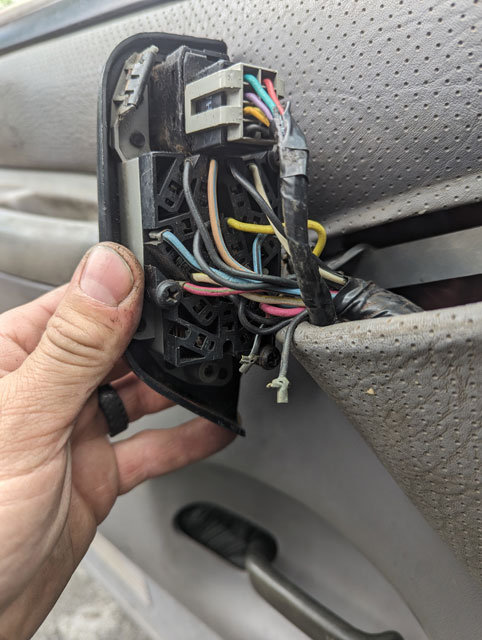 Theres a locking tab you can push in on, here, that will release whats left of the pin
I suppose you could cut the socket out of a junkyard truck, remove the pin w/ pigtail and splice it into your harness, but then the color wouldnt match! I very carefully removed a good pin from a junkyard socket, and then carefully recrimped it onto my original wire, because i like doing things the hard way: 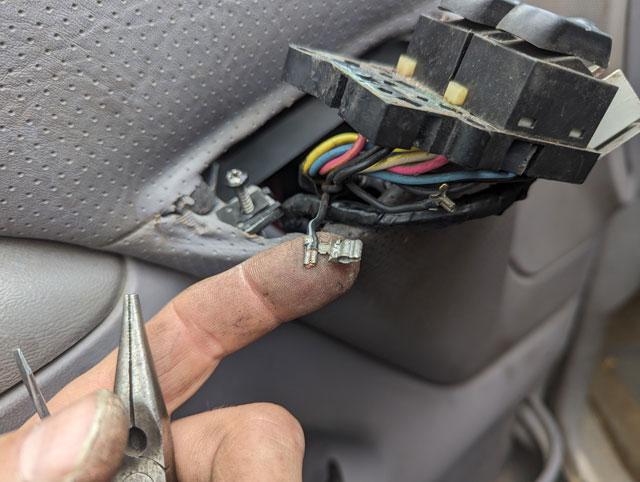 With both wires now fixed i could finally finish up with the doors...
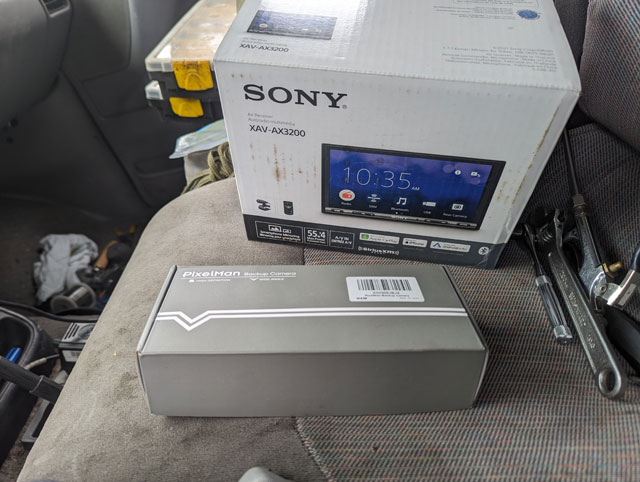
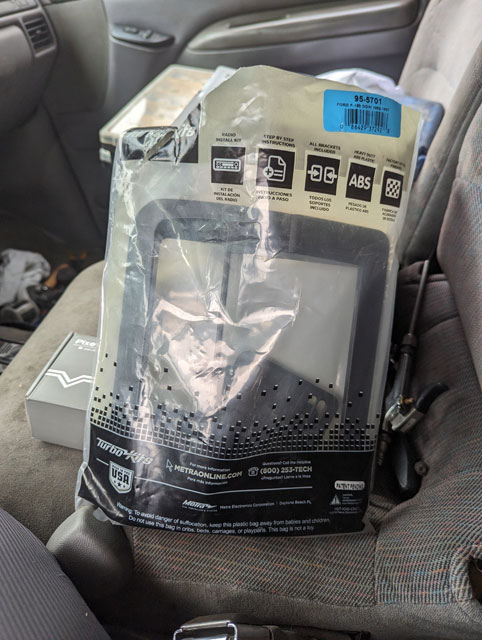
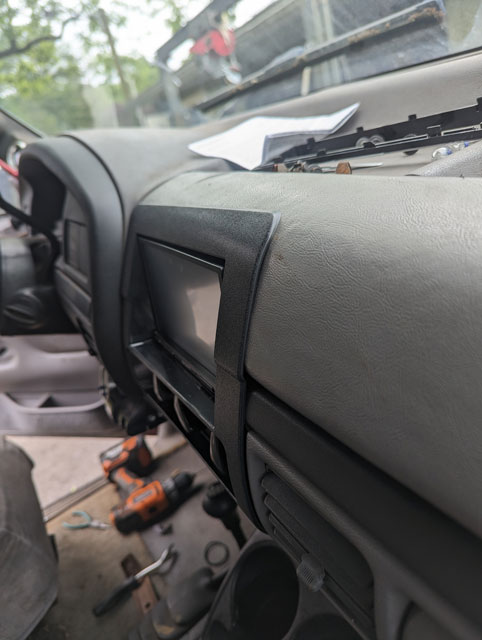
...and turn my attention to the dash. So, our nes headunit. A Sony XAV-AX3200, with backup camera, and an install kit from Metro
The first cut in the dash. No going back now! 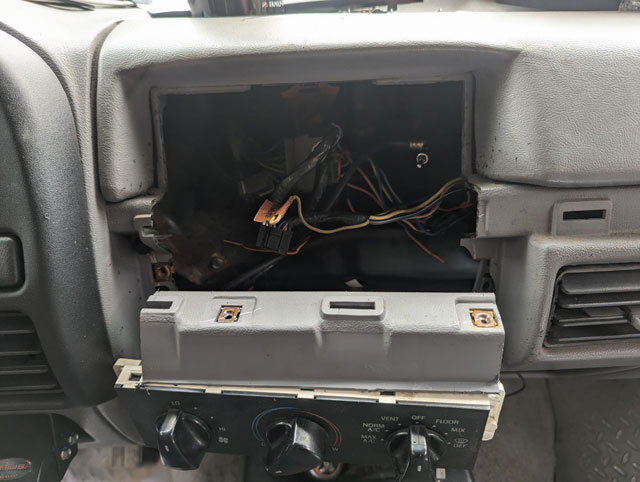 While possible, it is not easy to get this bracket out of the dash. In my case, it was in the way of the radio, and had to go.  My dash was basically crumbling around the heater controls, and was going to need some work  I picked up this clever dash repair bracket from OBS Interiors. It fits in behind the dash, to clamp the heater controls against the dash. I also epoxied most of the pieces back into the dash, just to have a bit more to clamp against (you can see ive just started that, in this pic) 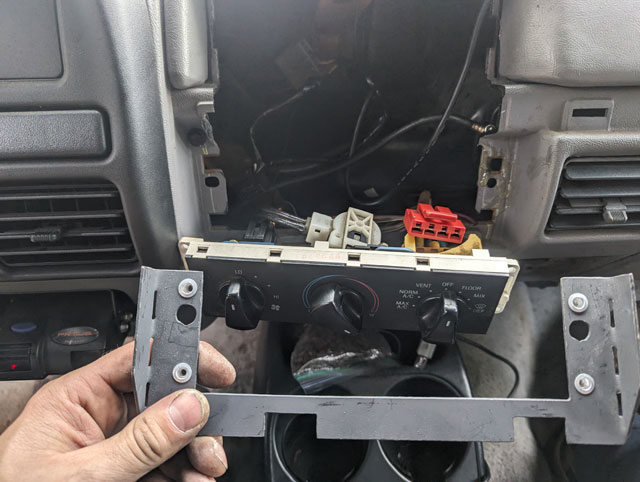 Cutting the trim... 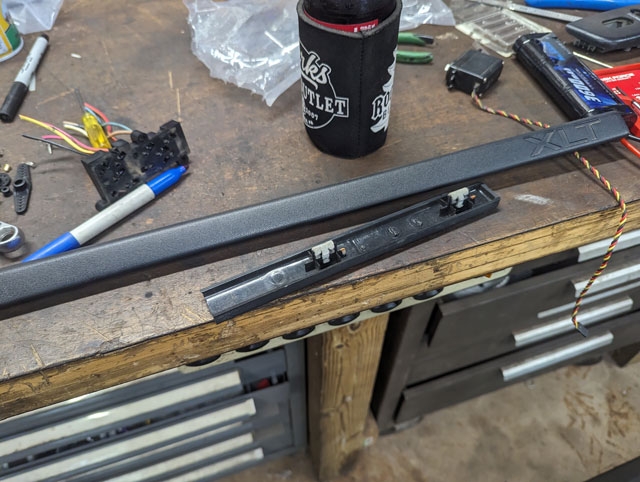 ...and done!
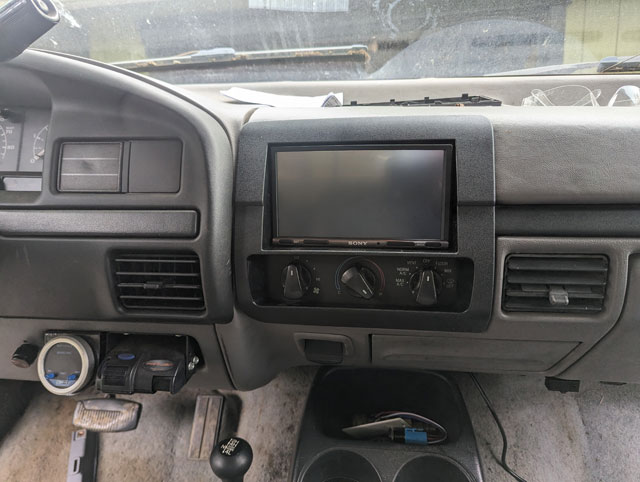
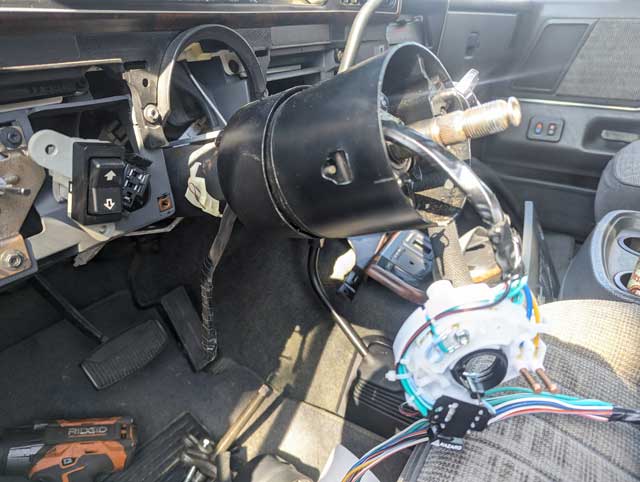
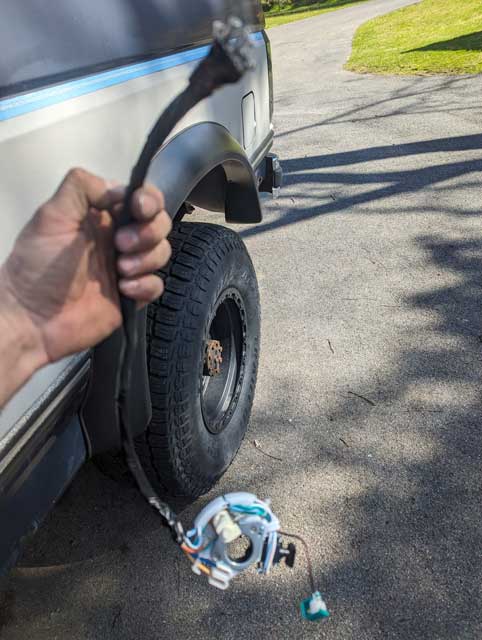
The Metra kit fits the dash quite well! This is the most important part though...the backup camera! 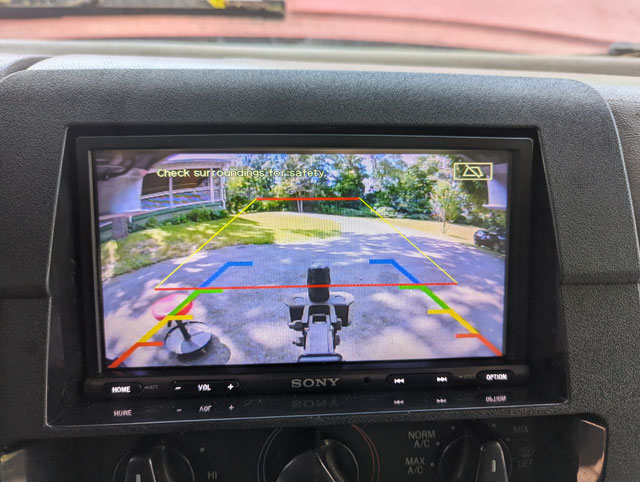 I set the camera angle so the edge of the receiver is just in view at the very bottom, i figure thatll help me keep my perspective when backing up. Also, puts the hitch in a great spot in the view! ALso, my rear lights seem to work well, looks like backing up in the dark is going to be a piece of cake now: 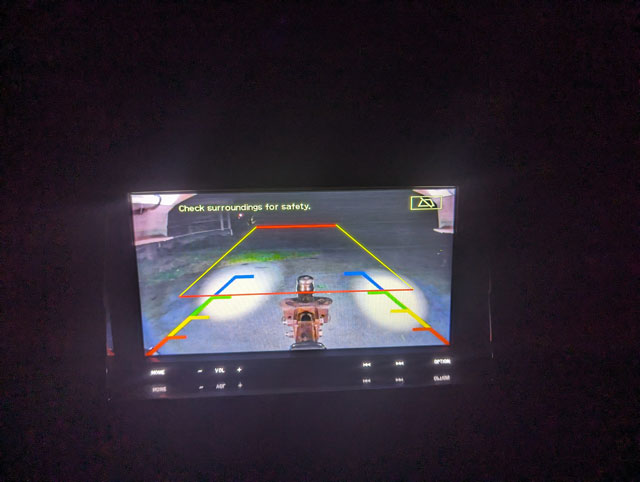 This is going to be a game changer! Now i just need my shackles, and i can finish the SD spring swap! So my original setup after doing the aluminum bed, i put a set of large reverse lights right in the back 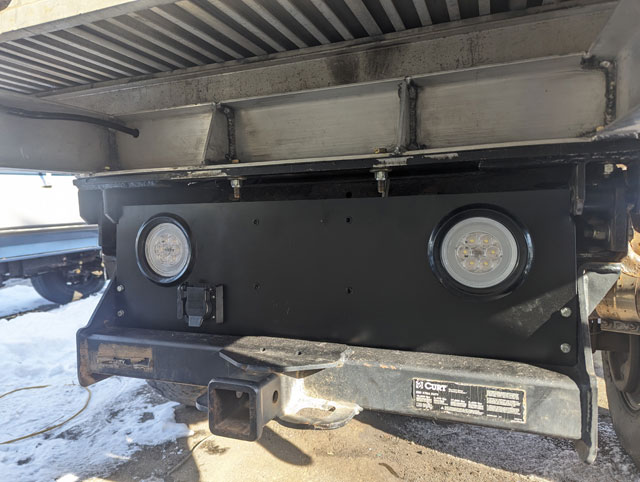 While they do work, the problem is the light isnt very usable, as you cant see that area from the driver seat. Also, i discovered that if i needed to haul something with the tailgate down, that the gate blocks the lights in the bed frame. While its unlikely ill need to do so (it is a 9' bed afterall), it still seemed like a good idea to do something about it. So step one, was to replace the reverse lights with a set of combo STT/Reverse lights. This should solve my potential taillight issue, but also still cast a little bit of light back there for backing up at night. 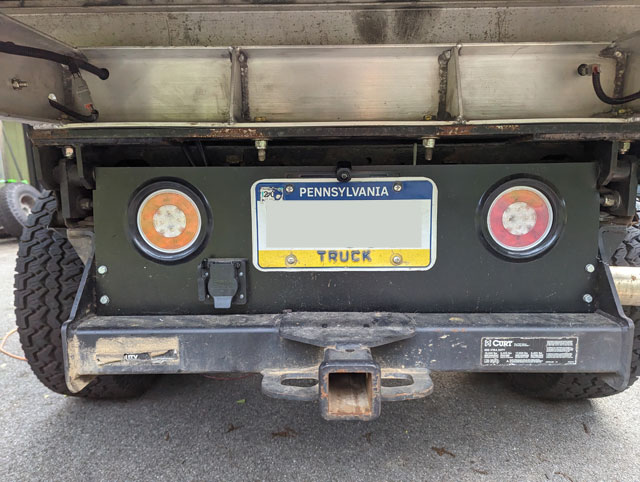 So now i need proper reverse lights. So i picked up a set of 4" lights from Nilight: 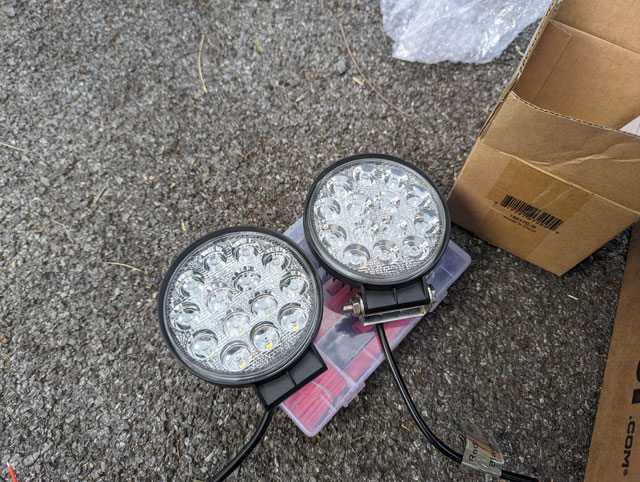 Mounted here, still need to be aimed. Pretty sure these will cast enough light down & out that ill be able to see better in the dark. 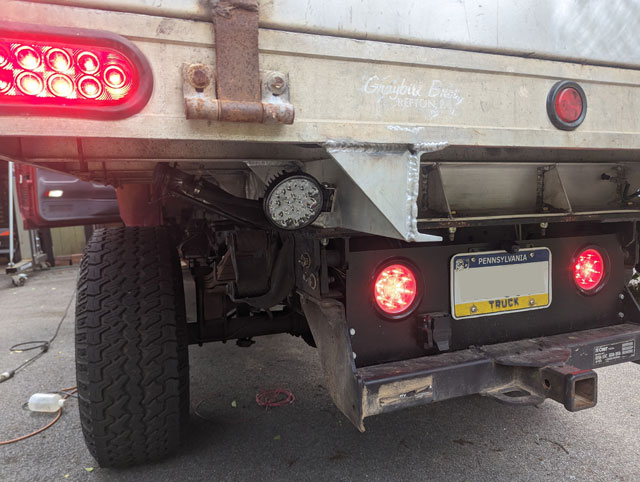 Wires run: 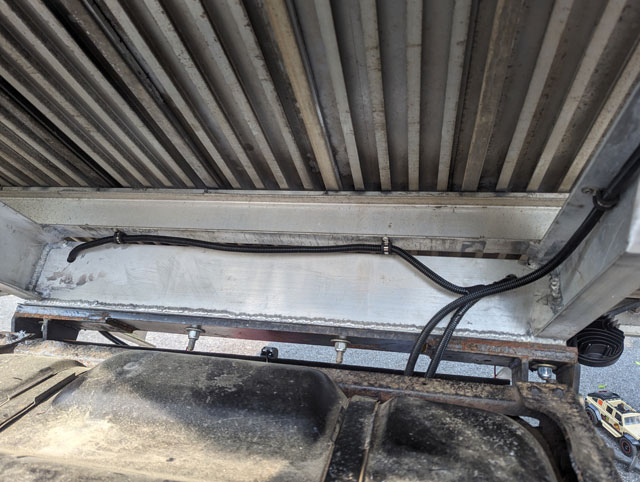 ...and terminated with Deutsch connectors so i can still unplug the lights if necessary 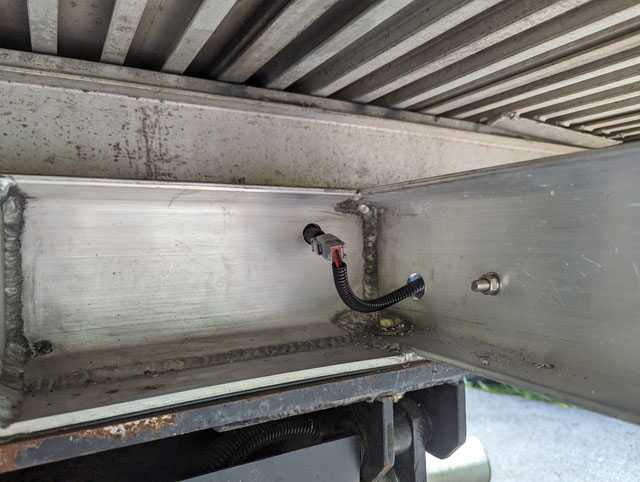 I think this will do better  Those should cast plenty of light down & out so i can see, and the two in the middle should be just enough light shining on the trailer hitch in the dark. Also, if you noticed, theres now a backup camera mounted on the license plate. More to come on that soon... Predictably, the one vehicle youre not working on gets jealous and decides to break. In this case it was the turn signal switch in the column of the '90 Bronco. The book says the column has to come and be disassembled to do this job, but i had another idea. First up, lower it to make some room 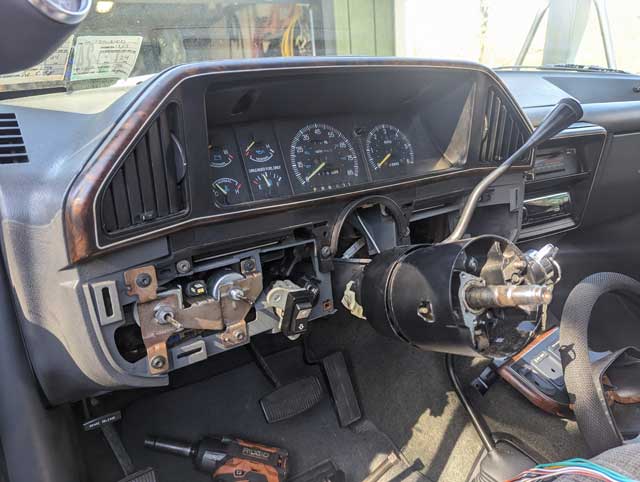 Turns out if you de-pin the connector on the end and remove it, you can pull the switch right out of the column
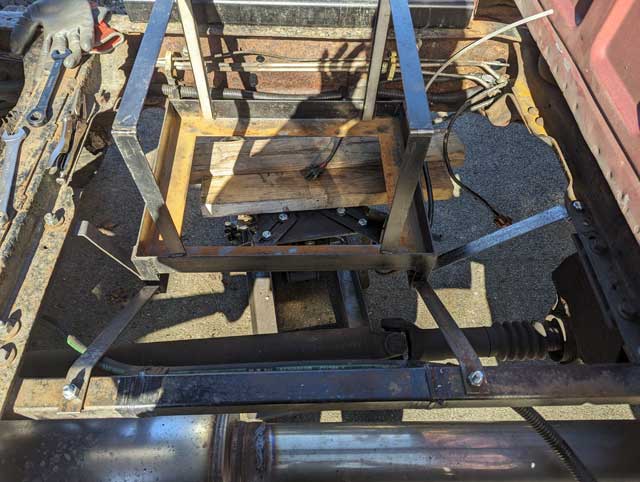
After de-pinning & removing the connector on the new switch, i was able to fish the new one down thru the column, and get it installed 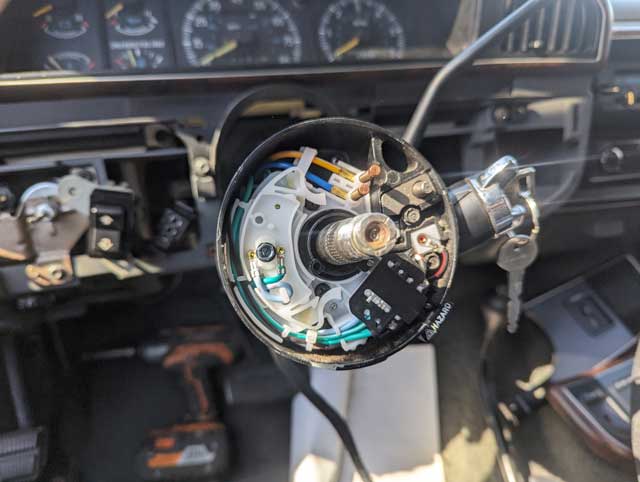 ...putting the connector back together... 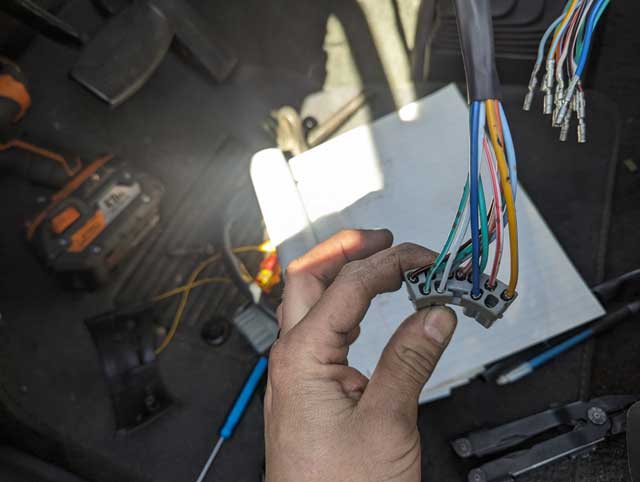 ...and done! Column repaired. 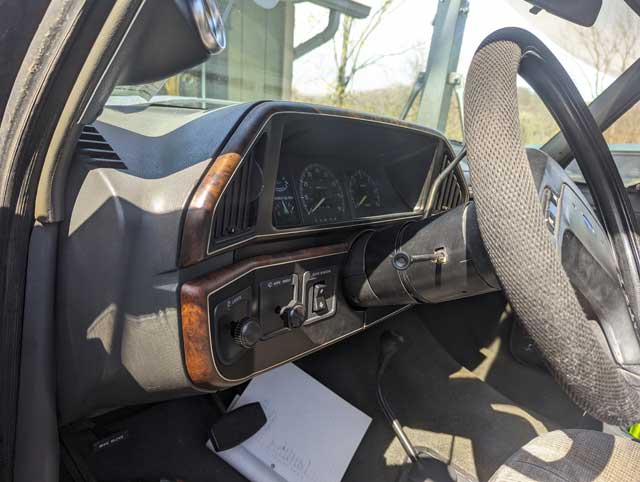 So i studied my wiring diagrams for a bit  ...and then came up with a plan to improve my old wiring, while also simplifying it. Step one involved moving the wiring for the pump away from the water tank since the pump is now on the frame rail  From there i was able to break down my old sloppy wiring harness, and make a nice clean one to take its place. My old wiring harness:  ...and the new one: 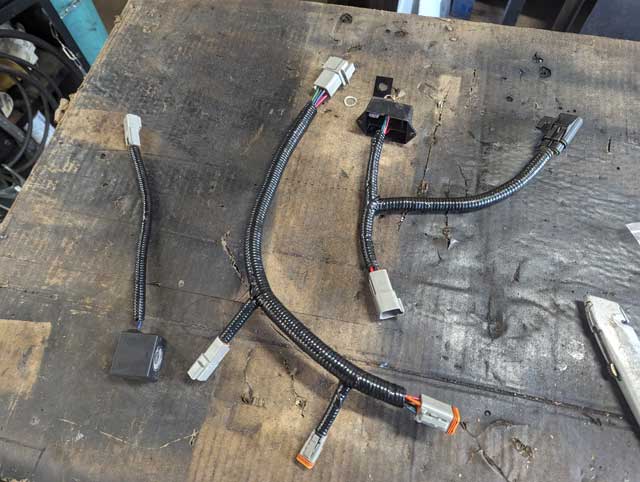 So with that done i replaced the float in the tank since one of the wires was frayed 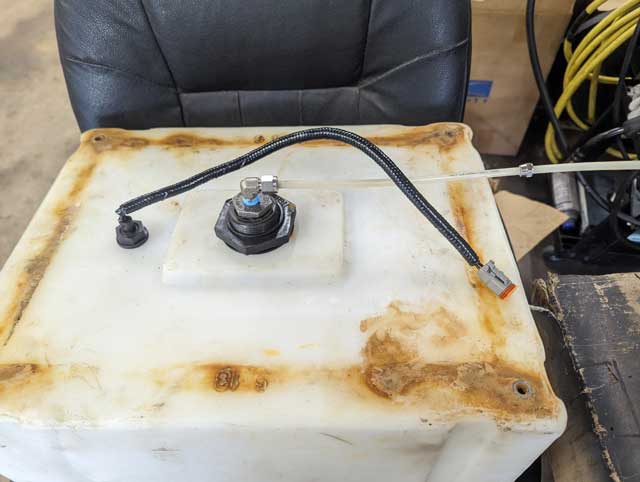 put the nozzle back in the intake... 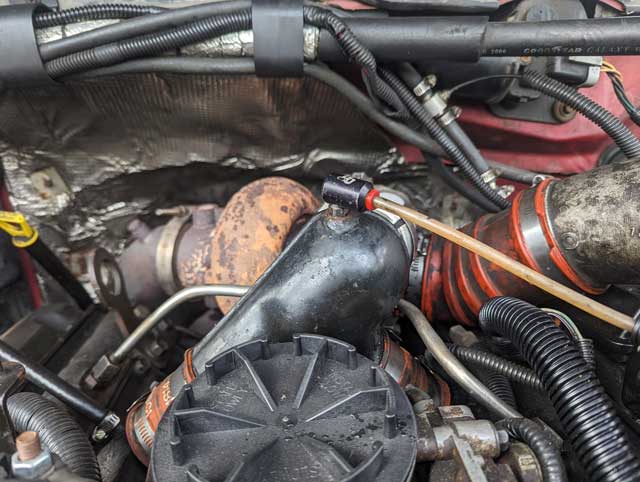 ...and powered the system back up!  water-methanol injection V.20 is now complete! Now to just drive the truck and get it tuned! Working on getting the tank mounted: 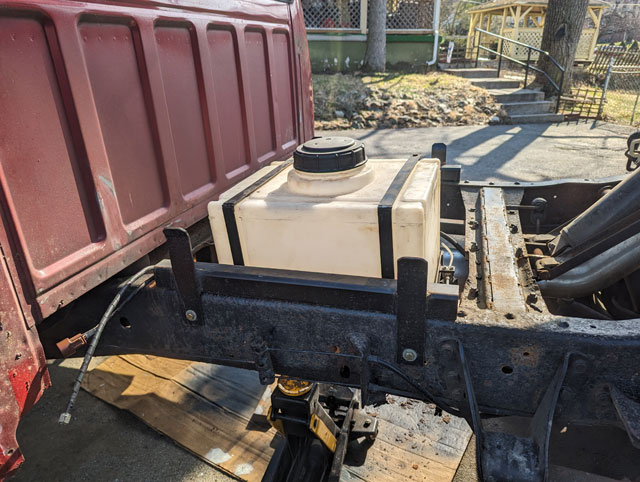 I started making a bunch of straps to suspend the tank in the frame: 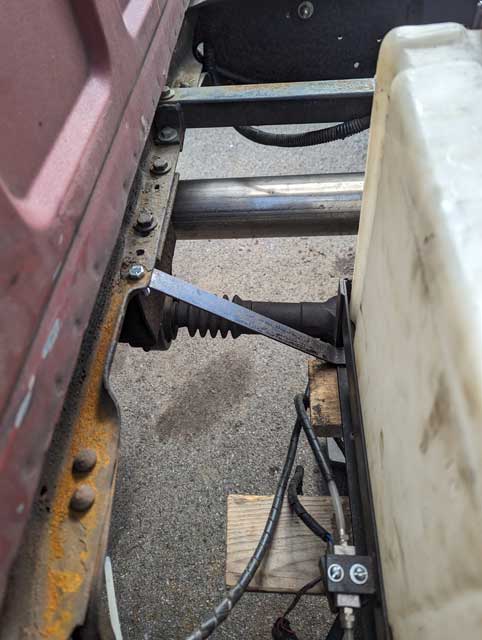 ...and then:
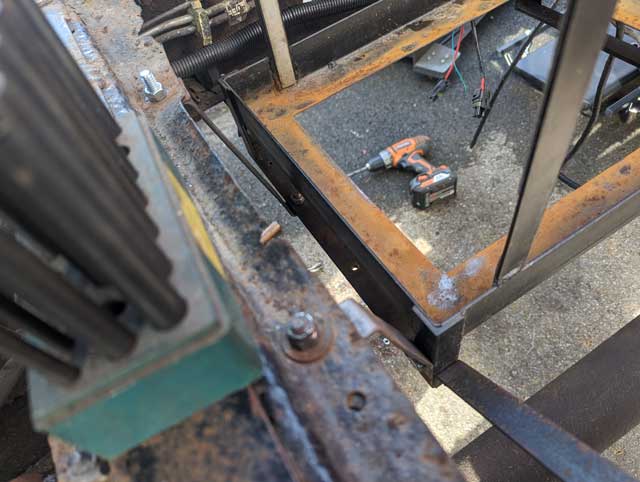
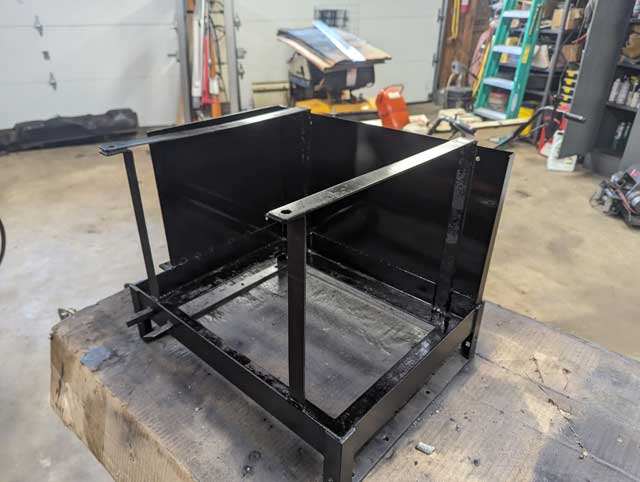
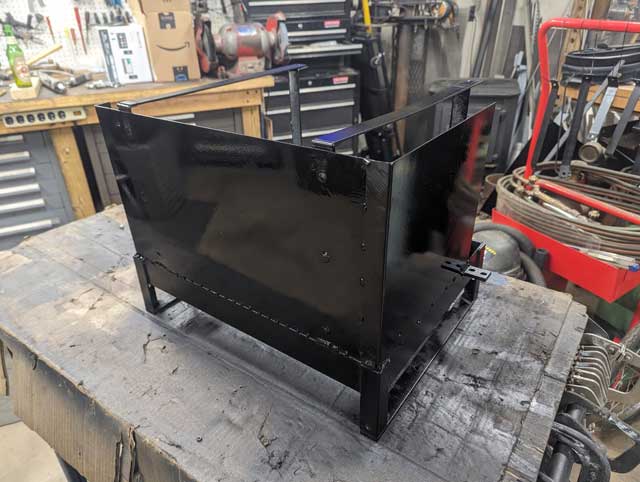
So with 7 brackets all bent up, i grabbed a piece of scrap steel sheet, and made side shields, and a lower panel, to keep road debris from hitting the tank
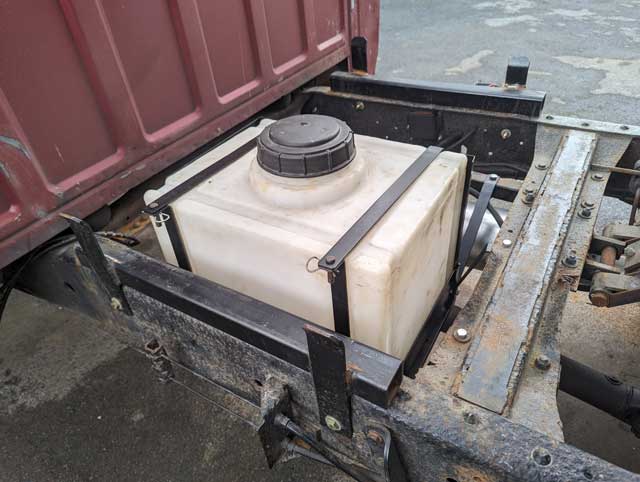
...with that done, it was time to reinstall the tank and hangar!
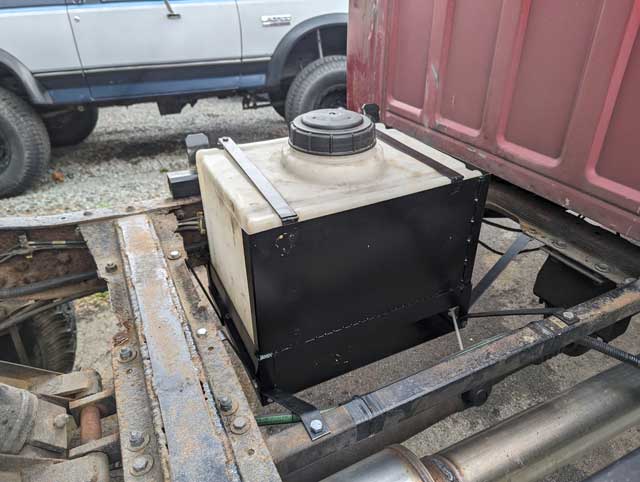
This shows the feed line from the sump in the tank, to the failsafe solenoid: 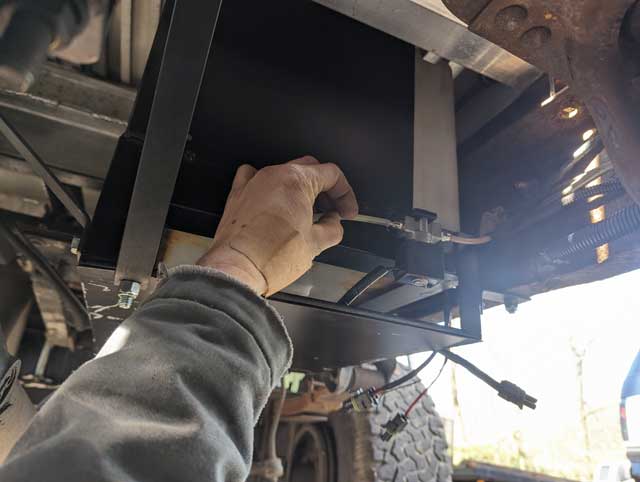 Ultimately, i decided to mount the pump in the underside of this xmember: 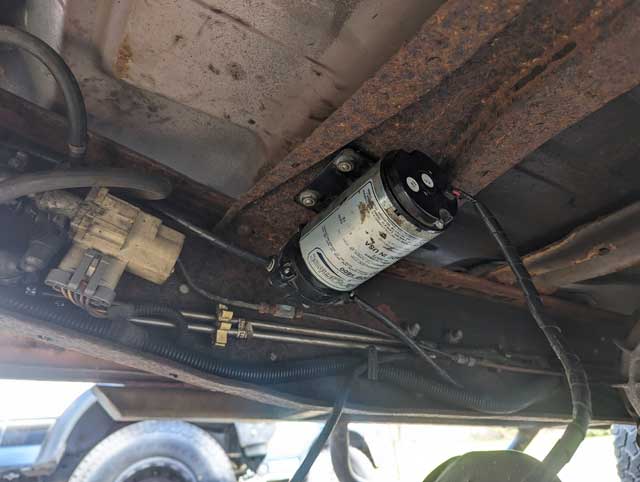 ..and with the pump mounted and plumbed, its time to start on the wiring. This is the original harness i ran down the frame years ago, with a wedgelock connector on the end so i could plug in the extension harness:  ...and this is th eenxtension harness. Originally the harness ran up the bulkhead of the bed, but with the dump bed conversion done years later i had to make and extension harness to run down to the end of the frame rail and then double back along the underside of the bed. Well, with the new tank location we wont be needing this anymore:  ...and this is the wiring harness that was inside the toolbox under the water tank. With the new pump & tank locations, now is the perfect time to take this apart, clean it up, and lay it out a bit nicer 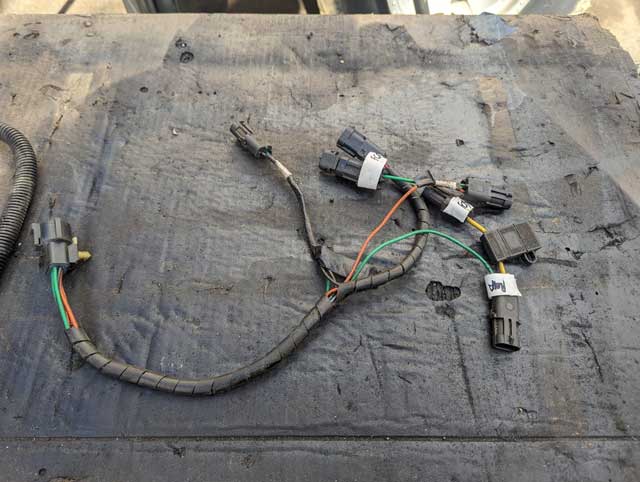 So now its time to dig into my 10-15 year old wiring diagrams, reverse engineer this system, and clean up the wiring! 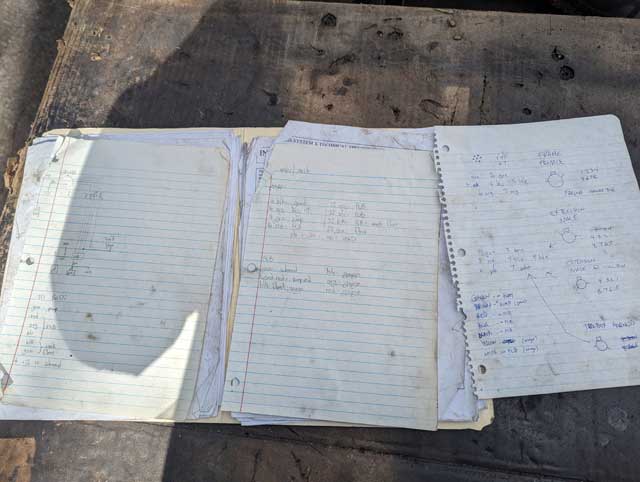 The next part of the project is lighting. I need to wire up the bed, but i also need a place to put my license plate, trailer plug and reverse lights 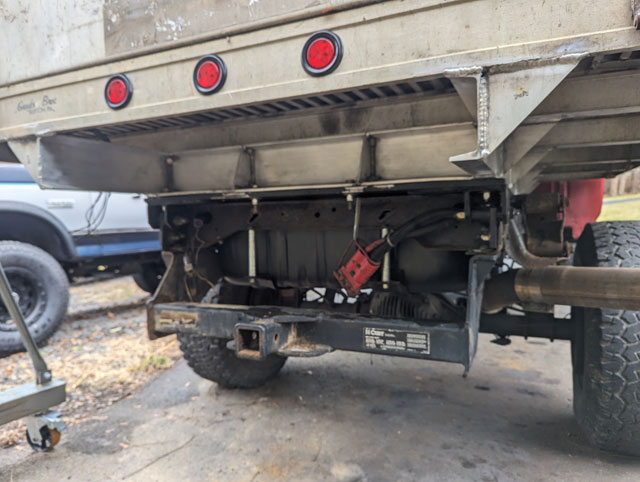 I spent some time staring at that space, and started thinking about just building a panel to house my lights & plate, similar to what a traditional dump truck might have 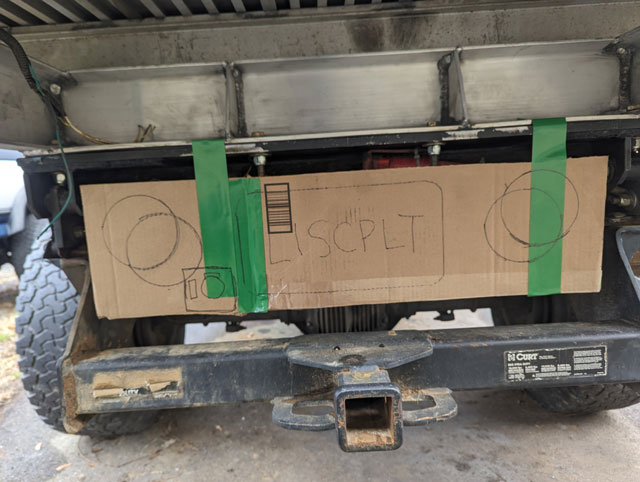 Mocking up in steel: 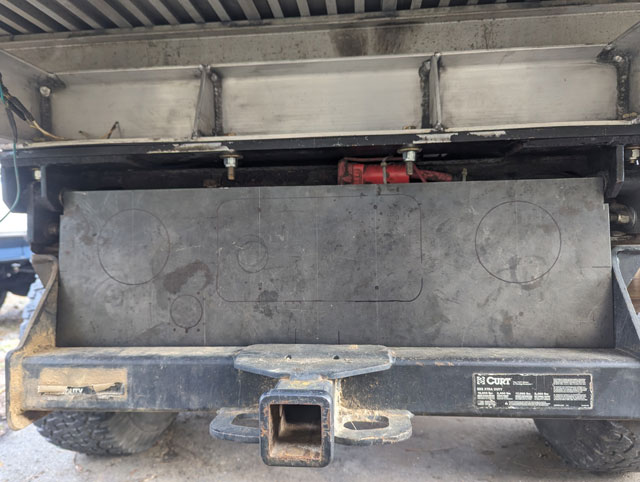 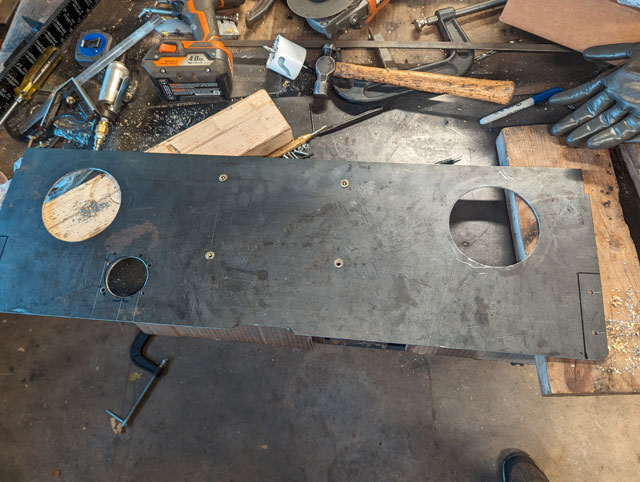 Brand new Ford wedgelock pins..... 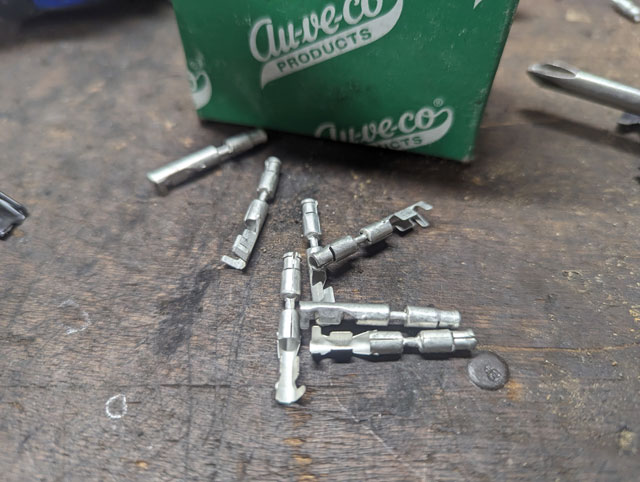 ...means i can rewire a new trailer 7-way, to plug directly into the truck's harness  ...and this gray 8-pin connector is the plug for the original bed's tailllights. The plan is to rewire the bed lights to plug directly into this using some more wedgelock pins and connectors 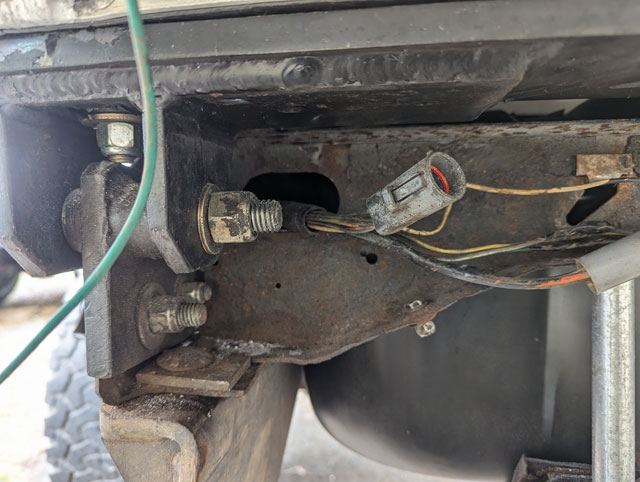 Running wires 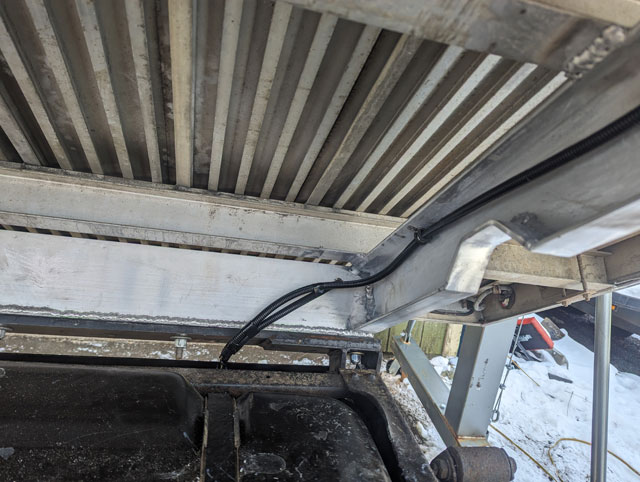 ...and with all wires ran, the panel is now installed! 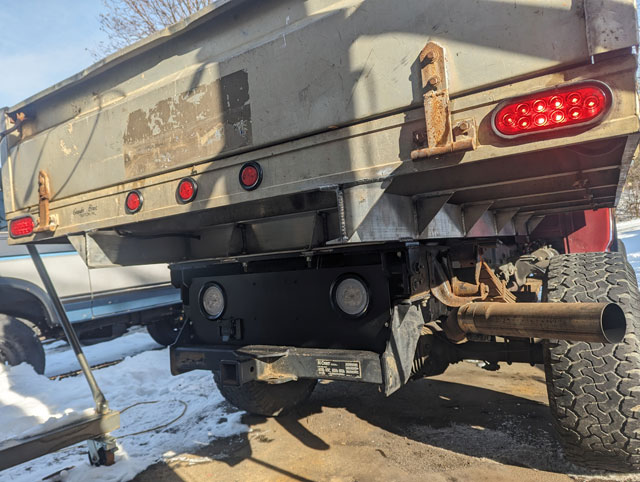 |