|
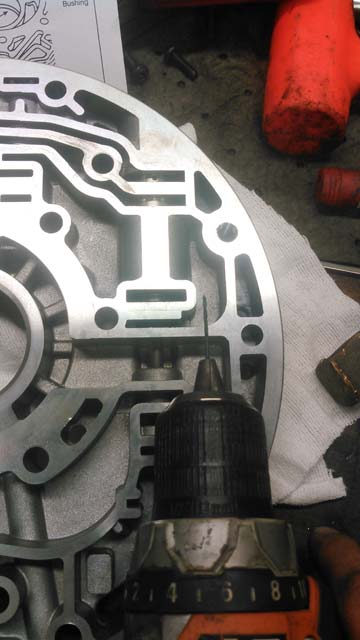
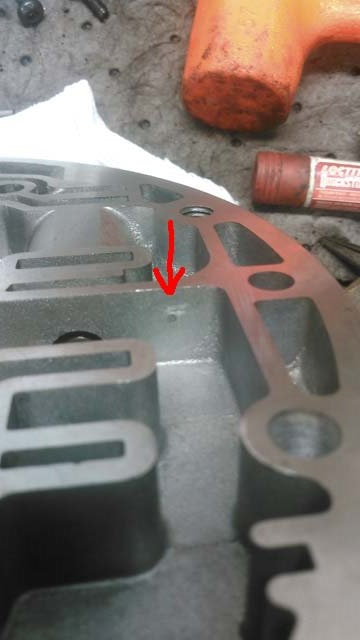
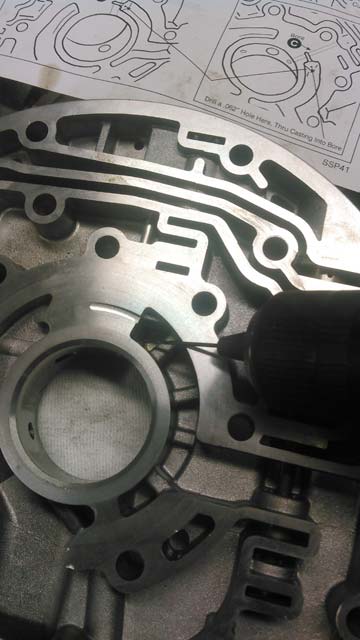
Ok, here we go. So I got it on the road, and the trans was running great. I DD'ed it for about a week and a half, before I heard it. Going uphill under load (think freeway speeds) I started hearing a noise similar to that of an idler pulley that is about to explode. Which is what I thought it was, until I got to the top of the hill, then it went away. As I went down the other side, a vibration in the floorpan. Road levels out and its gone. Noticed it again a day later, again on my ride to work. Long story short I figured it out. Uphill, under load, 3rd or 4th, a tinny idler-about-to-explode sound. Coasting down the other side a vibration. Nothing in 1st or 2nd. Trans shifts great, converter locks up nicely. No codes, no burnt fluid, nothing. Unfortunately, or conveniently (depends on how you look at it), the rear main also sprung a leak. So the trans had to come out. 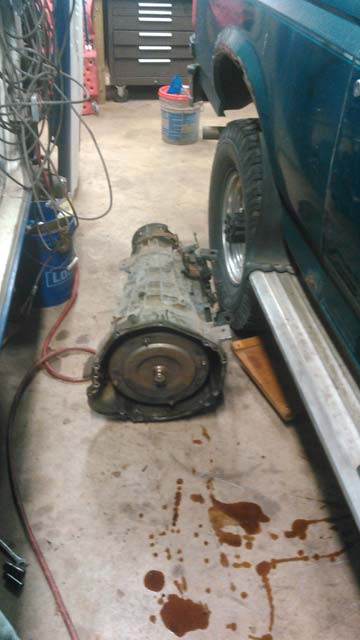 Dropped the pan and found dark oil, and the typical amount of material, but nothing unusual. Keep in mind, I never changed the ATF, so this oil is many many years old 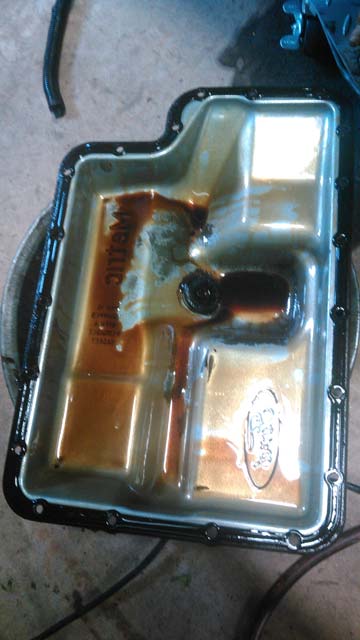 I decided, what the hell. Stood the trans up and drained the rest of the oil out.  With nothing usual seen from underneath, and no visible signs of a bad converter, I decided to pull the front pump out. I looked at it this way: I have a spare 2wd E4OD from the parts truck, so if I need to replace the converter or pump, ive got one. Front pump out: 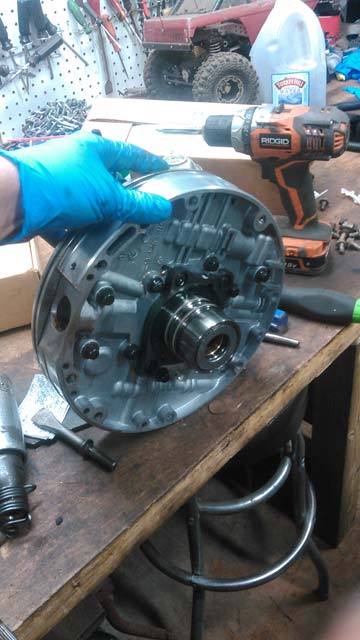 Decided to pull the O/D planetary and forward clutch out to inspect; thankfully everything looked great. ..but then.... ...wait a minute! What the F?! The O/D snap ring has come out????? 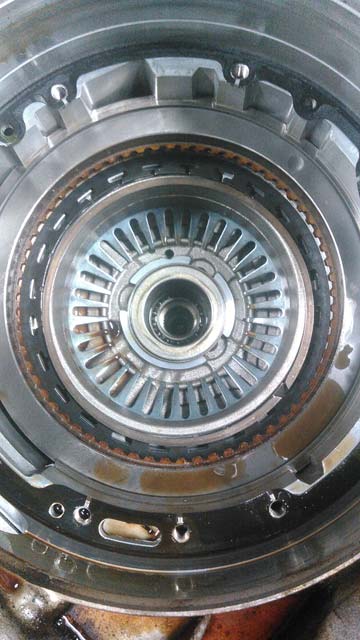 So I did some research, and foud out that this is a known issue with the E4OD. The snap ring comes out of its groove, which takes the tension off the O/D clutch (AKA the O/D Apply Piston). Apparently it makes a funny noise, and if left unchecked, will burn up the OD clutch. Guess it was a good thing the rear main started leaking, cuz I think I just found my trans problem!!!! So cue this bad boy. its an upgraded snap ring made by Sonnax. It looks more like the snap rings that come with Warn hubs; it wraps around twice, and has locking tabs. This bad boy will never fall out. 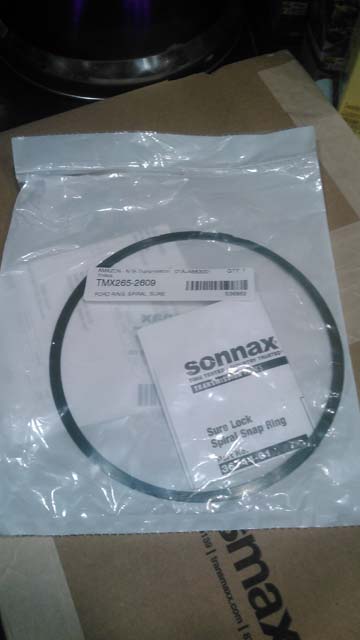 It is a PITA to install though, had to build a makeshift tool to compress the pressure plate so I could install it. 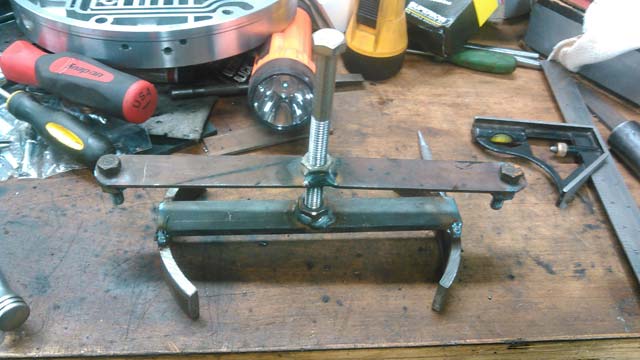 ...and done! No way this thing is ever coming out on its own. 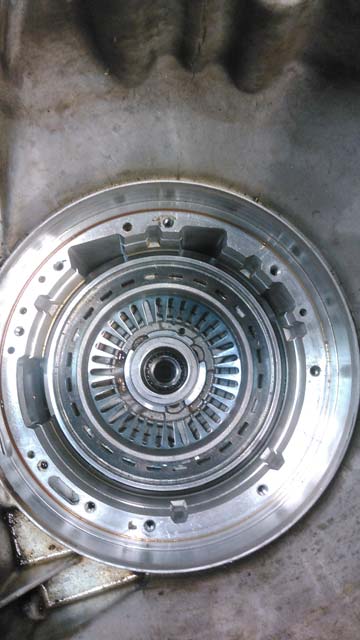 I did take the time to examine all forward clutches (since I was already in there) and they all look brand new. So either this thing was babied its whole life, or it was previously rebuilt. Good deal. So I decided to take a look at the front pump. Stator support removed; pump case split in half. Check the inside! 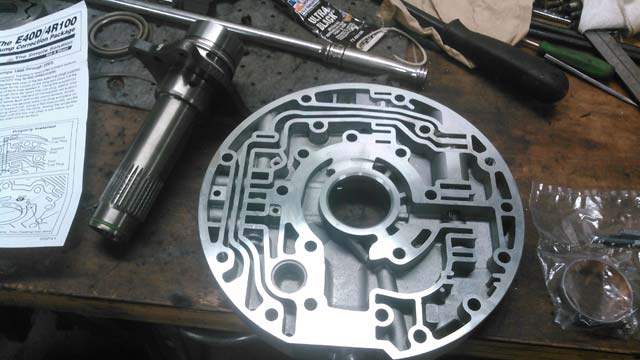 So then I figured, since its apart, I might as well throw Superior's Pump Correction package at it too! It comes with a couple new cup plugs, a new metal anti-drainback valve to replace the OEM plastic one, an upgraded front pump bushing, new front pump seal, and some scary directions. 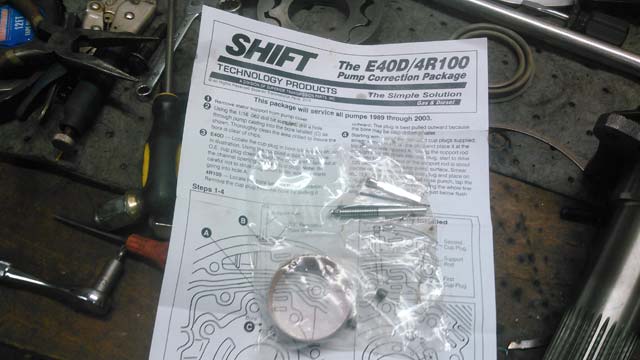 So lets get started! Step one is to knock out two cup plugs, drop in a new one, drop in this AL rod (to apparently block off an oil passage) and then a new cup plug behind it 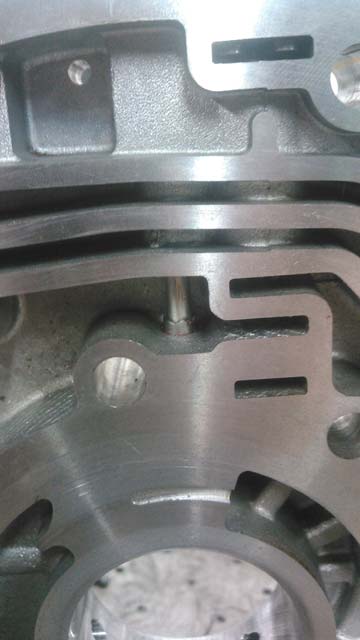 Open this orifice up to 3/32" 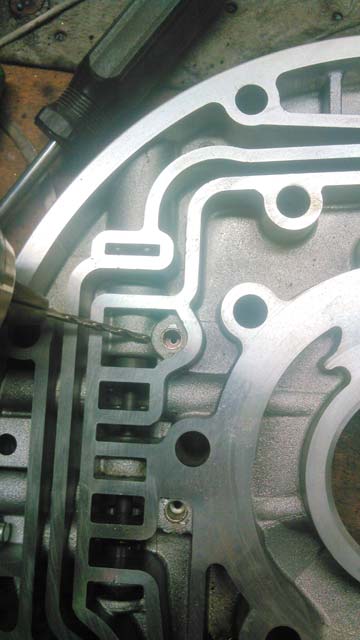 Open this orifice to 3/32" 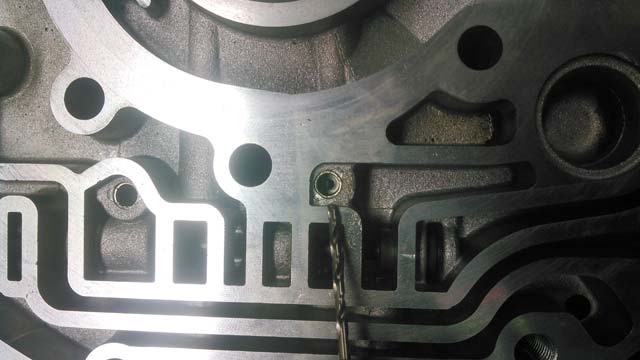 Open this drainback port to 5/16" 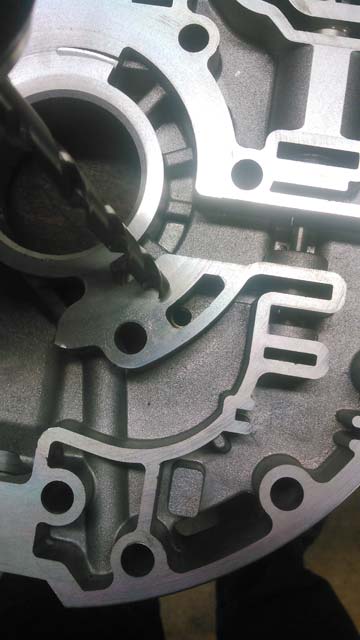 Drill a friggin 1/16" hole right thru the pump!
Drill another 1/16" hole right thru the pump, into the oil passageway!
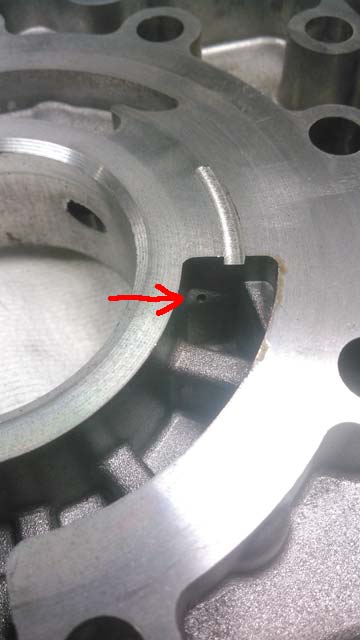
On the stator support, remove the cup plug from the top hole. 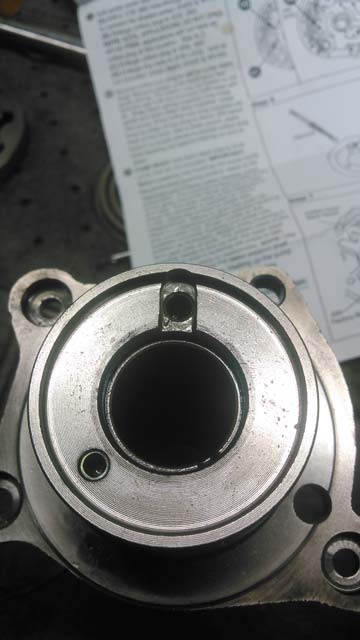 Its a blind hole; its gotta come out the way it goes in. I screwed a drill bit into it, and was able to pull it back out that way 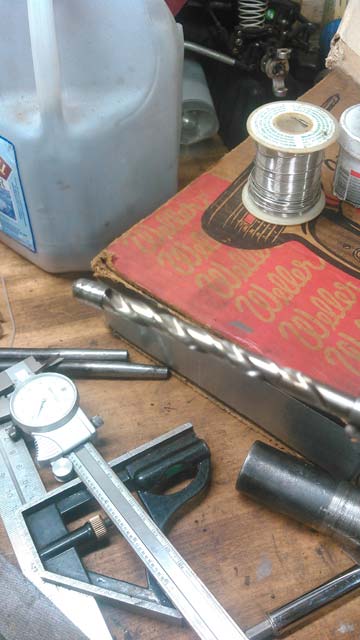 OEM plastic drainback valve on top, new metal one on bottom. this goes underneath the cup plug you just removed. If you overheat the trans this valve can melt, and when happens, goodbye O/D planetary/sprag. 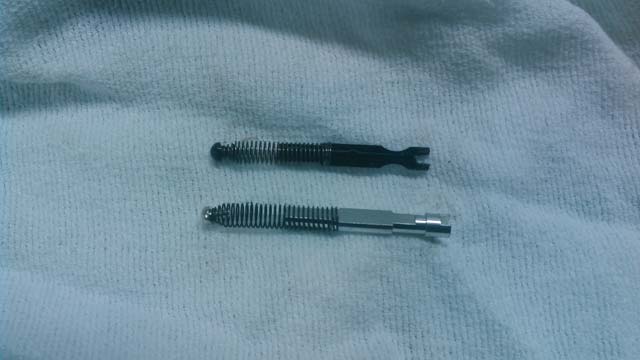 Upgraded pump bushing, with knurls to keep it from spinning in the bore, and a notch in it, to help fluid flow thru the drainback port. Don't forget to also drill this port out to 5/16", before you press the new bushing in. 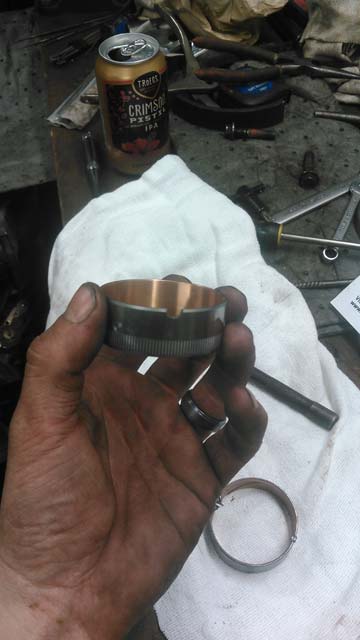 ...and installed 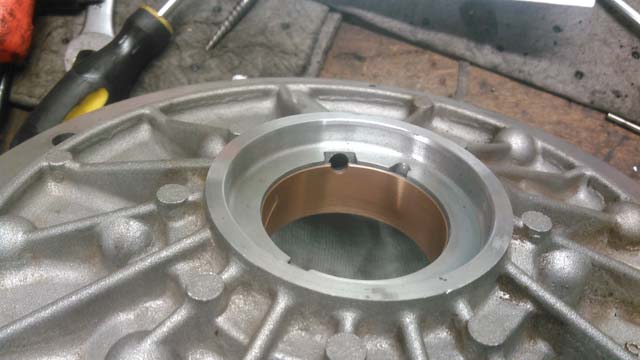 I used special hose clamps to align the two pump halves to bolt it back together. Its important it goes back together perfectly as it came apart or you will wreck the pump and then the trans. I scribed the two halves before I split it, to make sure it was perfect. 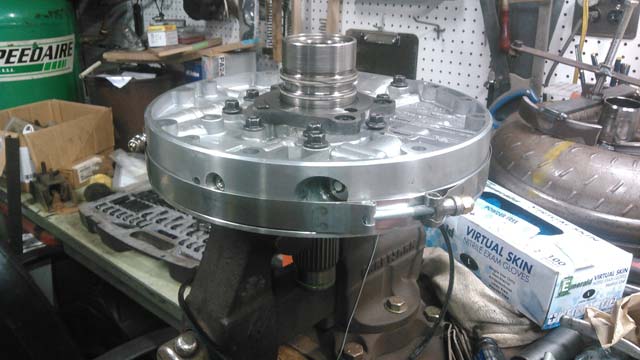 Pump reinstalled in its home. 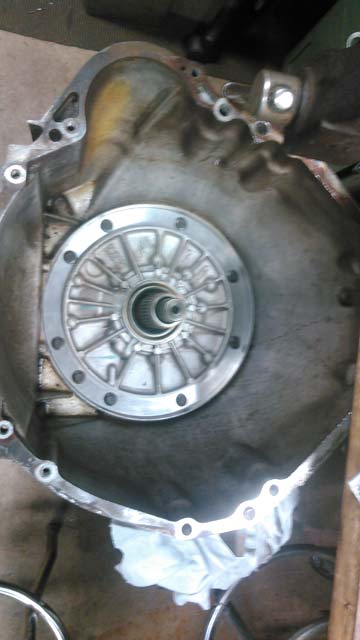 My solenoid pack was leaking ATF thru the connector, so I swapped it out for the OEM pack from the parts truck's E4OD 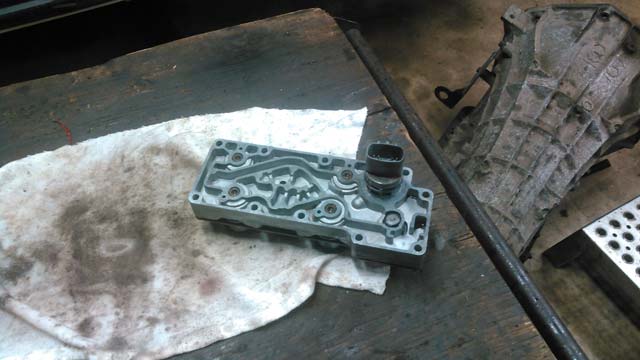 And whats this? Why, it appears to be a valve body from Punisher Valve Bodies!  His kits are super easy to install, only took like 5 minutes with the trans already out. 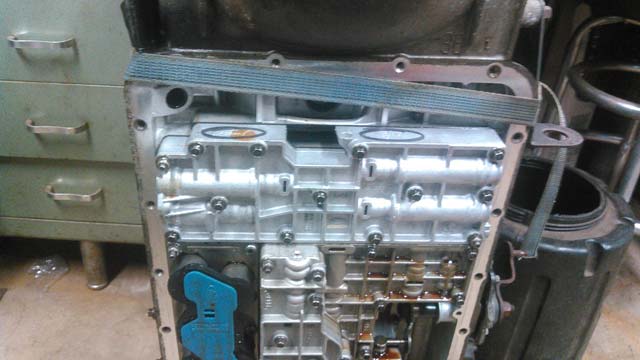 From there I added a new trans pan from Dorman (complete with drain plug), new filter, and reinstalled the trans! That said, I finally got it back on the road Thursday afternoon, so ive only driven it about 75 miles, but DAMN. This thing shifts nice now. Ill have to give it a few more miles for the PCM to learn the trans, but it really does shift like a dream now. There is a great article covering the full E4OD rebuild over on Four Door Broncos which i referenced while doing this, you can check it out here. So last week, I was rummaging around at the scrap steel yard, when I found the perfect piece of steel: 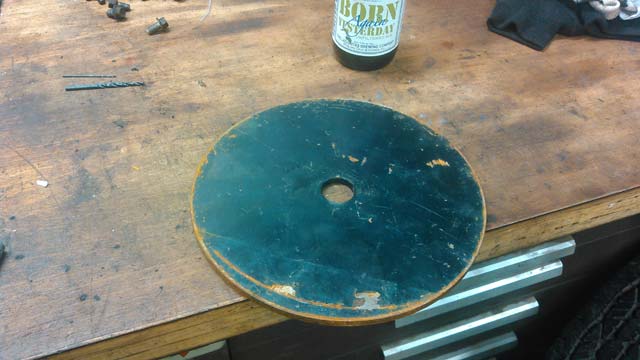 As soon as I saw it, I knew what to use it for: the tire carrier! So, drill 4 holes, 21/32", and then install 3 studs, used for a Sterling 10.25 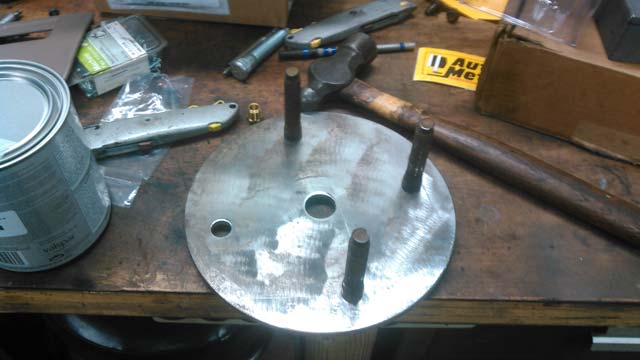 Cut the two bottom studs off the stock tire carrier, knock the top one out, and drill that hole out to 21/32" as well. Then, press the 4td stud thru both the stock mount, and the new plate. Then weld top and bottom to the tire carrier and viola! 8-lug tire carrier! 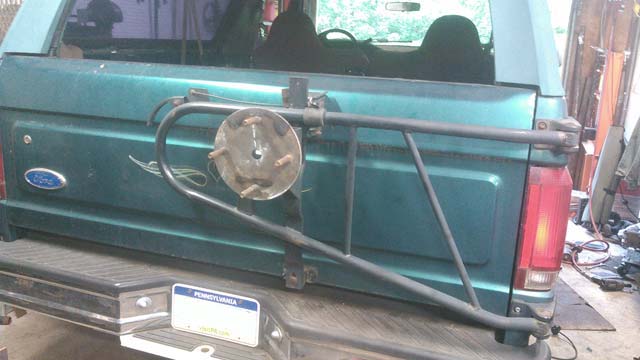 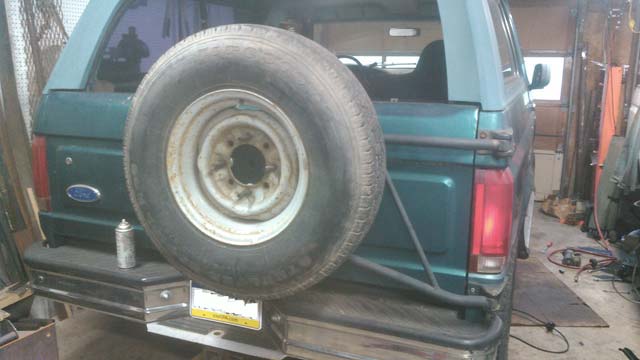 |