|
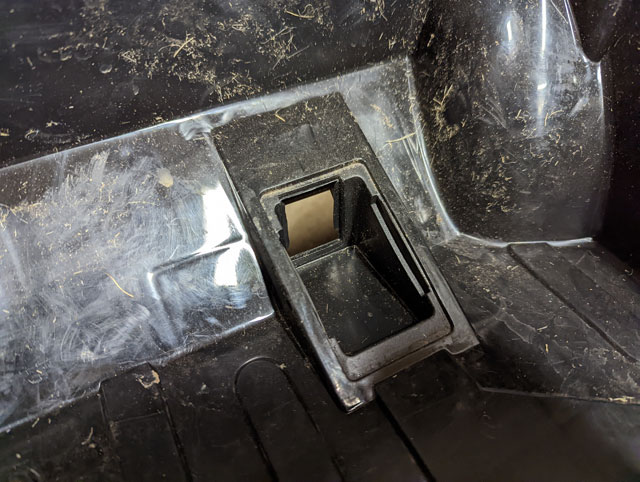
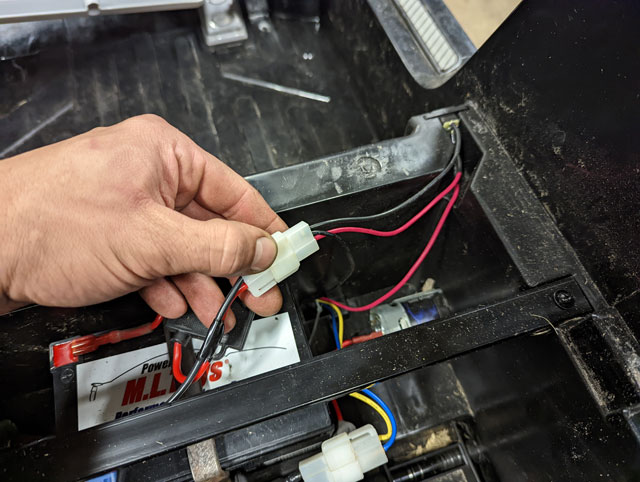
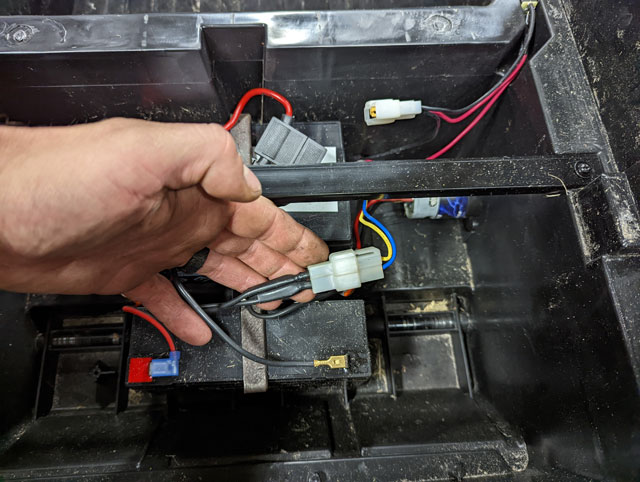
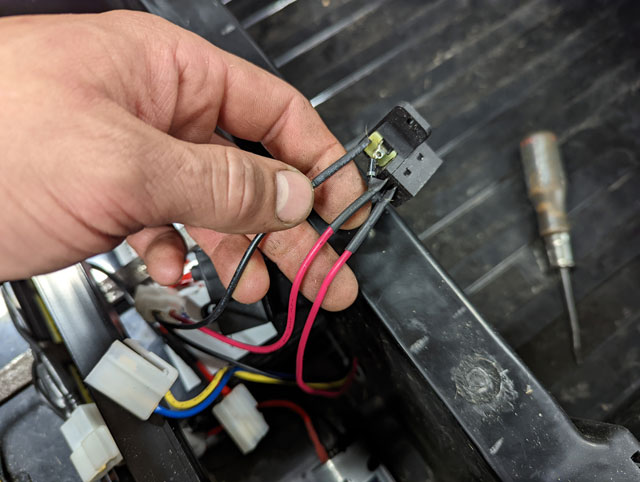
Got this back in the garage:  After doing the ML Toys Paragon 775 motor/gearboxes in th ebronco, it is clearly way better in the yard. Not much faster, but the added torque makes it work so much better in the yard. But, it could be faster. So why not? Looking in the rear, there is a decent amount of free room, im pretty sure we can remove that 6v battery, and fit a second 12v battery in there 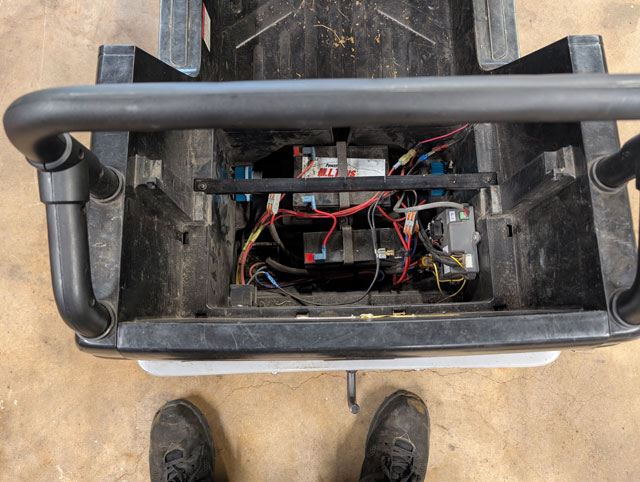 Looking in the rear left corner, there are these two embossments that dont do anything. So let's use em!  So i made a simple bracket that screws down in place, and has a tab on the right that should keep the battery from sliding around 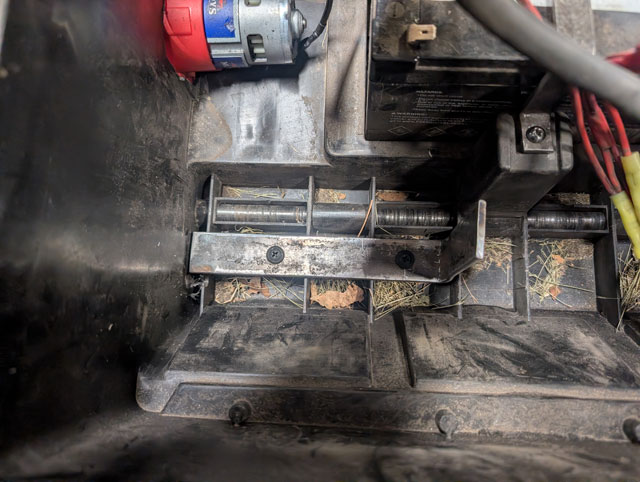 From there i cut a piece of plywood to set down to serve as a more solid base, and then simply set the battery in place! I used a piece of scrap steel to make a hold-down strap for the battery 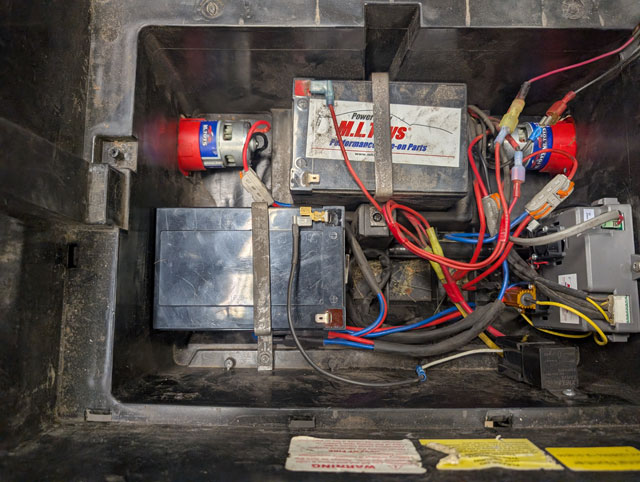 ....and all rewired! 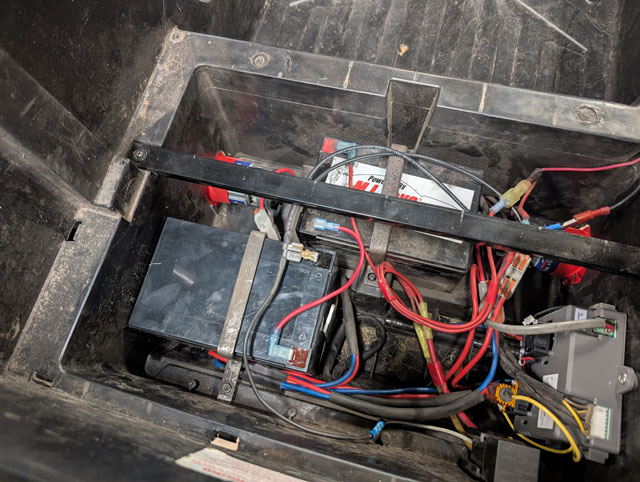 The rewiring was simple, i just needed to replace a couple wires because they didnt reach now that the second battery is off in the corner. So, nothing left but to fire it up, and see how it runs! 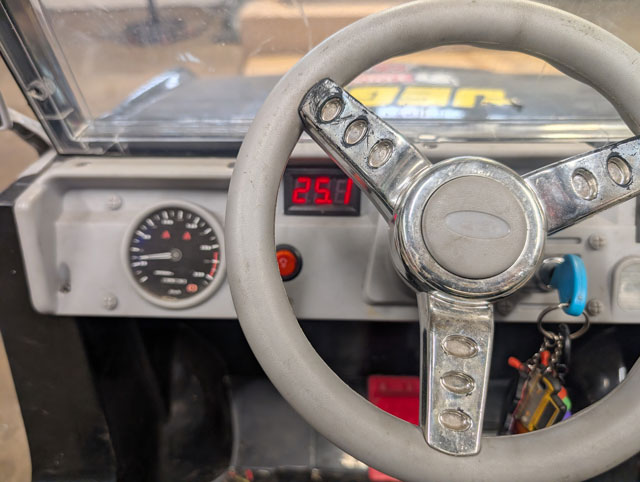 Little dude zipped it around the yard the other day, and let me tell you, she gets up and goes now! Im going to have to get some video of it and get it posted online. Stay tuned... Been planning a wheelin trip for the beginning of may. A week or two ago i dug the gray bronco out of winter hibernation took it for a spin, and wasnt thrilled. The brakes dont feel right. I had replaced the master over the winter when i replaced that torn rear flex hose, but it doesnt feel like a problem with the rear brakes, it feel like its in the front. Pedal is hard when truck is off, soft when running and pedal is slow to return. Driving it feels like the rear brakes are doing all the work. Got home to see nice shiny rear rotors but discolored front ones. 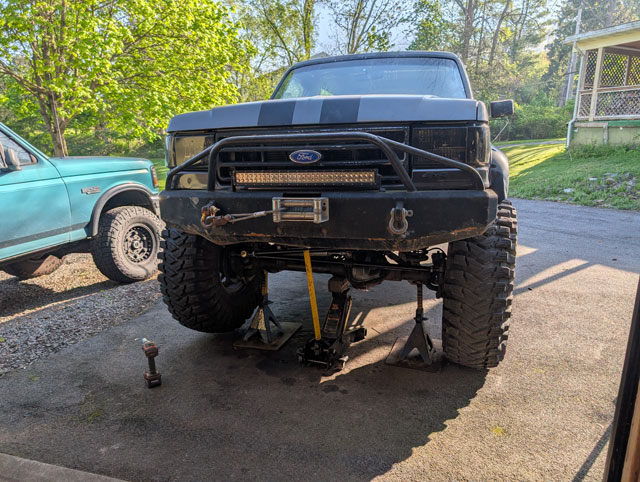 A buddy came by and we re-bled the brakes. The rear calipers bled fine, and i could feel them actuating when he pumped the pedal. The front calipers bled funny. No air but the right caliper would only let a small amount of fluid out the bleeder. So i ordered calipers, pads, and replacement flex hoses for all 3 positions (one at each caliper + center drop). Got it up in the air, passenger side caliper retainer had started to slip out again 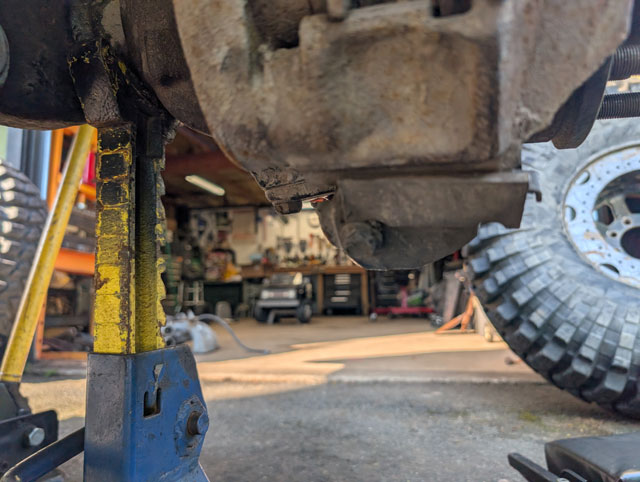 Got new calipers & pads installed 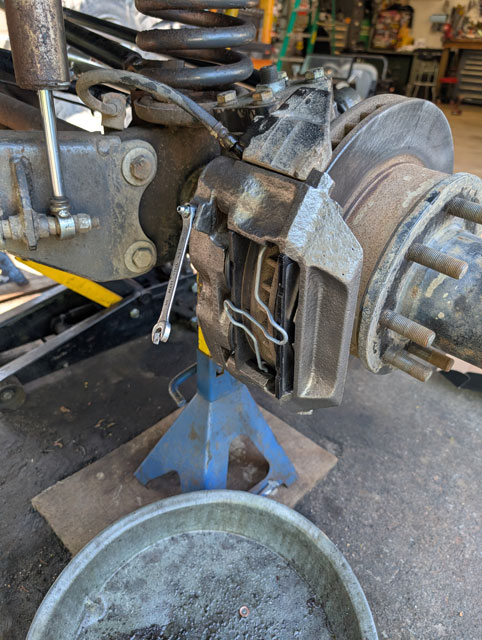 Used my power bleeder to re-bleed brakes again, and no change. Pedal is hard when truck is off, soft when running and pedal is slow to return. My brake hoses havent shown up yet. Just got an update from UPS that theyve been delayed until next thursday, which pretty much means that wheelin trip is cancelled. Trying to decide what the problem is. Old rubber hoses at front calipers, old stainless drop line in middle, new master (defective?), or old booster. I guess im dead in the water until more parts show up. Meanwhile, ive got something else going on in the background: 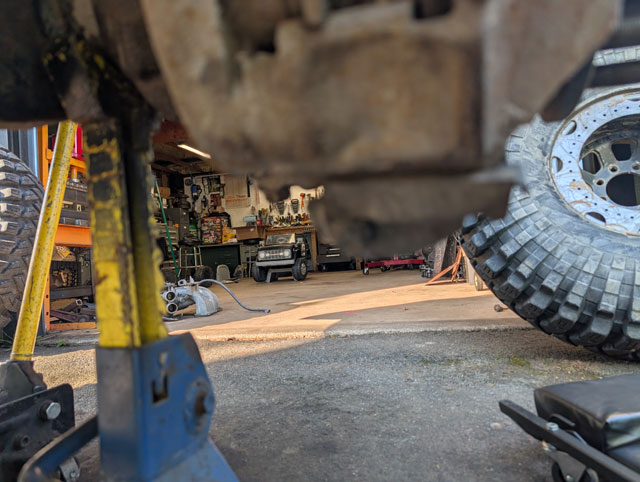 Ive decided to do one more round of upgrades to the kiddo's bronco before he outgrows it 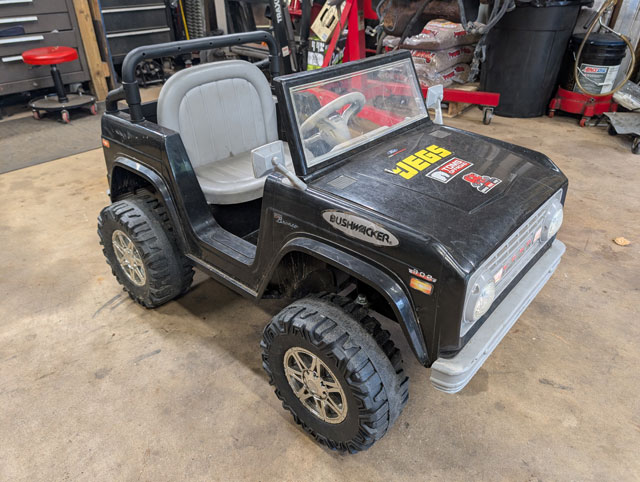 ML Toys is now making their own custom gear boxes for power wheels called the Paragon 775. Upgrading from 550 series to 775 series motors as well as part of the kit 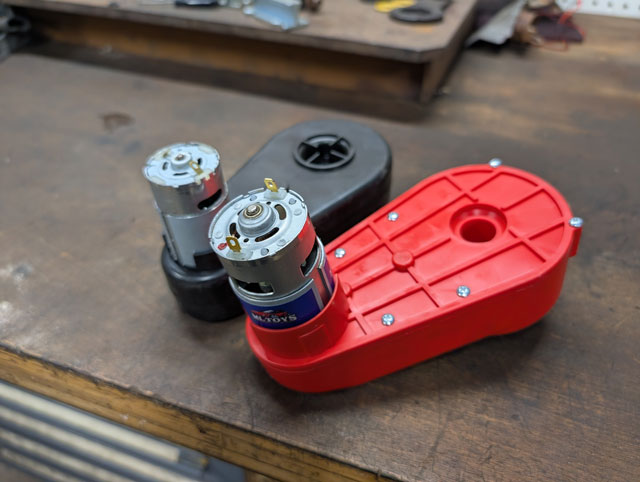 ...and steel gears on bearings instead of plastic gear and no bearings or bushings at all 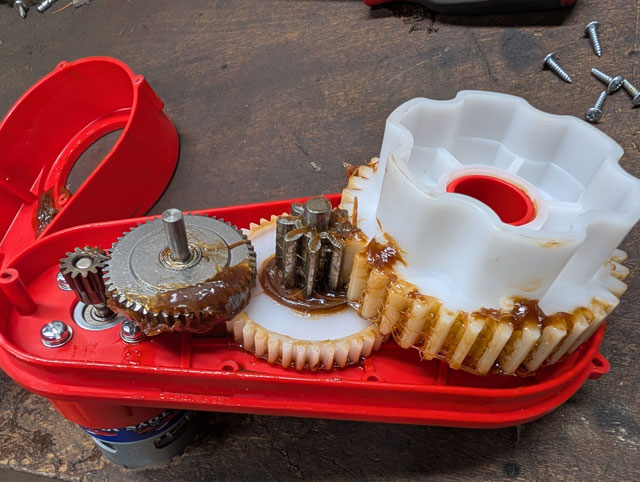 Had to replace the rear tires because he wore them all the way down to the seam! 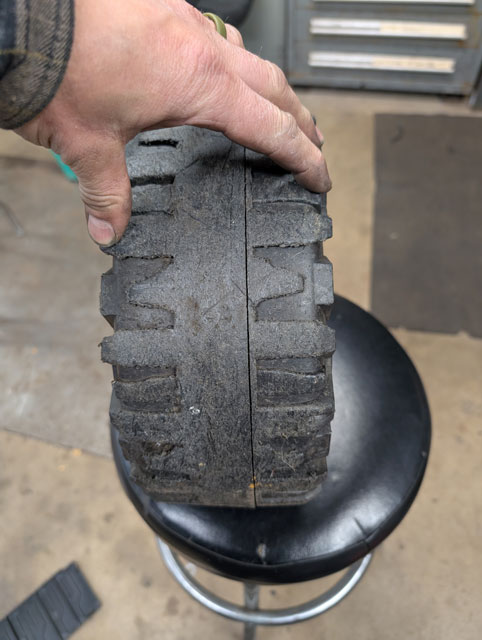 I was breaking in the new motors while i was pulling the front brakes apart on the big bronco 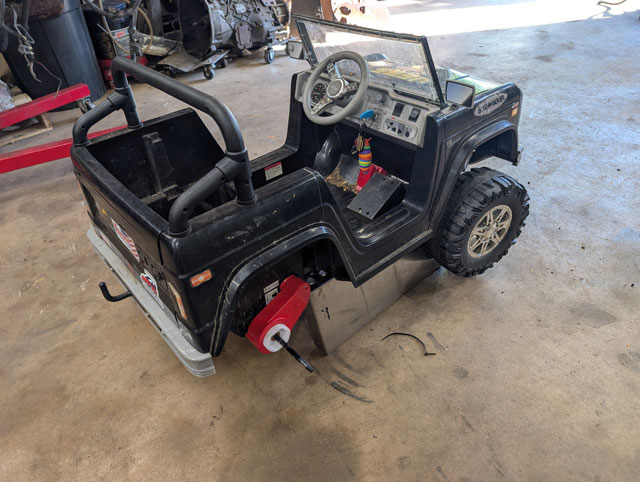 So hes thrilled because his bronco is back in action 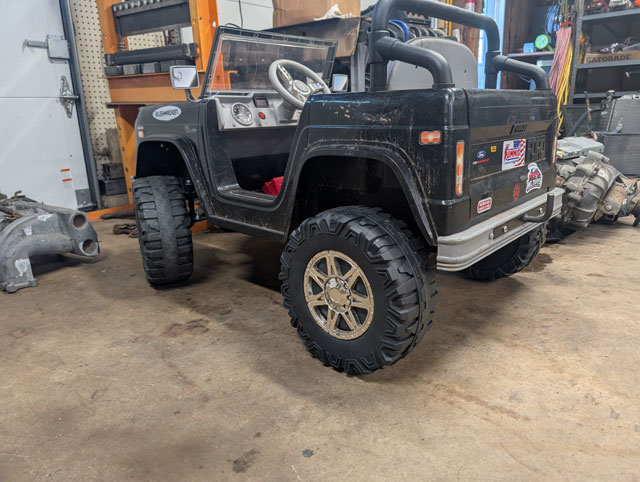 Now ive got to fix mine... Been busy, never updated this. New probe from Autometer 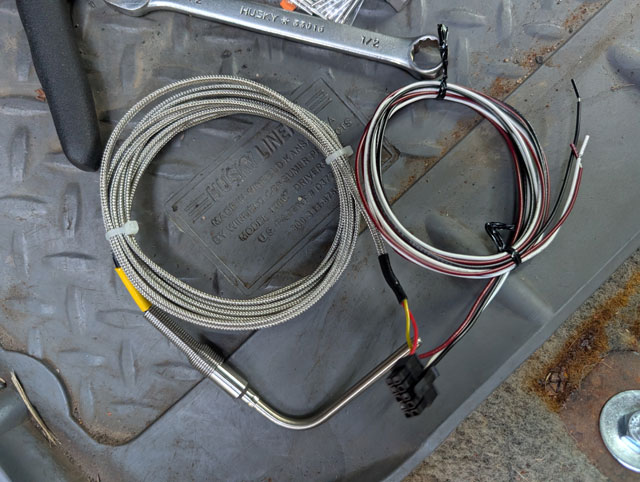 swagelok threaded into the manifold 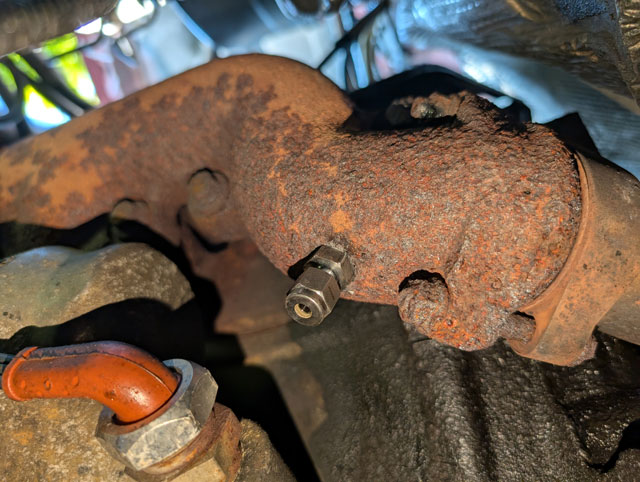 ...and done! 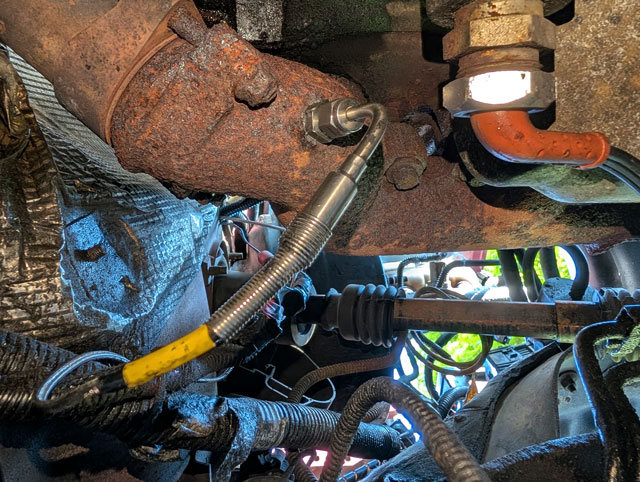 Driven it a few times now, all is well :smokin: Good thing too, because last week i started getting a thunk in the green bronco when i put it into gear. Long story short - bad ujoint in the double cardan 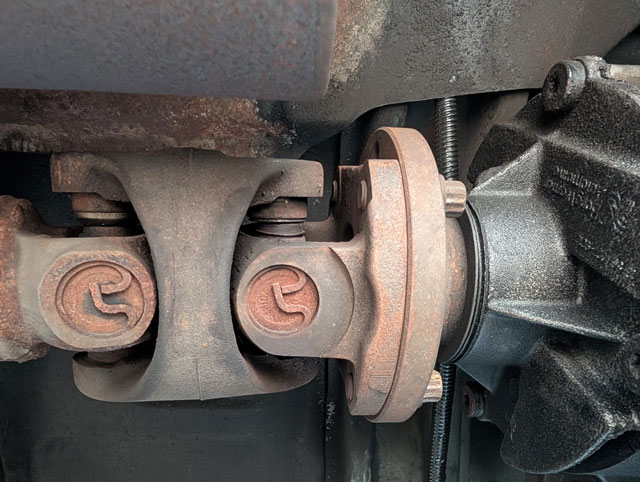 Pulled the driveshaft out thursday and went over to the local driveline shop for parts, and then rebuilt it friday morning after work 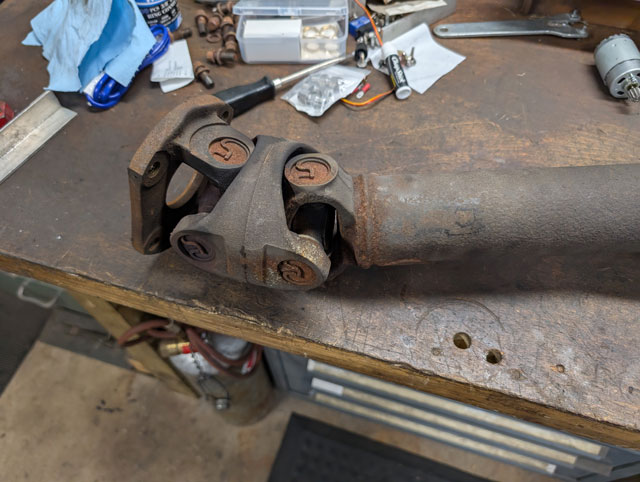 yep, id say its bad 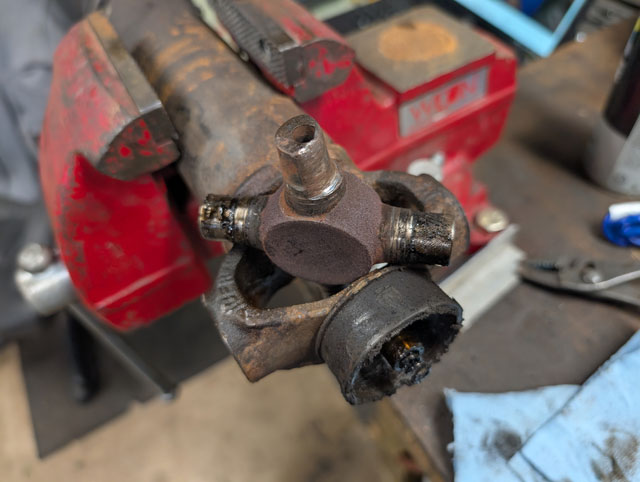 new spicer non-greasables, plus a center ball kit from neapco 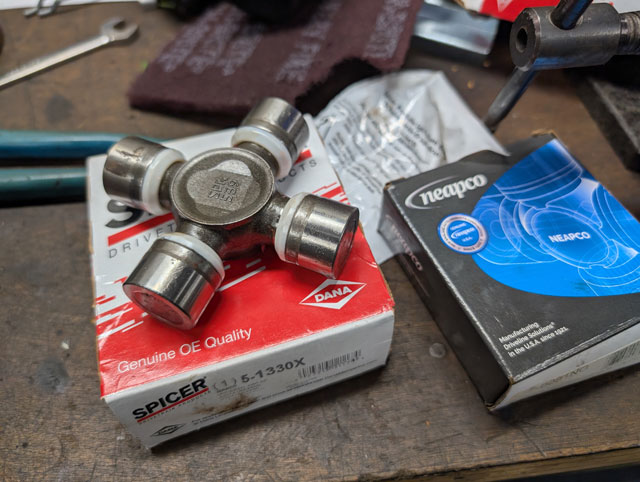 no way i was replacing both ujoints, and not replacing the center ball 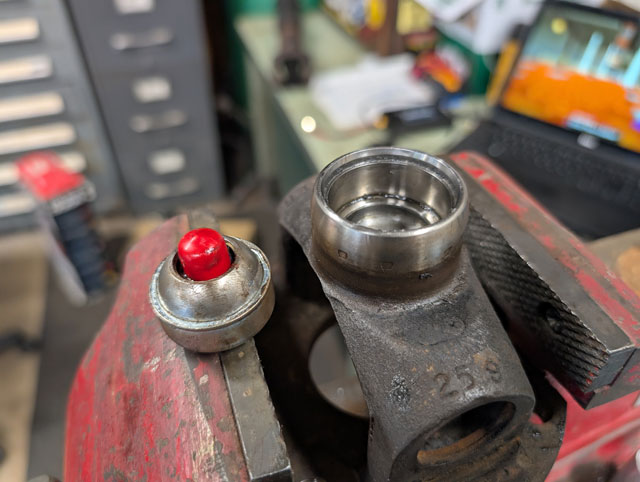 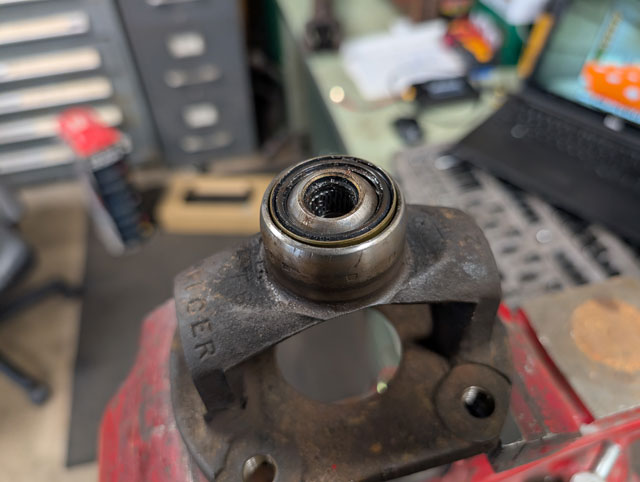 ...together... 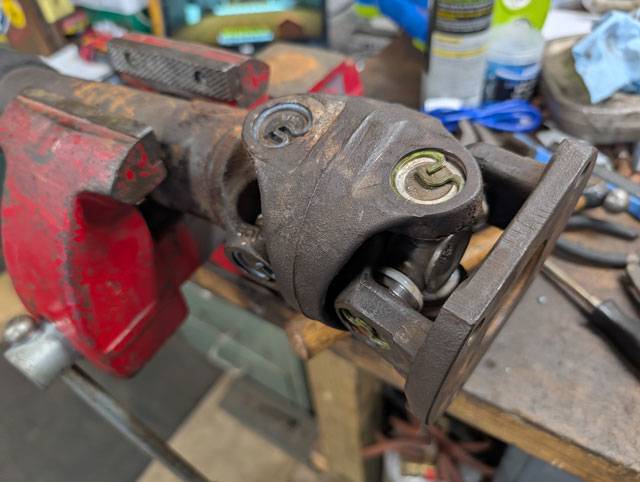 ...and done! 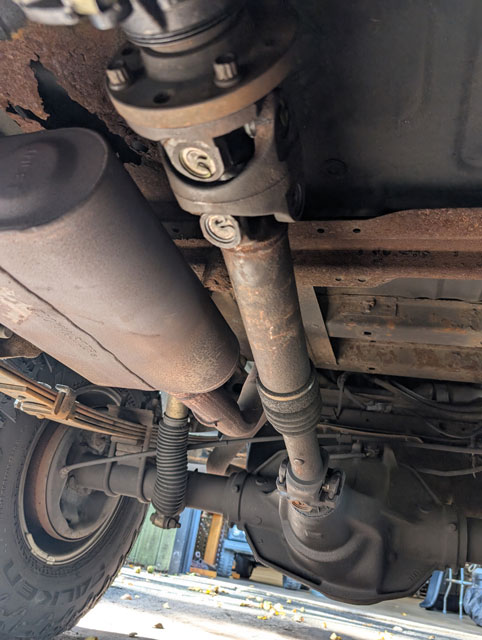 Got this one done just in time too......me & the little dude were hauling trailer loads of black walnuts out to the woods, and we had a breakdown ...little dude had to tow his bronco home! 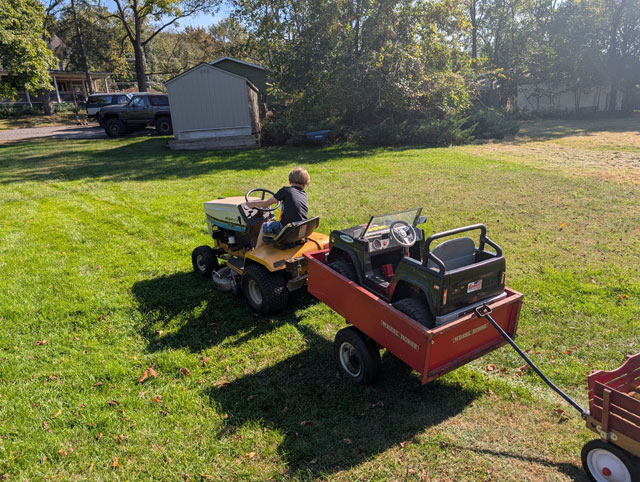 Ok, the finale! So first off, ML Toys ignition cant carry the current, despite what they claim. But my kid liked the big blue key, so i found a lock cylinder that was basically identical, on Amazon, for $9, so i bought that. Then i grabbed a 12v 80a relay i had kicking around the garage, and wired that in: 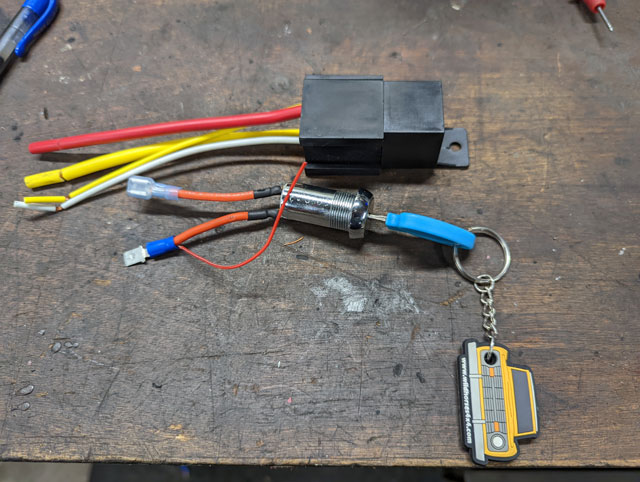 I know 80a is way overkill (30a would prob be fine), but i already had it, and i figure since its 18v not 12v, having a big buffer wont hurt. So the key switch triggers the relay, which is mounted here: 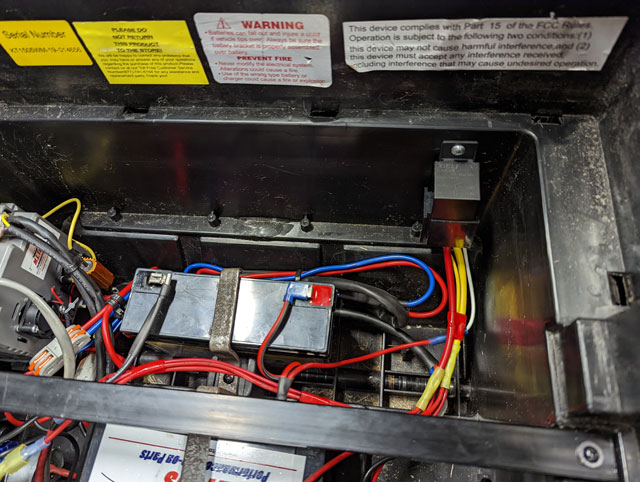 In retrospect i should have just done this from the beginning, i was thinking K.I.S.S. and you dont get simpler than just a key switch. Anyways, this completes the wiring overhaul. The little dude was romping it around the yard and ran it for a good half hour in the grass with no sign of it slowing down. The voltmeter said we were still over 18v, so im guess a good hour plus on the run-time now, maybe longer  So with this done, theres nothing left to do but to just let the little dude cruise! 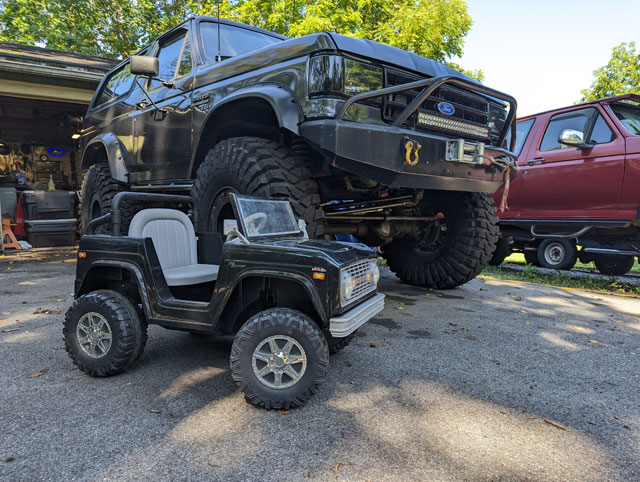 Nest up is to finish the wiring issue with the '96, and then its finally time to start the one-ton swap on the '90! So first up, we need to replace the accelerator pedal. The new one is not a simple on/off switch, its a variable resistor, for full variable speed control. So the original pedal has to go. The original pedal is a pretty low profile and just snaps into a recess in the floor, whereas the new pedal is boxy, which makes installation easy, but also puts the pedal way higher
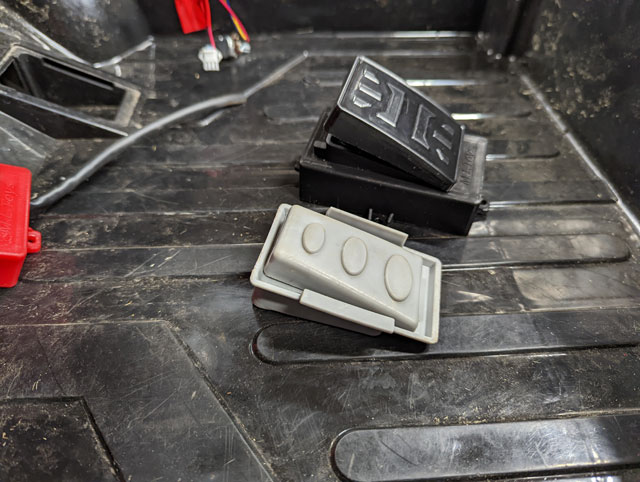
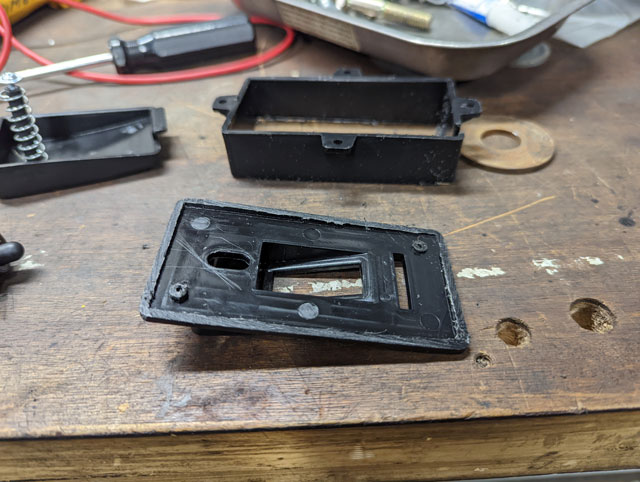
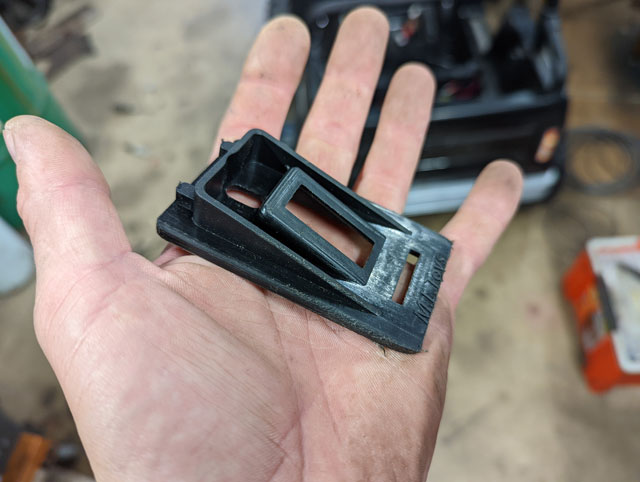
Im not a fan of this, so lets make some changes. Here's the foot pedal all disassembled: 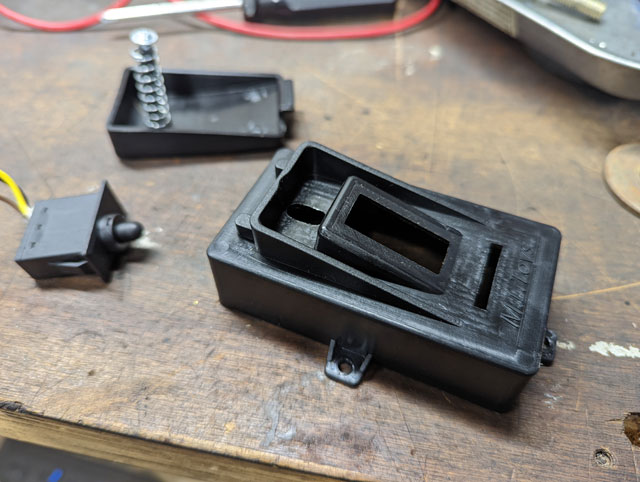 I have an idea. Lets chop it up!
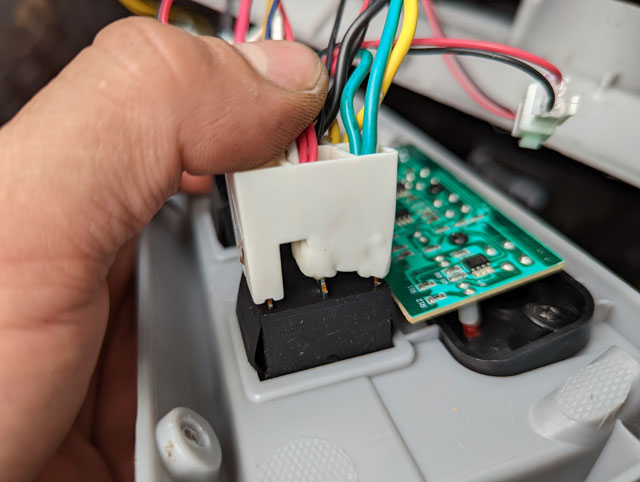
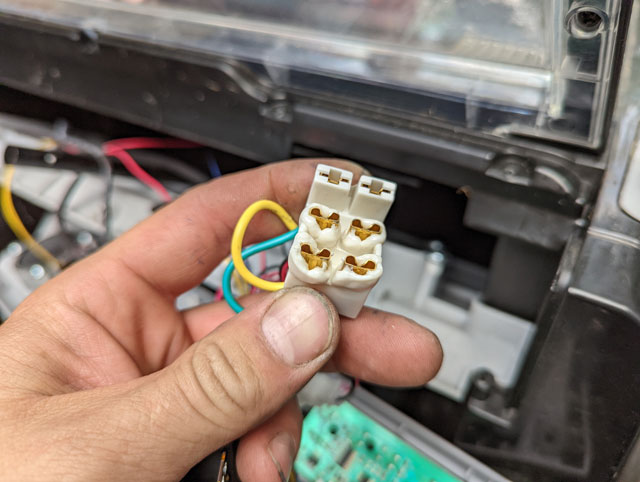
...and with just some minor trimming, it fits in the original space! 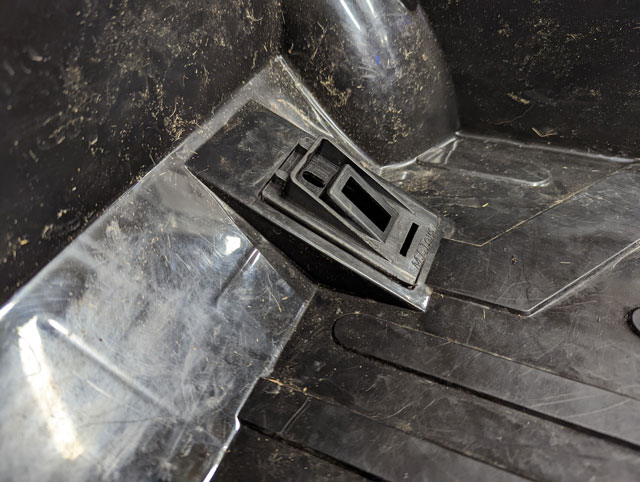 All back together and installed, looks like it came this way from the factory! 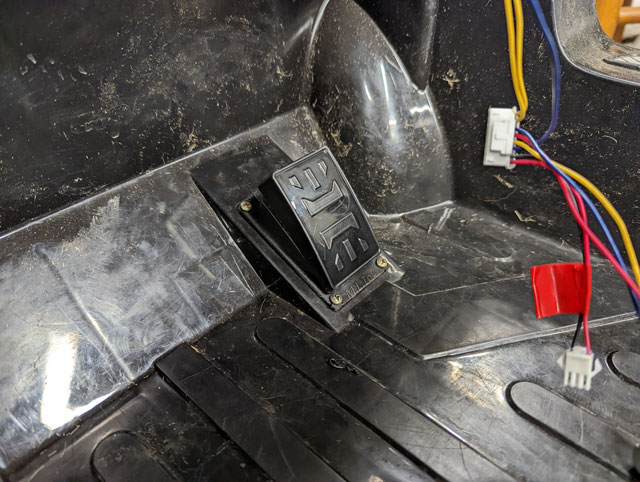 The brake pedal i installed slightly to the left. First though, we need to deal with the wire coming out of the bottom. Cant have exposed wires in the interior, thats just asking for problems! 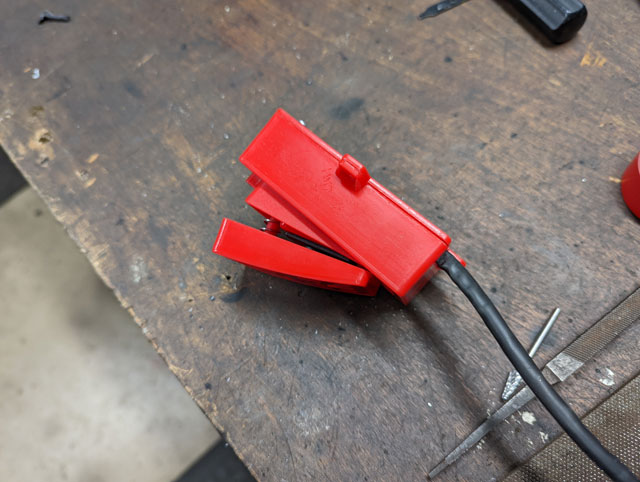 So the plan is to mount the brake pedal here. Of note is the upper and lower mounting points have been removed: 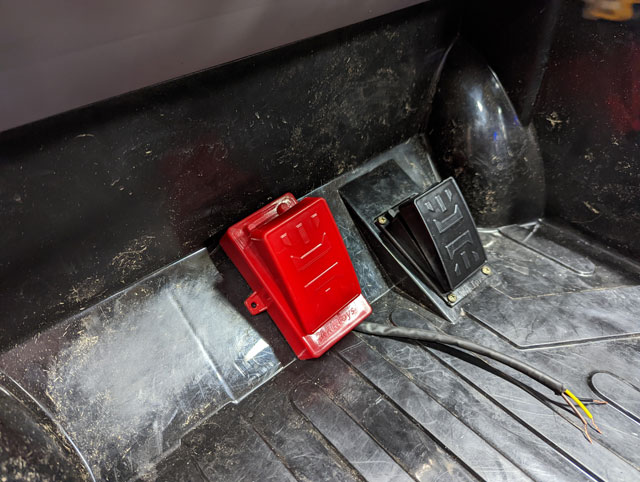 And then modify the pedal assembly so the wires come out the back instead of the bottom: 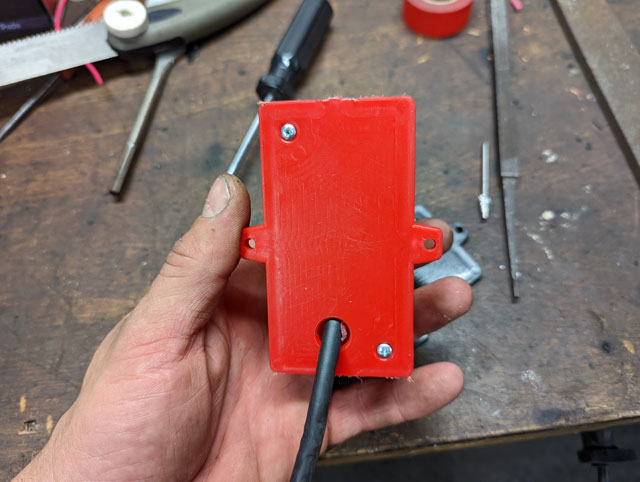 Because.....in this spot, the wires will pass thru a hole in the floorpan, to be hidden in the wireway and protected by the track! 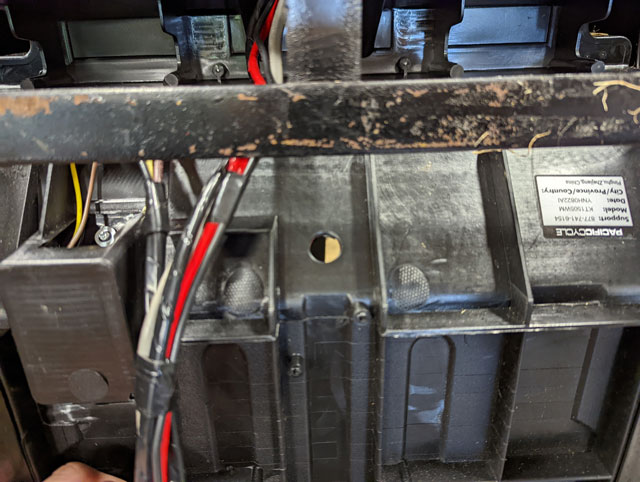 The finished product- nice and clean, with no wires exposed anywhere, inside or underneath: 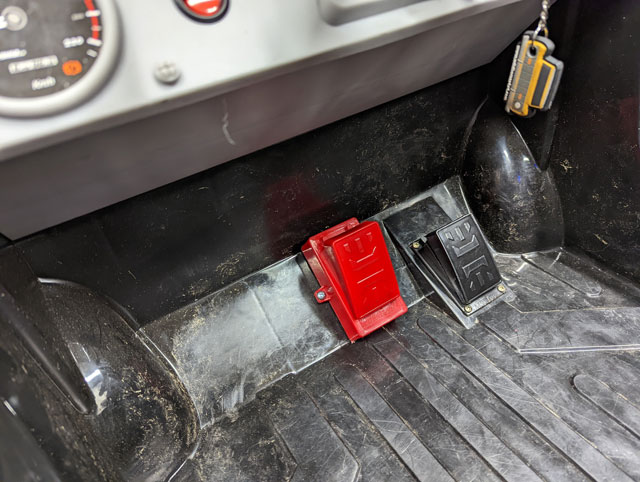 So the obvious solution to the inadequate wiring in the Kid Trax Bronco, is a full replacement. I could have done something simple like upgraded wiring and switches, but instead i decided to go all out, and use ML Toy's Electronic Speed Control. 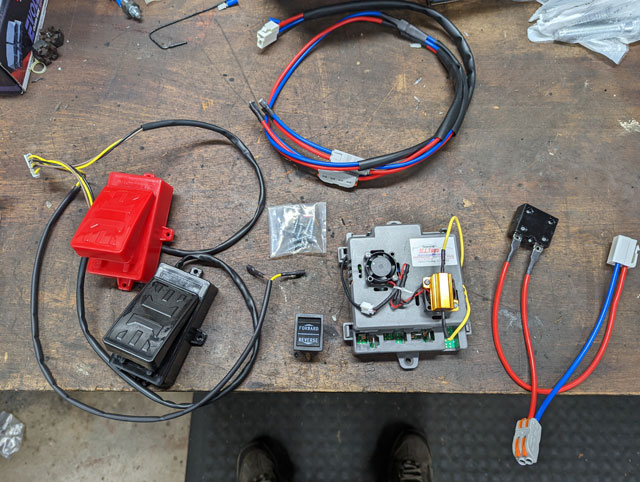 This thing is pretty cool. its a full variable speed ESC (so full variable speed control), with a brake pedal as well. Its programmed to apply the brakes after a certain amount of time if it doesnt see either pedal input, so you cant have a car runaway down a hill, which i think is a nice safety feature. It also has a 12v output for powering the stock headlights & radio, which we'll be using as well. In addition to this, i am adding their key switch, and digital voltmeter.  The meter is not necessary, i just want it for the convenience of knowing battery life. The key switch i do want though; Power Wheels have the batteries under the hood where you unplug them to charge them, but Kid Trax has them hidden in the back under the seat, with a charging port. Having a key switch means we can turn it on/off to charge without having to unplug the batteries every time. So lets get that wiring harness out: With the track removed the harness is exposed: 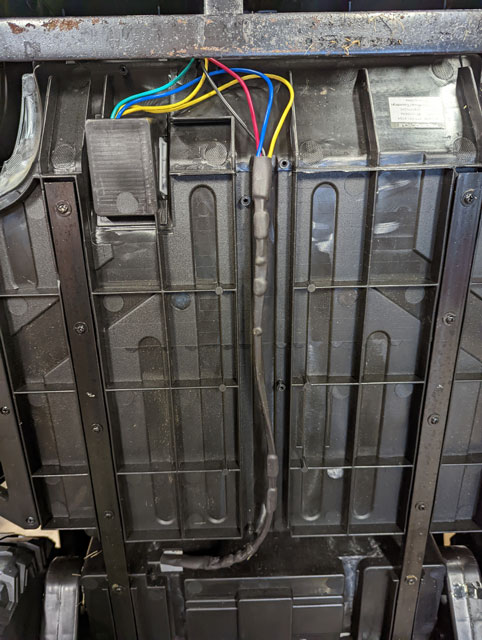 Foot pedal wiring: 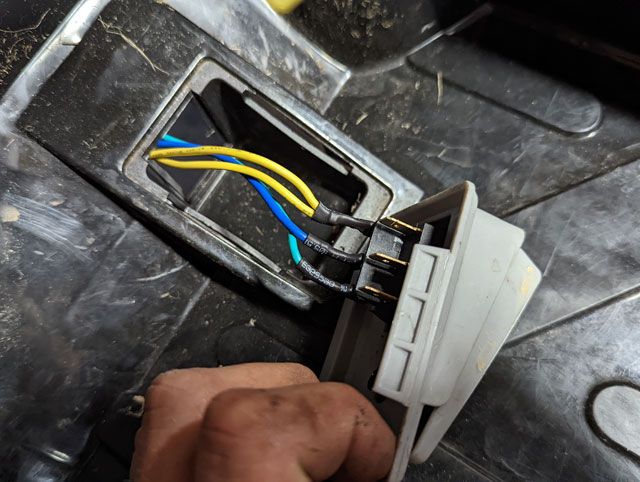 Remove a couple screws and the steering wheel and dash comes out: 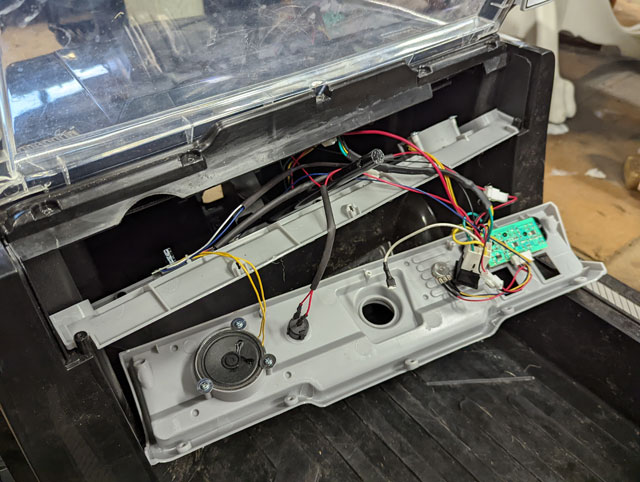 power plug for dash harness: 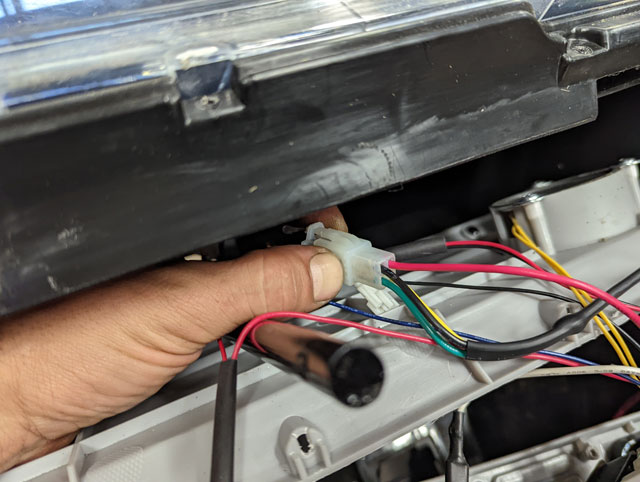 ...and the chassis harness is removed: 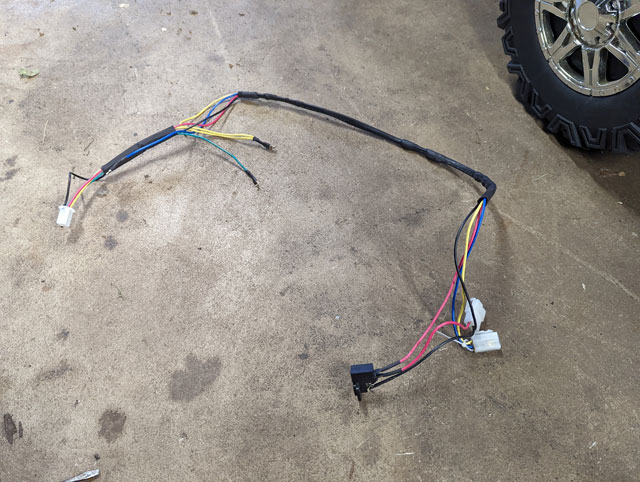 Here's the plug for the horn pad, which we'll obviously reuse 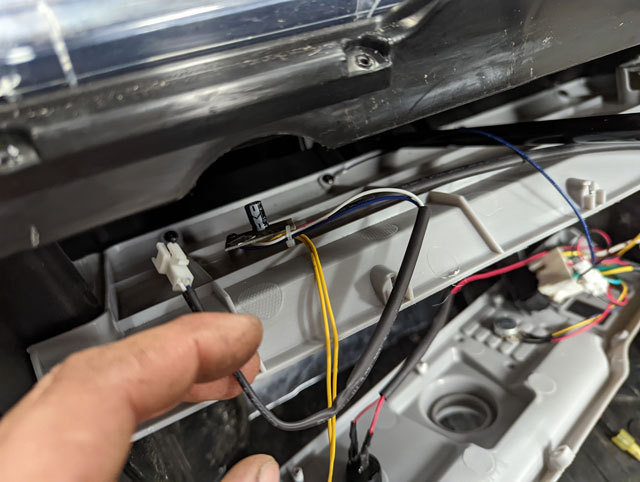 ...and this mess of wires is the backside of the directional switch, where Kid Trax tapped off for all their other 'key hot' accessories, such as the horn, radio & headlights. We're gonna reuse some of this, but not all: 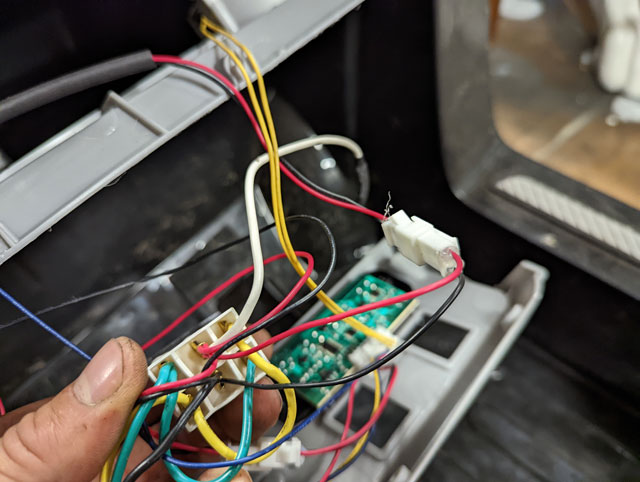 Just give it a slight tug and the volume knob pops off to expose the jam nut to remove the dial: 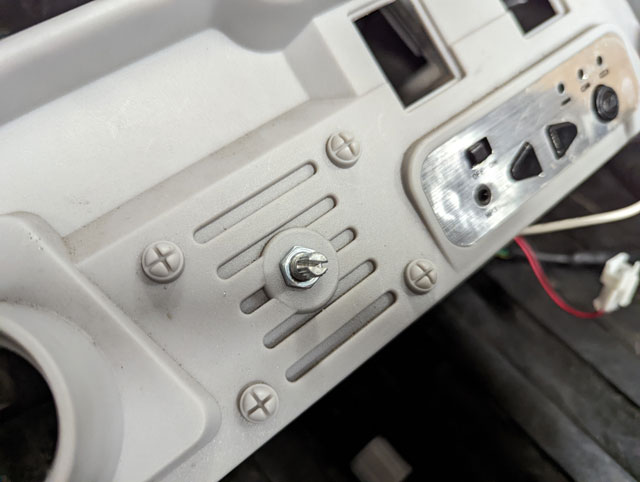 This is about as far as we need to go, as far as disassembly is concerned. Tomorrow we'll staart installing the new harness and ESC! So the 18v Kid Trax Bronco is running well! 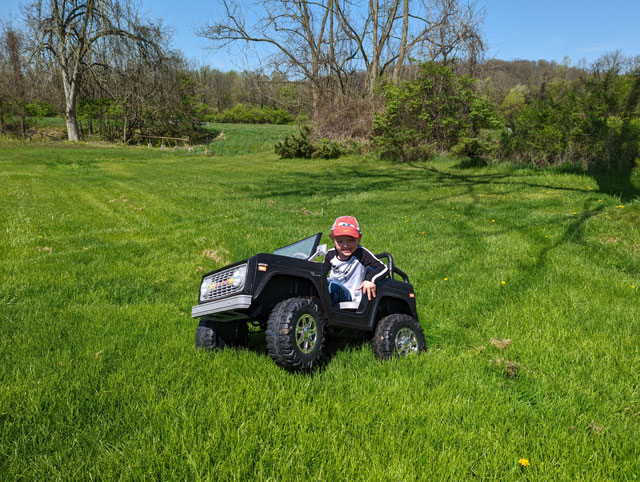 This thing runs great, and the run time is much better than before. However, the stock electronics are not happy! The On/Off switch finally melted yesterday from the load: 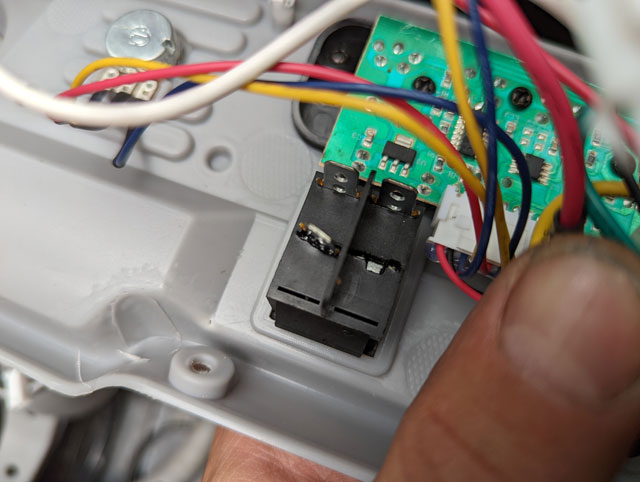 Unfortunately, so did both the Forward/Reverse switch, and the socket for it:
Looks like the next upgrade is going to be getting some proper wiring and electronics in this thing. Stay tuned! So the time has come. The Kid Trax bronco looks cool, but the 12v conversion leabes a little to be desired. Sure, cruising around in the driveway it goes good enough, but out in the yard it just doesnt have the torque to truly propel around a 4y/o. Enter MLToys' Level 3, 18v conversion: 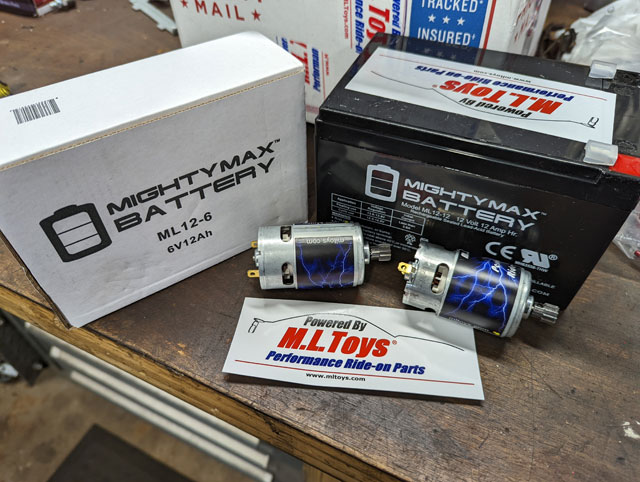 Normally this kit would come with a second gearbox, but since we already had the 2wd conversion they omitted those parts. Anyways, here we go! The kit comes with larger 550 motors, so the geart boxes need to come out so we can swap them in 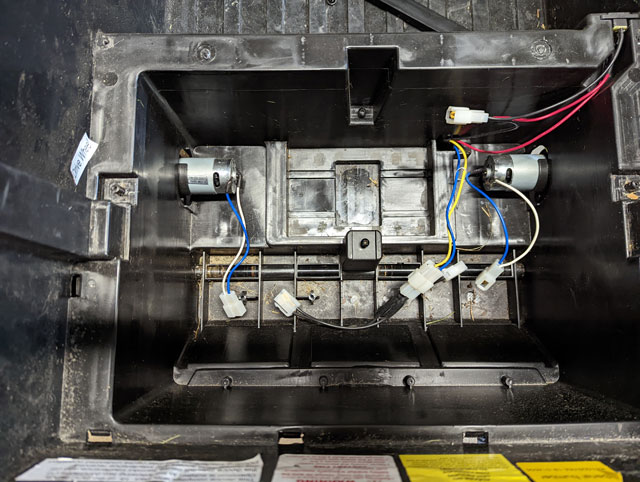 The new motors with their new pinion gears. Of note is the pinion depth is not set 'from the factory', you need to adjust the gear on the motor shaft to get proper engagement of the gearbox. If you dont, you will definitely strip the gears out! 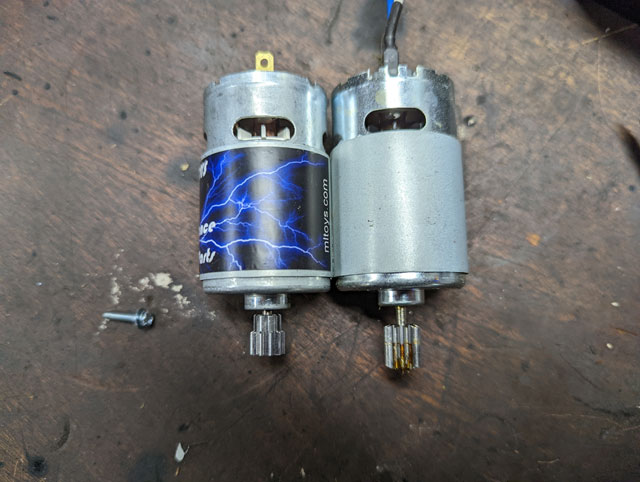 One done, one to go. Yes its that simple. 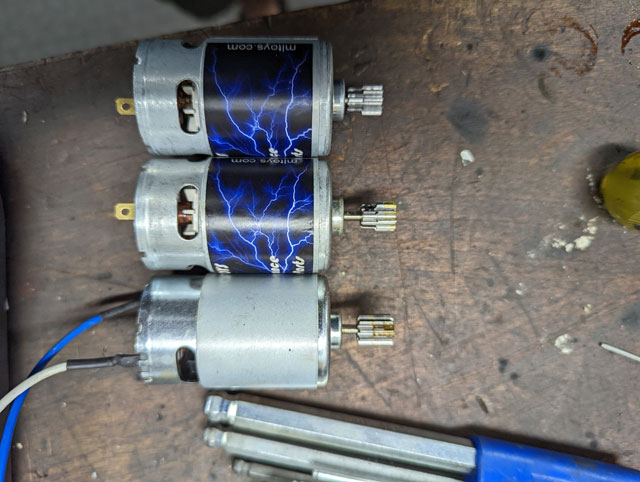 New motor installed on the gearbox! Note the new motors come with Wagos which make reconnecting them to the Bronco's harness super easy  ...and back together we go!  Since the conversion to 18v means we now have 2 batteries, i made a new battery hold-down so they cant go anywhere: 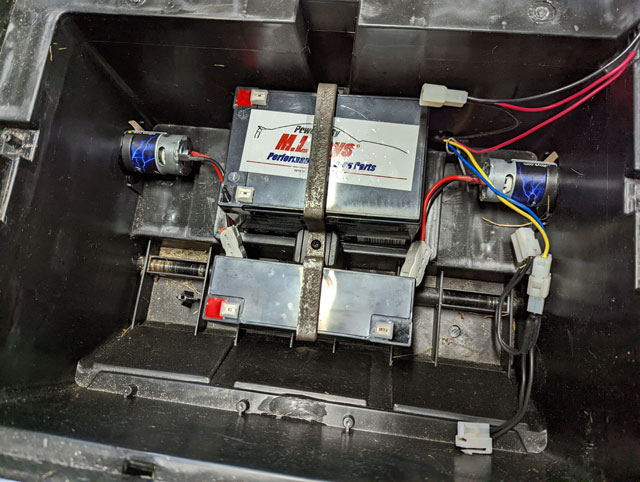 From there all thats left to do is to reconnect the wires for the motors and the batteries, same way it came apart. The most important thing to do though, is to break in the motors:  ML Toys recommends running them for 15 minutes with no load to seat the brushes. I ended up running it for about 20 which is fine as well, the important part is just to run it with the tires in the air so theres no real load on them. The end result? This thing is a beast now! It zips around the yard without a care in the world, and the battery life has improved as well! This is the way it should have always run. Here's hoping it holds up to the abuse....  its time for the next round of upgrades!  While they body is superb, the powerplant leaves a lot to be desired. 6v, one wheel drive just doesnt cut it. It puts along ok in the driveway but doesnt go at all in the lawn, which seems to be a common complaint for these things. Fortunately last year i got my hands on a second one cheap, so i swapped a second motor/gearbox into it to make it 2wd. But, the 6v system just isnt torquey enough. Enter ML Toys 12v conversion! 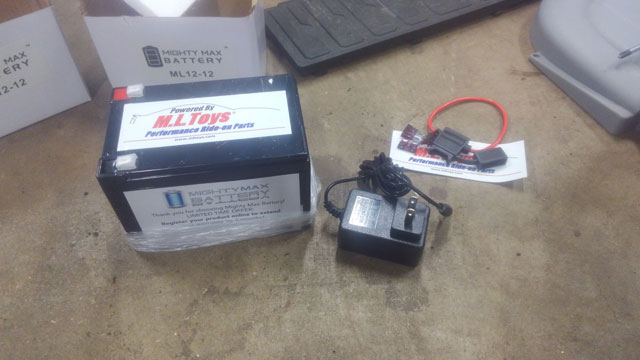 Its as simple as it looks- a new 12v battery to replace the 6v one, a new in-line fuse, and a new battery charger that still plugs into the stock charging port. Interestingly enough, the body is already designed to accept either a 6v or 12v battery, which means the bigger battery just sets in place like it belongs there. You can see the second gearbox/motor installed as well. That was a simple swap as well since the body was apparently designed to be 2wd all along. 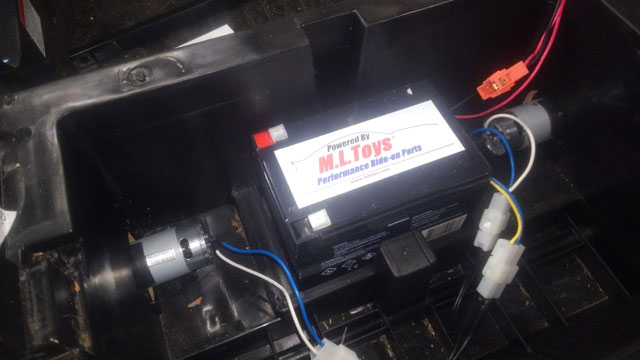 ...and the verdict is in....it runs like a champ now! 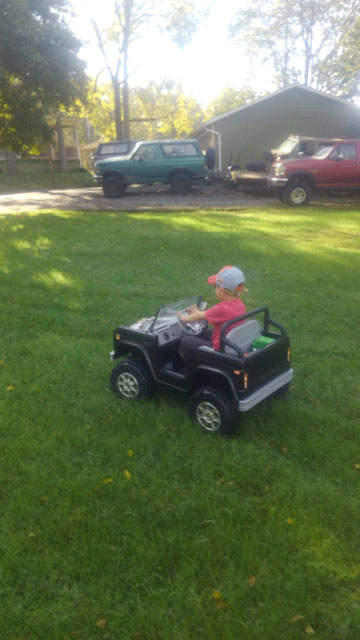 This was just what it needed to get the little guy cruising around the yard! The 12v conversion is just torquey enough to get it cruising around the yard, without it being too fast. Altho next year once hes good at driving this thing, maybe we'll look into that 18v conversion they sell...  With the little dude about to turn 3, i figure now's the time to get him his own ride! Let the madness begin! |