|
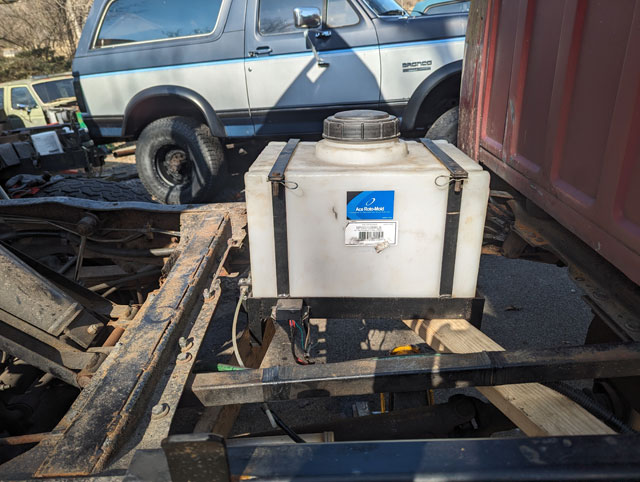
So i studied my wiring diagrams for a bit  ...and then came up with a plan to improve my old wiring, while also simplifying it. Step one involved moving the wiring for the pump away from the water tank since the pump is now on the frame rail 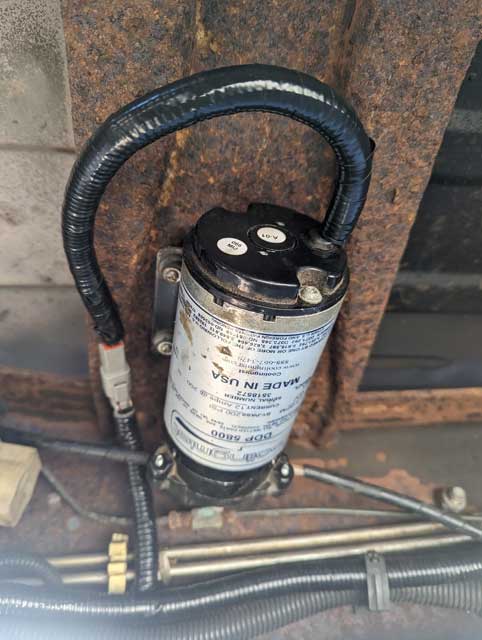 From there i was able to break down my old sloppy wiring harness, and make a nice clean one to take its place. My old wiring harness:  ...and the new one: 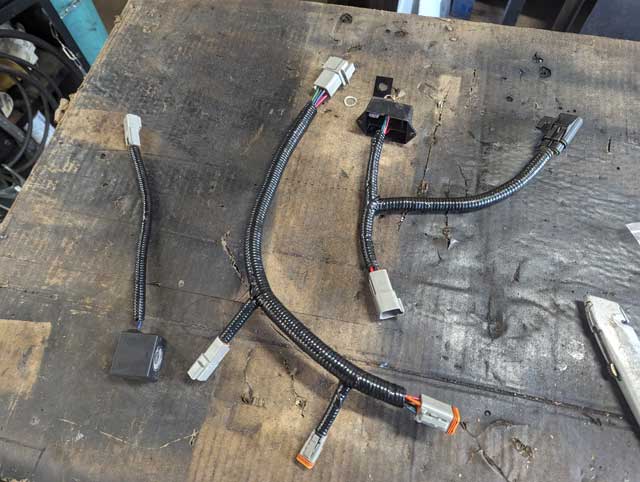 So with that done i replaced the float in the tank since one of the wires was frayed 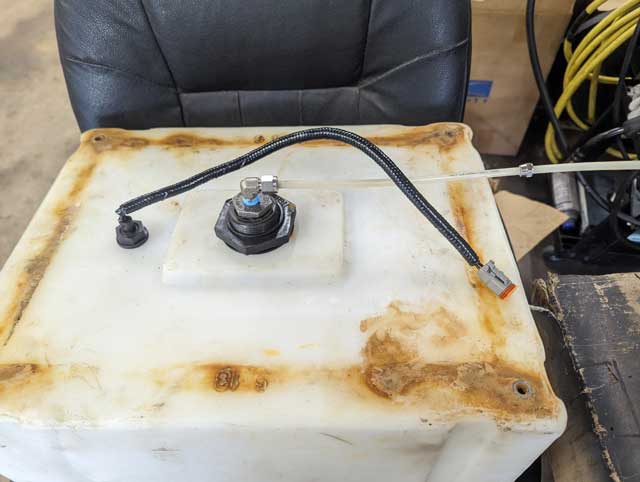 put the nozzle back in the intake... 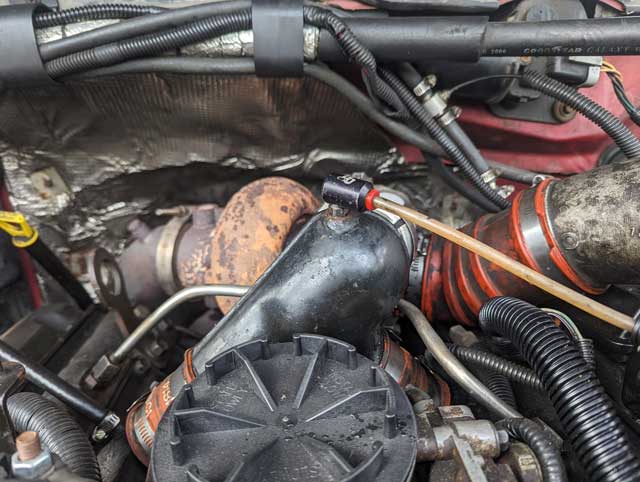 ...and powered the system back up! 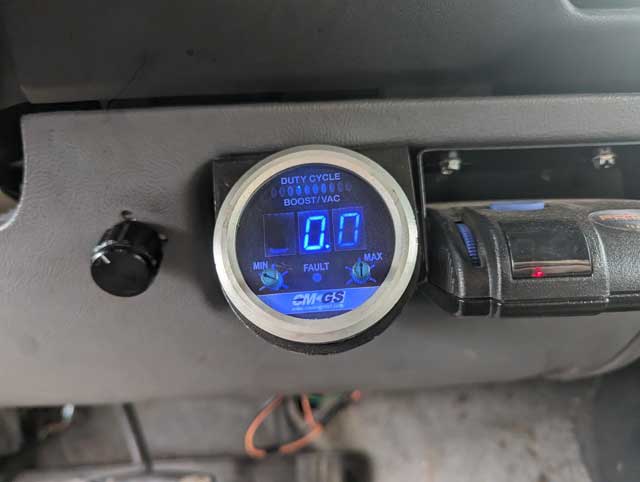 water-methanol injection V.20 is now complete! Now to just drive the truck and get it tuned! Working on getting the tank mounted: 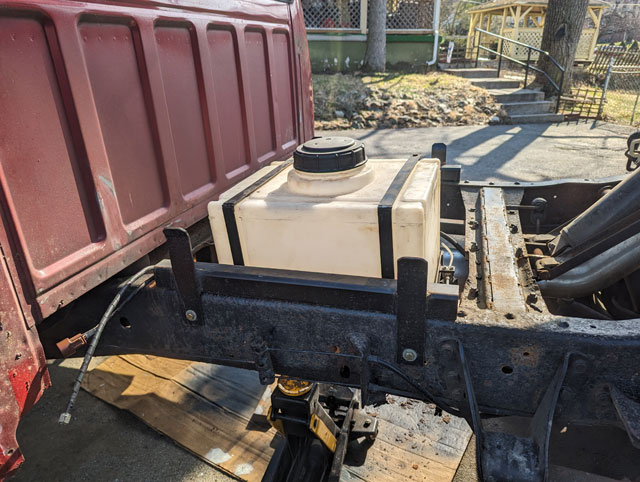 I started making a bunch of straps to suspend the tank in the frame: 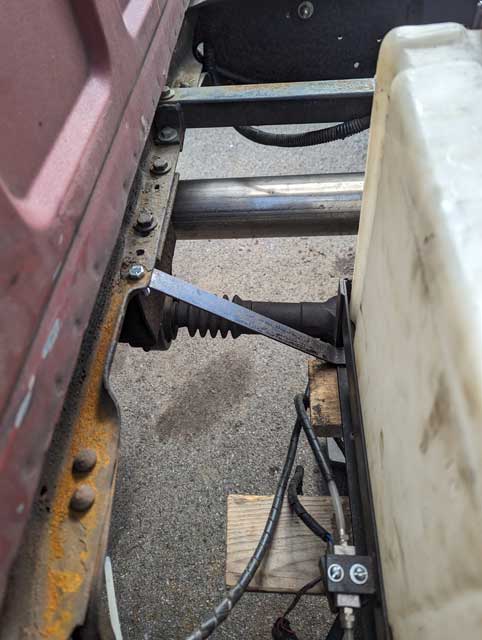 ...and then:
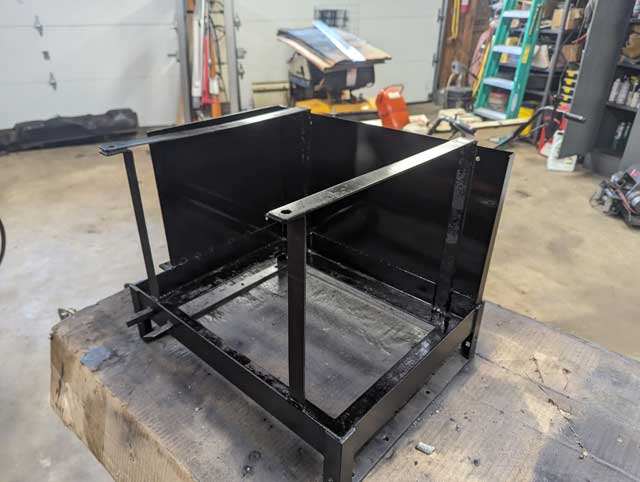
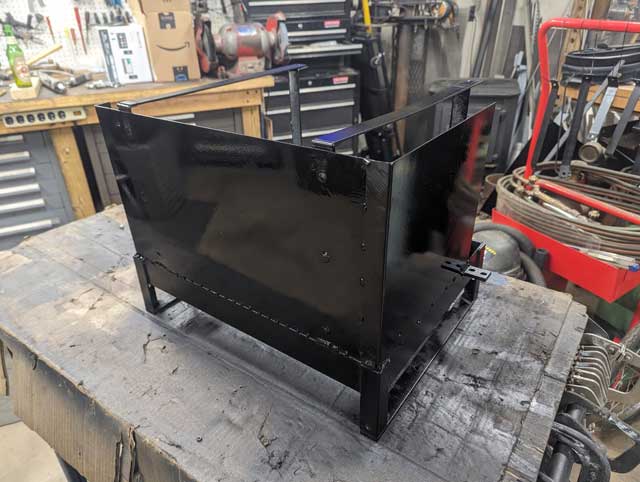
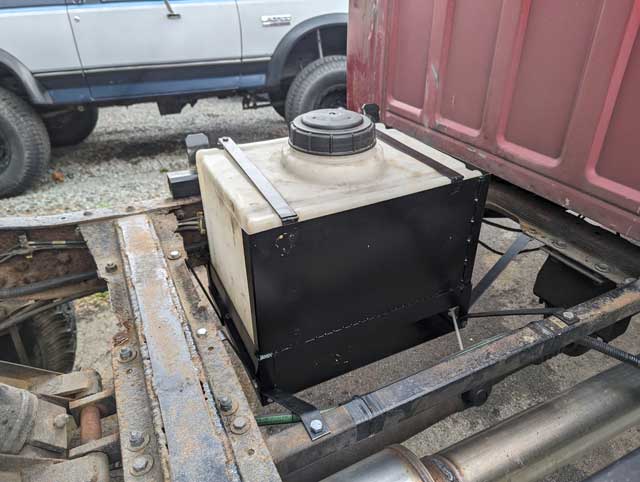
So with 7 brackets all bent up, i grabbed a piece of scrap steel sheet, and made side shields, and a lower panel, to keep road debris from hitting the tank
...with that done, it was time to reinstall the tank and hangar!
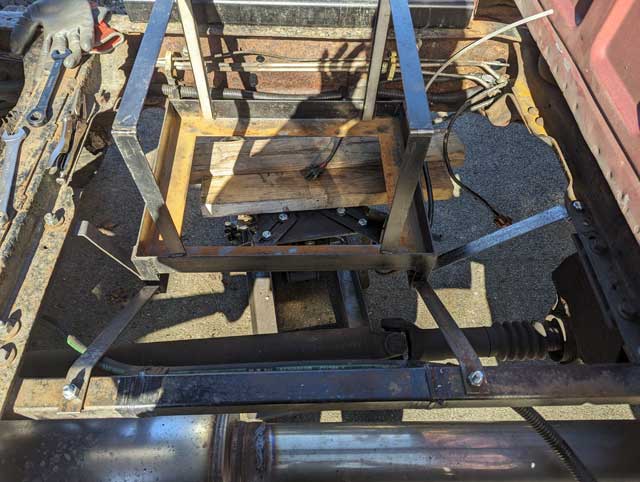
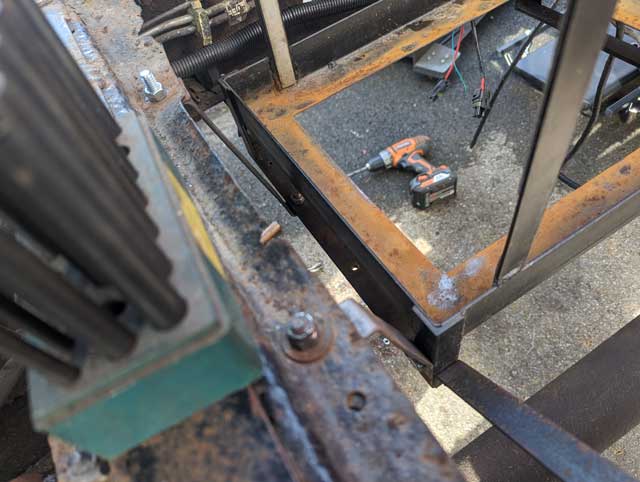
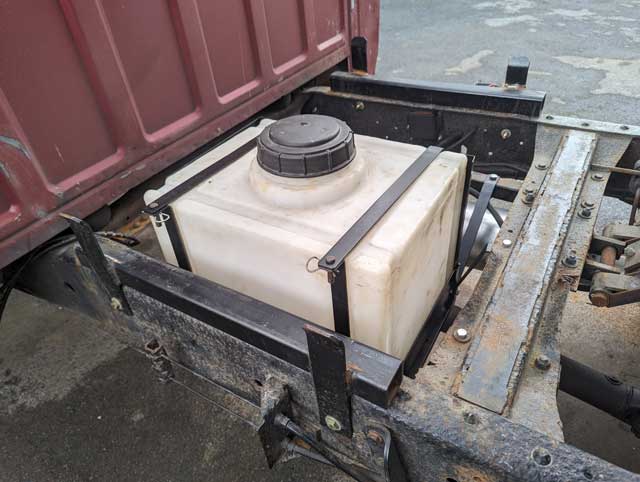
This shows the feed line from the sump in the tank, to the failsafe solenoid: 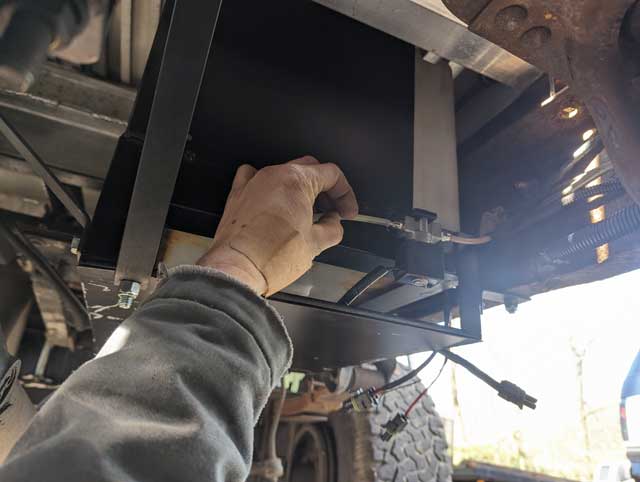 Ultimately, i decided to mount the pump in the underside of this xmember: 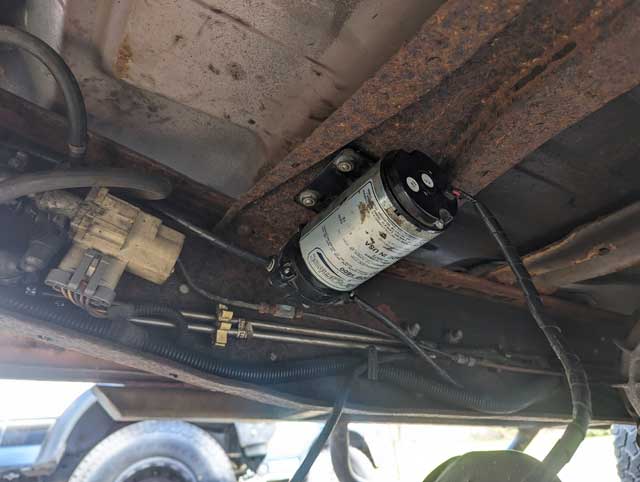 ..and with the pump mounted and plumbed, its time to start on the wiring. This is the original harness i ran down the frame years ago, with a wedgelock connector on the end so i could plug in the extension harness:  ...and this is th eenxtension harness. Originally the harness ran up the bulkhead of the bed, but with the dump bed conversion done years later i had to make and extension harness to run down to the end of the frame rail and then double back along the underside of the bed. Well, with the new tank location we wont be needing this anymore:  ...and this is the wiring harness that was inside the toolbox under the water tank. With the new pump & tank locations, now is the perfect time to take this apart, clean it up, and lay it out a bit nicer 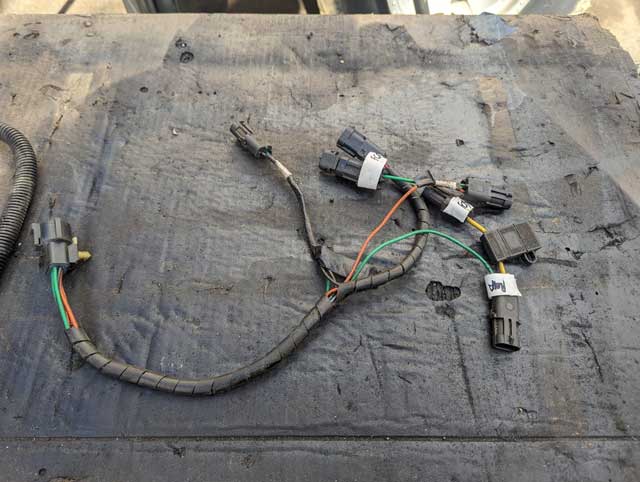 So now its time to dig into my 10-15 year old wiring diagrams, reverse engineer this system, and clean up the wiring! 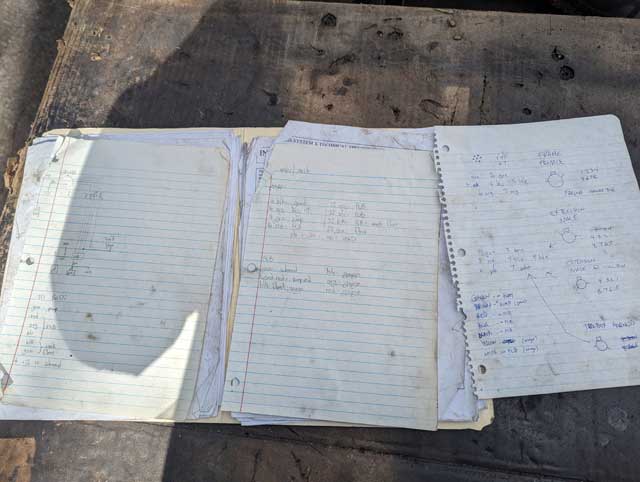 Its time to reinstall the water/methanol injection in the F250! 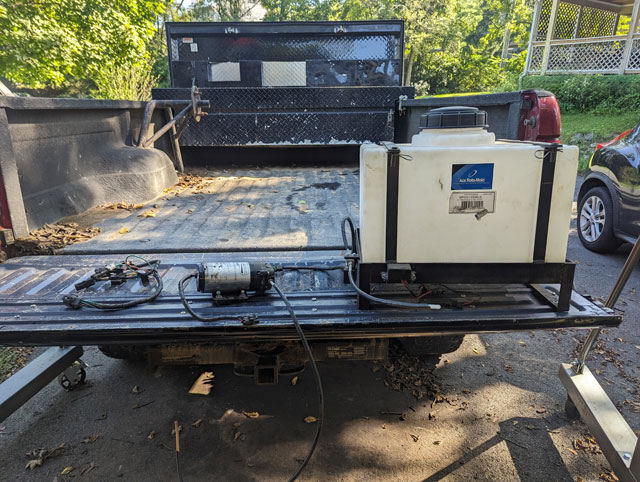 Originally the system was installed in the tool box where it was safe and out of harms way: 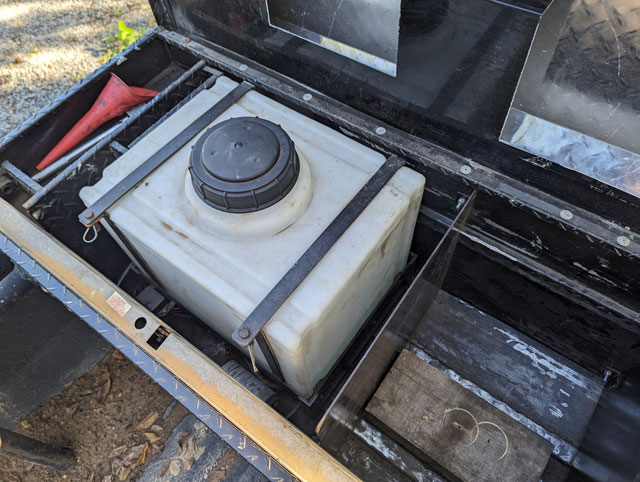 But this time, with the aluminum dump bed i dont want the tank in the bed anymore, so i need to come up with a new place for it. So since we swapped the 38 gallon tank in place of the rear tank, that means that technically i dont need the front tank anymore. So, out it came! 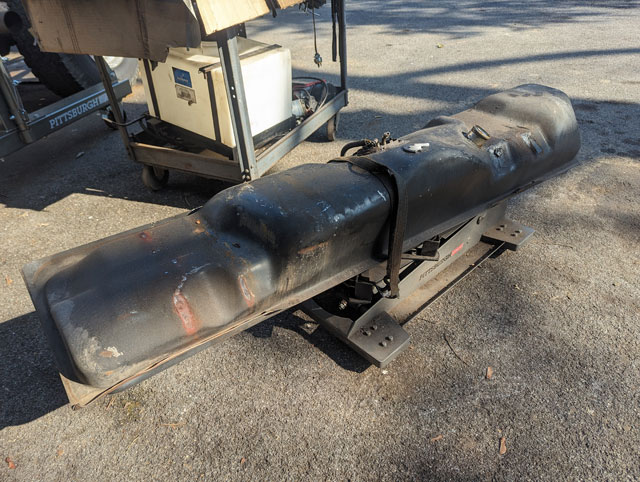 This frees up a ton of space to install my 12 gallon tank:  I took the original fuel lines and made a stubby line to connect the two ports on the diverter valve, so i cant accidentally dump fuel under the truck. This will suffice for now, until i do the e-fuel conversion 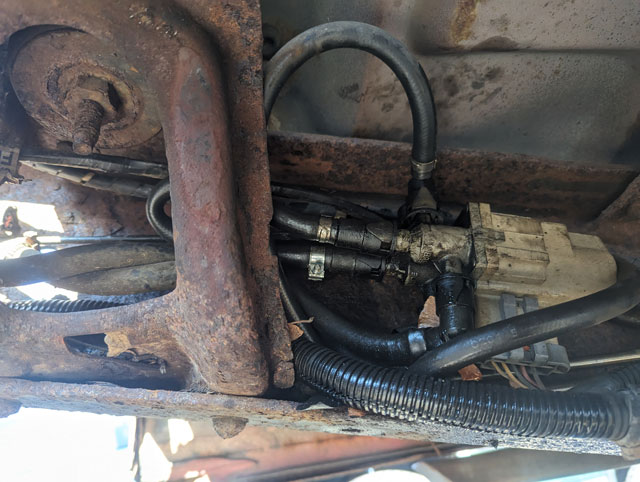 Mocking things up, this is the plan for the water tank location:
It looks like its sticking way up but its not too bad. In its current temporary place its flush with the bottom of the frame rail and clears the bottom of the bed, so this will work, altho i think im going to lower it an inch or two, just for some extra clearance. Now to get a hangar designed and built.... Made some progress on the water/meth injection. My wiring harness uses 7 wires, so rather than build an extension, i bought 7 wire trailer harness: 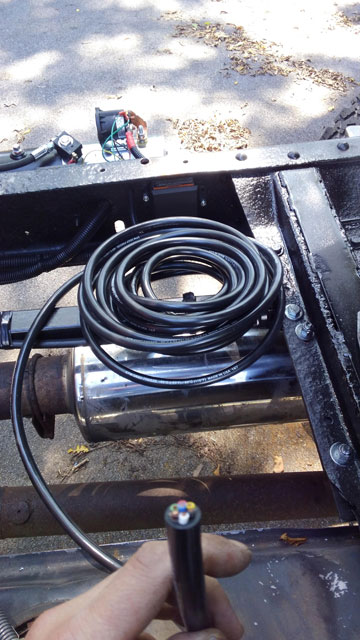 More OEM wedgelok pins being put to use 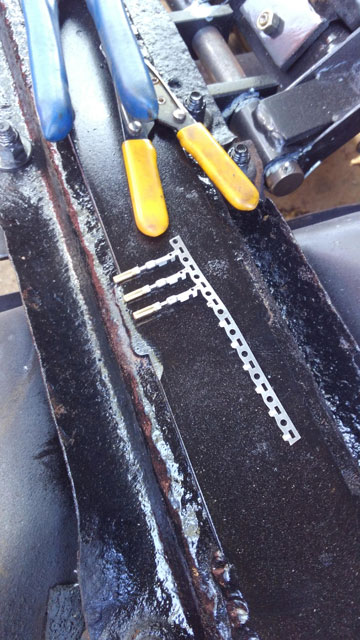 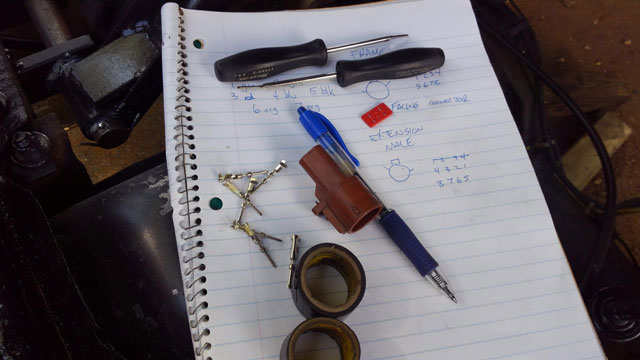 Original harness on the frame: 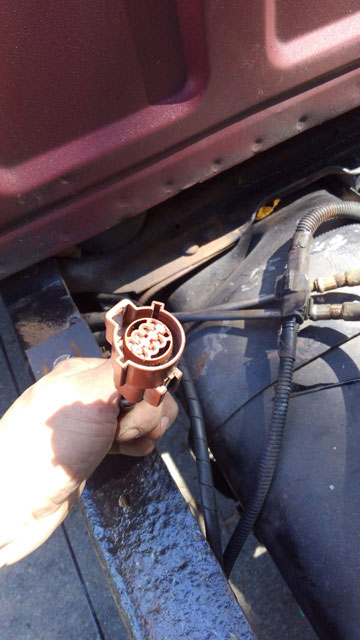 ...and the new extension plugged in and looking OEM  The harness runs up the bed here. Next to it is a hydraulic hose connected to some 3/8 stainless tube via some swagelok fittings for the water. 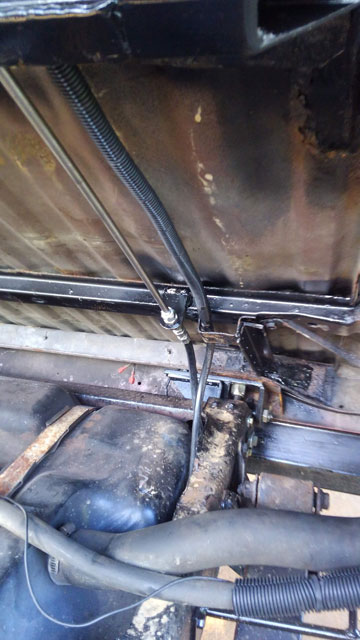 The route up the bed:  Another OEM connector, where my extension harness ends in the toolbox. In the top left you can see where the tubing enters the box. 100% stainless tube from the bed hinge to the toolbox. 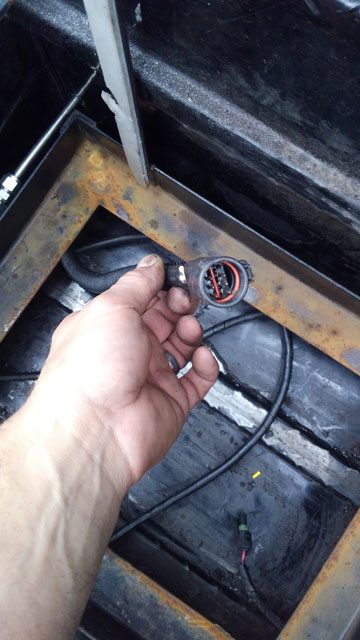 The original toolbox harness modified with a mating wedgelok connector installed: 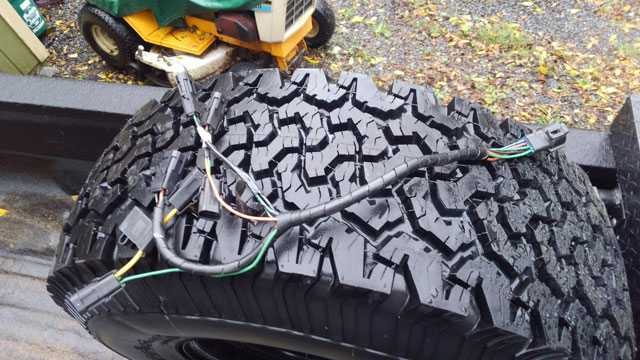 ...and the whole water/meth system is now reinstalled and done! 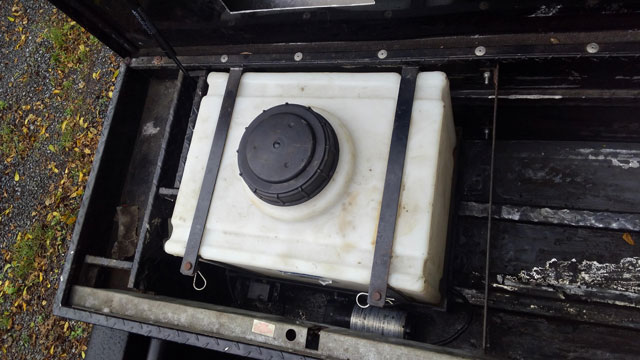 I turned the system on to check for errors and didnt find any, so i removed/cleaned the injector and then purged the system. Holy shit i think were done!!! I still need to find a place to relocate my CB antenna to, but aside from that she's 100% done! After sitting for 7 weeks under a black walnut tree the truck needs to go to the carwash pretty badly, so i guess thatll be my test drive to see how badly the bed rattles around. The kit comes with these guides to keep the front of the bed aligned with the cab, but i never installed them because my hinges are so much more sturdy than the ones that came with the kit, and the bed doesnt flop around like it woudve with their hinges. So we'll see after the test drive (hopefully tomorrow) if i need to put them on or not. So the water injection works great. It makes a huge difference to EGTs while towing. So a little bit about the system, now that ive had time to use it. First up, its amazing. I consumed almost 20 gallons towing the bronco to VA, however I was loaded way heaver then I normally am, and that was with the cruise set at 65 for the whole trip. It works amazing, I was tuning it on the way down, and found at 100% duty cycle, it will drop my EGTs from 1200 to 900 in ~ 30 seconds That's going uphill, at 65mph. Yeah, it works awesome. Of course, tuned that high consumes a ton of water, so I throttled it back a bit for the ride home. But yeah, awesome. Being able to tune it on the fly with the CMGS was awesome, it would've been a major pita to pull over after every hill to adjust a manual boost switch until I found a setting I liked. So yeah, i bought the CMGS kit because it is the most tunable. Its my understanding that the basic kits which use a boost switch, merely turn on when you hit your desired boost level. The CMGS & VC2 are both progressive controllers. This means you set a start point (say 5psi) where they start injecting, and progressively ramp up injection rate as boost increases until it gets to 100% duty cycle, which you also set. For example, I have mine set to come on at 5PSI, and to run at 100% at 20 PSI. The controller will progressively inject more until it gets to 100%, whereas the simple boost switches are just on/off. This actually allows me to inject more water since it doesn't inject at 100% at 5PSI like it would if I only had a switch. The main difference between the CMGS & the VC2 is the controller, the CMGS is a shaped like a standard 2 1/16 gauge whereas the VC2 is a big square controller. Functionally they are the same. Both the CMGS & the VC2 can use the Failsafe Control Box (FCB or FSB, same thing), which is basically a brain that stores info about your system. It is designed as a secondary failsafe because if it senses something out of the ordinary it also will shut the system down and tell the controller to display a specific error code. I like it because it is basically a second system monitoring the injection, to make sure nothing goes wrong. Not required unless you go big with 2 injection pumps and 2 nozzles. But that's the big boy stuff, like 350 HP and up trucks, not what i have, so not a requirement. My kit also has a solenoid instead of check valve. The idea here is, the controller must turn on the solenoid in order to inject water; this means there is no chance of the system dripping into the intake when the engine is off or im parked on a hill, etc. Basically eliminates the chance of accidental hydro-lock. Also nice is that if something goes wrong, the controller drops the ground, which shuts the solenoid down preventing the pump from injecting anything. The cool thing about their kits is you can buy a basic kit now, and then just add components to it later if you wanted to upgrade. Id recommend either the CMGS or VC2 even if you get a stripped down system because the progressive injection is badass. No matter what kit you get, upgrade to the solenoid for the comfort of knowing there is no check valve to potentially fail or leak through. I would not bother buying a tank from them, id get one elsewhere since you can get more for your money that way. You can run up to 30% methanol which adds a decent amount of HP, altho you dont necessarily need to. Methanol is fairly expensive per gallon, however i recently discovered this: msds.walmartstores.com. Turns out their cheap Super Tech Windshield Washer Fluid is apparently just over 30% methanol, with the rest being water and a dash of food coloring. So that's what im running in the tank. Since i dont need the HP boost, all summer im running straight water and then in the winter ill add methanol to the tank as needed, to keep it from freezing. Just finished installing my Cooling Mist water/meth injection system yesterday, so it still needs some tuning but that's basically it. Heres where i decided to install the controller. Its visible, but doesn't blind me at night (it is pretty bright) 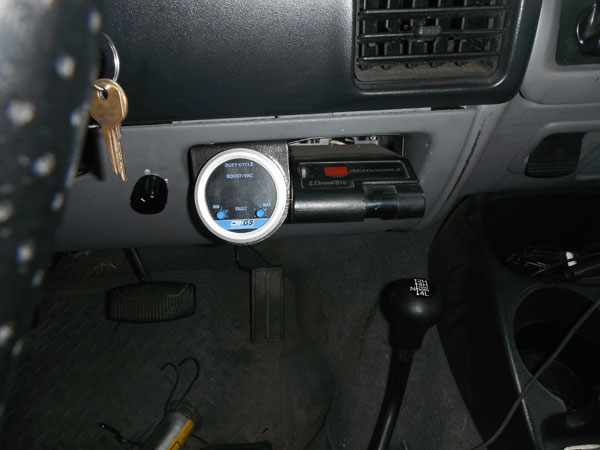 Powered up: 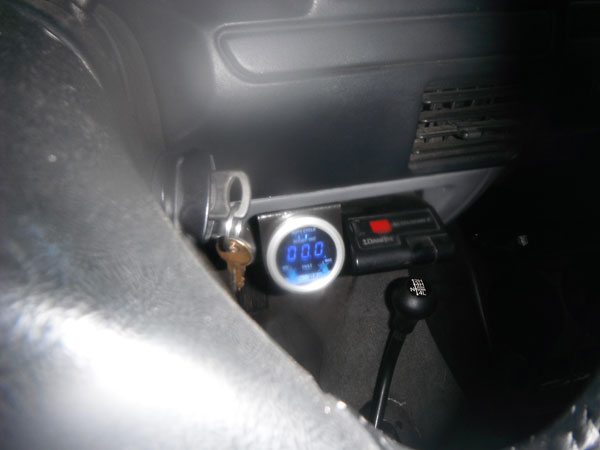 Had to build a fairly extensive wiring harness to hook it all up 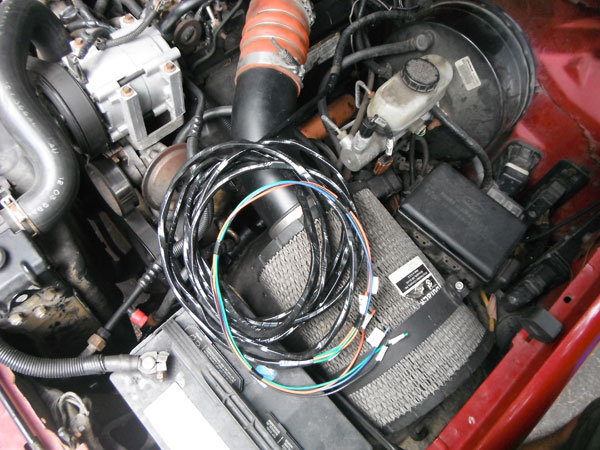 The kit comes with a 1 gallon tank, but IMO that's pretty small for a diesel so I bought a 12 gallon tank from the tank depot, and installed it in the toolbox here. While the tank is awesome, I didn't expect the 6-8 week lead time to get it! 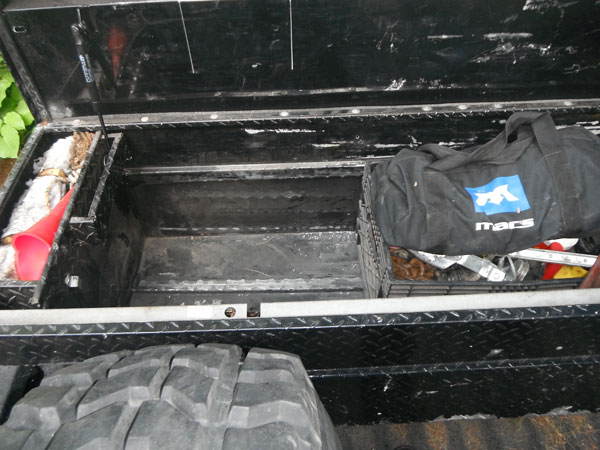 Divider to keep stuff away from it 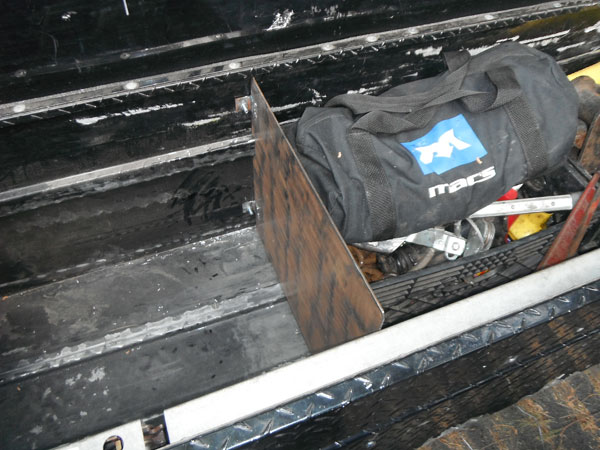 Heres the tank: 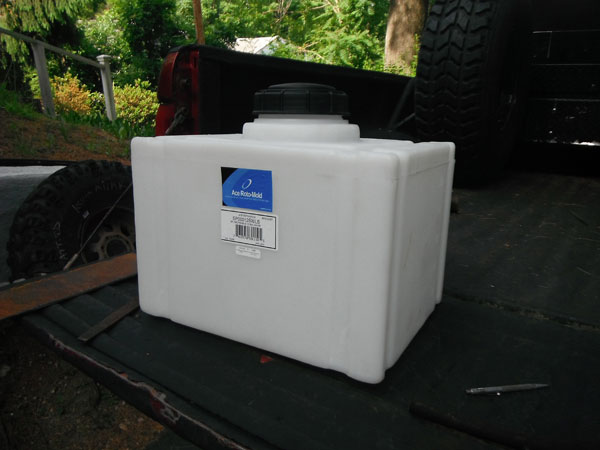 Complete with a vented cap 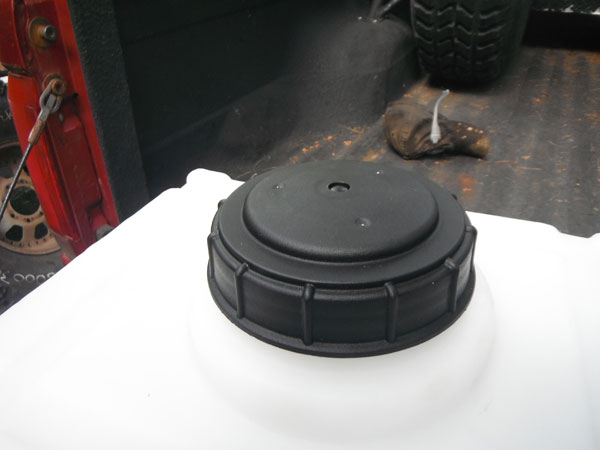 sump, with 3/4" fitting 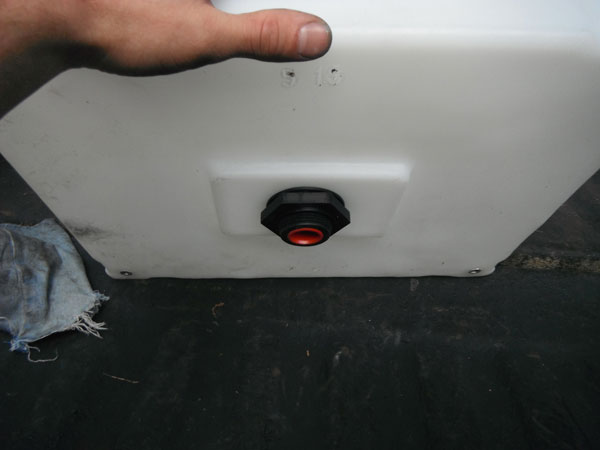 ...and here's the basic idea 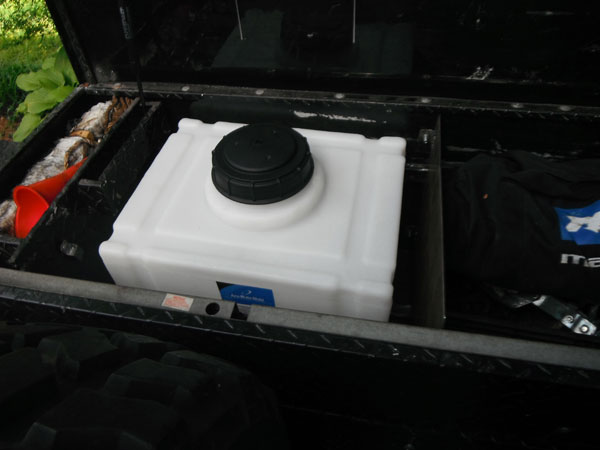 So I had to build a carriage to hold the tank securely, and get the sump high enough that the tank can gravity-feed the pump that will be installed next to it 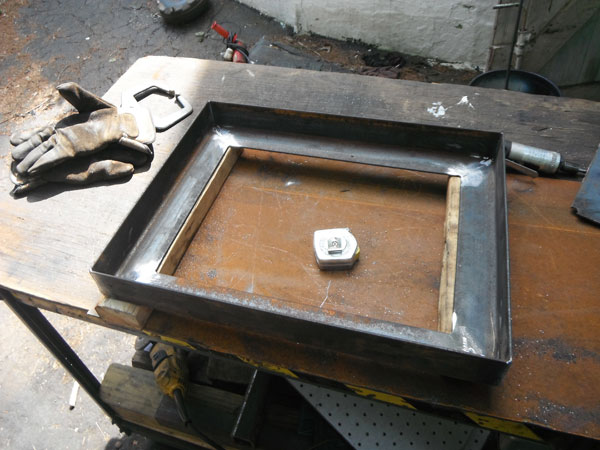 Mock-up, with pump sitting there 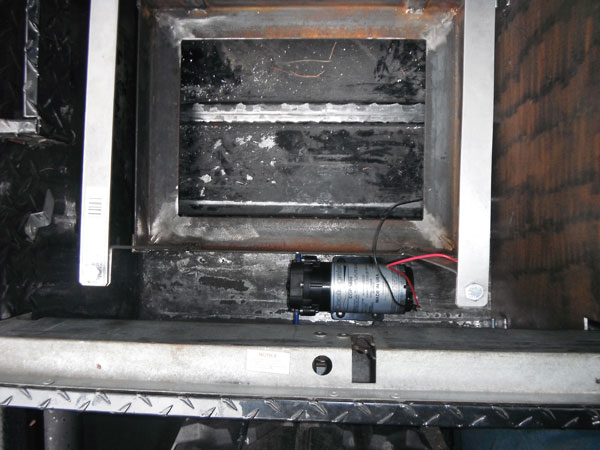 Had to put a notch in the toolbox lid to clear tank 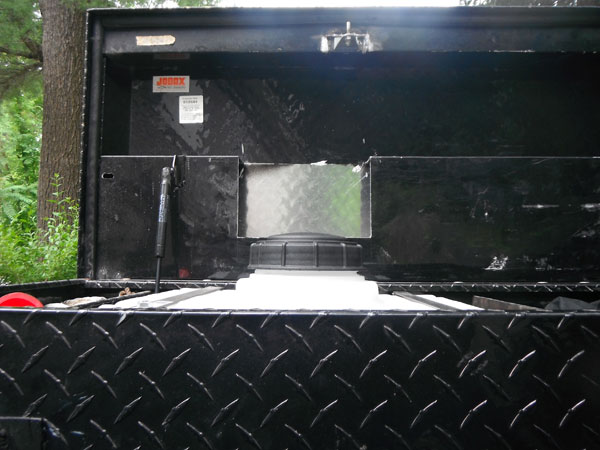 Carriage complete, with tabs for other parts of the system 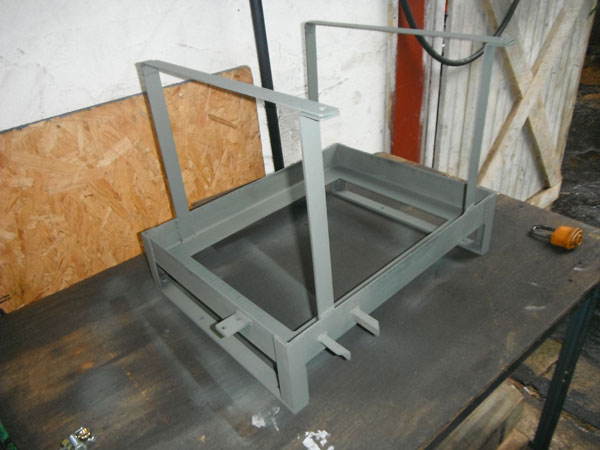 Finished and painted 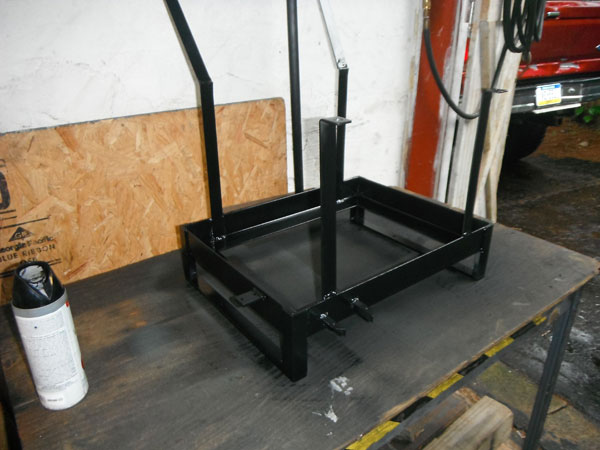 Note the foam padding on the straps, to keep them from rubbing on the tank 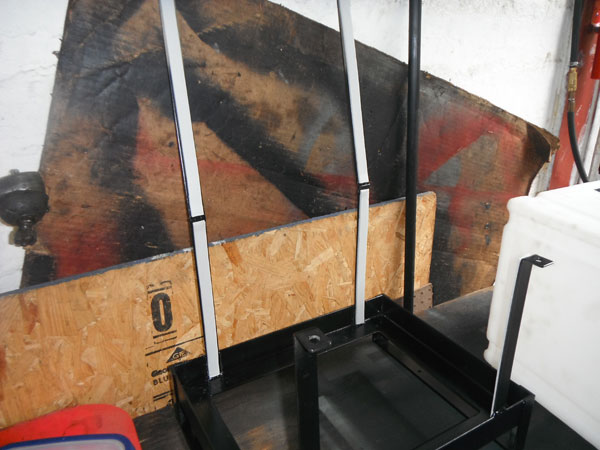 Had to install a float in the tank. When empty, it will throw an error code, and shut the system down so the pump doesn't run dry 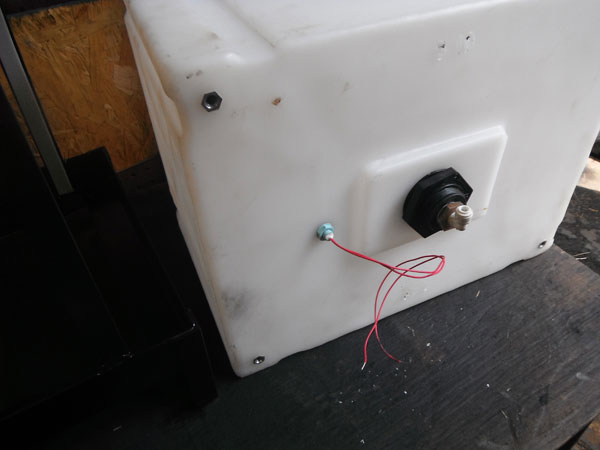 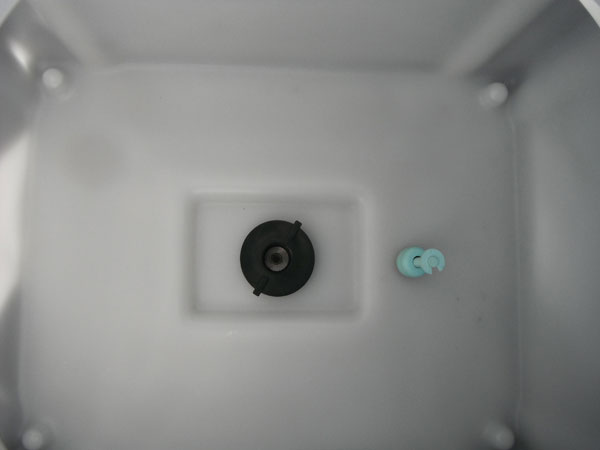 Here is the general idea before the final install in the truck 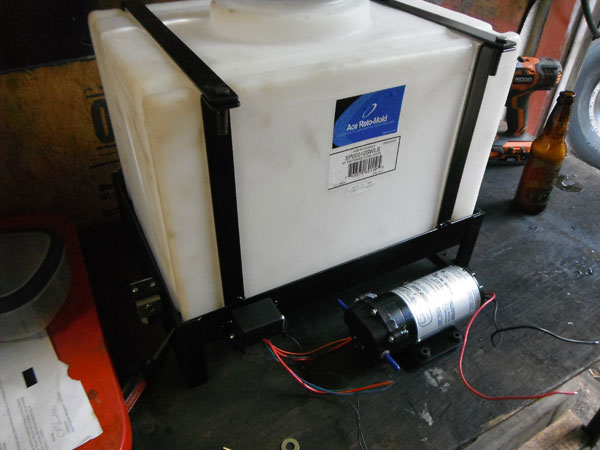 On the side of the frame is a solenoid that the controller turns on when injecting. This defaults closed, so if anything goes wrong with the system the ground drops out and it closes, preventing the system from over injecting. Also closed when the key is off, so it is impossible for the tank/pump to siphon and fill intake with water. In front, next to the pump, is the Failsafe Control Box, which is basically the brain of the system. It learns your system, and if it senses anything is awry, it alerts the controller in the dash, which is when the system will shut down and display an error code. It has lots of conditions for keeping the system in-line, and is tunable through the dash controller. I opted to install these items here, in an effort to keep the system contained to the toolbox. The FCB could go anywhere, but I didn't want to clutter up space under the hood or dash, and it seemed logical to keep the solenoid close to the pump. Ok, divider installed: 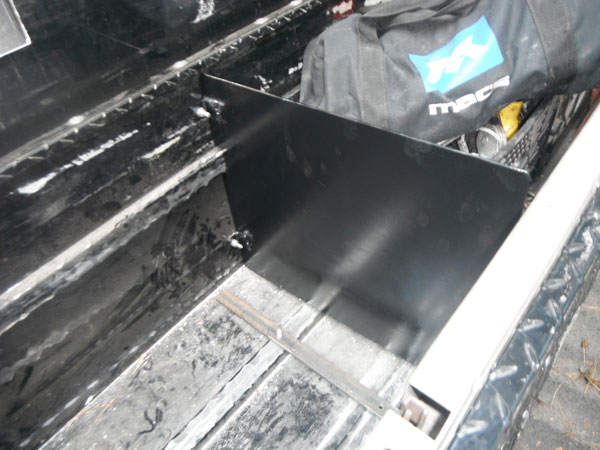 Wiring in progress. I like weatherpacks. Used em for years with zero problems, and they make the system easy to disassemble. 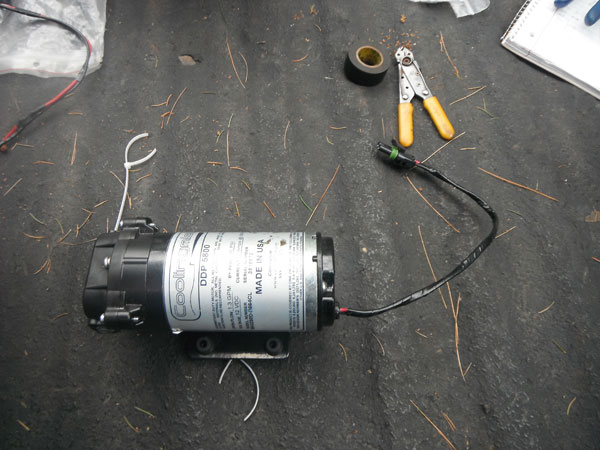 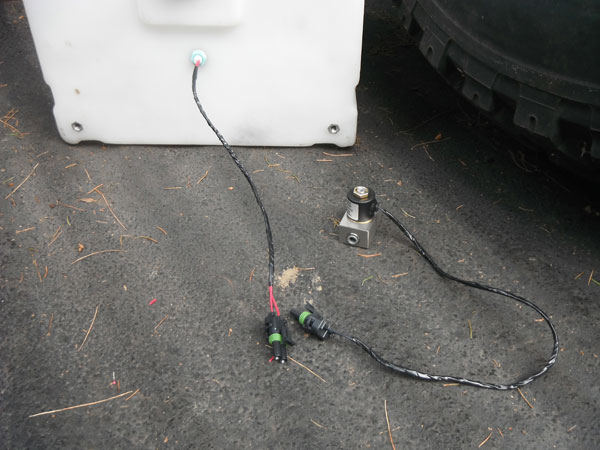 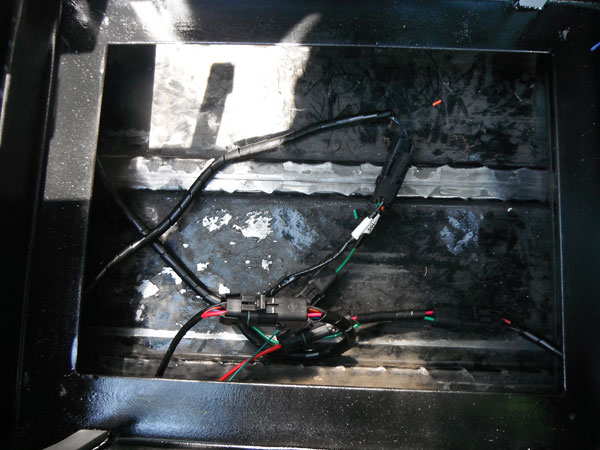 The supply tube is nylon tubing. I have it wrapped in split loom for extra protection 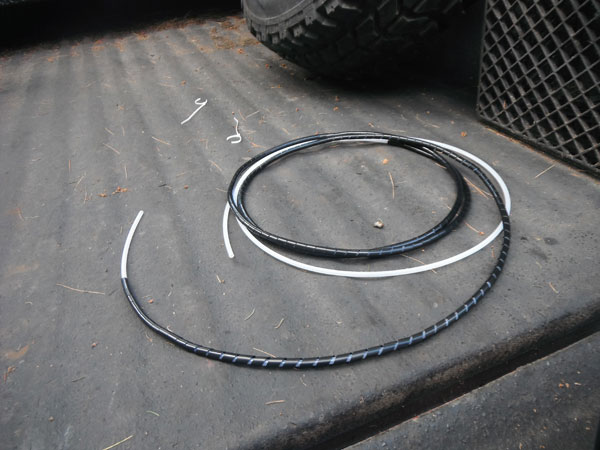 ...and this is where the injector goes (pipe plug in intake). Moved injector post-turbo at recommendation of people on PSN 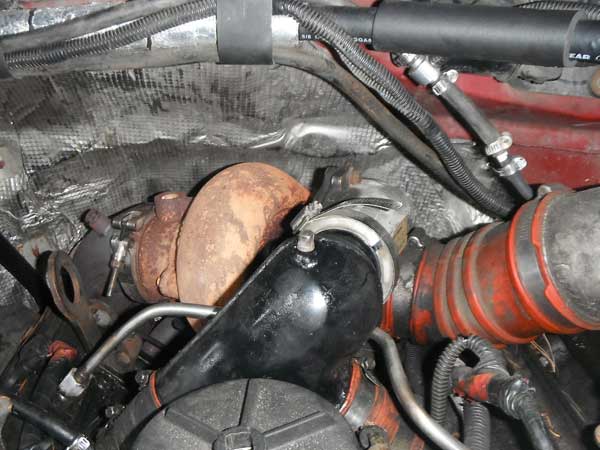 So that's basically it. I drove it to work for the first time last night, and it definitely does the job well! I have Baby Swamps (injectors) with an E4OD, 4.10s & 37s so EGTs are always a concern for me, but I was flying (needle pegged) and couldn't get it to 1200º no matter how hard I tried. Im gonna have to hitch up the trailer to get a heavier load on the truck, in order to tune it better. So yeah, its awesome. |