|
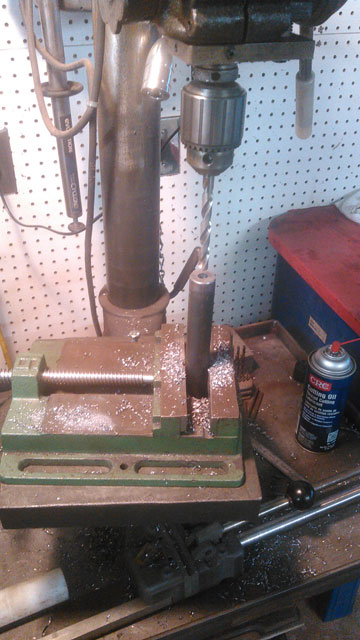
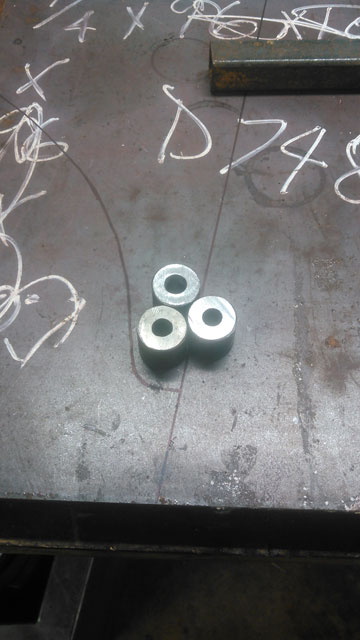
Ok, decided the next step actually was to re-install the OBA. This took longer than i thought, but atleast its done! So with the York on the passenger side down where the smog pump used to be, i had to completely rebuild my manifold. Started with the bracket to mount it: 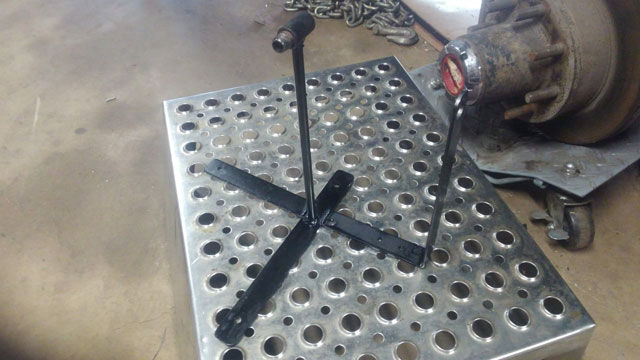 after multiple tries, the rough draft: 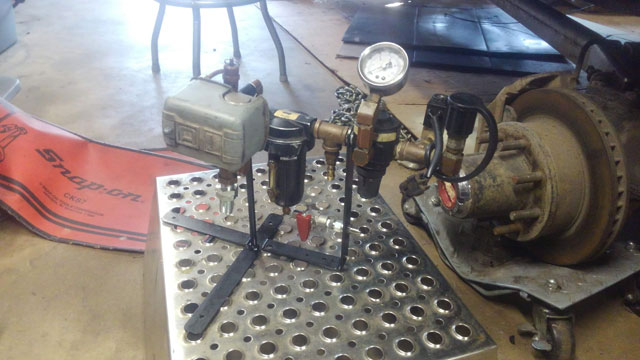 the oil return for the york crank case is buried down there. I can barely see it, let alone get to it 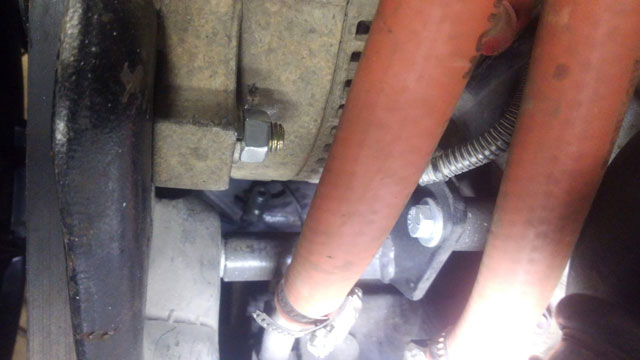 So i bent up some 1/4" stainless tubing, to get it out and in the open: 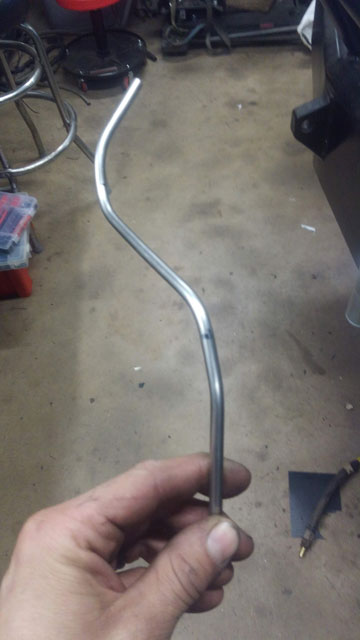 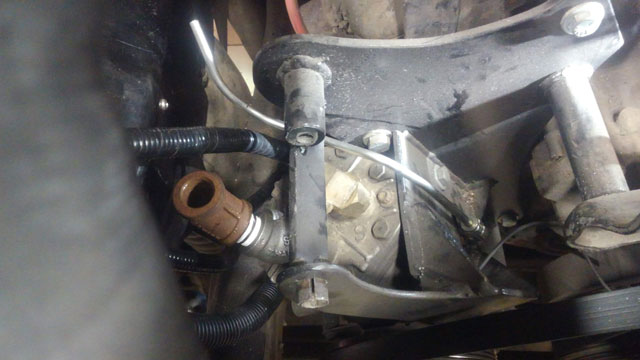 Much better! manifold done and installed! That round black cylinder next to the alt is my intake filter. 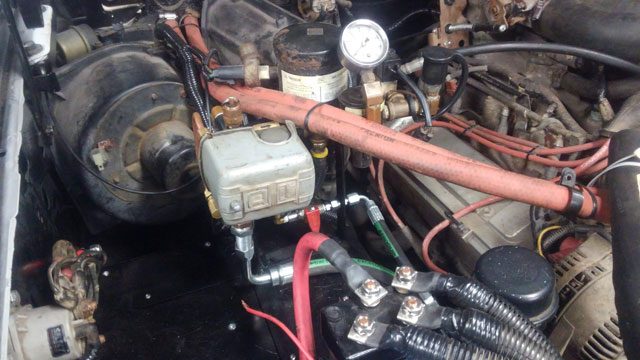 3½ gallon tank underneath the rear bench seat: 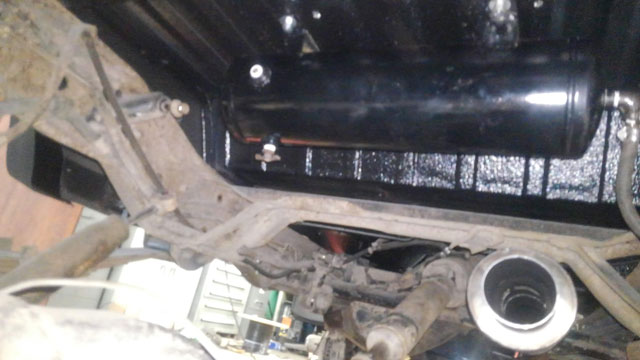 air chuck at front bumper: 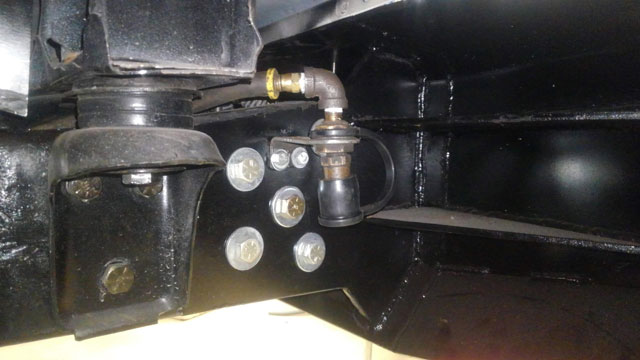 ...and the air chuck at the rear bumper: 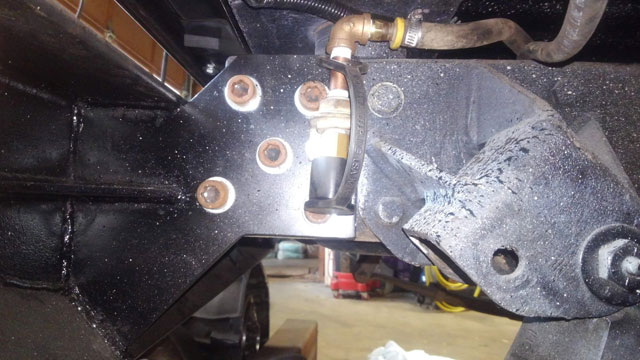 I still have to re-run the air line for the ARB. Now that the solenoid is on the other side of the engine bay,the supply tube is no longer long enough, so i have to get some more. But aside from that (and the wiring), the OBA is done! So with that done, it looks like i cant put it off any longer, and next week ill be doing a ton of wiring. So ive been thinking about the OBA on the 88. When i first put the 460 in, i put the York where the factory a/c compressor used to go. While this worked well, it caused problems with the factory air intake. I figured while the front clip is off, is the perfect time to come up with a better solution. Looking at it, there is definitely some room down where the smog pump used to be 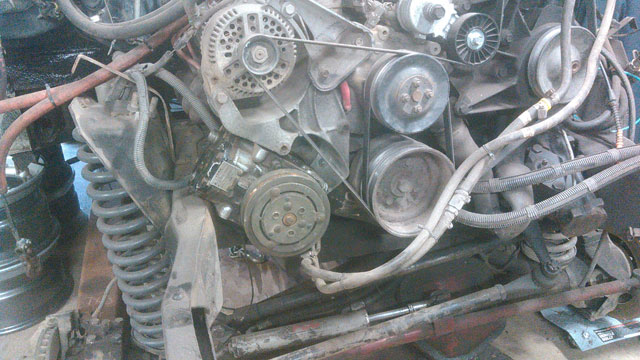 Problem is, it would require a ton of work to the bracket to get it in there. As it sits in that pic, its laying on the frame. I considered putting it where the alt was, and moving that down as it would be easier to do 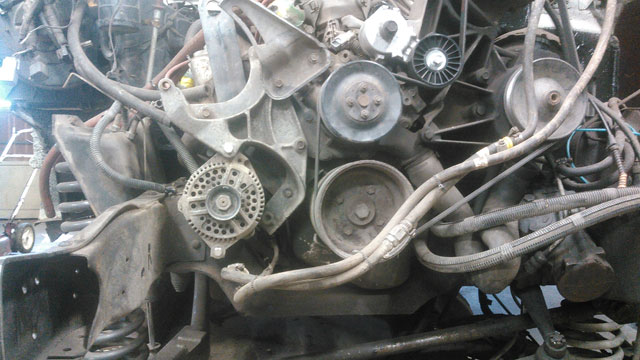 I rejected this idea as well, because i dont like having the alt down that low. So i pretty much had no choice but to see if i could build my own accessory drive bracket. So, here we go! With the stock bracket gone, there is a ton of room 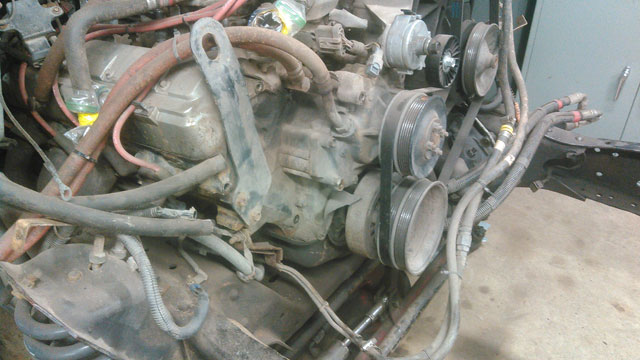 York mounting plate 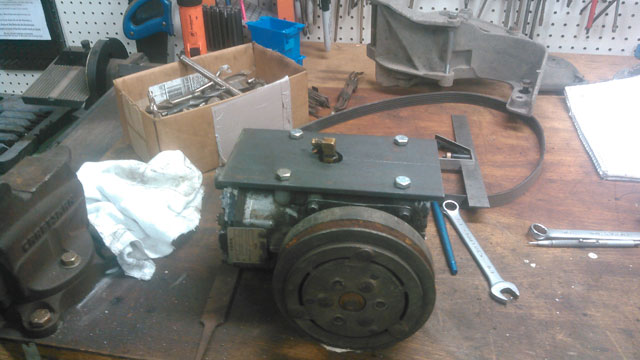 Making some spacers
Main plate, roughly cut to size 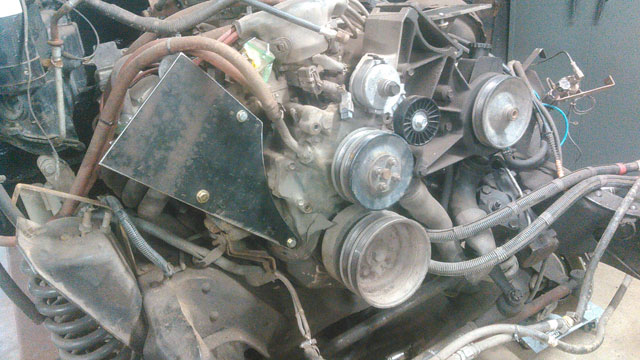 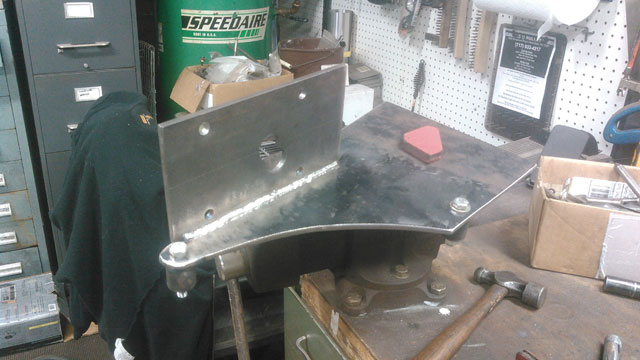 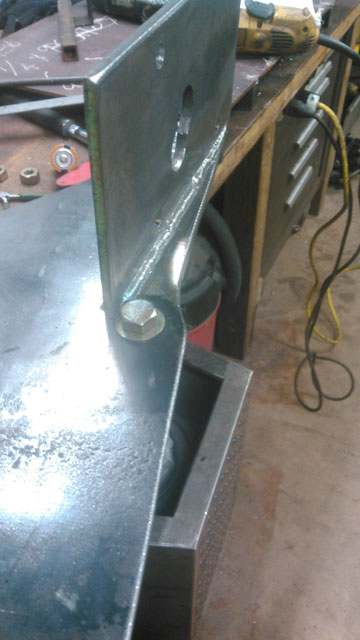 York hung, plenty of clearance to frame now: 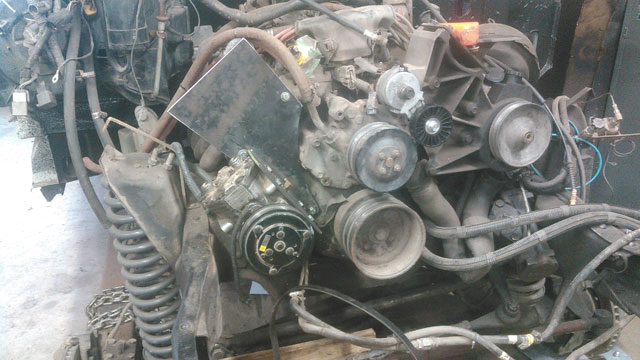 threading some bar stock 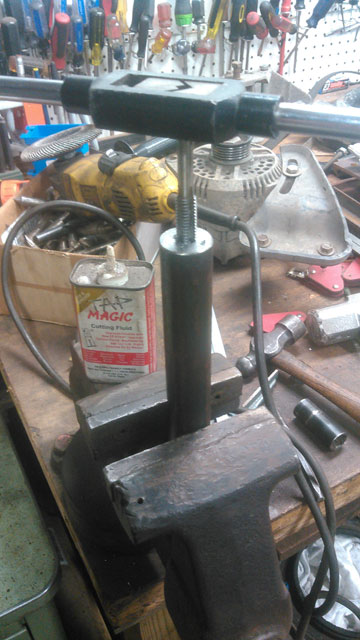 Designing the alt mount. Reusing the bushing from the OEM alt mount 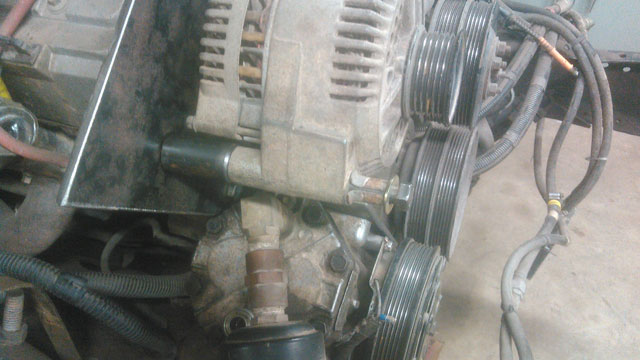 Reusing the OEM tensioner bracket 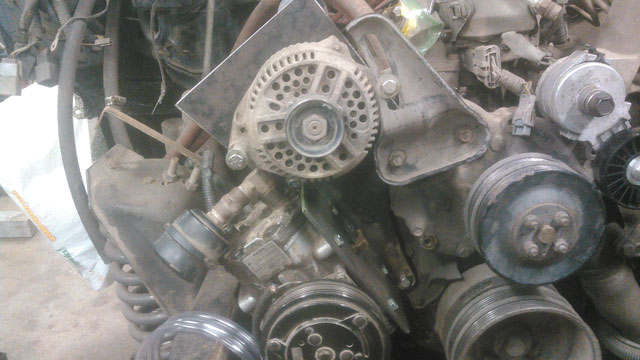 CAD (cardboard aided design) for the 2nd half of the alt mount  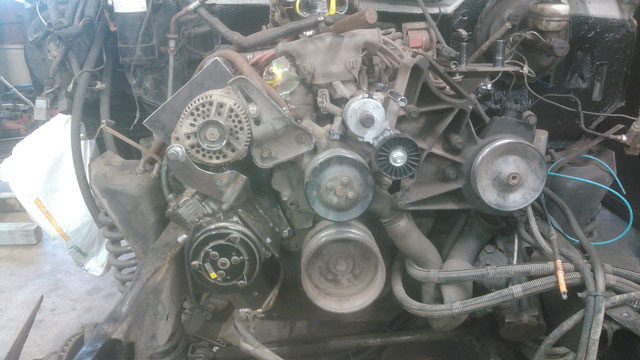 Welding it all up 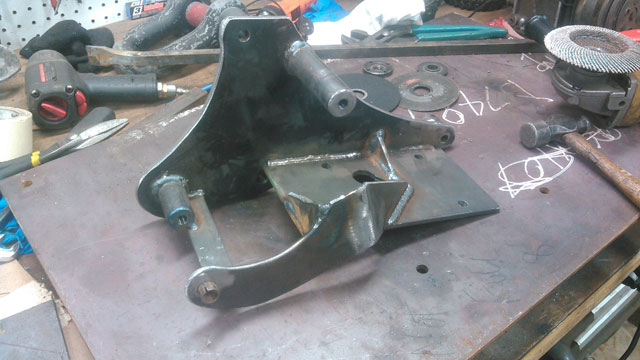 final fit on the motor 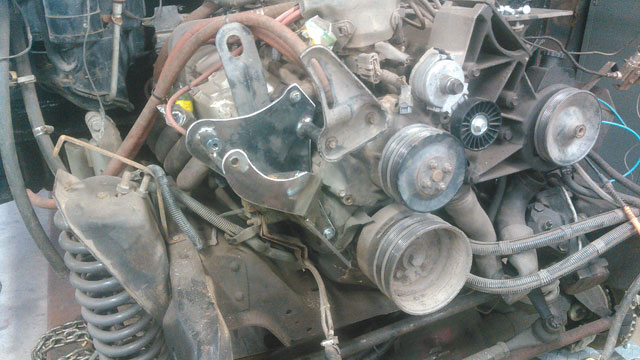 ...and all done & painted!  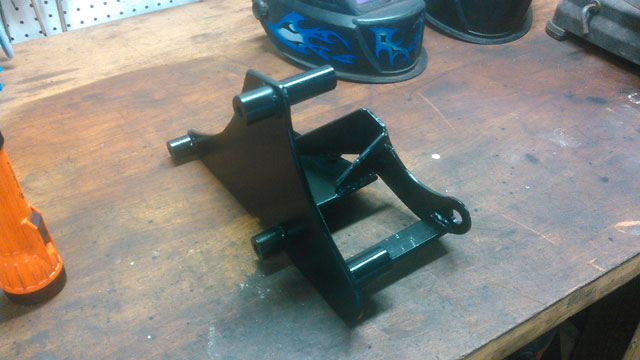 Final install on engine: 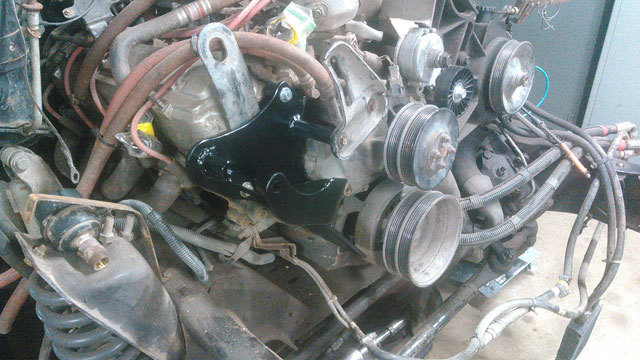 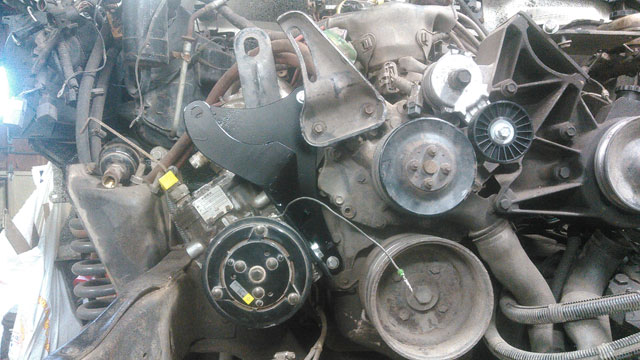 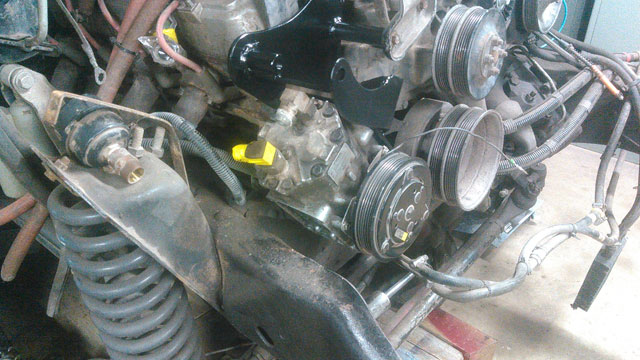 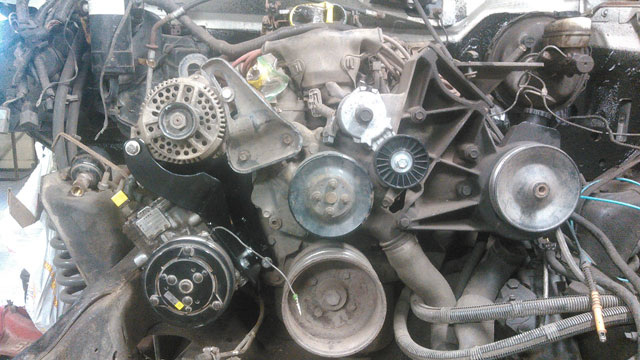 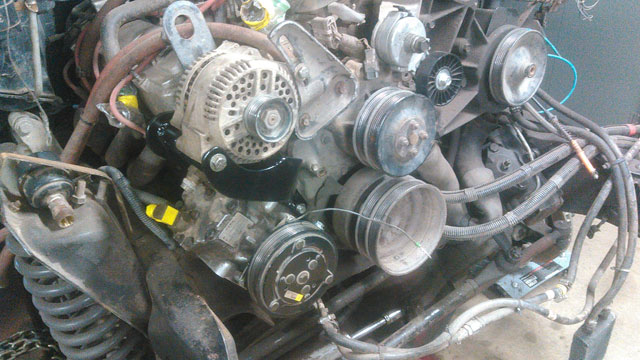 Its a tight fit, but it looks like its going to work well. This took me a while as the little guy consumes most of my free time these days, but it worked out well because it gave me time to stand back, take it slow and make sure nothing interferes with anything else. It goes together pretty easily, no bolts in awkward places or anything like that. Hopefully it works well, but the motor wont be running any time soon, so i guess we'll have to wait until later to see it in action!
Still sorting out the belt length; guessed wrong and got one this morning that ended up too short by an inch or so, gotta return it and get one a little longer sometime during the week. Ok, heres where we left off:  Made a plate to bolt to the York 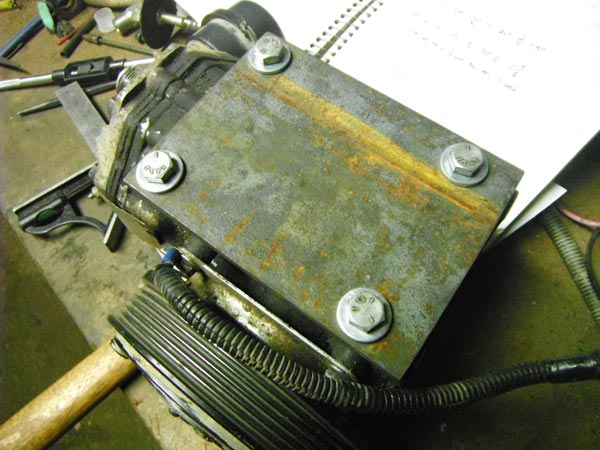 ...and one to bolt where the idler was. Note: the mounting pattern isnt square: 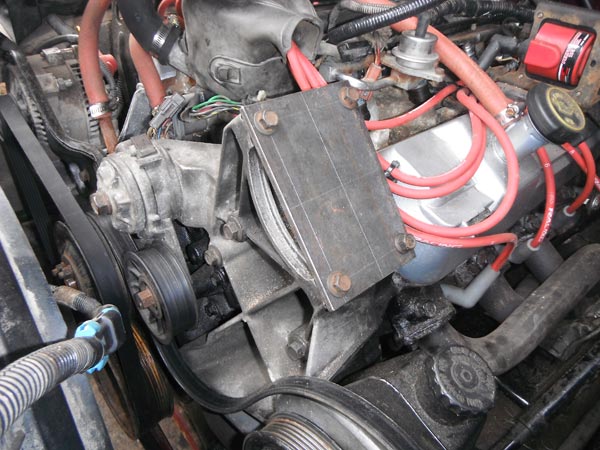 This next part was a little difficult. I had to figure out where the clutch had to go, so the belt would run square. Not impossible, just requires measuring the clutch depth and comparing it to the ilder. Tacked in place to take some measurements: 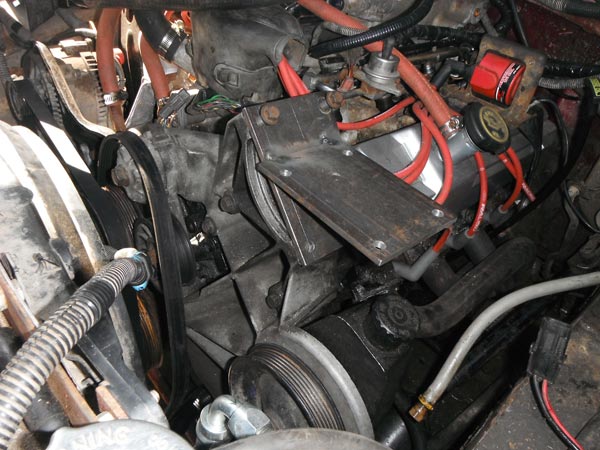 Everything looked good, so i welded it all up and painted it. 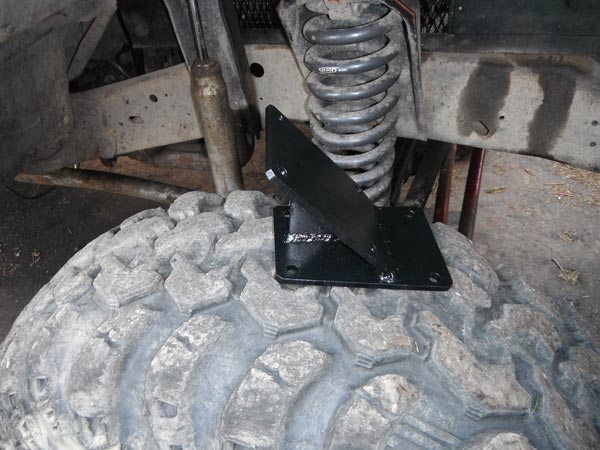 Pump installed on bracket. Gotta do this first. Those 2 bolts on the bottom just barely fit in there 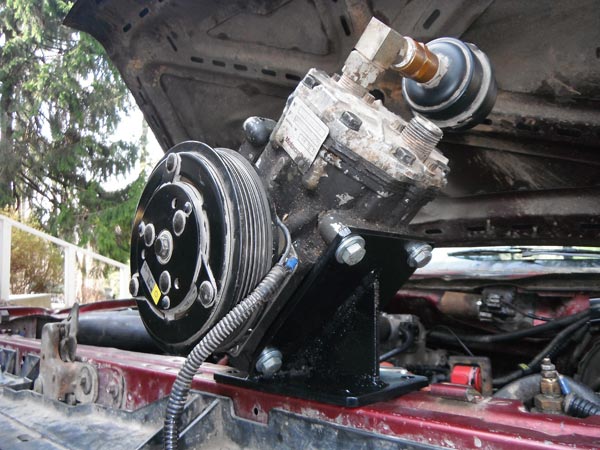 ...and installed! It might seem like its high up there (it is higher than the idler was), but its nowhere close to the hood and i have good belt engagement with both the York & the Saginaw. 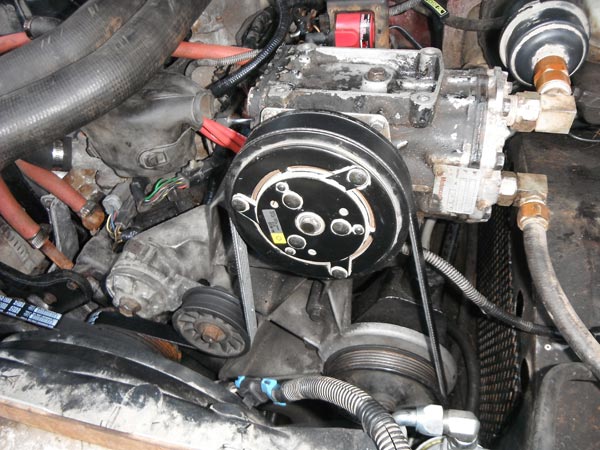 And here's my new custom belt routing diagram, complete with belt p#s 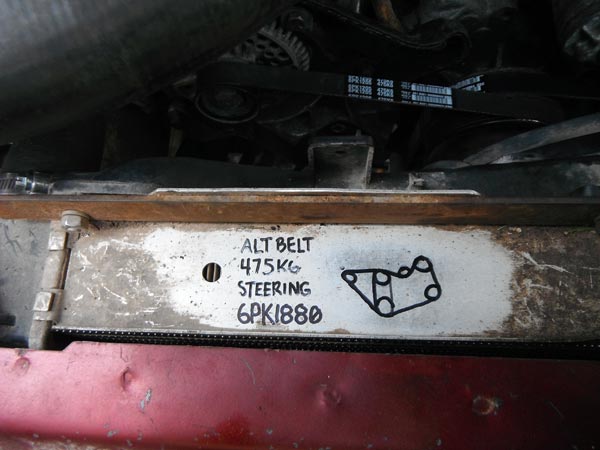 So the truck needs an O2 sensor, but im putting it off till i get an exhaust on the truck, which wont happen for about two weeks. So today i decided to mess with the OBA a bit. I needed to find a left hand York, since mine is right hand, and cant be laid over the way i want. Well, it just so happens i have a left hand, but the threads were broken off the pressure port. Well, that is no longer the case! Ive had this pump sitting around for close to 10 years now. Its off a 70s Ford, and the outlet port was busted off, but i saved it because its a 210, and the pump was good. Well, today it got revived! 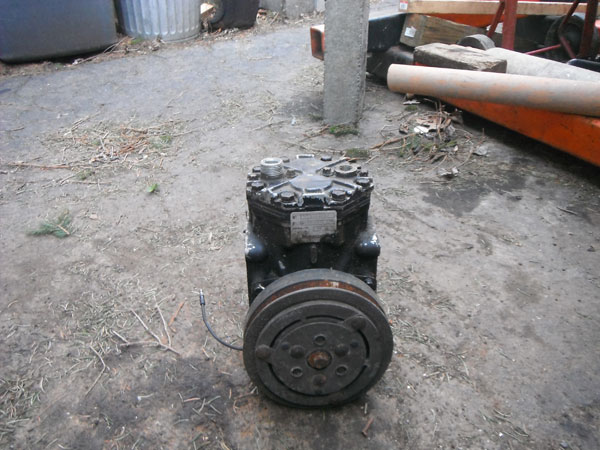 With the top cap removed. Pretty neat looking. The valves in the middle are the pressure side, the little holes around them are on the suction side.  Top cap of mine removed. Not quite as clean! But notice it is a mirror image. 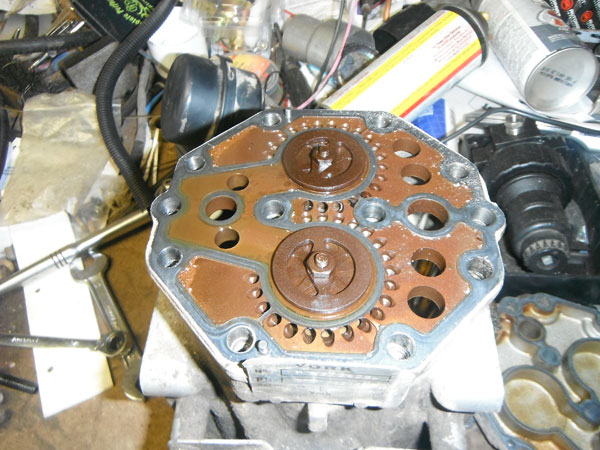 So, you just take the cap off the good one, rotate 180º, and reinstall on the other pump. Done! 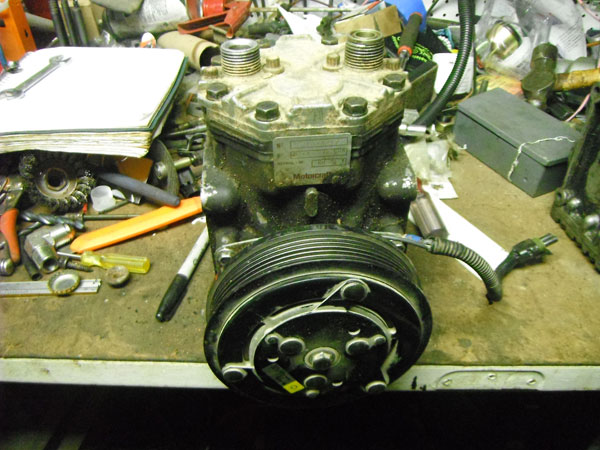 Tomorrow i will start designing a new bracket to mount it on the motor. Shouldnt be too hard to have it all done by the end of the week. |