|
couple extra pics of the finished product: 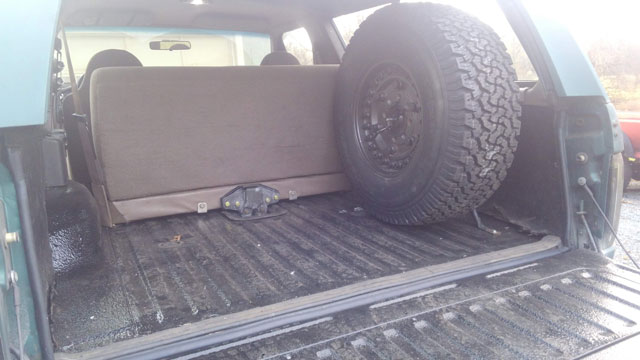 I masked off & sprayed the rocker where it always gets beat up from climbing in/out: 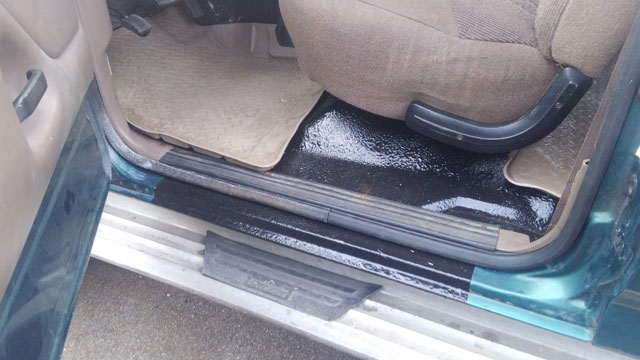 ...and i got my RedHead installed: 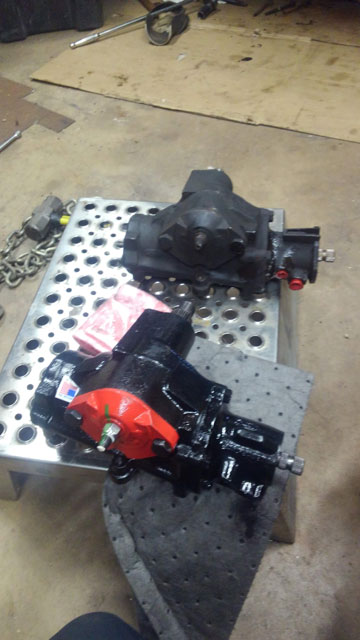 Took it out for a test drive earlier. As youd expect, the RedHead box is awesome, steering is great now. The steering wheel is crooked tho, so ill have to adjust that tomorrow. As for the interior.....its pretty nice! The combo of Heat & Noise Reducer/BedLiner works great; if its any louder than it was with the full interior installed, i cant really tell. Really impressed with this stuff, especially the HNR. My 88 bronco had rhino-liner sprayed in the interior, and i remember thinking it was louder than with the full interior, but this really does seem to me to be damn near the same noise level as the full stock interior, at least in the front. Its cured, lets get this thing back together! Front done: 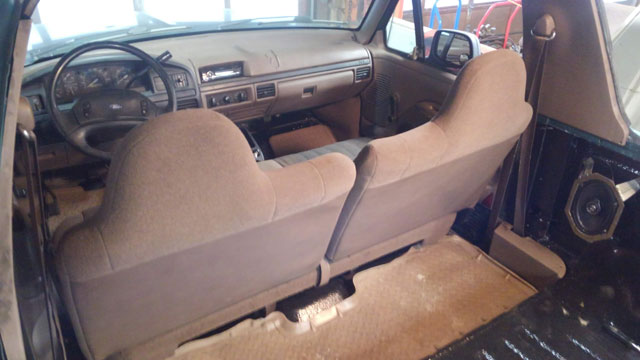 Rear going together. i replaced the tailgate/bed seal while it was apart. 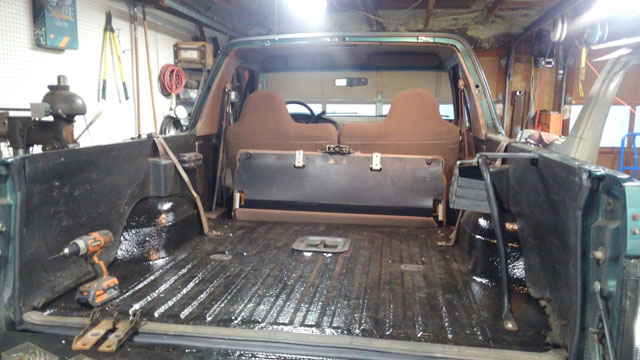 Finally! The whole point of this project was to put an interior carrier in! 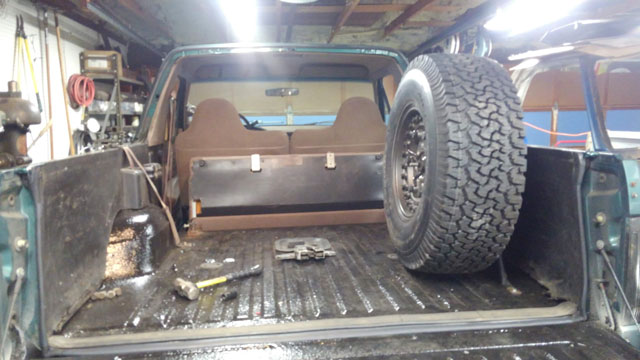 So, we know it doesnt clear the seat. We also know Solo Motorsports sells a kit to do this, but its super expensive! So here's what i came up with. Move the seat brackets to the forward hole, and drill one hole in floor. Nut & bolt. You hit the same floor reinforcement as the other two, so no worries about it being strong enough. This moves the seat forward 2¼".  Perfect! Just clears 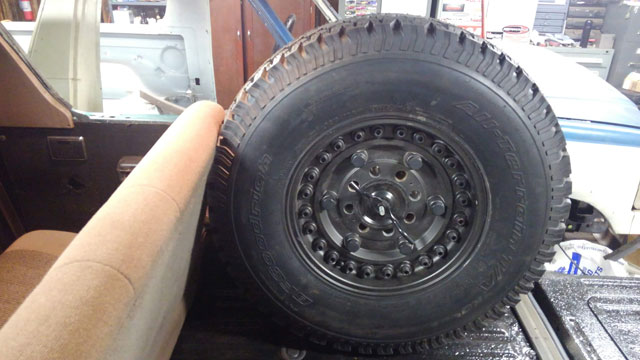 The latch doesnt hit the bar now though, got to do something about that 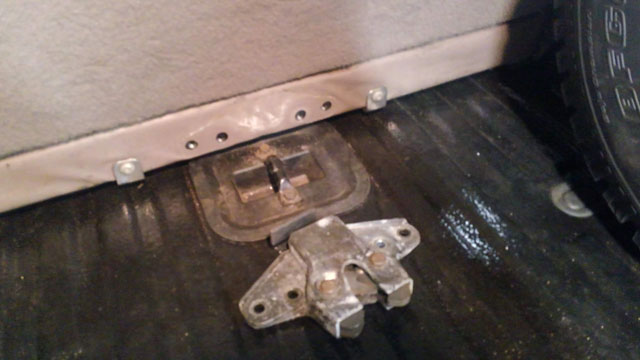 ....and spacer! It needs to be spaced off 1¼". So build one of these! 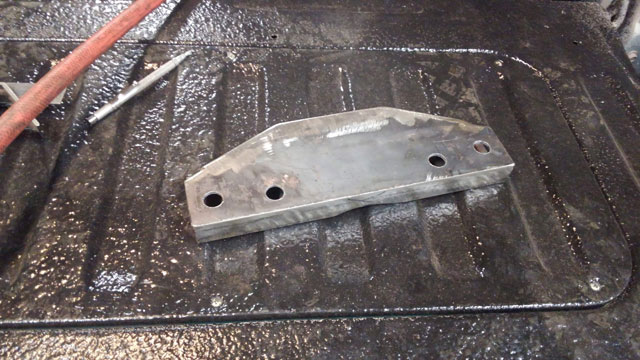 Done! It got painted before the final install. 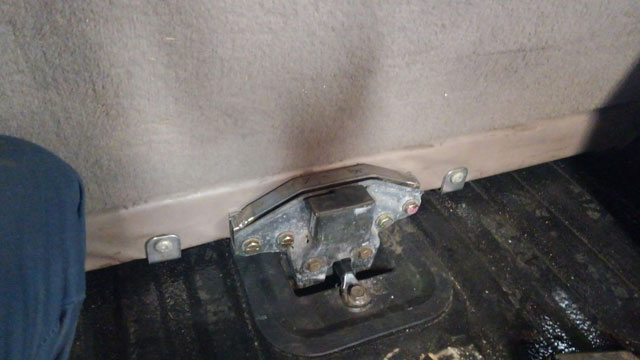 ...and finally! The interior project is finally done!!! 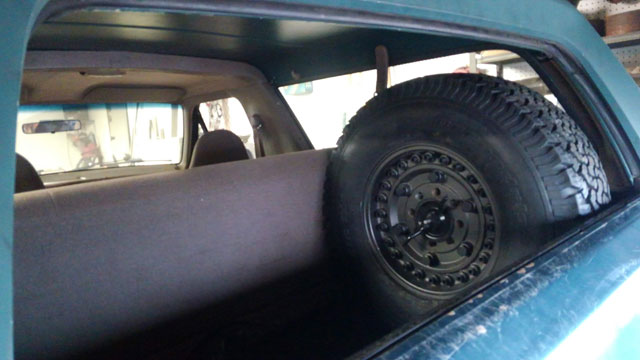 i also snagged a dome light off ebay for cheap: 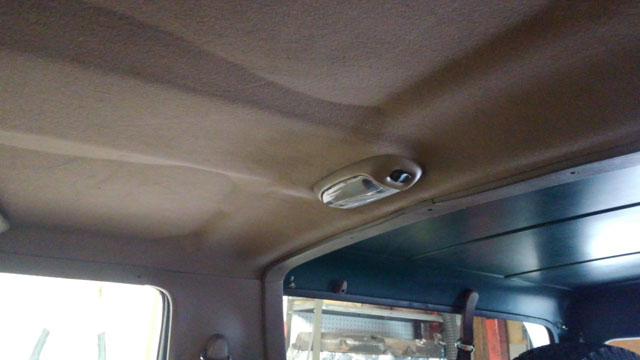 ...and here's the next project, which i hope to start this afternoon! 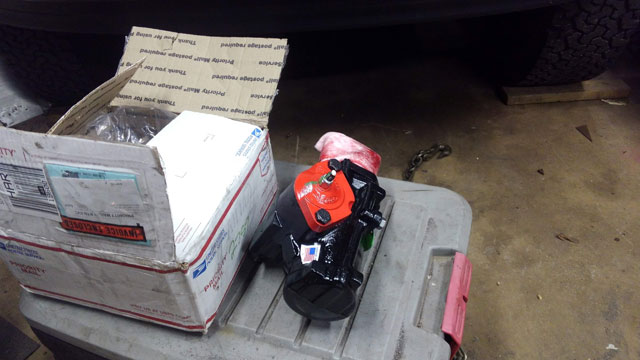 Perfect weather, so here we go! First off, better masking. I learned the hard way on this one. The HNR and the bed liner gets sprayed with an undercoat gun due to its thickness. So overspray is a real concern. Somehow i apparently got HNR all the way up on the roof! 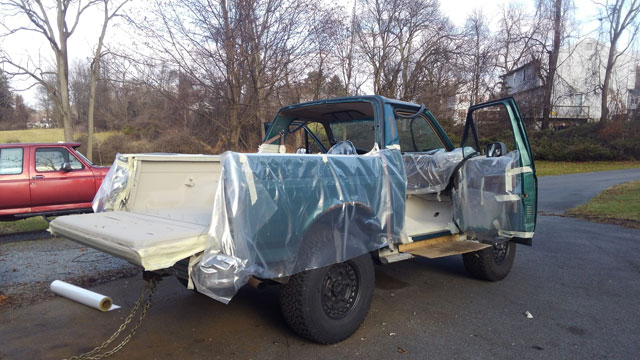 Bought 3 kits just in case. Ended up only needing two. 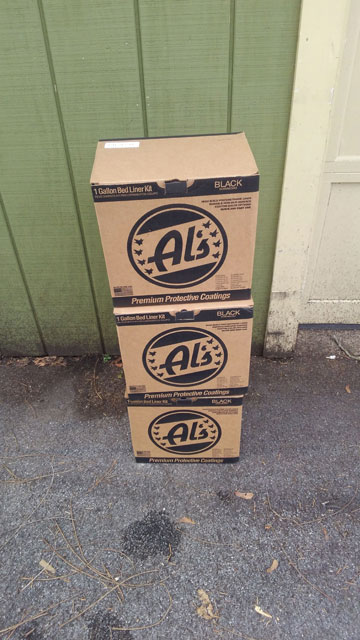 Its a 3 part kit, plus black pigment. You add all the components to the large jug and then stir it up real good. Once thats done youre committed, as it begins to cure. I shot this stuff in the summer a couple years back and it set up in like 15 minutes! Today its only 35º, so i had a bit more time to work with it. 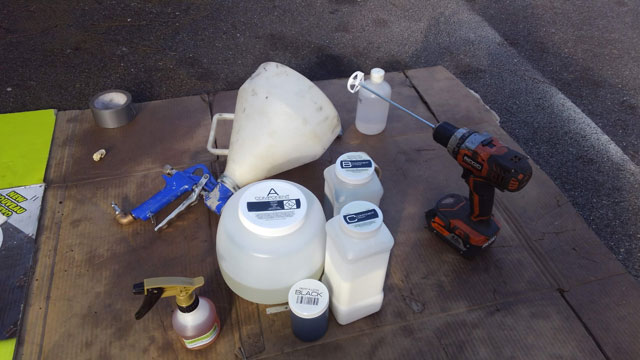 This stuff is noxious, you dont want to spray it indoors, and honestly you probably want a respirator outside too. Its also a sticky mess, so that combined with the limited working time means i didnt take any in-progress pics. So here's the finished product! 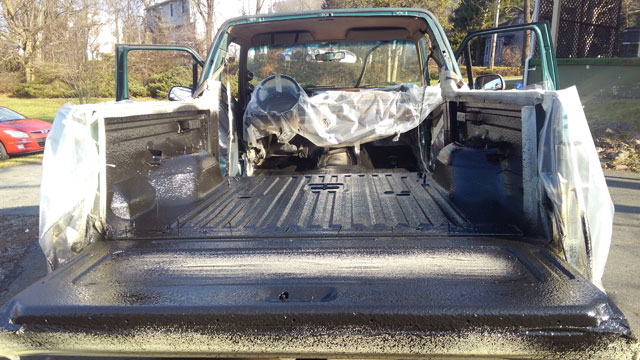 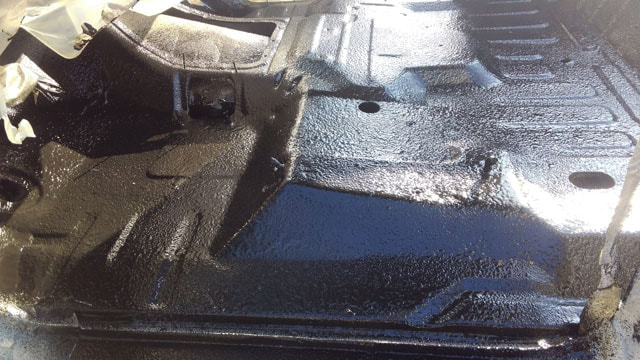  I winched it back into the garage so it can cure un-disturbed. Al's claims 24 hours to dry, but 72 hours for heavy use. Ill probably give it a full 48 hours and see how it feels, before i start putting the interior back together. 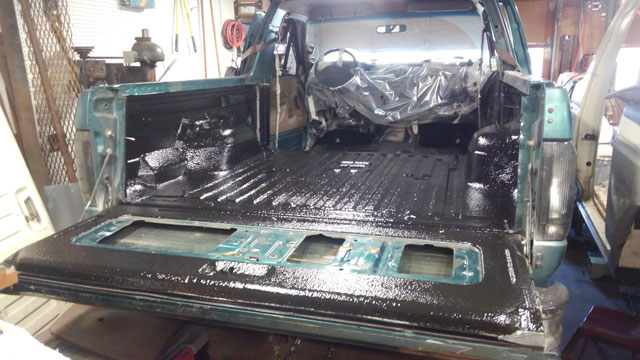 Close-up of the liner. Its still curing, so its super glossy. Hard to get a pic of, but it looks just like any other professional spray-in bed liner. 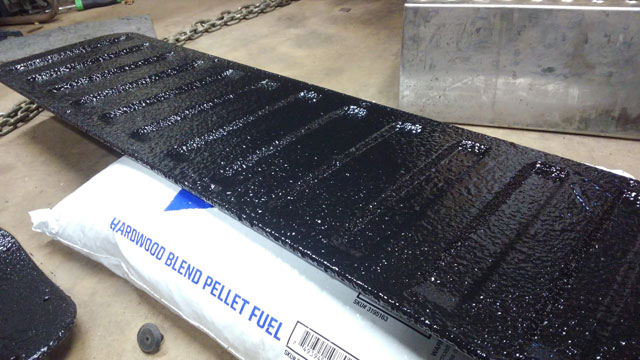 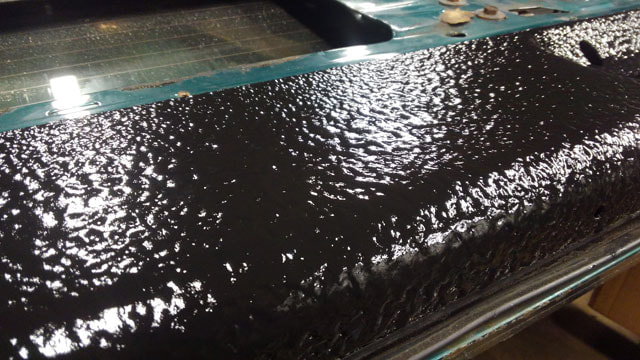 It needs to be undisturbed for a day or two, so no more updates until after Xmas. We got a break in the rain, so i figured id go for it and hope it didnt start again. So here we go! 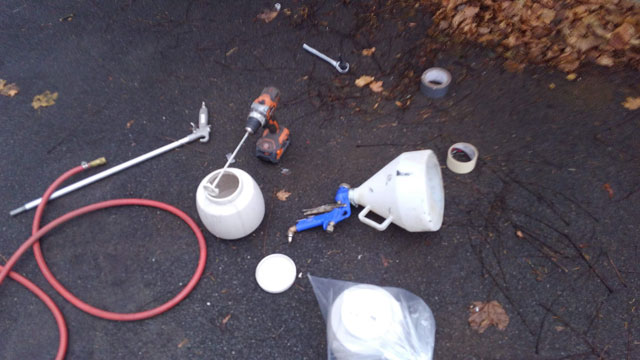 Masked off and ready to go: 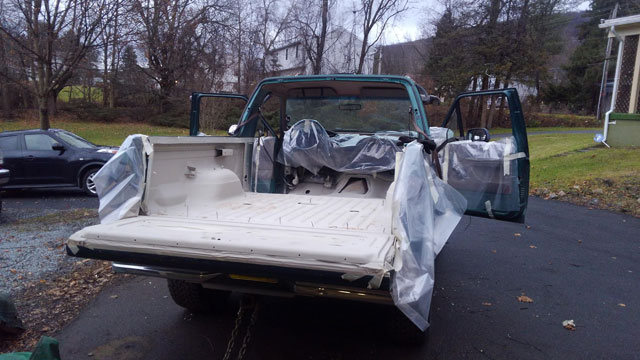 ...and second coat done! 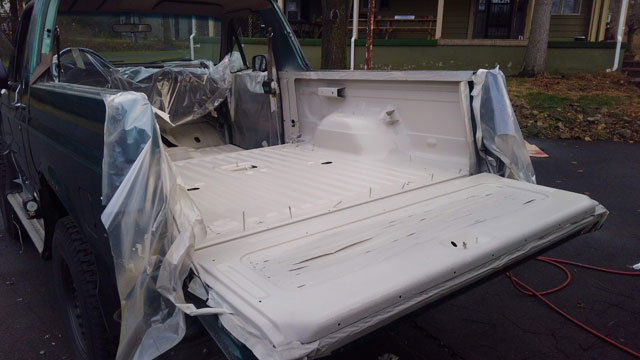 Close up; the HNR has a texture to it: 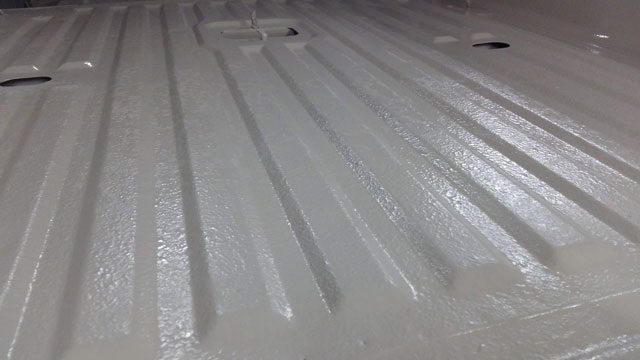 I still have a little bit more but its getting thick, i def dont think i need a third coat. It looks good once its dry, but its no good as a top coat; it really needs something over top of it to keep it in good shape. Fortunately, next week itll be getting coated in bedliner and then i can start putting the interior back together! Hole patched! Its not a great job, but itll be hidden once the interior is back together. 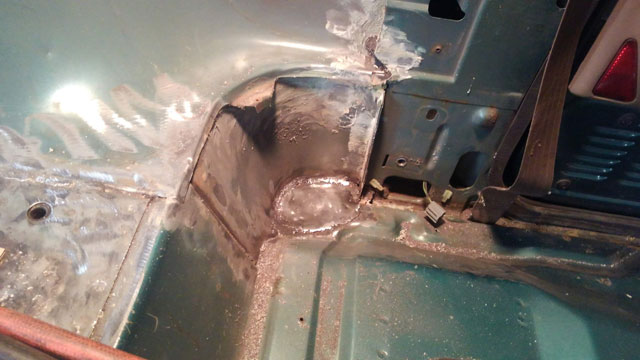 Up front, i have to strip the sound deadener. Originally i was going to cover it, but its peeling up pretty badly so its gotta go. 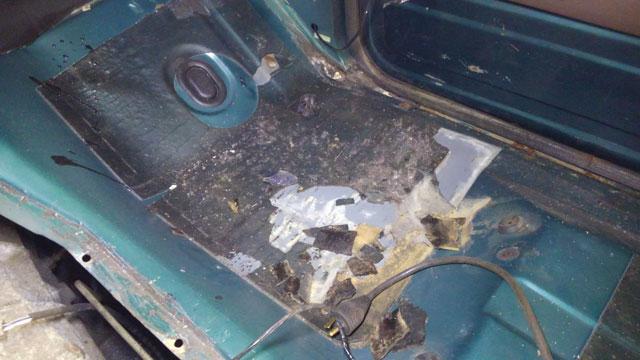 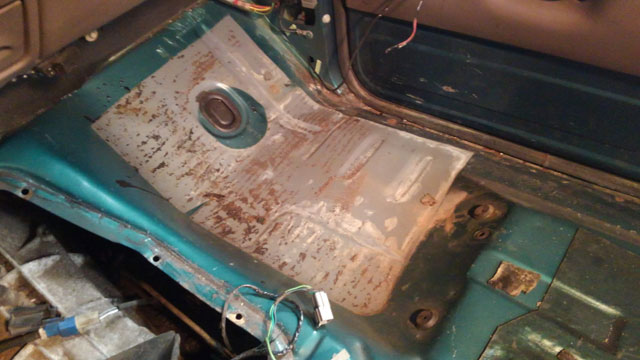 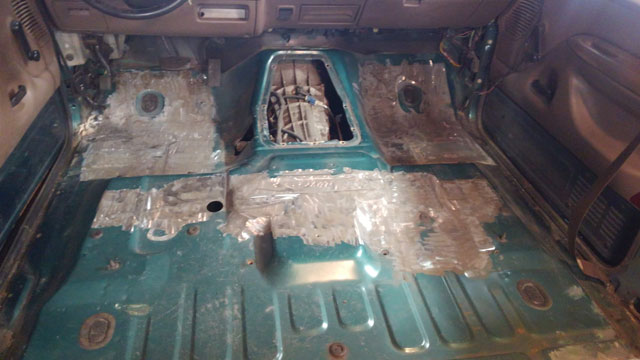 Masking off the interior. I have tape sticking up thru all the screw & bolt holes so i can find them later. 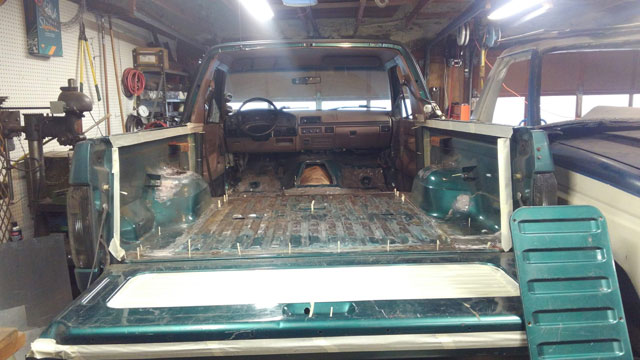 More masking: 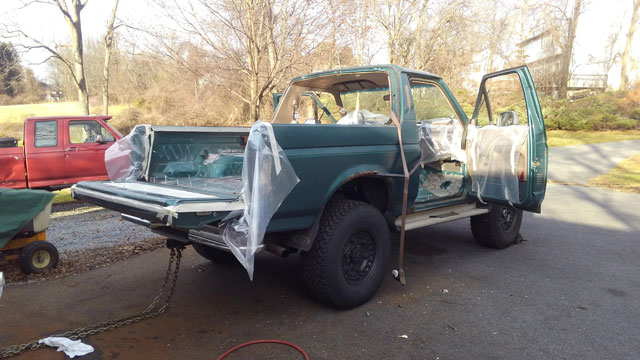 ..and done! Its sprayed with Al's Liner Heat & Noise Reducer. Hopefully this stuff works well, i guess we'll find out soon enough. They claim that a 31 mil coat is all it takes to do the job (approx 1/32"), which is what ive got down. I do have enough to do a second coat, im still debating doing it. 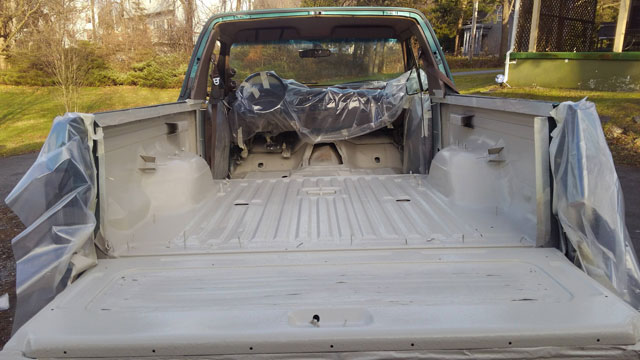 Its borderline too cold to spray it & leave it outside, and i couldnt climb back in with it wet, so i had to winch it back into the garage. Nice and warm in there so it should be fully cured tomorrow. 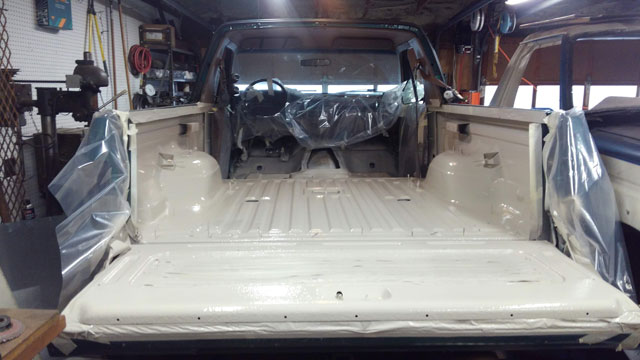 Looks like weve got some kind of storm front rolling in tomorrow, so i doubt ill get to spray the bedliner until next week. So ive got about an hour into masking off the truck; a lot of it is that the HNR & Bed liner are so thick theyll cover over the smaller holes for the interior trim, so ive got a ton of tape-work to make sure i can find them after the liner is down. Like anything else, all the time is in the prep; it only took about 10 minutes to do the actual spraying. So i got the bronco outside, and cleaned up the rear floor pan. Lookin pretty good now! 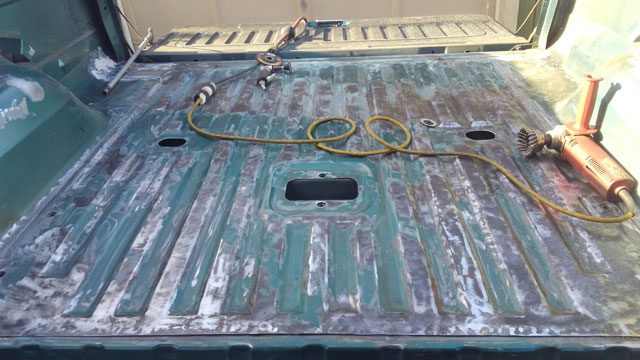 Nothing left to repair in the back half. I was concerned with a couple spots up near the front seatbelts so i delved a little deeper. On the pass side, just a small hole hiding behind the seam sealer:  The d.side looks a little rougher: 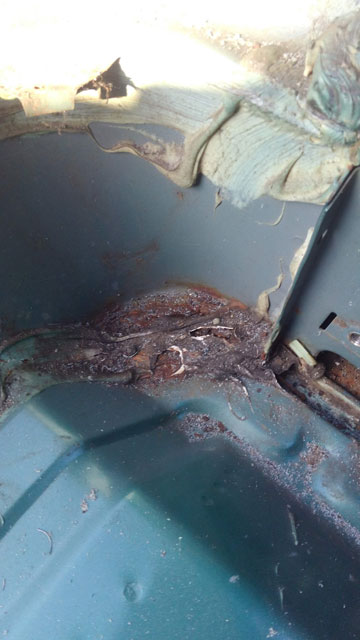 After stripping the sealer away i found this: 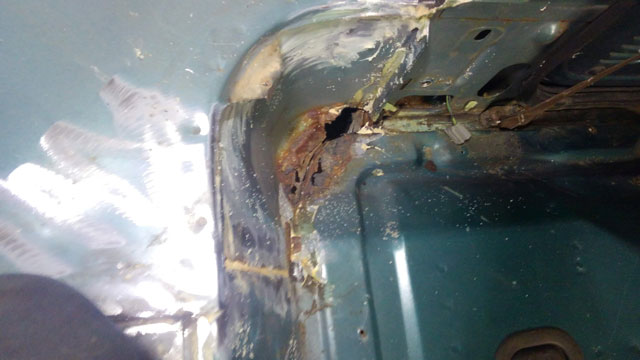 So i guess ive still got a little more rust repair to do. I feel like the d.side is gonna suck, what with it being a seam and in a corner, but we'll see. Hopefully tomorrow i can fix that small hole on the pass side and then move over to begin the prep work for this. Heres the last big hole in the floor, all cut out: 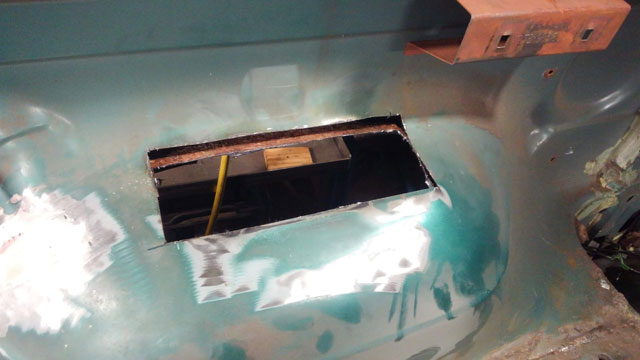 Had to cut out the plate for the seatbelt spool, due to rust underneath  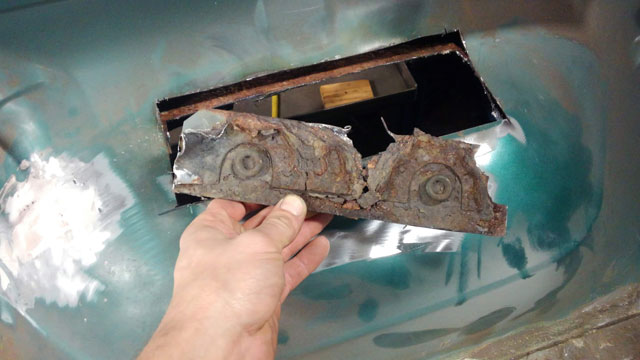 New pieces: 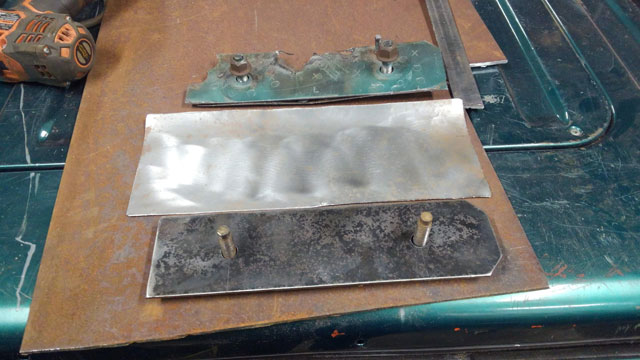 ...and all welded up! 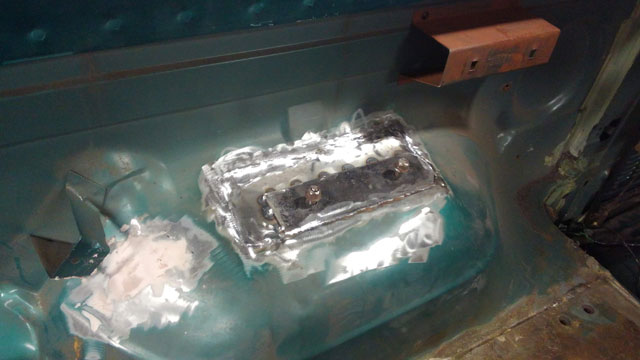 This actually might be the last hole to fix! Tomorrow im gonna pull it outside so i can go over the floor with wire wheels, flap discs, etc, cleaning up all the surface rust. Hopefully i dont find anything else that needs to be cut out. Ok were back at it! I had to take the hard top off, it was a pita to do all this work hunched over in the back, working under a droplight 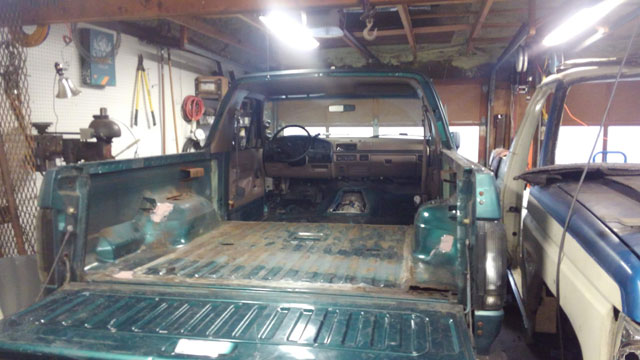 Cut the rust out of the corner 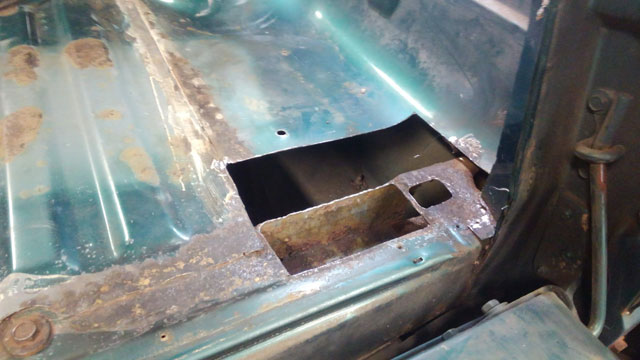 One patch done to xmember. I did patch that little hole, just never took a pic of it. 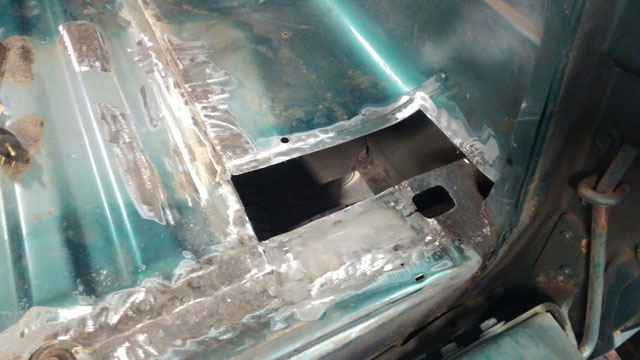 Laying out the floorpan 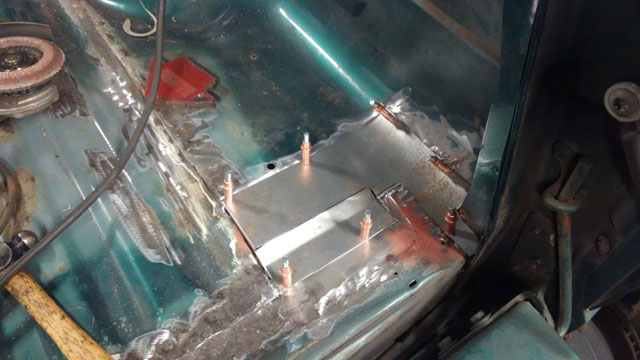 and all done! 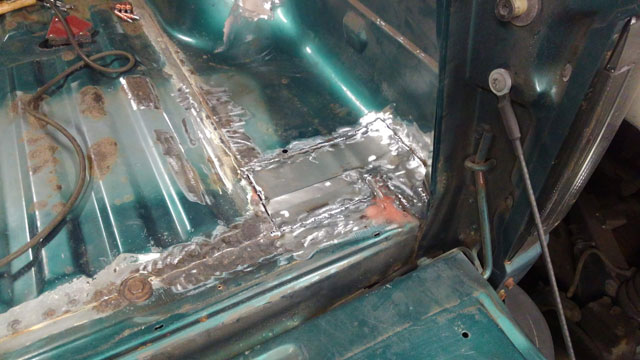 Tomorrow im going to begin one of the wheel wells, which im not looking forward to. So many curves! So rust repair has begun! Rear left corner fixed: 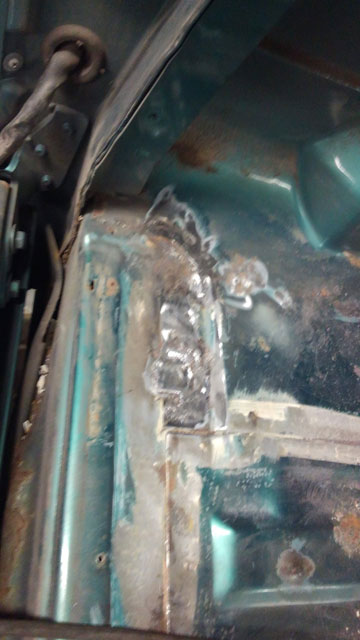 random hole in rear right wheel well fixed 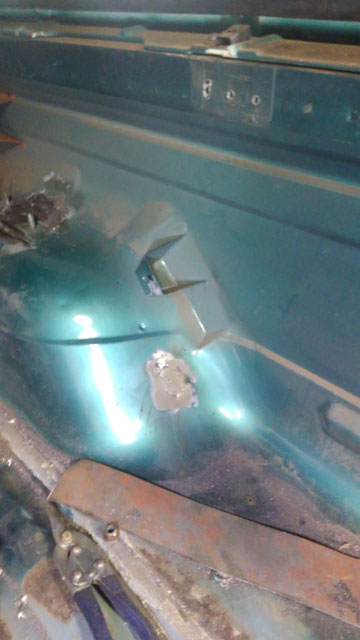 Random hole at bracket for rear right seatbelt spool fixed 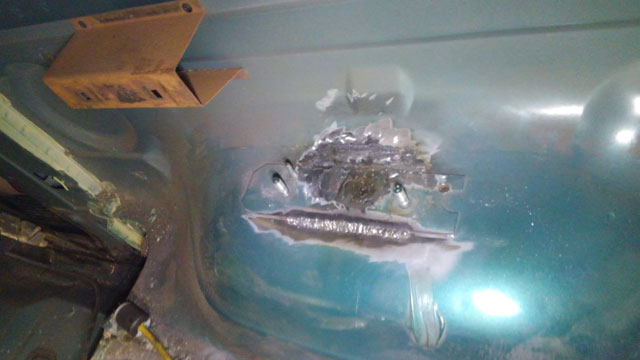 I didnt realize till later that these were terrible pics. Ill try to get better ones and replace them later on. That concludes the 'easy' repairs. Now for the bad ones: 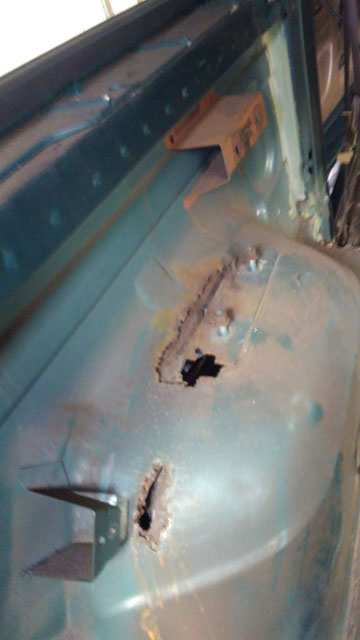 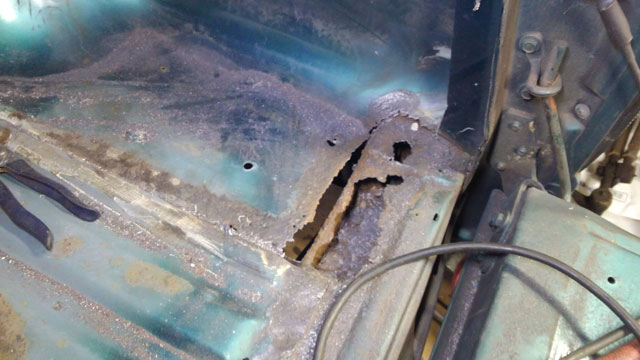 I suspect these will take a bit more time to fix, so probably no updates til theyre done. Hopefully thats all of it; there is one spot near the driver seatbelt spool i need to inspect, but thats the only other spot in question as the front half of the floor is in great shape. Below the rear passenger speaker is an impact sensor for the airbag. Well, since i dont have the airbag anymore i figure i dont need this sensor either.  Sensor, with harness. The harness runs to a connector behind the passenger side kick panel. So all thats eliminated now. 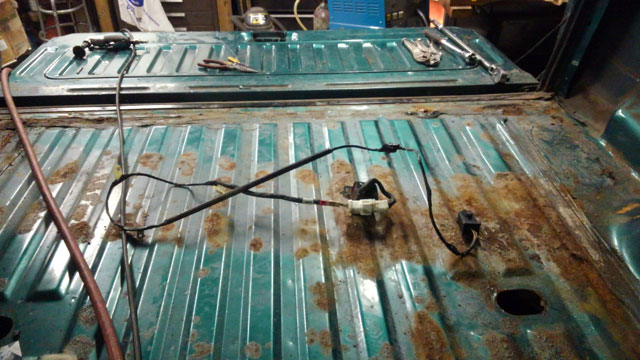 I also wanted to do something with this. This is the power for the rear right speaker, plus the seatbelt switch. 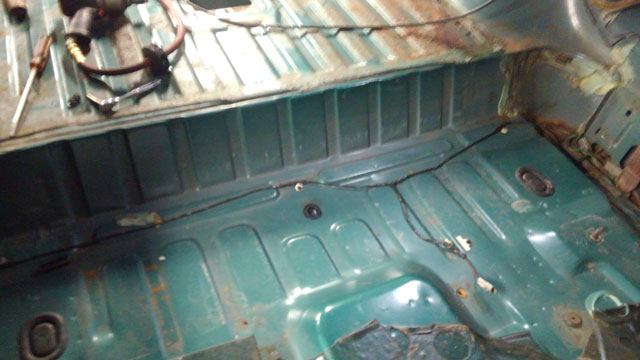 I de-loomed all of this, and followed it back to a harness connector near the p.brake pedal. I bypassed the seatbelt switch, because i dont need my truck to tell me to wear my seatbelt. Then i pulled the wires for the rear right speaker out of the harness and separated them. I rerouted them thru the dash, thru the passenger side kick panel and sill, back to the speaker. They are long enough in stock form that i dont need to extend them. Plus, now i dont have any exposed wires in the interior of the bronco. The front half of the interior is solid, no rust repairs required. In the rear half, ive begun stripping the seam sealer, and began rust repair. There are more holes than i anticipated, i think im up to 5 or 6 now. Ill post pics during the week as i begin to tackle each one. |