|
Hadnt been out in a while, so me & ox decided to take a trip to Rausch Creek 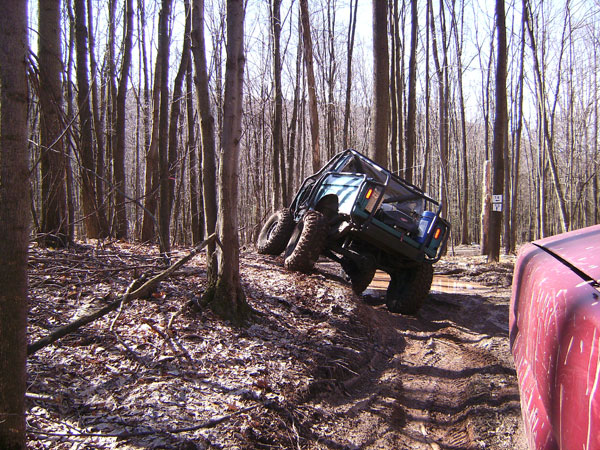 Pizza Rock! This area isnt what it used to be, since it got logged. 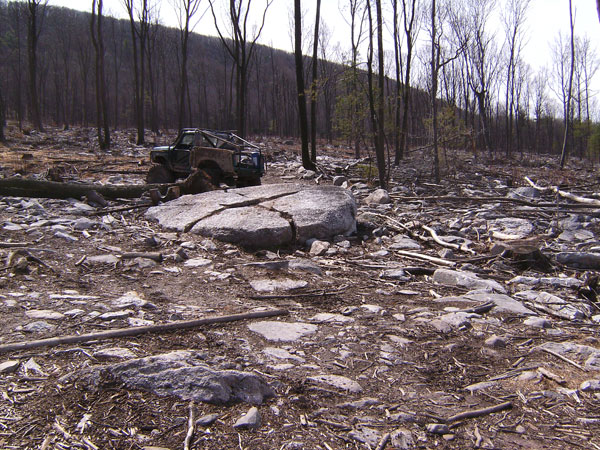   I only took a few pics during the day as we were pretty mobile, but Ox got some more, which you can see over on FSB. Ok so lets go into some theory. Keep in mind, this is just that; im no expert on the subject, just that ive spent a good amount of reading on the subject prior to building mine, and as it turns out, it works well.
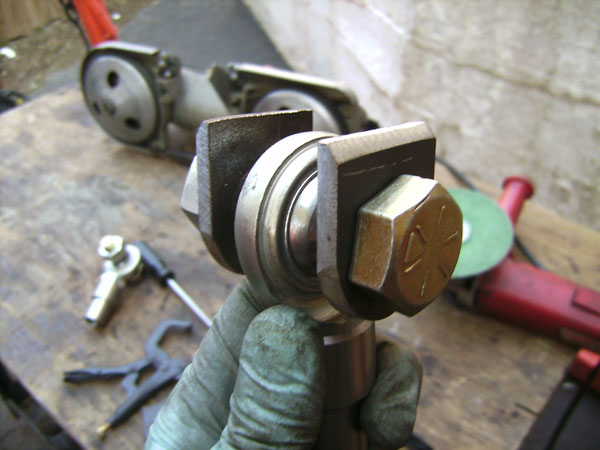
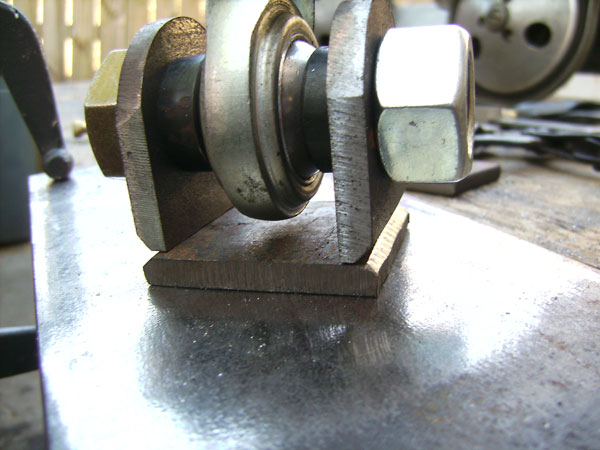
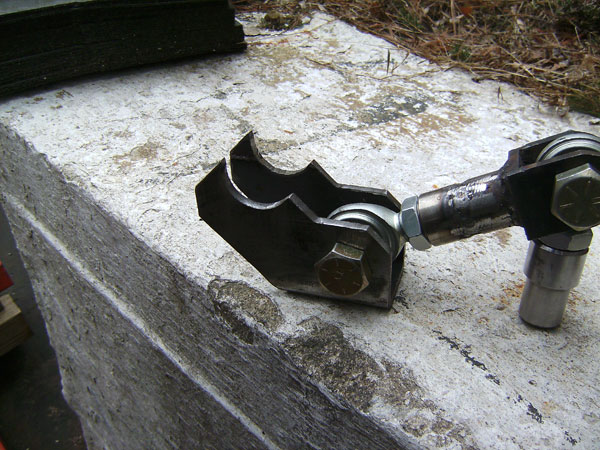
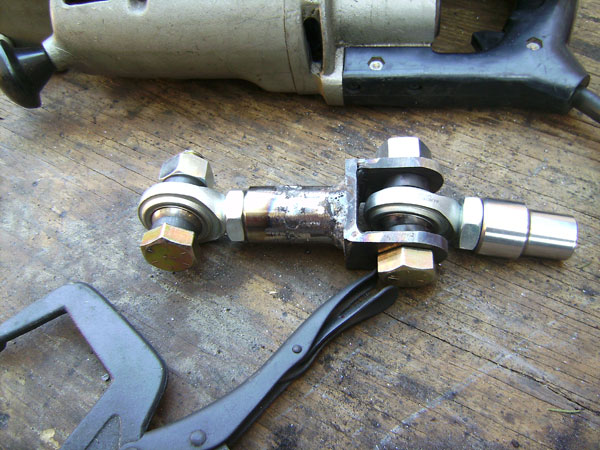
The anti-wrap bar acts as a lever for your trucks rear suspension. Since the springs cannot wrap under load, the force is directed along the anti-wrap bar. Under load the pinion wants to deflect up, but it cant due to the bar being mounted to the frame. So, when the bar swings up, it pulls up on the frame, which lifts the rear of the truck up. At the same time, an equal and opposite force is pushing down on the rear tires. So as the truck lifts up, you gain a lot of down-pressure on the rear tires. They squat down a bit, dig into the ground harder, and off you go. This is referred to as anti-squat (AS), and is usually measured in %'s. There is no right % for it to work perfectly as its all in driver preference, but you dont want too much, or youll end up with a vehicle that has a lot of rear wheel hop, which IMO is just as bad as spring wrap. So id shoot to minimize it best you can, since youll never get it to 0% on a lifted vehicle. No matter what, youre gonna pick up AS, and its gonna lift up. Get used to it. So, there are ways to tune this to your advantage. #1 is bar length. The longer the bar is, the less AS you gain. The angle at which the bar meets the frame is also important. The steeper it is, the more it will lift the frame. Unfortunately with a lifted truck, theres not a whole lot you can do about this part, as youre gonna get lift out of it. Remember you measure the bar angle by drawing an imaginary line down the middle of it, dead center between the two fixed points at the axle. I have read to make this match the driveshaft angle, but there is no theory behind why. It seems more like, thats the way most end up, so thats the way people do it. The shackle angle plays a small part too. At 90º, it has no effect. But, put the frame-side mount further forward, and it helps to decrease the lift gained from the bar. Angle it backwards towards the axle and it will lift more. My recommendation, set it 90º, or slightly forward (say, plus/minus 5-10º?). Keep in mind, this is assuming you have the shackle in tension (like i do), which means the anti-wrap bar goes above the shackle, not below. If you have the bar go below the fixed point for the shackle, then reverse the above info. Either way, dont go too far, as you need to make sure the shackle will not go into a bind when you cycle your suspension. A stock-height truck, the bar will be flatter and have less AS, but under a lifted truck you could only accomplish this by lowering the frame mount way down, potentially into harm's way offroad. Id rather have it lift a bit, then get it caught on rocks all the time. As for which side of the vehicle to put it on, the theory is that, under load, the rear driver plants harder than the passenger. This is because of the rotational force of the pinion, creating a lifting effect on the passenger tire. Ive read many places that putting the bar on the passenger side theoretically combats this, but in regards to controlling spring wrap, it makes no difference which side of the diff it is on. So since it does its job equally effective on both side, i put it where i had room, which was the d.side. On the pass side most of us have an exhaust system that would be quite difficult to get to fit back under there once an anti-wrap bar is installed. There is one other thing i want to add. This is that an anti-wrap bar puts a big load on the axle tube, so it is highly recommended to weld your tubes to the diff, or you could potentially bust the plug welds and spin a tube. Read about it & seen the pics, so i welded mine. So far so good. So i took some time last month designing and building an anti-wrap bar for the 88. Here's the final result: 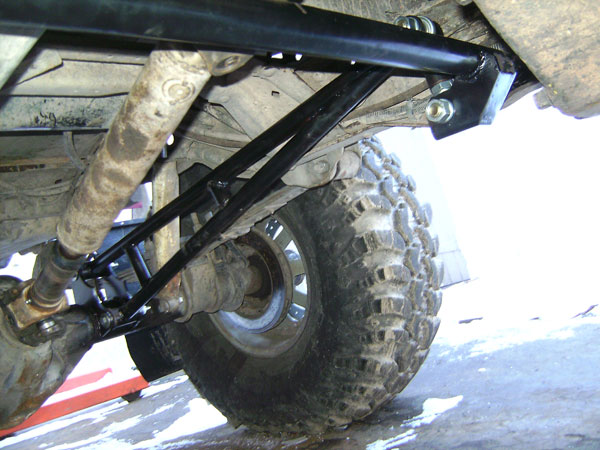 On the axle tube, im using brackets from Blue Torch Fab. The bar/shackle is using 3/4" rod-ends from Aurora, which i got at a local bearing house. The bushings at the axle end i bought from Poly Performance. 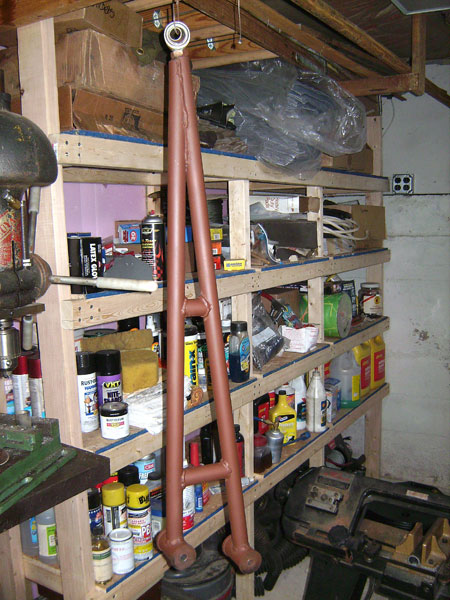 The bar is made of 1 1/4", .120 wall tubing, which the weld-in bungs fit perfectly. In order to make the lower tube more dent-resistant, i got a piece of 1" barstock and cut it down to fit inside the tube. I doubt that sucker is gonna bend! 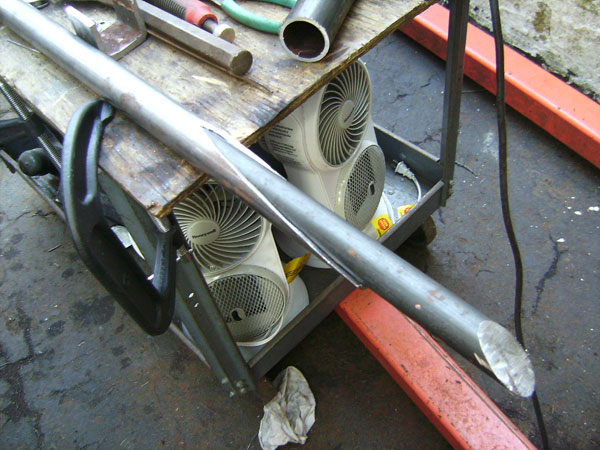 I built a shackle for the frame-side end to use shackles at both ends, so i dont have binding issues:
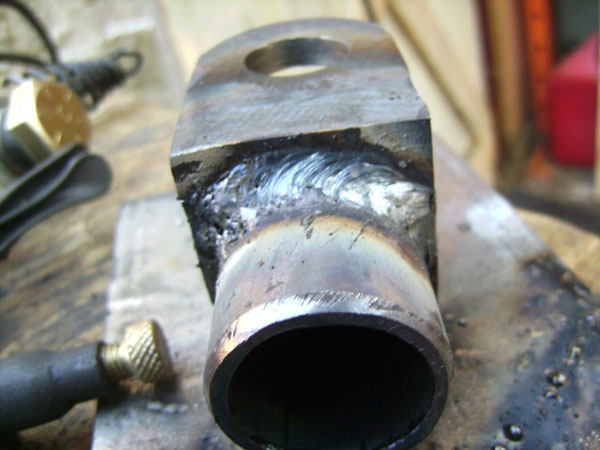
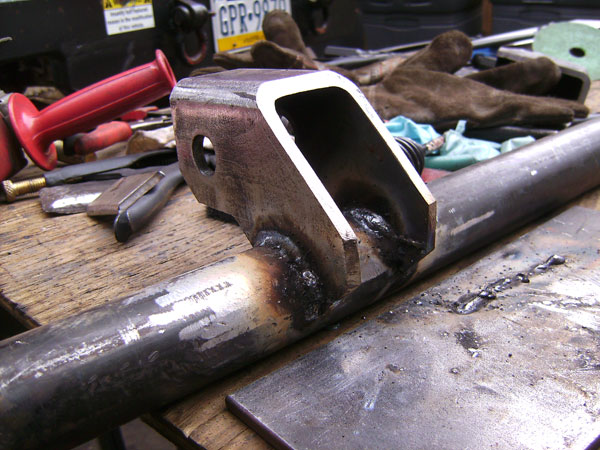
 For the frame side, i made a crossmember that spans the frame 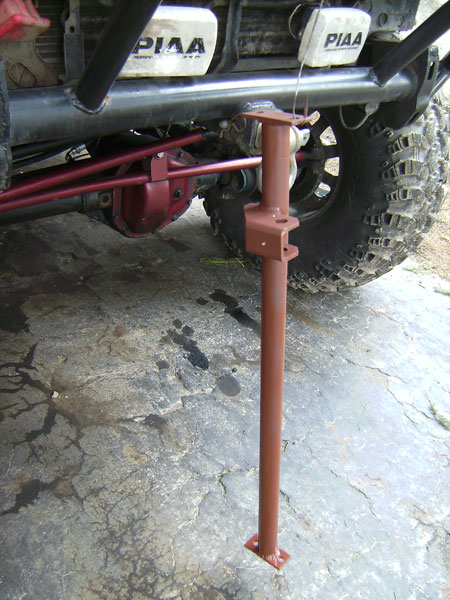 The shackle connects to it via a bracket i made out of a scrap piece of 2x4 box tube:
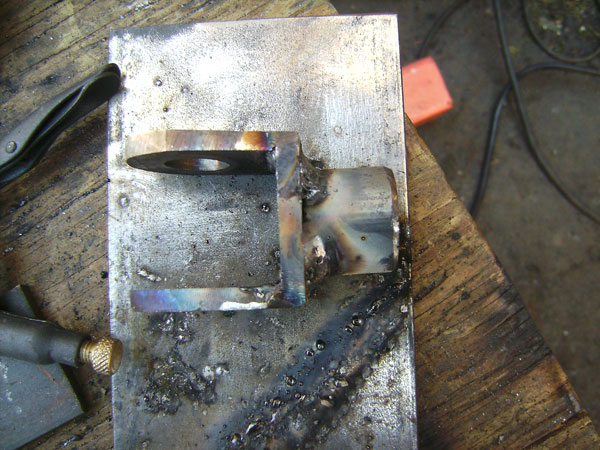
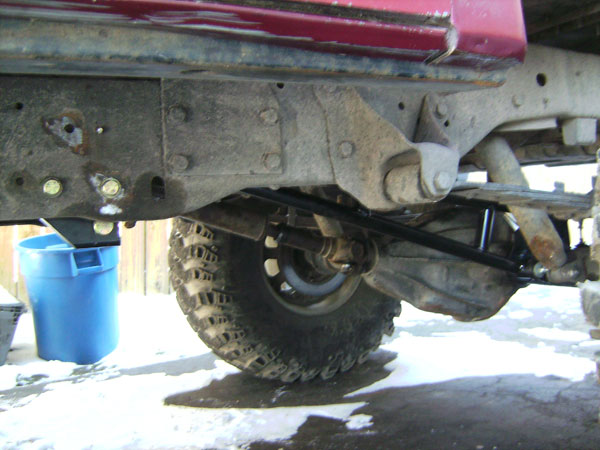
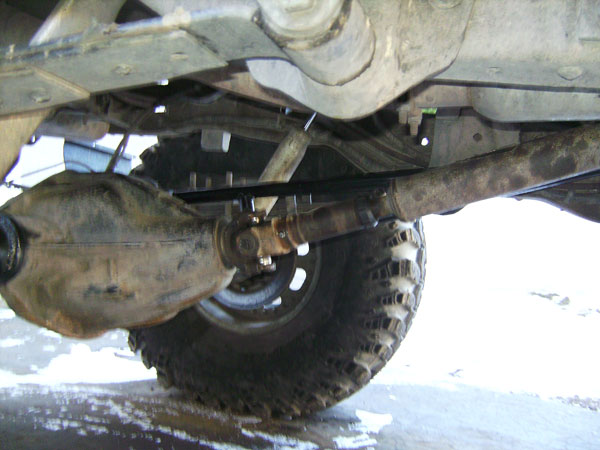
The final result is tucked up in there pretty tight and out of harm's way, but its also built beffy enough that it can take some abuse w/o concern of any damage:
The bar ended up ~40" long. The shackle is ~6", and there is 6" of vertical separation on the axle mounts. The shackle is pretty close to 90º, and while i could probably make some adjustments to the two heims to get it there, i dont think i will bother. There is some lift to the nose, but its minor. The big difference is now when you get on the throttle, she digs in and goes! No more spring wrap or axle hop at all. |