|
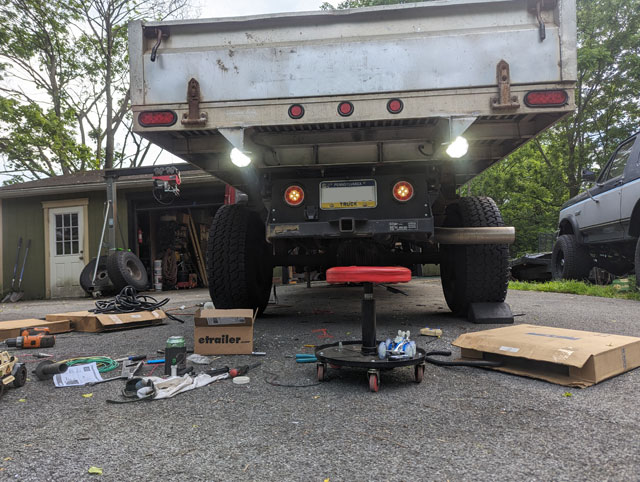
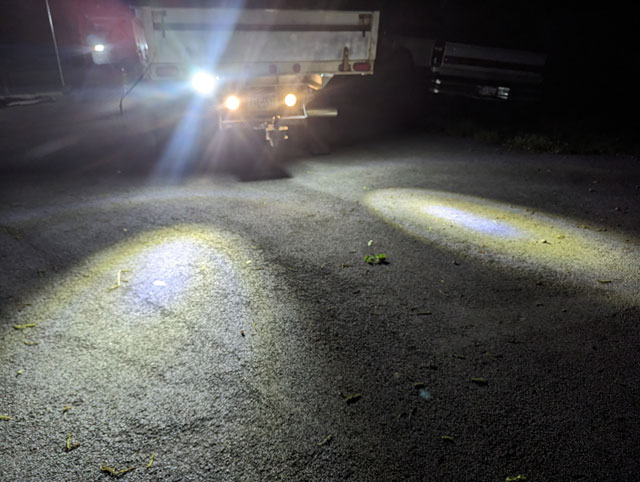
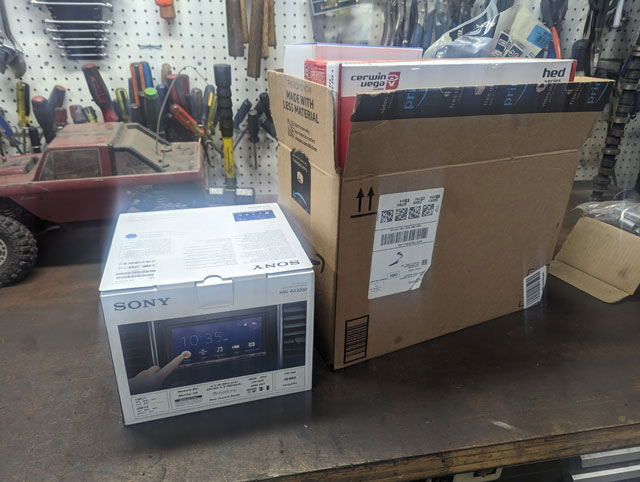
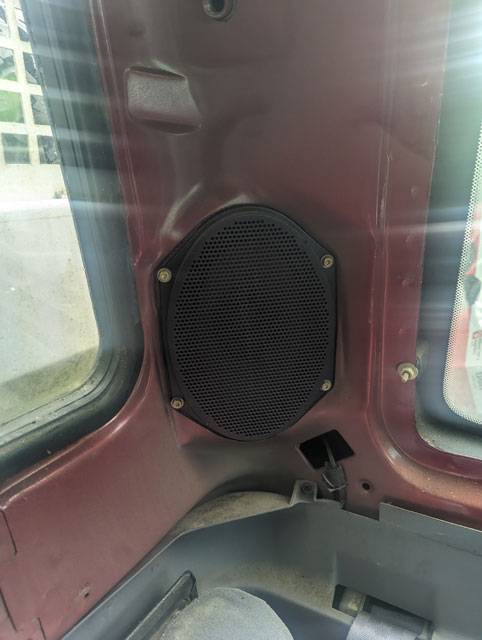
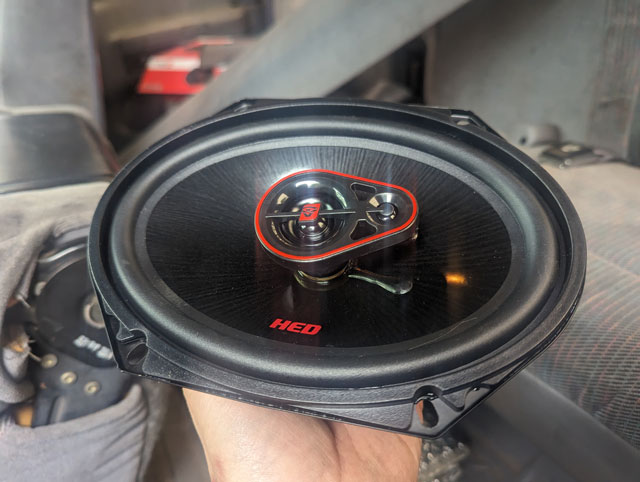
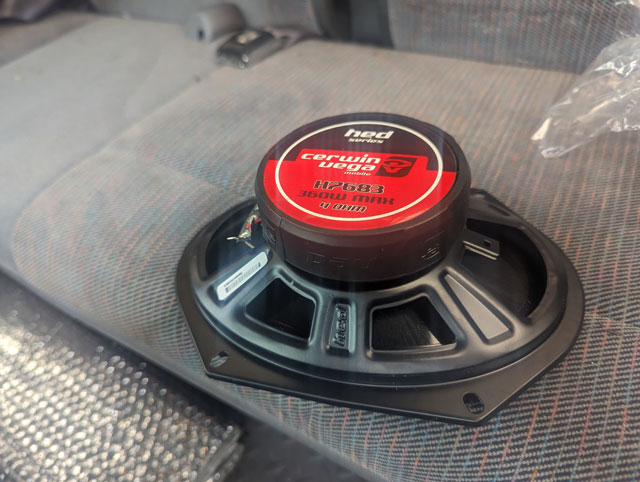
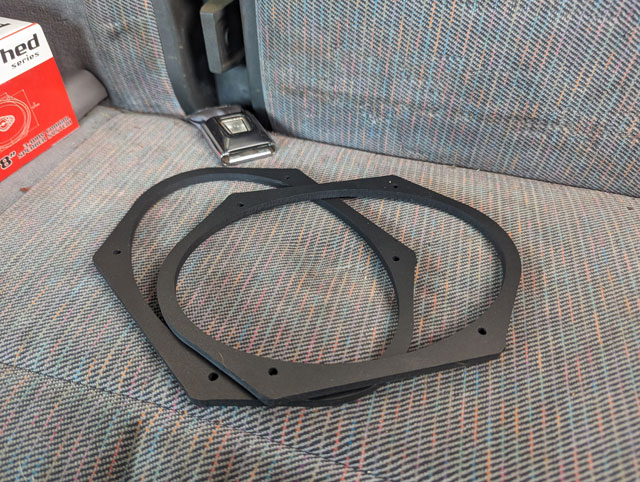
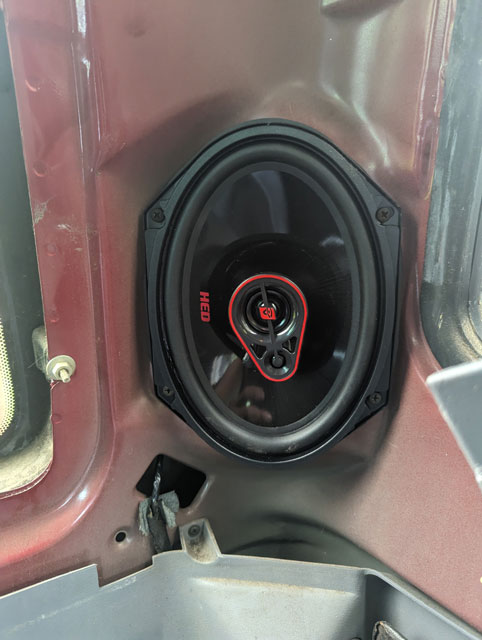
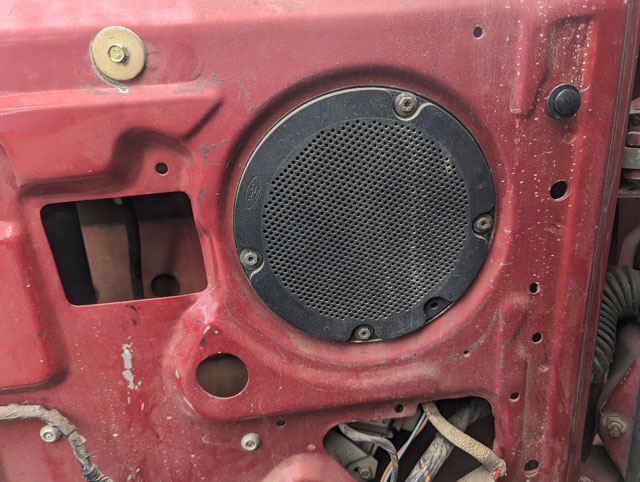
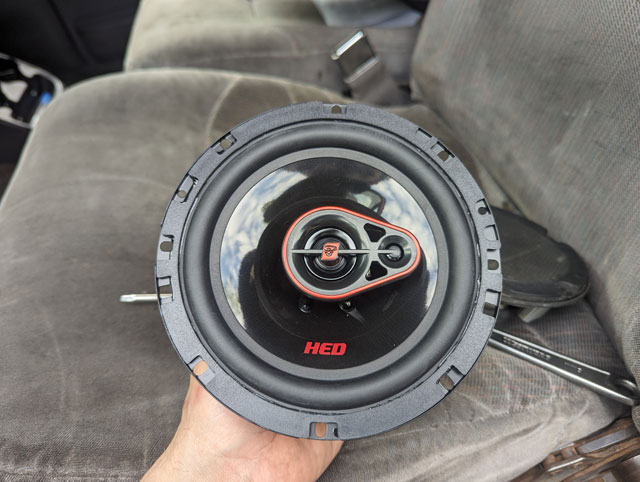
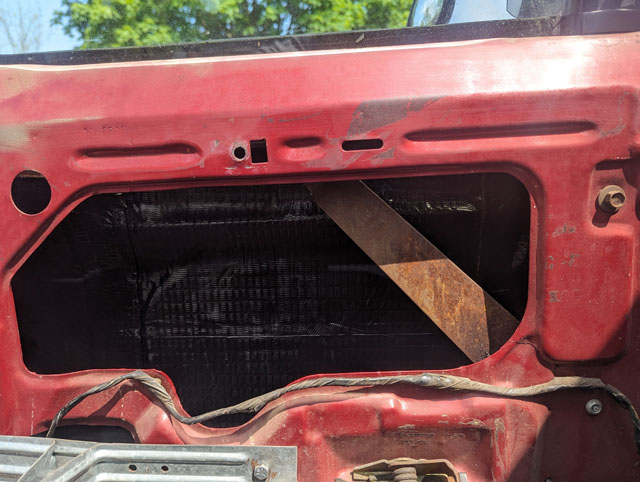
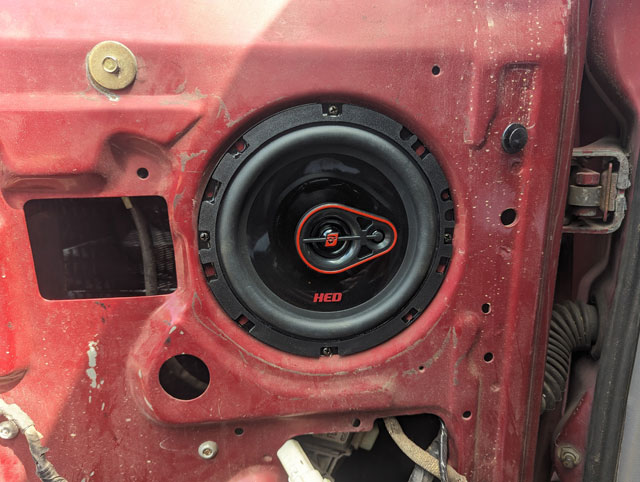
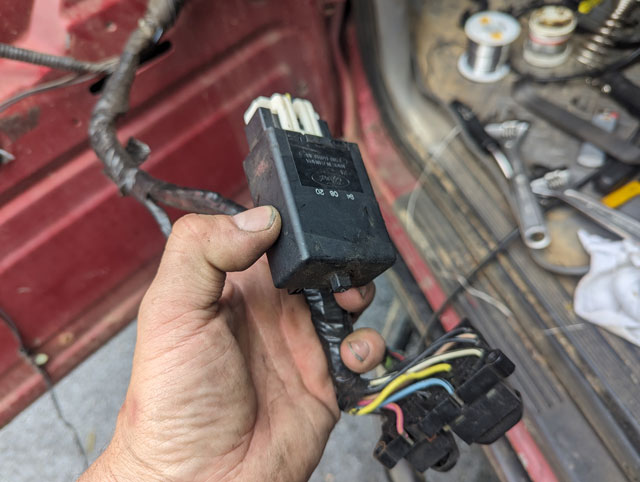
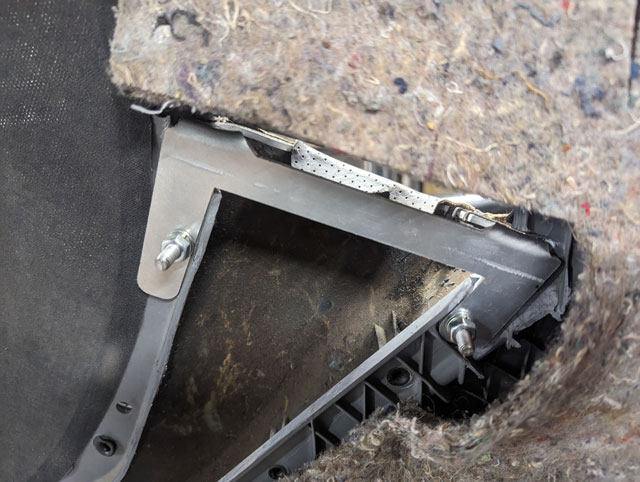
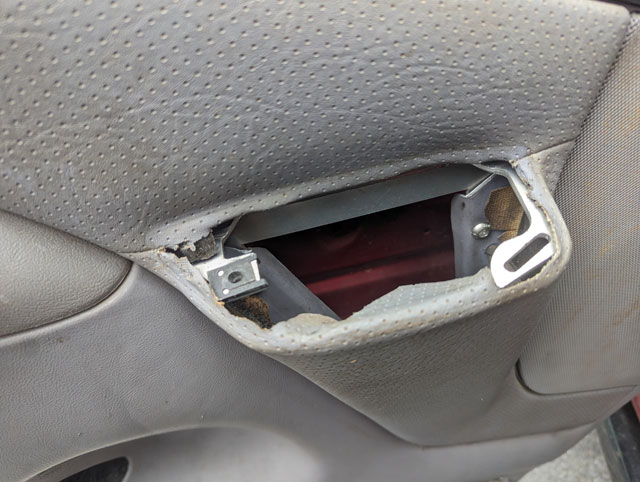
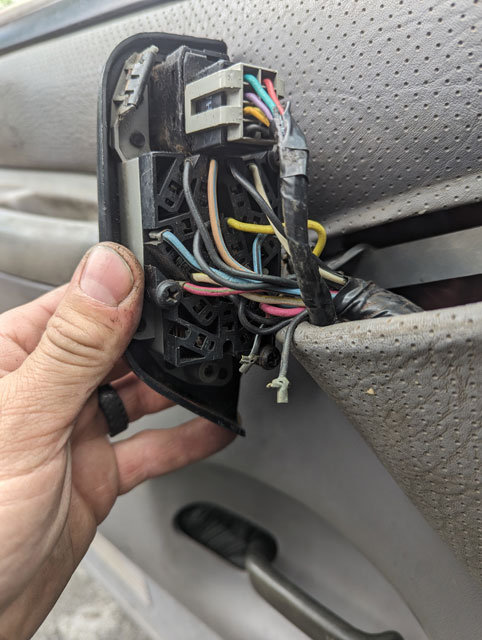
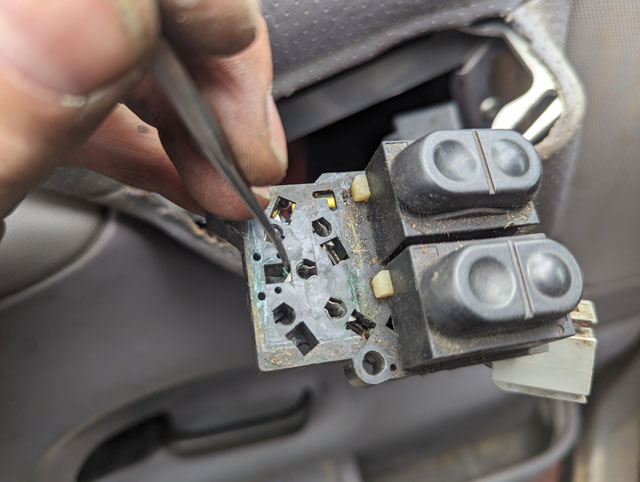
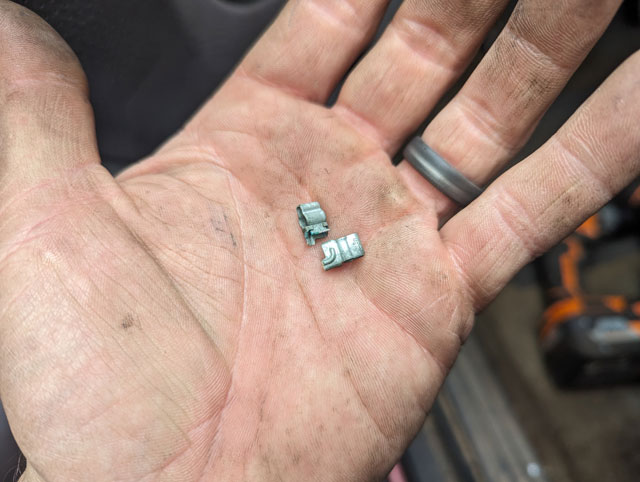
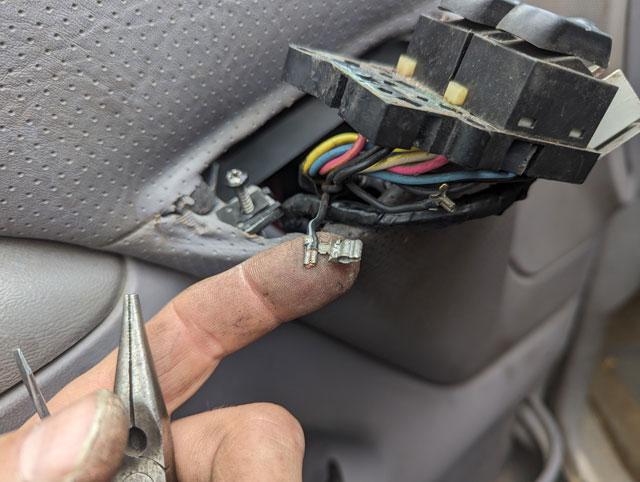
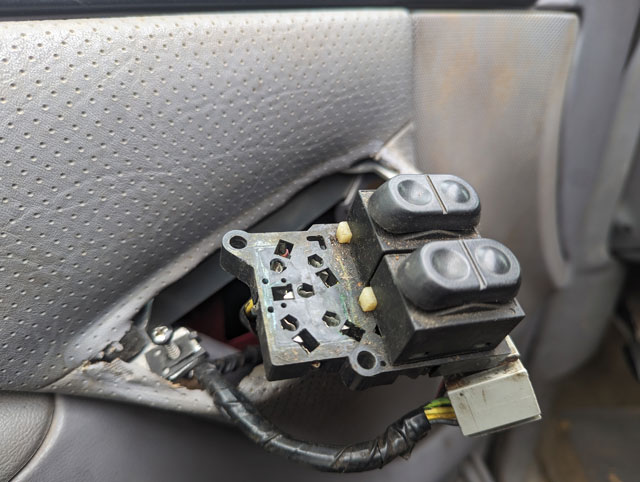
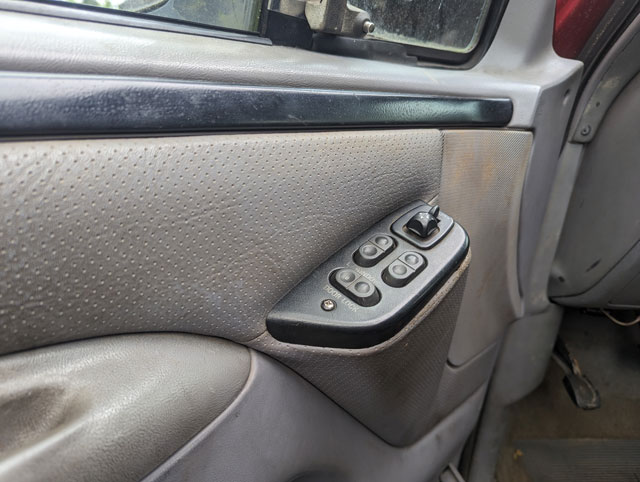
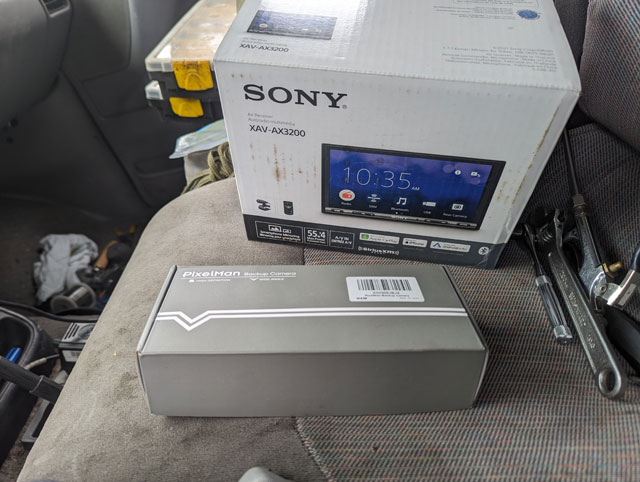
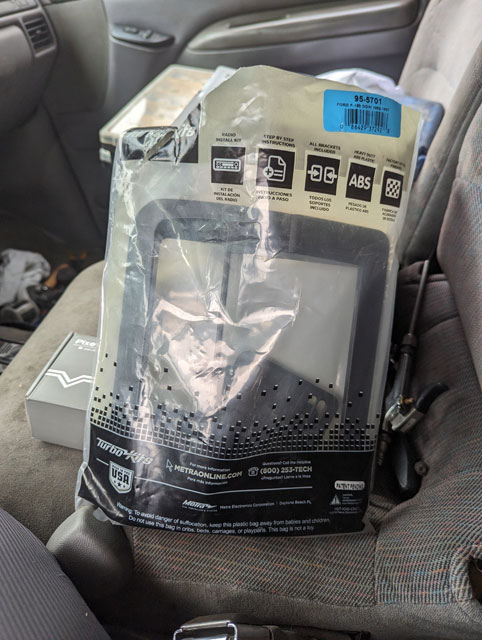
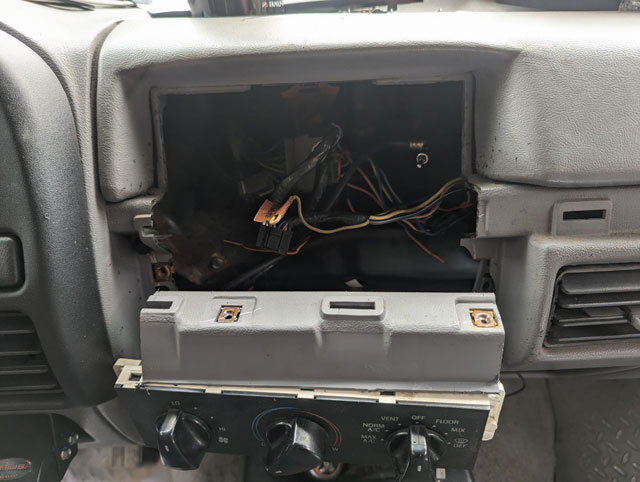
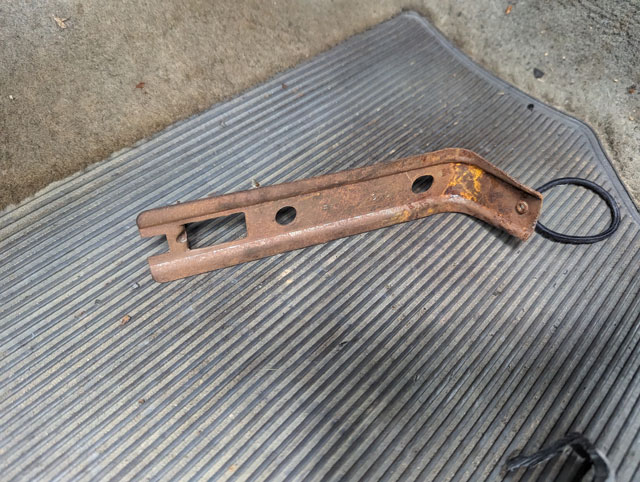
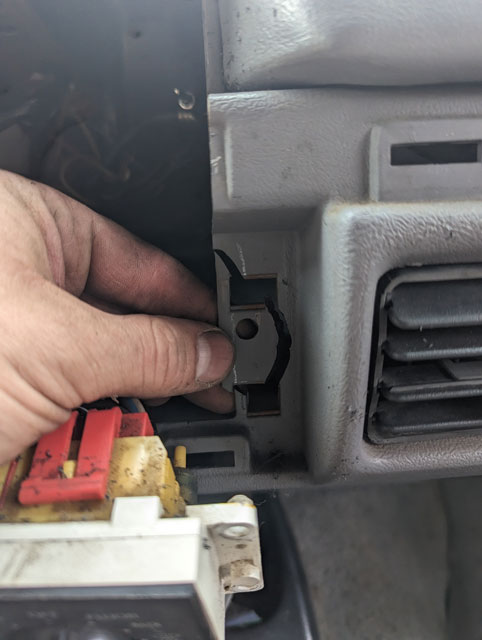
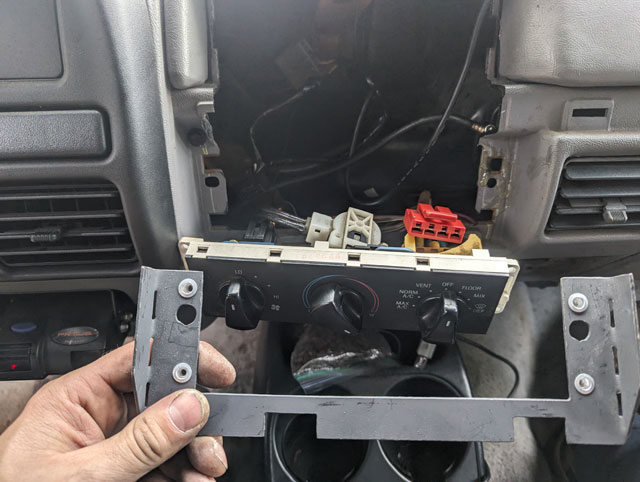
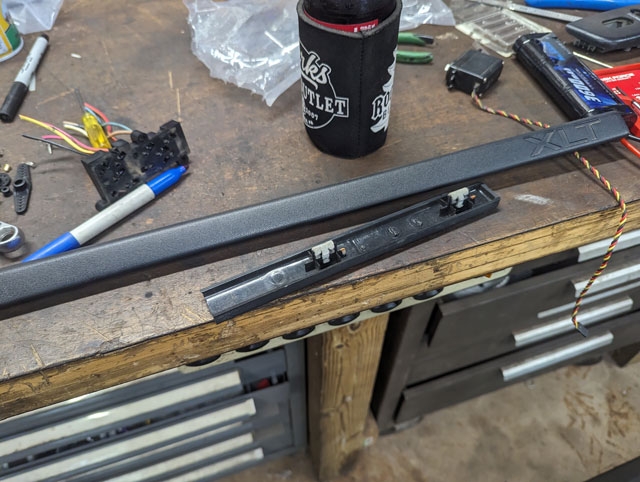
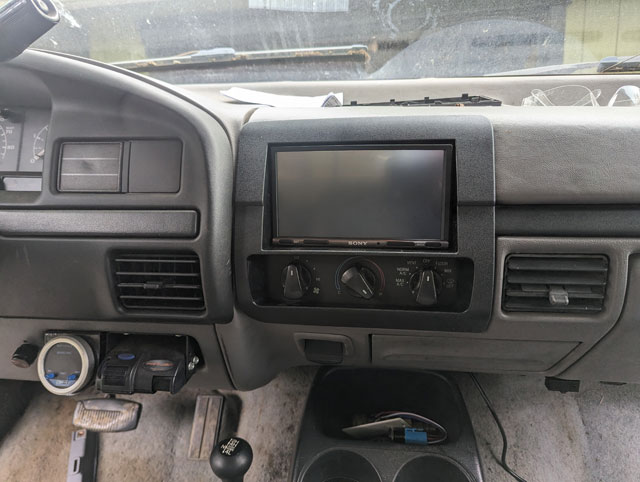
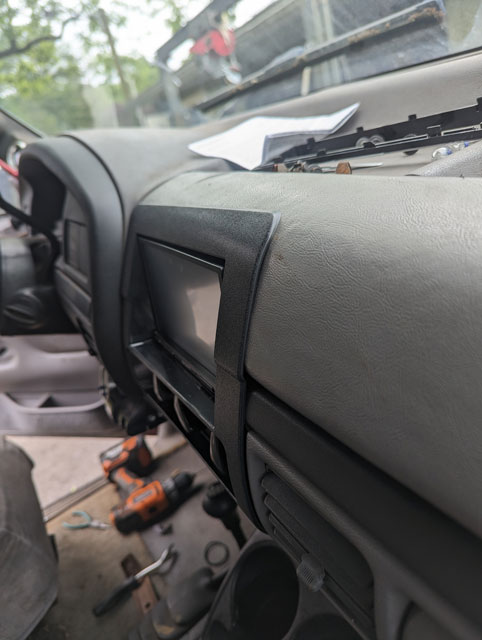
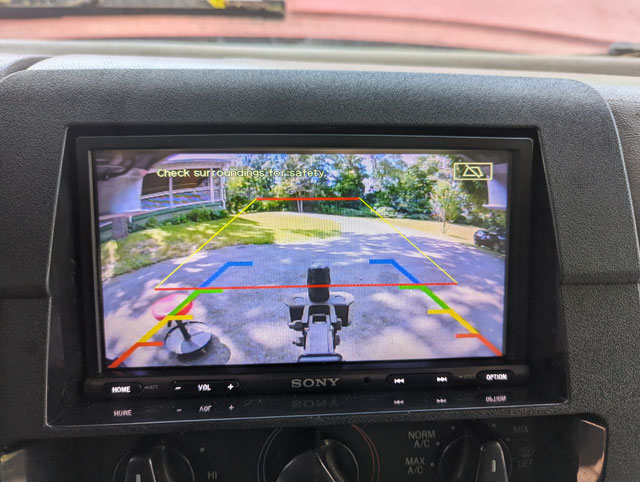
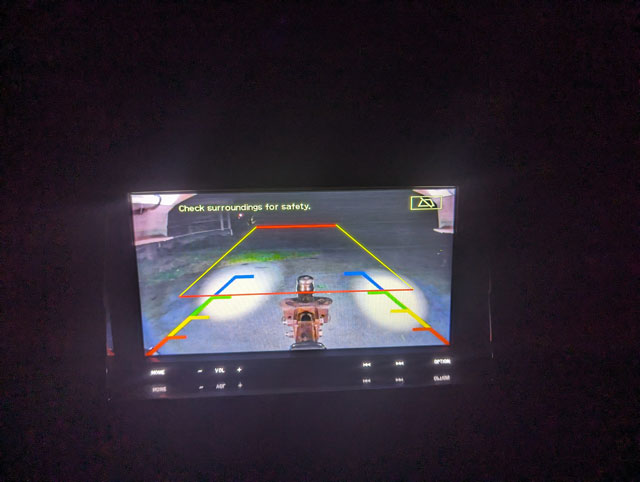
Last time... Got a chance to mess with them, on a night where it wasnt raining They hotspot a bit (i guess theyre more of spotlights than flood lights), but they still do a good job of lighting up behind the truck. The driveway isnt flat, so theyll probably nee4d some minor adjusting once i get it back on the road. But, thats good enough for now, lets move to the interior, shall we? After almost 30 years, i guess its time to replace the OEM paper core speakers. Oh and maybe switch to a double din headunit while im in there? Out with the old... ...and in with the new! Had to buy a set of 1/4" spacers, because the bigger magnets didnt fit inside the C-pillar Much better. Moving on to the doors... While i was in there, and since i had some extra laying around, i decided to add some sound deadener to the doors: ...and done! For reference, the one-touch window module i spliced into the down circuit for the driver window. The module is from, IIRC, a Taurus. Theyre in lots of mid 90s Ford cars. Since the door panel was off, i took the time to install a repair bracket in the door from Complete Performance: While i was in there, i managed to break not one but two pins in the socket for the door switches, rendering my door locks unusable. Guess we're gonna fix that too! Theres a locking tab you can push in on, here, that will release whats left of the pin I suppose you could cut the socket out of a junkyard truck, remove the pin w/ pigtail and splice it into your harness, but then the color wouldnt match! I very carefully removed a good pin from a junkyard socket, and then carefully recrimped it onto my original wire, because i like doing things the hard way: With both wires now fixed i could finally finish up with the doors... ...and turn my attention to the dash. So, our nes headunit. A Sony XAV-AX3200, with backup camera, and an install kit from Metro The first cut in the dash. No going back now! While possible, it is not easy to get this bracket out of the dash. In my case, it was in the way of the radio, and had to go. My dash was basically crumbling around the heater controls, and was going to need some work I picked up this clever dash repair bracket from OBS Interiors. It fits in behind the dash, to clamp the heater controls against the dash. I also epoxied most of the pieces back into the dash, just to have a bit more to clamp against (you can see ive just started that, in this pic) Cutting the trim... ...and done! The Metra kit fits the dash quite well! This is the most important part though...the backup camera! I set the camera angle so the edge of the receiver is just in view at the very bottom, i figure thatll help me keep my perspective when backing up. Also, puts the hitch in a great spot in the view! ALso, my rear lights seem to work well, looks like backing up in the dark is going to be a piece of cake now: This is going to be a game changer! Now i just need my shackles, and i can finish the SD spring swap! Comments are closed.
|
Categories
All
Archives
February 2026
|
