|
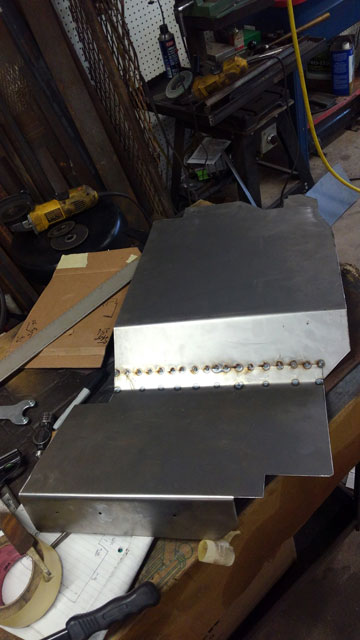
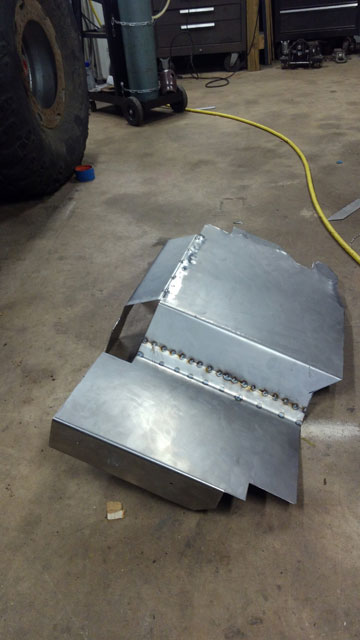
Now that the weather has warmed up ive moved into the laundry room. Found all sorts of issues with the PO's renovations, so its currently gutted so i can re-do everything. So thats is consuming most of my time. However, some progress has been made. The current state of the fender liner: 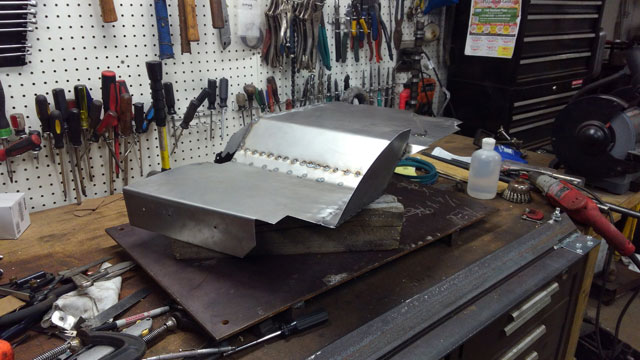 ...and installed 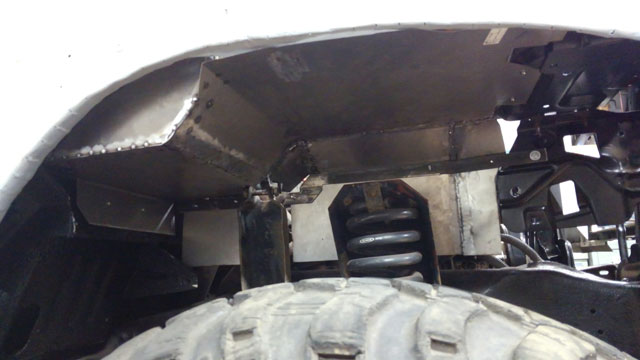 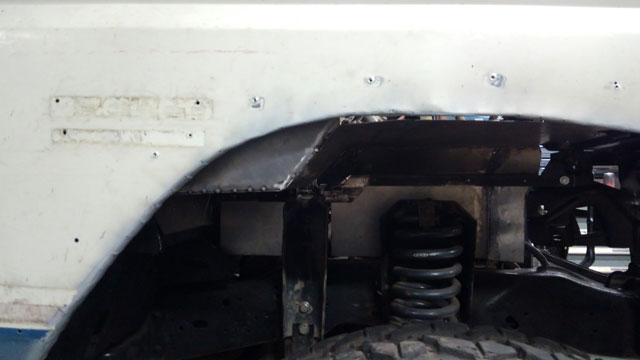 With the flare installed, you can barely tell ive done anything 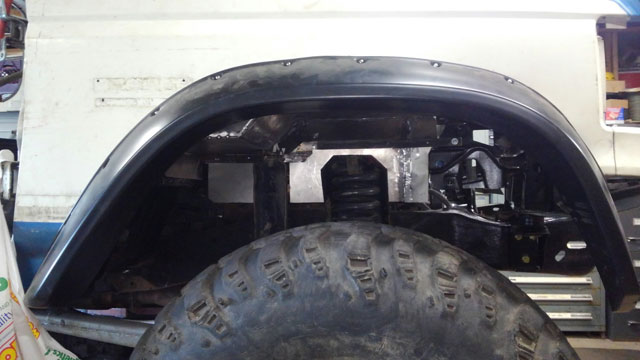 I figure once the liner is done and painted black, you wont even notice ive done anything, which is my goal. I still have what i think will be 4 more pieces to make, and then this side will be done. Its been a while, so i thought id update. I put the hood back on, and roughly aligned the front clip, so i could start on the fender liners. Needed to make sure everything was straight before i started cutting into stuff! I abandoned reusing the original fender liners, as they would require too much work, and put the homebrew sheetmetal brake to work. Youll note the wheel well is open pretty much right to the battery tray. So the tray will end up being part of the new fender liner. 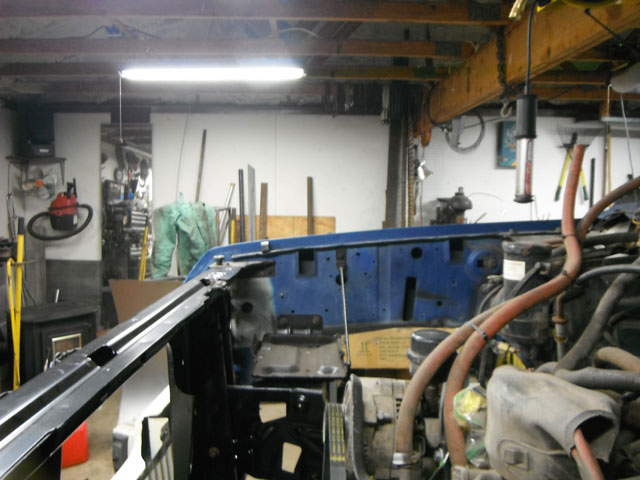 First thing i did was to make this piece. It bolts to the battery tray, and the firewall. The oddly shaped cutouts are to clear the shock & coil towers. 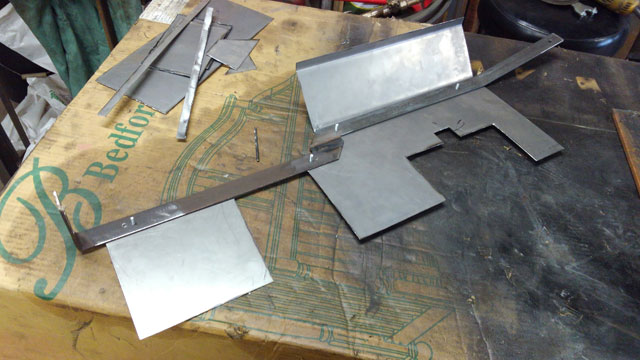 Next up is this piece. This keys into the battery tray as well. 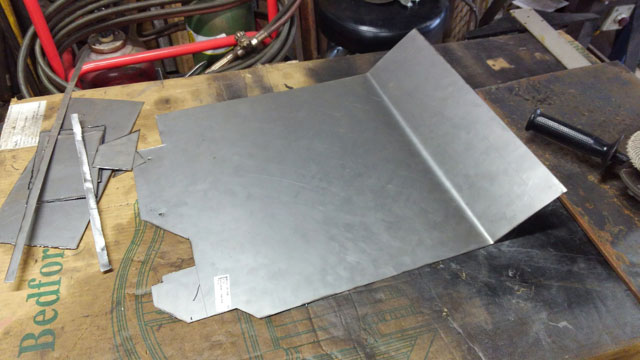 Here's the rough idea: 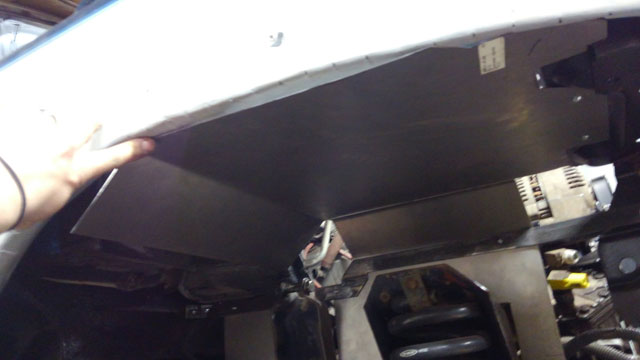 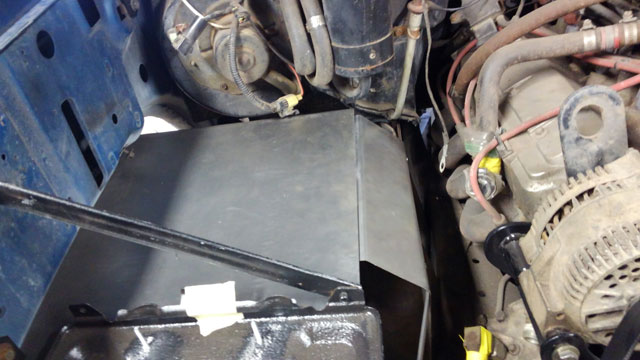 I whipped up a third piece, that boxes in the heater box. 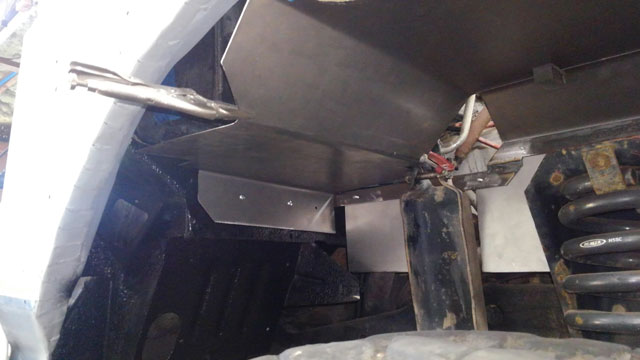 That gets us to here. Still a lot of gaps to close, but progress is progress. 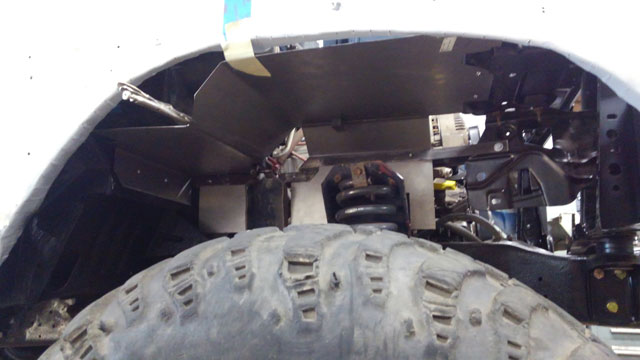 Pulled it all out, and started tacking it together
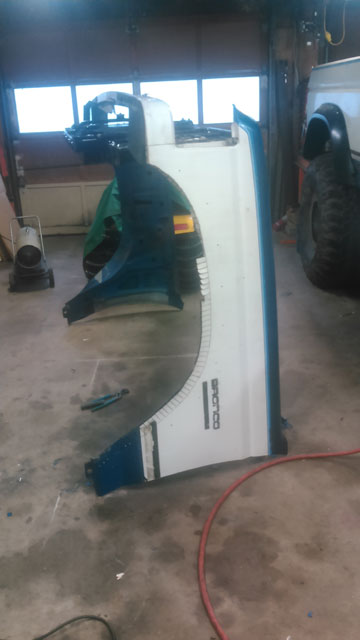
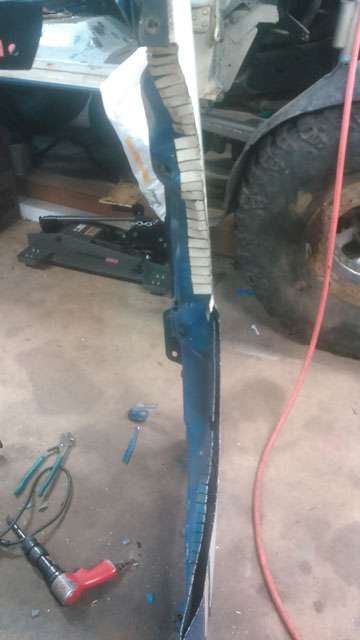
...And where im at today. 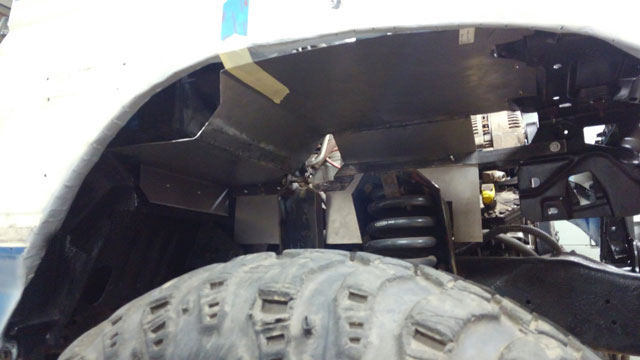 This has been a constant evolution. Every time i pull the panels out i make subtle changes to get them to fit better, and there are more changes coming yet. I need to fill in a lot more gaps, and im hoping that when done i wont need that 1x1/8" brace because its a PITA to install. Currently i think ive got 7 more pieces i need to make, to close it all in. I bought a ton of stainless hardware from Bolt Depot, some of which im using now, and the rest of the hardware is just temp stuff to hold it all together. But the goal is to have one big removable panel, for easy access into the engine bay. Hopefully i can get it to work! So i had some time to play with my rivnut tool. Its actually really easy to use, so ive got about half the rivnuts for the passenger flare installed 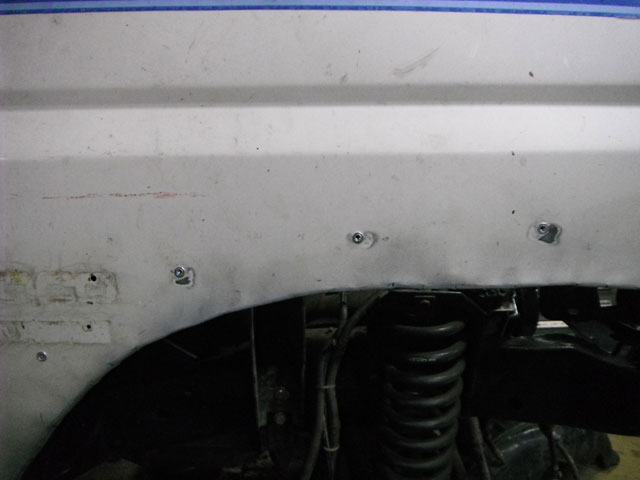 Still need to order the final hardware; theyll be 8-32, and i want to use stainless button head screws mainly cuz i think theyll look cool when installed :toothless I installed the OEM battery tray, it just fits: 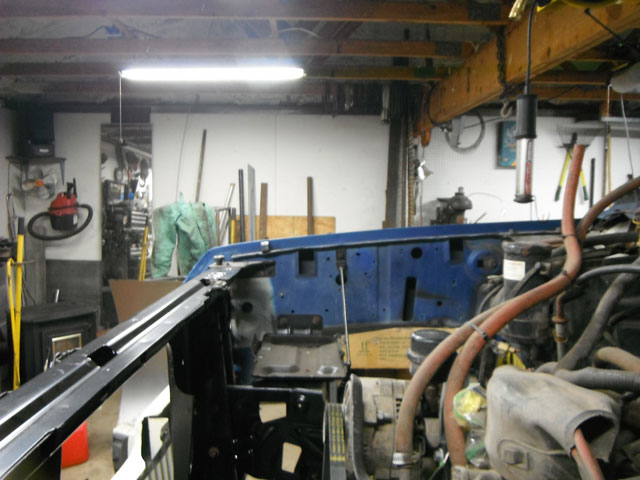 Same as the bracket for the airbox: 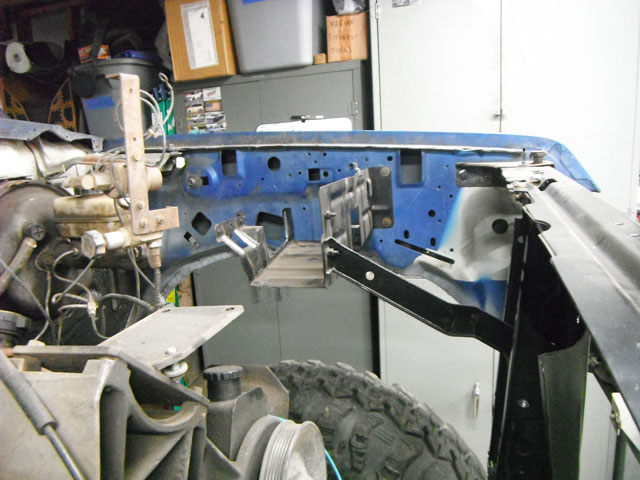 So it looks like ive removed as much as you possibly can, to still reuse these brackets. So the plan is to get some 1x1/8" flat stock and build some brackets to attach sheet metal (or maybe even sheet plastic) to to build inner fenders. But first, i have to finish this: 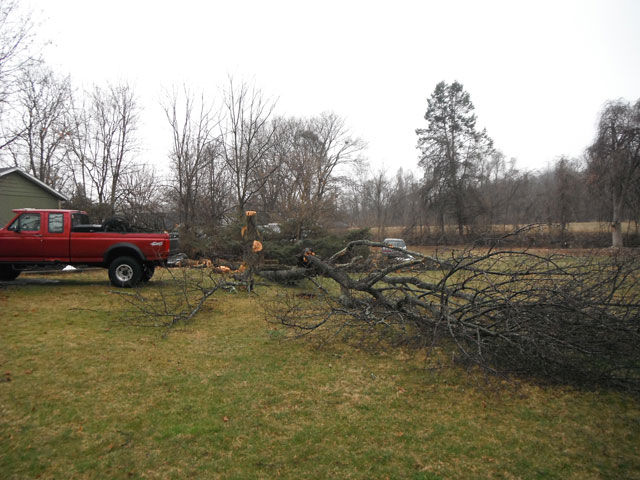 Started cutting down a ginormous chokecherry tree because its a messy tree thats mostly hollow from years of carpenter ant abuse, and its also where i want to put a shed this summer. So once i get this thing all cut up and the stump ground down ill jump back on the bronco. So many projects, so little time. Ive always wanted a sheet metal brake, but never really had the room to store such a big piece of equipment. Well, now that i have a decent workshop, and a pretty big project to work on (the bronco rebuild) i decided it was time to get one. But, didnt want a big press taking up space, so i decided to try and build a smaller compact press. So this is what i came up with: One piece of 3" angle iron bolted to bench top, with a 2" piece of angle iron attached to that via 2 4" hinges. Both are 36" wide, which gives me 28" between the hinges. Thats got to be plenty big. The 2 ½" bolts secure it to the bench. 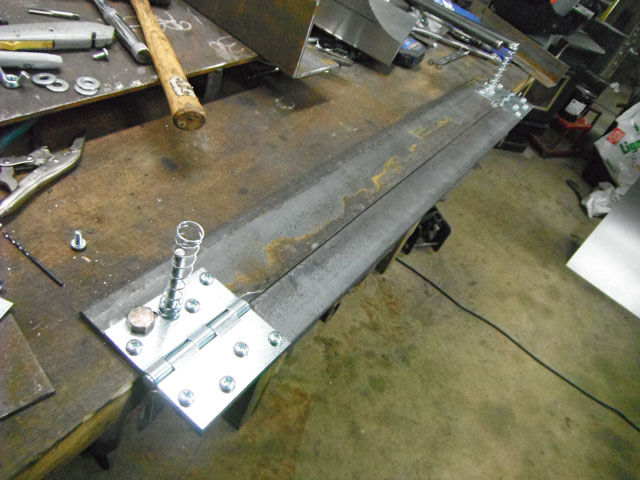 So this is the basic motion. Those 2 3/8" studs sticking up with springs on them, will hold another piece of 2x¼" angle iron, which serves as the jaw that clamps the sheet metal in place 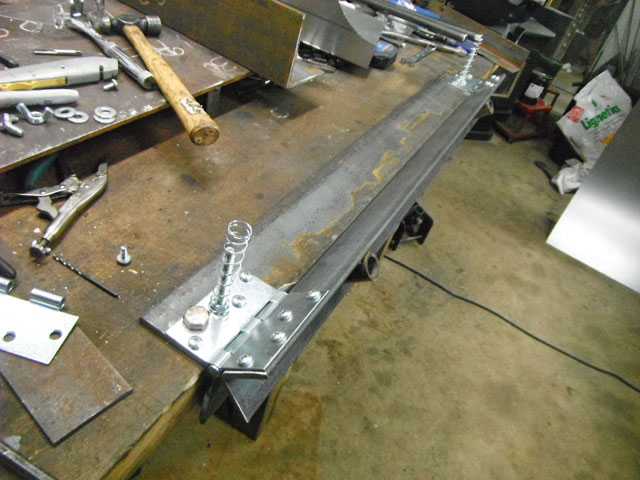 Some slight trimming of the jaw to clear the hinges. Wing nuts to clamp it down w/o needing any special tools, and the springs will lift it back up when loosened to remove the piece or put another in. 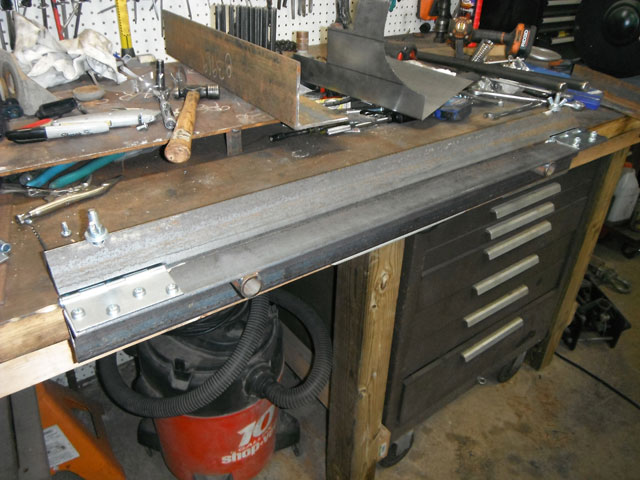 On the underside of the hinged piece of angle iron, is 2 pieces of pipe welded in place, for a pair of handles made out of ¾" bar stock 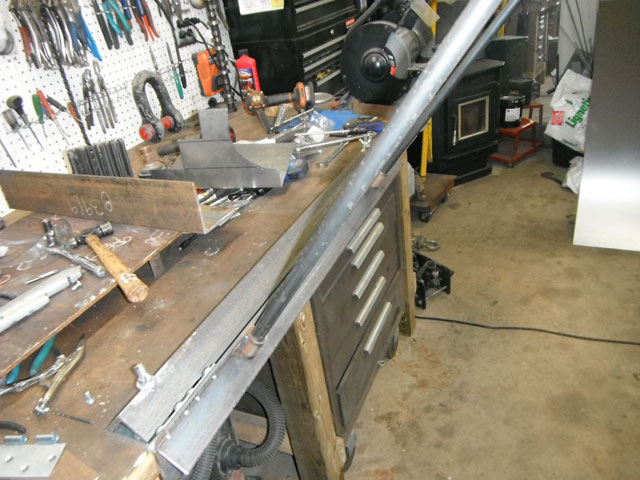 test bend! 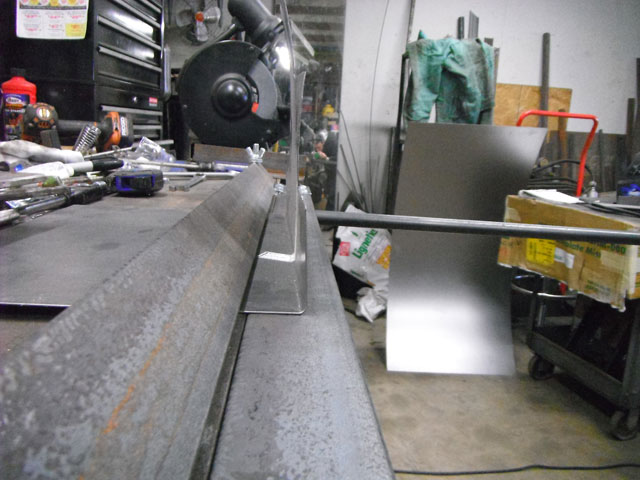 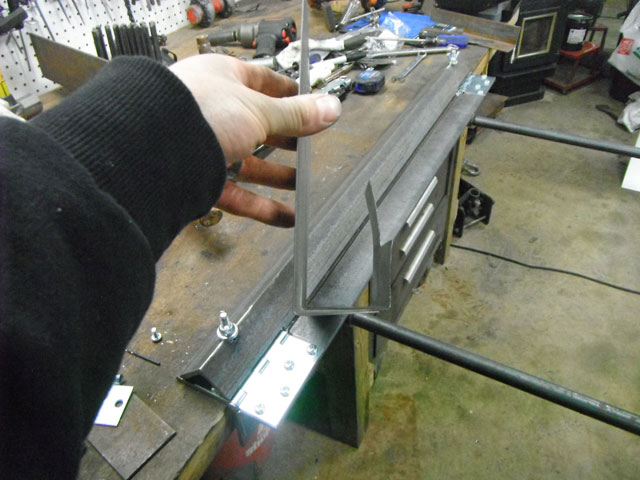 Removed from bench for 'storage' (actually i was cleaning). The handles fit under the clamping jaw for storage. 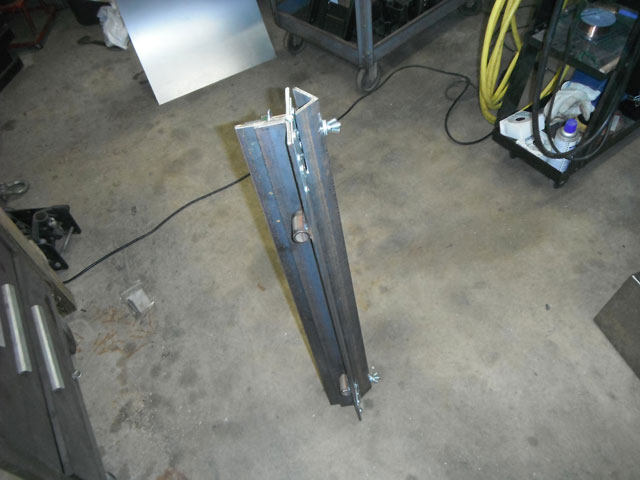 Set back up, and im now ready to resume work on the bronco! 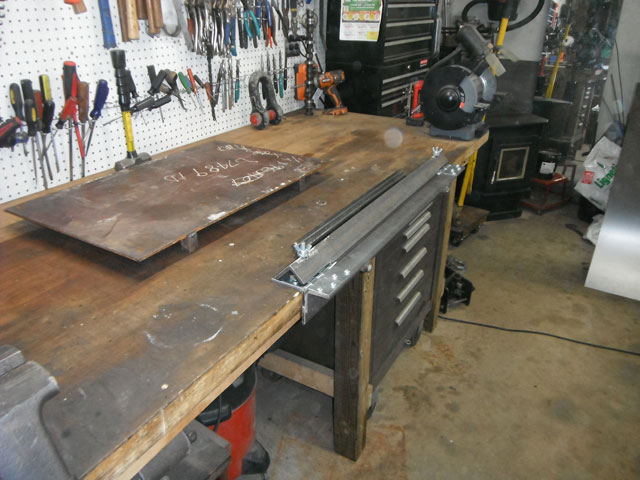 Looks like its gonna work just fine! 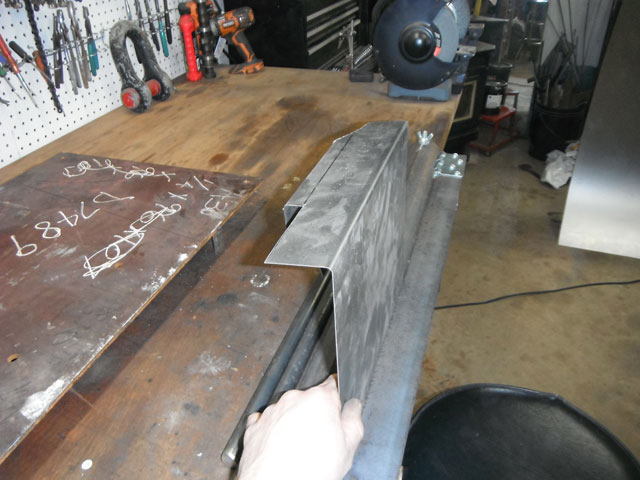 Tragedy! I was moving the front clip, and bumped into one of my shocks. It fell over and this happened: 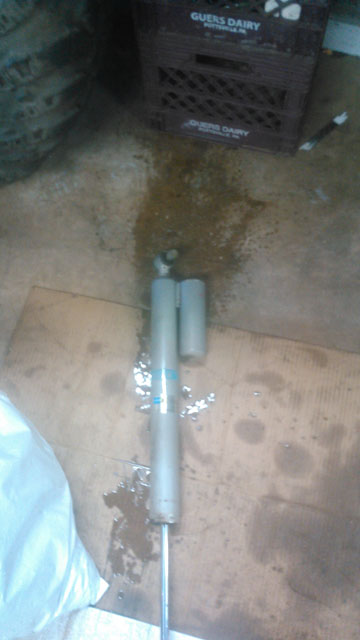 Guess ive got no excuse now, were upgrading the shocks. Front clip reinstalled! Wheel well is pretty big now. 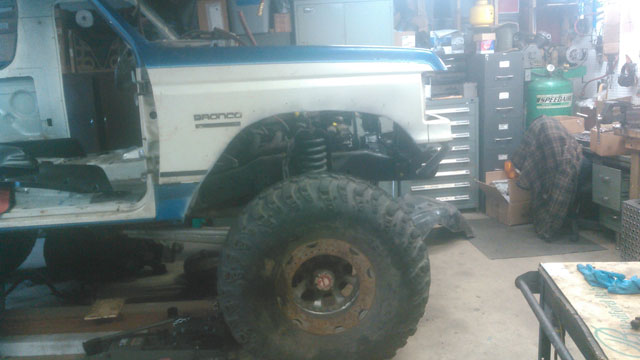 I installed the fender liner (Yes its actually bolted into place in this pic). Its gonna need some work if im gonna reuse it! 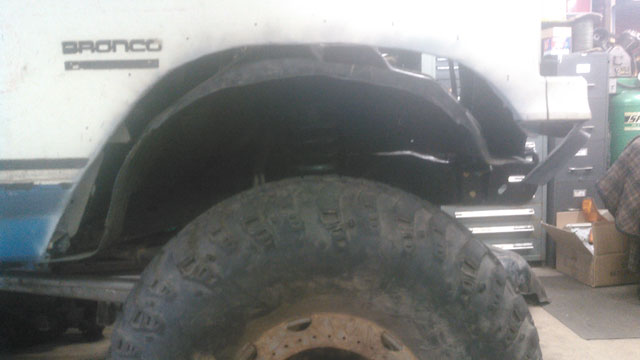 Also got my riv-nut tool, so i can start installing the nuts for the flares! 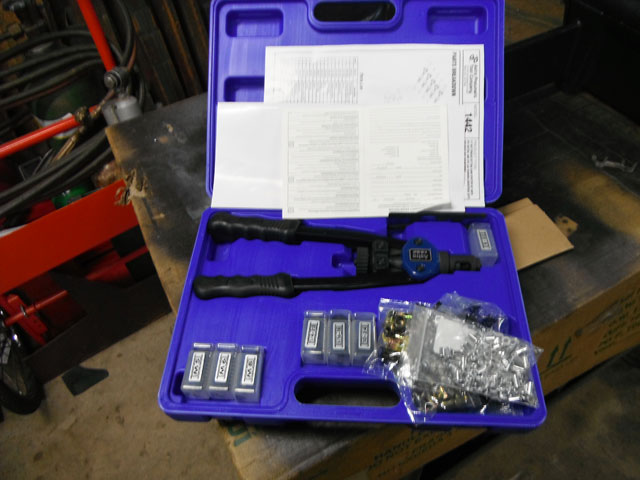 Im gonna start working on the fender liners next i think. Gotta get a game plan going. Currently thinking im gonna roll the seams on the firewall, then trim up the fender liner, and maybe make a piece that will seal the back to the firewall. Dunno yet. Long term use proved the tubbed wheel wells i did last time were a nightmare for shedding heat, so this time i want to make sure i leave as much open space under the hood as i possibly can. So i pulled the front clip back off. The first cut to the fenders that i made, was the bare minimum to fit the cutoff flares. Now the plan is to remove two more inches, which is about as much as i can remove, and still be able to reinstall the original fender liners. So here we go! Line drawn, and a whole ton of tabs cut 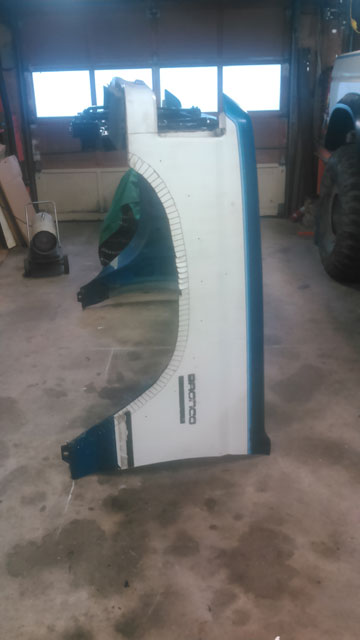 The process of bending them over begins:
All tabs bent, heres roughly what the fender will look like when the flare is removed 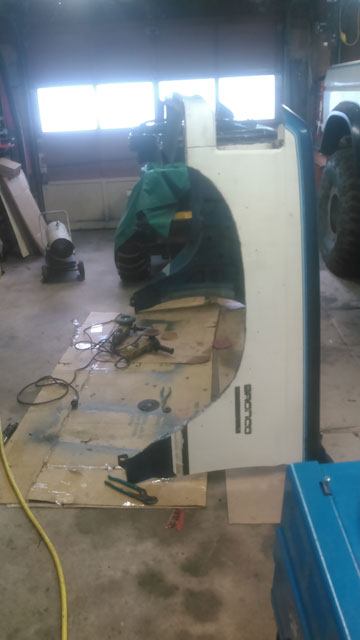 after a whole sh*tload of welding & grinding, both fender panels are now rewelded 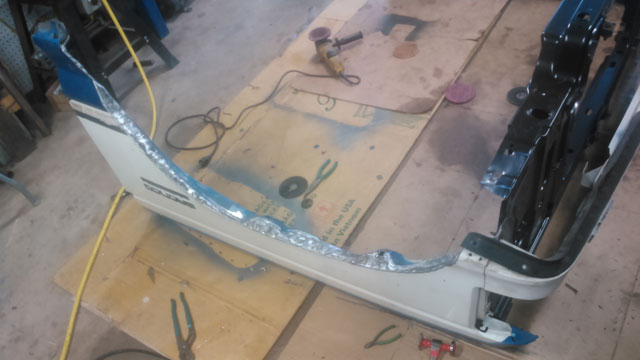 This shows you how much more material is removed. 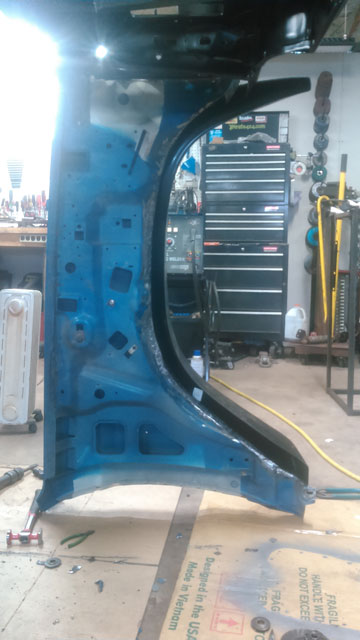 Made a template of the new wheel arch, and transferred it to the other side 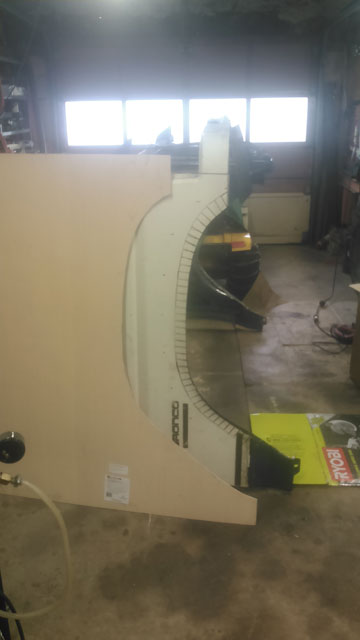 A ton more cutting, bending and welding! 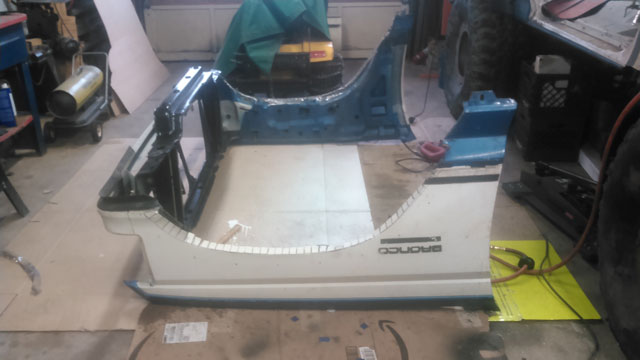 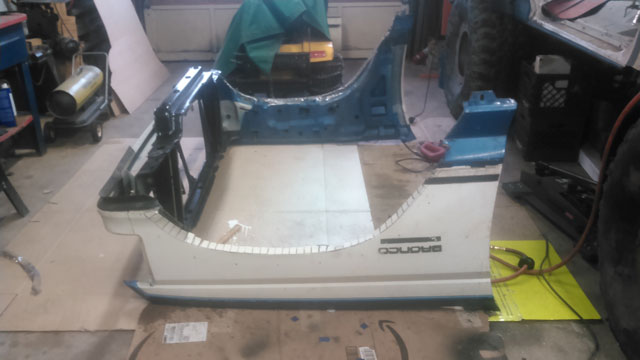 Finally got some primer on them the other day. 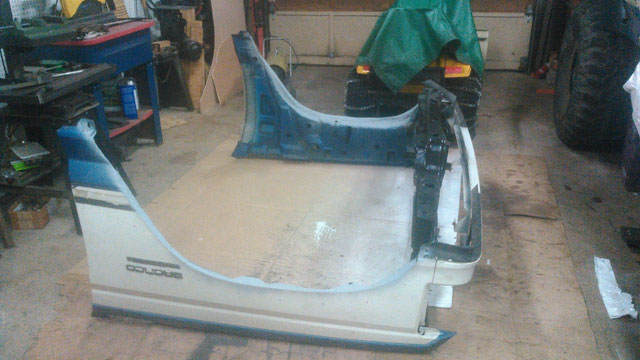 If all goes well ill be able to get the front clip reinstalled sunday, and i can then begin working on the fender liners. Theyre gonna need to be trimmed up a bit now that the wheel well is bigger. I also need to install rivnuts for the flares. Hopefully i can get both done by the end of next week, we'll see! So on Sunday i was over a buddies house. and scored some more parts! 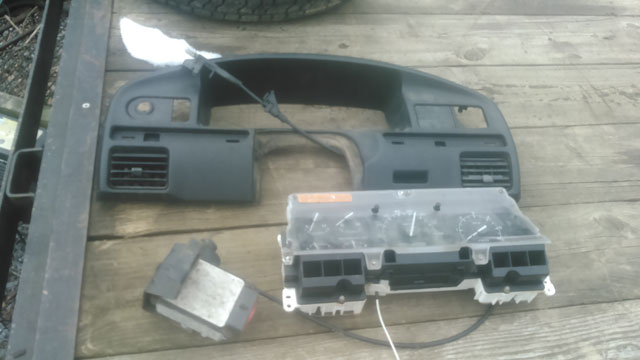 Got another tach cluster, a spare dash bezel thats in way better shape than mine, and the missing parts (Servo/bracket/cable) to complete my cruise control install! Considering pretty much my entire commute to/from work is on the open freeway, its super awesome having cruise control in this thing! Met a fellow Ford nut who lives up near Rausch Creek, and got some parts off him! One tach cluster, and a set of chrome mirrors 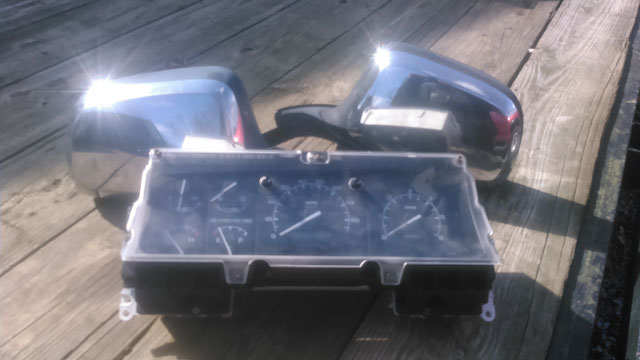 and some new badges & dash trim to replace the XL badges 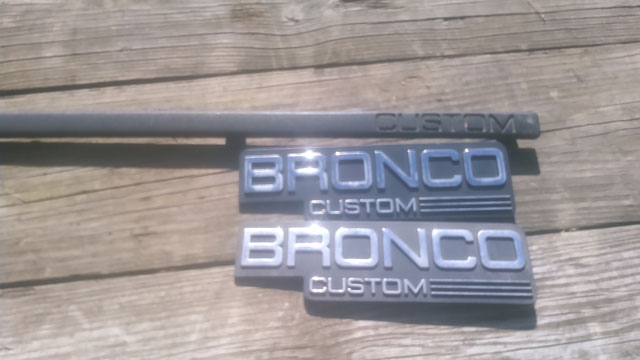 I swapped my speedo into the the tach cluster today and got that installed in the bronco. Not yet sure if i want to run chrome mirrors on this one or not, still debating. Im digging the Custom badges, theyre pretty hard to find, and IMO they suit this mishmash of a bronco. Ill get em installed in the spring when its warmer out. Gotta find some good 3m. 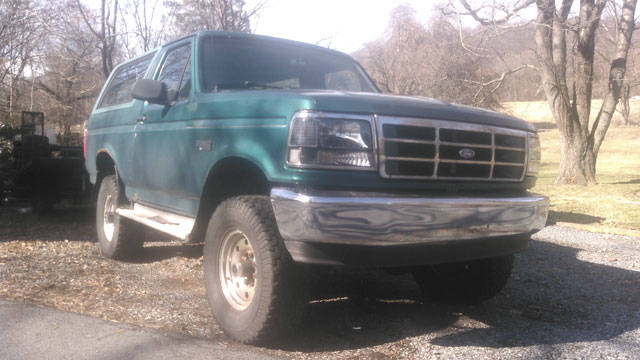 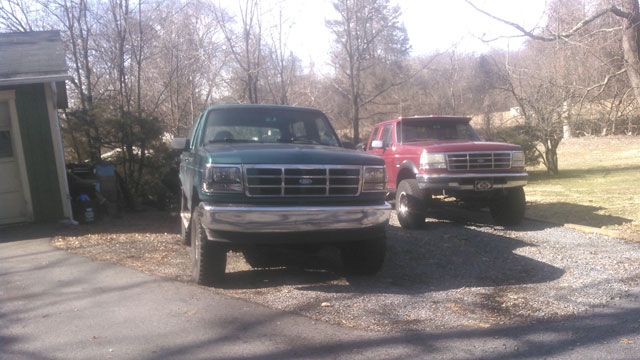 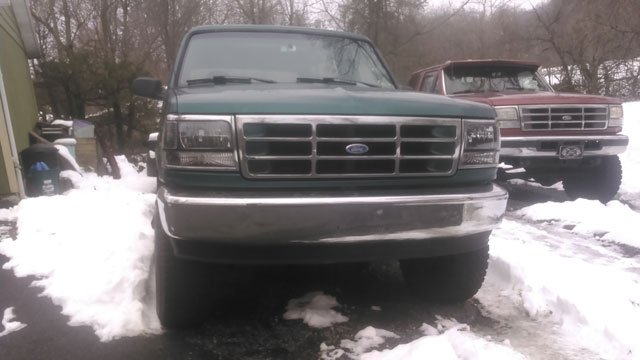 Looks awesome. Really freshens up the front end and gives it a more modern look. I really like the look of the black reflector, probably going to put them on the diesel next year as my clears are yellowing. But, the housings i bought didnt fit for crap. Next time i will get a different brand. I initially put the LED headlights in, but ended up taking them out, as it was easier to aim the headlight housings with my Silverstars in there. So in the next couple days ill get the LEDs back in & get em dialed in. So me & a 20% coupon went to Harbor Freight, and bought their trans jack. Its actually pretty nice. 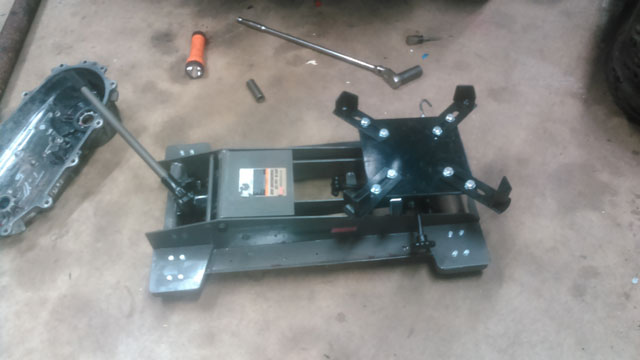 Dropped & split the tcase. 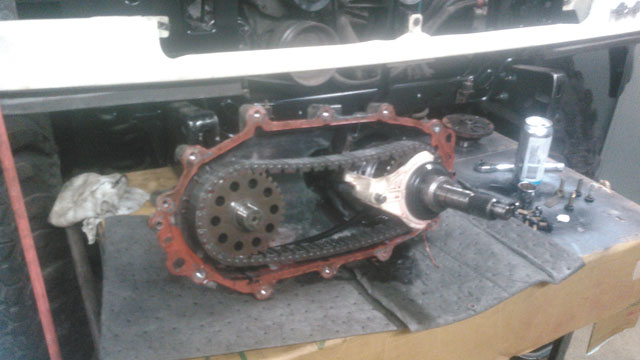 It appears the problem is a badly stretched chain. Playing with it on the cart, it appears the chain is so sloppy it falls behind the shift lever that engages the fork for the 4wd engagement, and sometimes prevents it from going in. Explains why it felt like it was in 2-Low the other day. Got a new chain on order, but it wont be here til friday. I went thru the whole case last year, so it doesnt need anything else. Shouldve just done the chain then. Got the trans dropped too: 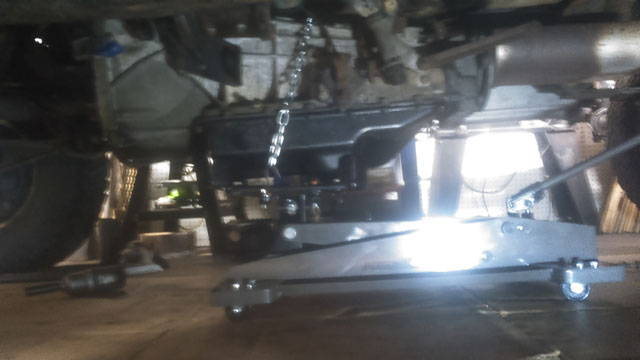 Trans jack made it super easy. Got the rear main seal replaced, and the trans is already back up in the truck. Sucks installing an E4OD by yourself. Just waiting on the tcase chain now, to finish reassembly. |