|
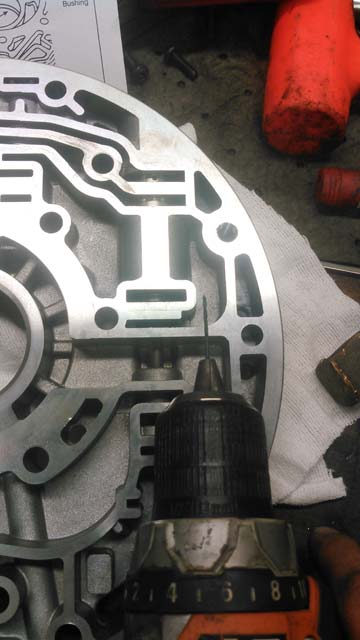
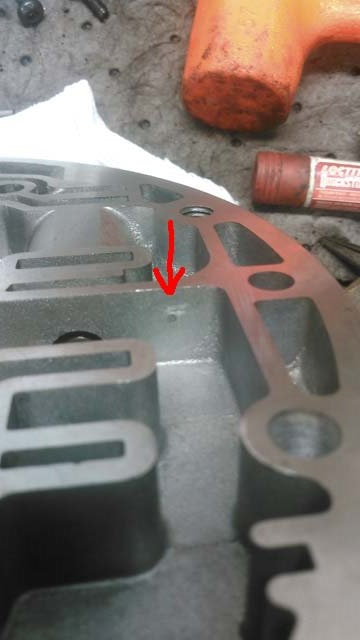
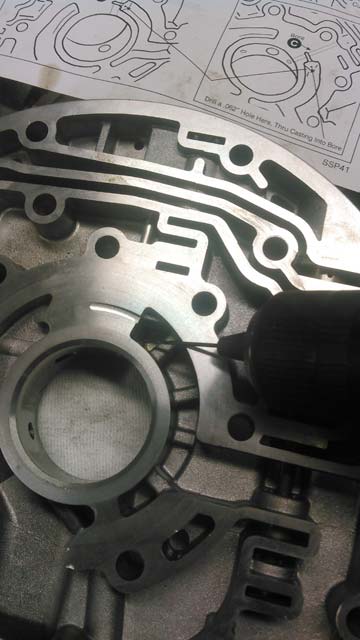
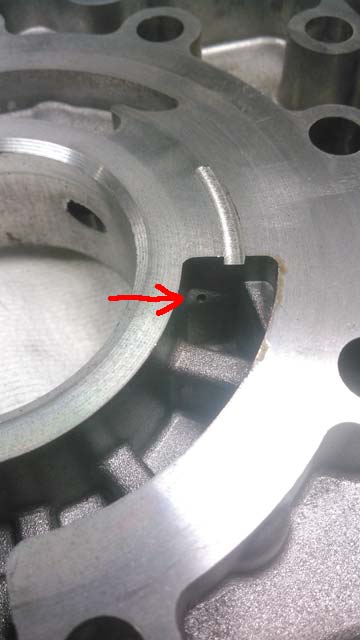
Ok, here we go. So I got it on the road, and the trans was running great. I DD'ed it for about a week and a half, before I heard it. Going uphill under load (think freeway speeds) I started hearing a noise similar to that of an idler pulley that is about to explode. Which is what I thought it was, until I got to the top of the hill, then it went away. As I went down the other side, a vibration in the floorpan. Road levels out and its gone. Noticed it again a day later, again on my ride to work. Long story short I figured it out. Uphill, under load, 3rd or 4th, a tinny idler-about-to-explode sound. Coasting down the other side a vibration. Nothing in 1st or 2nd. Trans shifts great, converter locks up nicely. No codes, no burnt fluid, nothing. Unfortunately, or conveniently (depends on how you look at it), the rear main also sprung a leak. So the trans had to come out. 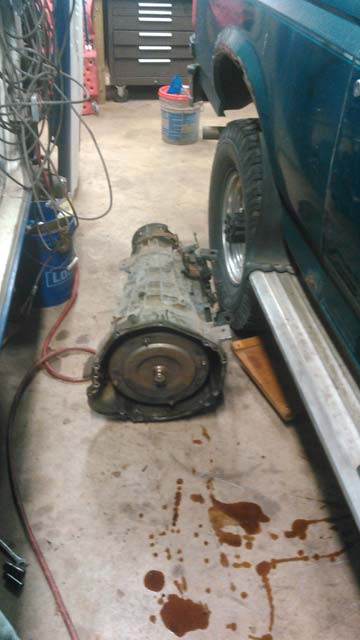 Dropped the pan and found dark oil, and the typical amount of material, but nothing unusual. Keep in mind, I never changed the ATF, so this oil is many many years old 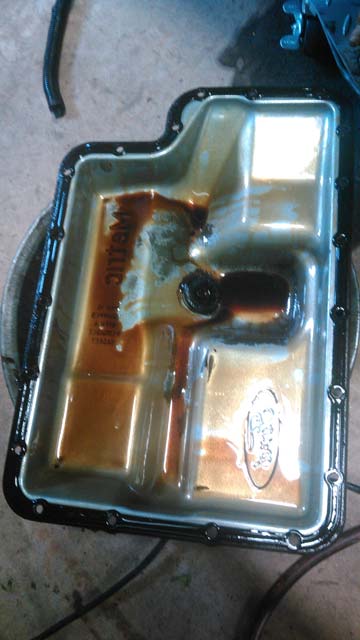 I decided, what the hell. Stood the trans up and drained the rest of the oil out.  With nothing usual seen from underneath, and no visible signs of a bad converter, I decided to pull the front pump out. I looked at it this way: I have a spare 2wd E4OD from the parts truck, so if I need to replace the converter or pump, ive got one. Front pump out: 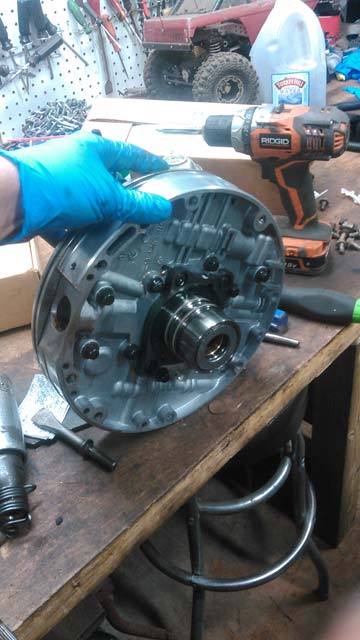 Decided to pull the O/D planetary and forward clutch out to inspect; thankfully everything looked great. ..but then.... ...wait a minute! What the F?! The O/D snap ring has come out????? 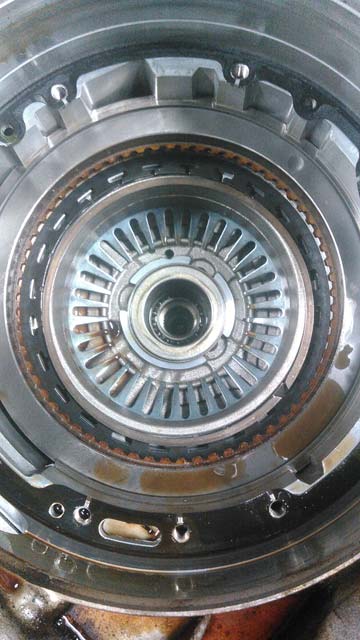 So I did some research, and foud out that this is a known issue with the E4OD. The snap ring comes out of its groove, which takes the tension off the O/D clutch (AKA the O/D Apply Piston). Apparently it makes a funny noise, and if left unchecked, will burn up the OD clutch. Guess it was a good thing the rear main started leaking, cuz I think I just found my trans problem!!!! So cue this bad boy. its an upgraded snap ring made by Sonnax. It looks more like the snap rings that come with Warn hubs; it wraps around twice, and has locking tabs. This bad boy will never fall out. 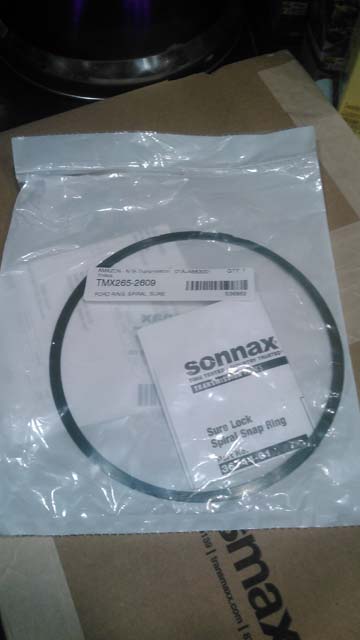 It is a PITA to install though, had to build a makeshift tool to compress the pressure plate so I could install it. 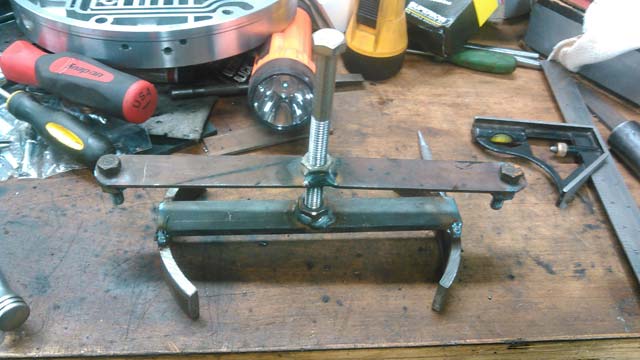 ...and done! No way this thing is ever coming out on its own. 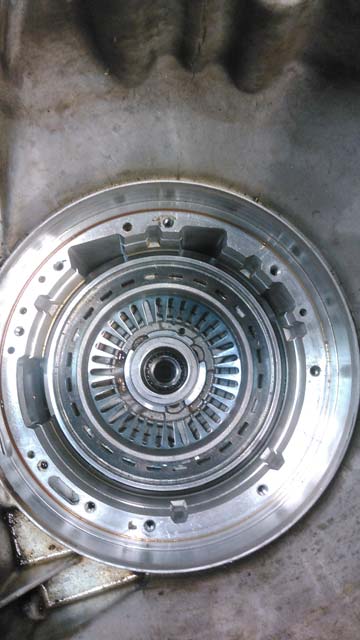 I did take the time to examine all forward clutches (since I was already in there) and they all look brand new. So either this thing was babied its whole life, or it was previously rebuilt. Good deal. So I decided to take a look at the front pump. Stator support removed; pump case split in half. Check the inside! 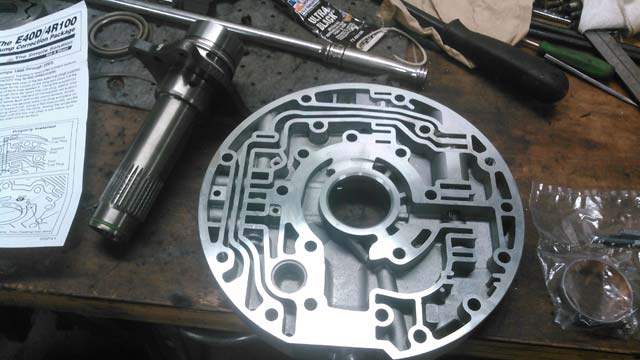 So then I figured, since its apart, I might as well throw Superior's Pump Correction package at it too! It comes with a couple new cup plugs, a new metal anti-drainback valve to replace the OEM plastic one, an upgraded front pump bushing, new front pump seal, and some scary directions. 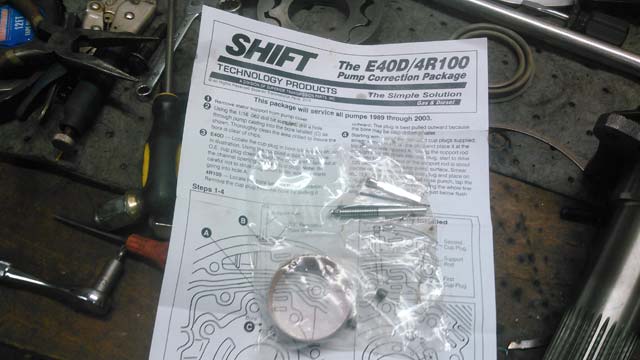 So lets get started! Step one is to knock out two cup plugs, drop in a new one, drop in this AL rod (to apparently block off an oil passage) and then a new cup plug behind it 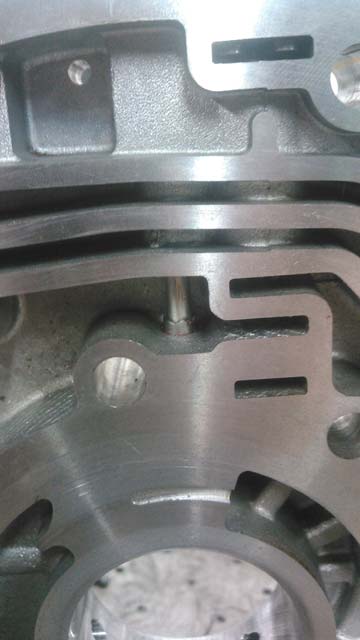 Open this orifice up to 3/32" 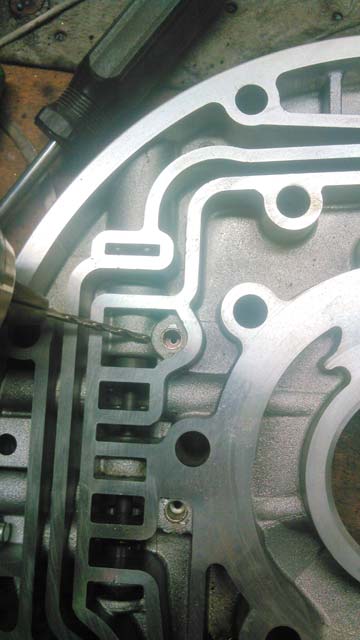 Open this orifice to 3/32" 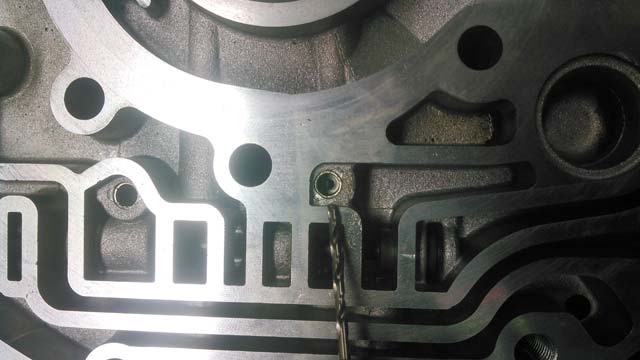 Open this drainback port to 5/16" 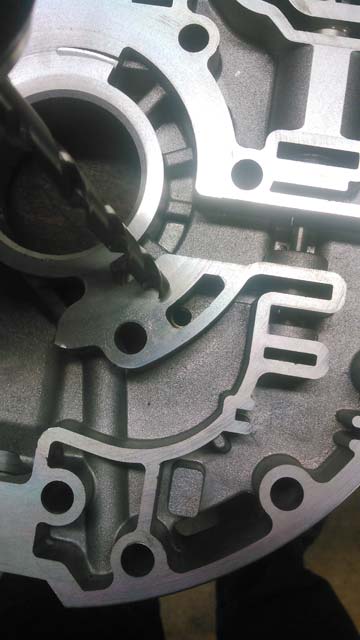 Drill a friggin 1/16" hole right thru the pump!
Drill another 1/16" hole right thru the pump, into the oil passageway!
On the stator support, remove the cup plug from the top hole. 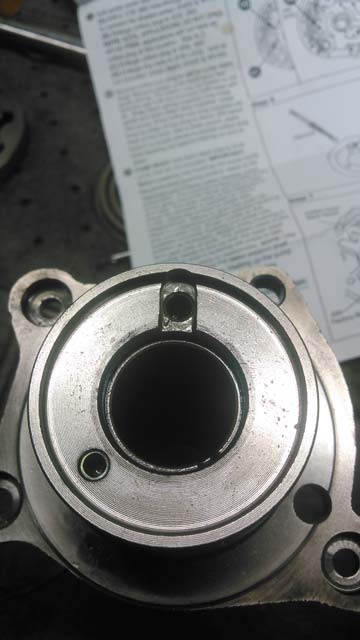 Its a blind hole; its gotta come out the way it goes in. I screwed a drill bit into it, and was able to pull it back out that way 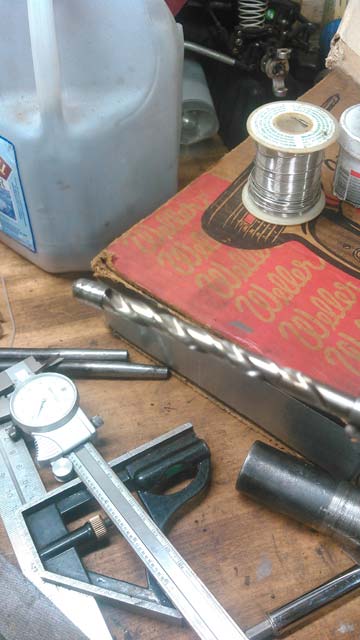 OEM plastic drainback valve on top, new metal one on bottom. this goes underneath the cup plug you just removed. If you overheat the trans this valve can melt, and when happens, goodbye O/D planetary/sprag. 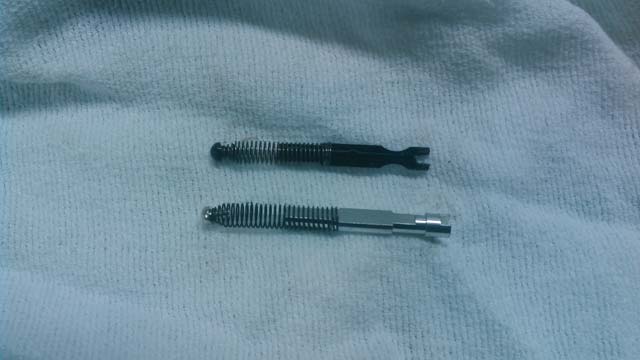 Upgraded pump bushing, with knurls to keep it from spinning in the bore, and a notch in it, to help fluid flow thru the drainback port. Don't forget to also drill this port out to 5/16", before you press the new bushing in. 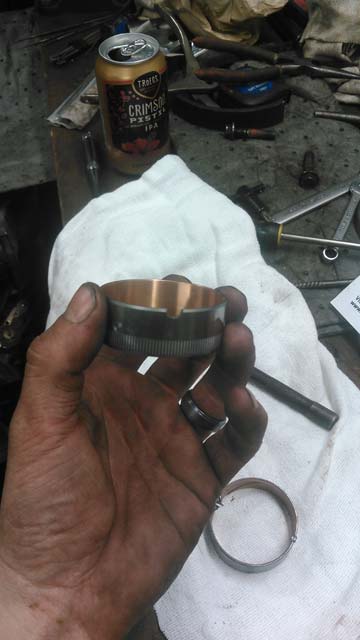 ...and installed 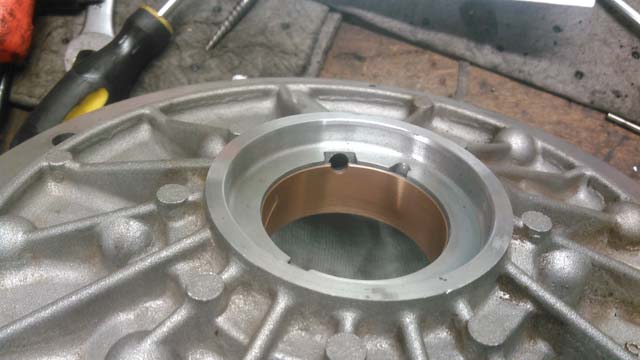 I used special hose clamps to align the two pump halves to bolt it back together. Its important it goes back together perfectly as it came apart or you will wreck the pump and then the trans. I scribed the two halves before I split it, to make sure it was perfect. 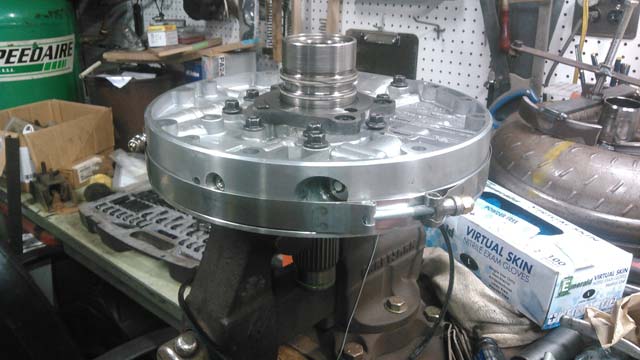 Pump reinstalled in its home. 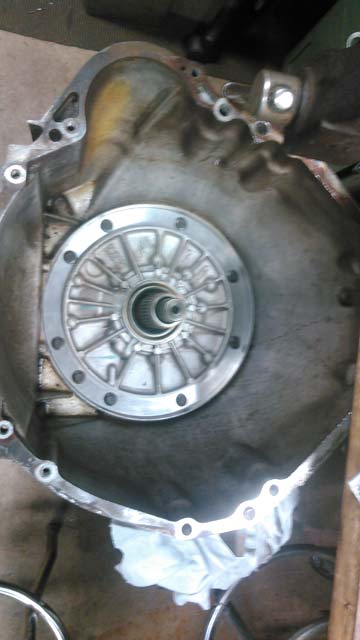 My solenoid pack was leaking ATF thru the connector, so I swapped it out for the OEM pack from the parts truck's E4OD 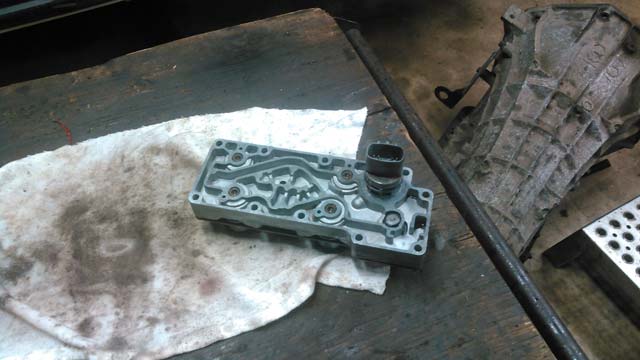 And whats this? Why, it appears to be a valve body from Punisher Valve Bodies!  His kits are super easy to install, only took like 5 minutes with the trans already out. 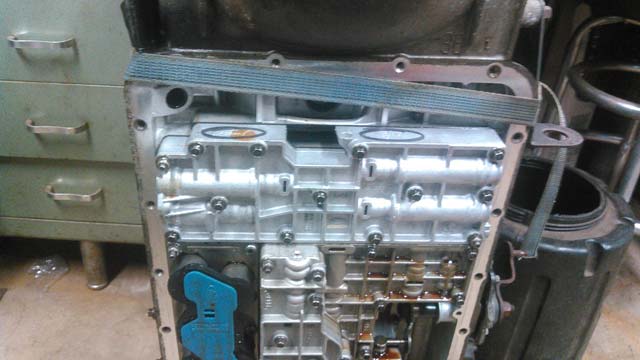 From there I added a new trans pan from Dorman (complete with drain plug), new filter, and reinstalled the trans! That said, I finally got it back on the road Thursday afternoon, so ive only driven it about 75 miles, but DAMN. This thing shifts nice now. Ill have to give it a few more miles for the PCM to learn the trans, but it really does shift like a dream now. There is a great article covering the full E4OD rebuild over on Four Door Broncos which i referenced while doing this, you can check it out here. So last week, I was rummaging around at the scrap steel yard, when I found the perfect piece of steel: 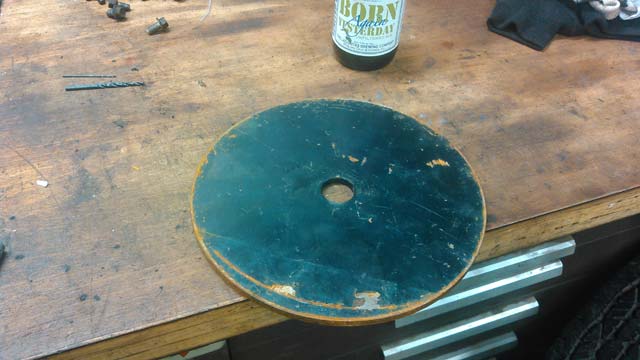 As soon as I saw it, I knew what to use it for: the tire carrier! So, drill 4 holes, 21/32", and then install 3 studs, used for a Sterling 10.25 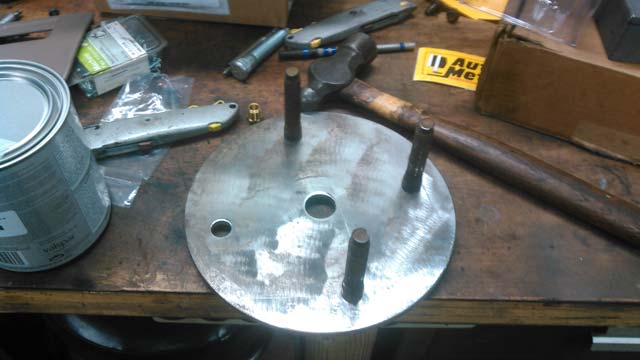 Cut the two bottom studs off the stock tire carrier, knock the top one out, and drill that hole out to 21/32" as well. Then, press the 4td stud thru both the stock mount, and the new plate. Then weld top and bottom to the tire carrier and viola! 8-lug tire carrier! 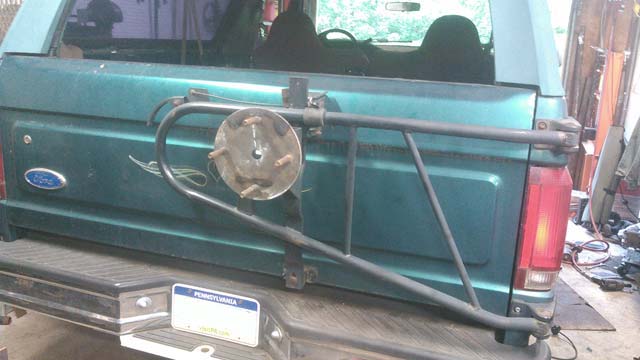 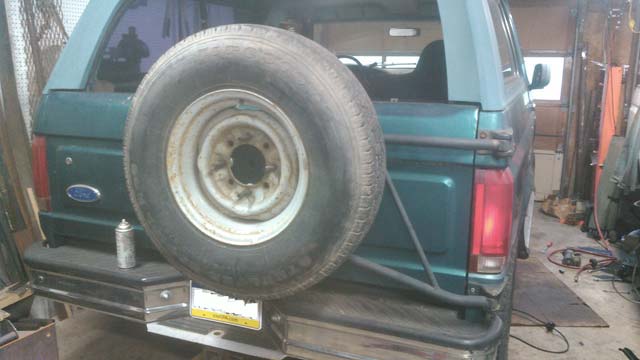 In my quest for improved handling, I bought these: 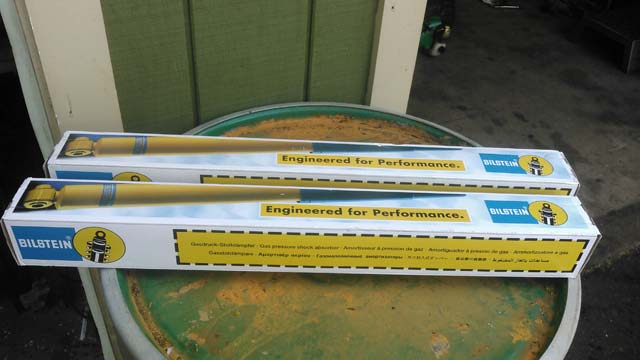 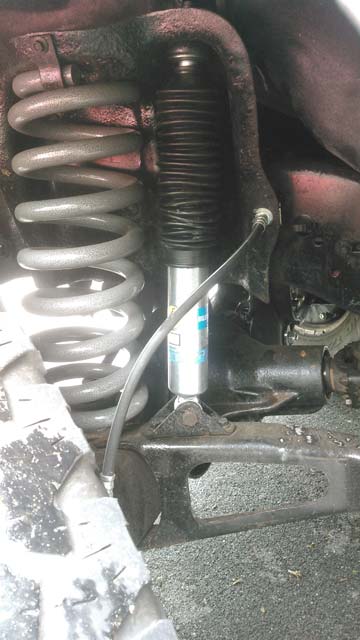 Holy crap, what a difference. This is exactly what the bronco needed! They are p/n # 24-065283. They are a tad long; I think ive only got 3" of up-travel with them, but that's plenty for what ill be using this truck for. Theyd be perfect for a bronco with a 4" lift. The valving is 398/94, which calmed the front-end right down. Way better ride now. As for the B-Code rear leafs; I decided to use the bronco to bring home a whole bunch of flooring for the house the other day, and as expected it handled it like a champ. The B-codes, even when loaded down with cargo, ride awesome in a bronco. 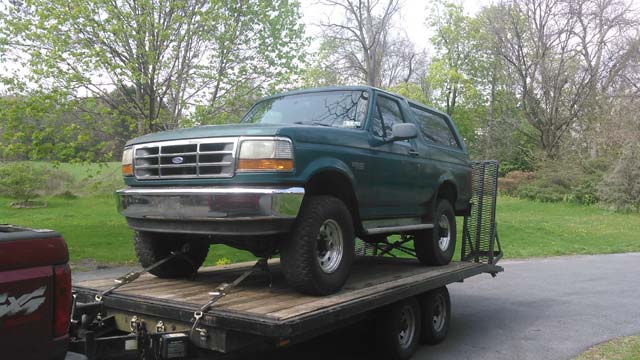 Yesterday around 3pm I got home with the bronco! Tuesday morning I dropped it off an an exhaust shop, where they built me a full stainless exhaust 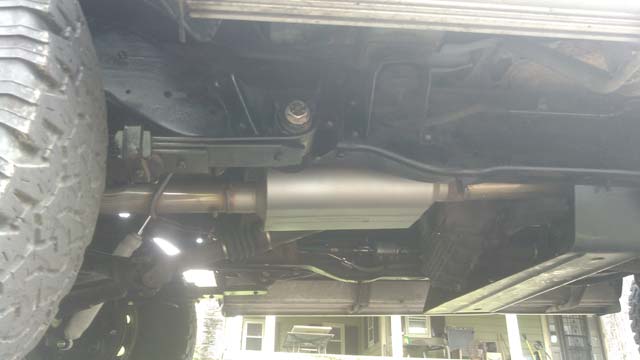 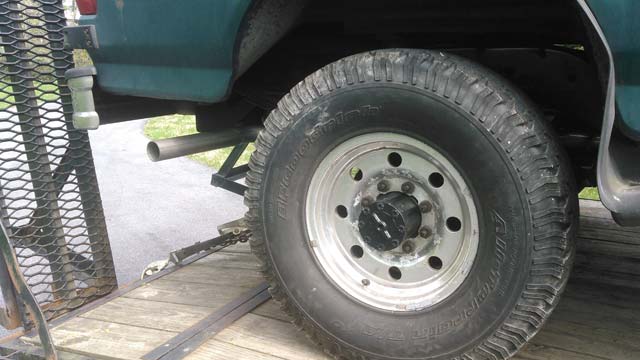 Once that was done, I dropped it off at a pretty good alignment shop, which just so happened to be about 1 mile south on the same road. They had it until Thursday afternoon, doing an alignment and inspection. As soon as they called me, I hitched up the trailer and ran down there to pick her up! The bronco aced its inspection, no problems whatsoever! By the time I got home and got it off the trailer it was already pretty late for me (I work nightshift), so my maiden voyage was my trip to work last night! It did great! A few things I noticed.
This morning after work I realigned the door, and then put the sway bar back on the front, which obviously made a big difference. I also replaced the broken tailgate support cables. There is still more work to be done, but its all minor now. I want a tach cluster, and a pre-airbag horn pad with the cruise controls. I need to replace the blown rear speakers, modify the tire carrier, and, now that I know the trans shifts fine, I can install my Punisher valve body sitting in the garage. After that its basically 'done'. For now! Ok, made some progress on the dash & column. Airbag Code 32 + no horn both point towards clock spring. So I pulled the airbag & steering wheel off 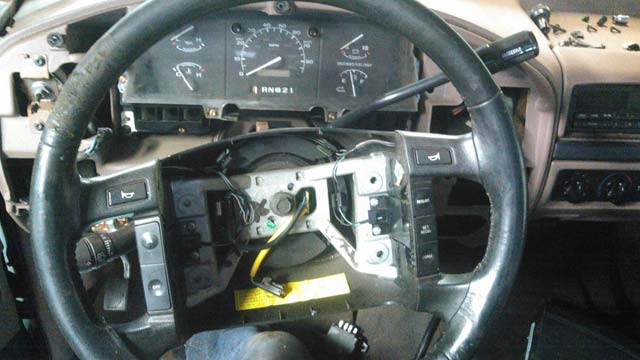 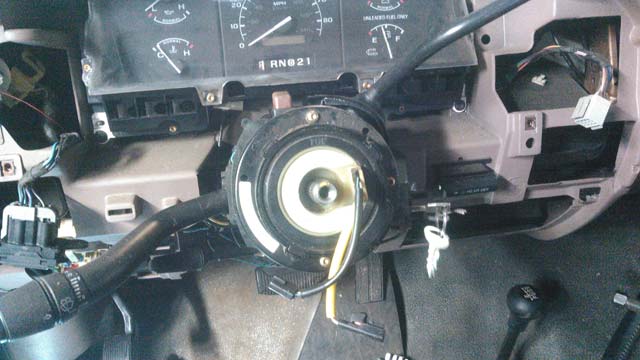 Close-up of clock spring p/n for a '96 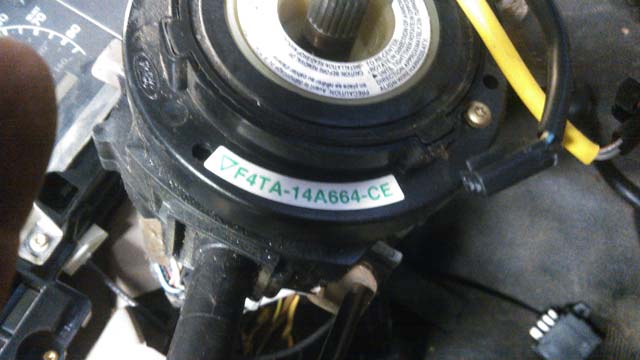 Ign lock cyl is toast, key comes out in any position 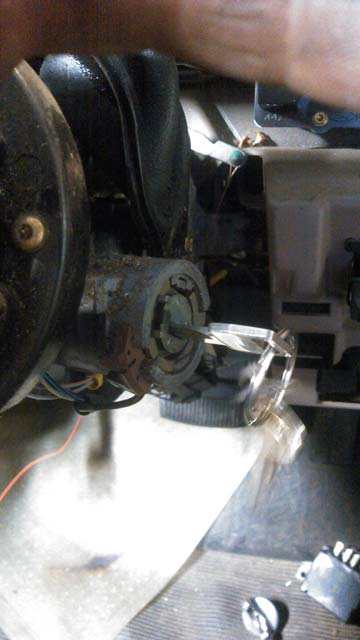 Swapped in the lock cyl from the parts truck (97 F250) 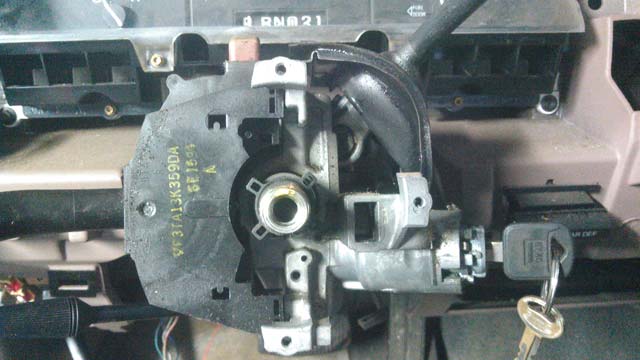 non-airbag wheel from same F250 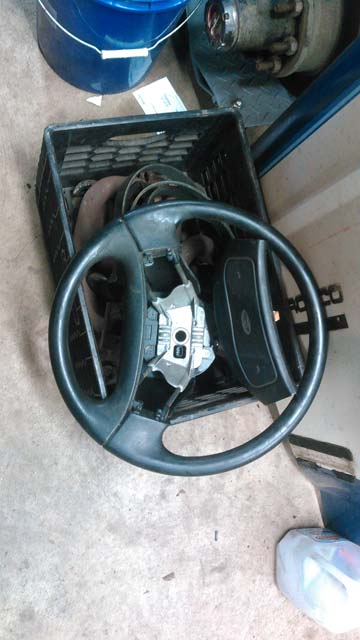 Harness for the wheel 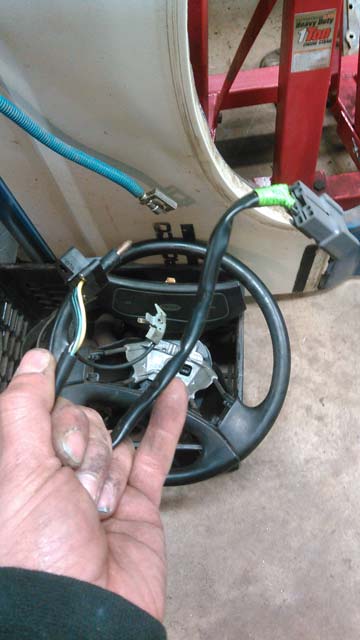 Airbag trucks use a black plug, non-airbag uses gray. They are pinned the same and even shaped the same, the difference is the gray one has a thicker pin so they wont fit together, altho they still will with a little effort. Either swap the plugs, or sand the side down a little. 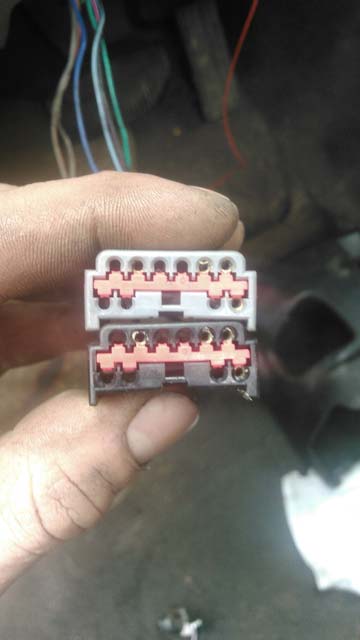 Harness installed on column. Aside from the plug (mentioned above) it swaps right onto the column 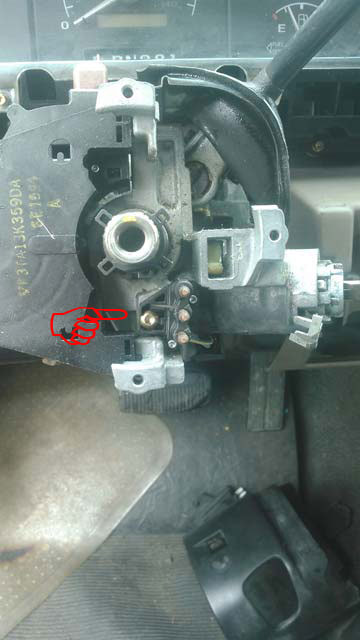 Remove airbag computer 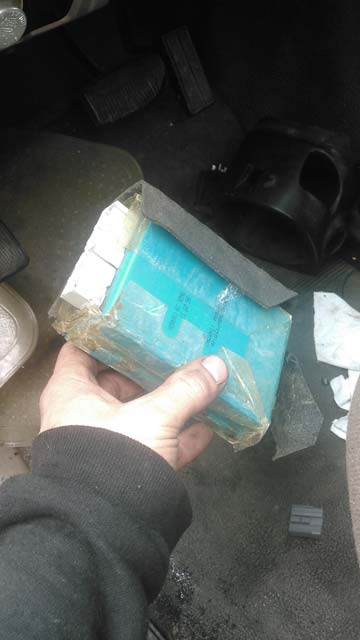 and install your new steering wheel! I still need to locate a non-airbag hornpad with the cruise buttons. Don't forget to remove the bulb for the airbag while youre in there. 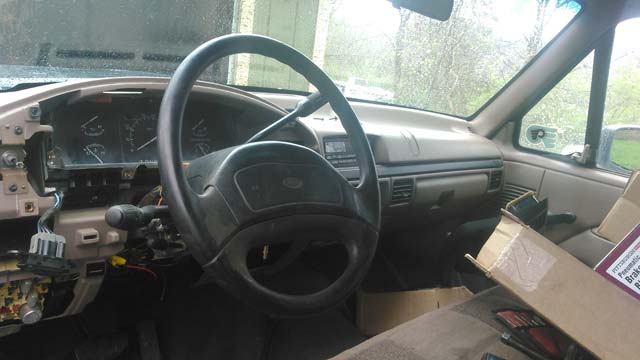 While I was under there I found some wires to fix: 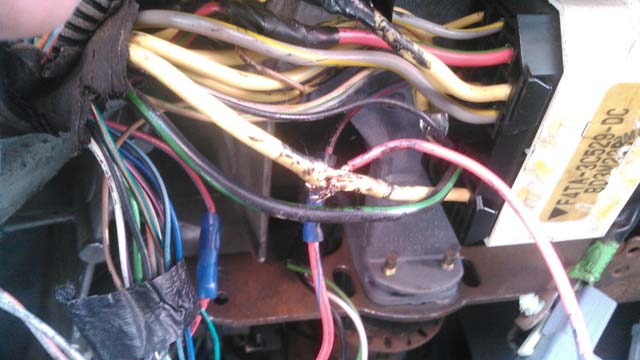 I also took the time to remove the factory radio for a new one. Youd think if it still has the original radio in it the wires would be fine, but youd be wrong! 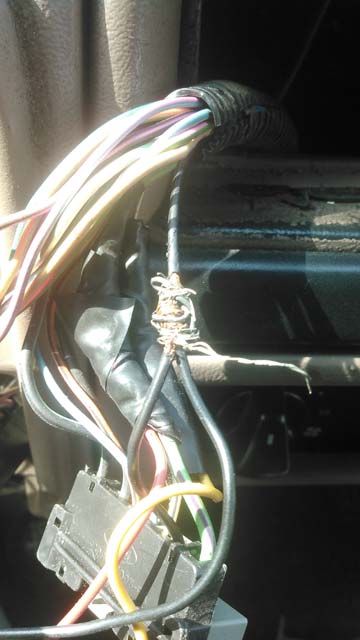 Everything is all fixed up now, and the new head unit is in. I have speakers to put in, just didn't get that far. Windshield done, hood back on, new fuel lines installed. The bronco lives!! Once the fuel lines were purged it fired right up. I was only off-time by 1º. So I had it driving around the yard a little bit, it seems to be ok. I still need to recalibrate the speedo; ill do that Monday. Ive got an apt for a new exhaust system set up for Tuesday morning, then it gets an alignment & inspection Thursday. So if all goes well, ill be driving it in another week!!!  Went to the junkyard Monday and scored!! One fan shroud, under hood light harness, cruise recall harness, power steering cooler off of an E-series, and a pretty sweet rear cargo mat, all for a whopping $12.50! 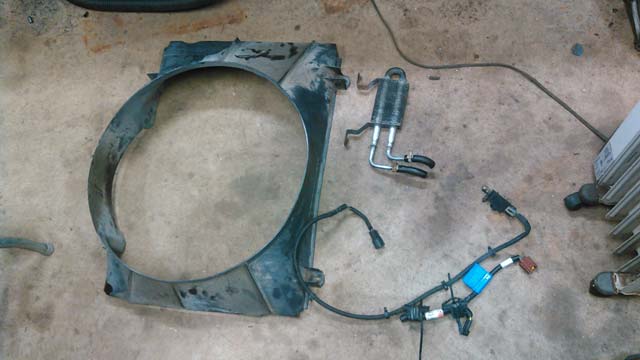 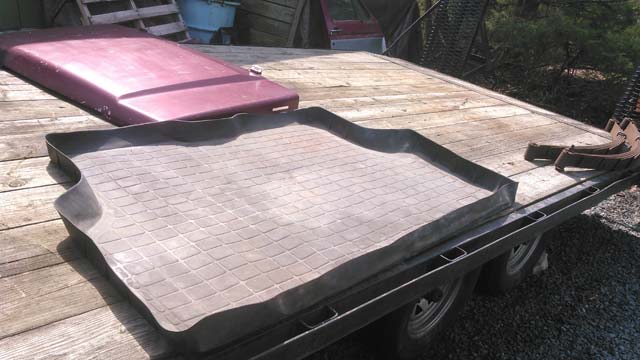 Tuesday I ripped out the stock cooling loop, and swapped in the cooler 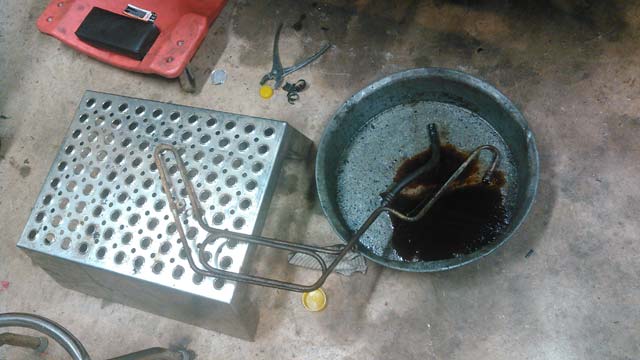 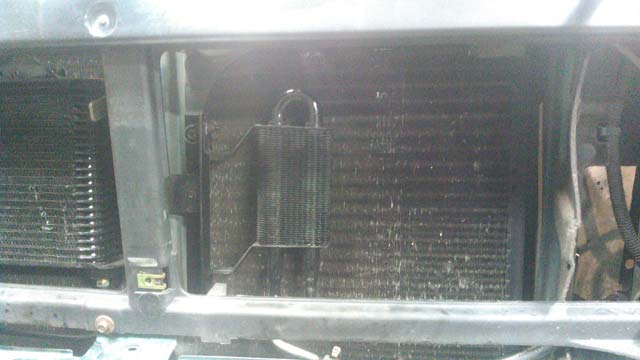 And then finished up the engine bay! 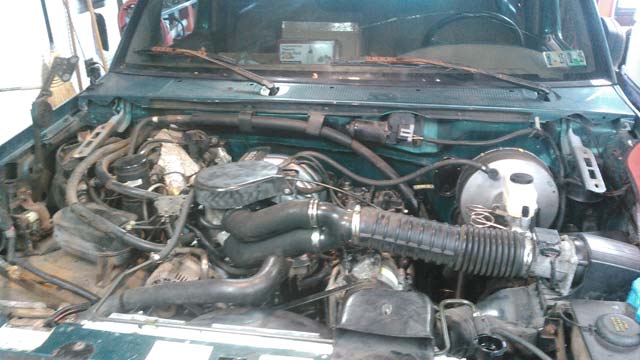 So this morning I went to change the fuel filter, and found the line between the filter and the fuel rail is all bitched up :banghead previous owner must have broke the fitting at the fuel filter, and then half-assed a solution to make it work. It was rigged pretty bad. So after not finding anyone who could even get one, I ended up ordering the line from the dealer. Wont have it till Monday, which SUCKS, cuz I could have had it running this morning :duh With that plan busted, I decided to pull the fuel pump relay, throw a battery in it and see what would happen! So the rear window wasn't moving too well, but some lithium grease fixed that; she works great now. First time ive put the tailgate down; it would seem both tailgate cables are broke so ill have to get a pair. As youd expect, the defroster tabs are busted off the window. Turned the key on and found out that all the indicator lights work except the left turn signal. So I swapped the bulb from the ABS light into there and presto! Fixed! Only other problems i saw were the horn doesn't work, and the airbag light is blinking 32, so im guessing the clock spring is bad. Not sure if its worth fixing?? I figure I either get a new clock spring, or ditch it and use the non-airbag steering wheel off the parts truck (97 F250). I know the airbag light blinks out the error codes, but I don't know if a bad airbag system pops a CEL or any other DTCs. Is it possible to just unplug every module for the airbag system and never look back? Or will the PCM know its not there and throw a code? I have to research that. I have to make another trip to the junkyard as when I removed the bezel from the dash, I noticed that several of the mounting tabs are broken. I figure while its off I might as well replace it. The list of things that change continues The TPS sensor, while being physically identical, had a different plug for the SD trucks vs the Mass Air ones, so that must be changed. SD on left, Mass Air on right 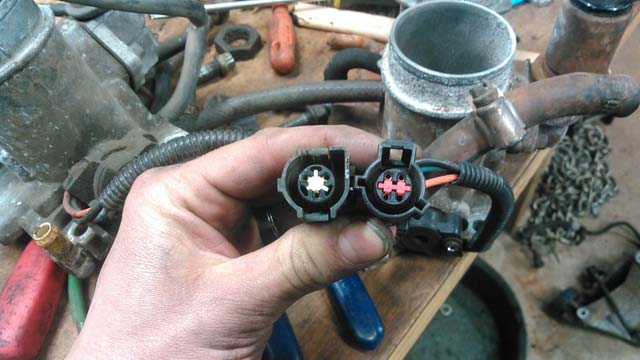 If you look closely, youll notice the 97 SD throttle body has two extra vacuum ports, where the CANP tied in. However the 96 Mass Air doesn't use a CANP, it uses a VMV, so those ports don't exist. Im still using the 351's TB, mainly because its in way better shape, so ive simply capped off those ports 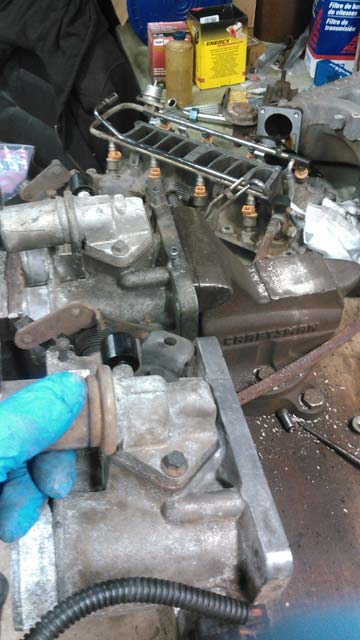 The 96 trucks use a DPFE instead of an EVR for the EGR. On the 302s, the sensor is mounted on a bracket on the left side of the motor, right on the plenum. 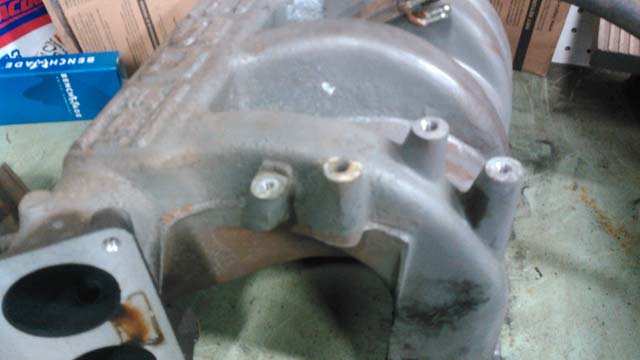 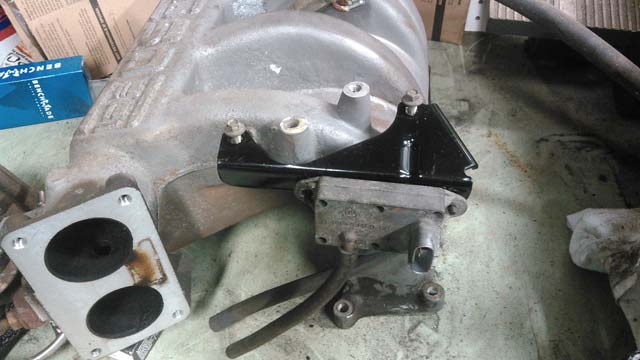 The 351 has the DPFE hanging off a bracket directly next to the EGR, on the other side of the TB. So, only 2 threaded bosses: 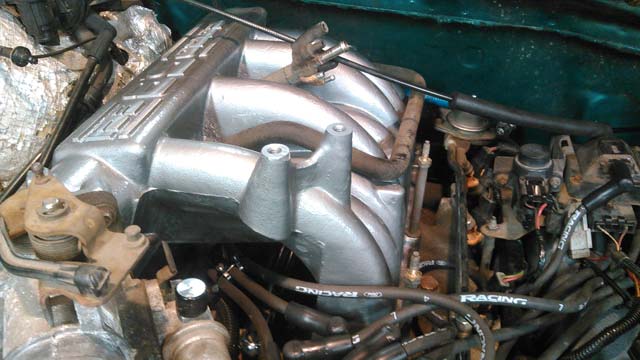 While at first glance the 302 & 351 EGRs look the same, youll notice the threads on the bottom are quite bigger on the 351's EGR. 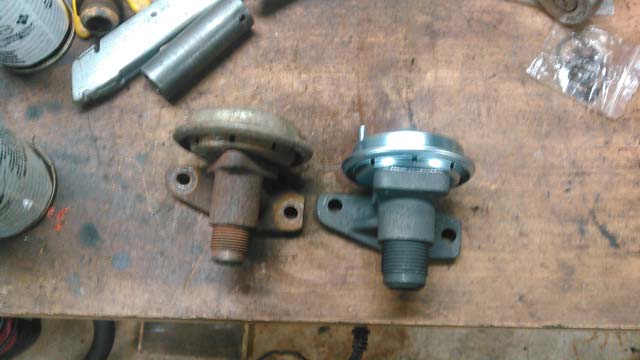 Homefab DPFE bracket, which puts the DPFE roughly where it would be from the factory. Ford had it maybe ½" lower than this, but close enough for me. On the 302 with the DPFE on the other side, the pigtail for it is loomed up with the IAC. So I simply split those two up and re-loomed them separately. This is the only change ive made to the harness, to go from a 302 to a 351. 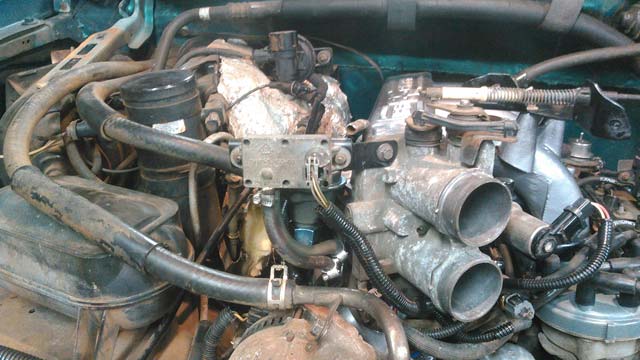 Saginaw swap! 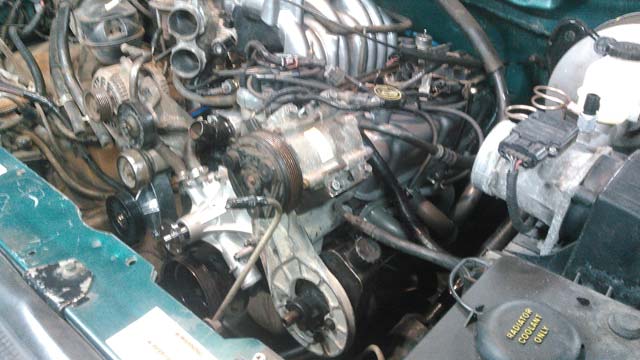 Junkyard trans cooler out of an F250, biggest ive ever seen from the factory  Started laying out all the vacuum lines. Since this motor doesn't use a smog pump or TAD/TAB, this went fairly smoothly. I did find lots of dry rotted plastic lines, so the whole system has been replaced with new rubber hose 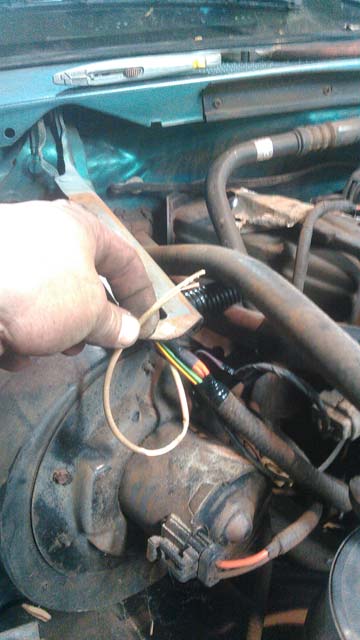 She's almost a runner! 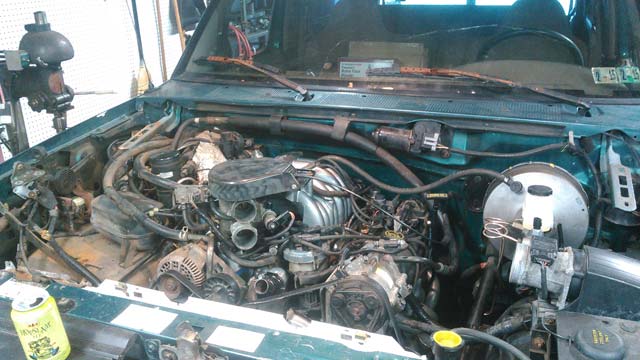 I got the rear shaft back from the driveline shop. Shortened 1", and fully rebuilt with Spicer parts. 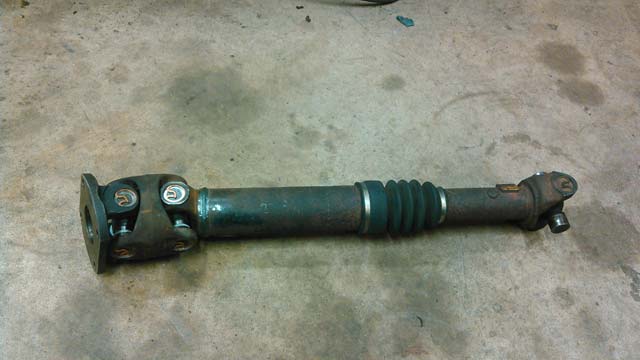 Things left to do:
Ok, we're back at it! Took some time off to build an 8.8 for my buddies XJ. So we got that all wrapped up, and brought the bronco back into the garage to resume work. Just in time too, as it started snowing like hell as soon as we started 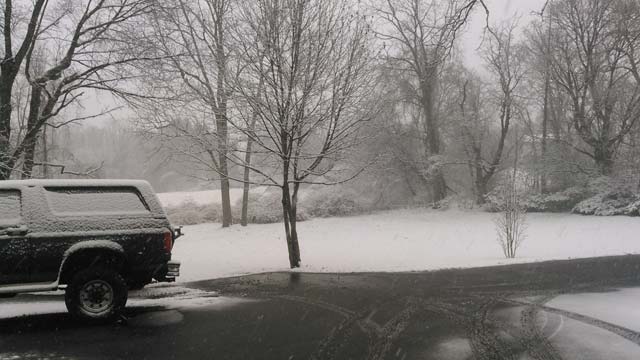 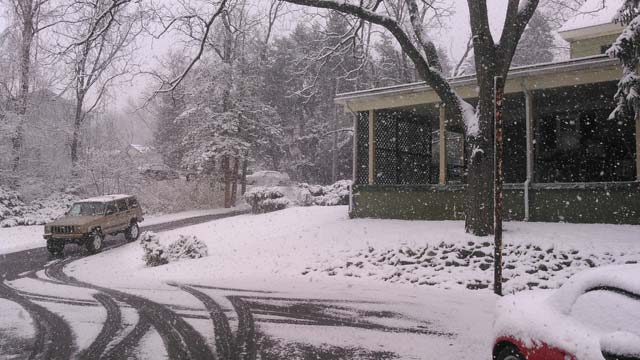 Coming down so fast we couldn't keep the bronco clean  But atleast we got her inside. We ended up getting about 4" that day. Later that week we got another 18" of snow, most of which is now gone. So I have been busy dealing with snow. Finally got back to working on the bronco this past Monday, when Greg came by and helped me drop the motor in. Im so used to looking at the 7.3 & 7.5 on the other trucks, I forgot just how small the 351 is! 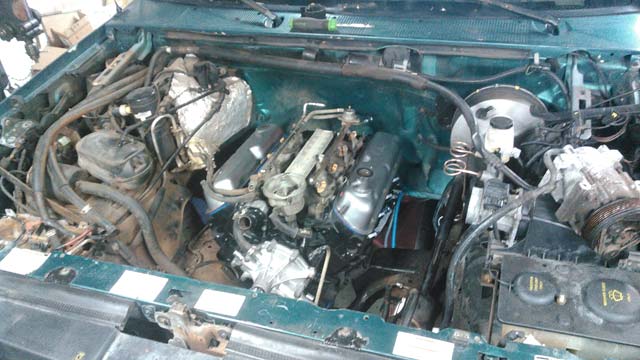 Installed idler pulley (96 351 doesn't use a smog pump) and alt bracket + alt, then laid the harness over the engine 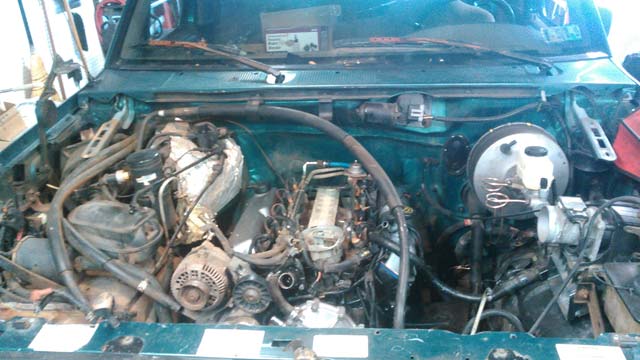 Final installation of headers:  So now here is where the fun starts. I am now in the process of wiring up the motor. Sounds simple, and it probably is, but im taking my time. The truck was 302 Mass Air, and it will be 351 Mass Air. But the 351 was SD. So I am slowly removing everything SD specific, and replacing it with the Mass Air parts. It is mostly a direct swap, but there are some differences, which I will highlight as I go along. So, first up. The Mass-Air trucks have the AIT installed in the back of the airbox 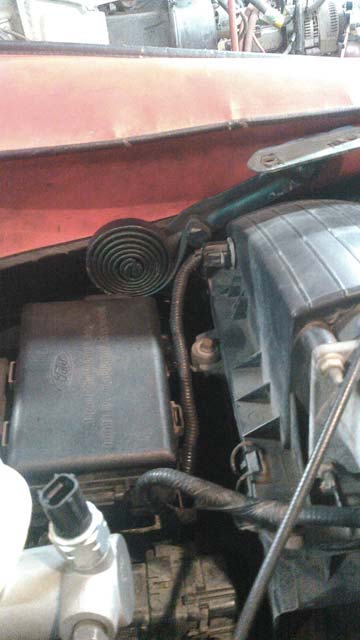 The SD motors have the AIT installed in the lower intake. In this pic it is now removed, with a pipe plug in its place 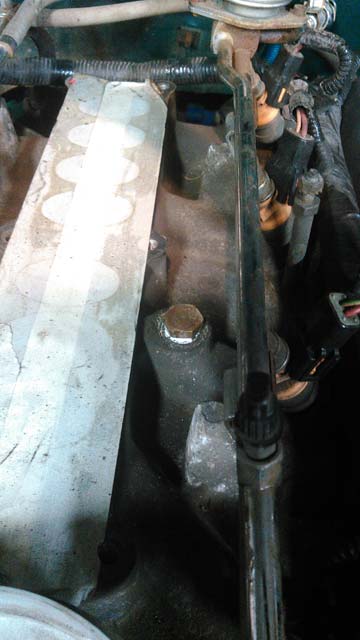 the 351 uses two different ECT's. The books call it "with" or "without" air pump. So this pretty much means the Mass Air motors got a different ECT than the SD ones. 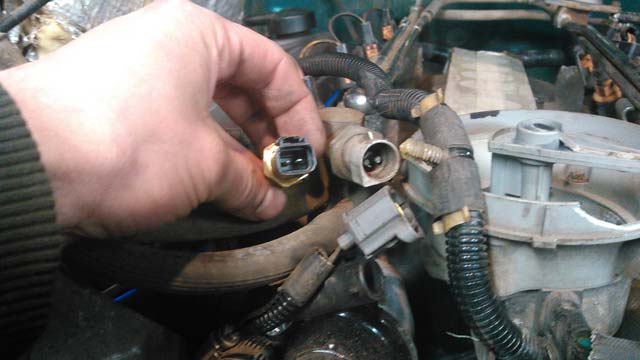 Old one installed in coolant standoff, new one in my hand. Also of note, that pipe the ECT is installed in (which feeds coolant to throttle body & heater core) is shaped very differently than its 302 counterpart. Altho all ill need to do is shorten the rubber hoses coming off the heater core and itll work just fine. Heres a weird one I haven't sorted yet. The truck has a wheel with cruise control. So I would assume it has cruise. However, if you look closely in this pic that I took when I first bought it, youll notice the lack of a brake pressure switch in the master cylinder: 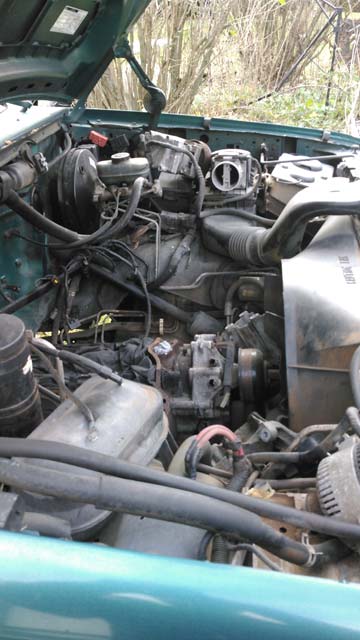 So, not thinking about it, I bought the 'cruise' master for the F350, which uses the brake switch. Then went to plug it in and couldn't find the plug! Did some digging around under the hood, and found it! Its located between the power distribution box, and the relays for the tow package, with a dummy plug plugged into it. 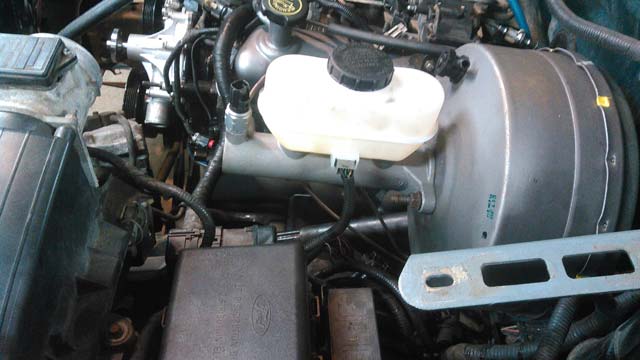 I have to plug that in, and then find the servo motor & cable in a junkyard to make the cruise work. All that will come later. I have also noticed that the DPFE mounts on the driver's side of the throttle body on the 302, but on the passenger's side of it on the 351. Of course I don't have the 351 bracket but I do have the 302 bracket, and I should be able to make that work without too much work. More to come on that one later. This is pretty much where im at as of right now. Tomorrow im gonna do some more tinkering with it, so ill continue to post up pics of all the weird little things as I come across them. Its taking me a little bit of time, because I don't know what the engine bay should look like for a Mass-Air 351. Don't know the vacuum routing, what sensors actually belong there, etc, so its slow going as I compare to my EVTM to see which parts I need to use. Mostly just small updates from here on out I suppose, while I finish up the motor swap. Here's the crank sensor, the bracket for the sensor (which replaces the timing pointer), and the super elusive 351 Mass Air harmonic balancer: 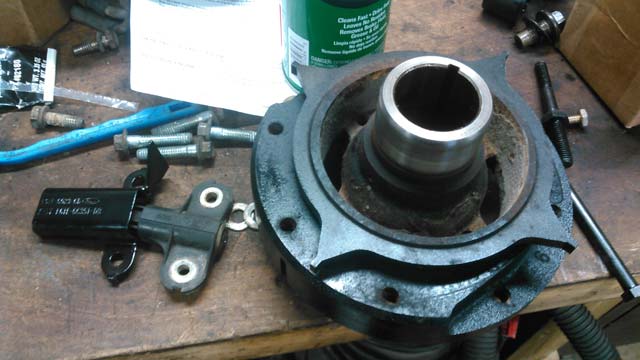 Installed on the motor. The crank sensor/timing pointer bolts to two threaded holes on the timing cover, instead of two of the timing cover bolts like it does on the SD motors. The replacement timing cover came from Dorman, and doesn't fit for shit. What a PITA to install. 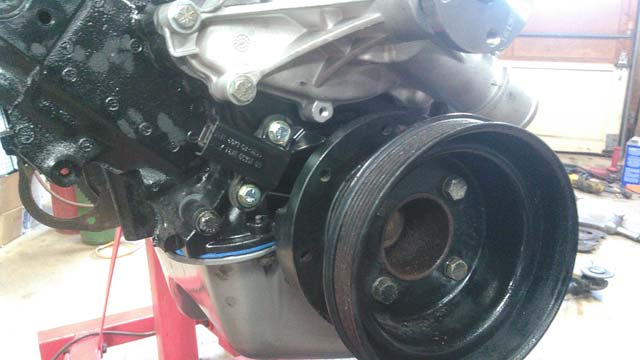 ...and now, the money shot! 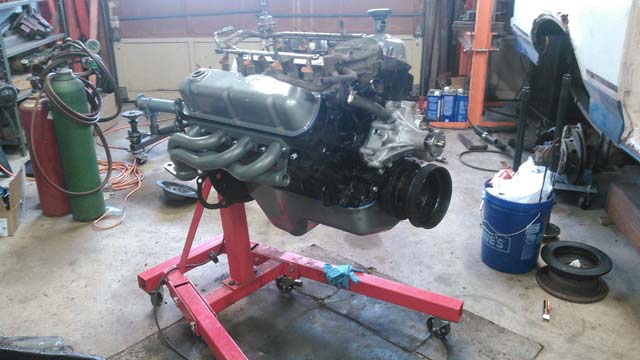 The headers are JBA titanium-ceramic coated shortys. Big fan cuz they are not at all blingy like the chrome ones. 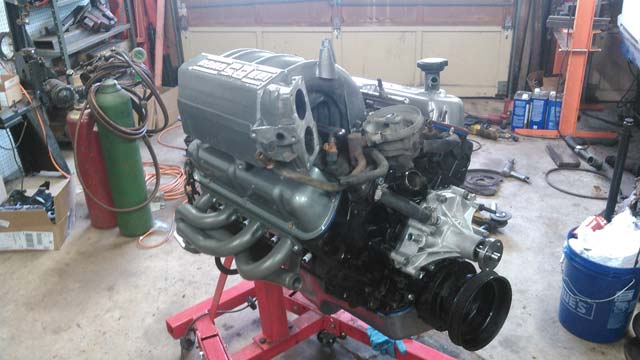 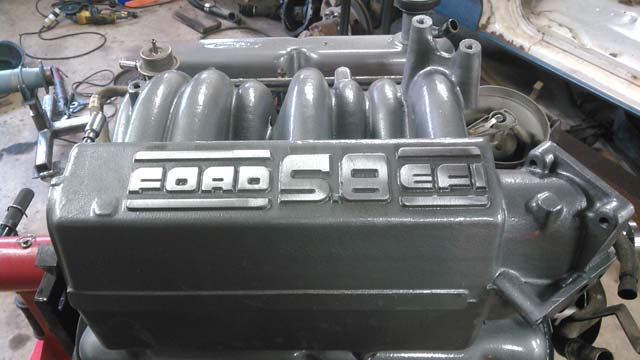 Unfortunately this will be the last update for the week. If you snoop around in my recent pics, youll probably spot parts to an 8.8- that's because me & buddy are building an Explorer 8.8 for his XJ (4.10, Spartan locker, Solid diff cover, disc brakes, etc). Plan is to try to finish reassembly of the rear tomorrow, and then try to get it swapped in Wednesday/Thursday. After that he's gonna help me drop the 351 in, but we don't expect to do that until next week. After that his jeep comes back in the garage so we can do a high pinion 30 swap up front along with some other mods. So yeah, busy. On the stand: 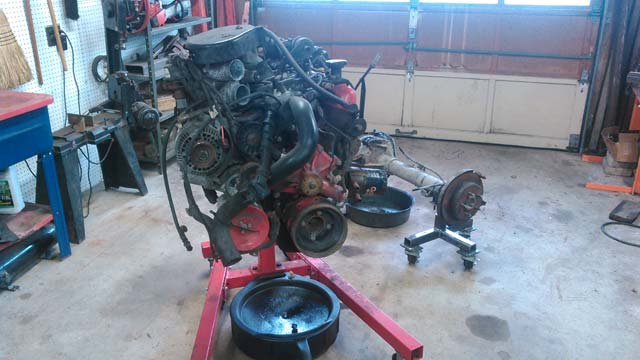 Stripping her down 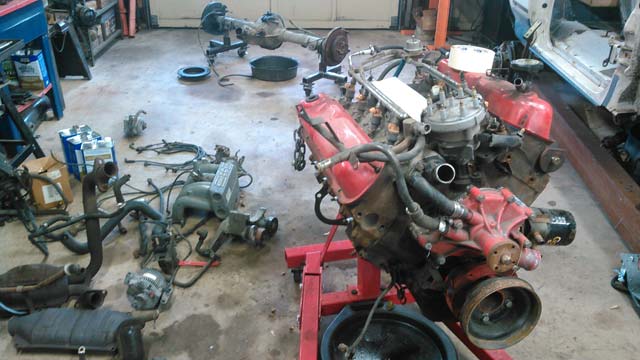 OEM oil cooler. Don't have the hoses for it, not sure that im going to bother reusing this 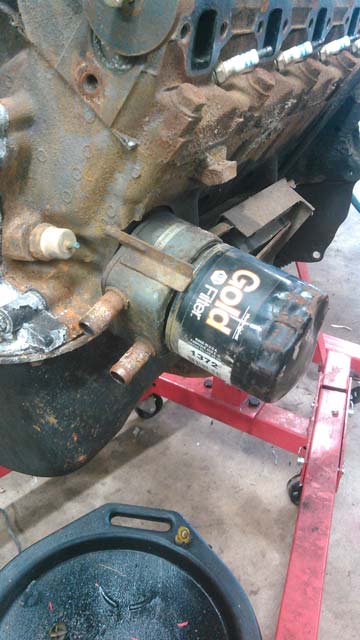 Oh noes!  So the motor took a hit but aside from the cover it looks ok. Its now sitting with no oil pan or valve covers, ready to start being cleaned. New timing cover should be here Wednesday. |