|
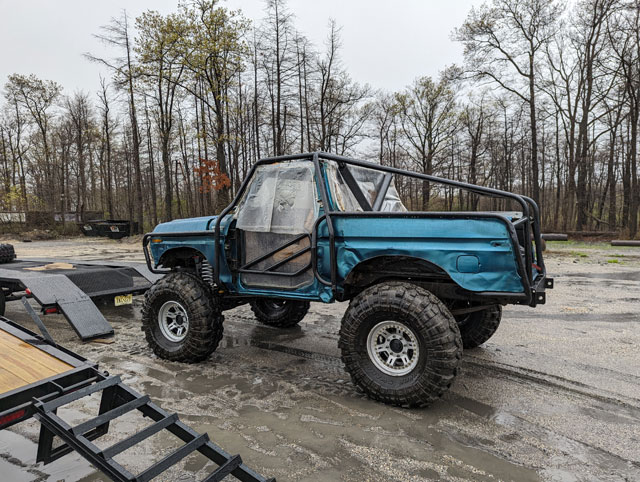
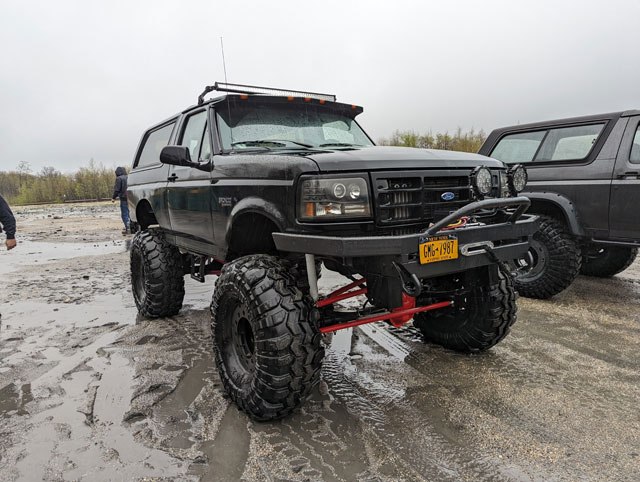
Lots and lots of parts  Talk about a big order! This is basically everything to rebuild both a Dana 60, and a Sterling 10.25. We also have this: 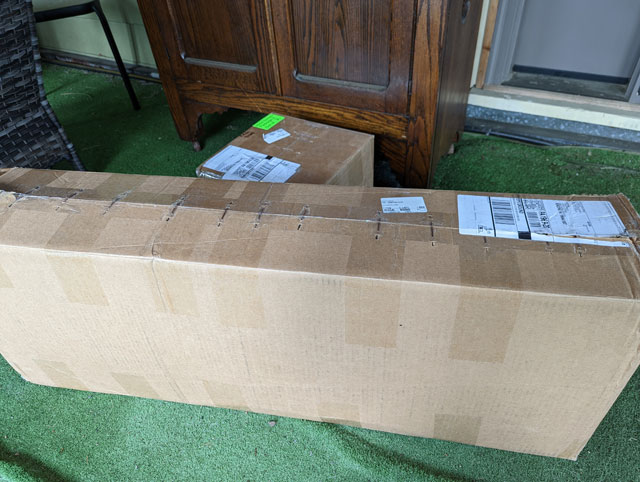 ...which is all sorts of suspension parts from Sky's Offroad Design. Just about everything we need to slap a D60 & 10.25 into the '90 Bronco! I have also acquired a set of leafs for the front, out of a Superduty. I know most people like to use V codes, but in our case we're not building a one-ton truck with a diesel, its a bronco with a 351. So i got a set of T code leafs instead: 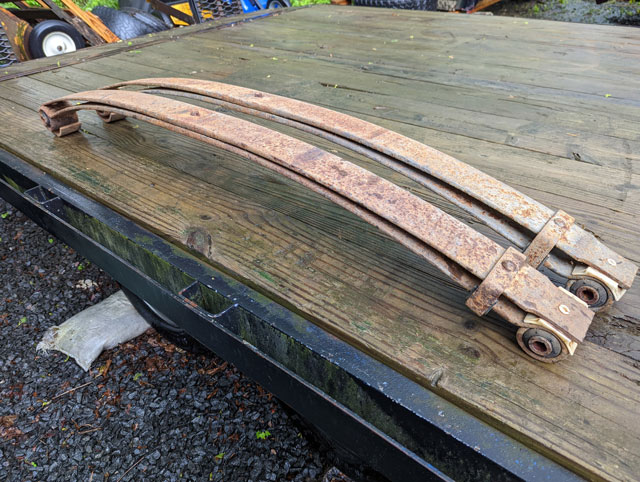 From my research the Superdutys came with S,T,U,V,W,X, & Z code leafs. I have the X code (which is the heaviest) in the front of the 96 F250 and it rides ok, but it also has a heavy 7.3 under the hood. Ideally though i think i would prefer the V code. Knowing that, i think the V code would probably be a bit heavy for a small block, so we're going to try these, and see how it goes. We'll keep you posted! I bet you thought we forgot about this thing! 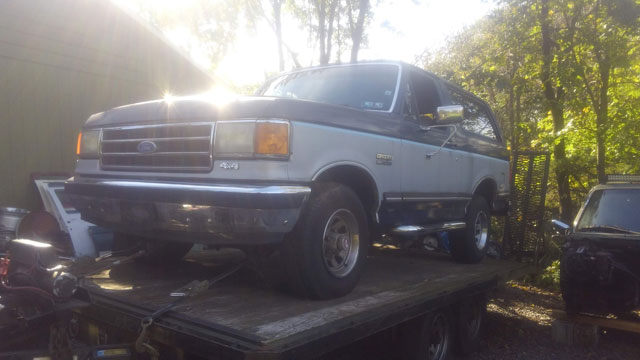 Well.....we havent! The priority was getting the '88 done and ready for the ECBR this summer. With that project basically done (is any project ever done??) it is time to turn our attention to the '90. Dawn got the interior all cleaned up and looking like new: 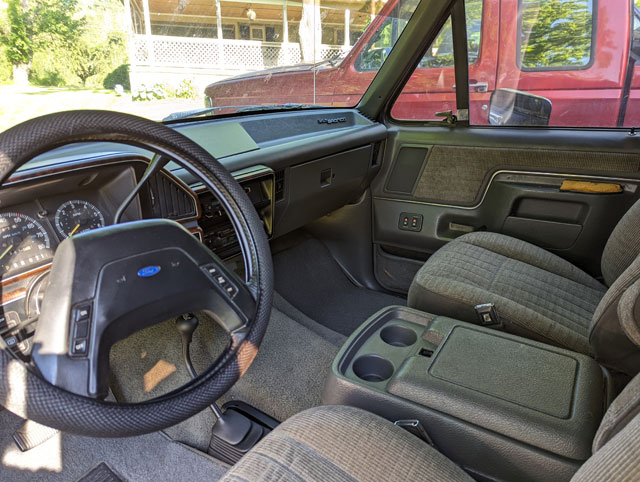  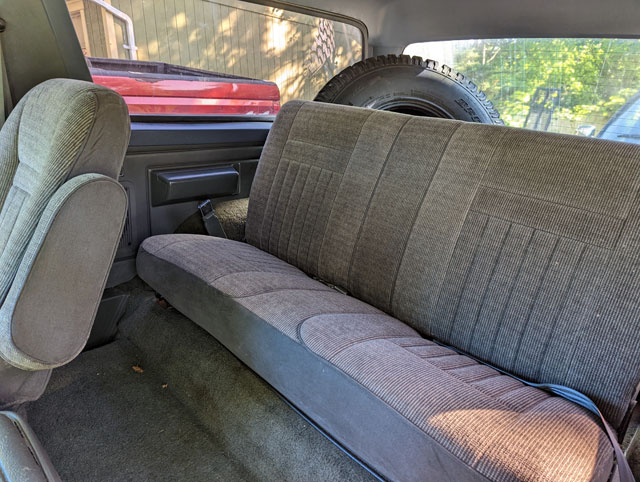 The arm pads for the doors are shot but it just so happens i have a spare set so theyll go on whenever we tear into the doors. Its also missing the wiper knob, but aside from that, its in very good shape! I on the other hand, turned my attention to the fuel system, or what's left of it: 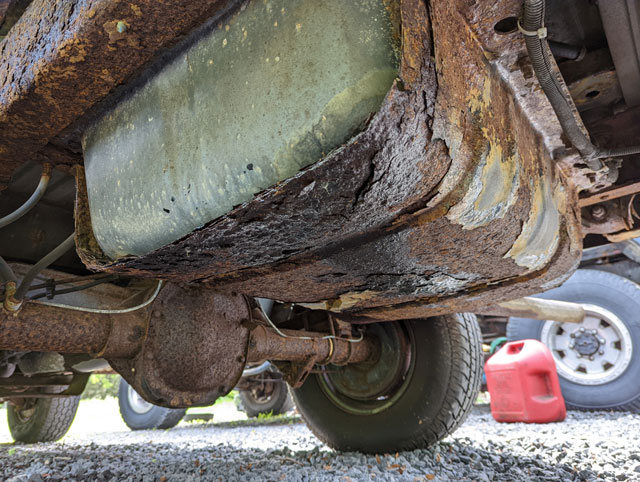 Rotted out tank and skid plate removed; both are going to need replaced: 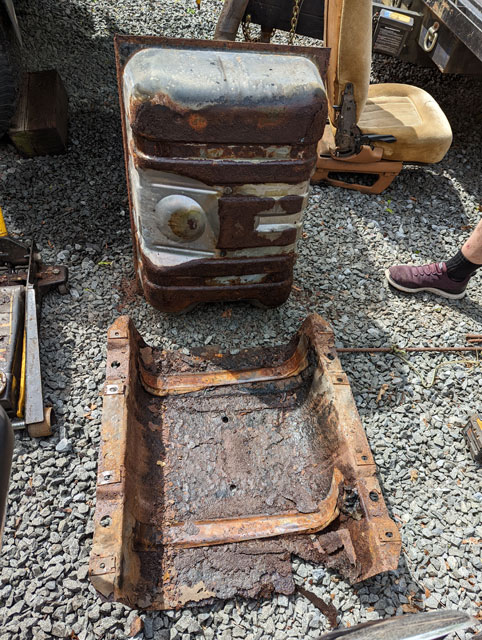 The fuel pump is shot as well; the brass float is corroded and full of fuel, and the pump sock has rotted from sitting in old gas for many years: 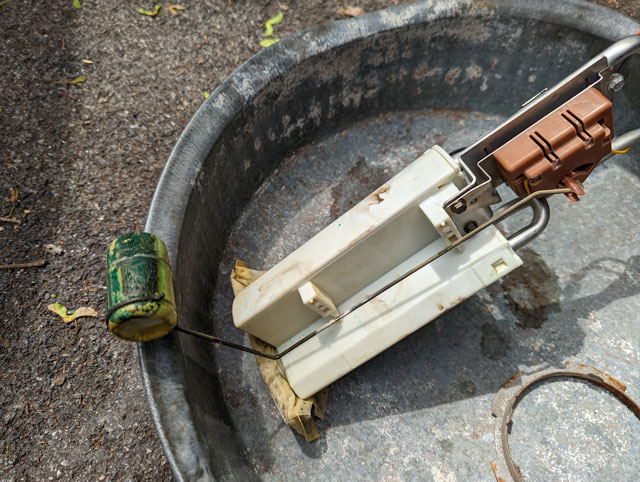 Ill need to replace the tank and skid, and ill have to see what a new pump & float will cost, or if its more cost effective to just replace the whole assembly. So, the gas tank is clean, no water or dirt got in it. I have a new fuel filter sitting on the bench so im gonna swap that tomorrow anyway. 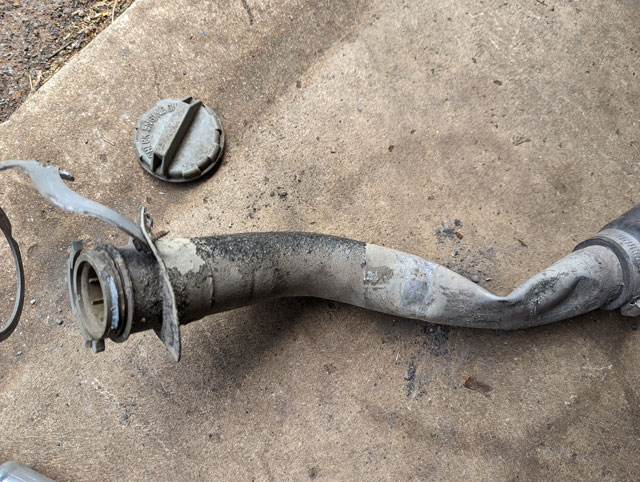 Kinda smushed! I have a replacement filler neck for a F-series. Everyone lists a different neck for a bronco vs a truck, but i sure dont see the difference, unless its in the plastic tube inside. Fortunately, i run a gas tank from an F-series anyway. Also: i forgot to get a new gas cap. 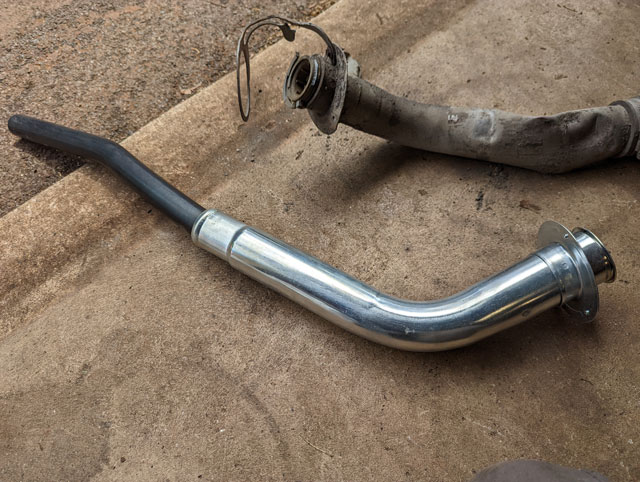 The rubber filler hose didnt show up so i cant complete this today. Amazon sells Motorcraft gas caps with the little retaining clip on them, and theyre cheap so ive got one on order. Hopefully have this fixed by the end of the week! We made it back alive! It started raining sometime Thursday night, and didnt stop until very early this morning. It turned yesterday's Rausch Creek trip into the wettest muddiest trip ive ever been on there! We were joined by Ox in the mogster, and Joe with his beast of a 7.3 PSD powered bronco, both on 43s:
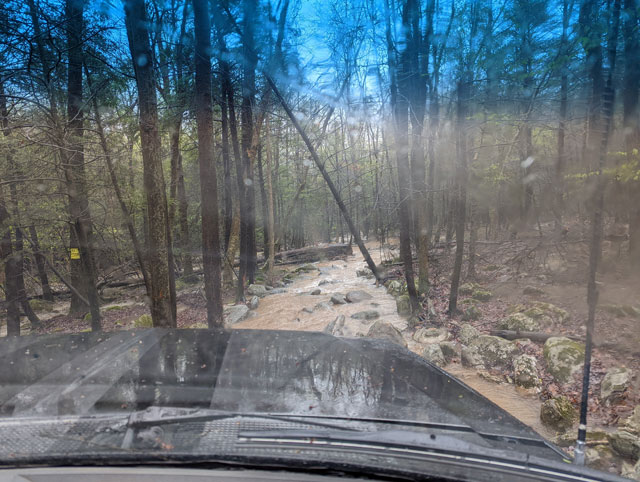
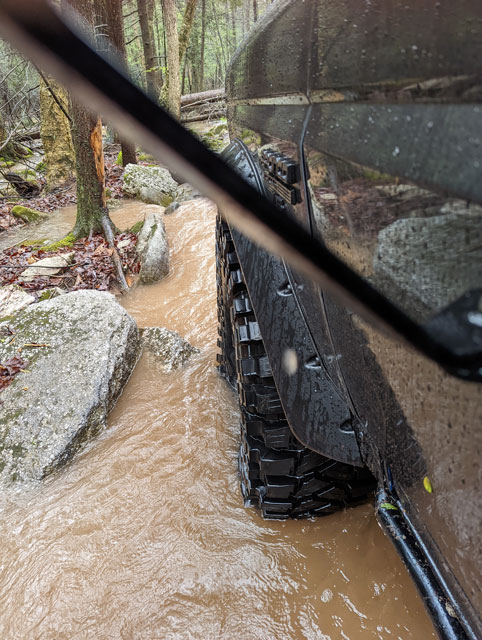
Despite the abysmal weather and it raining non-stop the whole day, we ran a pretty decent amount of miles, close to 10 if im not mistaken. Honestly did not get a ton of pics as it was pouring all day long, and we really didnt stop very much at all. We took the typical pathway into the East side, taking B to C to O. We detoured and ran CV trail while we were there 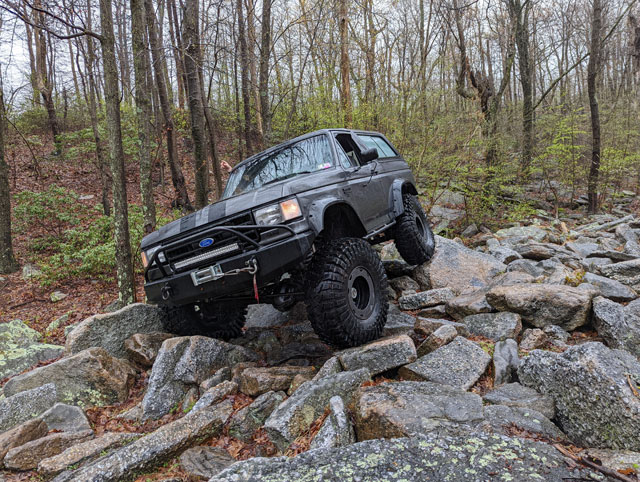 I absolutely walloped the driver rock rail! It took quite a hit, but it did its job well, the rocker & door remain unscathed 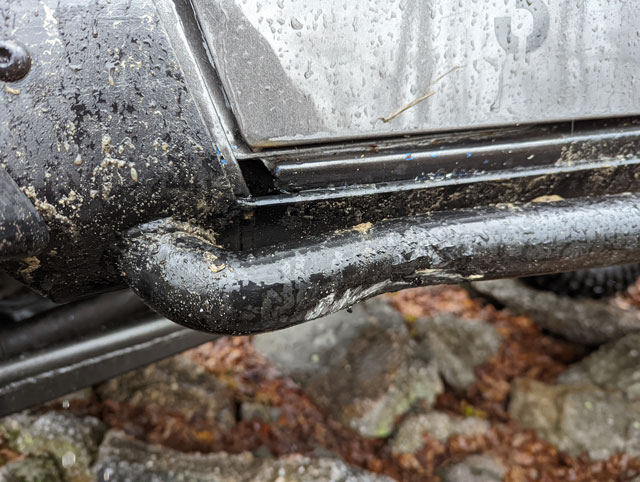 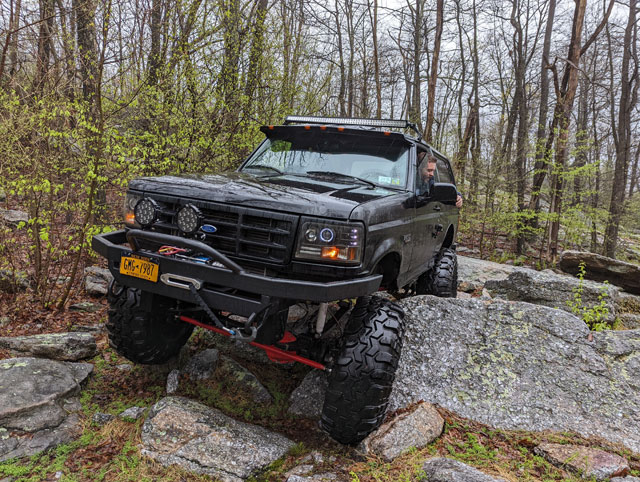 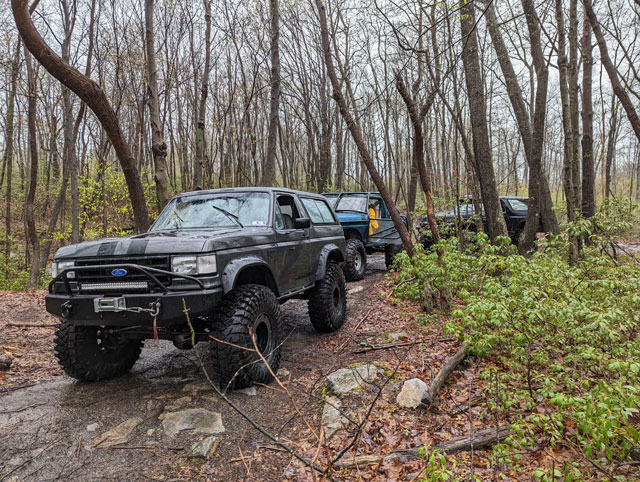 From there we went down and ran Topless for Tatas, and then made our way via B/E over to the west side, where we went down J, across 11 and then into Rock Creek we went! 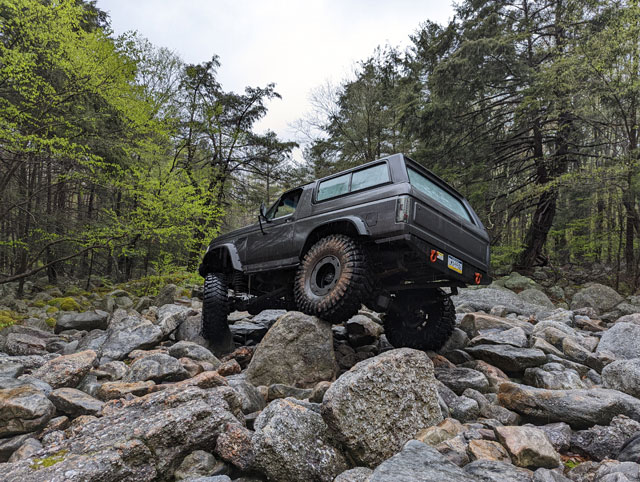 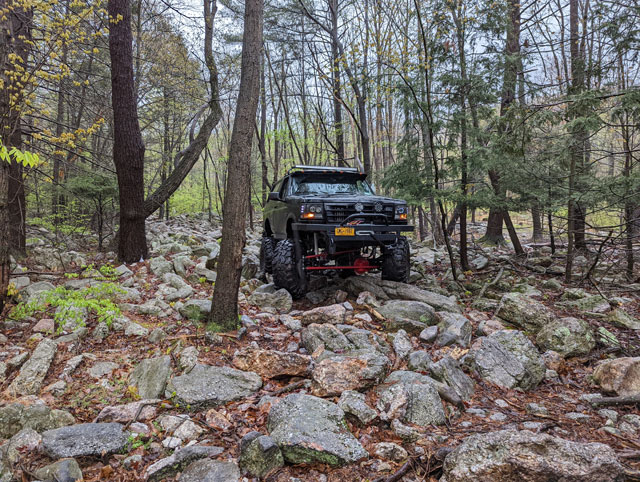 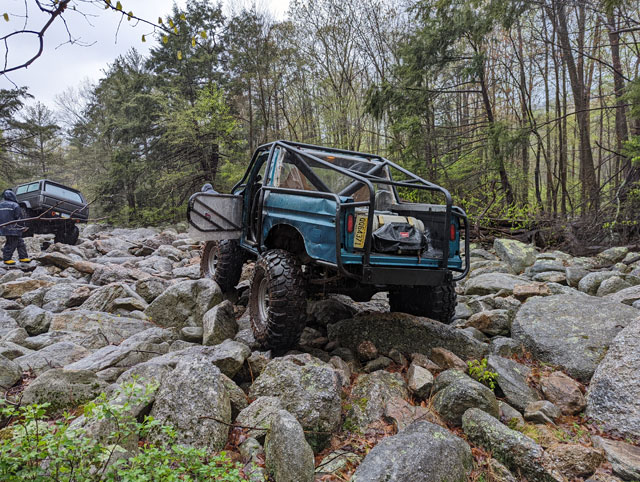 Here we stopped for a soggy lunch break 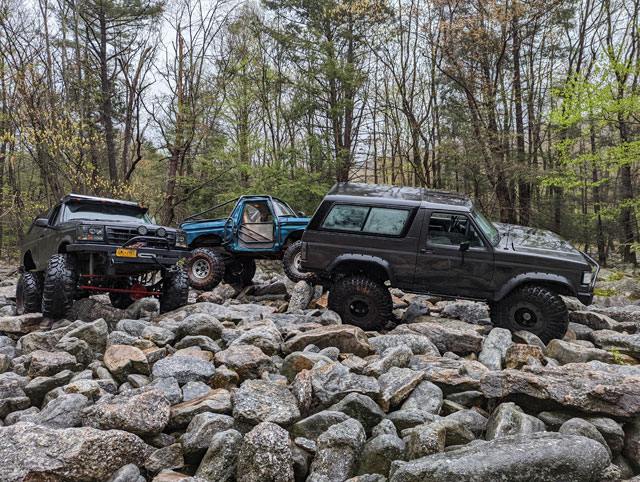 ...and then further into the creek we went 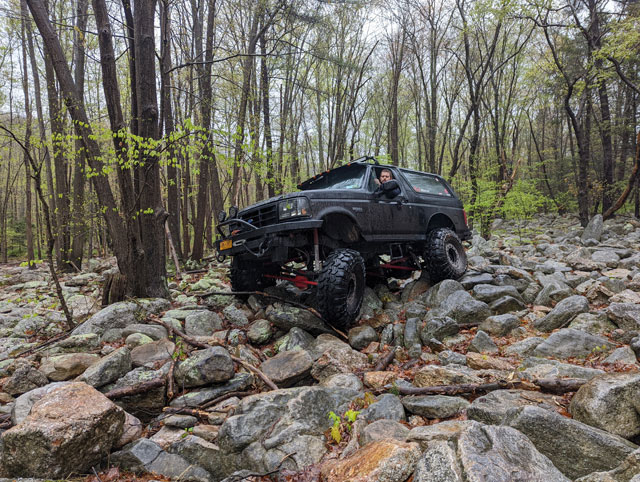 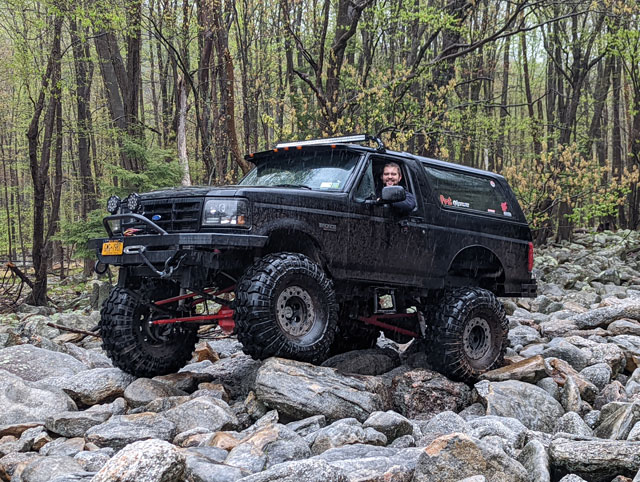 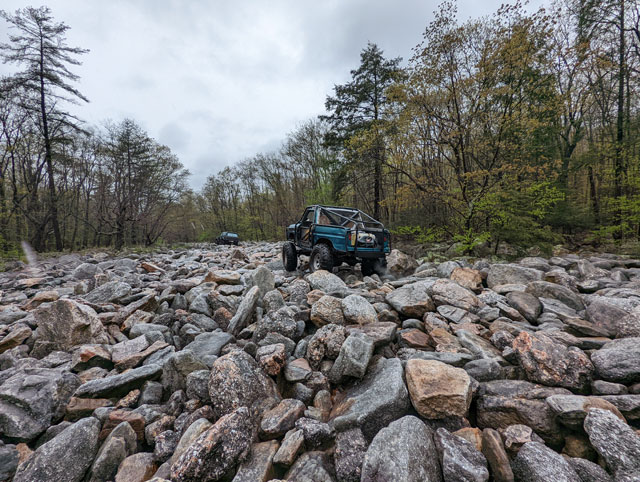 Finally at the other end we decided to keep going and run Death Trap, which was completely under water
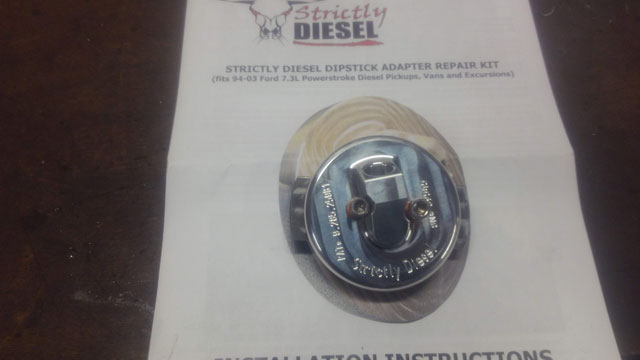
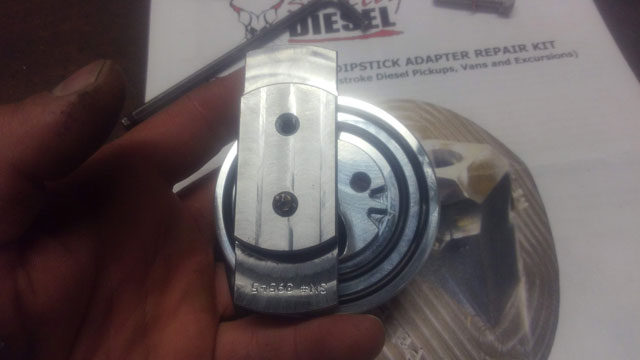
 Out the other end we picked up 19 and took it up to 11. At this point Joe's transmission was overheating so we escorted him back out 11 to H and up to Tower Road, were the front pump seal gave out and he started puking (extremely burnt) ATF. so his copilot stayed behind with the truck, and we brought him back to the parking lot to get his truck & trailer since it was clear the bronco wasnt going to make it back on its own at this point. After all that me & Ox went back out into the park and went down into the South side to run Cemetary, Boot Hill & Tomb Stone 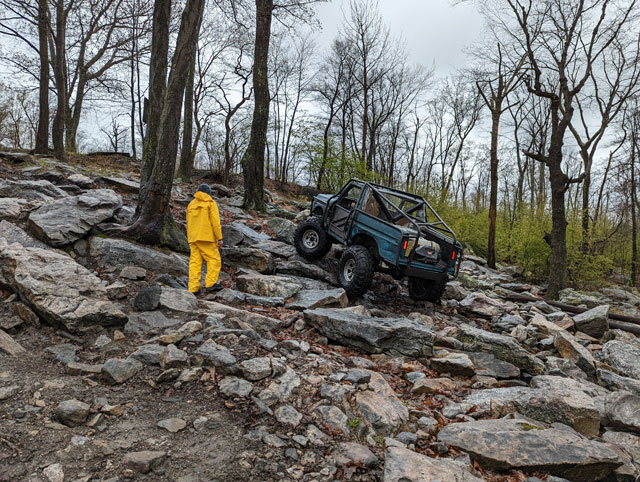 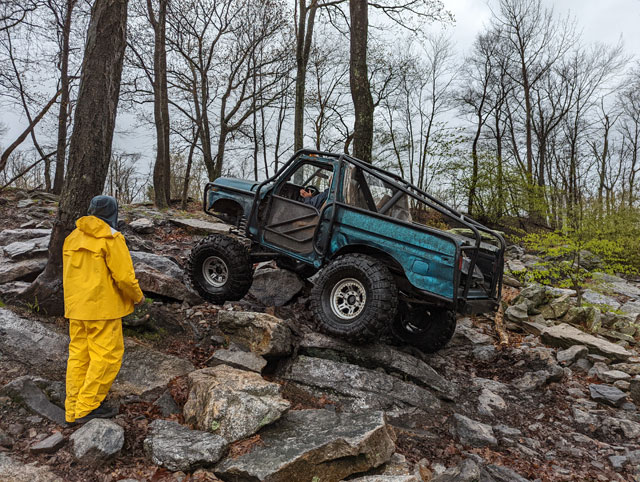 From ther we went further in yet and ran down S1-4 over to Snake Bite and Camel Back, which is probably the tightest trail you could run a full bodied rig down! That one was a snug fit for my wide rig, but we made it thru w/o and body damage thankfully. However, we did manage to get a log up underneath the body, where it smashed my gas filler neck! 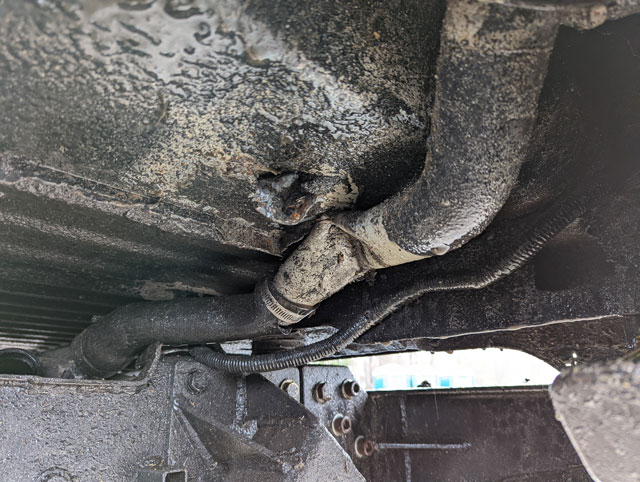 crumpled the steel neck, tore the rubber hose and popped it off the gas tank entirely, so im pretty sure my tank is full of water & mud now. From here we headed back to the parking lot and called it a day! So, first impressions are that the bronco did really good on its shakedown run. I have some minor issues with the engine tune that i have to correct before the next trail ride, and of course im going to have to drop my gas tank to clean it, and replace that filler neck! The trepadors appeared to work very well; it was a rainy slippery muddy mess and they seemed to hook well, and the tread pattern stayed nice and clean despite how muddy the trails were. Sidewalls are stiffer than the iroks and the tires seem to work better on a heavy rig as a result. Very curious to see how well they hook on dry rock! Tomorrow is the big day, the shakedown run at Rausch Creek! Technically we will have the smallest rig there, so it should be a good time! 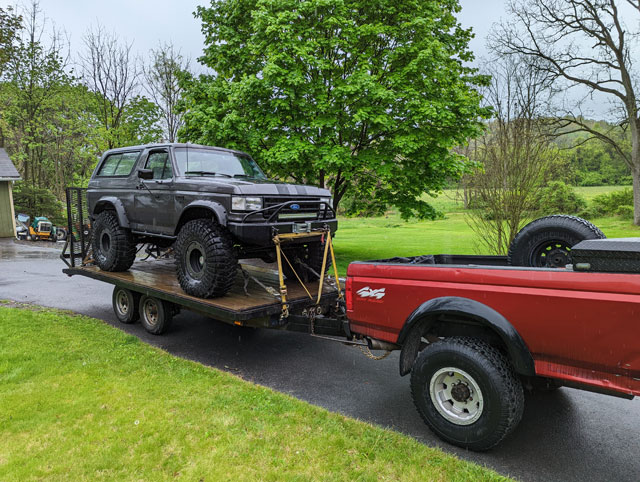 Now that spring is here and its getting warm outside, it became apparent that the trans cooler i installed just isnt going to cut it. 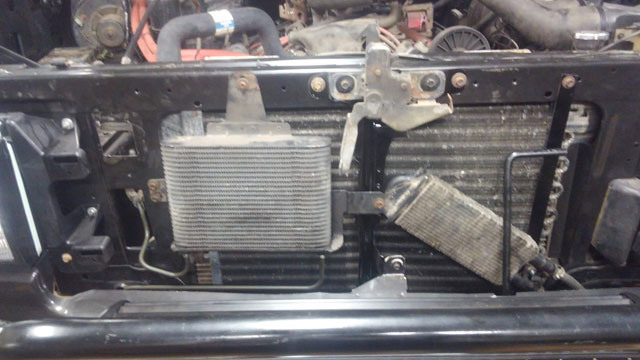 Not exactly small by any means. This is actually the largest cooler Ford ever put in these old trucks. I use one for the E4OD in the green '96 bronco, but its not quite up to the task that this truck is demanding. So i did some digging around online, and found this beast:  It is a monster of a cooler, and consumes most of the real estate behind the grill: 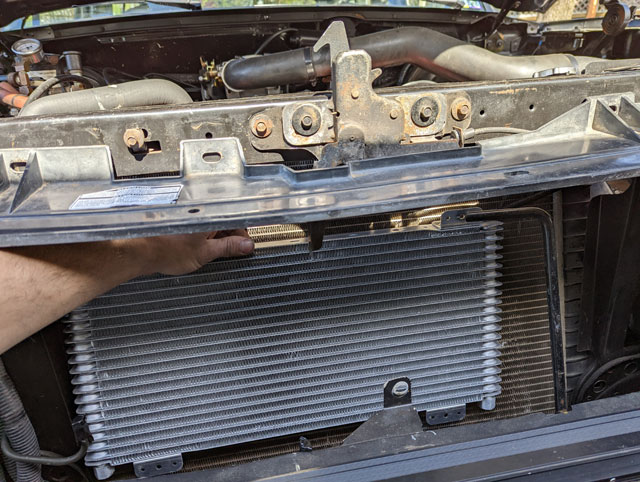 ...it does fit in there pretty good though: 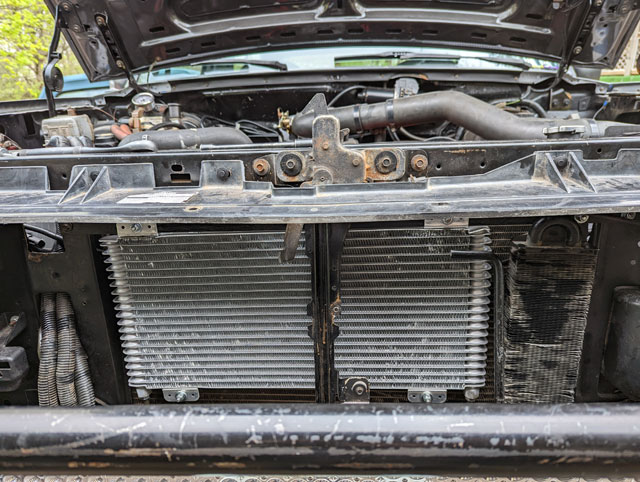   This thing is a beast. Immediately knocked 30º off of my trans temps compared to the other cooler i was running. So this is going to do the job nicely. After finding this, i decided that it wasnt worth a failure on the trail, and ordered some better shafts  Seems the Yukon shafts arent up to the task, so i ordered a set from Moser Engineering: 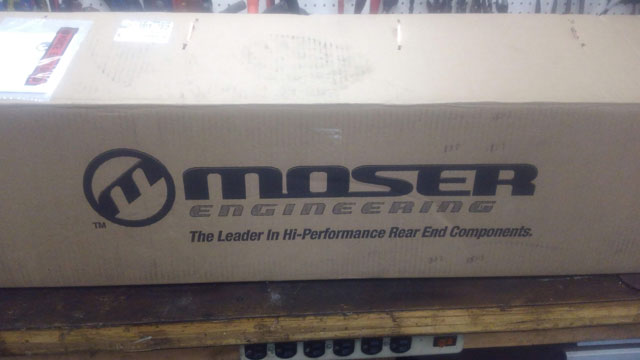 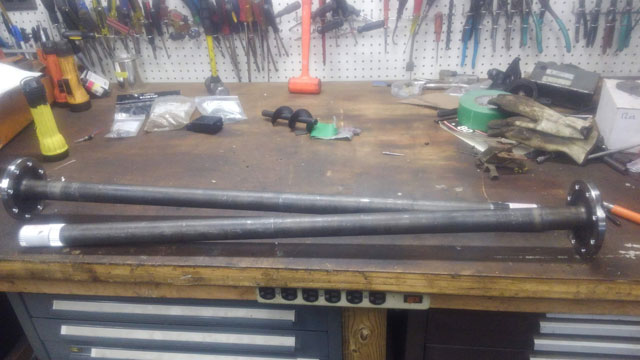 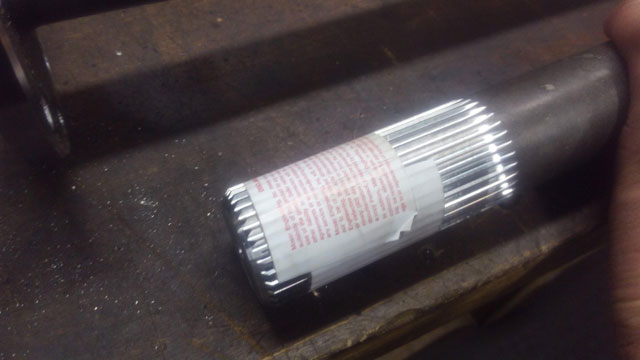 In the interest of strength, Moser does not machine their shafts for spindle clearance, instead they have this nice smooth transition. So i will have to verify that they clear the spindle , and if not, modify the spindle so they do. Odds are that since its a D70, they will clear just fine. 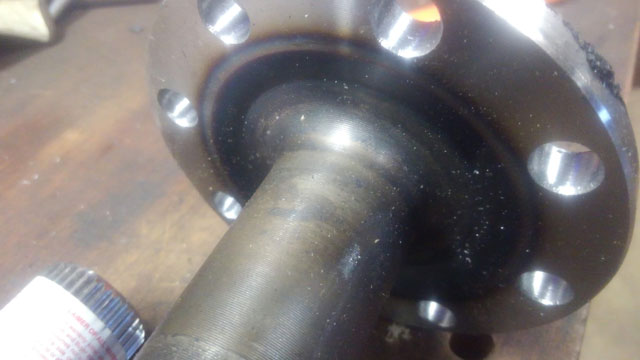 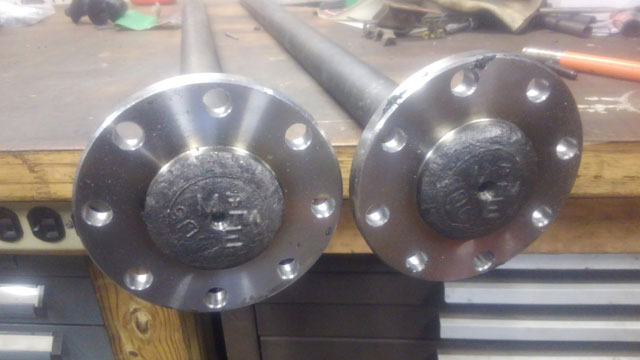 We'll get some paint on these things, and get em installed later this week! 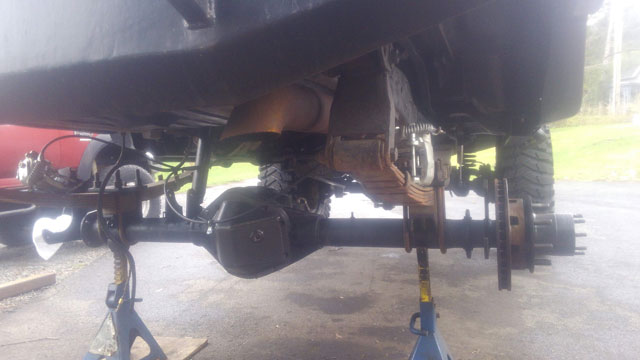 New r&p installed. Apparently the ring side carrier bearing had spun on the carrier, and the new bearing would slip right on! Fortunately, we were able to find a local who had a two-piece D70 carrier so we ran over, picked that up, and got it all done and back together. I forgot to buy gear oil. Also still need to reinstall the drive shaft & anti-wrap bar. Im also in the process of replumbing the OBA since i routed it a bit too close to the passenger header and blew the line during the cam break-in. At this point, its just the rainy spring weather slowing me down. 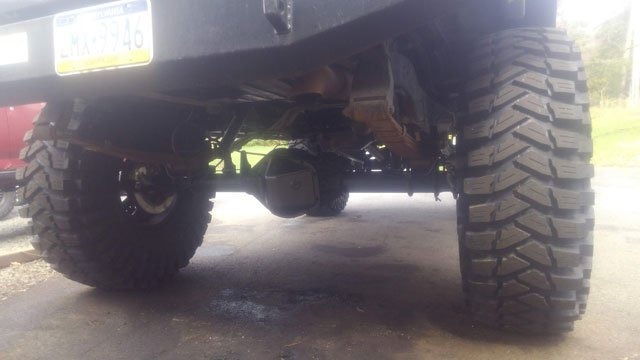 Fixing the dreaded dipstick o-ring leak on the 7.3 powerstroke 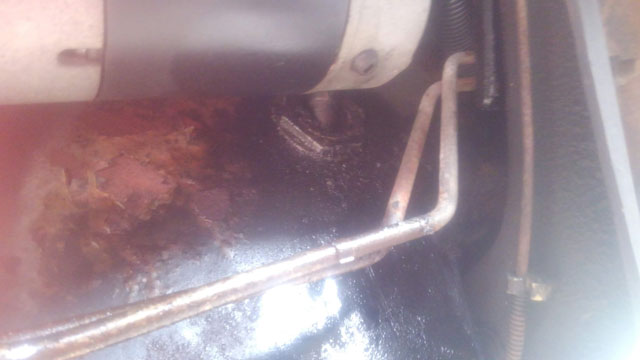 As you can see, its a slimy mess up there. I got lucky, mine didnt just leak, the o-ring straight up left town, and it started hemorrhaging oil. It was a pretty big leak, no mistaking that one! So since i prefer to upgrade rather than simply replace, i opted for Strictly Diesel's Dipstick Adapter Repair Kit. This thing is a pretty nicely machined: So lets get this done. Remove this bolt, and then yank the dipstick out of the existing adapter in the pan 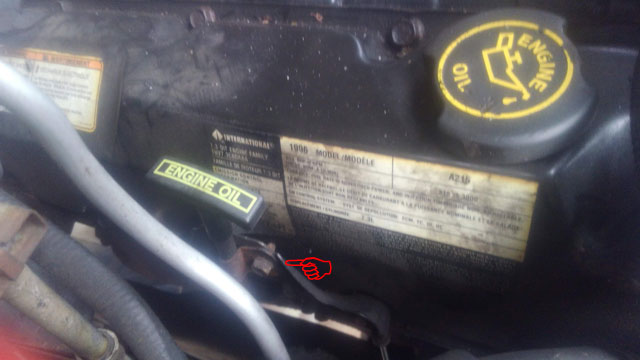 Starter has to come out, theres no way youre doing it installed. Here you can see the dipstick up and out of harms way 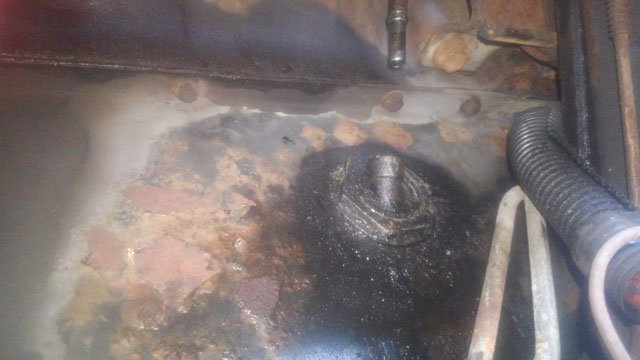 Next up is to spin the nut off. This part is important! Grab the stem with something. I used needle nose vice grips, but anything will suffice. A pair of channel locks will remove the nut. Most likely, its loose anyway.  With the nut off, let the adapter slide into the pan a bit, and then reach in with some form of pick, hook the o-ring and dig it out thru the hole. Not as bad to do as it sounds 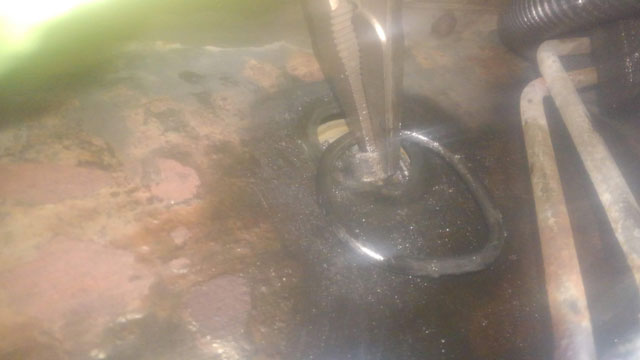 Here's what time has done to mine: swollen to well above its original size. You can see the deformation where it has actually worked its way out of the adapter. No wonder the leak was so bad! This is typical, and its why tightening the nut down more rarely fixes the leak. 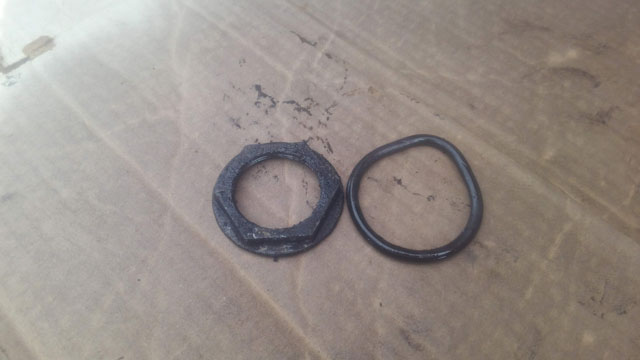 So, the new adapter uses 2 orings to seal against the outside of the pan, so no more issues with oil swelling the orings. Of course youll need to clean the outside of the pan, but odds are its clean metal (aside from some oil grime) since it was leaking anyway. Also of note is the bracket that slips into the hole in the pan- the one bolt has a small weld on the end so it cant be threaded out. So youll slip this thru the hole in the pan, and then rotate that screw which will in turn rotate the sandwich plate until it lines up with the hole in the adapter  See those two little notches? one is to set the clocking for an OBS 7.3, the other for a SD 7.3. In my case its a 90, so i want the dipstick to point up; the SD motors have it tilted slightly forward. I wish i could say theres more to it, but really there isnt. Once youve removed the oring you simply drop the old adapter into the pan. Its big enough itll settle to the bottom and stay there forever. Unless you roll it over, anyway! At some point in time (next year?) im planning on having the cab off, so ill yank the pan then and extract it. Anyways, slip the new adapter into the hole in the pan, rotate, and install screws! Its honestly pretty easy to do.  The kit comes with a new OEM gasket for the dipstick tube. Technically it is not an o-ring, its this fancy shape thats supposed to seal better 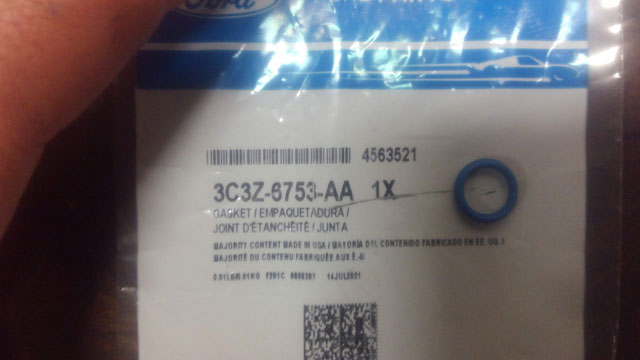 Oil it up a bit, slip it on, and the reinstall the tube! Install the starter and youre done! 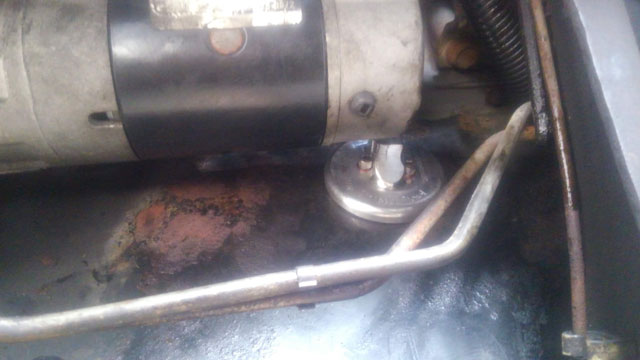 It is a tight fit; maybe 1/4" clearance to starter at most. But, it clears and it works! No more leaks! I did the whole job in about 90 minutes, truck on the ground still on its tires, while stopping to take pics. I suspect it could be done in an hour, so easily something that can be tackled after work one day. Got the carrier opened up, nice and clean inside 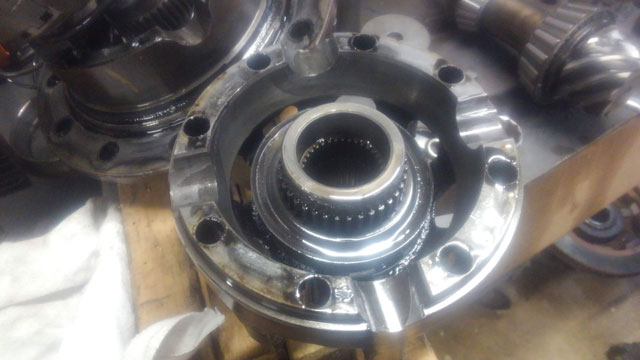 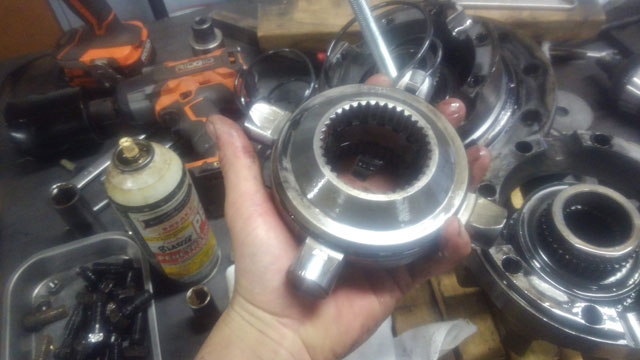 Found lots of metal in the oil passages for the pinion gears, took a while to wash it all out. Tomorrow i think im going to replumb the brakes on the axle since i last did that back in '05 and the lines are a bit mangled from getting caught up in weeds, sticks, branches etc offroad over the years. |