|
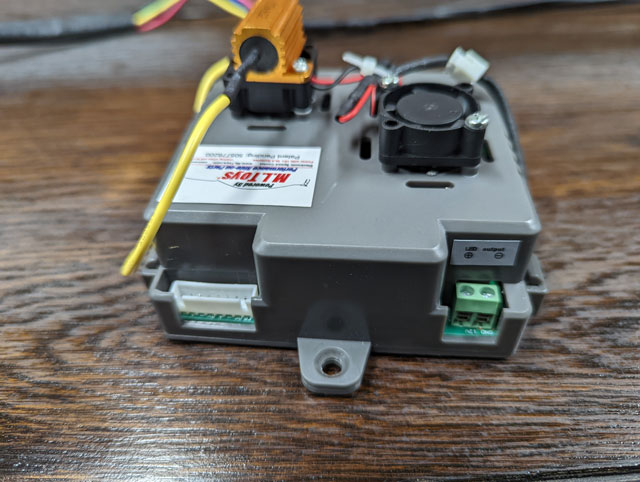
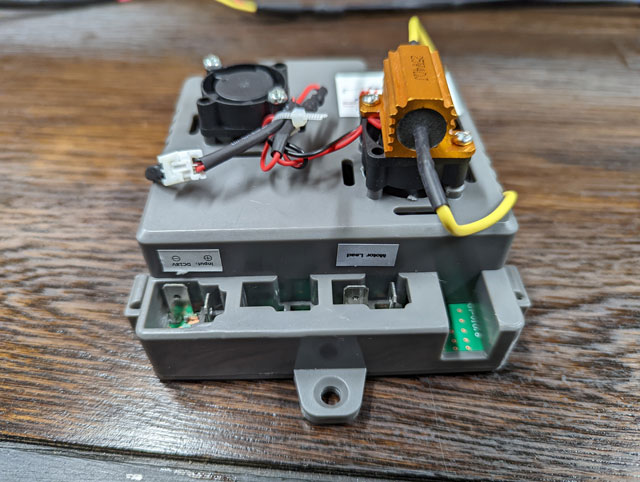
So here's the new ESC from ML Toys: 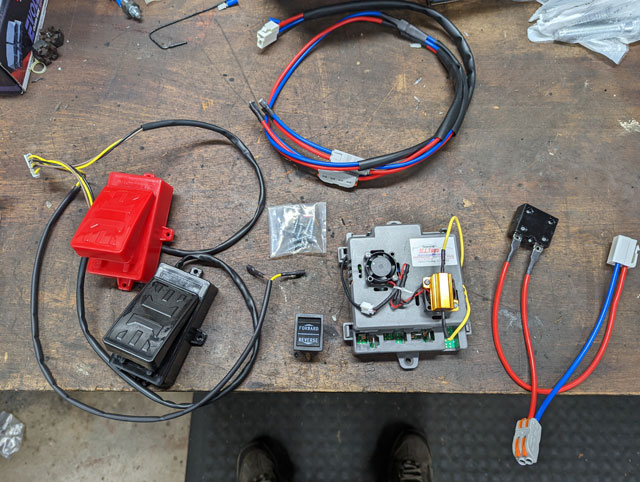
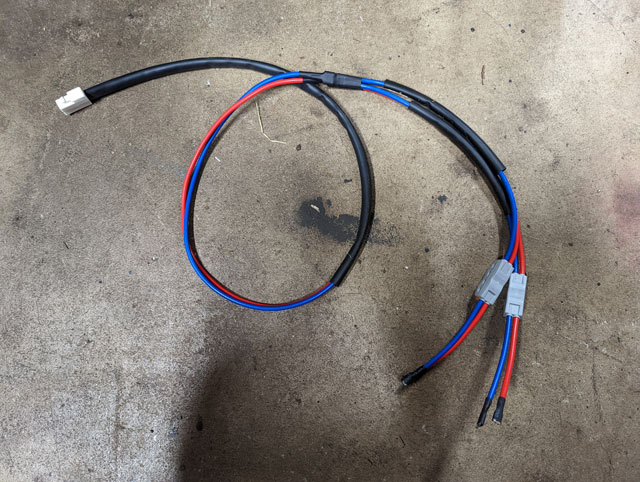
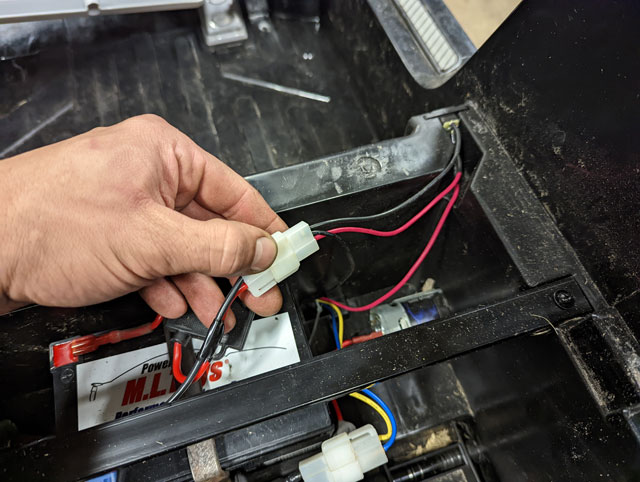
Theres some prime real estate for this, in the back next to the batteries: 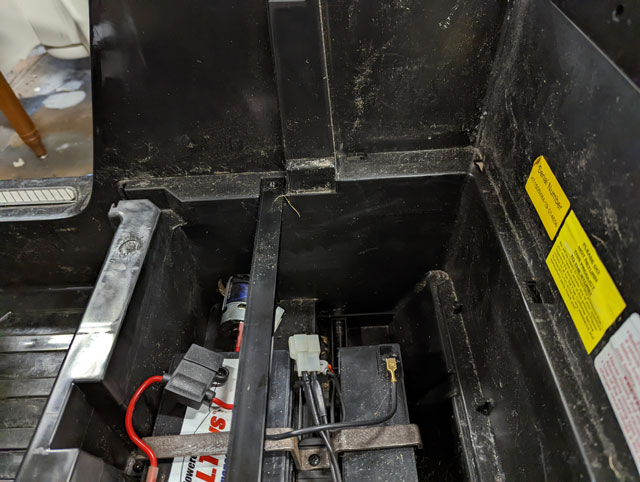 ...yeah, that looks good there: 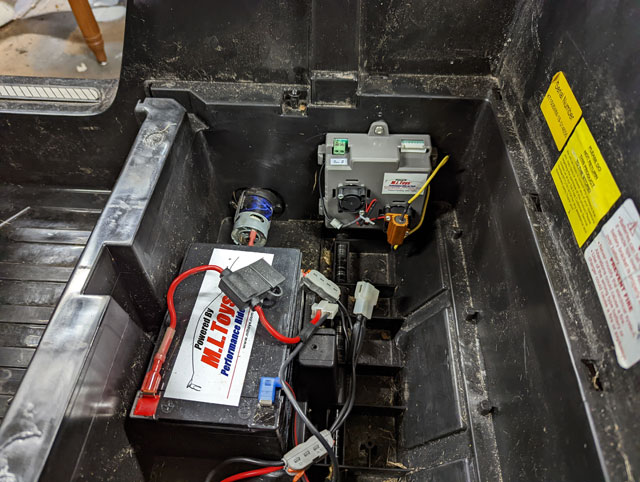 So lets start wiring this thing up. It comes with some very nicely made wiring harnesses. Crimped, soldered, and heat-shrink. One for batteries with a 40a breaker built in, and a second made up for the motors. Different plugs so you cant get it wrong.
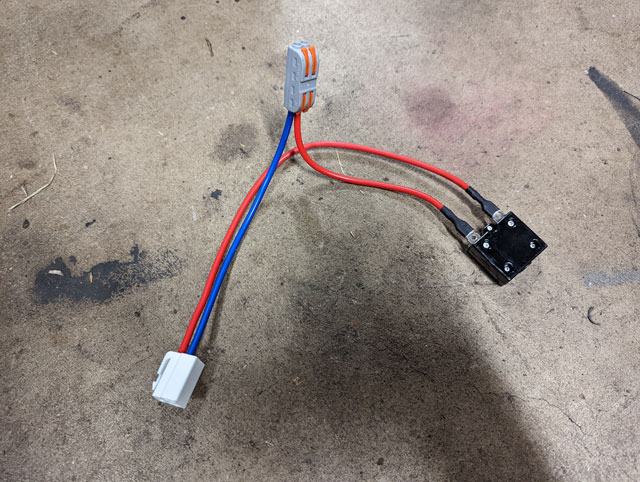
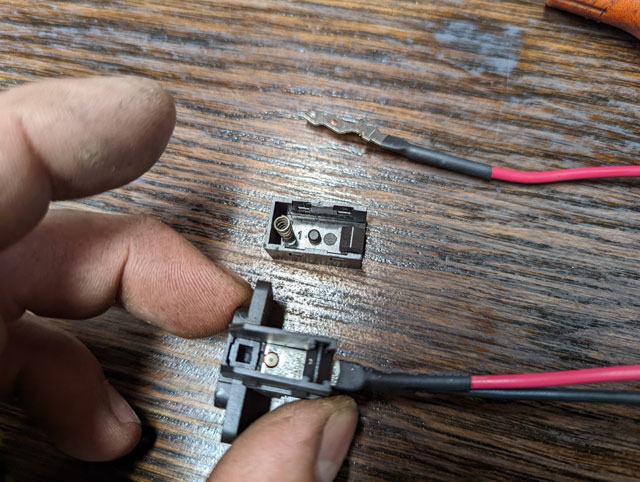
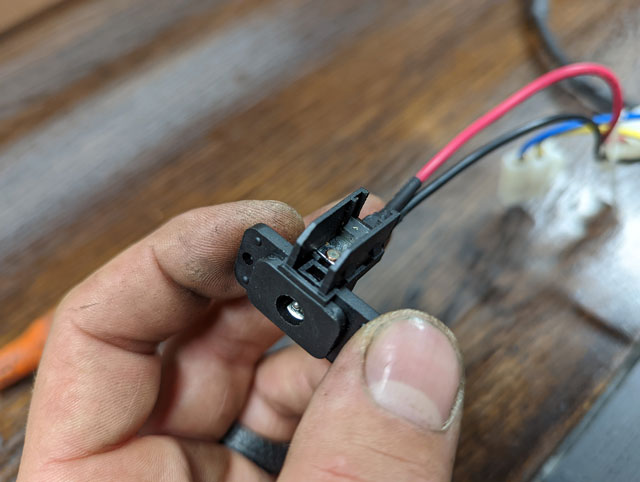
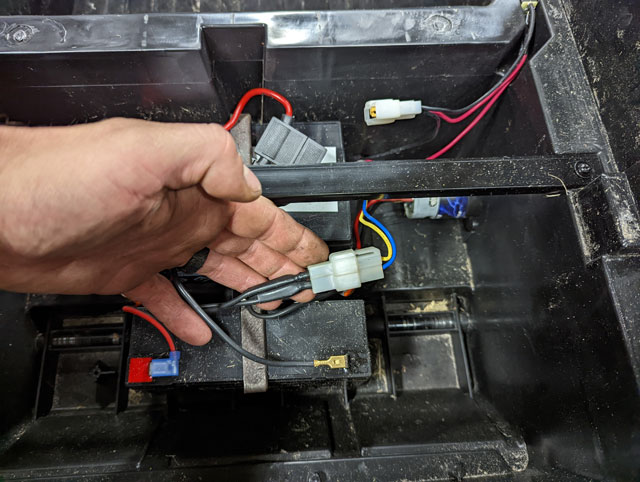
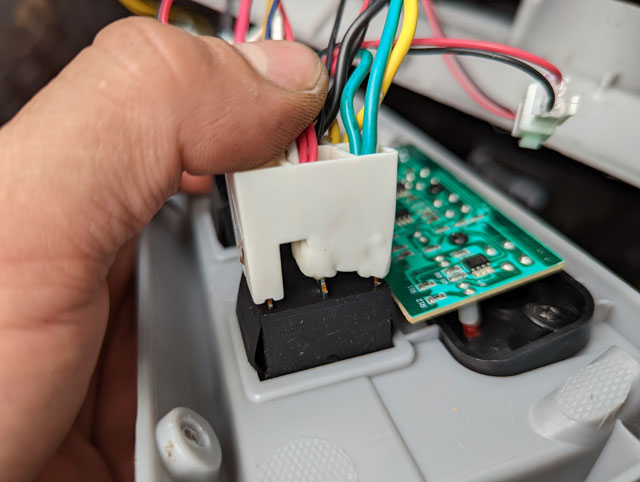
Simple enough install, and plenty of room to route the wires cleanly 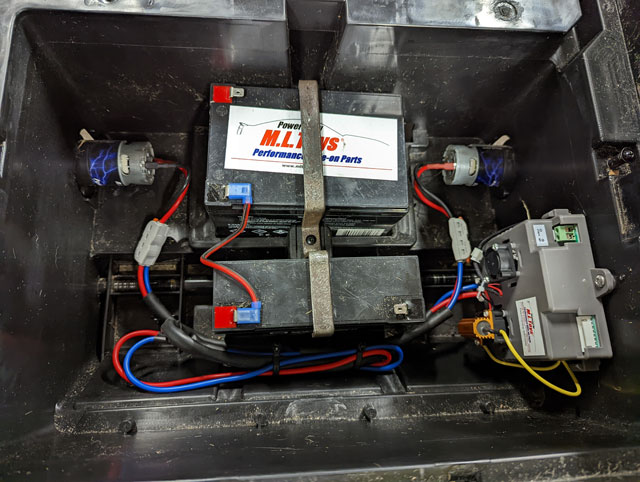 Now, in a Power Wheel the battery would be under the hood, and you unplug them to charge them. But since the batteries are under the seat, we need a way to charge them. So lets tear into the harness and examine the original charging port: 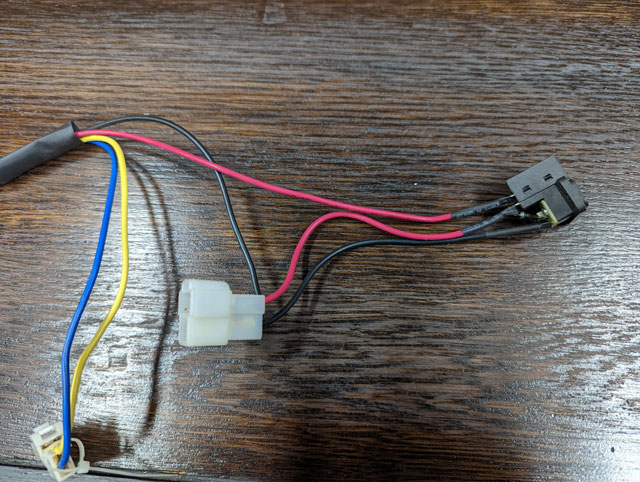 So the switch is in series with the battery. A closer examination reveals contacts inside the switch, that open when the charge cable is plugged in, cutting power to the vehicle in the process so it cant be turned on while charging. Clever.
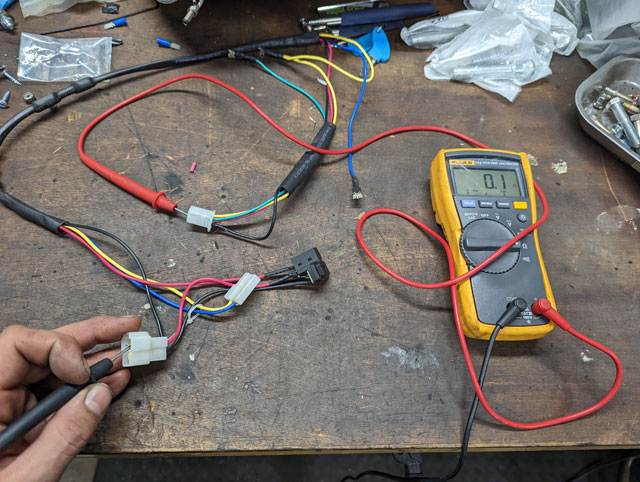
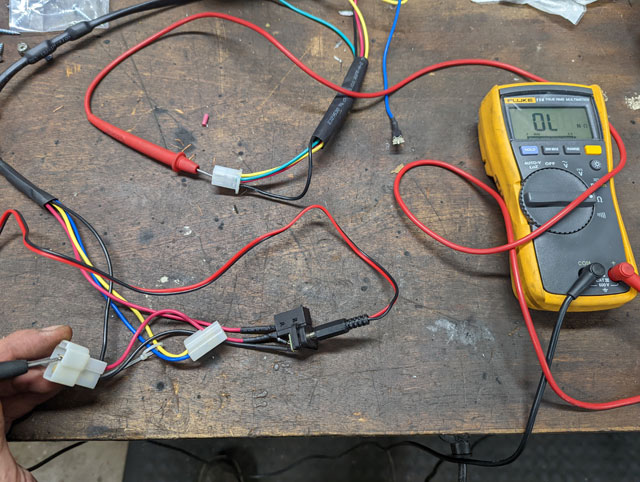
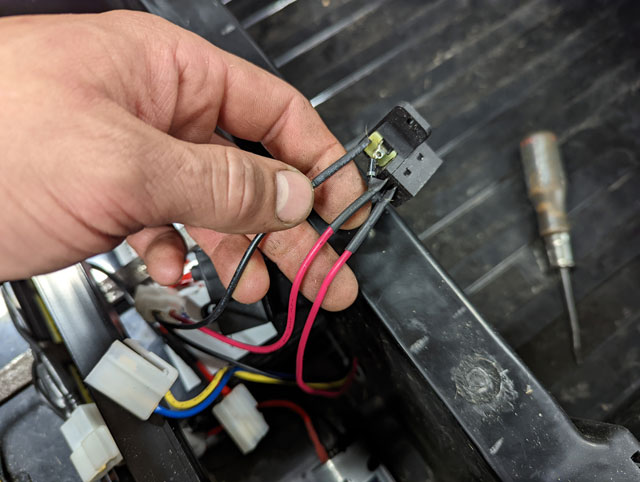
A quick test with the voltmeter verifies this:
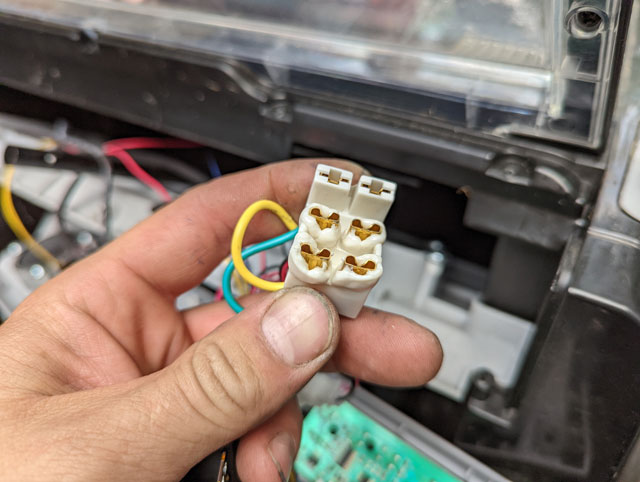
So this was a pretty clever solution to a problem, but im not sure that it can handle the power, considering were now putting 3x more voltage through the contacts. Plus the teeny tiny wires they used. So im going to reuse this to charge, but im going to wire it direct to the battery, and then just remember that the Bronco has to be turned off when charging. 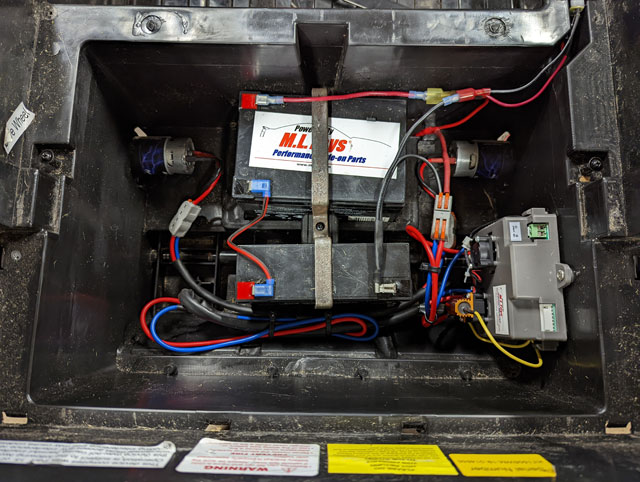 So that covers the batteries and the motors, now its time to move on, and start laying out the pedals! 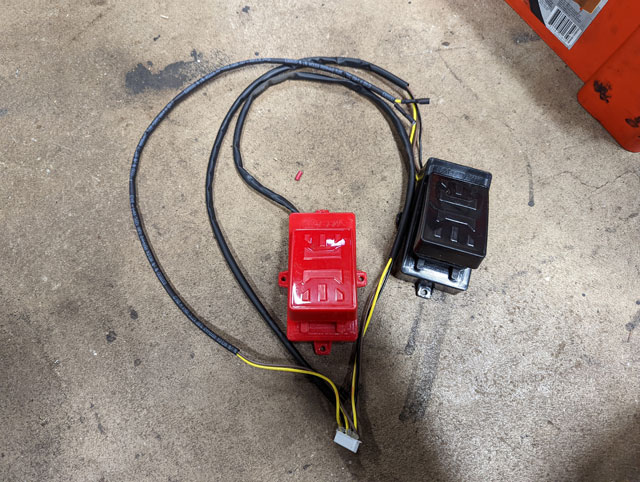 So the obvious solution to the inadequate wiring in the Kid Trax Bronco, is a full replacement. I could have done something simple like upgraded wiring and switches, but instead i decided to go all out, and use ML Toy's Electronic Speed Control. This thing is pretty cool. its a full variable speed ESC (so full variable speed control), with a brake pedal as well. Its programmed to apply the brakes after a certain amount of time if it doesnt see either pedal input, so you cant have a car runaway down a hill, which i think is a nice safety feature. It also has a 12v output for powering the stock headlights & radio, which we'll be using as well. In addition to this, i am adding their key switch, and digital voltmeter.  The meter is not necessary, i just want it for the convenience of knowing battery life. The key switch i do want though; Power Wheels have the batteries under the hood where you unplug them to charge them, but Kid Trax has them hidden in the back under the seat, with a charging port. Having a key switch means we can turn it on/off to charge without having to unplug the batteries every time. So lets get that wiring harness out: With the track removed the harness is exposed: 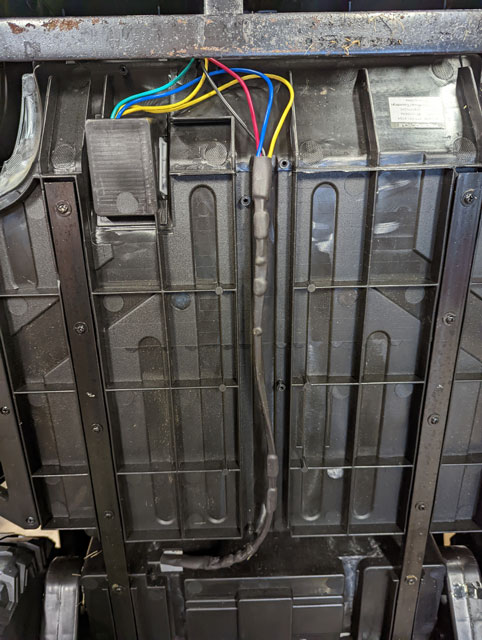 Foot pedal wiring: 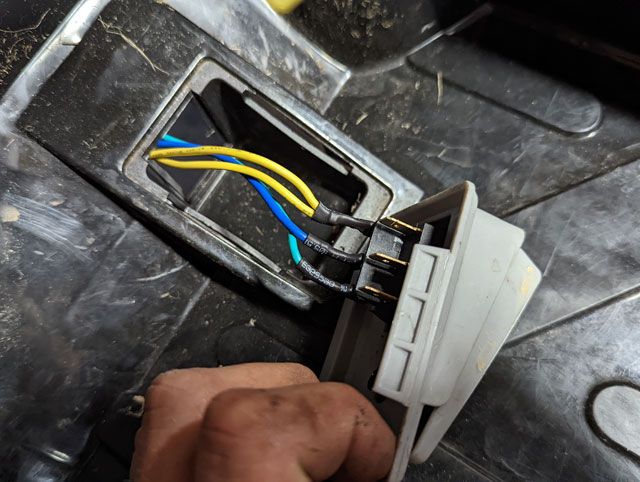 Remove a couple screws and the steering wheel and dash comes out: 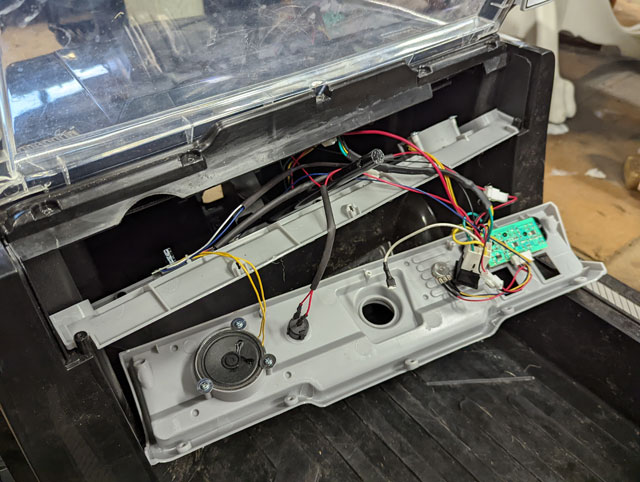 power plug for dash harness: 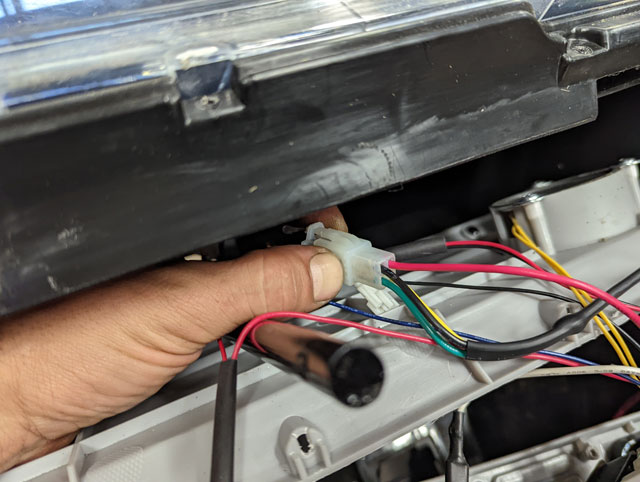 ...and the chassis harness is removed: 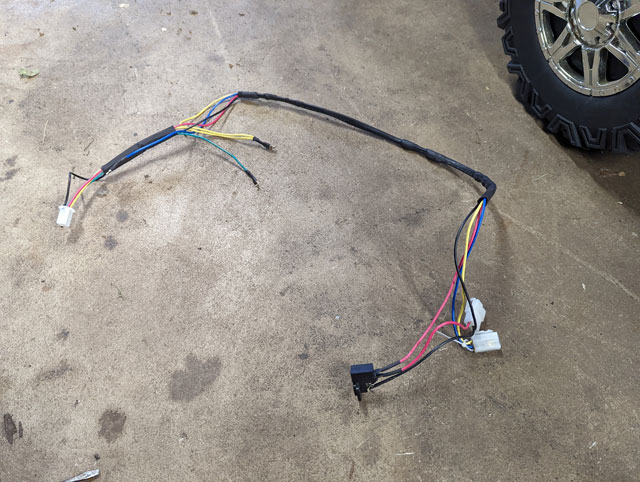 Here's the plug for the horn pad, which we'll obviously reuse 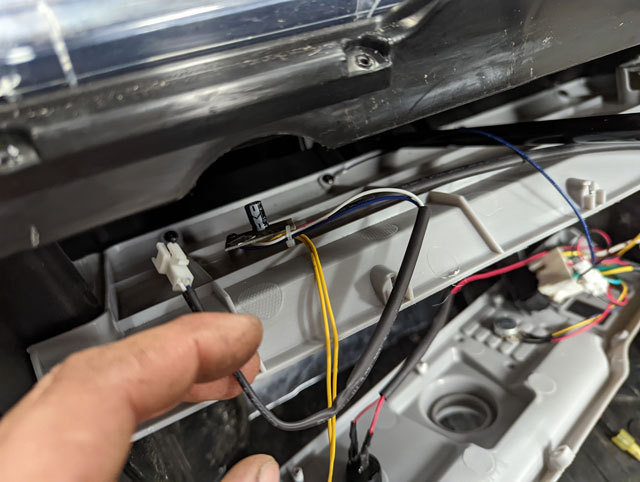 ...and this mess of wires is the backside of the directional switch, where Kid Trax tapped off for all their other 'key hot' accessories, such as the horn, radio & headlights. We're gonna reuse some of this, but not all: 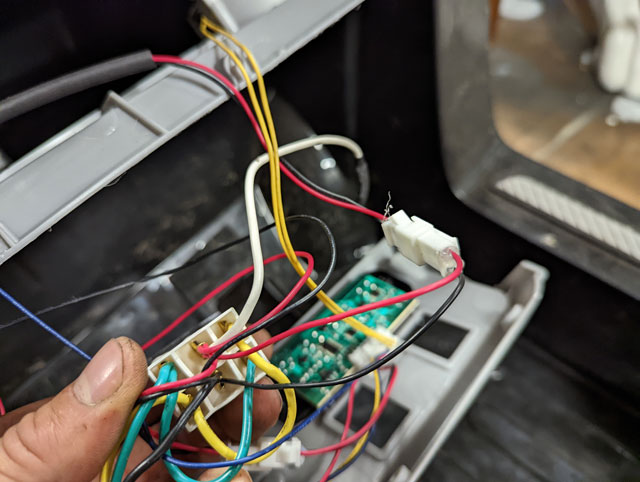 Just give it a slight tug and the volume knob pops off to expose the jam nut to remove the dial: 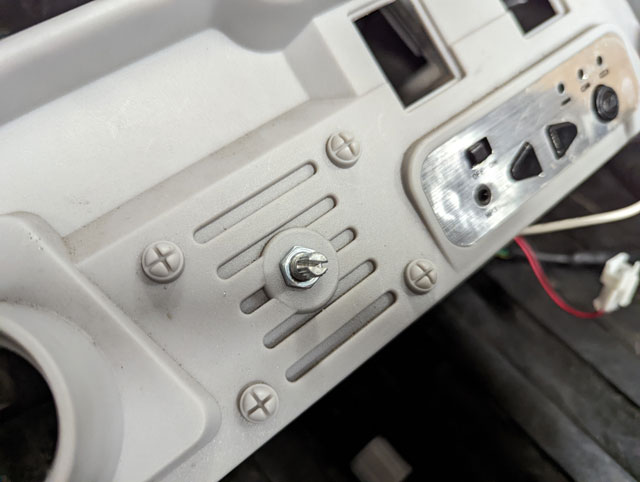 This is about as far as we need to go, as far as disassembly is concerned. Tomorrow we'll staart installing the new harness and ESC! So the 18v Kid Trax Bronco is running well! 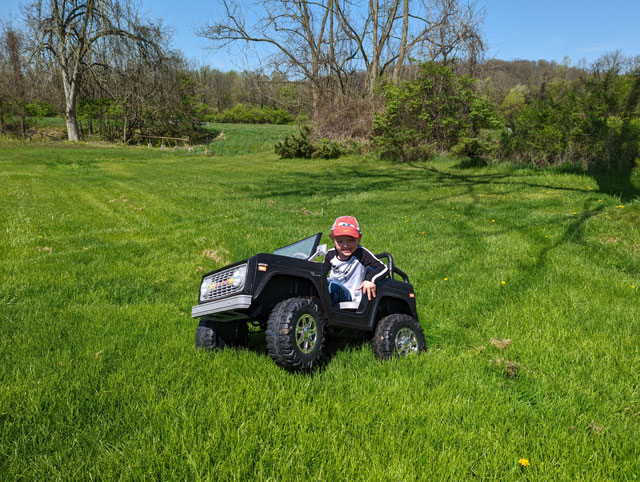 This thing runs great, and the run time is much better than before. However, the stock electronics are not happy! The On/Off switch finally melted yesterday from the load: 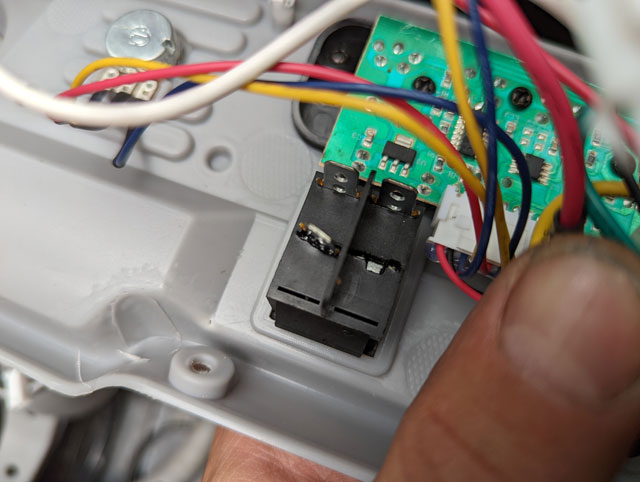 Unfortunately, so did both the Forward/Reverse switch, and the socket for it:
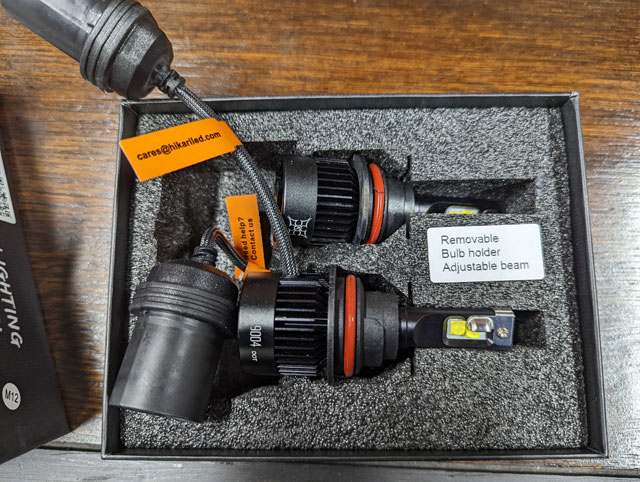
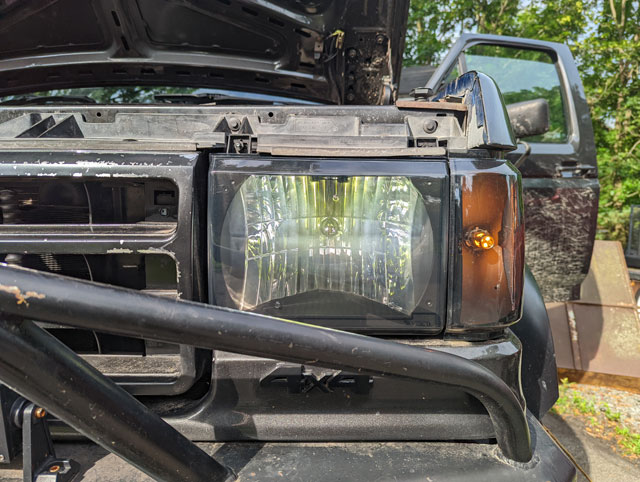
Looks like the next upgrade is going to be getting some proper wiring and electronics in this thing. Stay tuned! Never got to take the 88 for a test drive. I got the headlights all set and roughly aimed, with a plan to drive it to work one night and then adjust the headlights to get a good pattern. But when i went to turn the key, nothing happened. Well, thats not true. Something happened. The column broke! Im going to give you the abridged version: the ignition lock cylinder actuator rod broke. 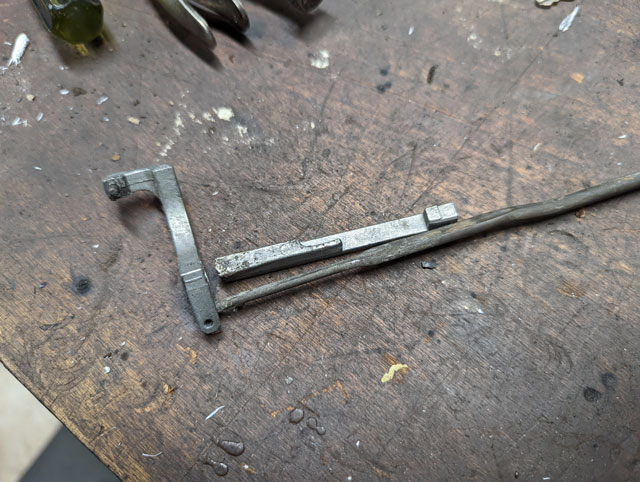 Fortunately, Dorman makes a replacement, which is actually pretty cheap on Amazon. Unfortunately, replacing it requires the complete disassembly of the steering column: 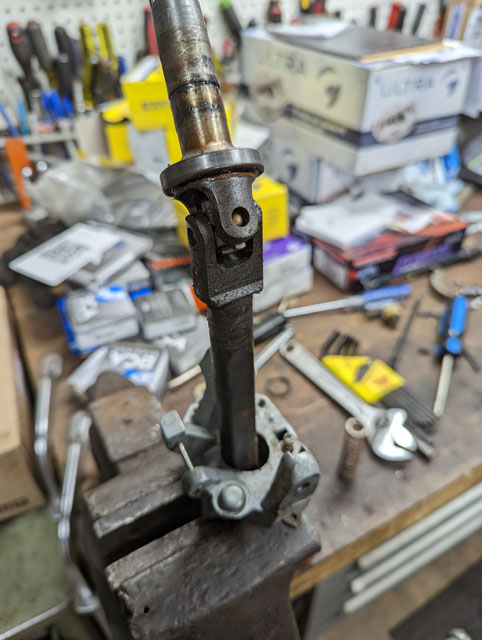 While i was in there i figured its now or never, and i replaced the turn signal/hazard switch mechanism. 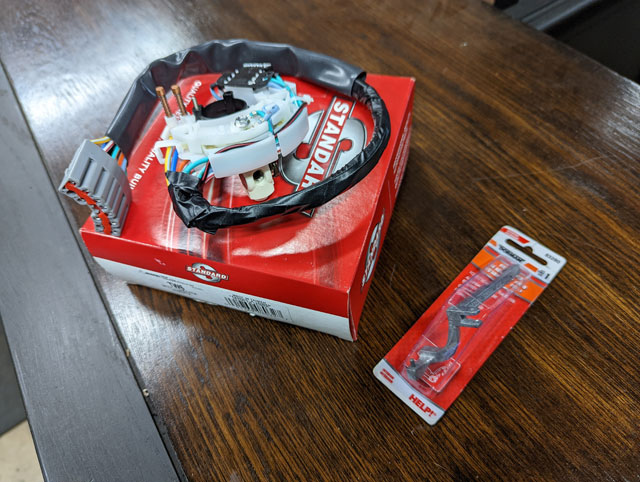 i spent a couple days cleaning up parts and slowly disassembling/reassembling the column, but all is now well, and the column is back where it belongs! 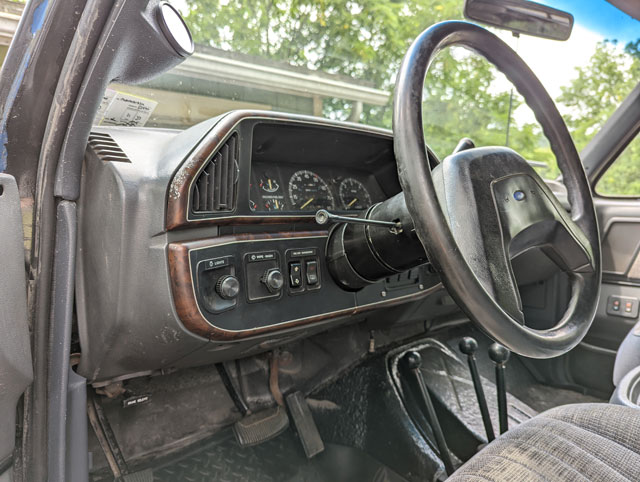 I do have around 80 pics of the process, so the plan over the next week or so is to get them all resized so i can put together a full gallery of pics on how to completely rebuild the column. Got tired of the junky OEM style headlamp housings i have on the 88. Also, the lens fell off the passenger side turn signal housing! So i had to replace those anyway. 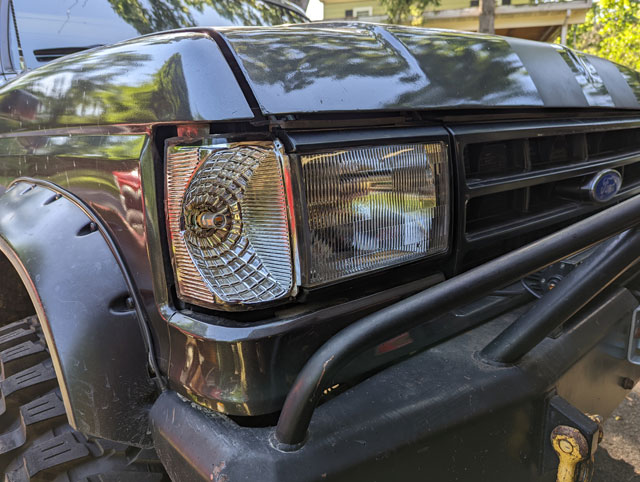 Went digging around and some some decent looking replacement housing sets on Amazon so i figured why not? And ordered em. 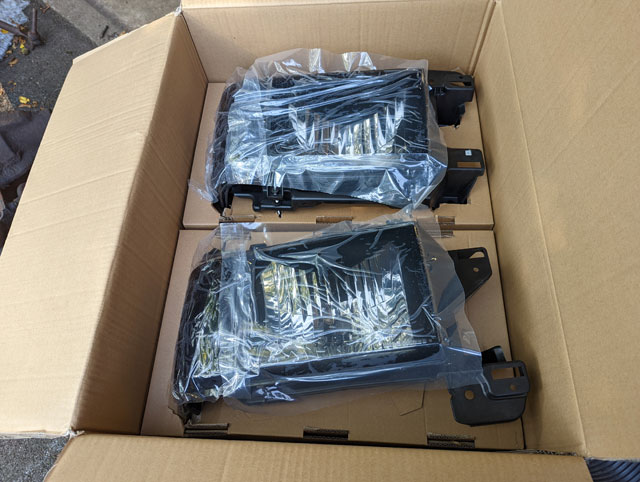 As expected, theyre typical cheap-ish china made housings. They didnt include the lower adjuster gear box so i had to swap that over, and the yellow zinc coated studs are total junk so i swapped them for the ones off my original housings (black in the pic) 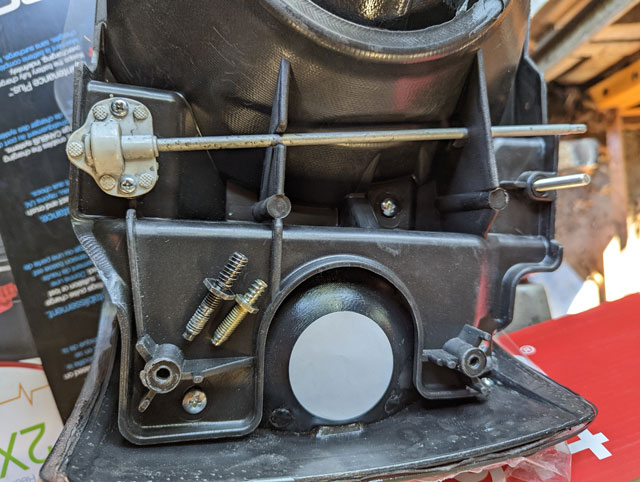 Aside from that, they seem decent enough. I bought another set of Hikari LED headlights because i have them in every other vehicle i drive, and they work very well.
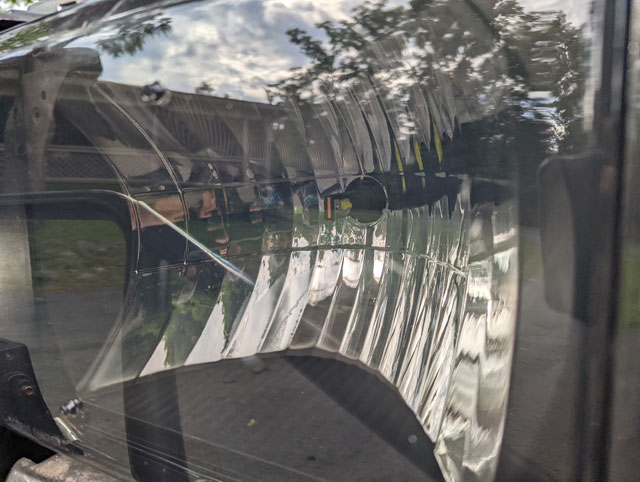
Finished and installed, they look pretty good:
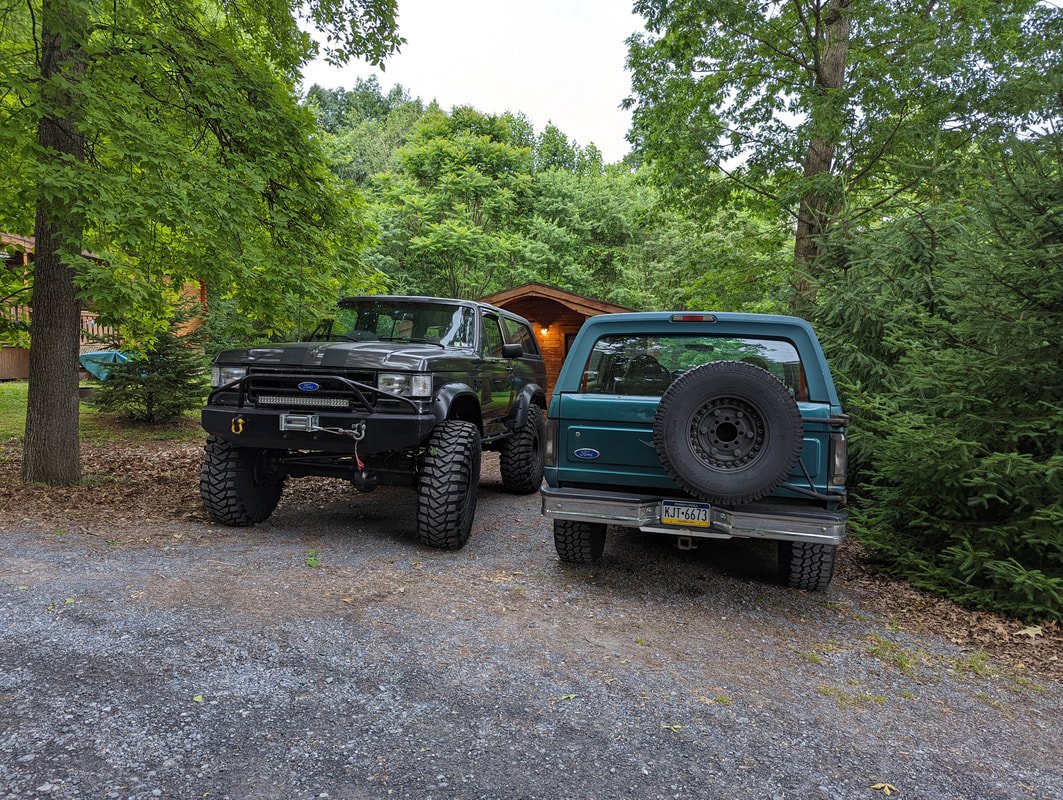
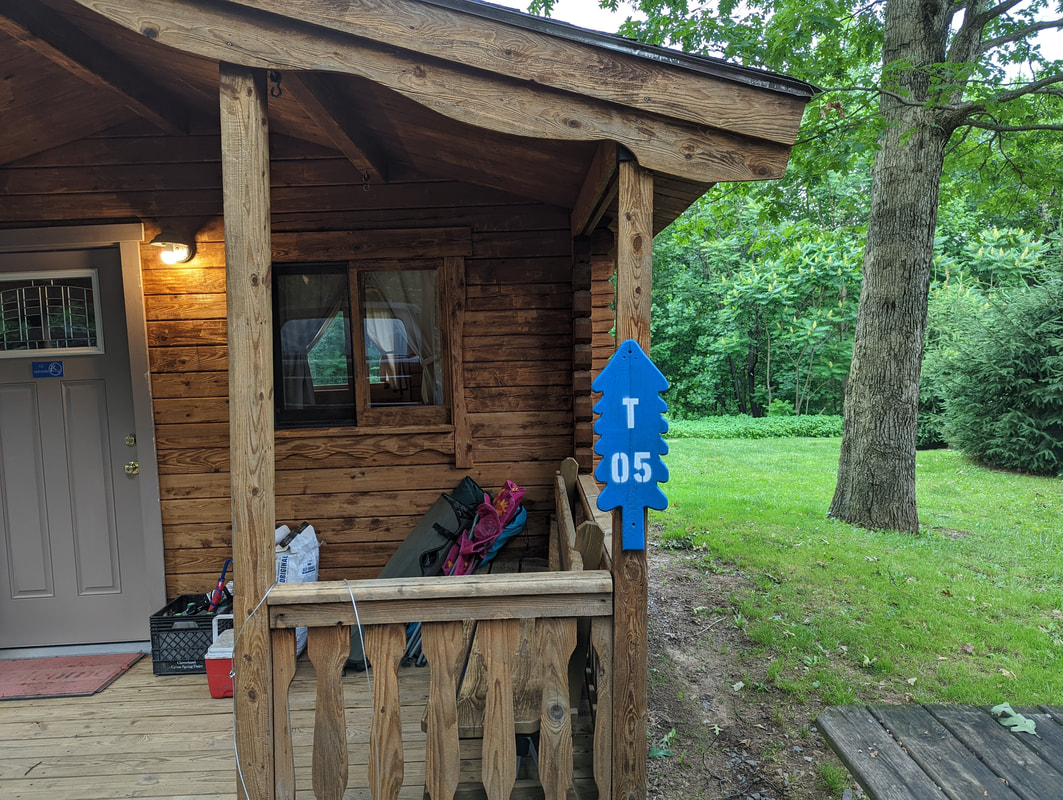
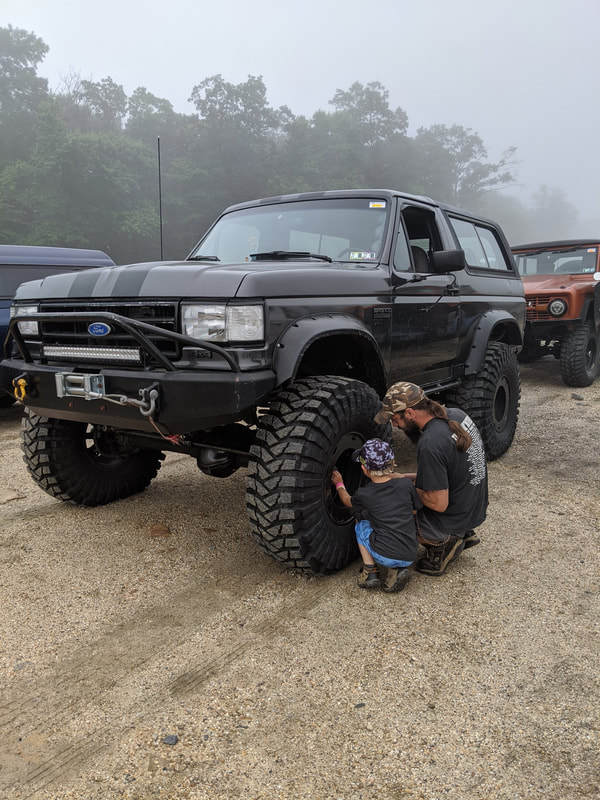
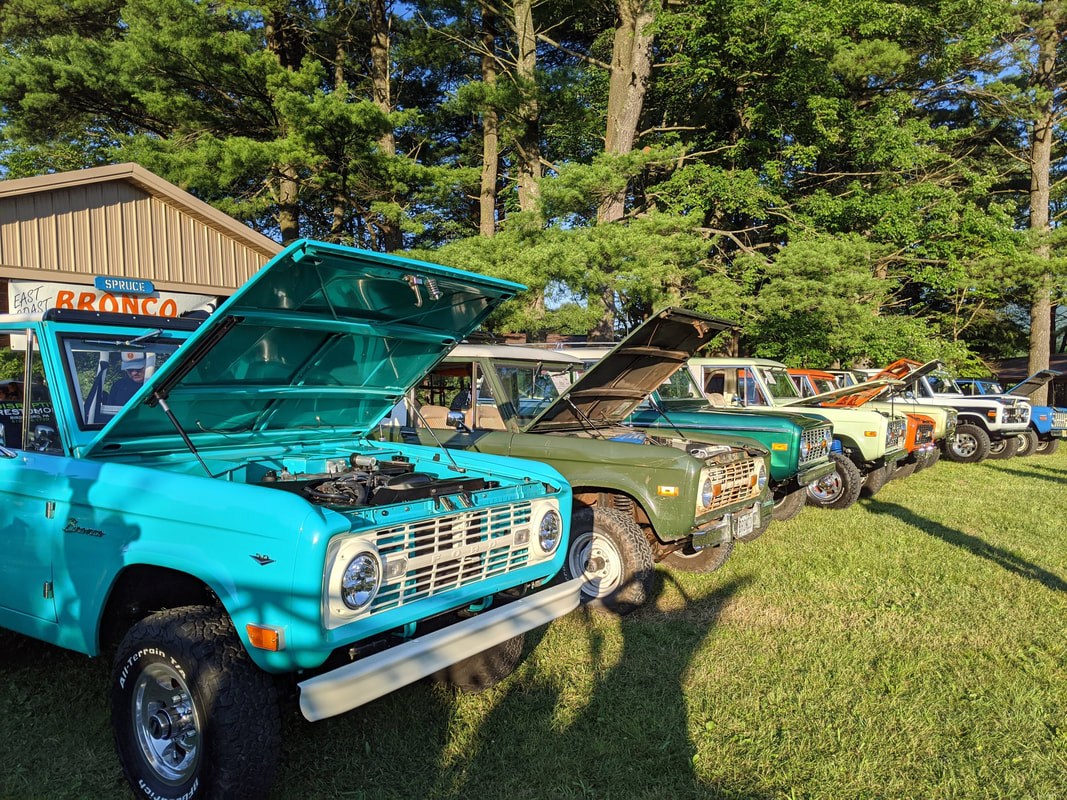
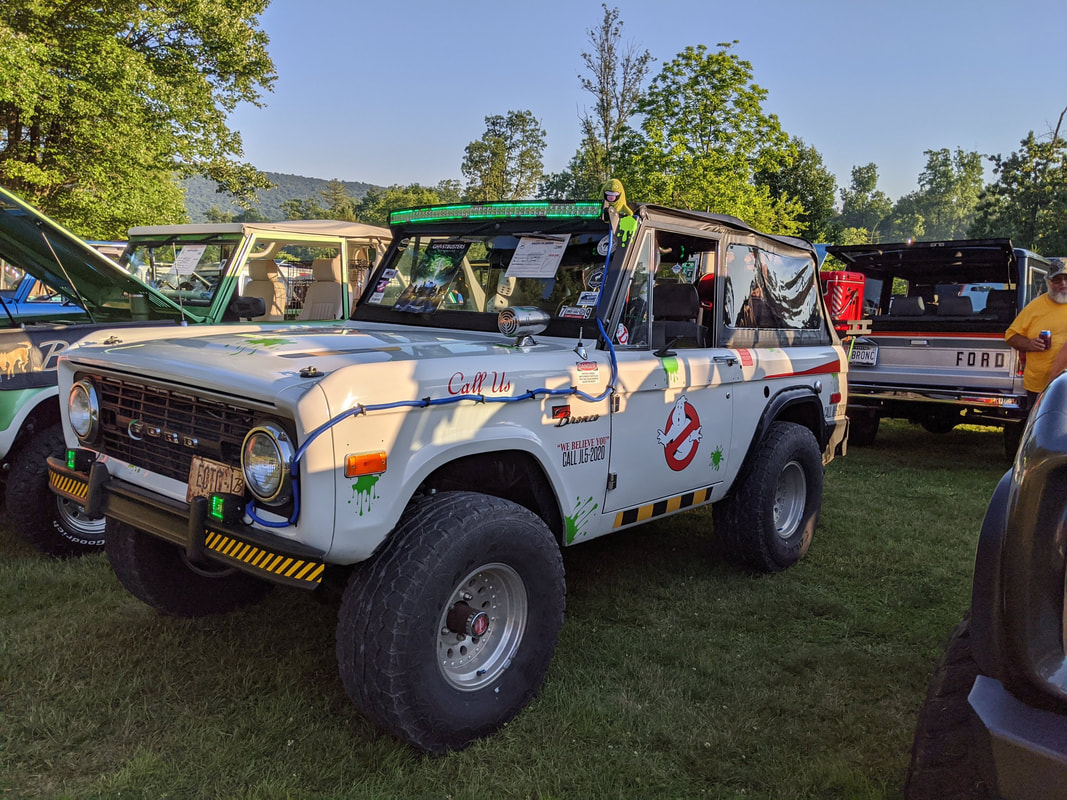
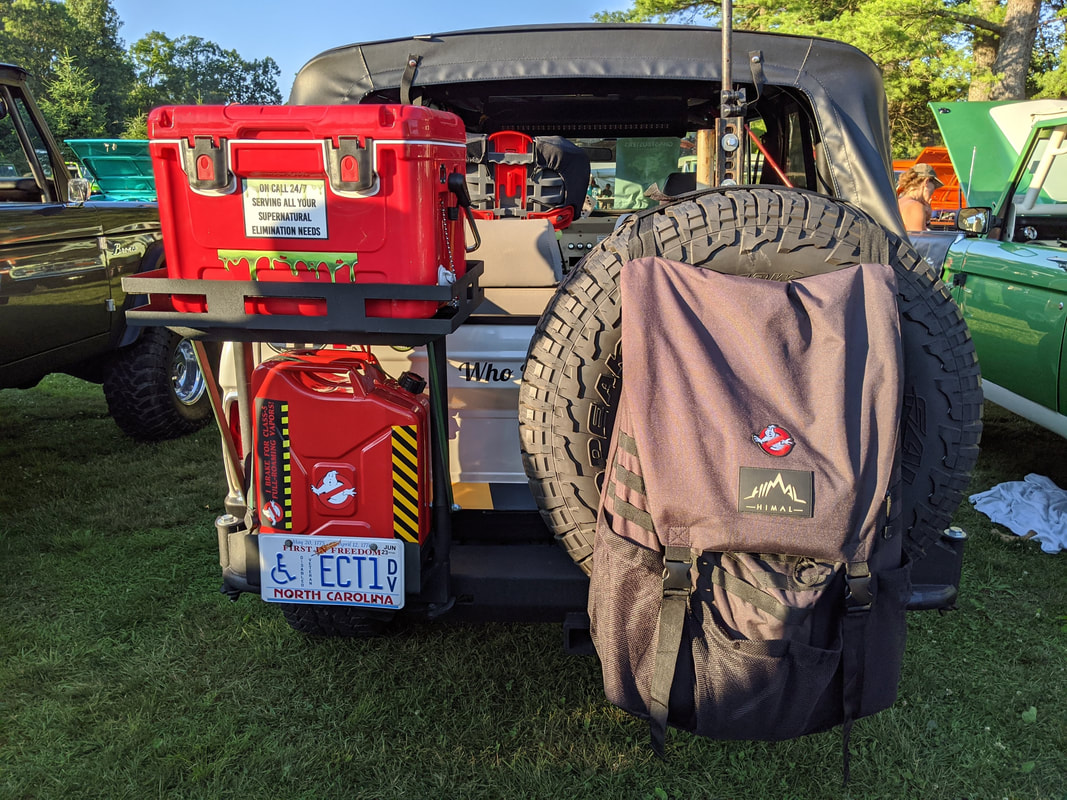
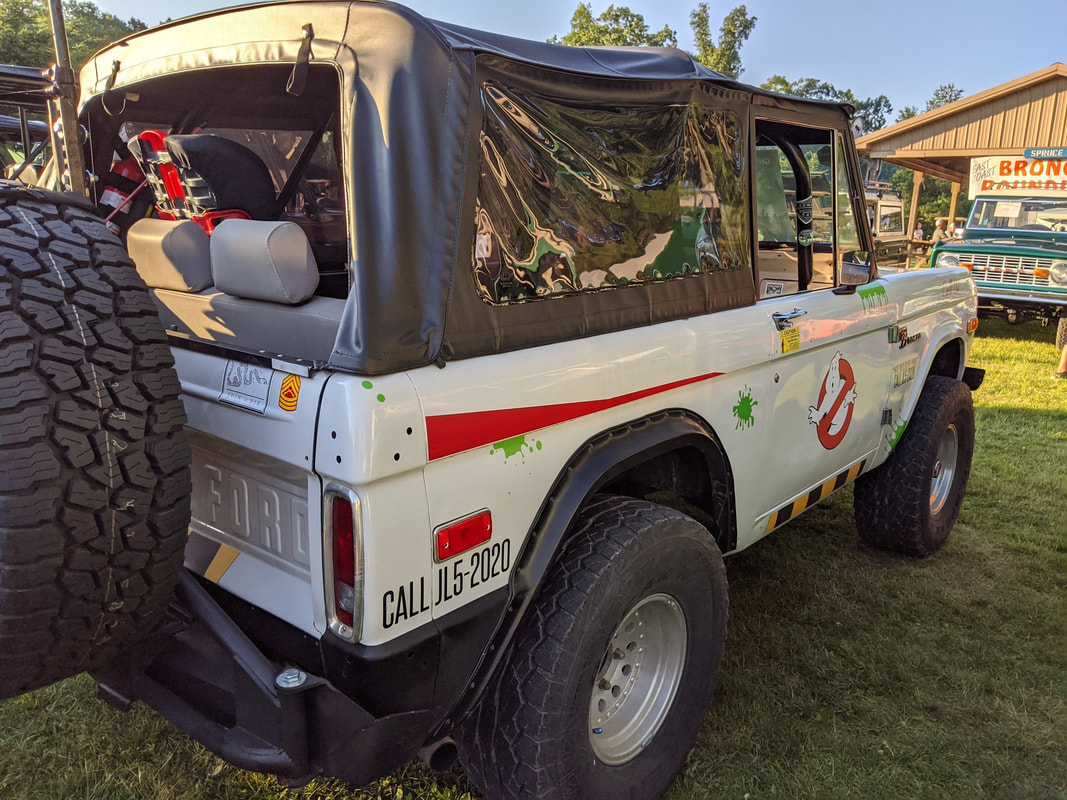
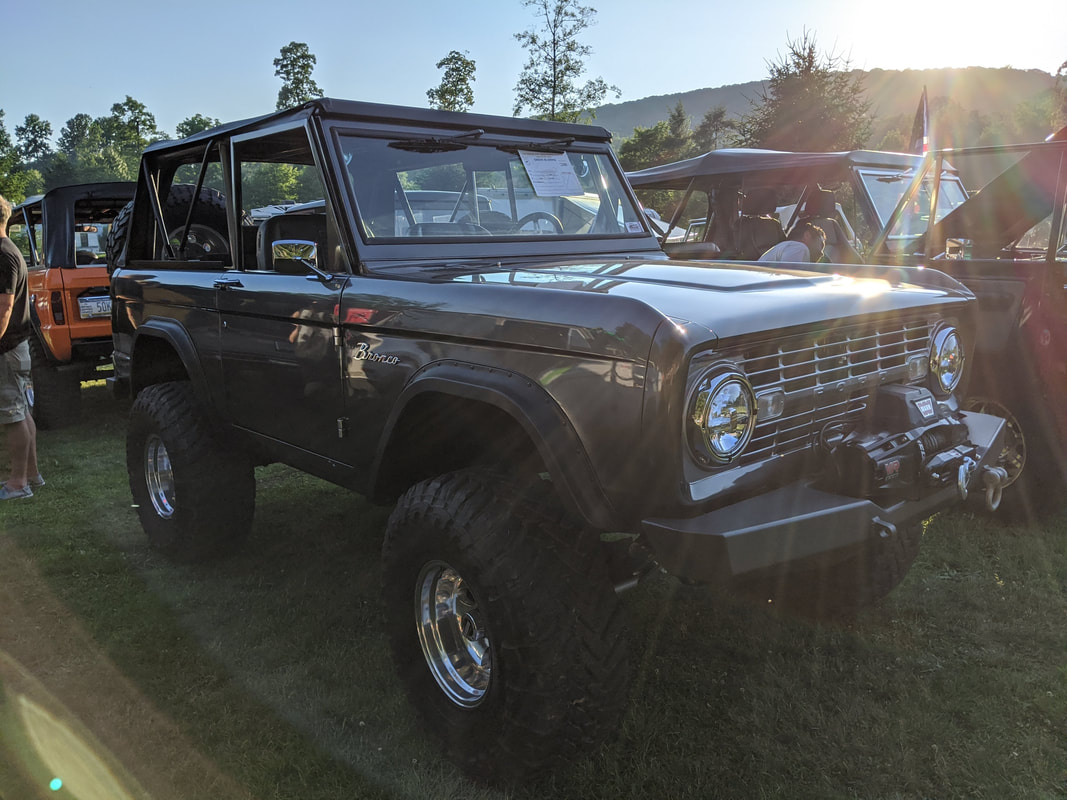
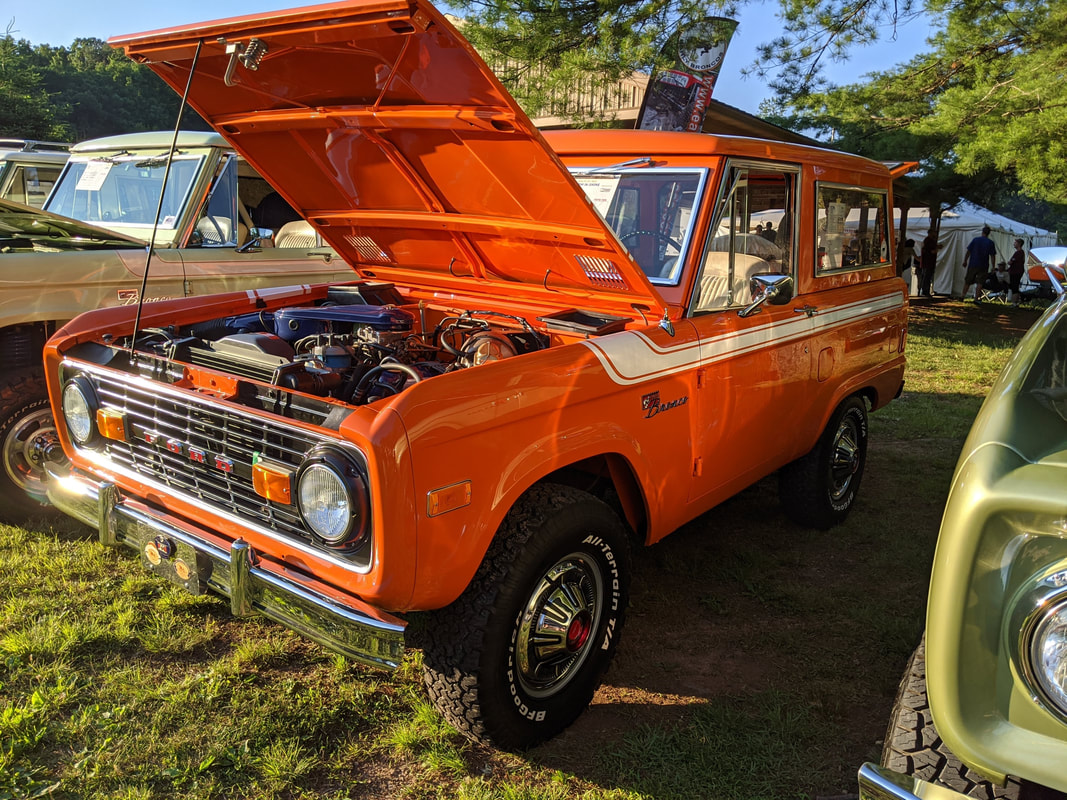
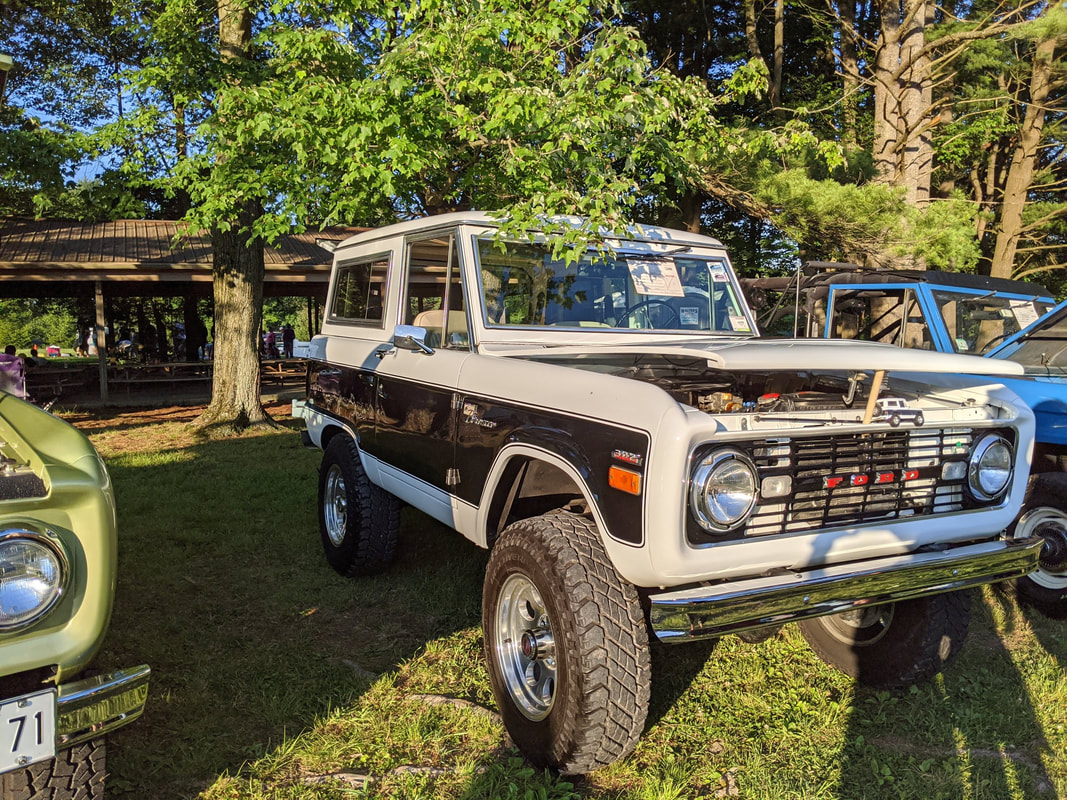
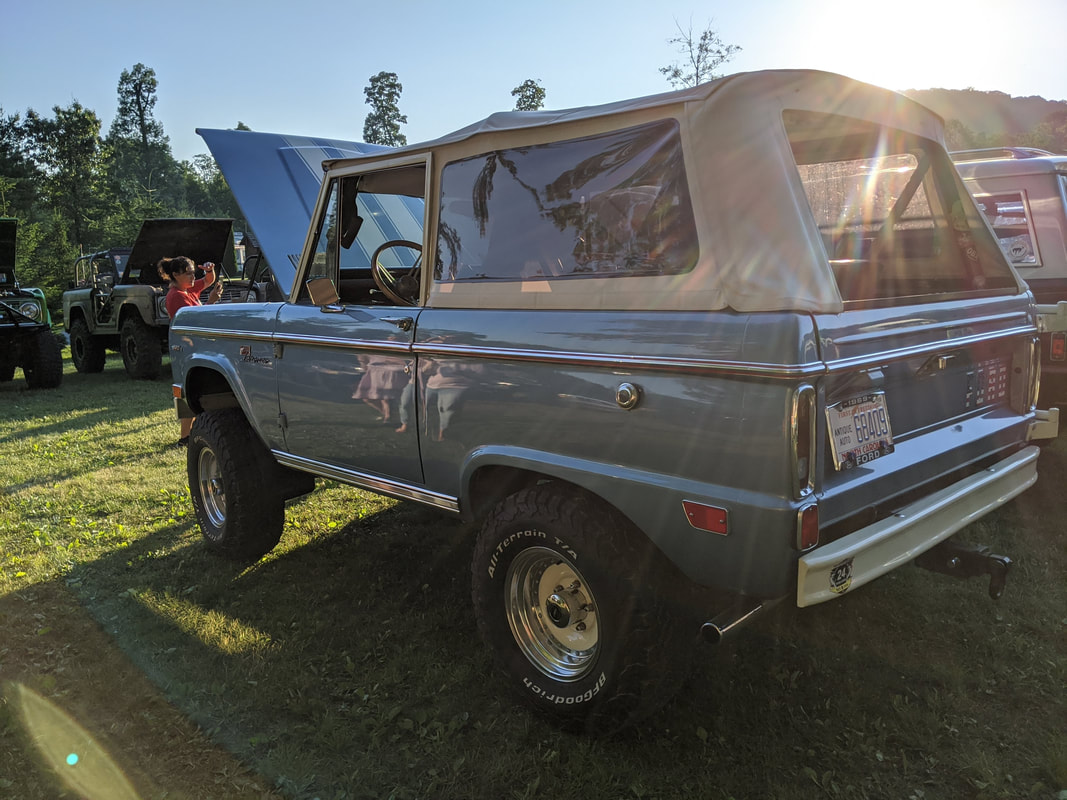
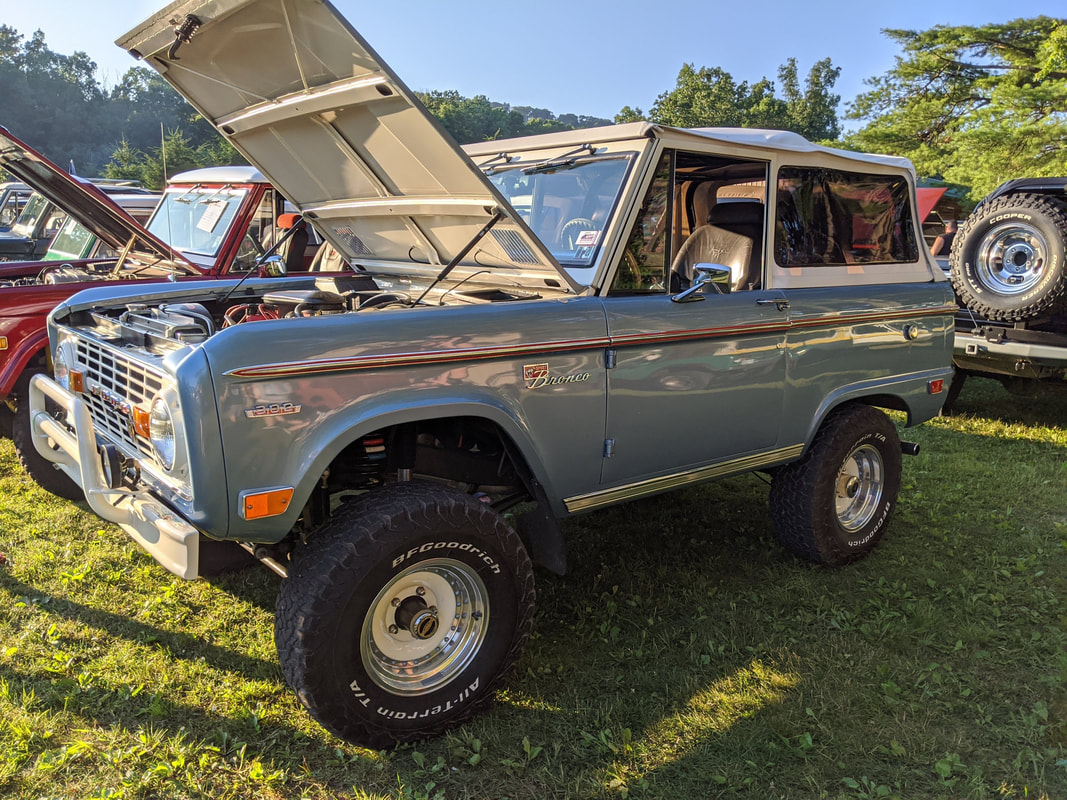
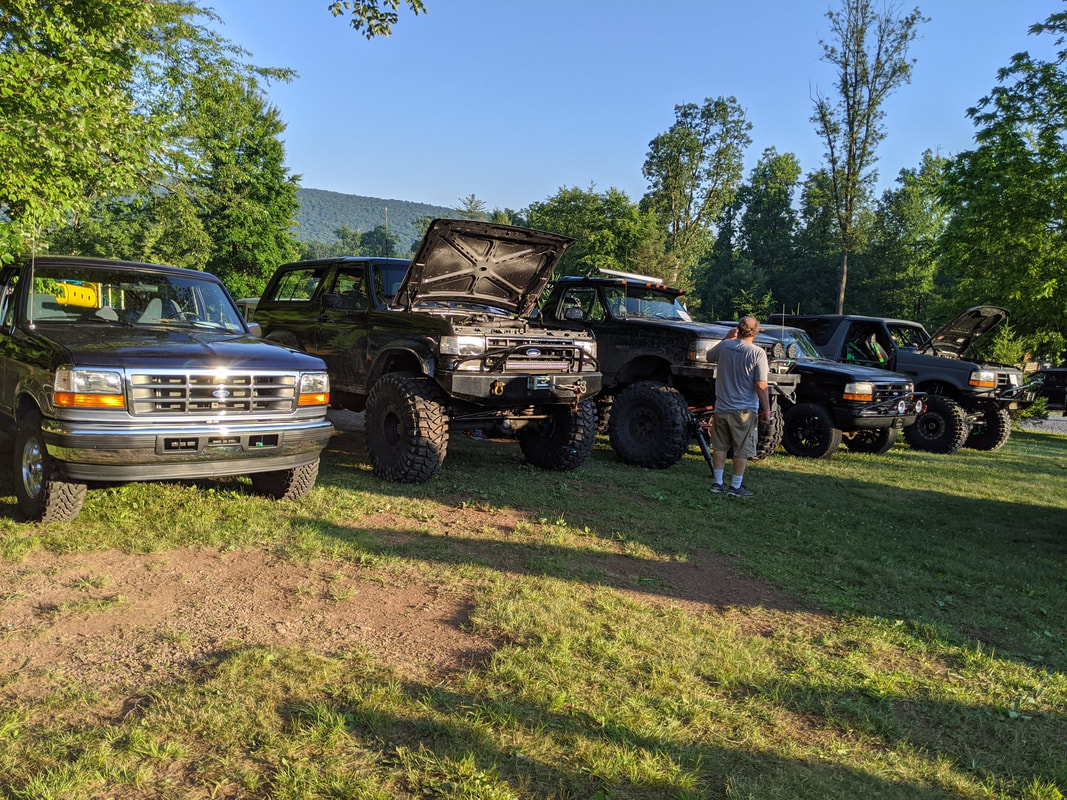
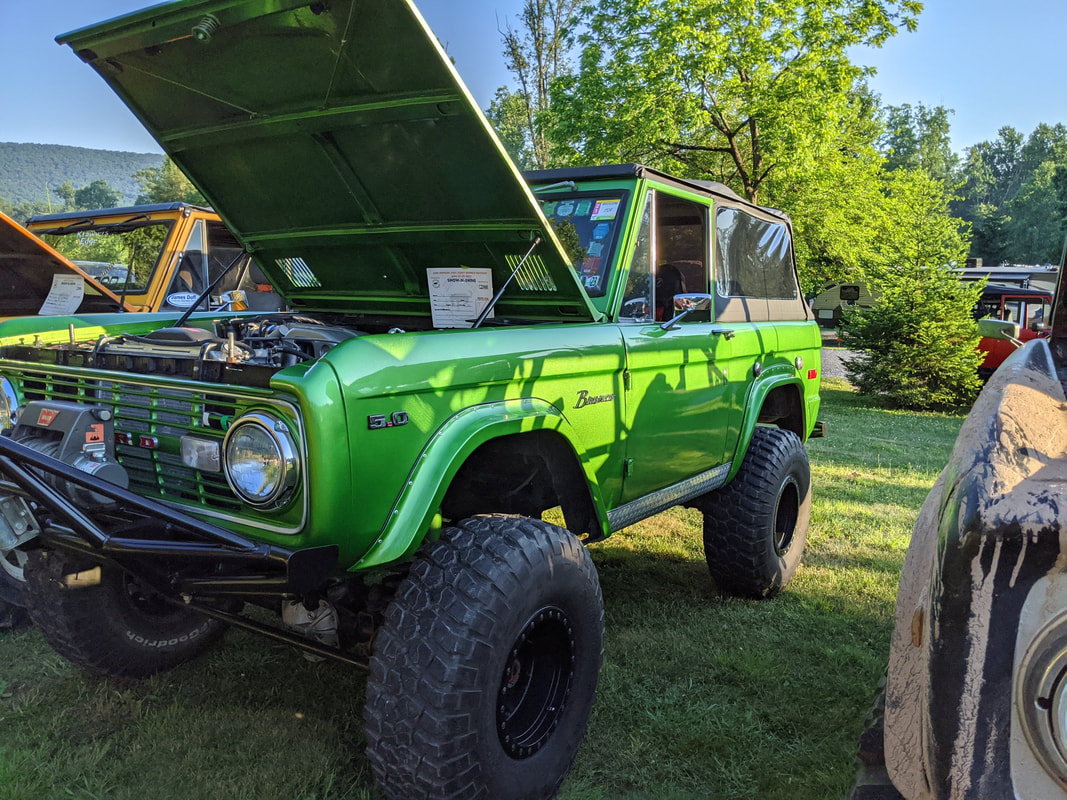
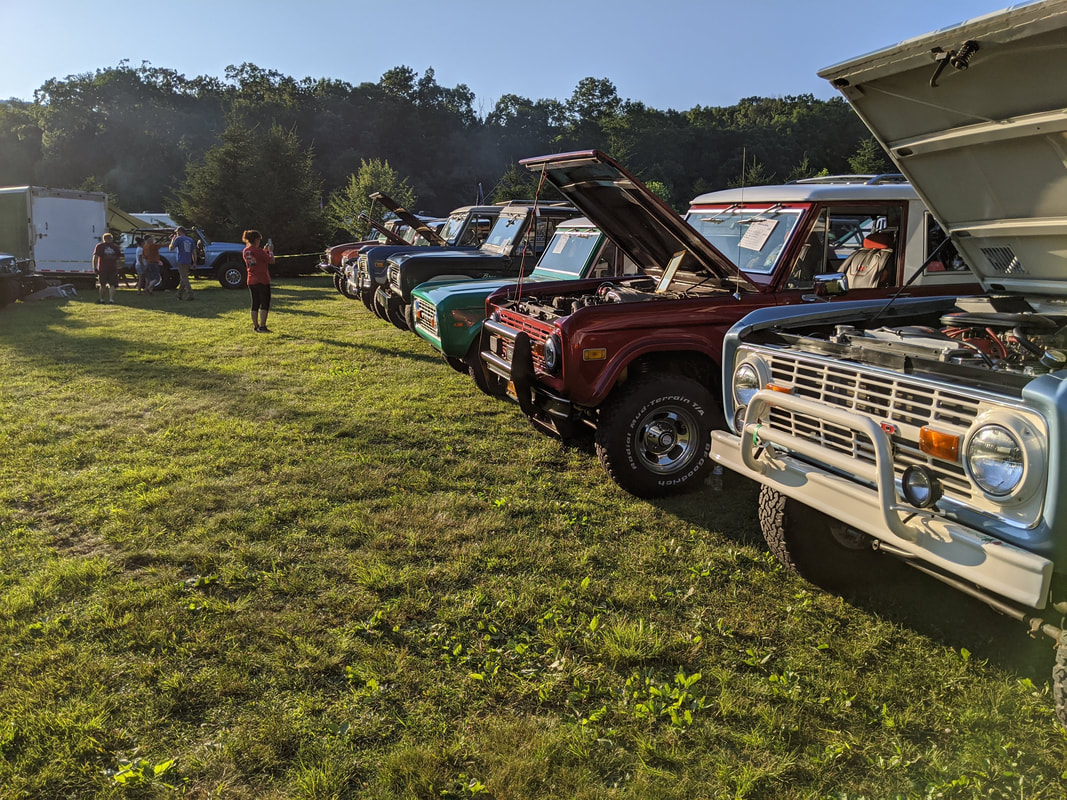
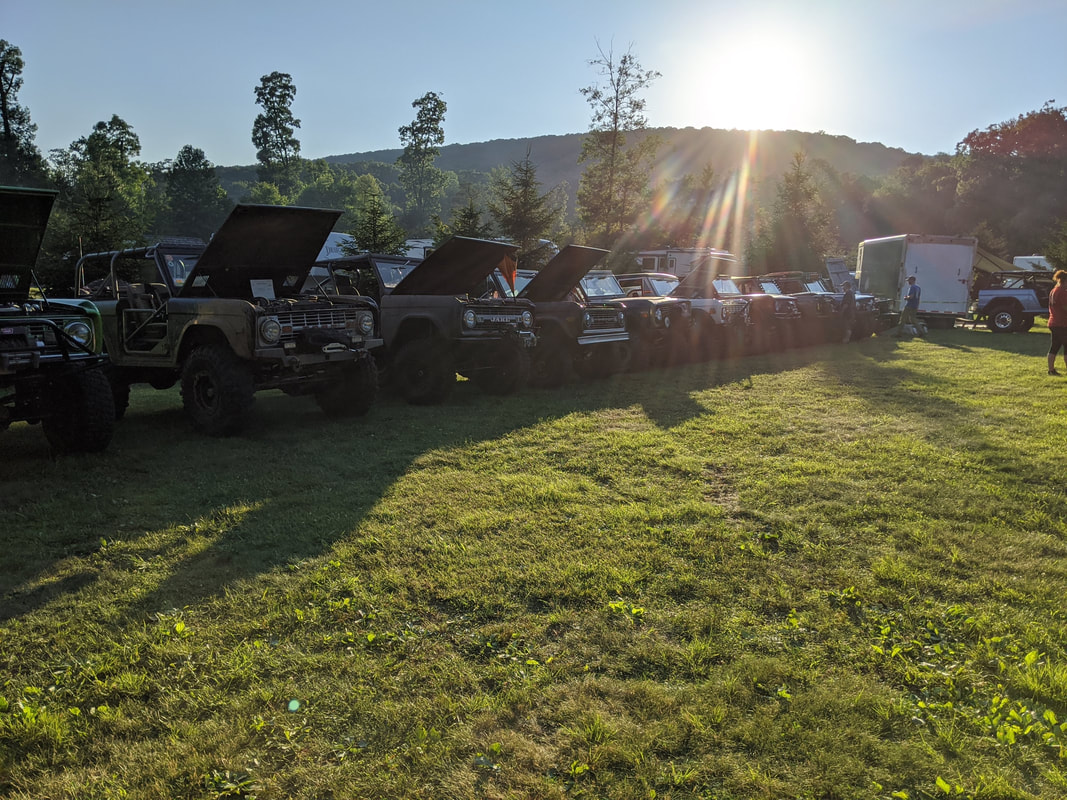
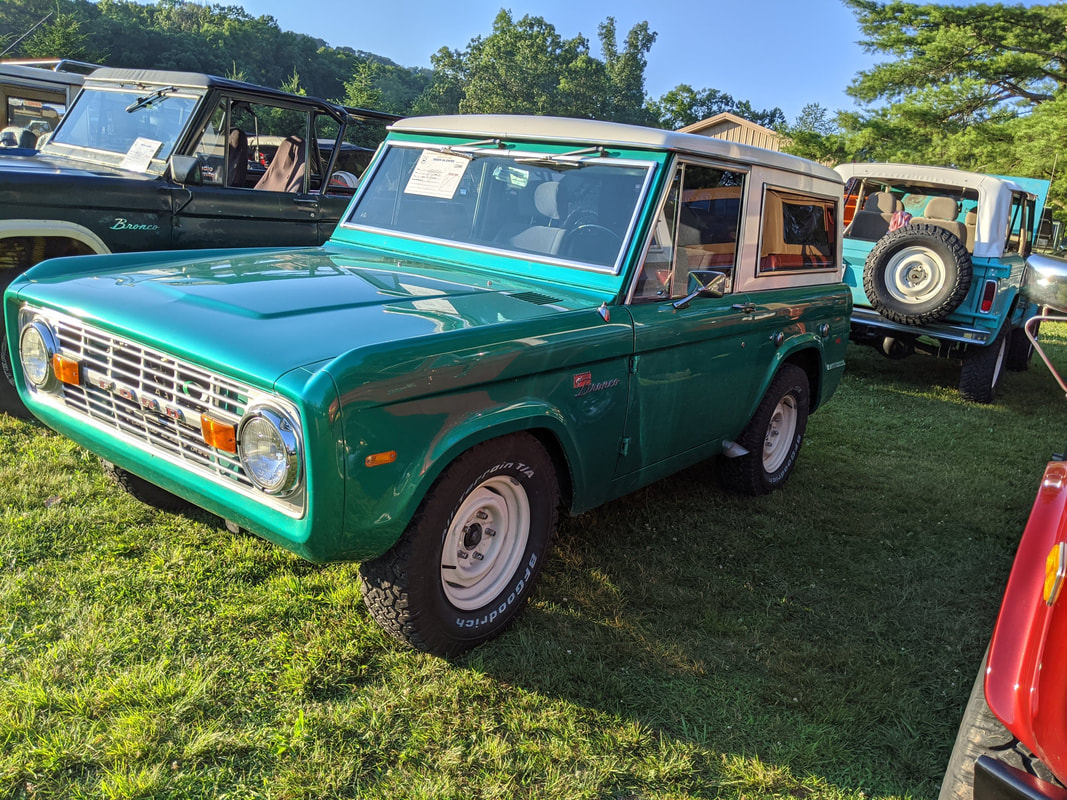
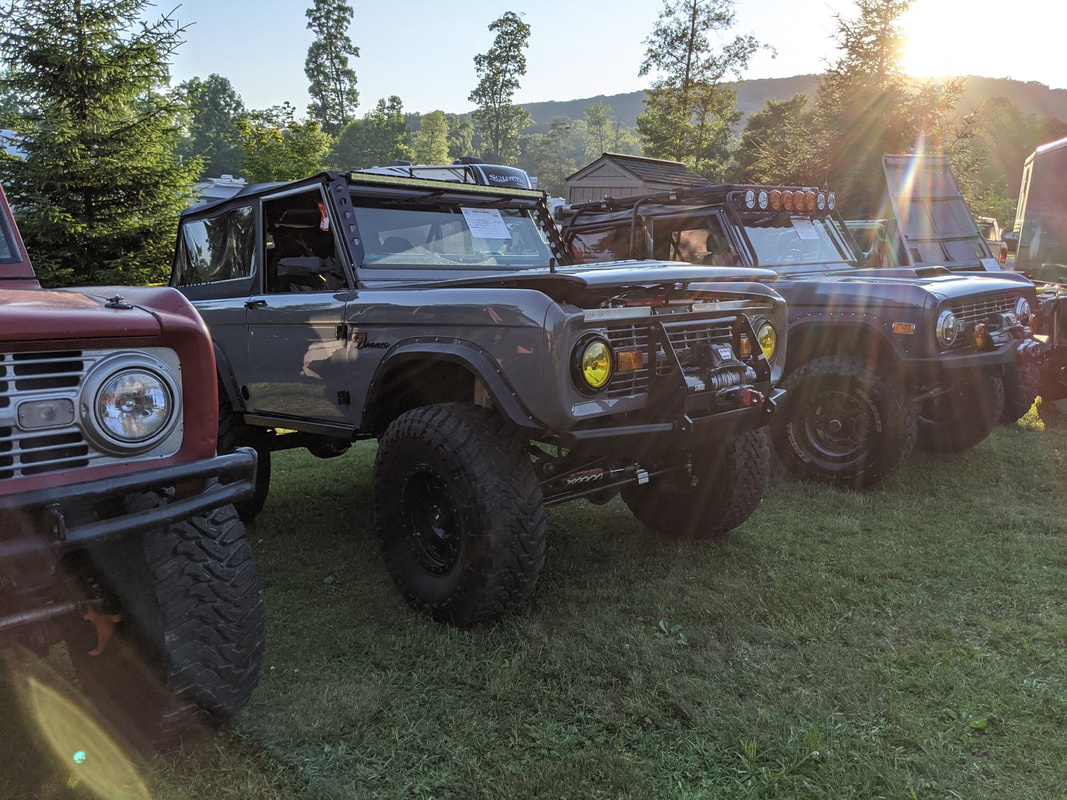
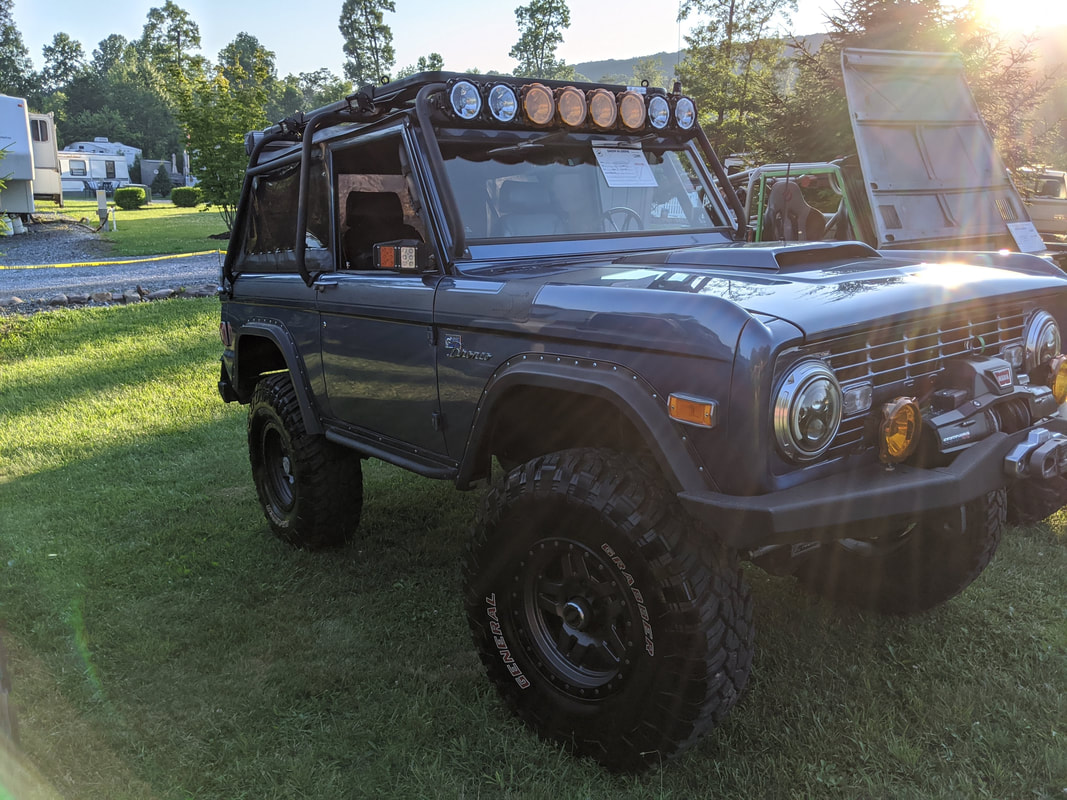
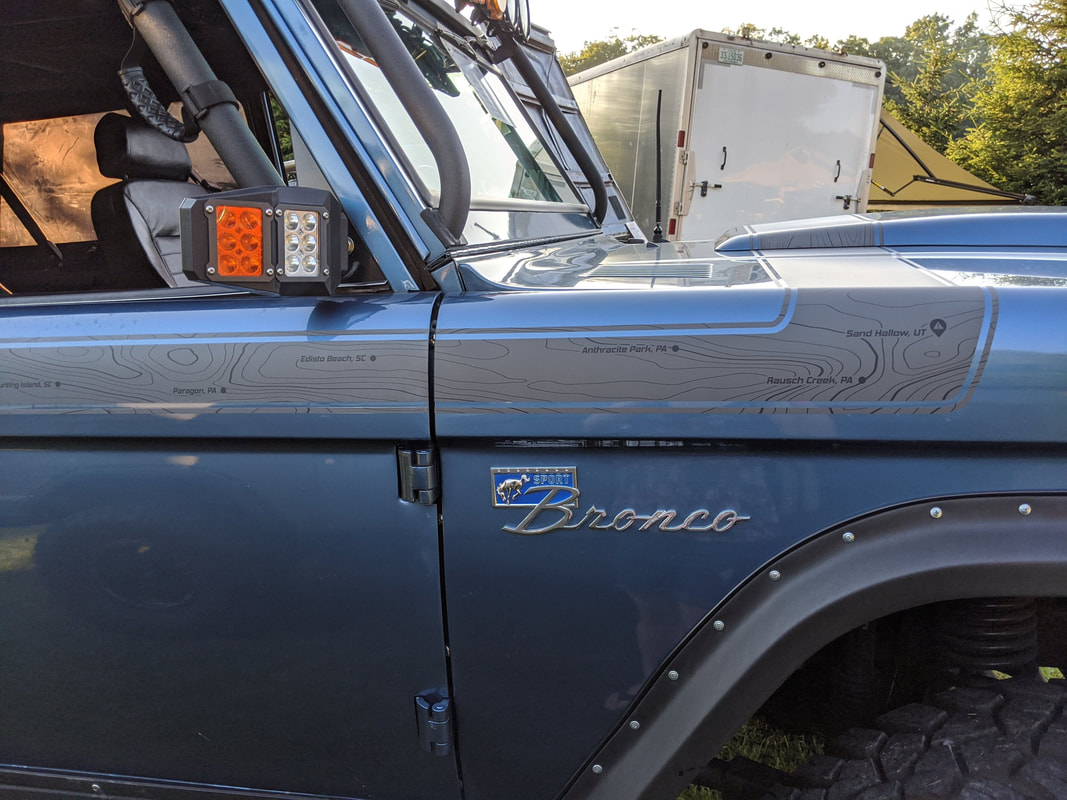
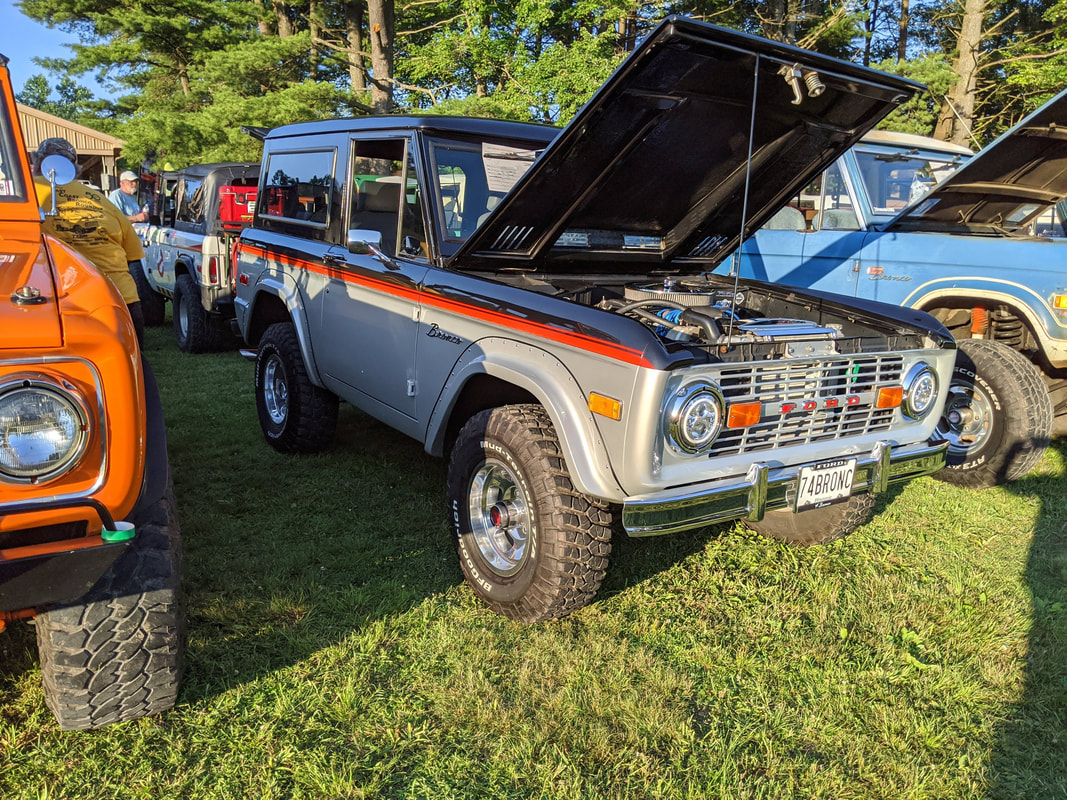
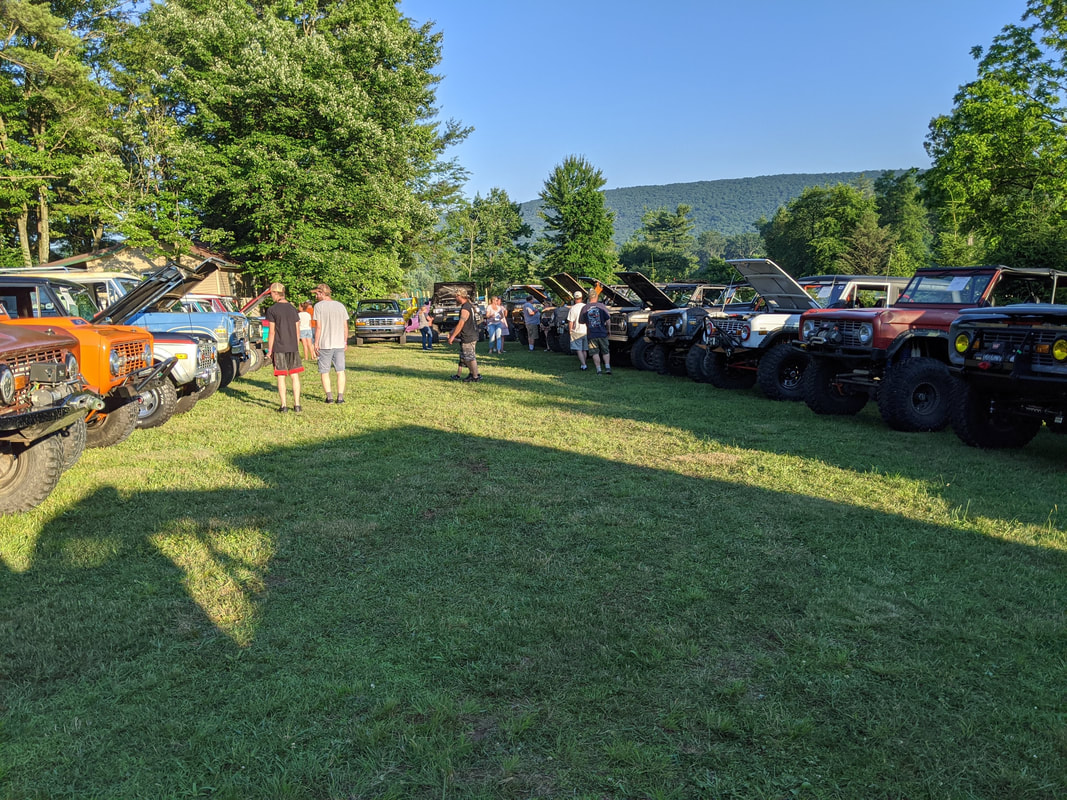
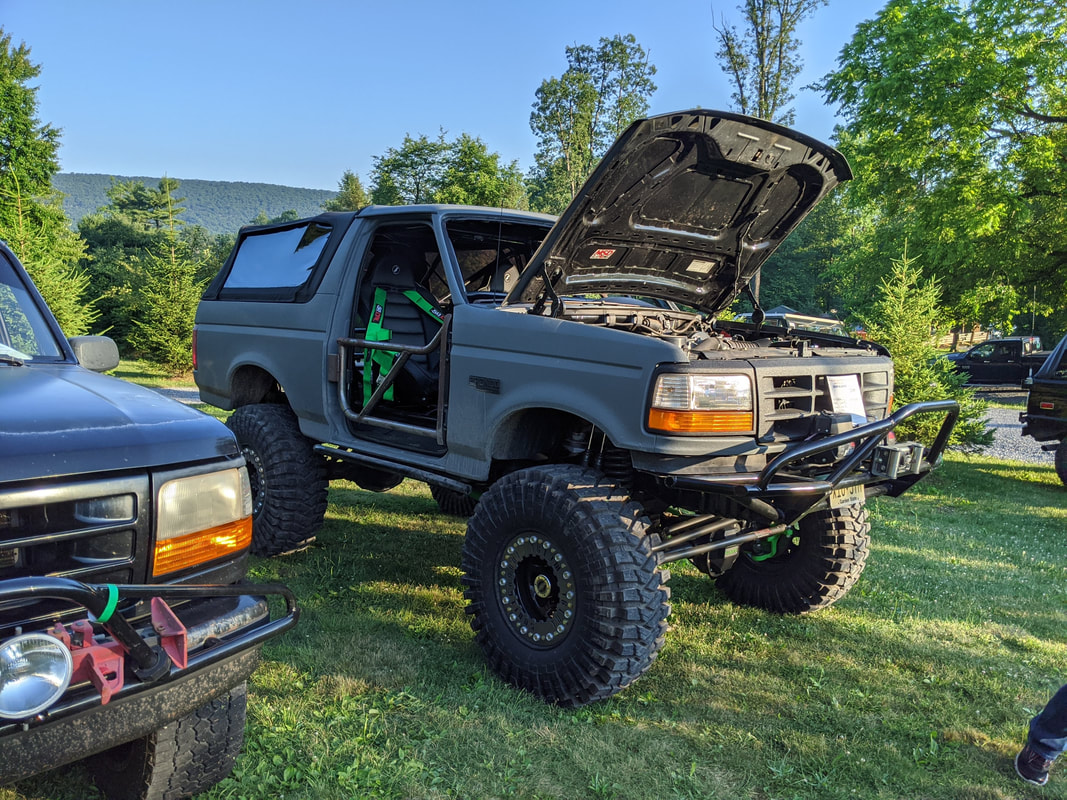
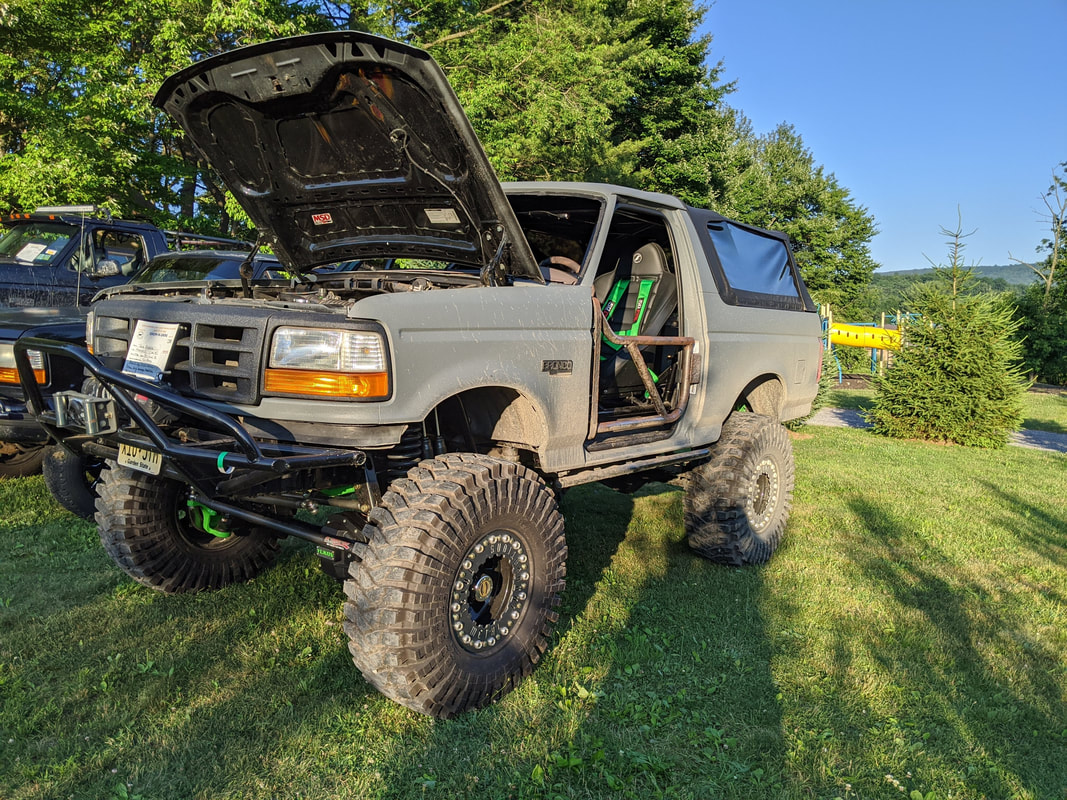
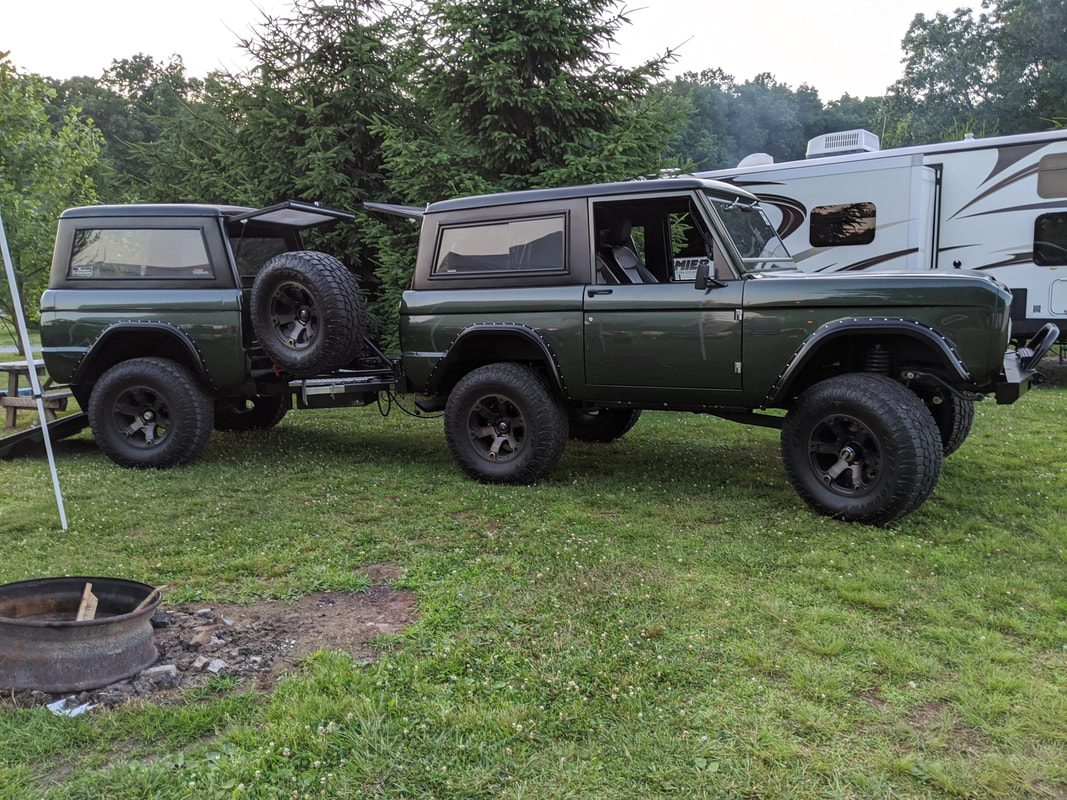
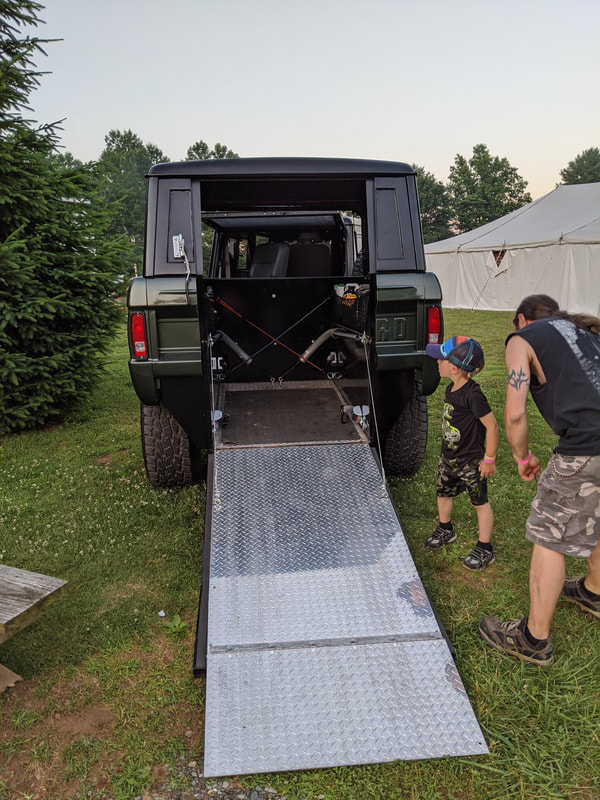
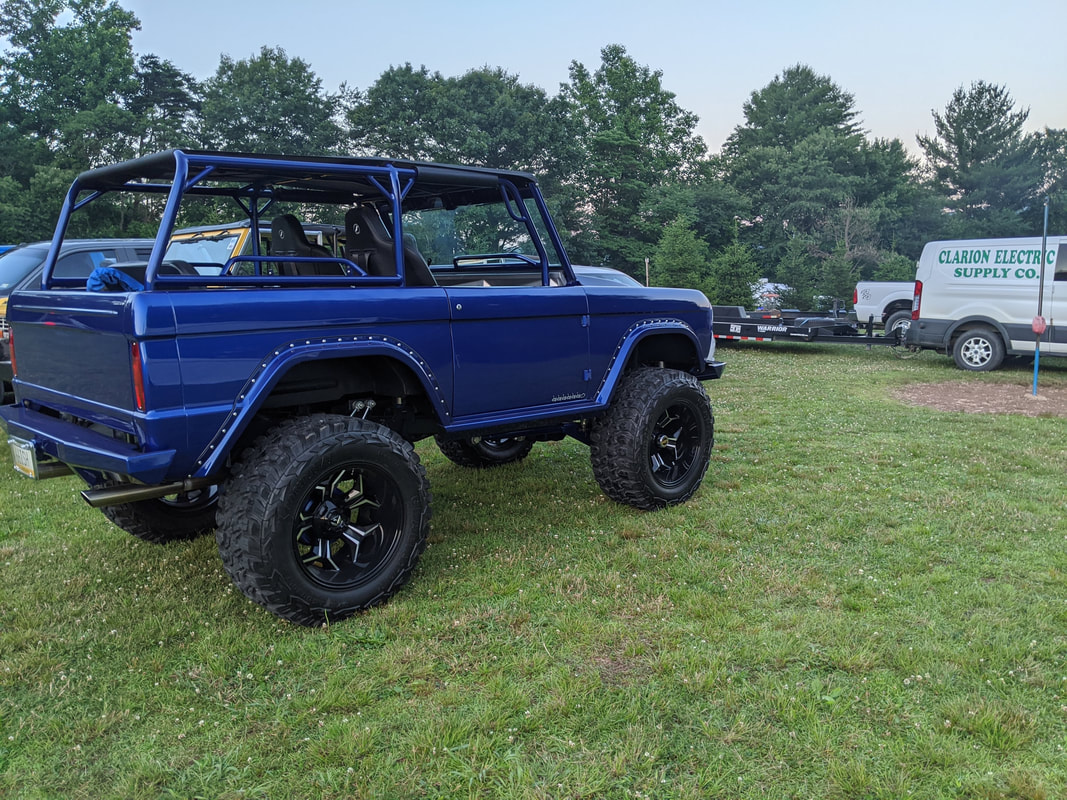
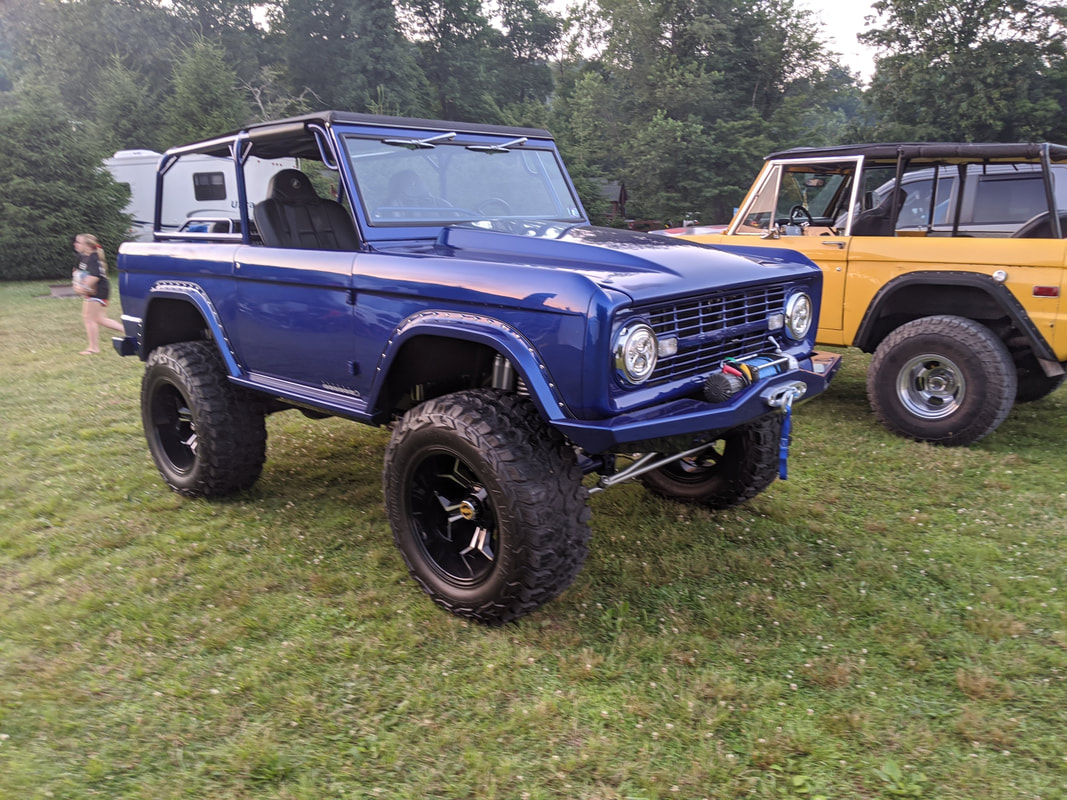
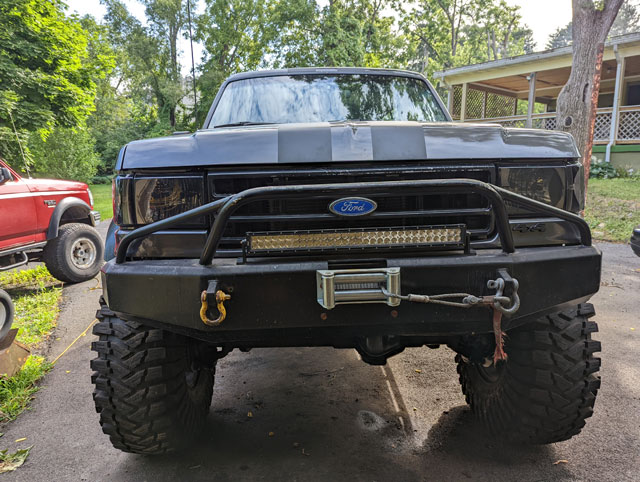 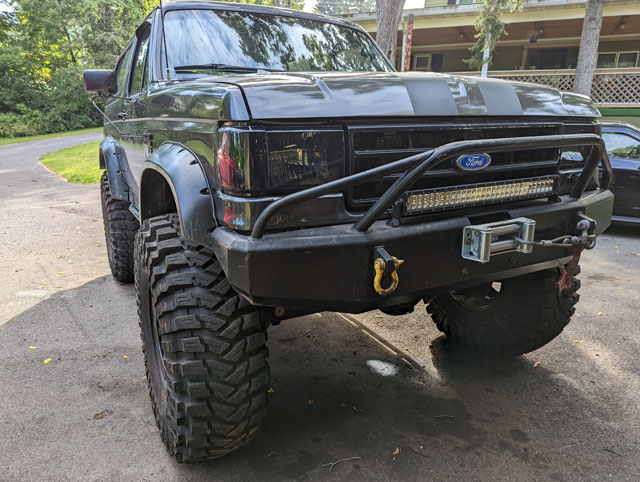  They look pretty good, and while i havent driven it yet, i was aiming them at night and the light output is much better, as is the beam pattern. We're back from the Roundup! All said, it was a good time. We arrived wednesday, set up camp, and just chilled out for the day  Towed the 88 out there with the diesel, and Dawn drove the 96 out. We had a big of an issue with the deisel; during my pre-trip prep, i broke the nozzle for the water-methanol injection! 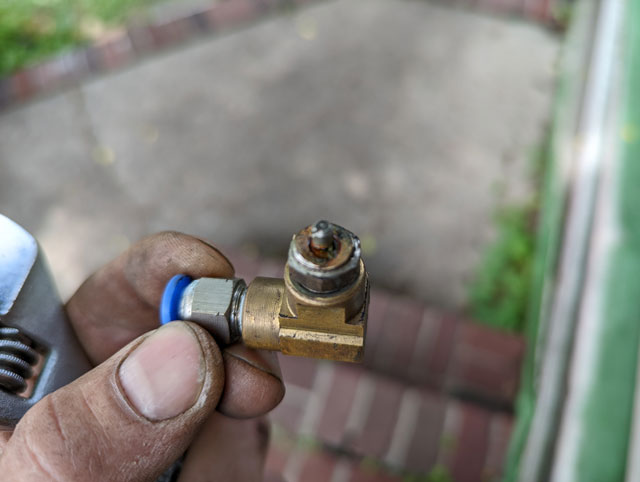 There was no time to fix it (broke the day before) so we made the trip without it. Parts are on the counter, we'll get this fixed next week. So, the Roundup! Thursday it rained basically the whole day. People were showing up as the day went on and the campground filled up. Friday was the official start, which consisted of some street cruises and an offroad trip to Rausch Creek. We went for the wheelin trip, but the kiddo isnt quite ready for that stuff yet so we bailed early and went back to go hang out in the pool instead. Friday evening was the SHow N Shine + dinner, and then Saturday was another offroad trip (this one to AOAA) and a street cruise to Pioneer Tunnel, an old coal mine that closed during the great depression. I wont bore you with family pics, but it is actually a very cool place to go if youre ever in the area. Once again followed by a big dinner, along with all the club's raffles and awards. So baring the family photos, we have a collection of pics from the Show N Shine friday night along with a couple misc pics: There was a really cool EB done up in a Ghostbusters theme and loaded with all sorts of cool little details. A beautiful stock uncut one (orange), a lowered 2wd green one with a mod motor (mustang). A blue one with a black stripe, except it was styled as a topographic map with locations of offroad parks theyve been to. Of course Joe's monster diesel bronco was there. I think the most noteworthy though was a beautiful dark green one complete with custom trail used to haul their son's wheelchair, which was super awesome. In our case, ti was the little dude's first Roundup and he was a little overwhelmed so we kind of kept a low key and just chilled out for the duration, but next year i imagine we'll be a bit more involved. We're already planning the list of upgrades to get done before then! Have to make my own collector gaskets, because i dont know the brand of the headers, and i never found a gasket that matched. That said, this time i tried Remflex Gasket Sheet, and im sold. Easiest best stuff i ever worked with. 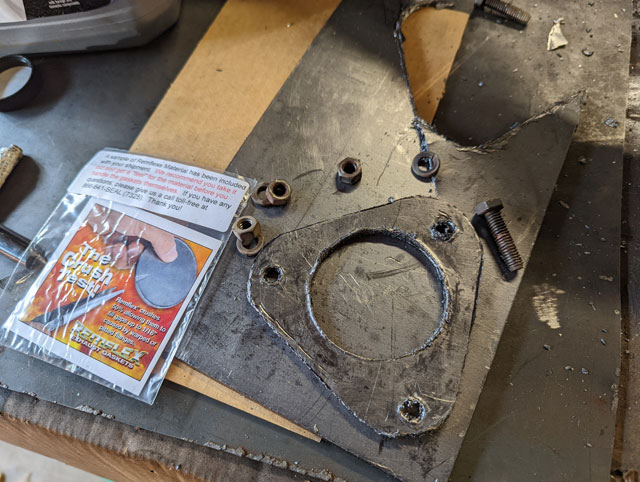 ...and the header reinstalled! 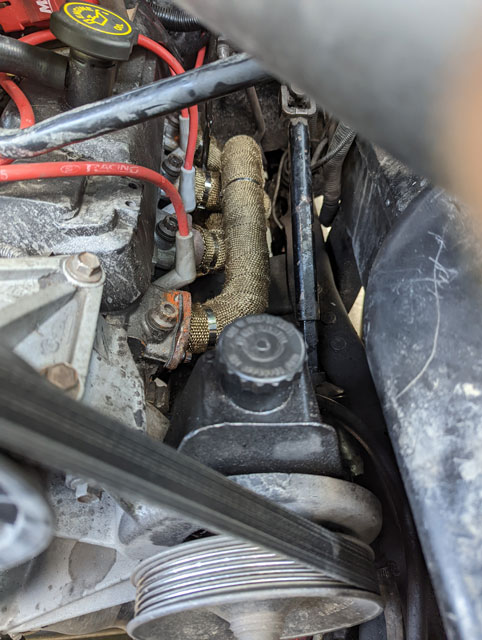 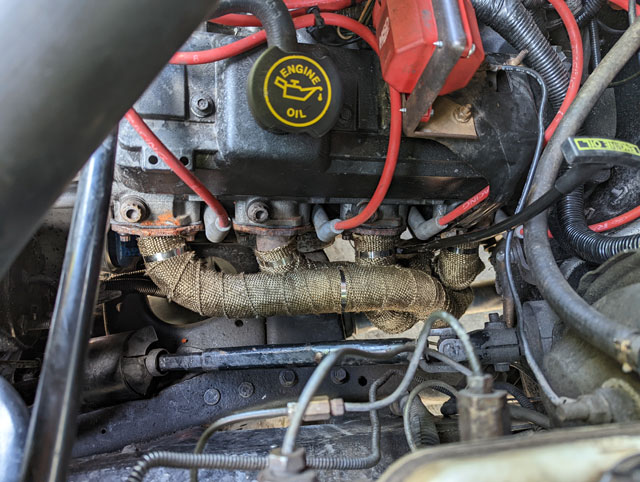 Wrapped part of the y-pipe as well, since its so close to the trans pan. Hopefully this will help with the trans temps some! 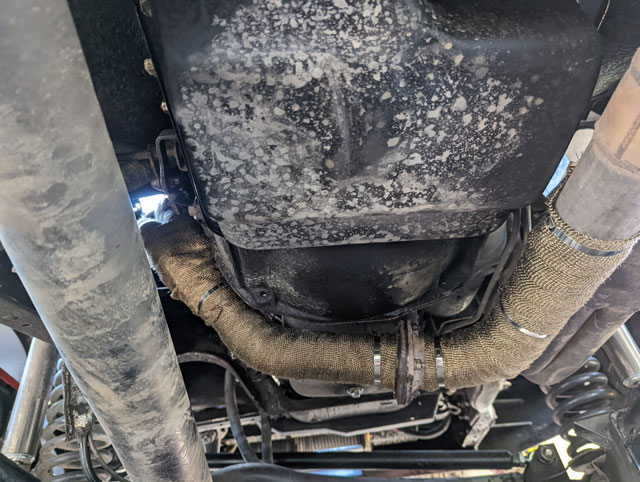 First impressions are that it works pretty good, but ive only had it idling in the driveway. We'll see how well it does on the trail soon enough Already running a 3G alternator in the '88, but its tired and isnt charging properly. Its a 200a unit that i built many years ago, and i dont have time to troubleshoot it before the ECBR next week, so i ordered a new 200a one from Powermaster: 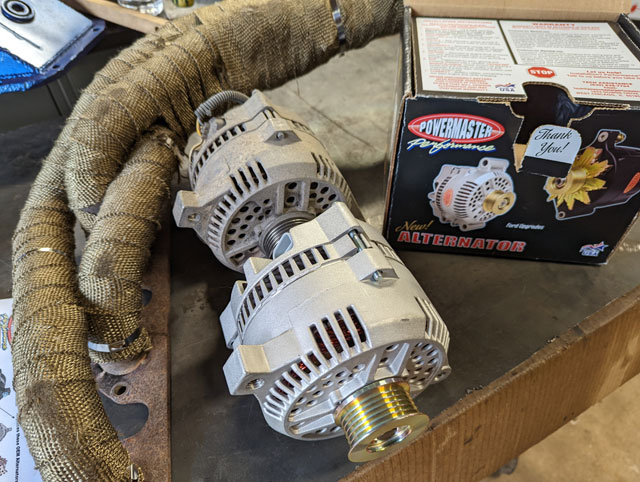 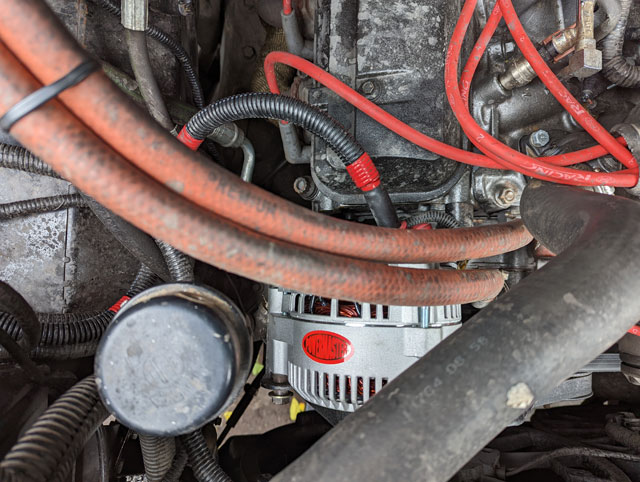 After the Roundup ill put the old one up on the bench, disassemble/clean it, and see if i can fix it for a trail spare. Also, header wrap! 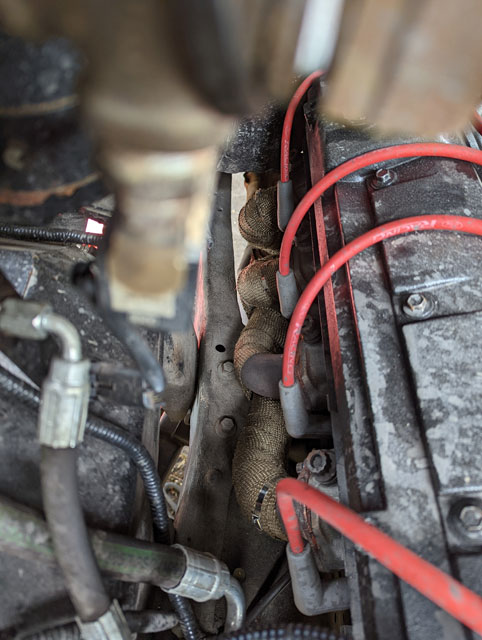 Wrapped the passenger side header while still installed on the motor, that sucked! I dont recommend it. 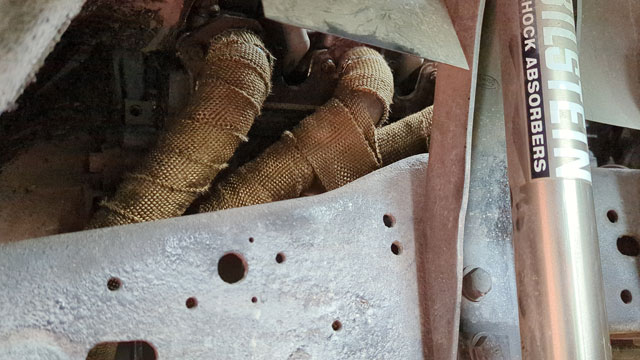 i pulled the driver header to wrap that one on the bench: 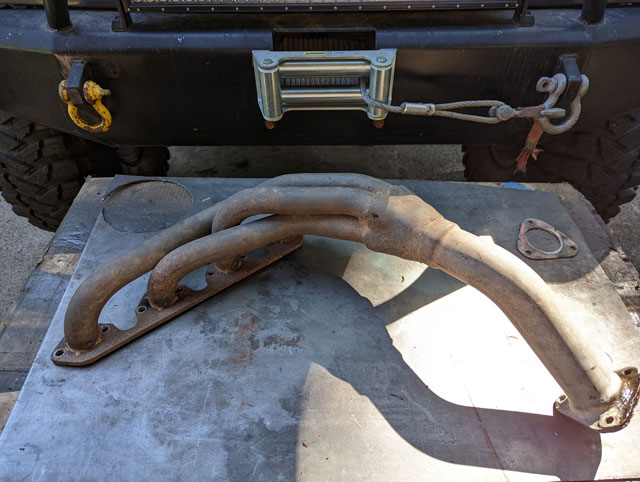 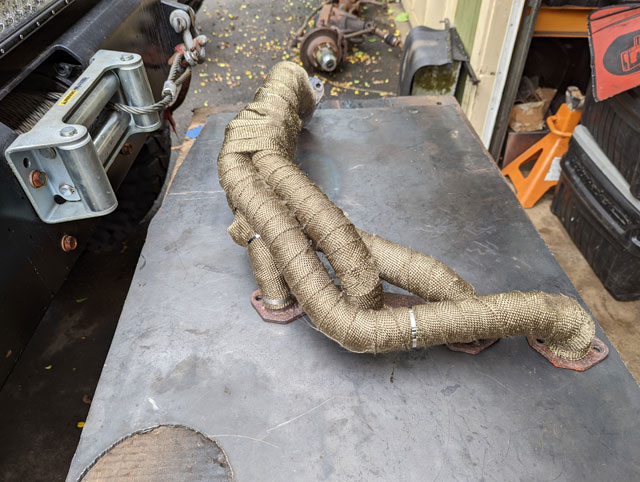 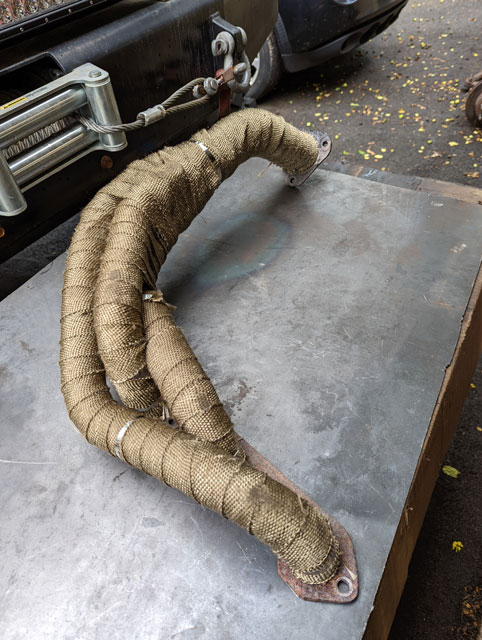 Tomorrow itll go back in and then hopefully thats the last thing i have to do before the Roundup next week! The 24th Annual East Coast Bronco Roundup is happening on June 23-25th at Twin Valley Campground. Its been a few years since weve attended (other than being passengers for trail rides), but this year we'll be there for the whole event, with both the 88 & 96 broncos! Hope to see everyone there!
So the time has come. The Kid Trax bronco looks cool, but the 12v conversion leabes a little to be desired. Sure, cruising around in the driveway it goes good enough, but out in the yard it just doesnt have the torque to truly propel around a 4y/o. Enter MLToys' Level 3, 18v conversion: 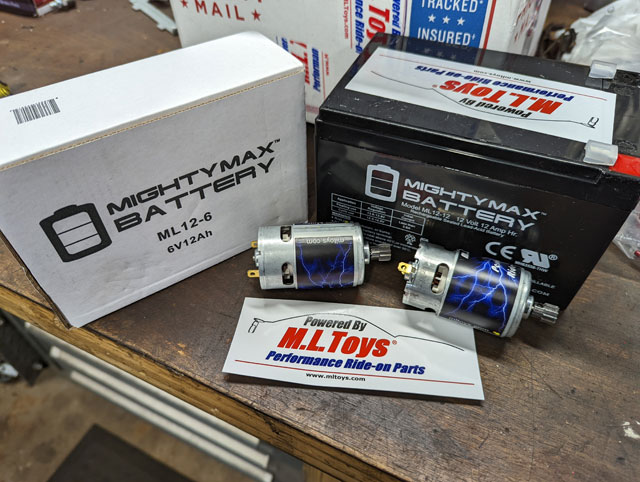 Normally this kit would come with a second gearbox, but since we already had the 2wd conversion they omitted those parts. Anyways, here we go! The kit comes with larger 550 motors, so the geart boxes need to come out so we can swap them in 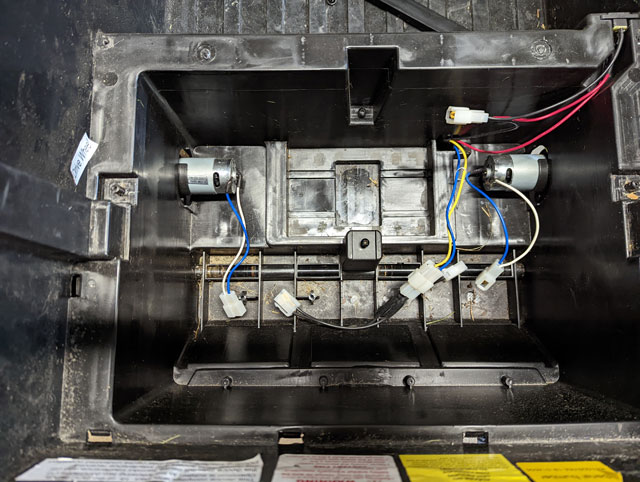 The new motors with their new pinion gears. Of note is the pinion depth is not set 'from the factory', you need to adjust the gear on the motor shaft to get proper engagement of the gearbox. If you dont, you will definitely strip the gears out! 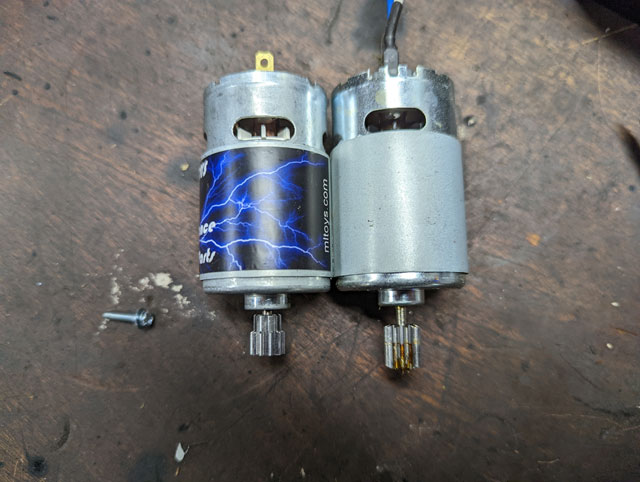 One done, one to go. Yes its that simple. 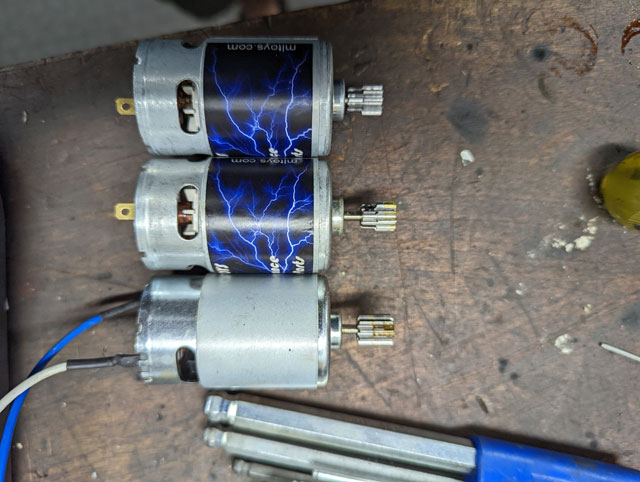 New motor installed on the gearbox! Note the new motors come with Wagos which make reconnecting them to the Bronco's harness super easy  ...and back together we go!  Since the conversion to 18v means we now have 2 batteries, i made a new battery hold-down so they cant go anywhere: 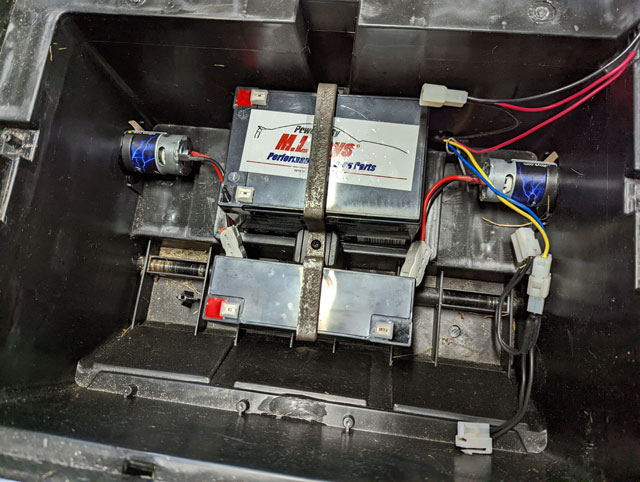 From there all thats left to do is to reconnect the wires for the motors and the batteries, same way it came apart. The most important thing to do though, is to break in the motors:  ML Toys recommends running them for 15 minutes with no load to seat the brushes. I ended up running it for about 20 which is fine as well, the important part is just to run it with the tires in the air so theres no real load on them. The end result? This thing is a beast now! It zips around the yard without a care in the world, and the battery life has improved as well! This is the way it should have always run. Here's hoping it holds up to the abuse.... 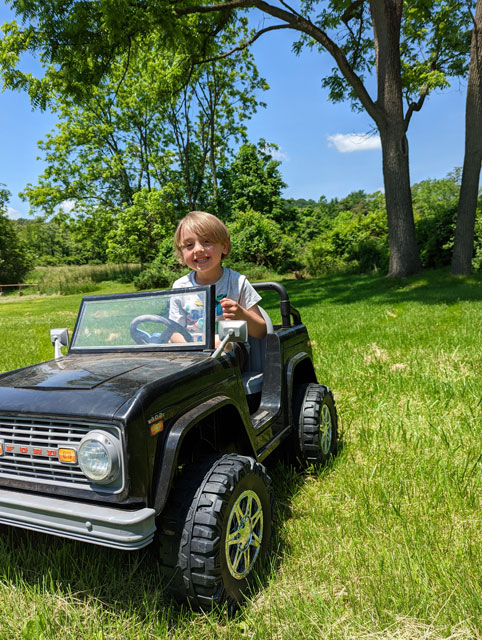 |