|
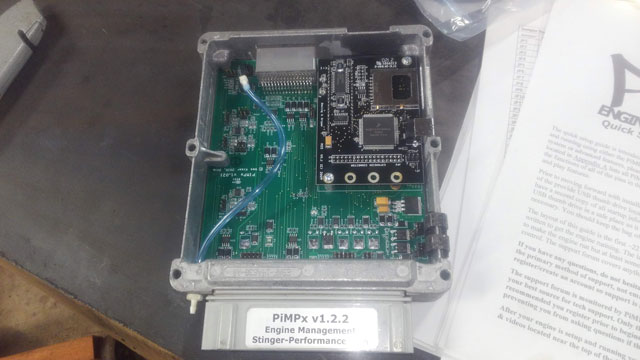
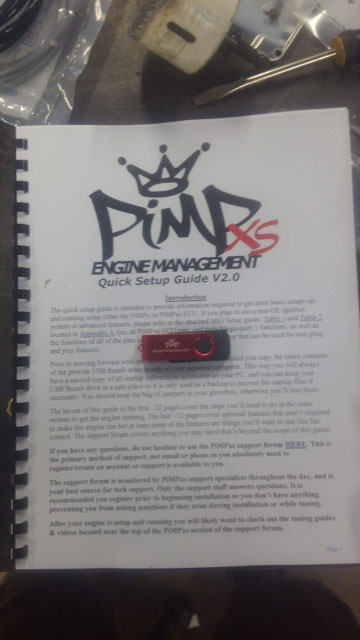
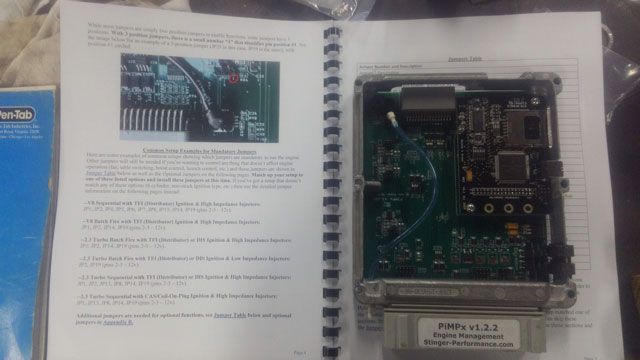
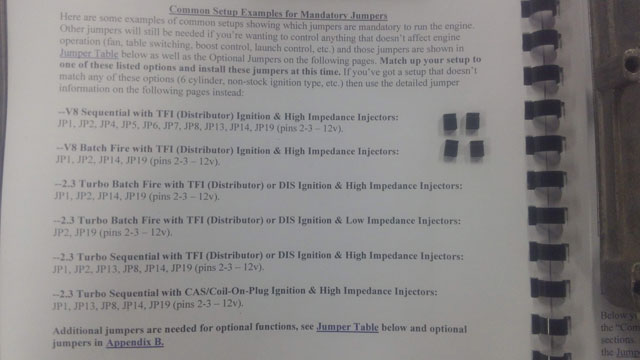
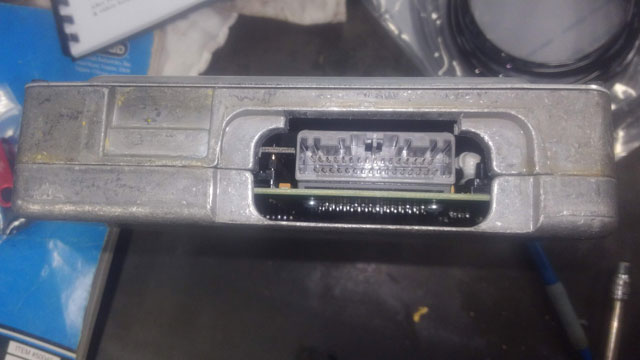
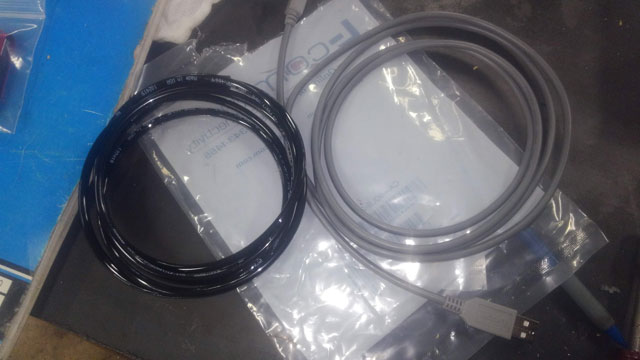
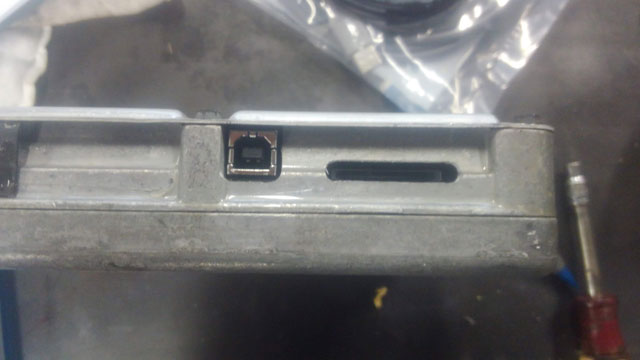
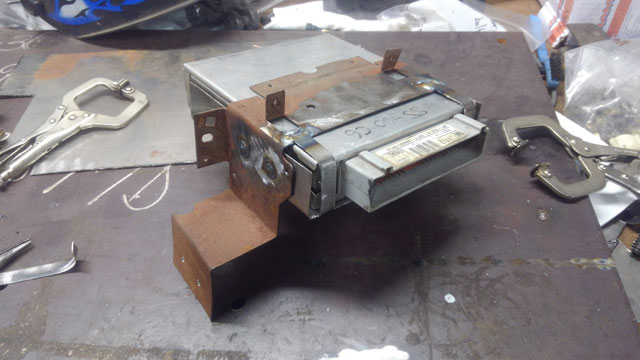
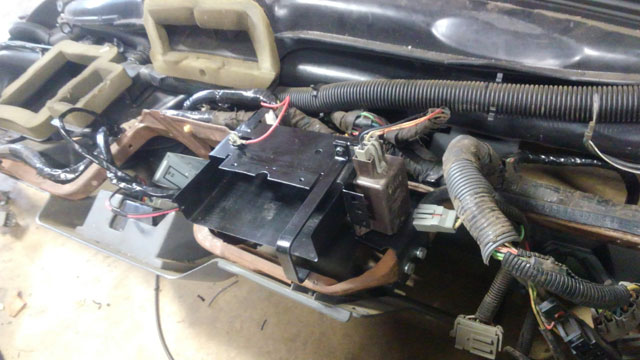
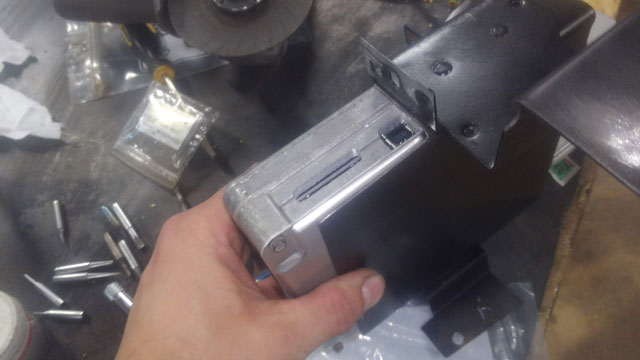
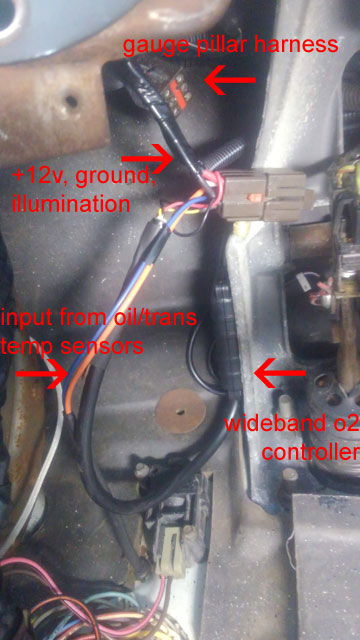
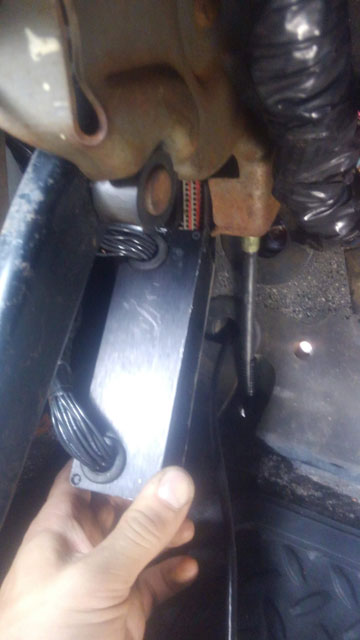
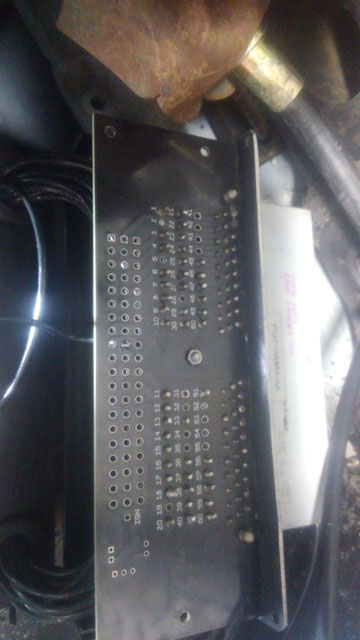
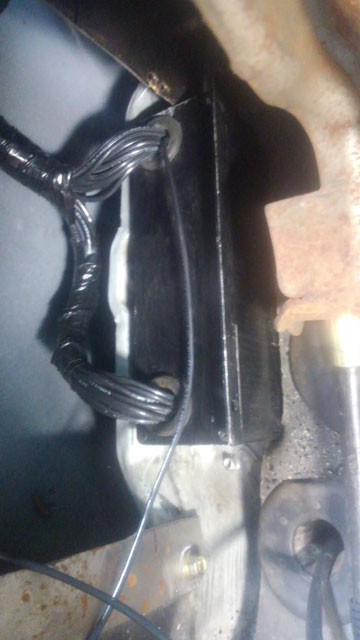
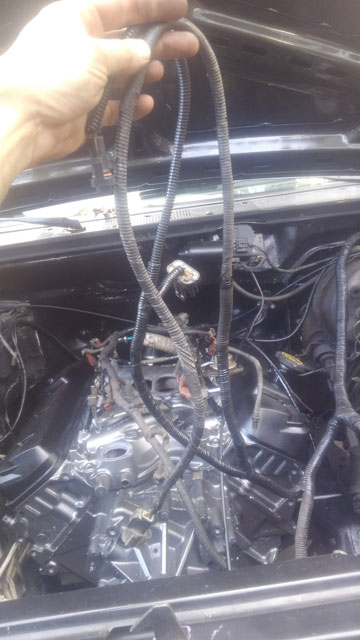
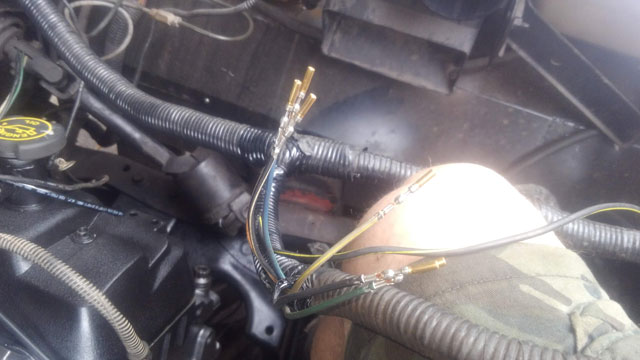
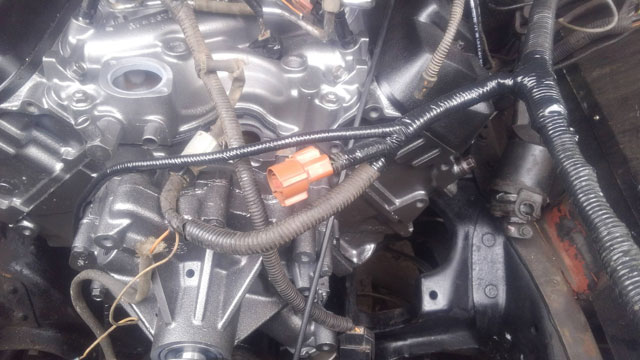
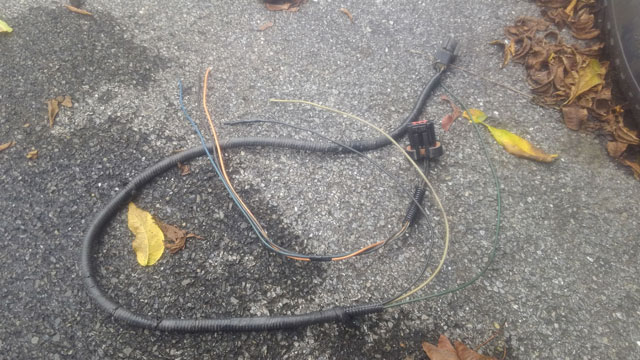
Despite the absurd weather, i have still succeeded in making some headway on the motor install. First up, i am trying to finalize the Stinger PimpX install. As mentioned a little while ago, this thing is a 100% new ECU, based on the Megasquirt 3 technology. It is designed to work with the OEM harness & sensors, however, if you look closely, it has its own on-board MAP & BARO sensors. It comes with a flash drive that includes a custom tune, and all sorts of tuning and programming software, as well as some PDFs detailing the whole install and tuning process. One thing i did, was to get the install manual PDF printed and bound by Staples. Its pretty cheap, and its nice having it as a reference since its ~35 pages long, and you need to reference it for initial setup & tuning. I know its difficult to tell in the photo, but this page is going over our setup. You need to configure the ECU for your motor size & injection type. Sounds complicated, but theyve actually made it quite simple: The ECU comes with a handful of jumpers you install on the board to set up if youre a V6, V8, batch or sequential EFI, Mass-Air or Speed Density. In my case, all i need is to install these 4 jumpers, and im good to go! There is a TON of other things you can customize. Built in boost controllers, electric fan controller, you can configure your ignition type (including TFI, DIS, EDIS CDI box, etc), boost controller, nitrous controller, you can add cam & crank sensors, more O2 sensors, VSS (if not already equipped), there is a ton of customizing you can do. There is an extra port on the bottom of the ECU for adding in all the additional items the stock 87-95 ECU did not support. included is some high quality silicone(?) tubing for the map sensor, and a USB cable for tuning There is a USB port on the side, along with a SD slot for data logging. You need access to the port to load the tune (this will come later on in the install), and thanks to my relocated ECU i did not. Back when i was getting ready to install the dash, i built this bracket to relocate the ECU: It was a clever design, but it has to be modified. Thankfully i made it bolt-in! So i carefully removed it and notched this side, to give me access to the USB port So with that done i need to move on to some wiring mods. First things first, we need to add a wideband O2. The ECU will work with either the stock narrowband sensor or the wideband. If you use the wideband you gain a self-learning feature, which i definitely want. The install is simple, simply supply the +5 reference from the wideband controller directly to the signal wire that the original narrowband sensor goes to, and eliminate the stock O2 sensor. It seems simple enough, but i decided to do what i usually do, and make it more complicated! So, this pic shows where i mounted my wideband controller; up high in some free space above the brake/ebrake pedals: This means the +5v signal wire is right near where the factory ECU would be. So rather than cut into the stock harness, i decided to add a wire to the ECU extension cord i made. So lets take that back out! Once opened back up, you can see the board offers not one but two seperate places to tie into each circuit, specifically for piggybacking for aftermarket ECUs and controllers. So all i did, was add a signal wire directly to the signal circuit for the stock O2 sensor, Pin 29: All closed up and reinstalled, with the new signal wire hanging out and ready to be sleeved/run to the controller. Once that was done i reinstalled the kick panel and tied that wire into my O2 signal. So now ive got both signals wired in, w/oo having to cut or modify the stock harness which is a big win in my book. So now lets move under the hood. This is the wiring for the OEM MAP sensor + O2 sensor. Its a lot of wire, and we dont need it anymore. I dont like the idea of simply cutting the wires off, so instead i cut them back, crimped new pins on the wires, and installed a 8-pin plug off a junk harness i had laying around That looks considerably better! Almost like Ford made it that way. So here's what we removed. Not discarded though; ive made it us as a companion harness that will plug back in and then put away in a box on the shelf. This way, if i ever want to add the stock sensors back in, i can, without having to do any additional modifications to the harness. So this should complete the wiring mods for the PimpX, which means its time to finish the motor install! Comments are closed.
|
Categories
All
Archives
February 2026
|
