|
In the hunt for a 351, I neded up buying a whole truck! Enter this rotted out 88 F250: 351/C6/1356. 4.10s with a L/S rear 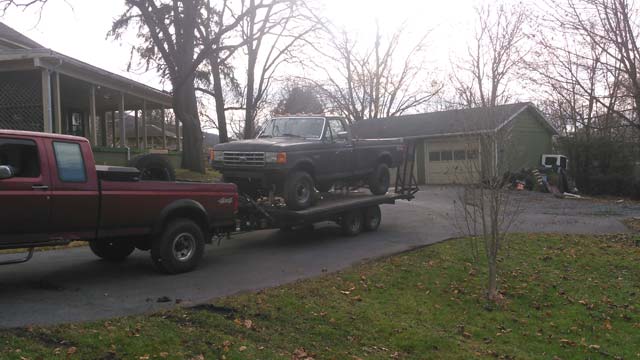 She barely fit on the trailer. We ended up sawzalling off the bumper to make room for the ramps 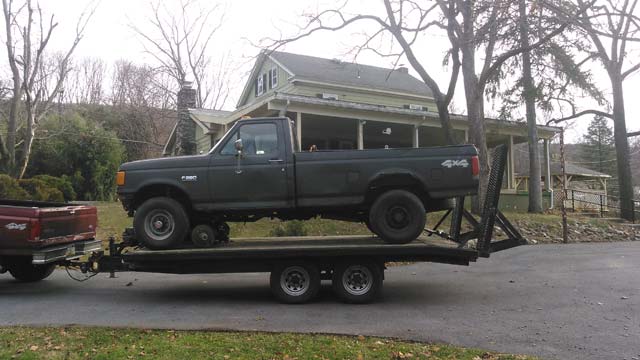 I found this thing and was originally only going to buy the motor until the owner told me for another $200 I could have the whole truck. 3/4 tons with 4.10s? Sign me up! So I set up an elaborate scheme that required me driving 150 miles yesterday. After I left work I went home, grabbed the trailer and picked up this truck. Then from there shot over to Collis Truck Parts to pick up this: (3/4 ton 10 bolt for 8-lug conversion) 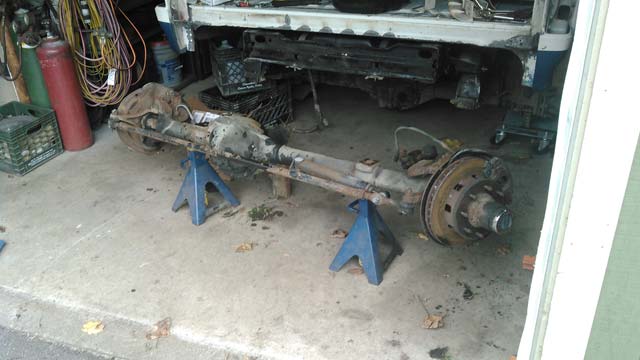 Brought both home, unloaded and then immediately left again, to swap the 235/85/16s on steel wheels for these: 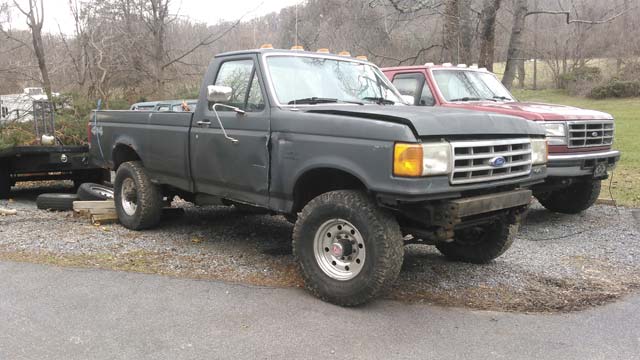 305/70/16 on factory AL wheels 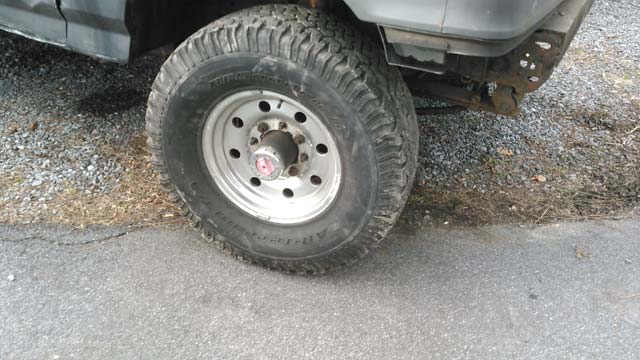 So the plan is to pull the 351 out and get it on an engine stand. Winch truck back up on trailer and then pull rears. Put bronco in driveway, swap to 8-lug, and then dispose of 5-lug parts & F250 (its a rotted out plow truck). Then I can begin going over the 351 and getting it ready to drop into the bronco. Now that I have the 305s im considering ordering the 1.5-2" coils bronco graveyard sells, and rummaging through my spring pile to find a way to lift the rear to match. We'll see... So i found this 96 XL on CL earlier in the week: 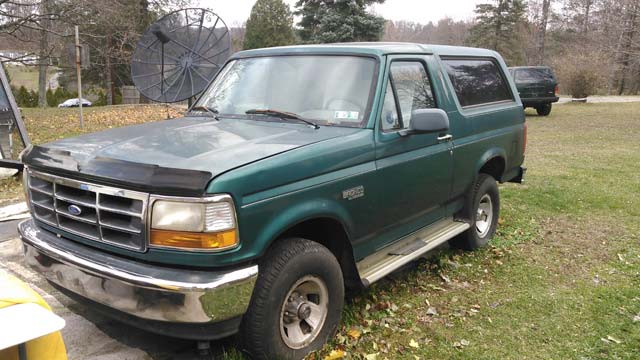 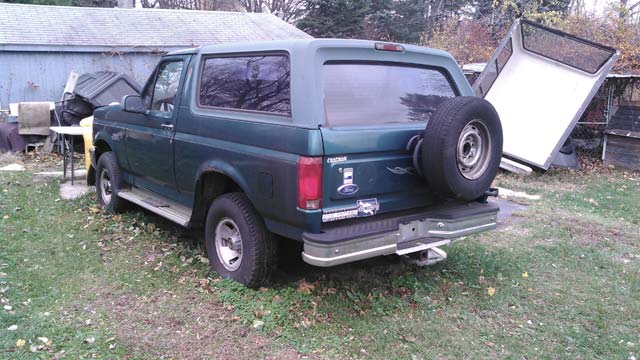 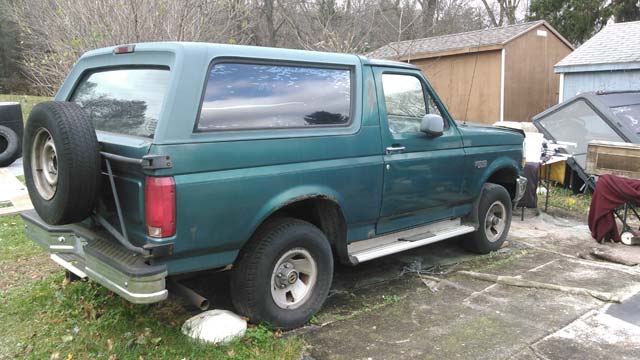 Front bench! Its comfy  The worst of the rust 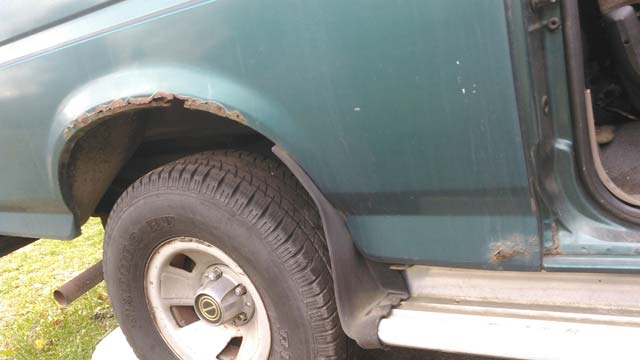 The reason it was on CL: PO pulled heads thinking it needed a head gasket and found a cracked block instead! 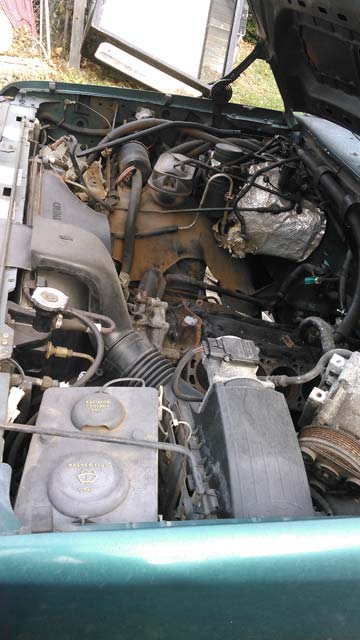 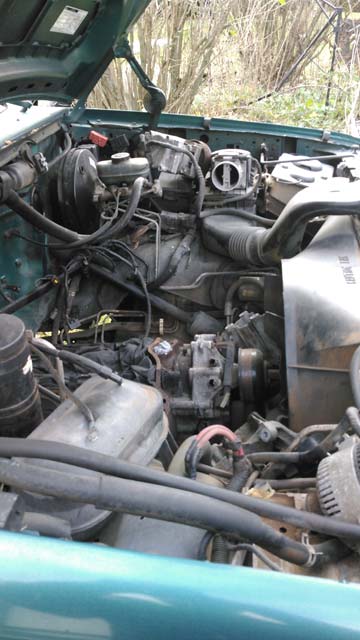 That was the end game, after that it just sat in his yard for a couple years. So this morning me & a buddy took the whopping 20 minute trip to pick it up!  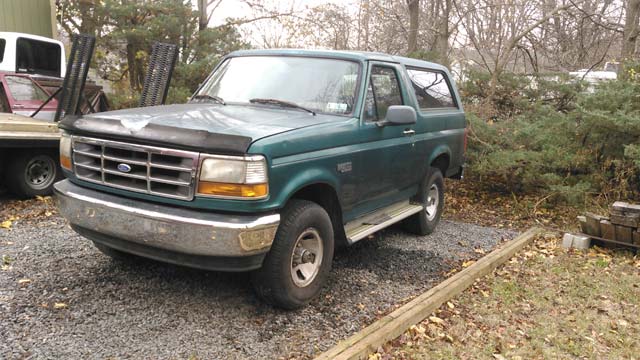 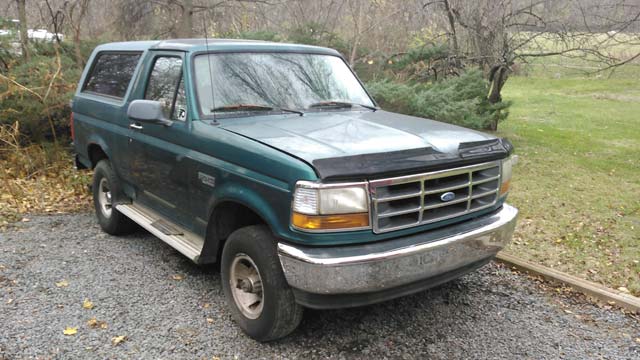 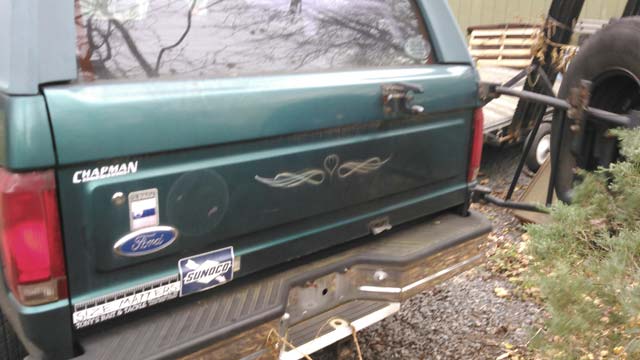 Plans: Its a MAF truck with no motor. So im currently hunting for one. Its looking like im going to drop a 351 in, as they seems to be a ton cheaper in these parts than 302s for some reason. I did find another EFI 460 for sale, but I want to keep this one a mild truck that both of us can drive. Currently researching what it takes to make a 351 run off a 302 MAF system. So yeah it needs a motor. Windshield is cracked and needs replaced. We blew a rear brake line loading it up so it needs one of those too. Rear tires are pretty clean 31s, front are mix matched and shot. So it needs two tires as well. But did you see that tailgate?! Mint! So needless to say I had to snag it up. Especially when it was only $400! Short term is to simply get this thing running, and drive the hell out of it. Maybe if I decide its a keeper, ill go 3/4 ton with it! So last week a bunch of buddies came by, and we got the body on the frame! 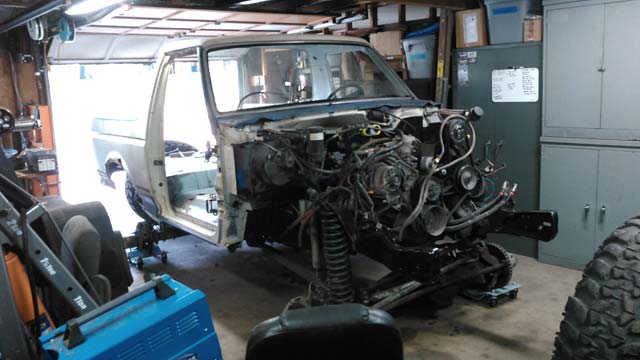 So awesome to see it in the garage, looking like a bronco again! Friday I got the windshield out, which revealed what appears to be a completely rust free windshield frame! For now, this is where I pause. Diesel needs the rear tank replaced & maybe a glow plug relay. The leaves are falling, and ive got painting to do in the house. So ill come back to the bronco in December. Unfortunately on Friday, someone was thoughtful enough to hit the F250: 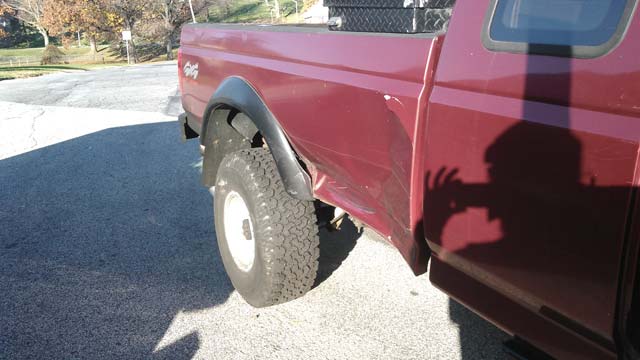 So now im on the hunt for a new bed. Most likely just going to massage this one and leave it for the winter, then replace it in the spring. B-pillar body mounts reinstalled 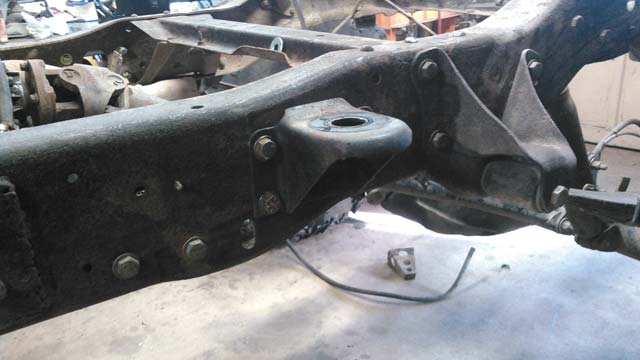 Some rust repair on the frame 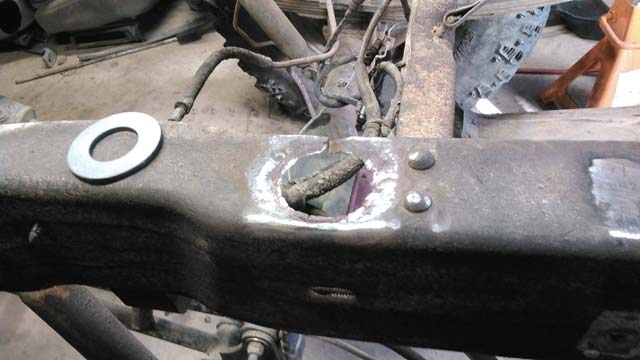   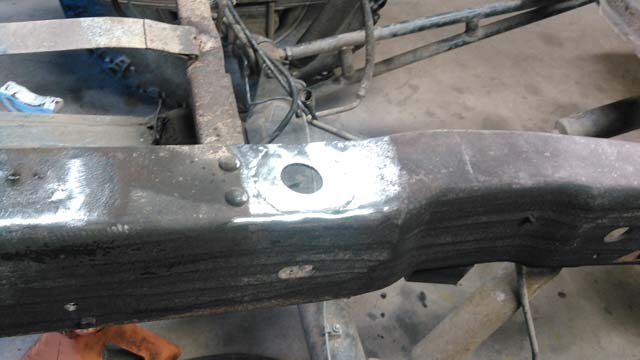 had to do both sides 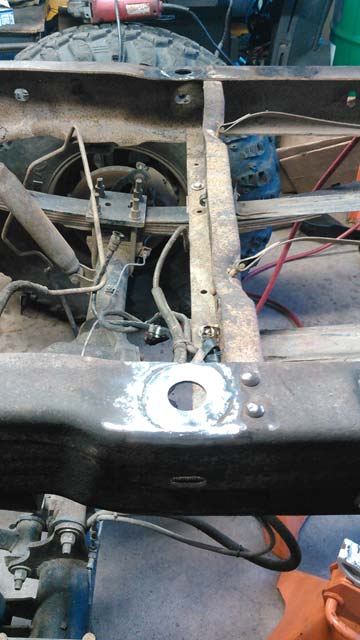 The frame had a small tweak in it, from trimming it for the p/u tank. Not too bad, after 1o years! But I figured nows the time to do something about it 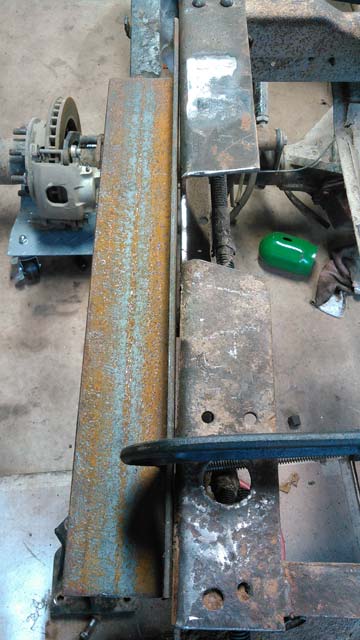 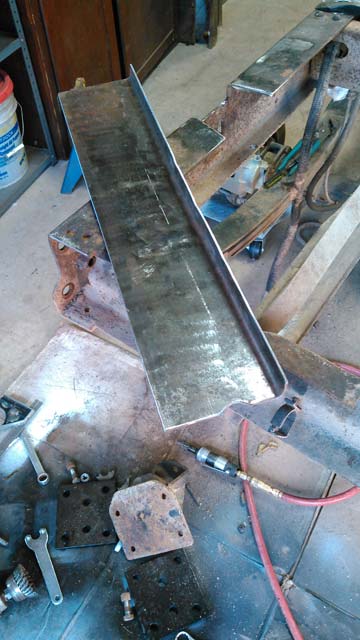 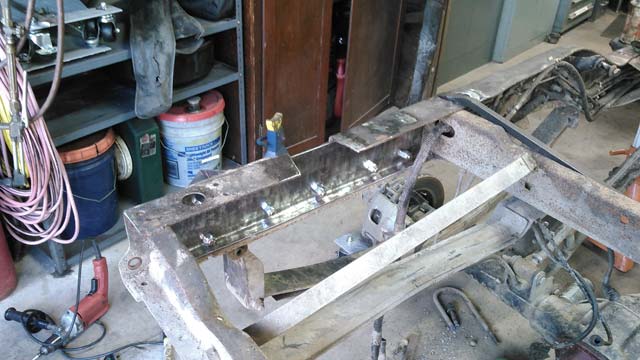 Then I went back, and added a lip the the notch to strengthen it, as well as weld everything together 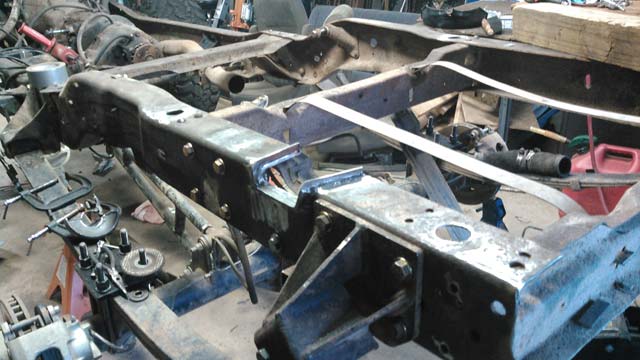 Chopped off all the crap ive welded to my frame horns over the years 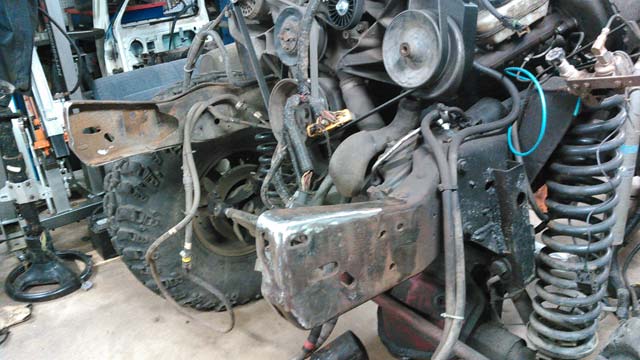 Next project on the list, fix trans leak. Drop frame to wheel dollys 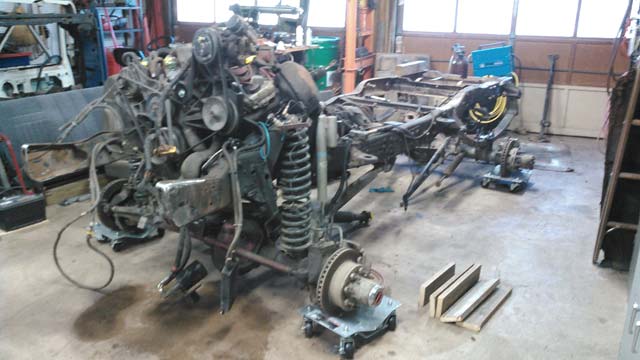 pull out doubler 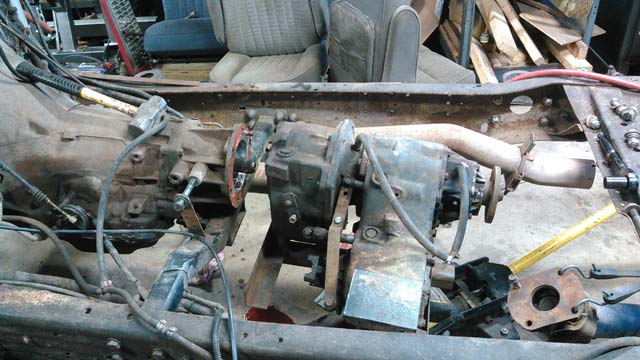 Fix leak, put back in. Then yesterday I pushed it out on the dollys into the driveway to wirewheel & rattle can the frame. While the paint was drying I built this, so I could use the come-along to winch it back in later 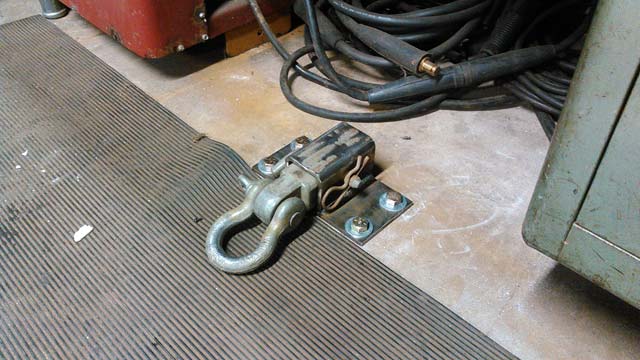 Today im going to install my new poly gas tank, then make leads up for my winch so I can use that next time I need to winch the truck into the garage. I have a poly body mount kit sitting in the garage, and new body mount hardware should be showing up today. So, weather permitting, the tub goes on the frame this Tuesday! After that I need to take down the big tent, and then im taking a week or two off on this project to get some stuff done in the house and around the yard. So the other day I power-washed the frame. Took the opportunity to hit the hard top too, it was pretty bad from all those years in the woods 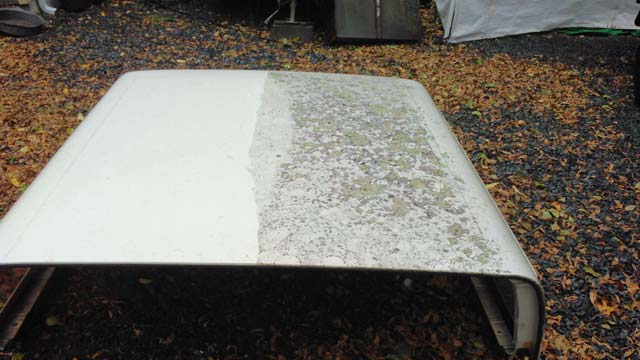 Better now, but will still need work when the time comes. 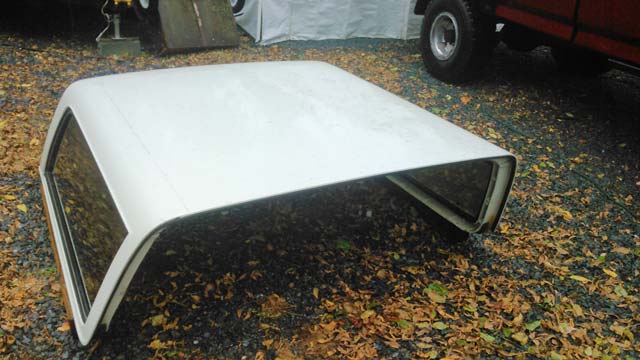 Frame back in the garage, ready for more disassembly 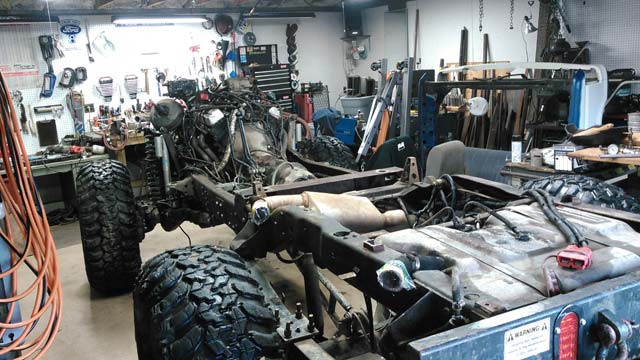 This is the x-member I built to put the p/u cab on, in process of removal in this pic. Tomorrow ill bolt the factory body mount brackets back onto the frame, that I salvaged from the parts truck frame. 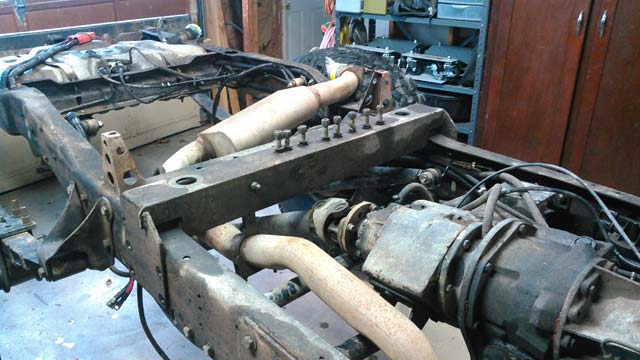 Also not pictured: I removed all cables for the rear mount batteries, and all the OBA plumbing. Chopped off more of the exhaust. Removed the rear bumper & dropped the tank, planning on a new poly one once i get further along. I removed the brackets on the frame for the stepside bed (still installed in the previous pic), and I removed the rest of the front bumper which was still welded to the frame. Now im back to a 'stock' frame to work off of, for bumpers front & rear (coming much later on). So that gets us to about a week or so ago, when I started dismantling it. All glass removed: 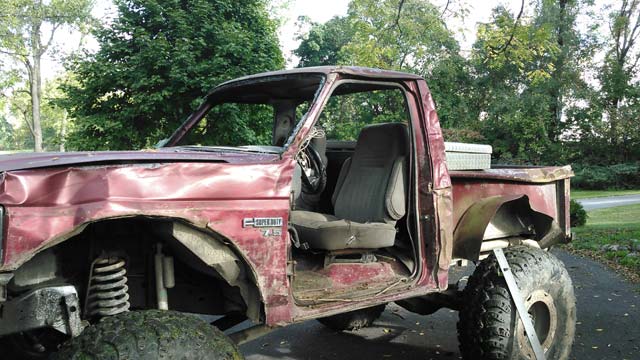 Top gone! 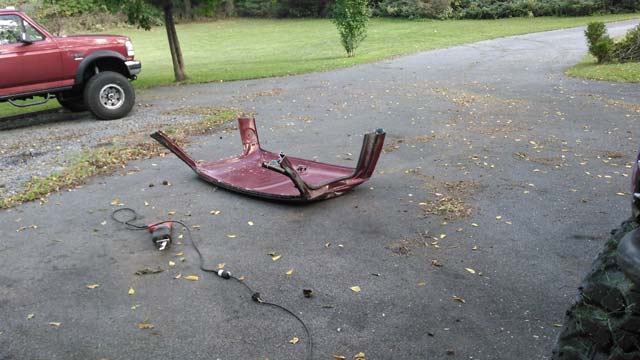 My new convertible! 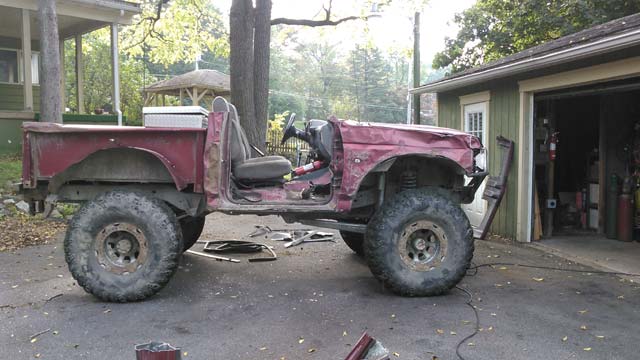 Still runs at this point so i drove it into the garage for the night: 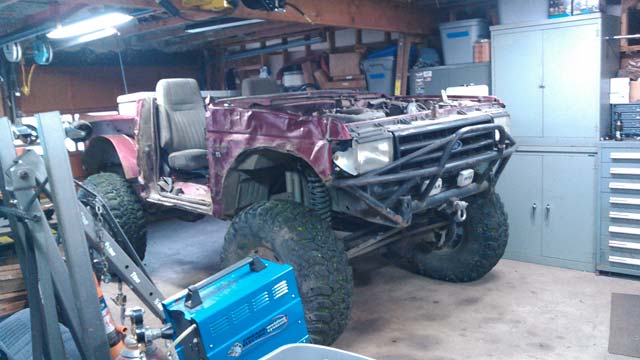 Next day, Bed is gone. Im saving this part: 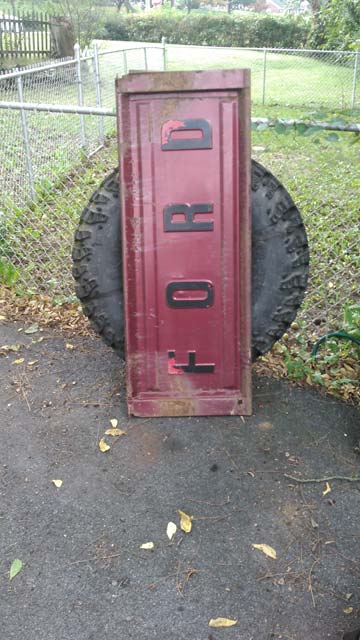 Bed off  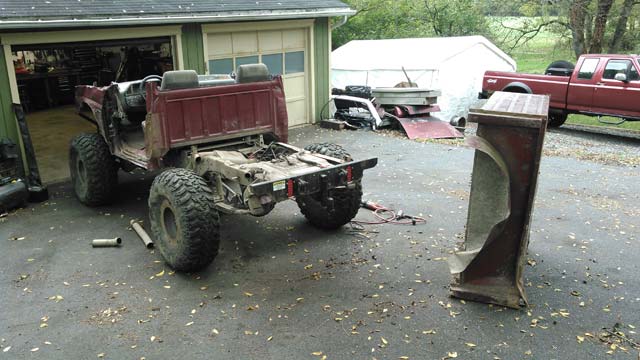 Day 3, started stripping the front-end 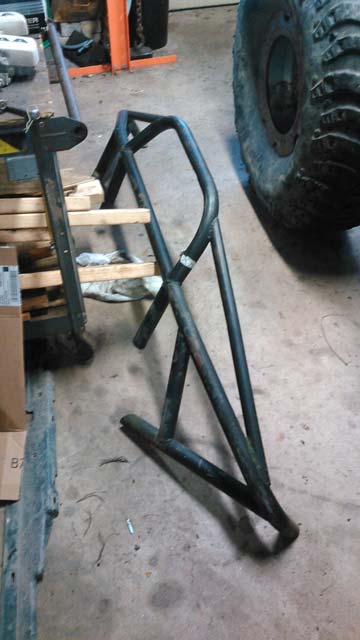 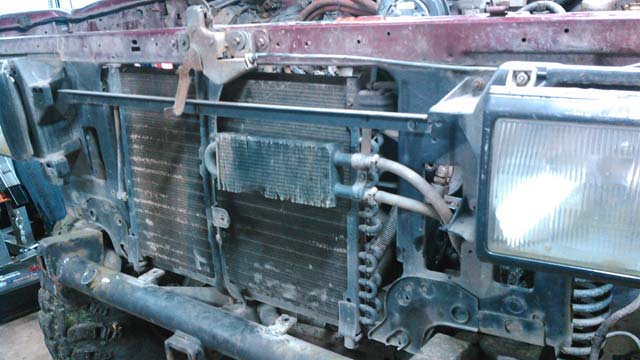 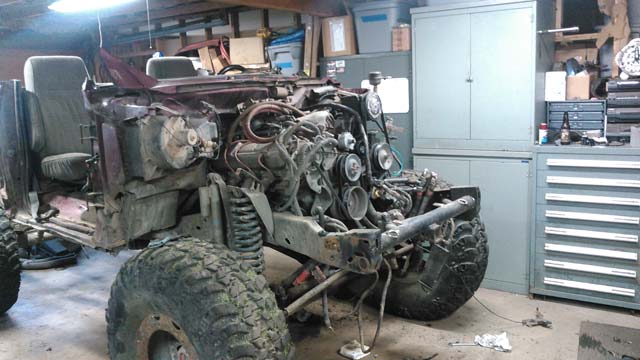 Here's a good reason to cage your truck: The cab corners twisted enough I couldn't get to the seatbelt bolts!  ...and finally! 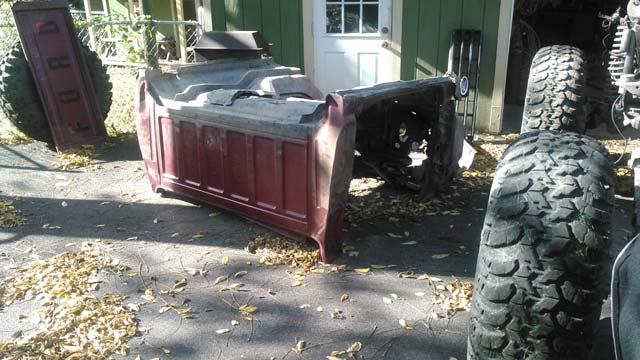 Stripped down to basically nothing at this point 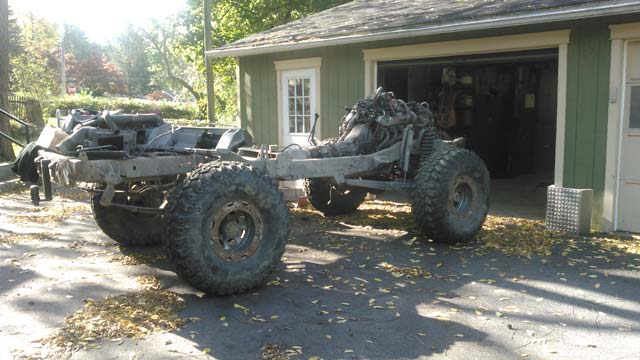 This catches us up to today. Tomorrow I begin loading up the truck as I have a mountain of steel to scrap from cutting up both trucks. I painstakingly removed the harness from both so I can reuse them, along with a bunch of other parts, which made the disassembly take about a week, altho its obviously all done now. So the plan for this week is to dump all the scrap steel, and then just get the frame clean. Then I have a few things I have to do, before dropping the new tub on the frame. Getting ever closer now! So with that done, I moved back over to my bronco. The time has come, for her to shed her sheetmetal once more. I decided to snap a few pics in the yard since this'll be the last time she ever looks like this! 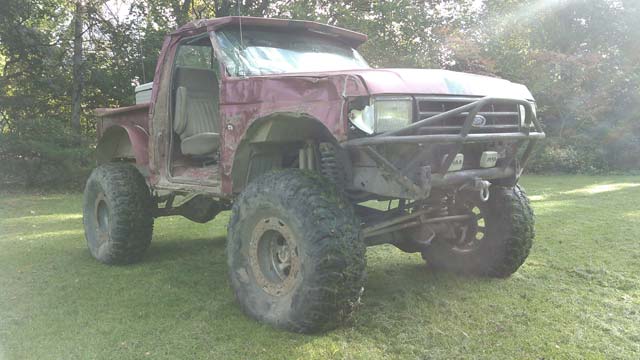 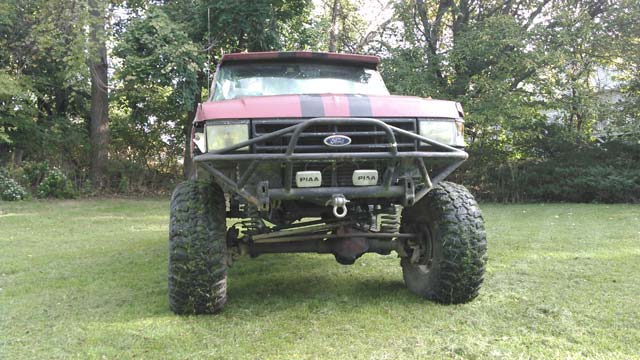 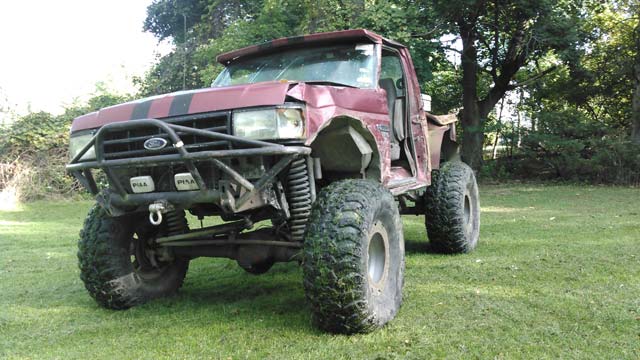 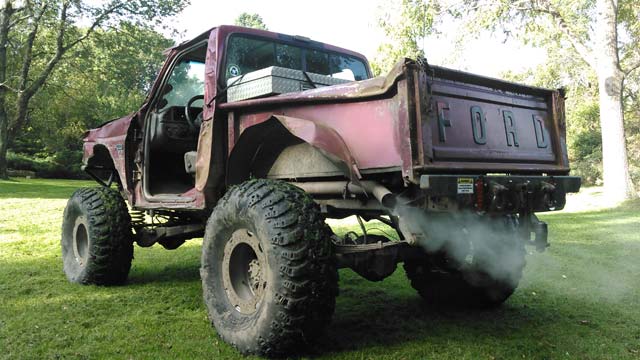 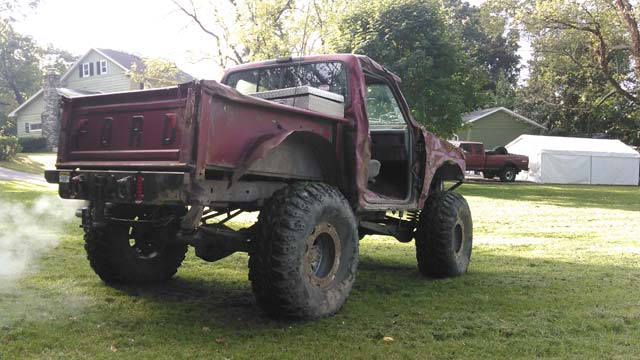 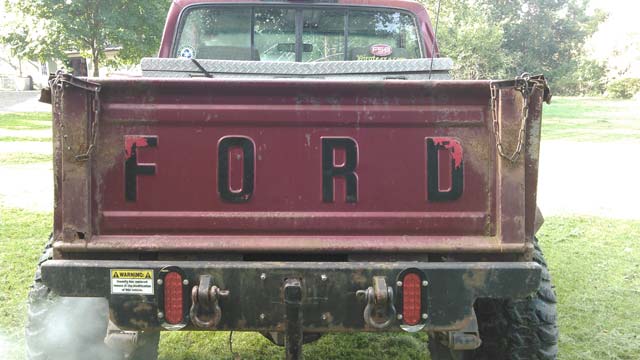  Ok, documented, now it 's time for the sawzall! (IMO, anyway). I bought a spray gun from Al's Liner, along with their HNR (heat & noise reducing paint), and their spray-on bedliner. Spray gun. This is more like an texture gun; it has a 6mm(!) nozzle 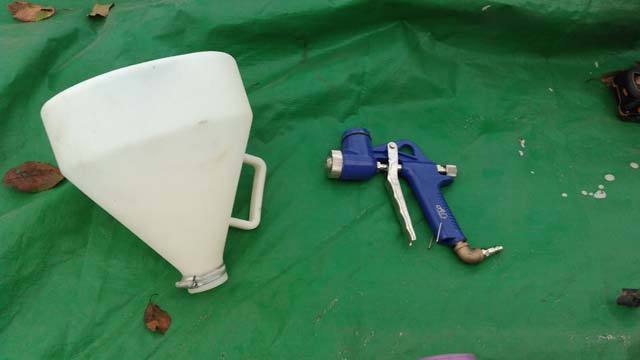 The Heat & Noise Reducer is some kind of ceramic paint; its supposed to be pretty good at what it does so I figured why not. The test patch, dialing in the gun mostly 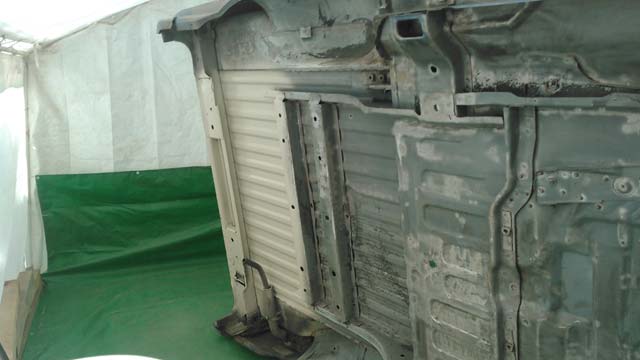 ...and the whole underside sprayed! Went up into the wheel wells, and up the firewall 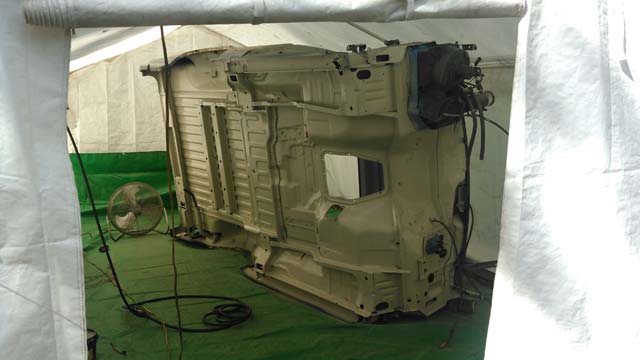 It goes down pretty easily 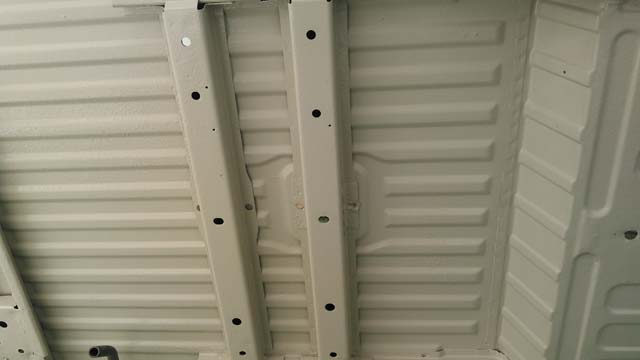 Theres a slight texture to it; I suspect with some more adjusting I could get it smoother though 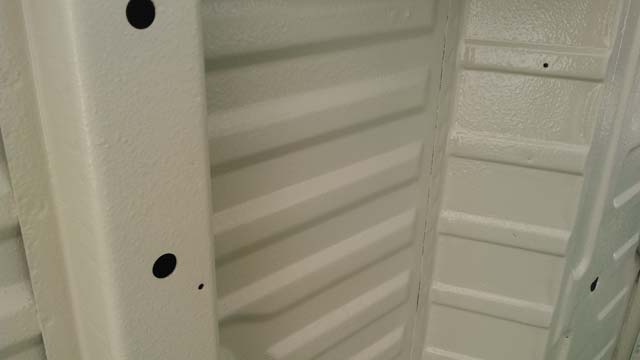 The texture is a non-issue though, because of the next part: Al's Spray-on Bedliner This is a 3-part polyurethane bedliner, that is fully tintable. On the left of the pic is a small bottle of surface prep, plus a bottle of my color tint: black 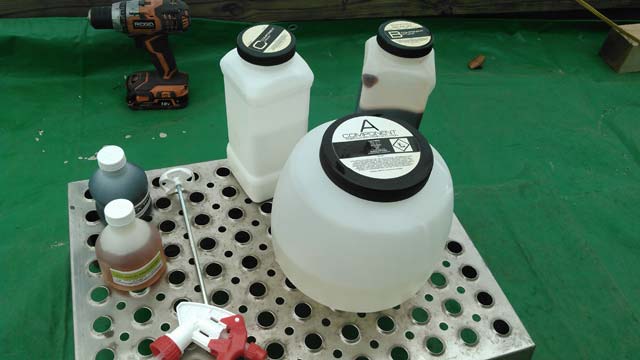 I recommend some kind of respirator, this stuff is wicked! (im not joking) 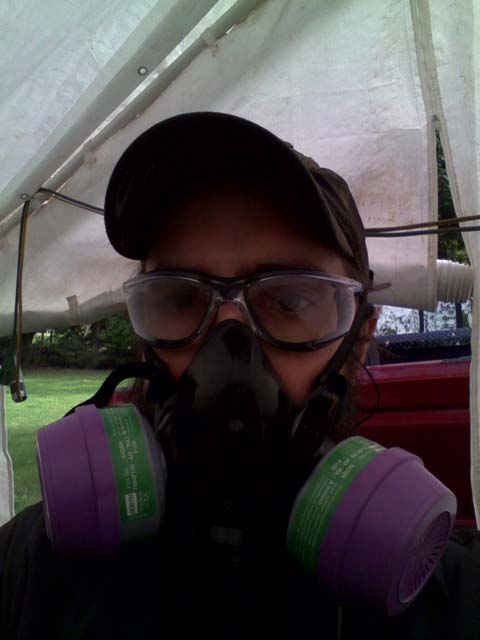 ...and holy crap its done! 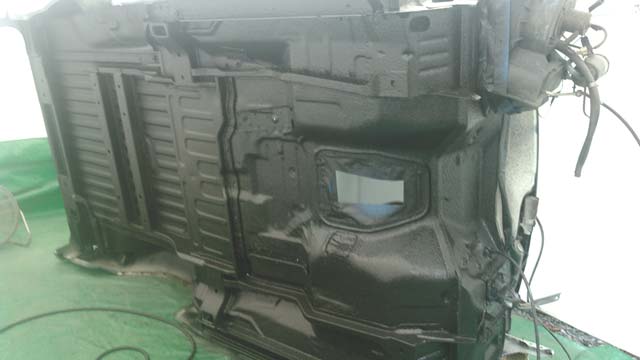 This part goes FAST. They claim the kit, after mixing, has to sprayed within 20 minutes or it will start to cure in the gun. Well no worries there, moving along at a decent pace you can spray an entire kit in ~10 minutes The whole underside took 2 kits, glad I bought an extra one when I ordered em. I sprayed the whole underside, up into the wheel wells and all under-body xmembers, and halfway up the firewall as well 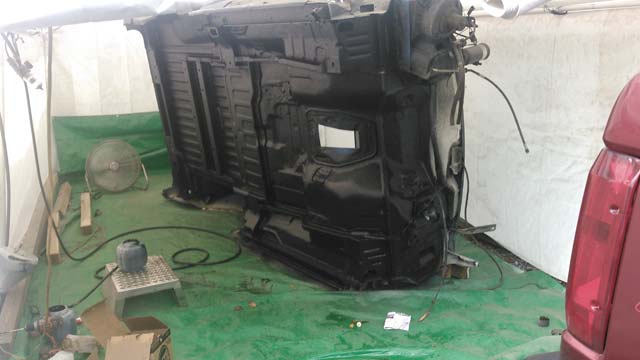 ..and the money shot: This stuff looks (and feels) exactly like rhino or Line-X 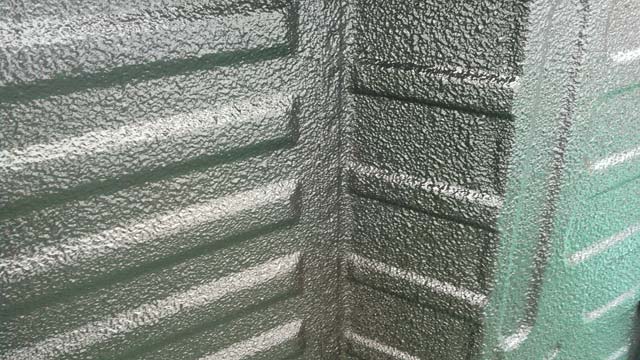 I am super impressed with it, I think its going to work awesome. Its ~$85 per kit on Amazon, so it cost me ~$170 to spray the underside. Im going to order 3 kits for when I spray the interior just to make sure I can get it as thick as I want it. So it works out to about half what the local Rhino/Line-X dealers charge. So a hot humid summer filled with mandatory OT has kept me from making much progress, which left me reluctant to update this. However at this point I think ive got something worth posting. I finished stripping the donor frame. Saved some brackets, body mount parts and the rear leafs, and chopped up the rest. 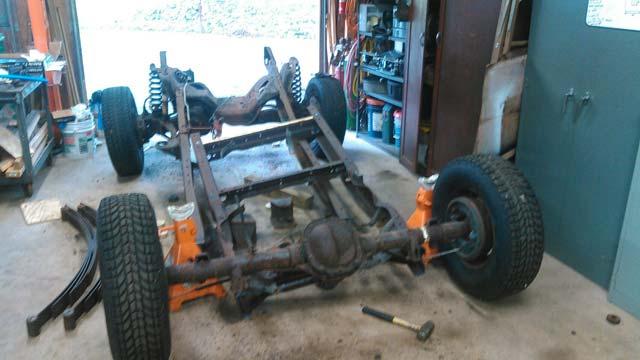 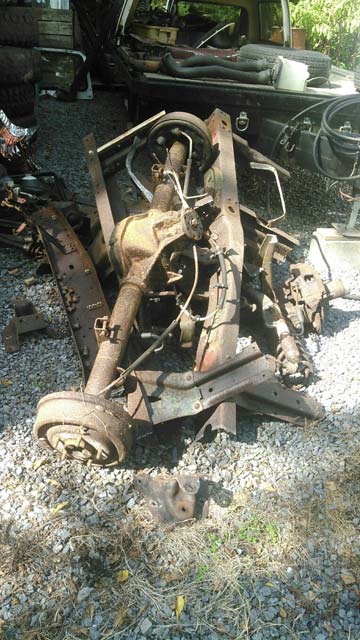 I succeeded in removing this piece of box tubing from the rear of the body, that the previous owner welded in in place of body lift pucks. He did a pretty nice job, but im not running a body lift so it had to go. 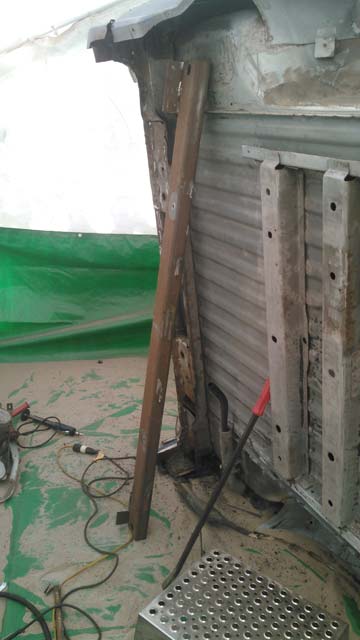 Sand blasted and painted the battery tray + air box parts  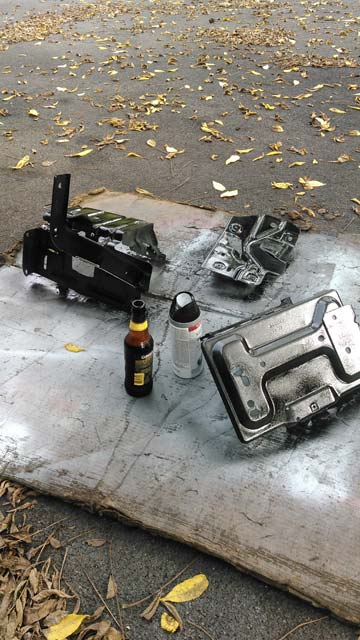 And I finished sandblasting the underside of the tub too: 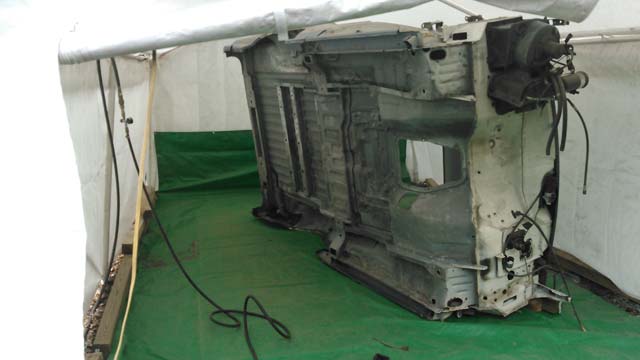 So last Thursday a bunch of buddies came by, we rolled the truck over to the tent, lifted the body off and got it set up. 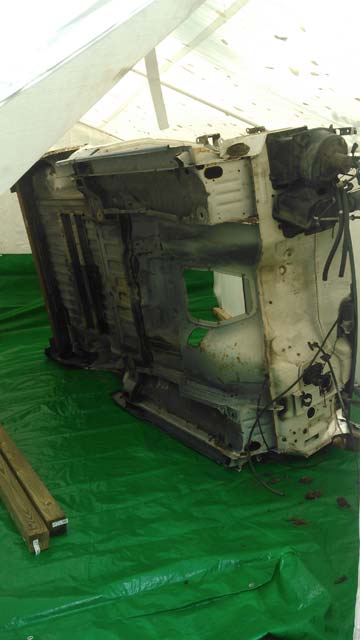 The frame is back in the garage for now. Im stealing some brackets off it, plus all the body mount hardware, and then chopping it up for scrap. 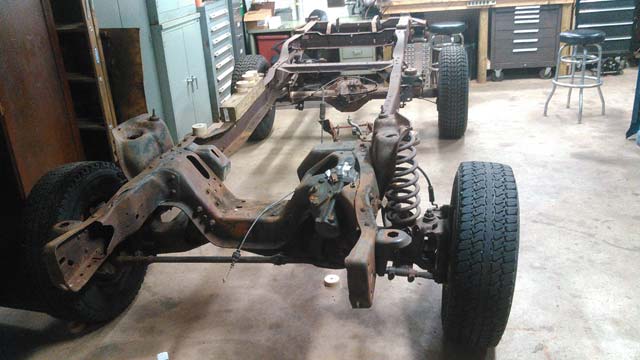 So yesterday morning after I got home from work I suited up, grabbed the wire wheel & the sand blaster and went at it! 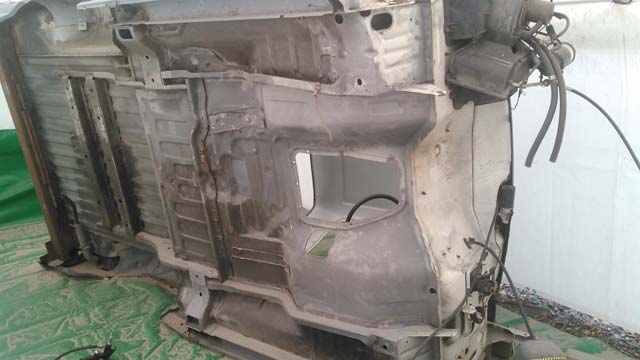 ...so that's where she sits as of now. Before you ask, im not sand blasting the entire tub, only the underside. I have no intention on driving this thing in the road salt, but i dont want to get it all done and have the floorpan start rusting away a year or two later. The fenders & interior are clean with good paint on them, so theyre just going to get prepped and painted later on. The underside is going to get sprayed as soon as im done down there, so I can get it on my frame and get it back in the garage. Progress on this thing is pretty slow as currently Im only working on it a couple days a week. Today im painting in the house, but hopefully tomorrow I can get back out there and do some more blasting! |