|
Special thanks to my bud Steve for finding this gem, that i snagged up & drug home during a snowstorm yesterday 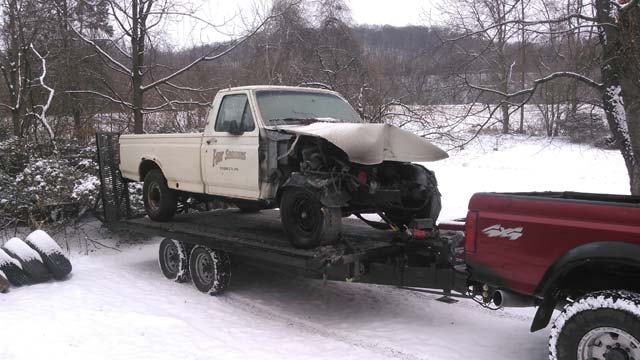 One '97 F250, with a recently rebuilt 351 under the hood. Apparently the motor was rebuilt maybe 6 months before the truck got wrapped around a pole. The motor looks clean, no oil, grime, nothing. New pan, valve covers, new water pump, lots of parts that are obviously not very old. The block looks clean. 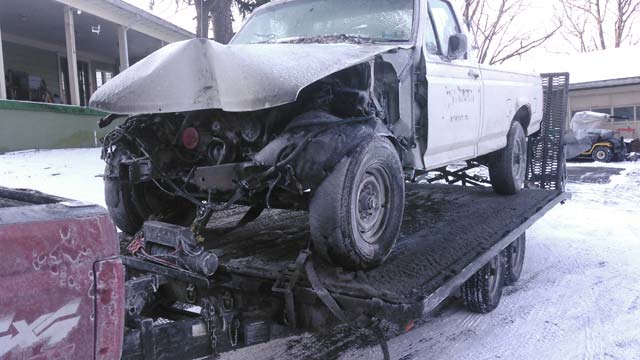 So, new plan. Yank motor/trans, and park truck in stones til spring. Take 351, slap a couple things on it, and drop into bronco. It is a SD 351 so I'll still have to use the 302 harness/PCM unless I can find a used MA PCM online somewhere. Probably reuse the ypipe, it at least part of it when I drop it in since the original one won't work. Ill probably sell the transmission??? 2wd so who knows if its worth anything. The bed on it is pretty clean, thinking of using it to replace the smashed bed on my F250 after i paint it. Of course, it ALSO has a 4.10 LS rear in it, meaning i pretty much just shouldnt have even bothered buying the other parts truck but oh well. Trying to decide if its worth taking the '97 10.25 and stuffing it under the bronco in place of the '90 rear (not sure if its worth the effort to swap rears just for the 'long' pinion when its only a 351). Id like to keep the white truck a roller til spring, meaning if i put the '97 rear under the bronco, the '90 rear must go in its place. The time has come to start really tearing into the bronco's front end, so here we go! Stripped down both sides and yanked knuckles off 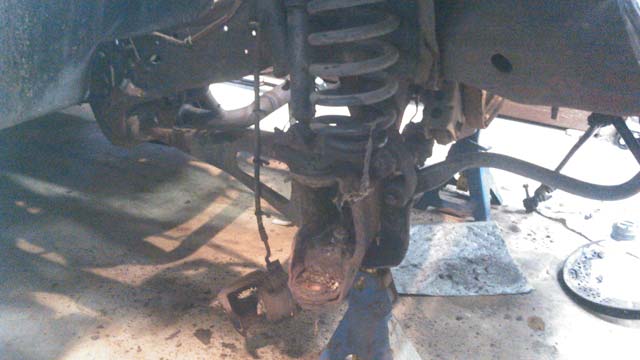 Goodbye 3.55s 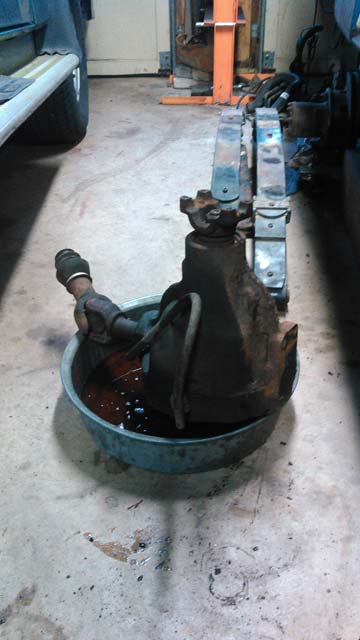 Junk pile 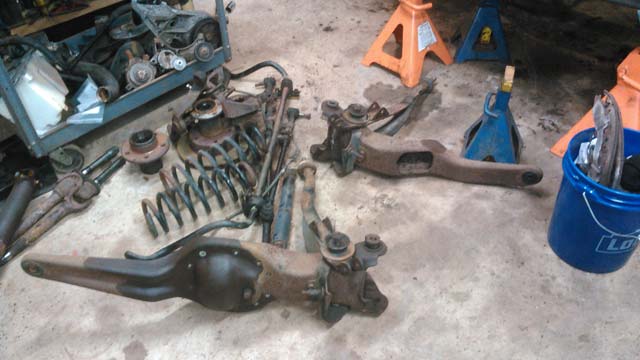 So many parts missing! 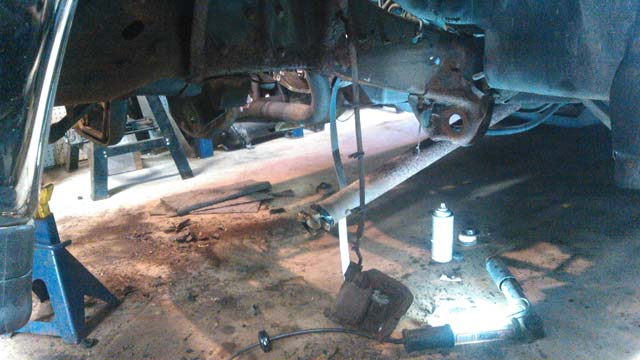 Cleaned up the driver side and painted! Shame im gonna have to bolt the TTB back into this! 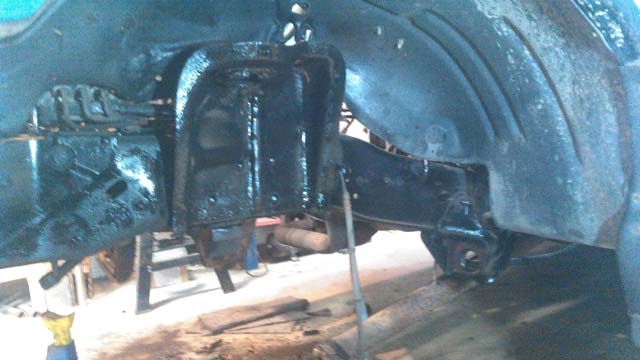 Tomorrow I hope to get the passenger side cleaned & painted, and if im lucky, get the pivot bushings replaced. Got my rear diff cover the other day. OEM Ford piece ('08 Superduty), same one I run on my F250: 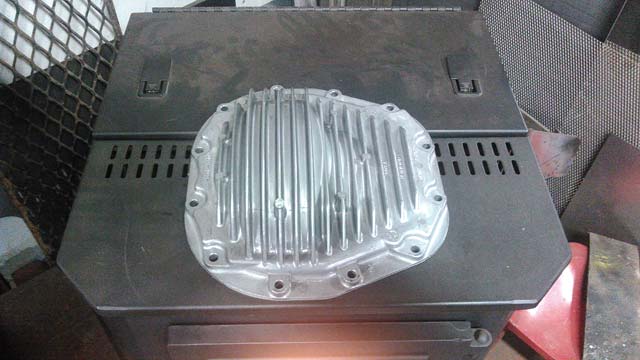 Degreased it, then shot it with some clear so it wont corrode. Did the same on the cover on my F250, and that's looking good years later. Also, more parts! 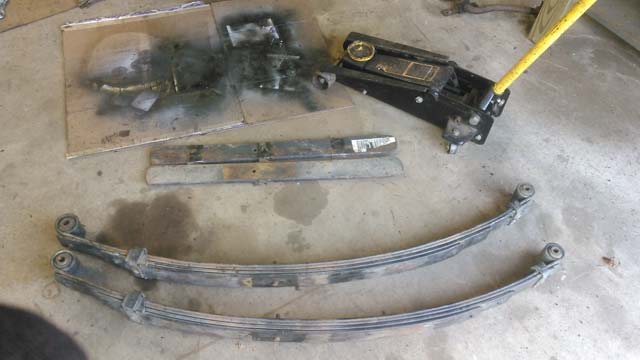 These are B-Code Superduty leafs, that I picked up off an old friend Saturday. So I did some research on these things, this is what I came up with: Ford Bronco 78-84 1390 5 leaf Ford Bronco 79-93 1650 (202/276) 4+1 leaf Ford Bronco 94-96 1650 (230) 4+1 leaf Superduty: B code 98-04 2998 (320/670) C code 98-04 3626 (350/730) - dually F code 98-04 2695 (334/776) What does all that mean? 1650 is the spring load for a 96. 230# is the deflection, which is ore or less how 'stiff' the spring is. The B code leaf has a load of 2998 (with the overload) meaning it can carry ~1300# more than a stock bronco leaf. But, the deflection is only 90# higher w/o the overload. The second # (670) is the deflection with the overload, which I am not currently planning on running. So it should be a touch stiffer than stock but not by a whole lot. My guess is, adding an AAL to the original bronco leafs, or whatever else I need to do to raise the rear 2", will probably make the spring pack stiffer than the B Codes. So hopefully this works out, but I wont know for a while yet. My current plan is to strip & rebuild the front end and then drop the motor in, to see what ride height looks like. Then after all that is done, ill tear into the rear end and get the axle & springs swapped. Got the bronco in the driveway!  Pulled whats left of the motor 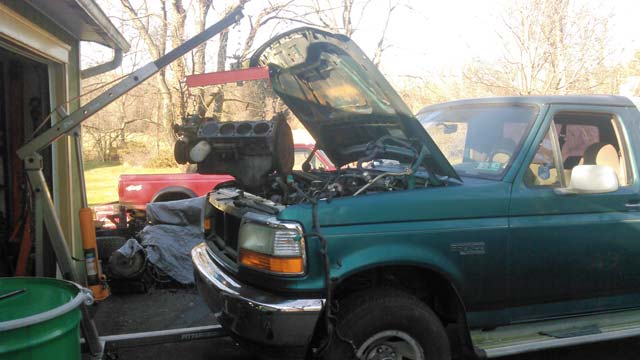 ...and stuffed the bronco into the garage! 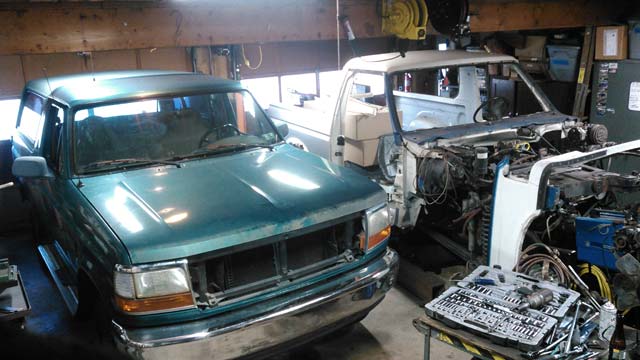 So I got the front 3rd cleaned & painted. Also of note is the drain plug I added. New seals for it sitting on the work bench, which ill slap in once I start putting it all together. 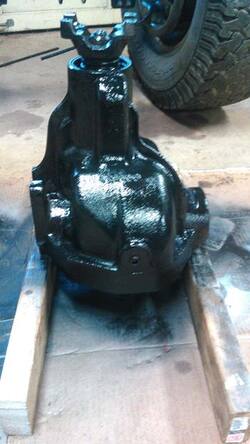 Got delayed by yesterday's freak snowstorm, so this morning we got the bronco moved from her resting place up to the driveway 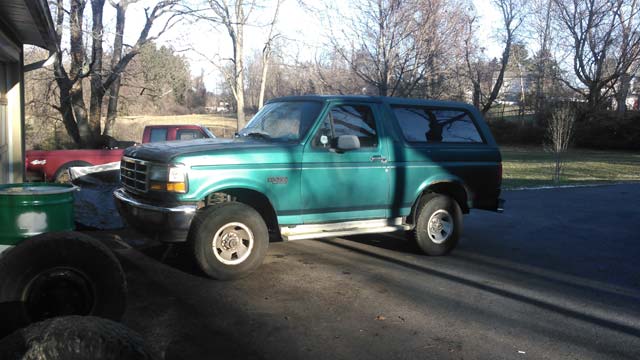 Looks like tomorrow im going to a friend's house to grab a set of 'B' Code rear Superduty leafs from him. Then hopefully Monday I can pull whats left of the 302 out of the truck, and then bring her inside so the rebuild can begin! So i salvaged the F250's ubolt plates, and the oem blocks from it as well. Got em blasted and now theyre sitting in a fresh coat of primer. 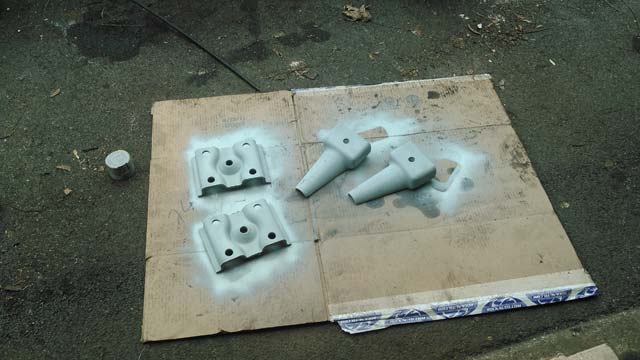 Pulled the massive sway bar off the 10.25. Going to clean it up and save it, but not planning on installing it; just keeping it in case i want it later on. 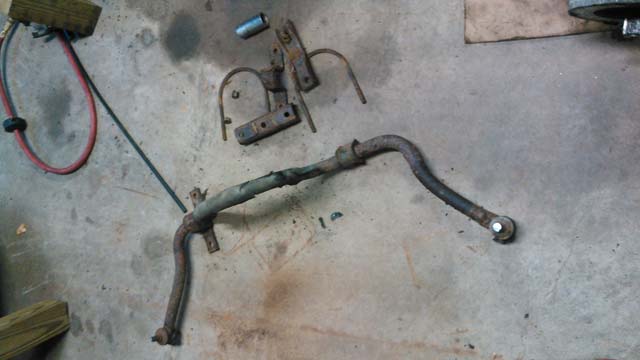 Got the rear needle-scaled, wire wheeled, and painted too. Ignore the rusty diff cover, thatll be getting replaced with a new one when the axle goes in. 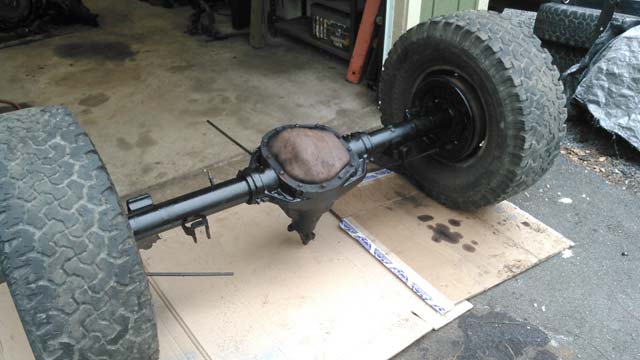 I was gonna start cleaning the front diff, when i remembered we have a bigass parts washer with agitator at work, so im bringing that in to soak all night while im working. Tomorrow a couple buddies are coming by after work, and we're going to bring the bronco up from its space in the stones, to the garage door so i can yank whats left of the motor, and then bring the truck inside for the rebuild! I brought the rear into the garage to pop a drum off, and check condition of brakes. Needed to see if it had the 2½" or 3" shoes, condition of hardware etc. The drum didn't come off too well, but once it did come off, I was greeted with this: 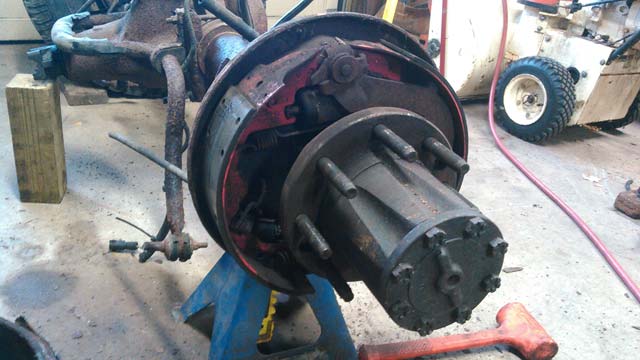 New brakes! The wheel cylinders look like death from the outside so they'll be getting replaced, but the shoes (3") & all hardware are all damn near new. So this is where i left off for the weekend: 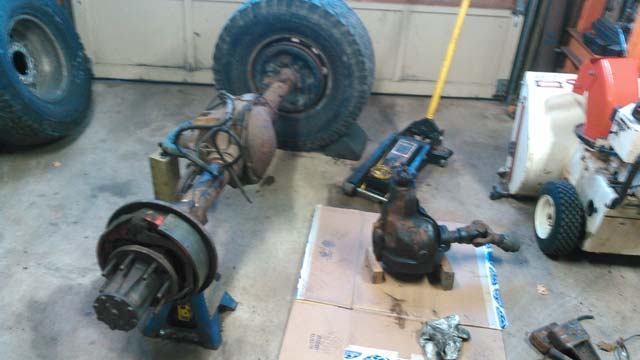 10.25 ready to be stripped, and the front 3rd waiting for a chance to be degreased. Hope to start prepping both of these tomorrow morning after work. So yesterday after messing with the knuckles and caliper mounts, I pulled the drive shafts & tcase, then pulled the front clip, and yanked out the motor/trans 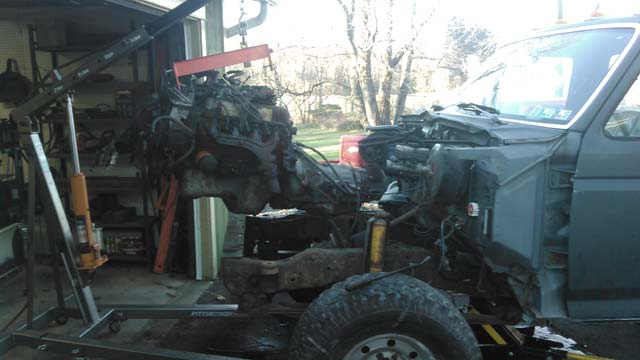 Hoping I can sell the C6/BW1356 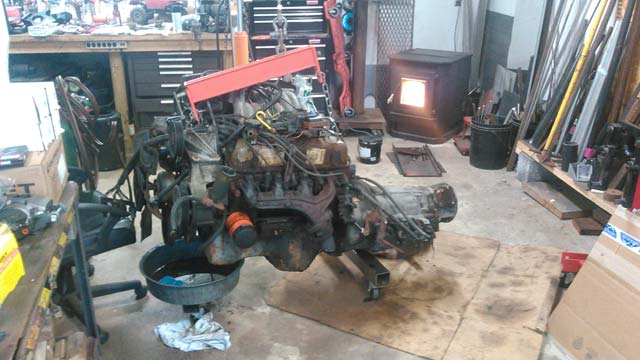 That's enough for one day... 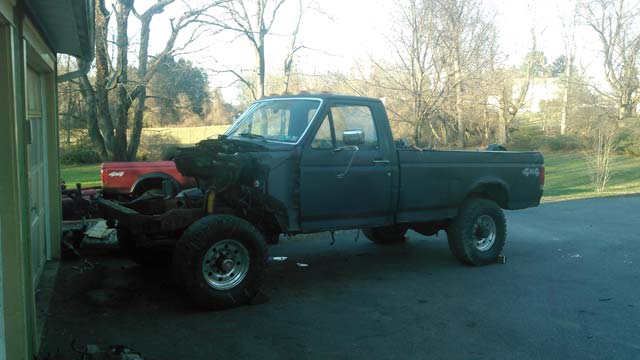 So today I pushed it onto the yard, then winched it up onto the trailer 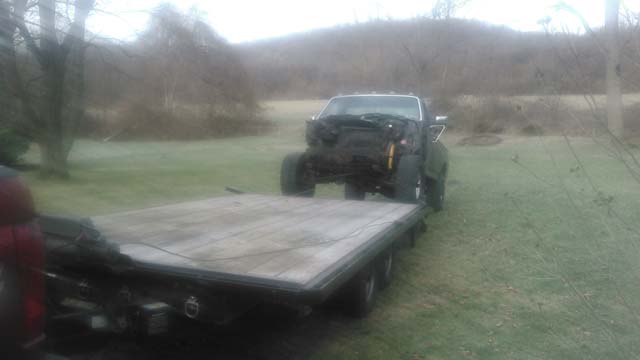 Stripped the whole front end. Saved the front 3rd for the bronco, planning on selling the hubs/spindles/etc 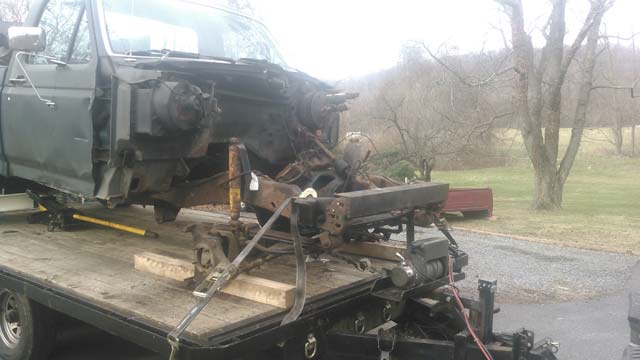 Then moved on to the rear 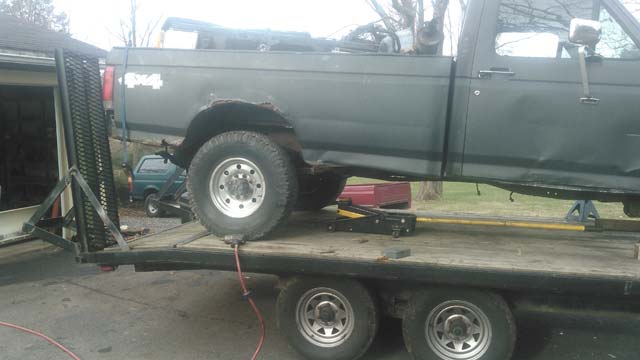 10.25 out 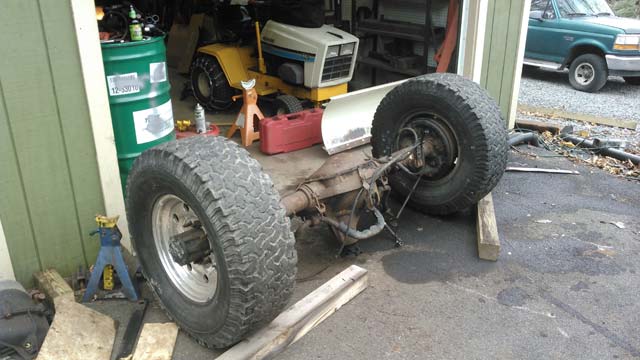 then stole the steering wheel, steering box & pitman arm, and off to the scrapyard she goes 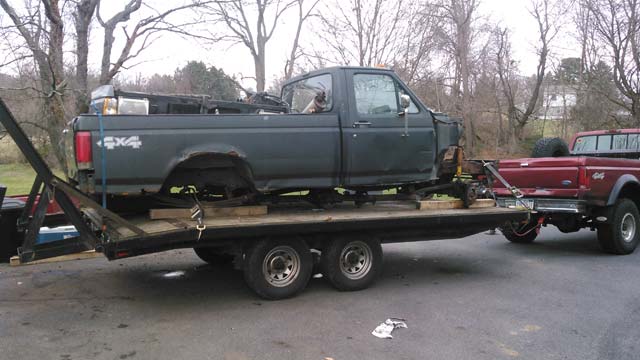 All told, pretty productive over the past two days, if I do say so myself! TTB Knuckles/chevy brake brackets blasted, primed and painted 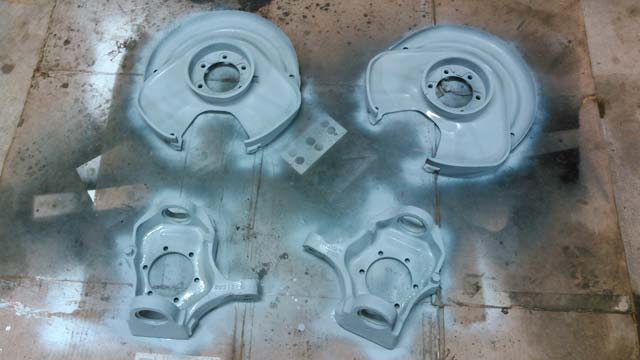 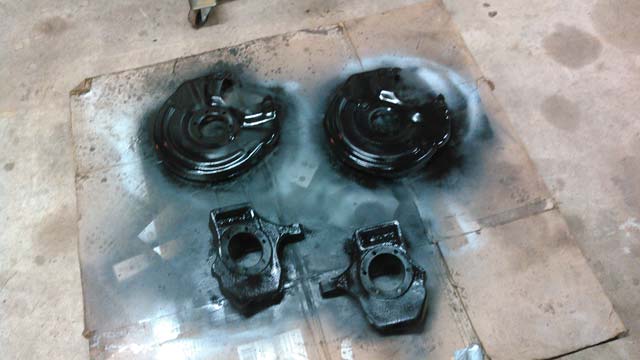 So that pretty much wraps up the parts gathering for the front end. So now to move on to the parts truck.... 85 K20 front axle from the junkyard: 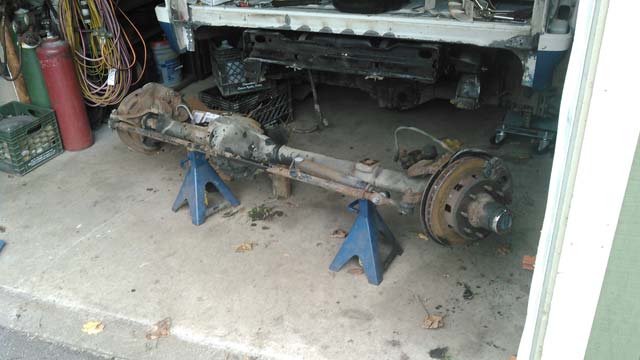 Removed what appeared to be new, yet rusty calipers & rotors 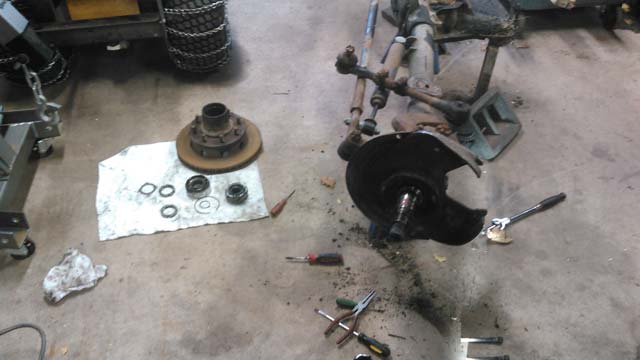 Found brand new bearings, apparently just recently greased  Whole axle stripped 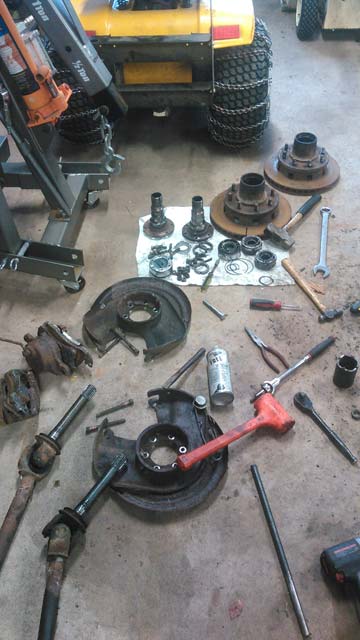 8 lug hub parts salvaged 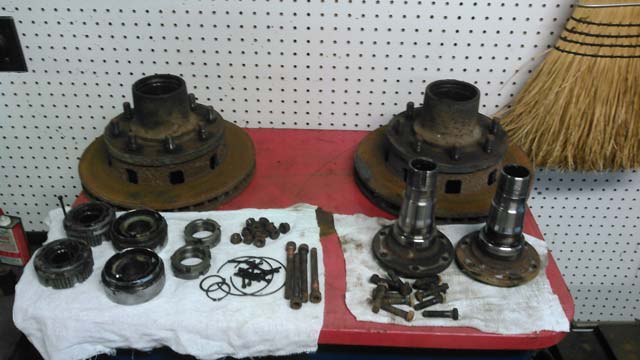 matching chevy stubs cleaned up 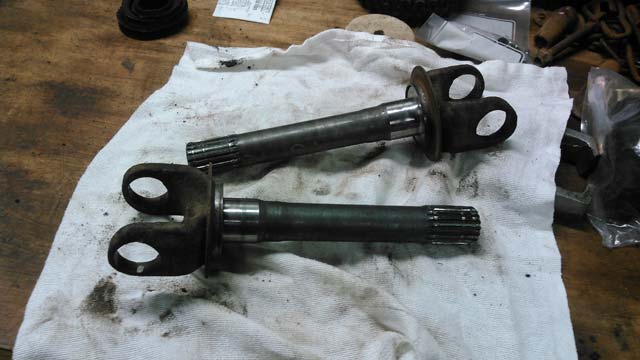 Near as i can tell, this whole axle was rebuilt and then the truck went to the junkyard. Everything looks brand new, even the pads, those aren't rusty and don't even show signs of wear. All the seals and dry rotted though from sitting so i ordered all new hub & spindle seals. New calipers too since theyre a whopping $19 each. From there i moved on to modding a pair of knuckles off of an older bronco i got from another 'yard. First ear cut off 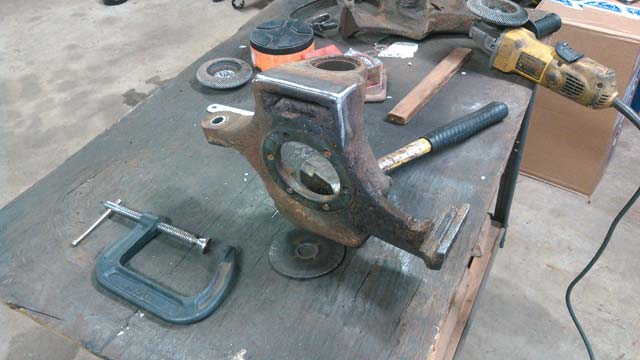 Done 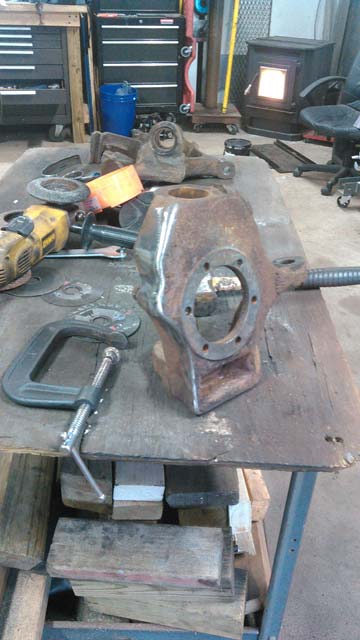 Comparison of before and after: 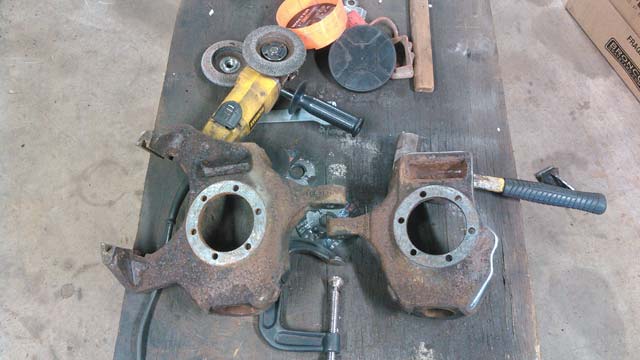 And both knuckles done 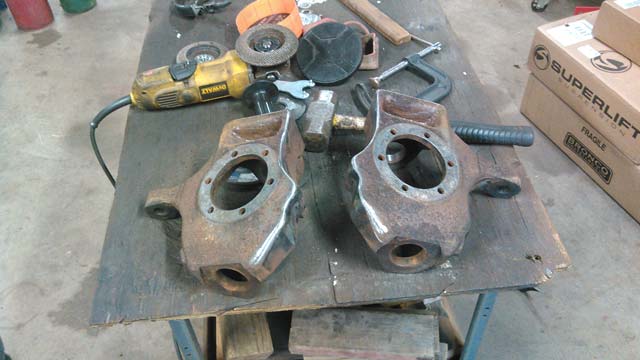 Ive got like 6 boxes of parts still unopened in the garage, gotta go thru them tomorrow. Im going to bring the knuckles and the caliper brackets in to work to see if i can blast them and get em painted. Hoping next week i can start stripping the parts truck. |