|
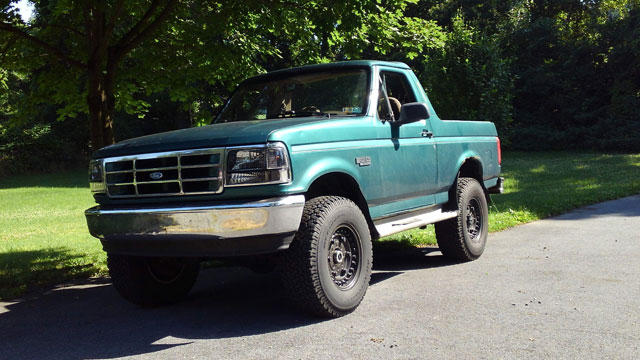
It works! 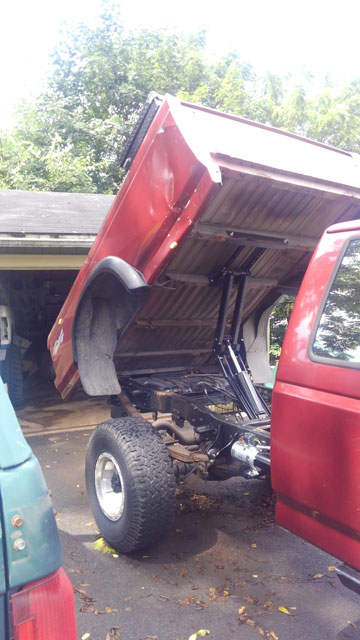 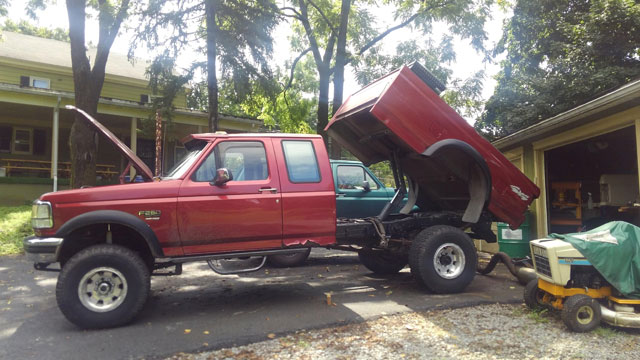 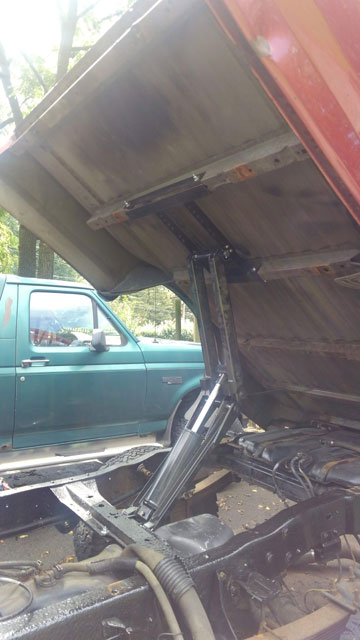 So, whats left?
Ok, so! This is the stock bed bolt. This is the only one that came apart, all the others got destroyed. Im not reusing them anyway.  Instead i used a small wire cup brush in a die grinder to cut a nice round hole in the bed liner. Then used said die grinder to open the hole up a bit, and slid a piece of 1" pipe down in there to beef the area up. The other side the bed is messed up, so its not nearly as clean a job. 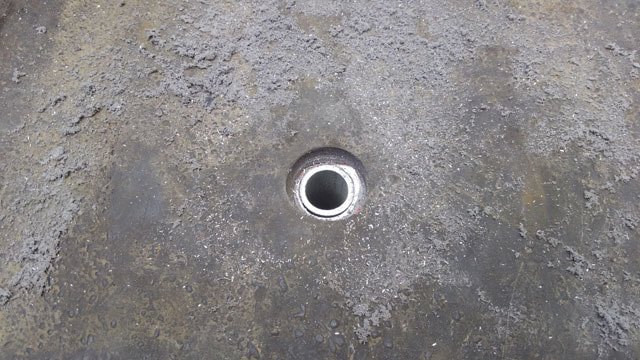 Conveniently a 3/4" SAE washer fits the hole perfectly. Currently have 3/4" bolts down thru, but i have Gr8 carriage bolts on order. 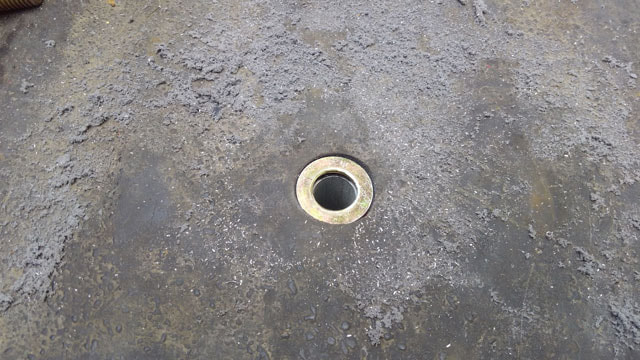 Both hinges done!  Had to cut off the exhaust, no chance of everything fitting under there with that massive muffler  Frame-side hinge for the hydraulic scissor 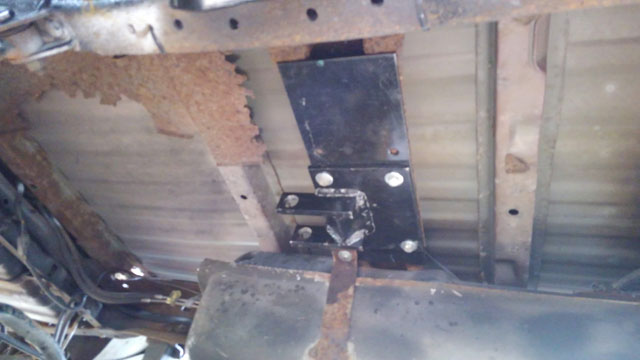 Bed-side hinge installed. Thought i had a pic of it before installation but i guess not. 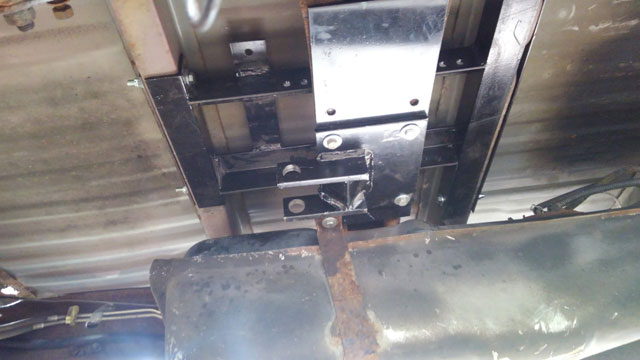 I made sandwich plates to back up the bed xmembers so they cant crush in 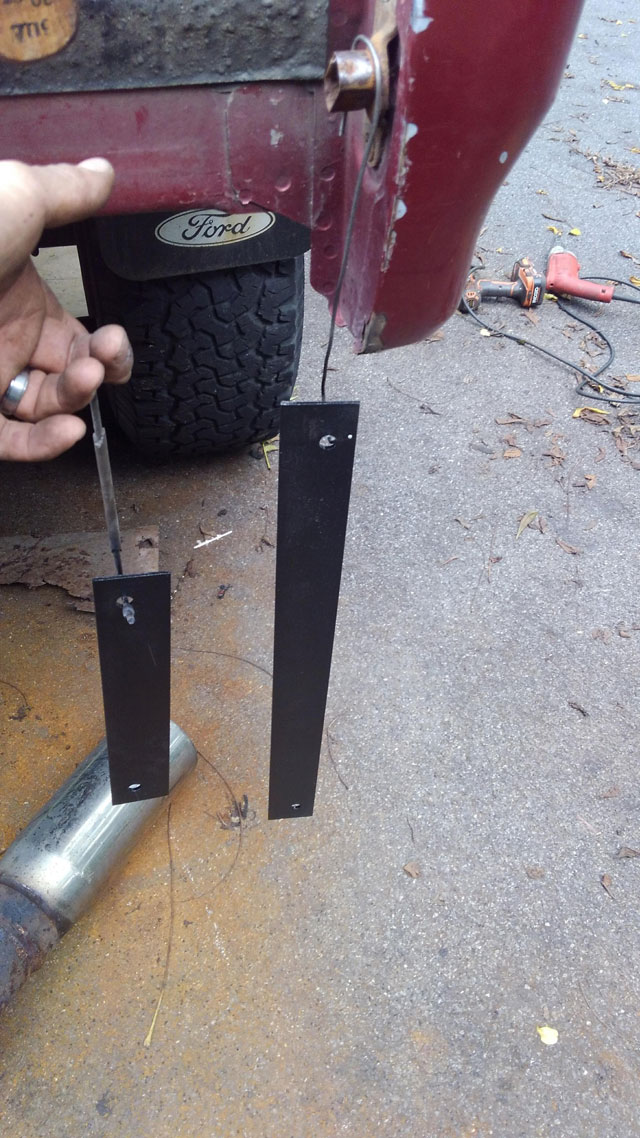 The hydraulic scissor 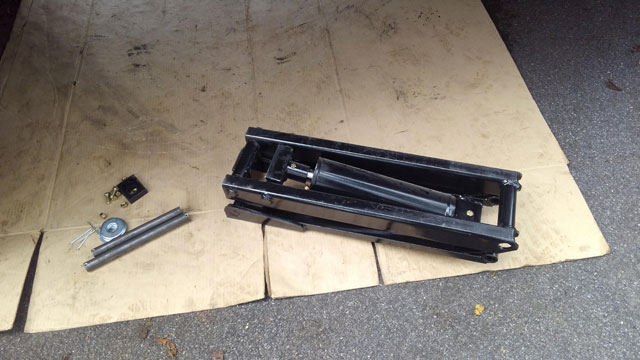 ...and installed! This was a huge PITA to do by myself 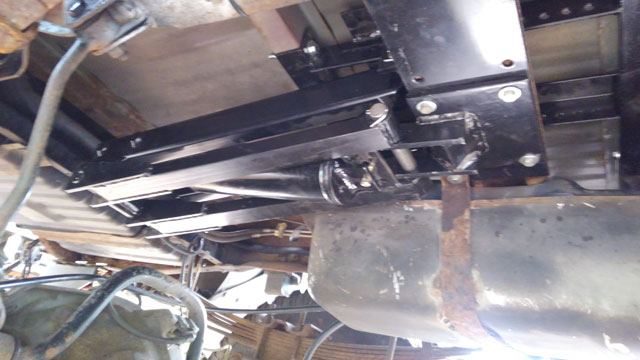  Hydraulic pump installed on frame rail 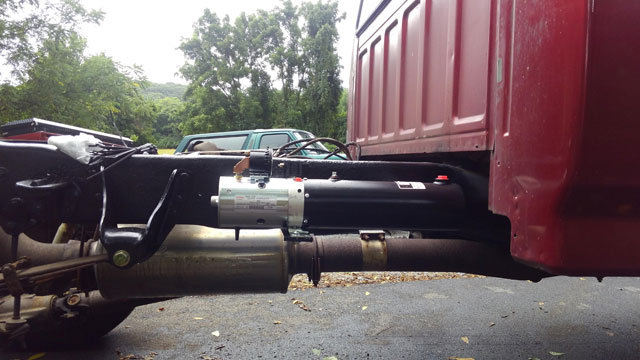 Building the wiring harness for it. Its power up, gravity down. Its a pretty simple system, and it came with plenty of wire to do the job. 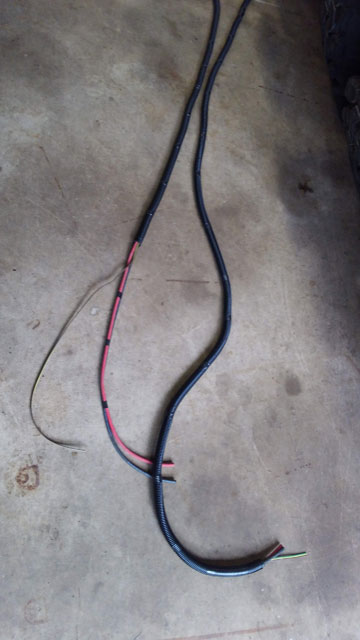 200a circuit breaker installed on fender. Its power source is below it; a 300a winch relay, that i use for my remote winch wiring. So, flip a switch on the dash to energize system, and then flip switch to run dump bed. This way i only have live power lines running down the frame rail when its in use. 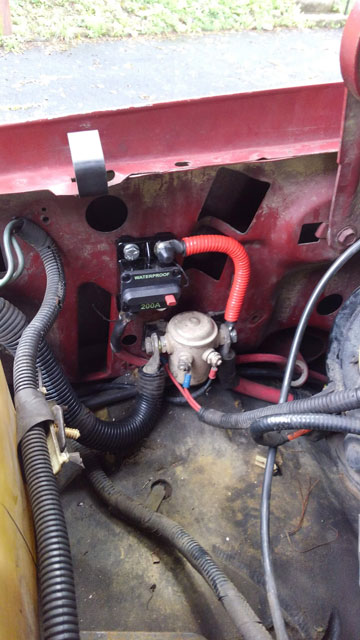 pump all wired up! 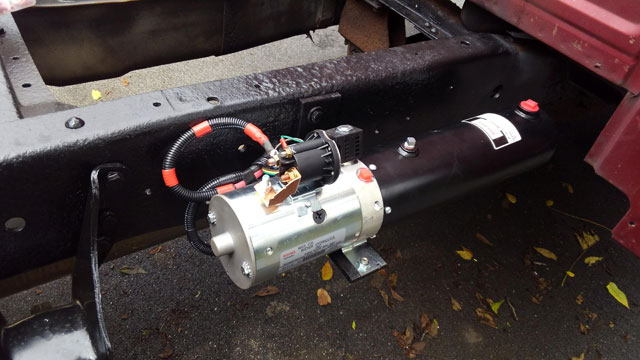 Not pictured is the installed hydraulic hose. Need to figure out if i can cut it down, or make tabs to hold it up cuz its so long it lays on the driveshaft! Made some progress yesterday! So here's the frame side hinge installed. The plan for the bed side is to have two tabs that come down, one on each side. So i cut two tabs & when i went to put them in, i realized the inner would have to be spaced fairly far away, in order to have clearance for the nut that holds the hinge to the original bed mounting bolt. 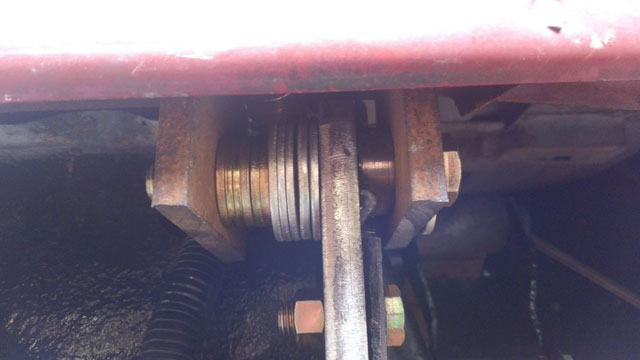 Obviously im not going to use a ton of washers, so i scrounged around the garage to try and find anything i could use, to make a spacer. I found my solution, in an old broken Dana 70 shaft! 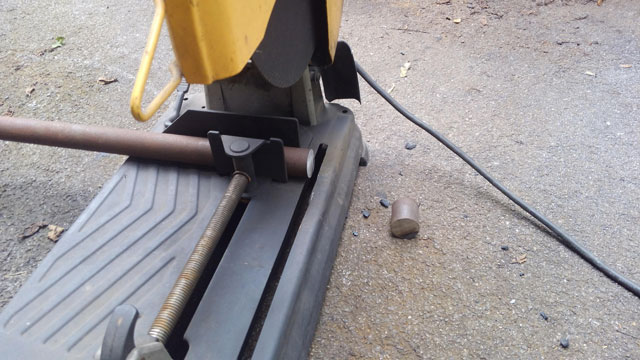 Turns out theyre only case hardened, so it was actually pretty easy to drill 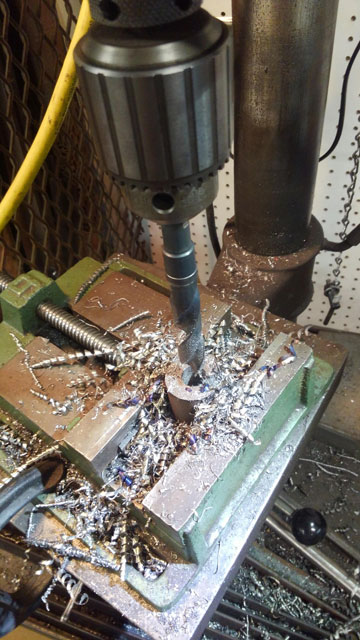 Made two while i was at it, and welded one to the first hinge 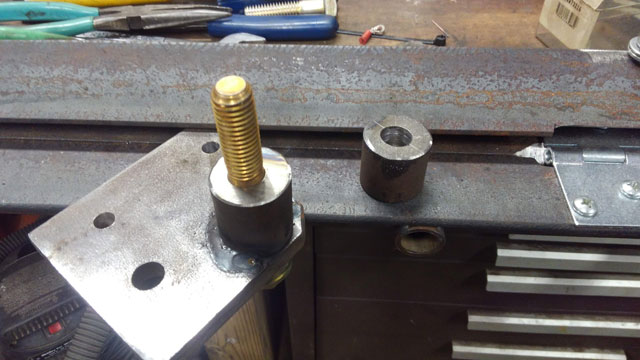 The rough idea. You can see the nut for the bed bolt hidden way up there 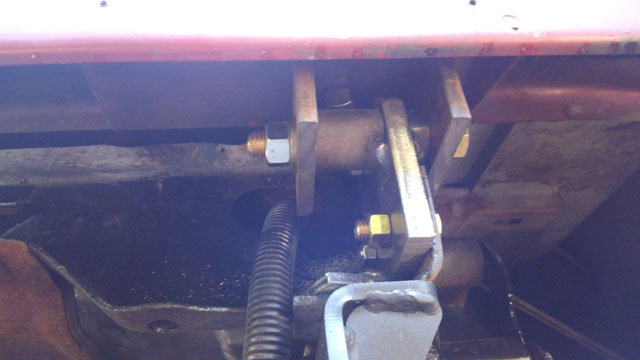 And the finished bed-side hinge 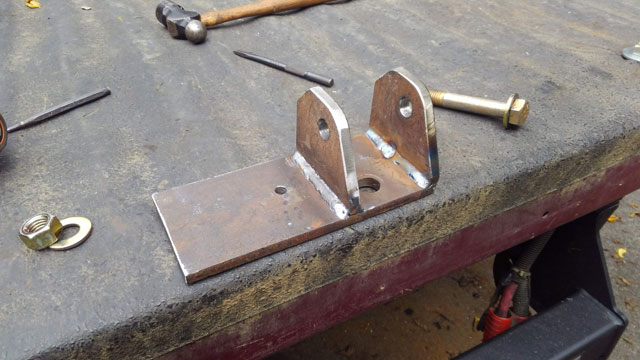 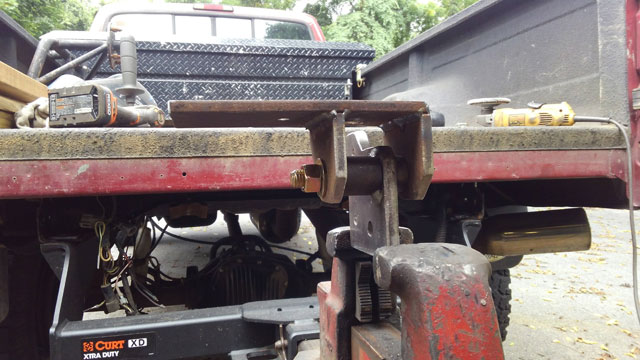 I am intentionally leaving that heavy tab off the side for now, so i have something to add bed bracing to later on, once the bed tilts. It will most likely get trimmed down at that point. So, i want to be able to grease this thing. But, when the bumper goes back on, the hinge will be totally hidden. So instead of adding grease fittings to the hinge, im adding them to the bolt. 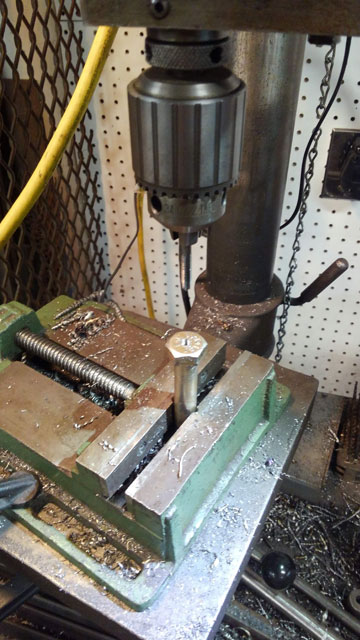 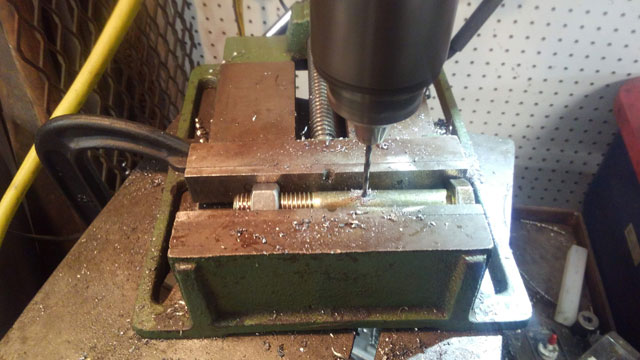 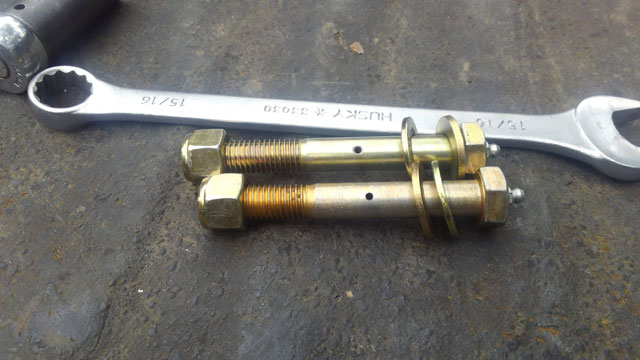 Done! 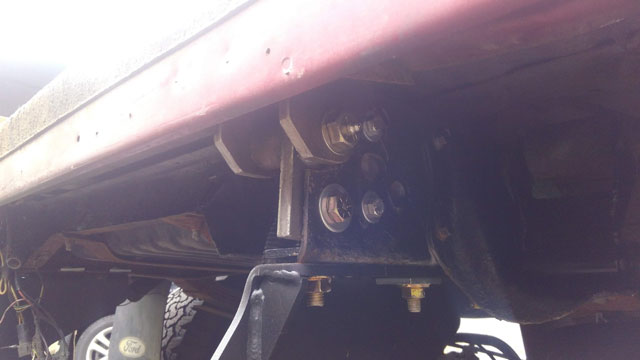 So of course its currently raining and looks like its gonna all day, so probably wont get anything done today at all. So lets talk about that hinge. This is how its designed. One bracket that bolts inside the frame, one that bolts to the bed, and a 5/8 Gr8 bolt for a hinge pin 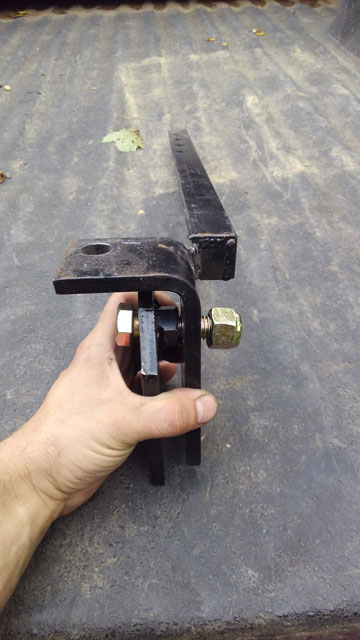 Frame side bracket. Not thrilled with this piece. The bushing is a nut with the threads drilled out, but its oversize so the bolt is sloppy 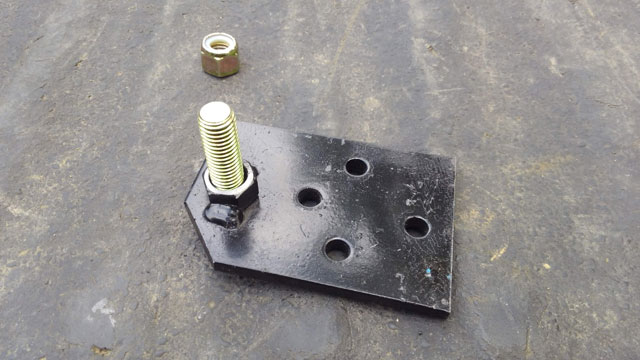 Bed-side bracket. has this angle iron tab that extends forward to tie into the next forward bed xmember. Good idea, but it doesnt fit on the 92-97 bed, so its gotta go 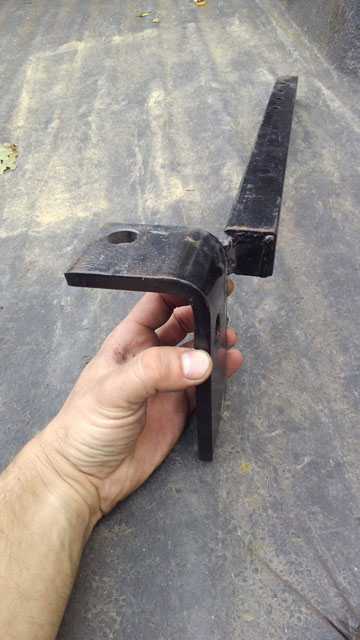 so here's the new bed half. Not a fan of this as the hole on this is also oversize so the bolt is sloppy. 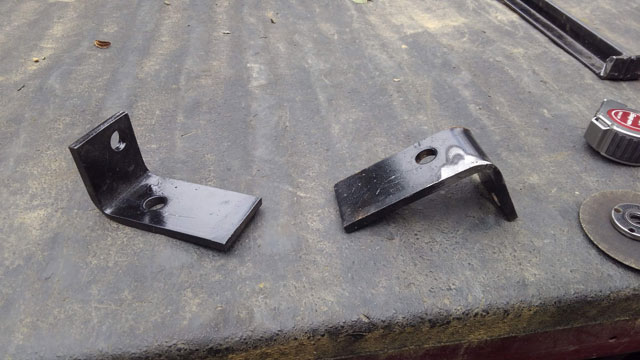 At this point i figure i had two options. Use their hinge and upgrade to a 3/4" bolt for a hinge pin, or just build my own hinges. So i looked it up. According to this page, a 5/8 Gr8 bolt has a shear strength of 27,920lbs! Clearly i dont need a 3/4" bolt for the hinge, and the 5/8 will fit in the space better. So i guess im making new hinges! Ok, gotta make some spacers. Carbide holesaw in 3/8" plate  New hinge, with spacer welded in place. All 3/8" 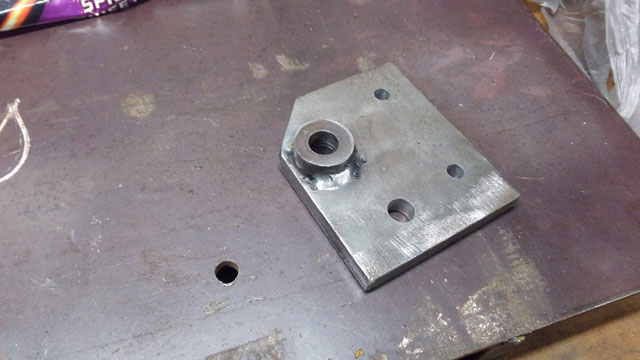 Installed on frame. Unlike theirs, mine uses all existing holes in the frame. Also of note, i need to finish trimming the frame. That notch is required for room for the hinge to pivot.  Both made 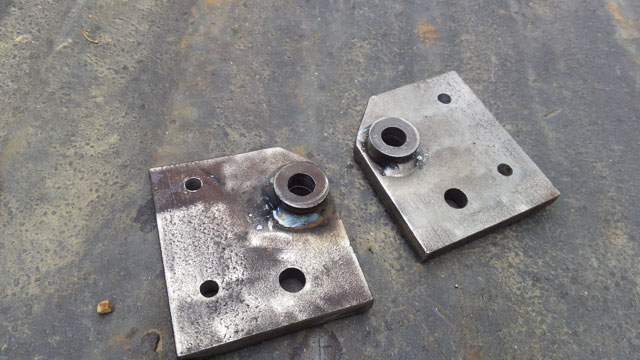 ...and the comparison between mine & theirs. IMO, mine is far superior. 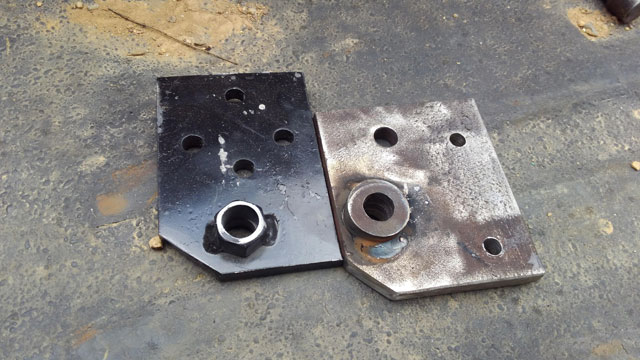 So now i need to build the bed-side half of the hinge. Well, i scrounged up some more 3/8" plate that im going to use to build them this week. I really liked the idea of making the hinge double shear, but there just isnt any room under there to do it with the hinges built as such; i might have to make a second spacer to weld to the inside of each frame-side hinge, but these will most likely need to be 1/2" in order to space them far enough away that they will not interfere with the bed bolt. So my goal for next week is going to be to finish the hinges, as long as mother nature cuts me some slack! One thing i want to say. Im not trying to bash on Pierce-Arrow. These guys have been building these kits for, as far as i can tell, 15-20 years, and everyone loves them. No complaints from anyone on the parts that ive found, which tells me that if their sloppy single-shear hinge is good, then mine will be better. Also, it doesnt have to be double shear, but if i can i want to do it, just cuz i can. The scissor for the hyd cylinder seems like a nice piece, as does the pump, and the wiring & hardware kits are both nice as well. So basically, my only complaint with it is the hinge, which will soon be resolved. So i have a small update: rain sucks. It wont stop! We got ~12" of rain last week, with more coming next week! So i do have some real progress, but thanks to mother nature its been slow. Youre probably wondering why i lifted the bed to do all that work, when i couldve done it all w/o removing it. Well, it has something to do with this: 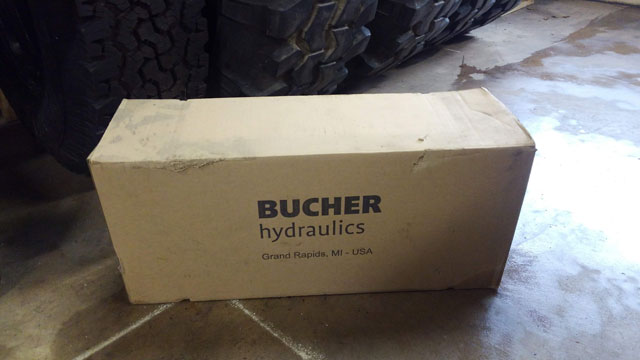 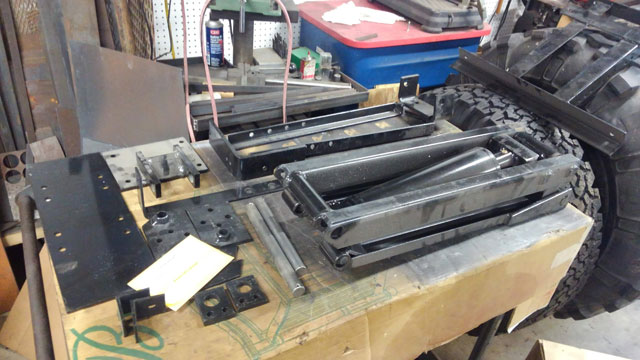 Youre looking at a 2ton hydraulic dump conversion kit. It converts the stock truck bed into a covert dump bed, which is pretty awesome. Bought it last fall and with working on the green bronco never got around to installing it until now. It came with a ton of Gr8 hardware 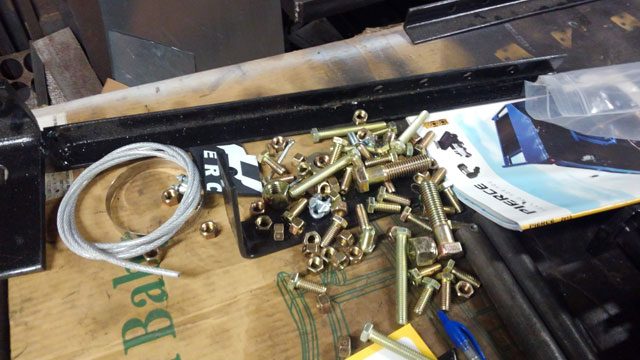 a whole bunch of wires, connectors, 200a circuit breaker, hydraulic hose & fittings, all sorts of parts  the pump is a pretty nice piece, and has a built in 3qt reservoir. Its designed to run on ATF which is convenient.  So here's where i goofed. This kit is a 'universal' kit because it fits like 20 years of these trucks. As i later discovered, there was a specific kit available direct from the manufacturer (Pierce Arrow, Inc) that wouldve worked better, but oh well. The primary difference is in the hinges, anyway, which ill get to in a moment. So i need to notch the end of the frame for clearance for the hinge. This is the point of no return, as im also cutting off the hole for the rearmost bed bolt. 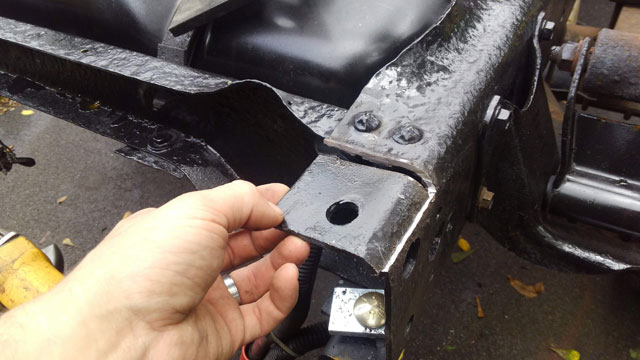 So today the rain broke long enough for some buddies to swing by and help set the bed back on the frame so i can begin! 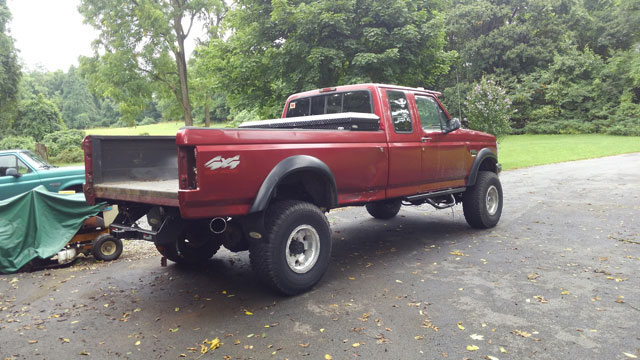 New spring hangars from Dorman 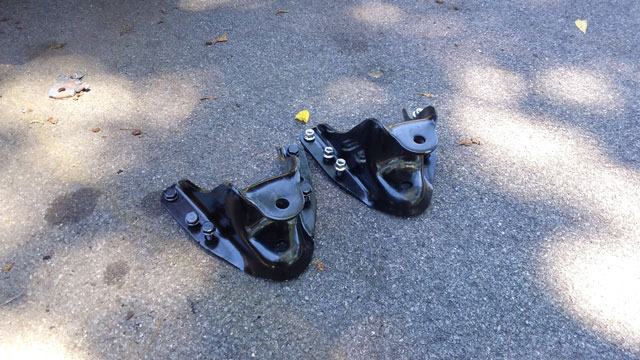 Installed new spring bushings as well 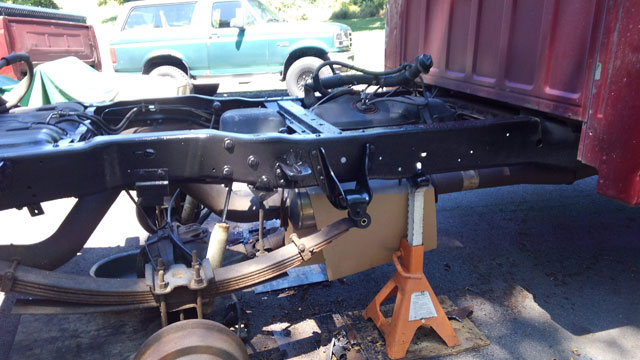 Made a new tailpipe hangar to replace the broken one 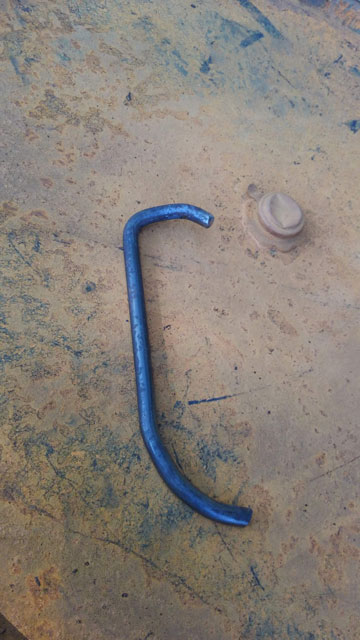 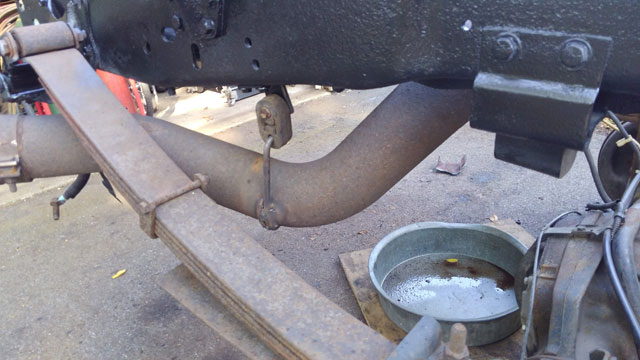 ...and a new trailer hitch! Curt Class V, #15300. Got it on RockAuto for $180, cant beat that price for a class V hitch. And it is BEEF too, really nice heavy duty hitch. 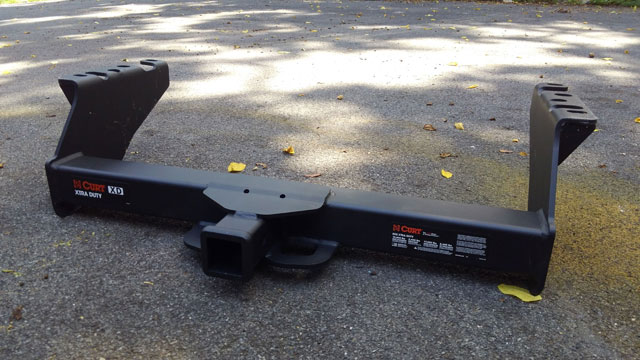 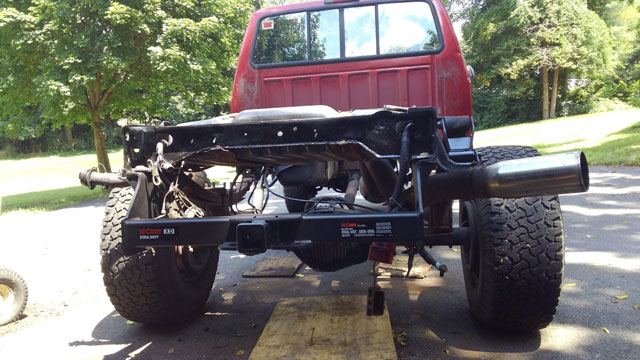 That pretty much gets me up to date, as it has been pouring non-stop for days now. I still need to fix the trailer hitch wiring as i damaged it when i removed the bumper (doh!) but aside from that the repairs are done, which means as soon as the weather improves, the mods can begin! So now that the bed is off, the maintenance can begin. #1, rear tank runs out of fuel at ¼ tank. Pulled the sending unit and sure enough, the strainer has broken off the bottom! 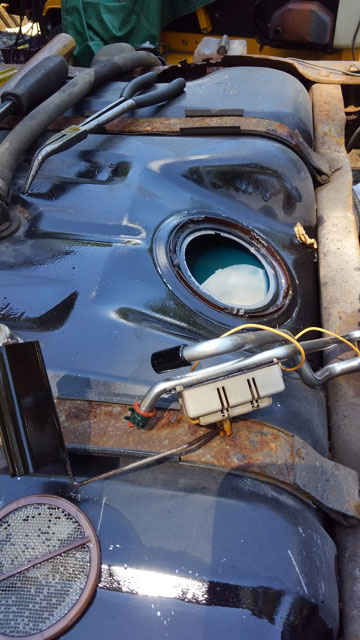 Pulled the front sending unit because it always read empty, and found a cracked float full of diesel (float already removed) 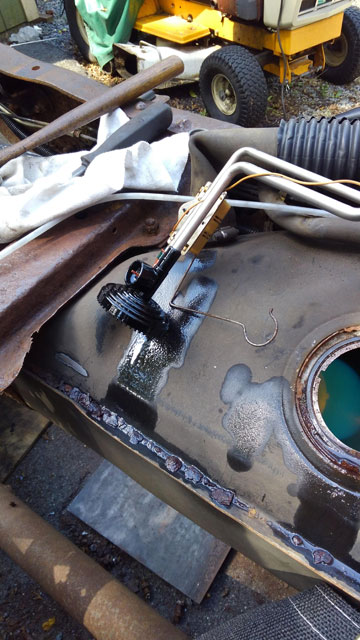 Sending units for the diesels are pretty pricey, but fortunately, parts are not! So i ordered a new float for the front, and strainer for the back off Amazon, and got them both fixed 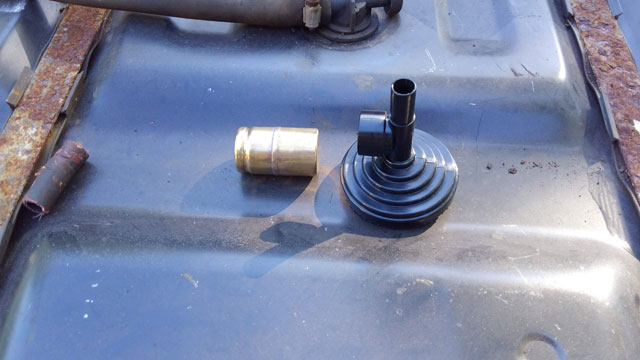 Next up was to remove the front spring hangars as they are toast 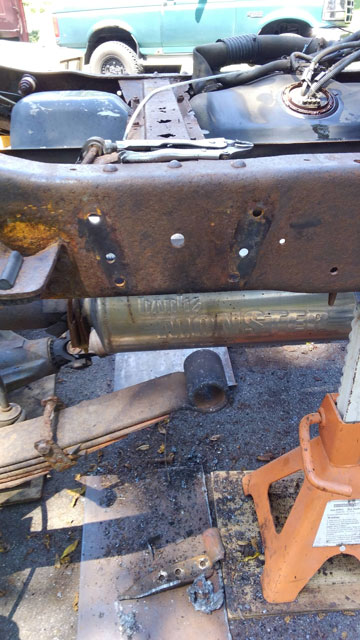 From there i needle-scaled, wire-wheeled, and then primed the whole back half of the frame 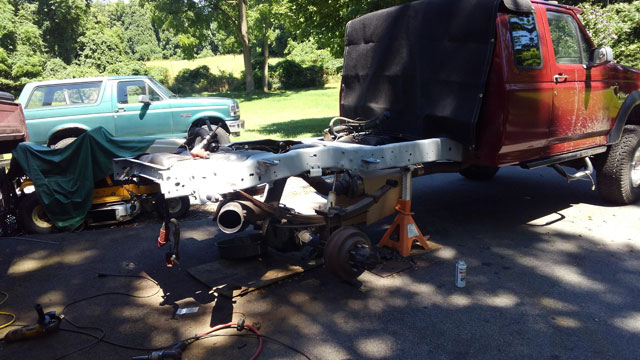 And then yesterday i finally got a coat of paint on it!  Woah an update! So here we are, 3 years later. Everything still works! Sort of, anyway. This thing needs some TLC tho, so here we go!! Step one, remove tailgate & bumper: 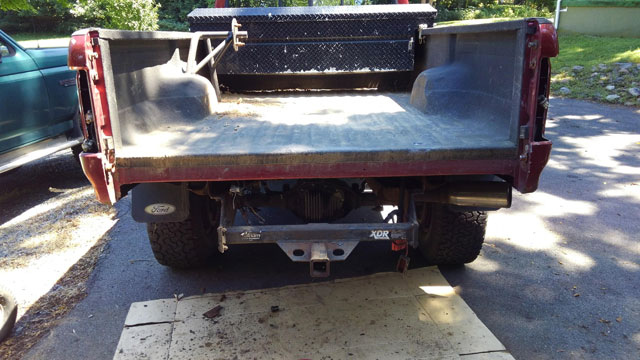 Step two, remove rotted out, worn out trailer hitch: 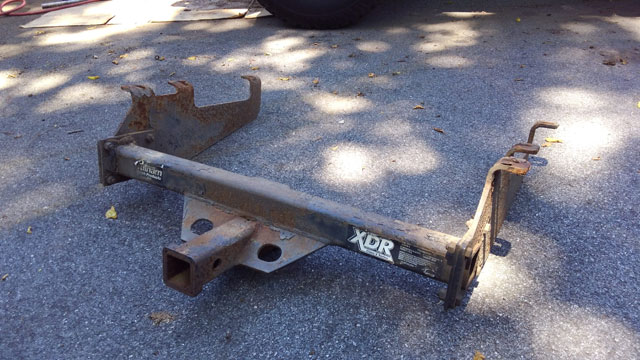 Locate bed bolts in bed liner (this part sucks) 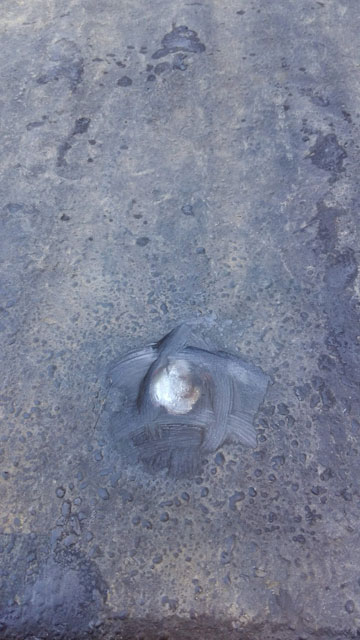 This one was particularly stubborn, had to cut bottom of bolt off. They have an interesting shoulder on them so as to not crush the bed when torqued down; also means they must come out the top even when the head is cut off. 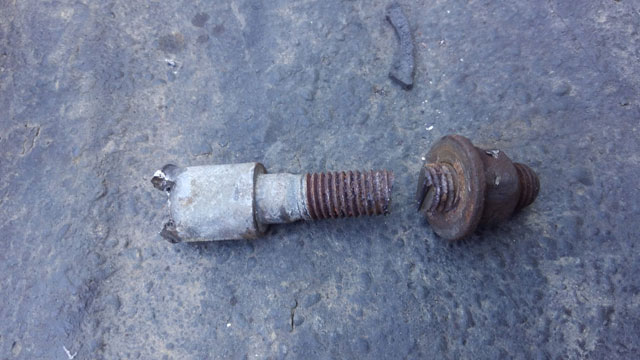 Front-left bolt. Another stubborn one. This one i had to cut the nut off with a die grinder, due to how close it is to the fuel & brake lines 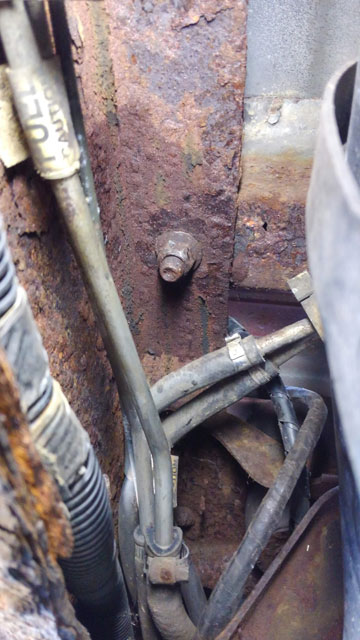 This is a fun job to do. 5 out of 6 bed bolts fought me, and ended up getting cut. Im still going to have to deal with this later! So much scale falling on me the whole time too. 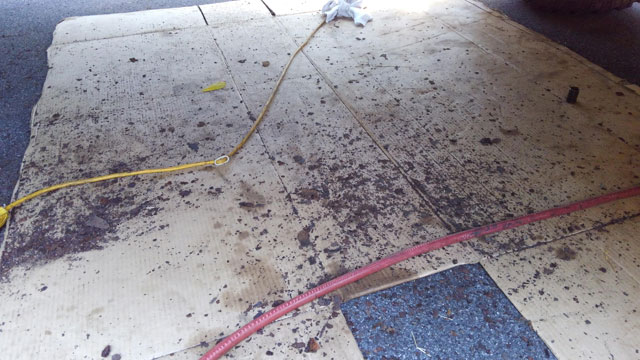 Then a couple buddies stopped by, and this happened! 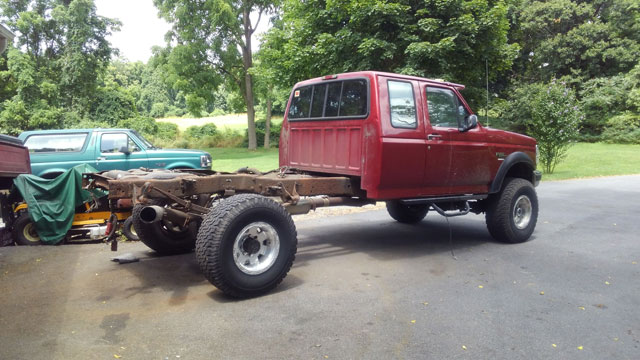 Bed is on trailer for now. Yes, its going back on. 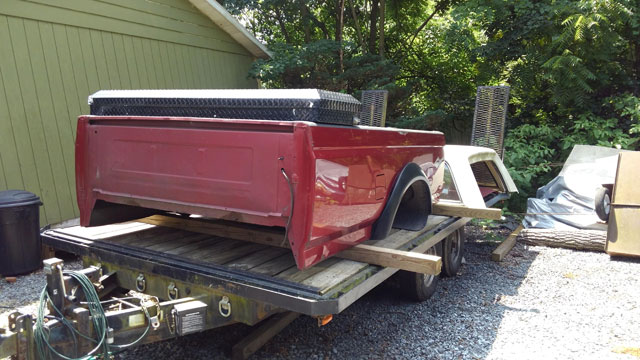 The 305s were getting pretty bad so ive been saving for a new set of tires. Then last week i stumbled across these on the CL: 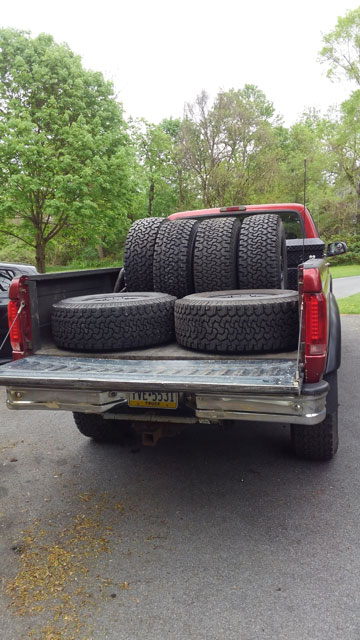 They are 315/70/17 BFG AT/KO on 17*9.5 Black Rhino Armory wheels. The wheels have a bit of a 'tacticool' look to them, but the price was right, and honestly, after seeing them on the bronco, i think they look pretty good! 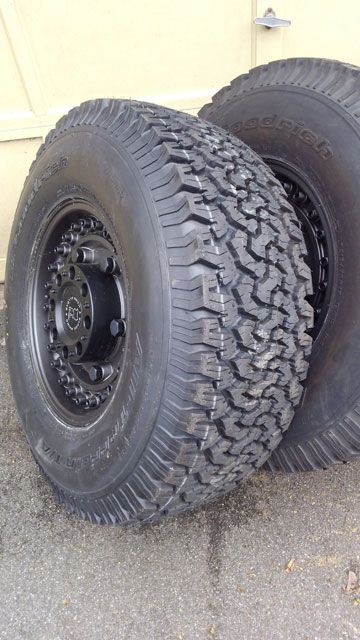 Bought a set of lugnuts off the Amazons, since i couldnt use the original big open nuts i was using.  The money shot! 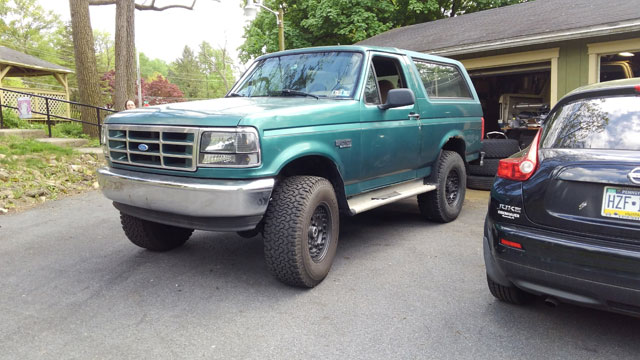 Some clever trimming of the bumper. This is how you get 315s to clear with only 2.5" of lift! 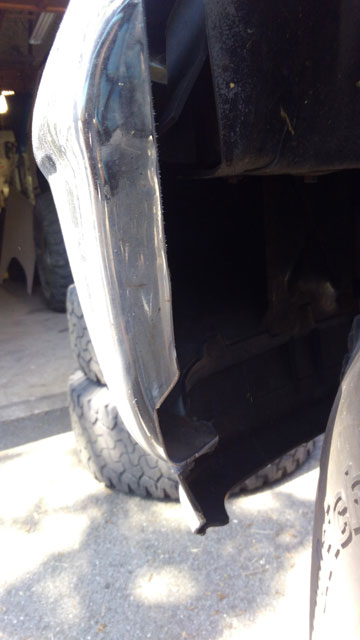 Looks like they rub, but they dont: 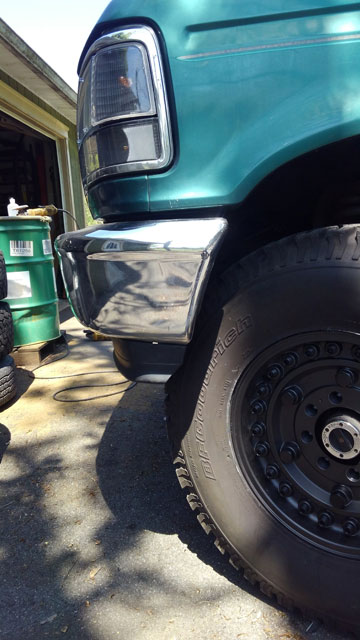    The co-pilot approves!  |