|
So rust repair has begun! Rear left corner fixed: 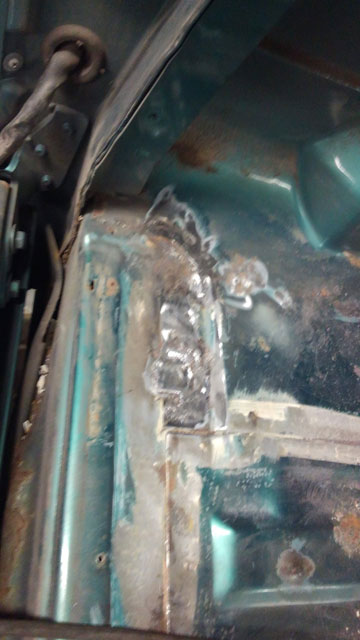 random hole in rear right wheel well fixed 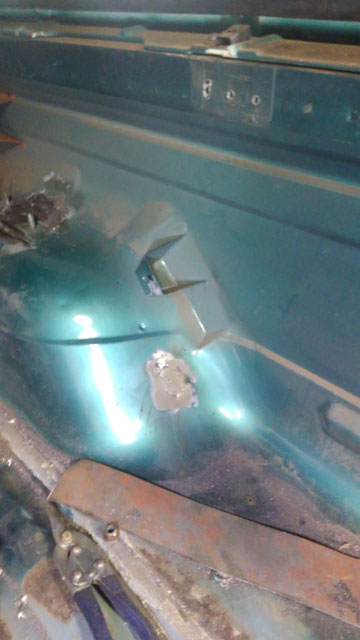 Random hole at bracket for rear right seatbelt spool fixed 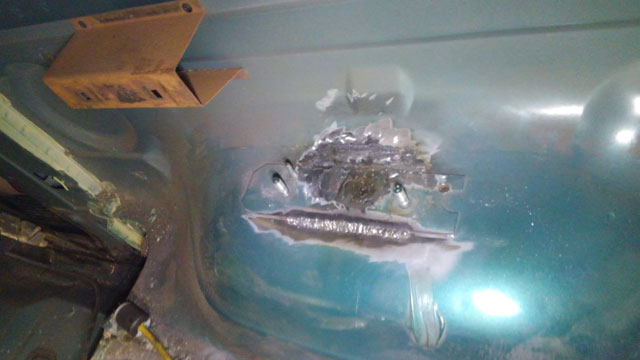 I didnt realize till later that these were terrible pics. Ill try to get better ones and replace them later on. That concludes the 'easy' repairs. Now for the bad ones: 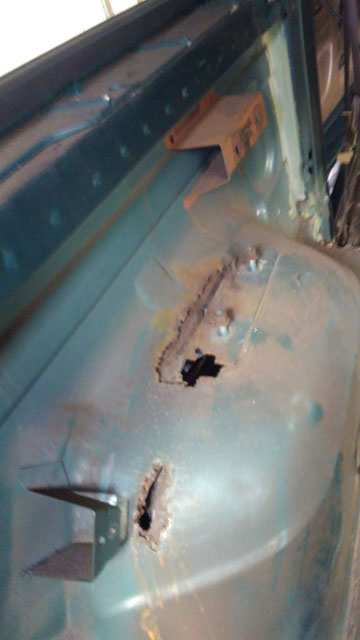 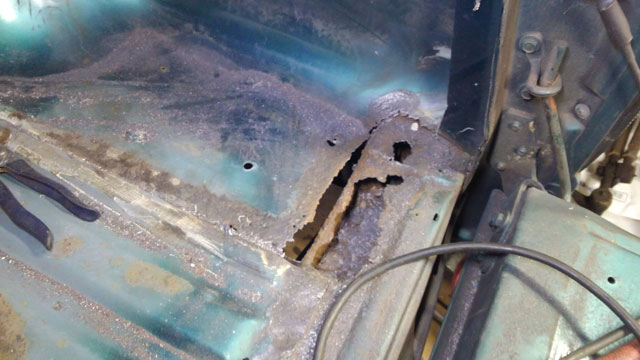 I suspect these will take a bit more time to fix, so probably no updates til theyre done. Hopefully thats all of it; there is one spot near the driver seatbelt spool i need to inspect, but thats the only other spot in question as the front half of the floor is in great shape. Below the rear passenger speaker is an impact sensor for the airbag. Well, since i dont have the airbag anymore i figure i dont need this sensor either.  Sensor, with harness. The harness runs to a connector behind the passenger side kick panel. So all thats eliminated now. 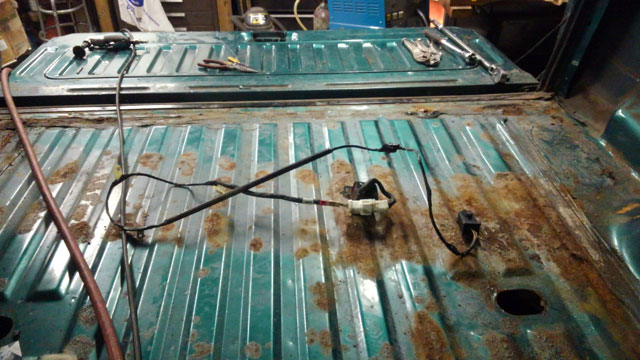 I also wanted to do something with this. This is the power for the rear right speaker, plus the seatbelt switch. 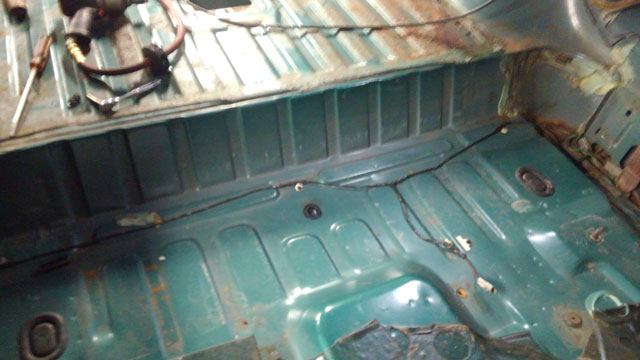 I de-loomed all of this, and followed it back to a harness connector near the p.brake pedal. I bypassed the seatbelt switch, because i dont need my truck to tell me to wear my seatbelt. Then i pulled the wires for the rear right speaker out of the harness and separated them. I rerouted them thru the dash, thru the passenger side kick panel and sill, back to the speaker. They are long enough in stock form that i dont need to extend them. Plus, now i dont have any exposed wires in the interior of the bronco. The front half of the interior is solid, no rust repairs required. In the rear half, ive begun stripping the seam sealer, and began rust repair. There are more holes than i anticipated, i think im up to 5 or 6 now. Ill post pics during the week as i begin to tackle each one. So i managed to remove the seat brackets, but it wasnt easy. 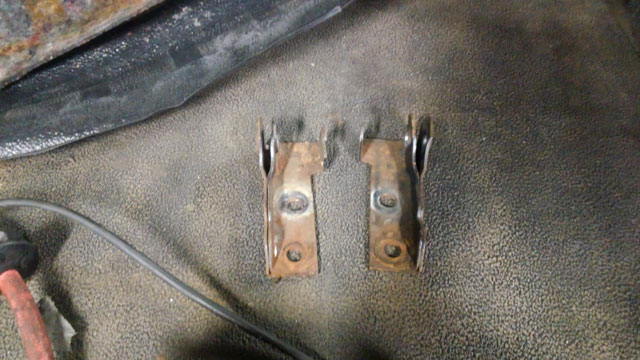 Both bolts came out of the passenger side bracket, but both bolts broke off on the driver side. Theyve both been drilled out at this point, but ill still need to run a tap down the holes. I lifted the rubber mat, and found it was wet. The cardboard was moldy, and the jute was soaked! The floor is rusty and damp. Not good. 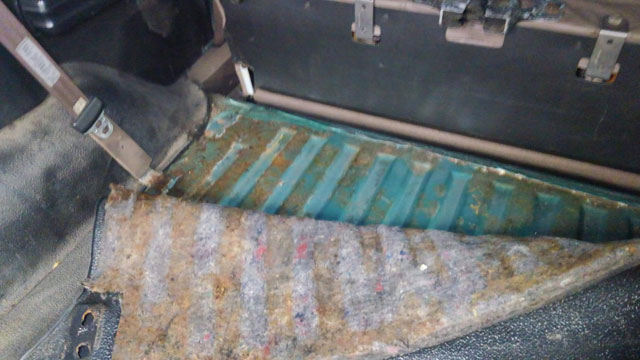 So now the whole interior is coming out! 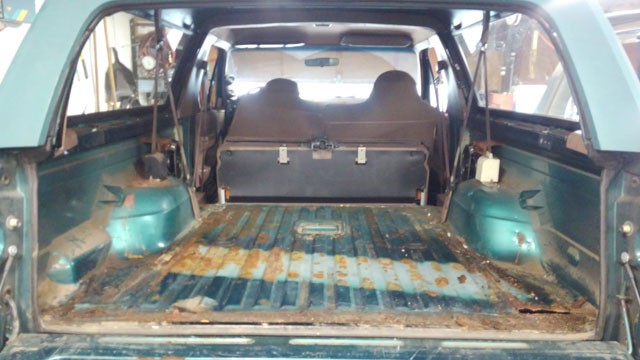 Mostly surface rust, but i did find a couple holes, like this one for example: 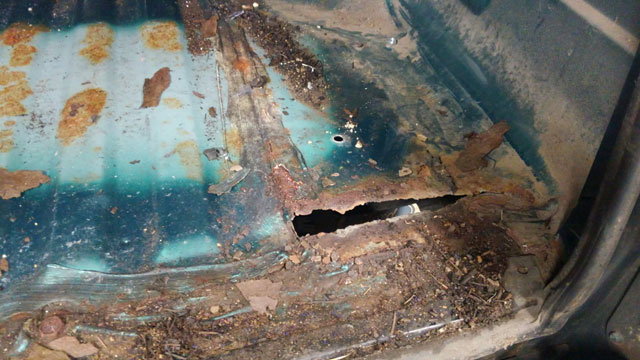 The rear belt bolts were super stubborn, i ended up stripping both of these out  They came out with some persuasion though. Im going to have to find replacement bolts i suppose! 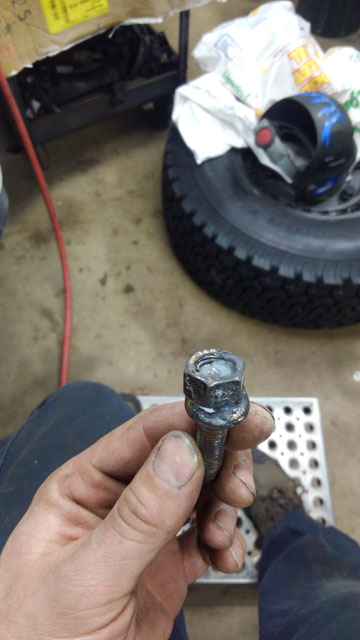 I also got the front stripped as well, this looks a lot better! 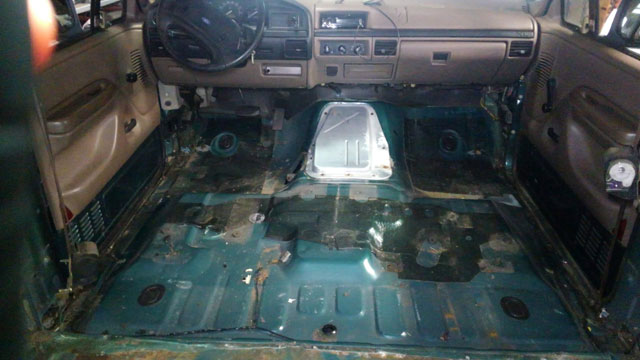 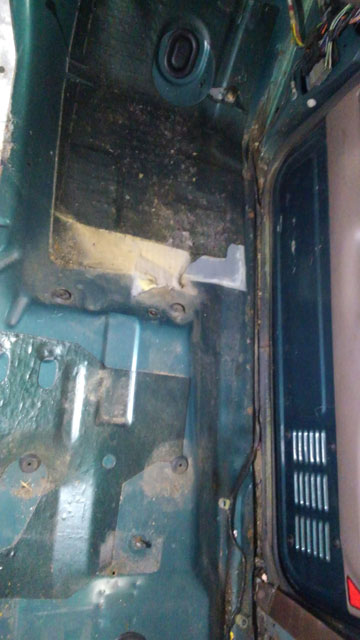 So that pretty much catches me up. This week i need to clean the interior real well and then i can begin the rust repair. I see at least 3 spots in the back that will need patching, hopefully thats all of it. Pretty much been just driving this thing all fall. A month or two ago i went to replace a taillight and found a cracked housing, so i bought some smoked clear housings, looks much better  Some more LEDs from Amazon 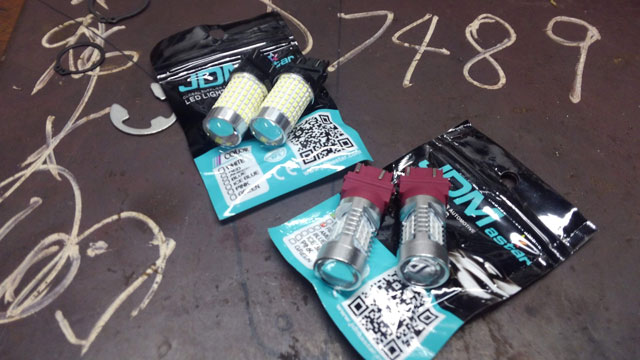 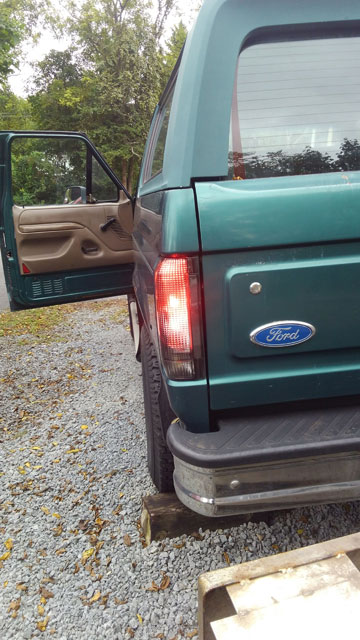 Some time during the end of summer i took the spare off the tire carrier. Too heavy, was tearing the tailgate. I guess two weeks ago now i found an interior carrier in a junkyard, so i snagged it up. 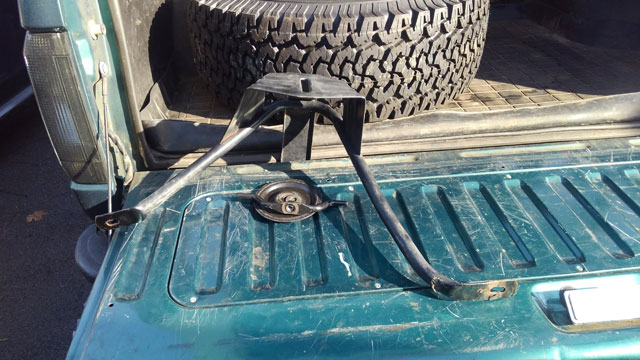 Bolted up: 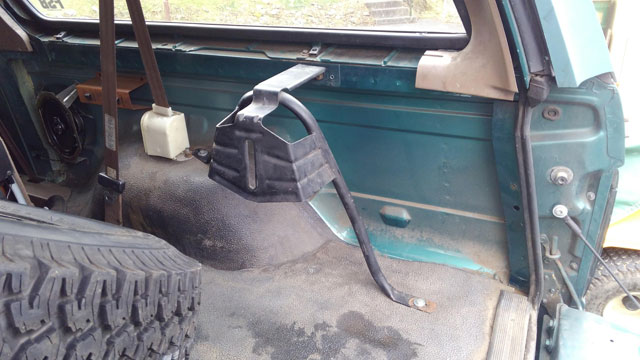 35" tire just clears the tailgate 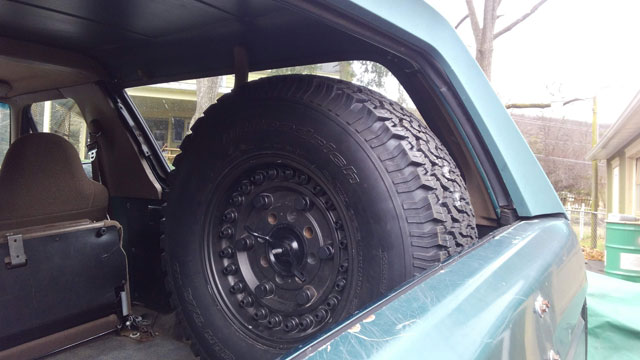 ...but as everyone knows, it wont clear the seat. 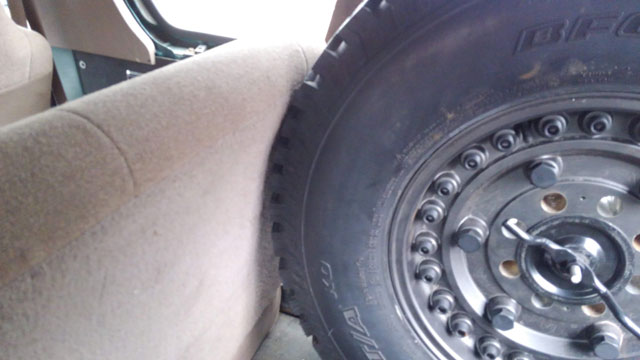 Specifically, the seat can be latched to the floor, but you cant put the seat back up. You can buy a kit to move the seat forward, but its not cheap. I figured id tear into it and see how bad it would be to do myself. Stuffed back into the garage. Its a tight fit! 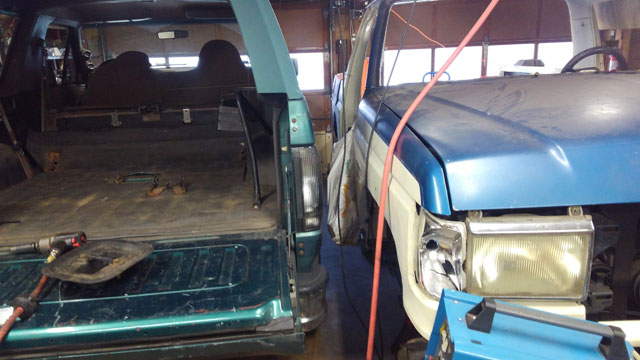 So the dump bed works pretty awesome! You cant really tell, but theres a yard of stone in the bed. 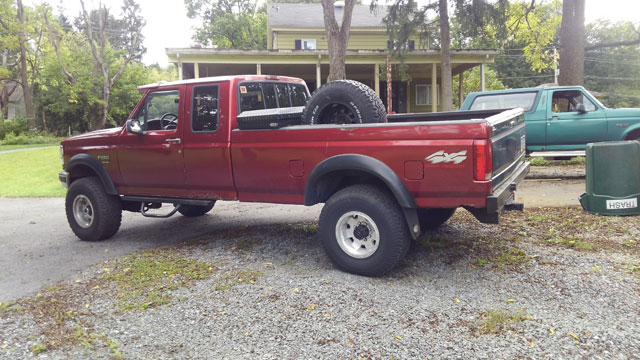 I didnt shoot any vid of it dumping, didnt think of it at time, was more concered with watching it, since a yard of stone is ~2600lbs. ive used it a couple times now, it is super awesome. The green tailgate presented a problem though. It was a necessity as my original tailgate got smashed, but its bowed pretty badly, and i was losing stone on the way home. So, i dug out a shell ive had kicking around, and decided to see what i could do with it. This one was also green, so i sanded it and then rattled it with some red primer, then sanded again 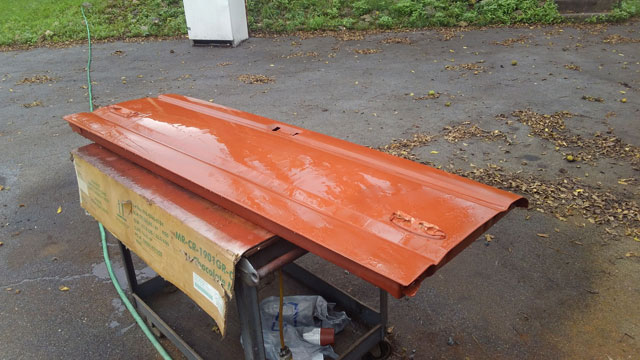 Starting to lay color. Again, all rattle can as i dont own a spray gun, and wasnt going to buy one, just to spray a tailgate 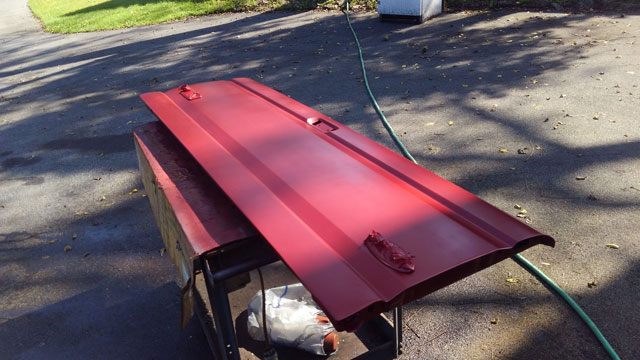 Couple coats of clear later, starting to look better 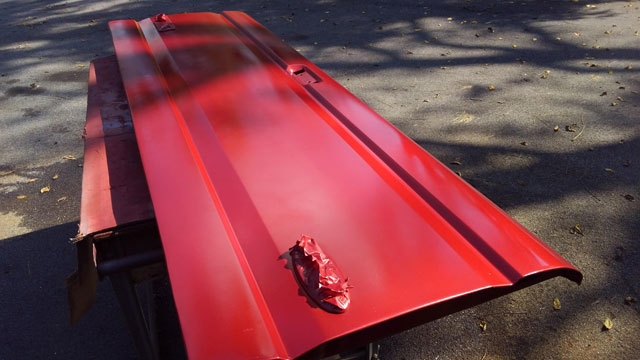 Some more wet sanding and some wax, and this i what i ended up with: 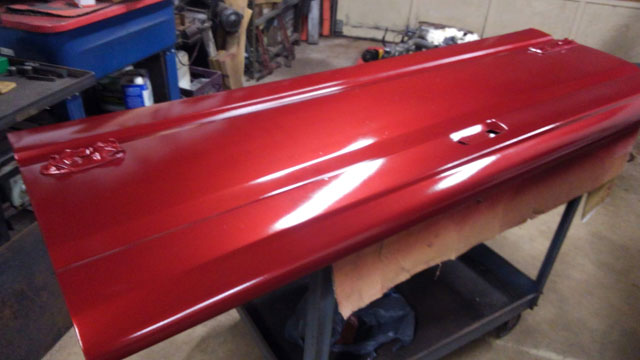 Not too bad for rattle can, if i do say so myself!! Hardware from my gate going in: 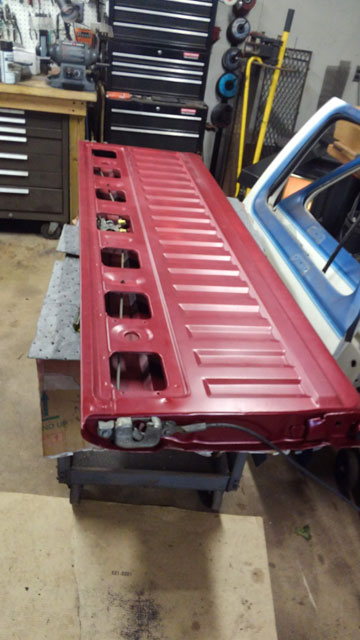 ...and the finished product! 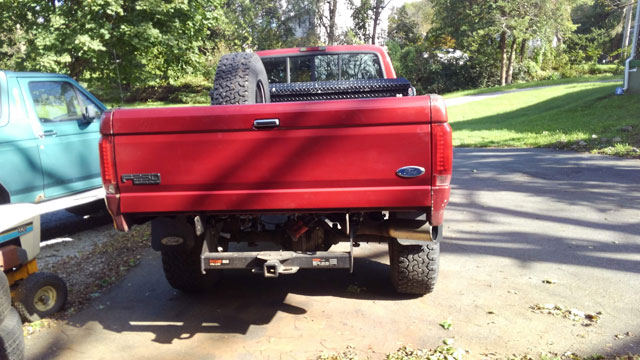  Considering its all rattle can, i think the end result ended up pretty good, even tho its slightly off-color. its still way better than green, and this gate is actually straight! So from here i moved on to two other projects. #1, front brakes! 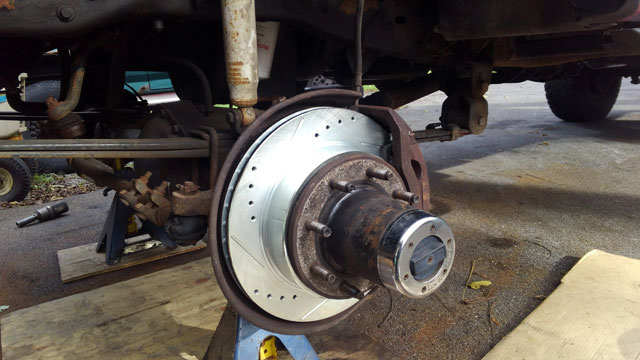 Power Stop carbon-ceramic pads, and their rotors as well. Havent driven it yet, we'll see tomorrow if they work any better than the crap Autozone brakes that were on there before. #2, bumper mods. I really couldnt bring myself to drill 4 holes in my shiny new tailgate, so i had to find a different place to put the license plate. So here we go! Take this:  and fit it here: 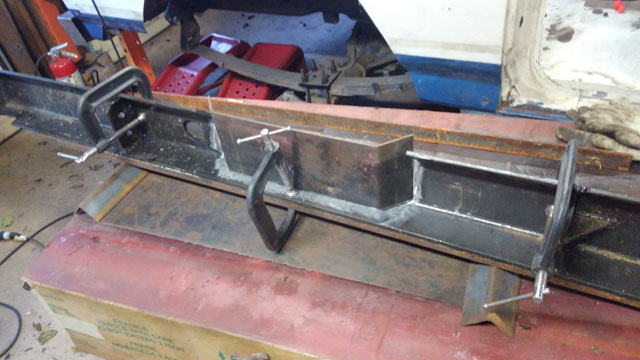 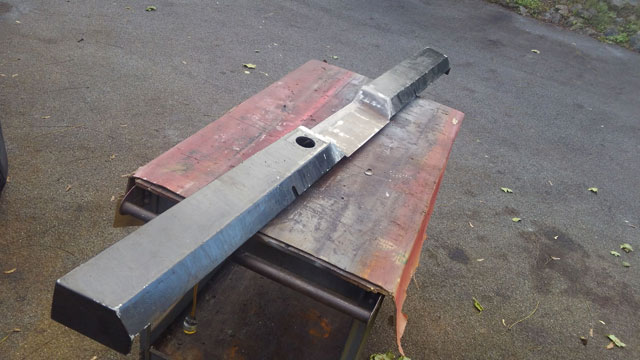 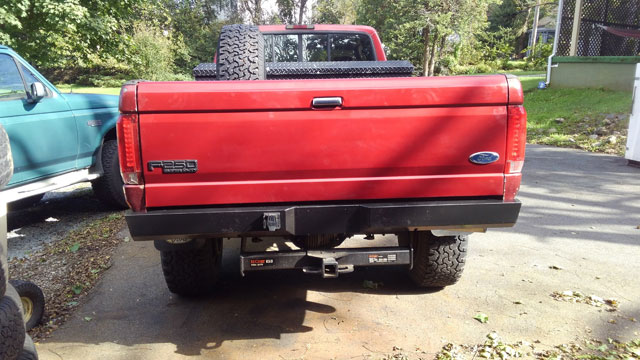 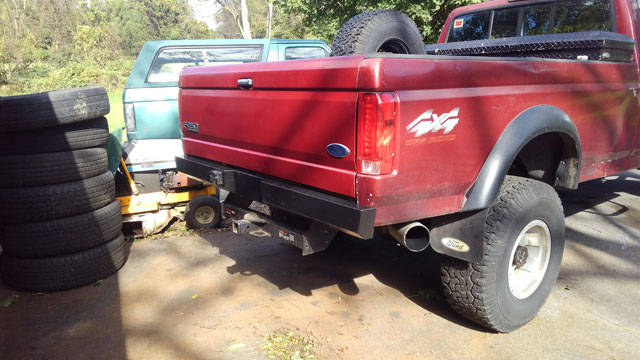 Being inset, it clears the hitch with plenty of room! 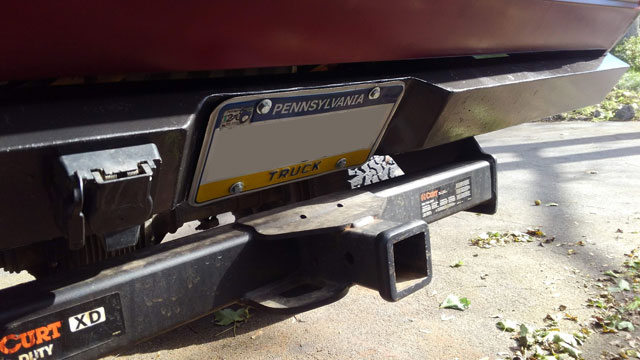 then i drilled some holes 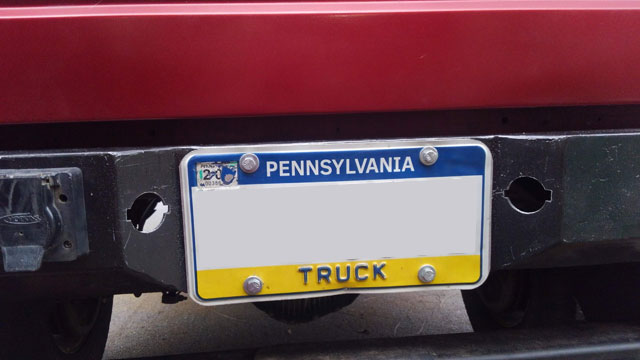 ...and reinstalled the OEM plate lamps, after i painted them to match the bumper: 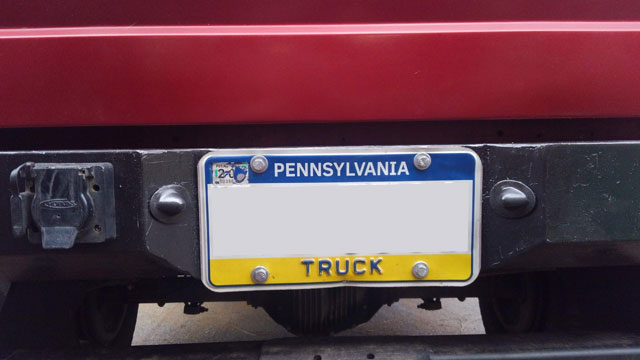 Hopefully this is the last of the work to this thing for the year, as my other projects are piling up!
Made some progress on the water/meth injection. My wiring harness uses 7 wires, so rather than build an extension, i bought 7 wire trailer harness: 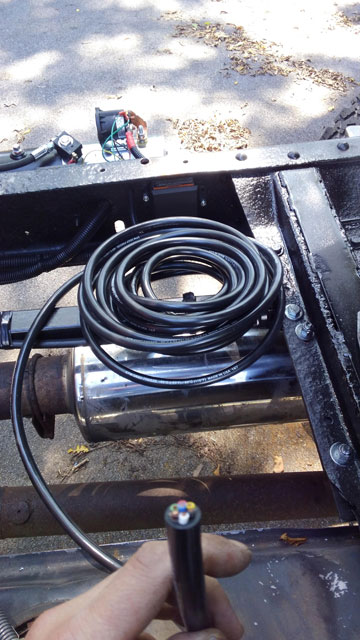 More OEM wedgelok pins being put to use 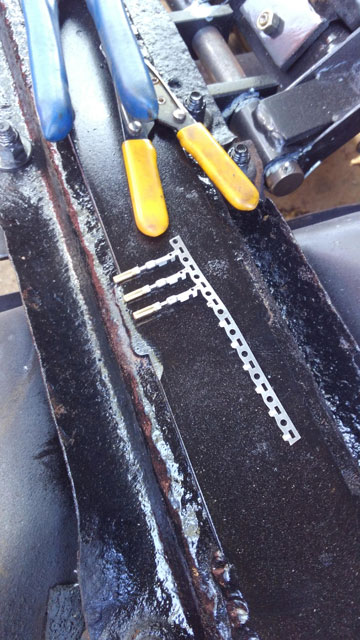 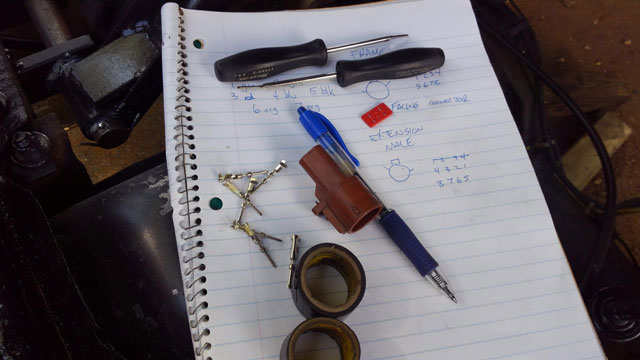 Original harness on the frame: 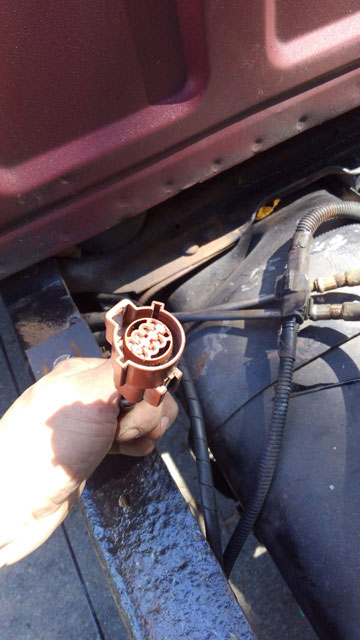 ...and the new extension plugged in and looking OEM  The harness runs up the bed here. Next to it is a hydraulic hose connected to some 3/8 stainless tube via some swagelok fittings for the water. 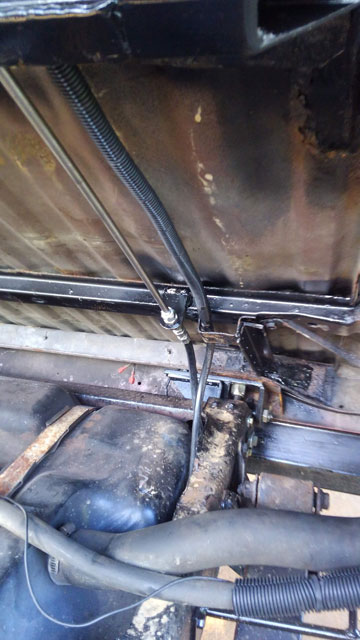 The route up the bed:  Another OEM connector, where my extension harness ends in the toolbox. In the top left you can see where the tubing enters the box. 100% stainless tube from the bed hinge to the toolbox. 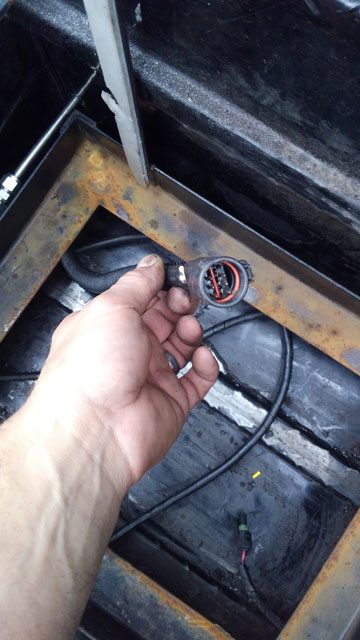 The original toolbox harness modified with a mating wedgelok connector installed: 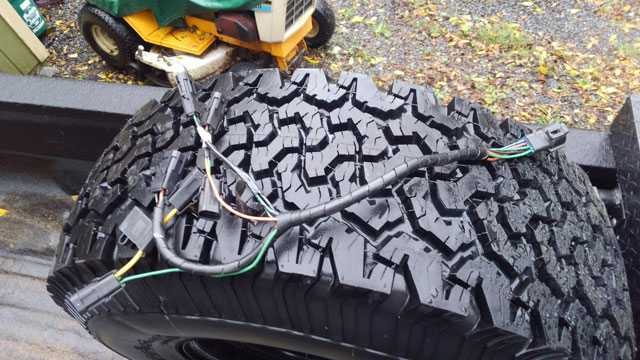 ...and the whole water/meth system is now reinstalled and done! 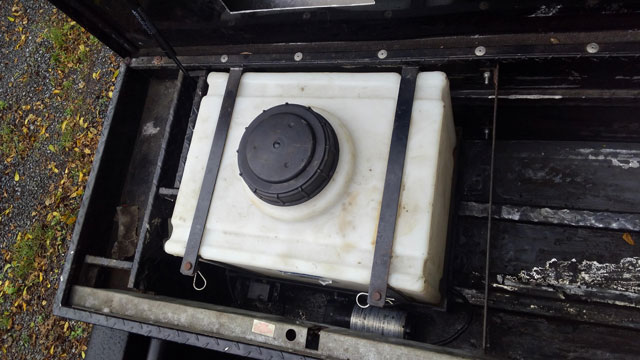 I turned the system on to check for errors and didnt find any, so i removed/cleaned the injector and then purged the system. Holy shit i think were done!!! I still need to find a place to relocate my CB antenna to, but aside from that she's 100% done! After sitting for 7 weeks under a black walnut tree the truck needs to go to the carwash pretty badly, so i guess thatll be my test drive to see how badly the bed rattles around. The kit comes with these guides to keep the front of the bed aligned with the cab, but i never installed them because my hinges are so much more sturdy than the ones that came with the kit, and the bed doesnt flop around like it woudve with their hinges. So we'll see after the test drive (hopefully tomorrow) if i need to put them on or not. Bought a piece of unequal angle (3x4) from the scrap steel yard to begin mockup for a bumper 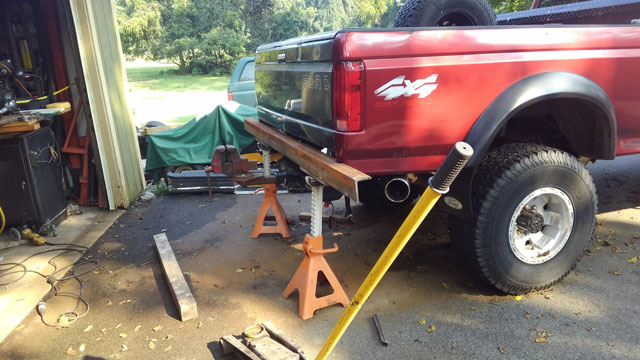 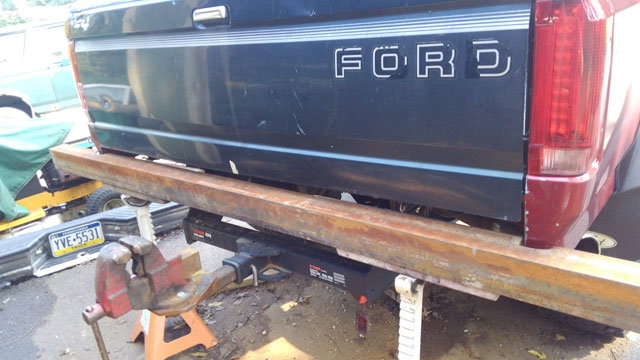 bumper brackets 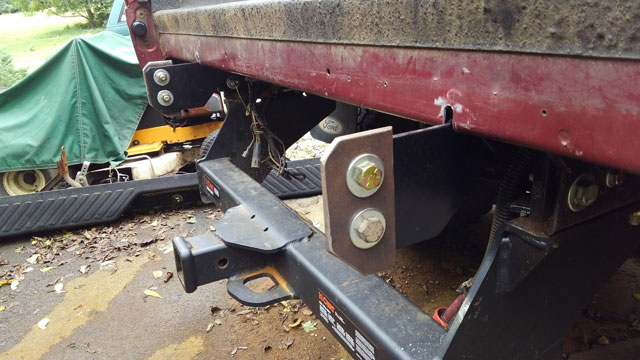 So heres the rough idea: 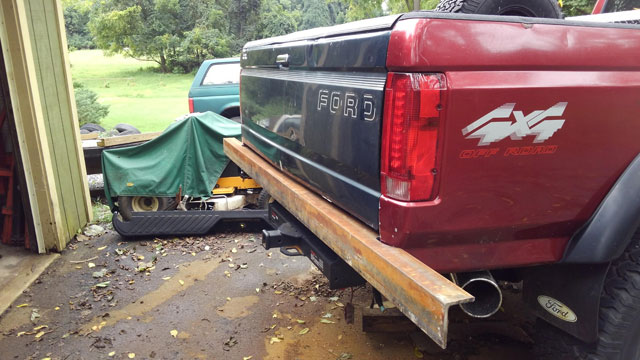 Seems awfully small, but with the bed tilted, you can see its a tight fit 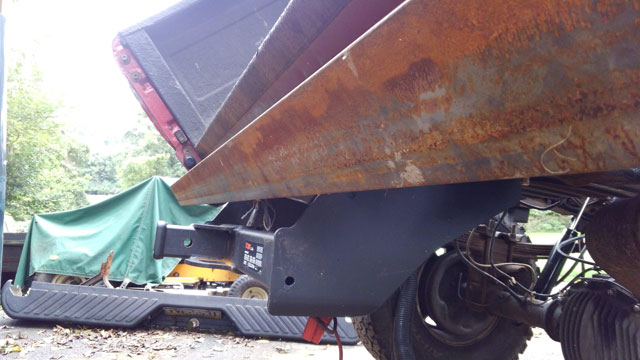 No room for a license plate on the bumper 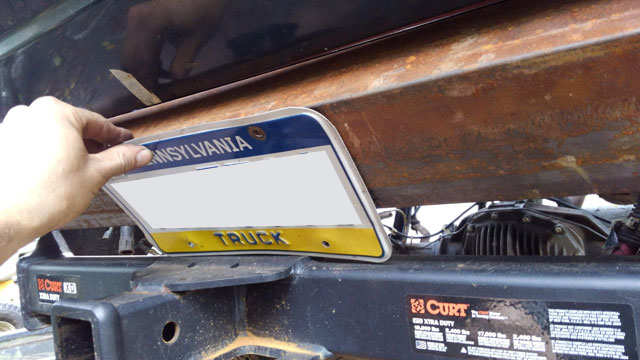 Trimming the corners 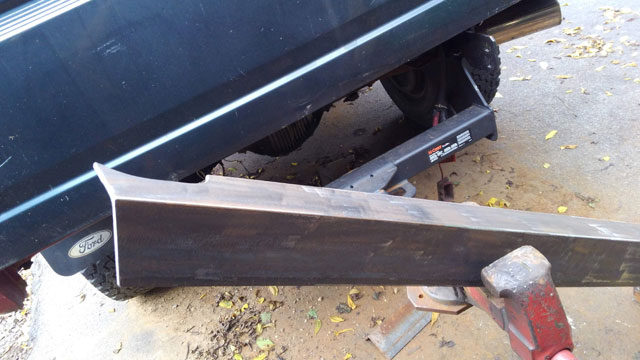 Adding a piece of 2" plate to the bottom 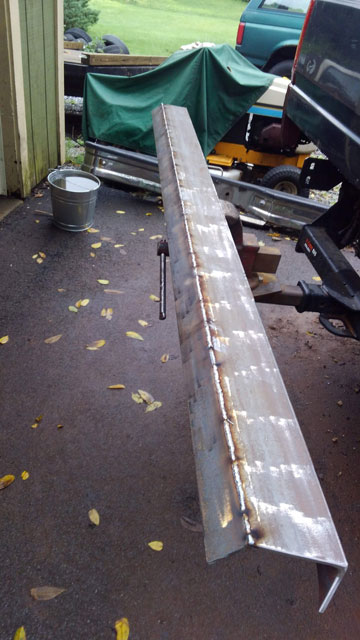 Now its starting to look like something: 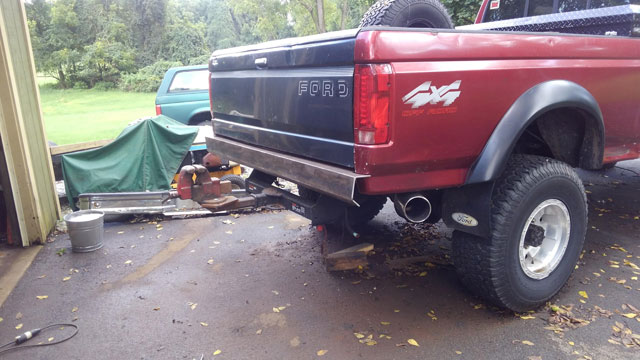 All done and ground 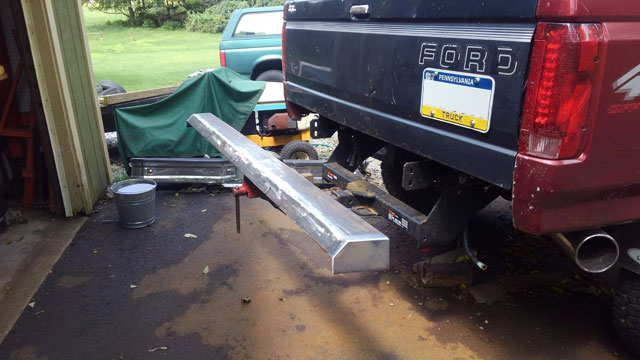 For lack of a better place, i put rivnuts in the tailgate, to hang the plate off it. This gate is beat up anyway, so not too upset about drilling holes in it 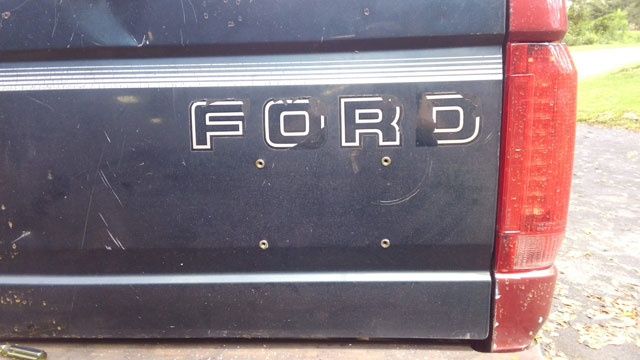 All done & painted! 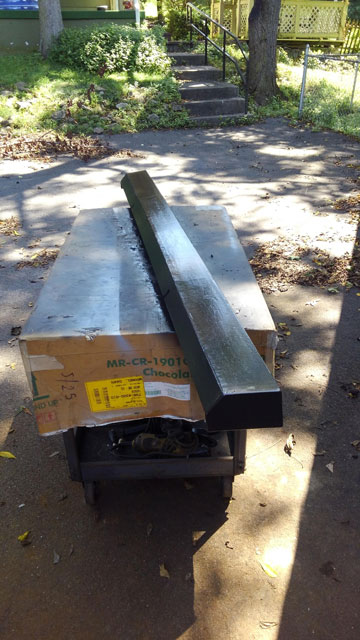 While i was waiting for it to dry, i fixed my trailer wiring. Turns out Clips & Fasteners sells replacement pins for Ford Wedgelock connectors. Male + female, and both the large and small pins. They get crimped on using the same tool as weatherpaks do, which i already have. Since i had broken wires i cut all of them back to fresh copper and repinned all of them 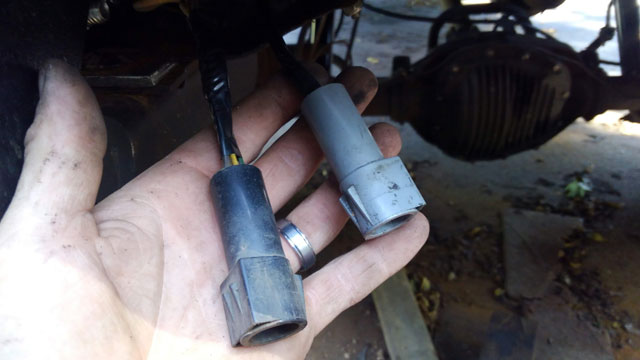 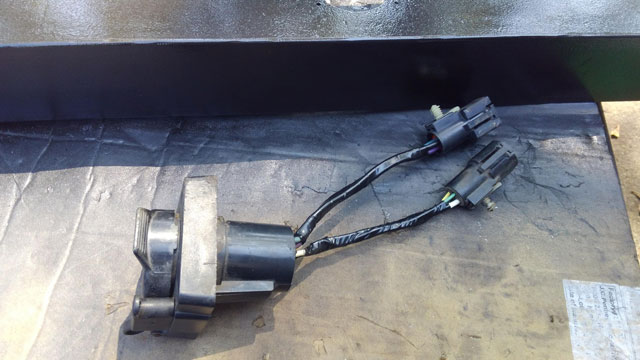 So all thats left is to bolt it on, and its done! 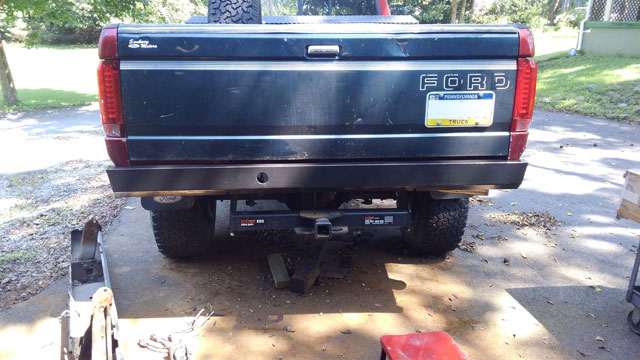 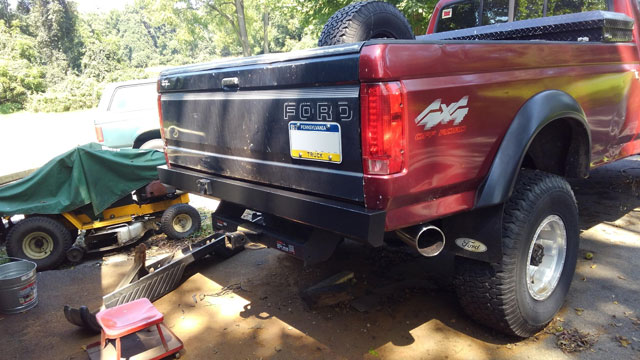 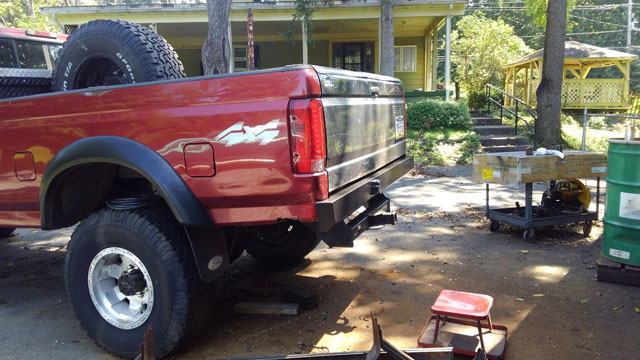 Its a tight fit against the hitch: 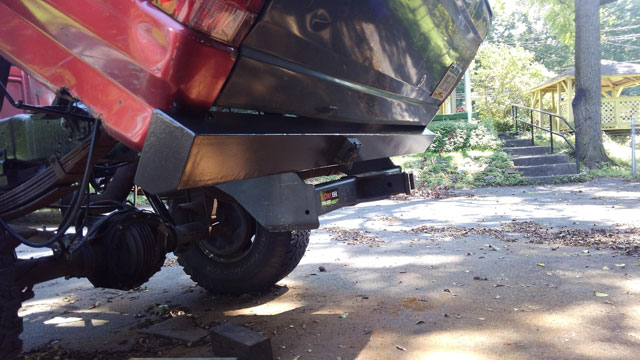 Look closely, youll see the bumper brackets all but touch the hitch, and there is actually a vertical groove in the bumper to clear the hitch. Its tight! 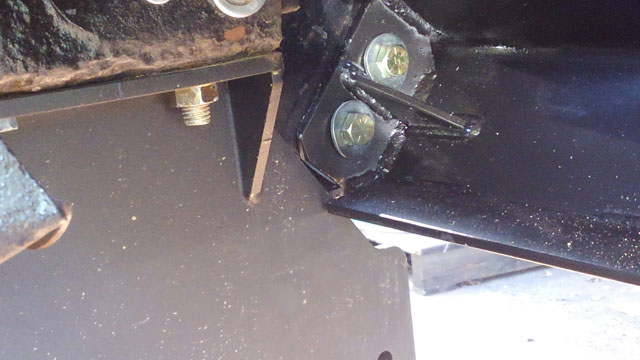 The bumper is a little smaller than id prefer, but as big as i can make it. Overall i think its looks pretty good on there though. So thats two more items off the list! So next week i need to tackle the water/meth injection, move my CB antenna and then i think im done! Ok, so weve got 4 main projects left to finish this thing. Gotta solve the bumper problem, fix trailer plug wiring, rewire/plumb the water/meth injection, and relocate the CB antenna. Well, ive got 2/4 done now. All this work on the bed; so i decided to work on the bumper. Since its got to pivot with the bed, i started building brackets to attach to the hinges: 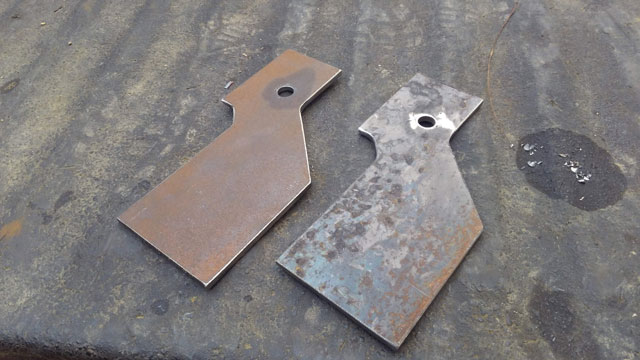 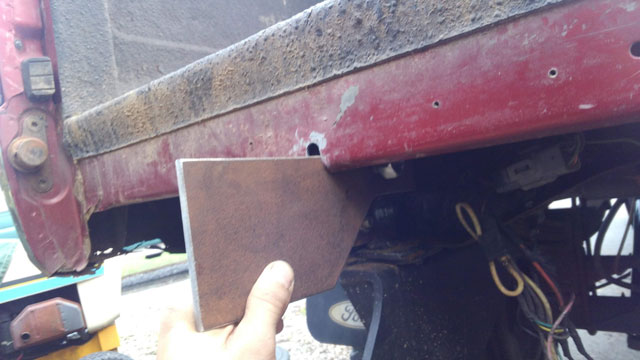 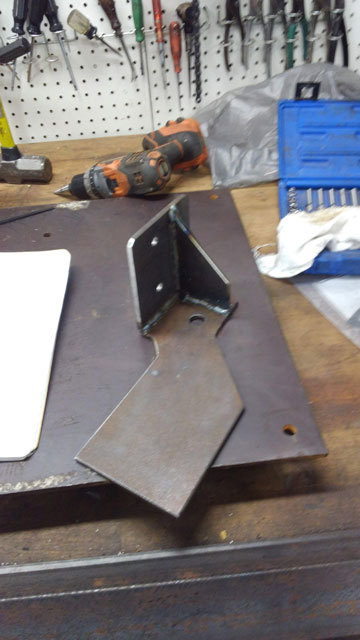 One bracket done, shown attached to the bed-side half of one of the hinges. It attaches to the 5/8 hinge pin, plus 2 bolts up thru the hinge and into the bed. Should be sufficient. 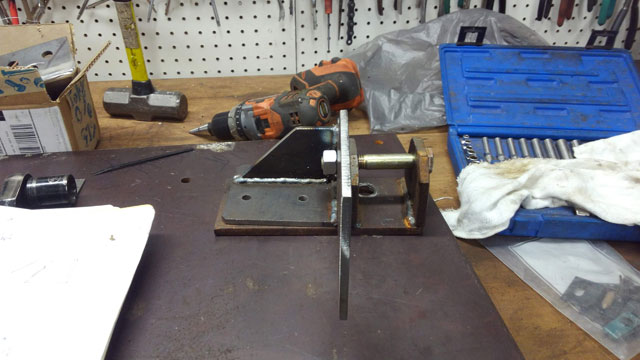 Both brackets done, + hinges finally in paint! 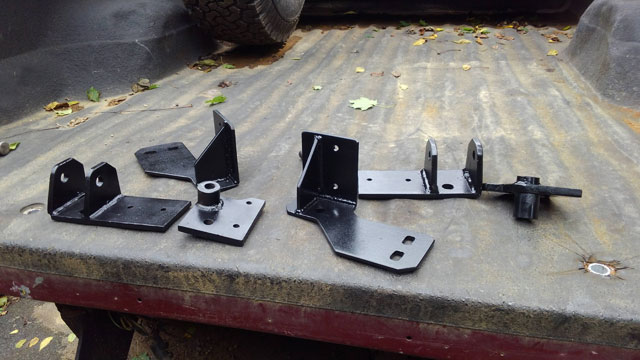 Now to design a bumper. 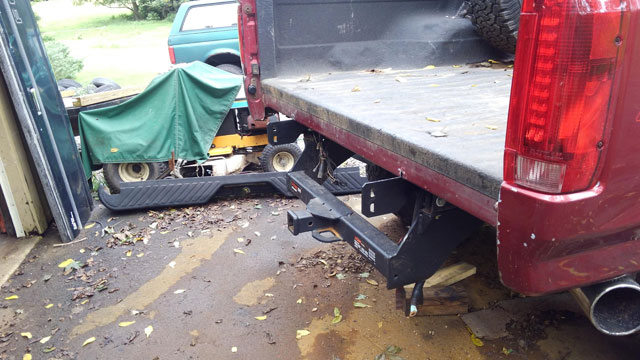 Ok, filler necks! Well, they bolt to the bed. But they cant since the bed moves. So Pierce Arrow wants you to build a brace and aim them both into the wheel wells to fill the tanks. Lame! So i came up with an (arguably) better solution. Starting on the rear neck: 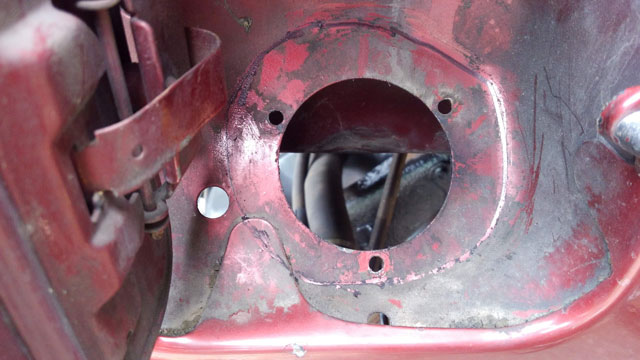 Built this, which didnt work. The fender strut hit it. 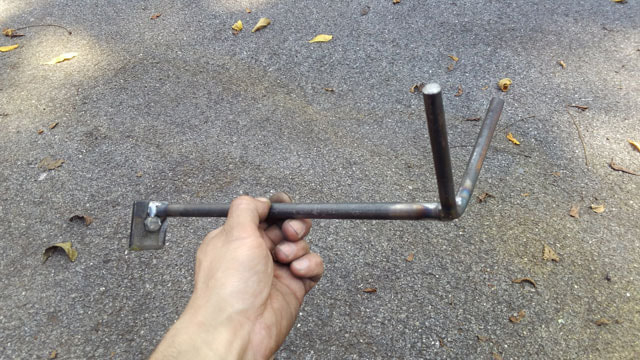 Modified version: 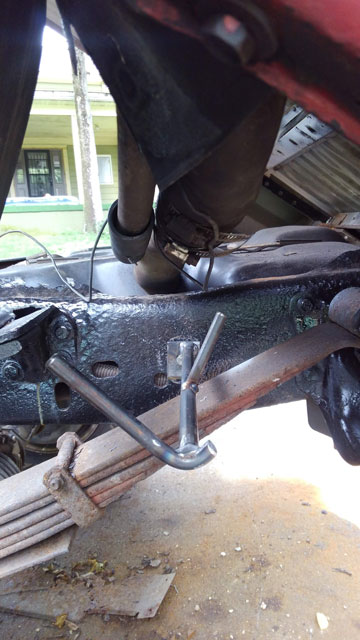 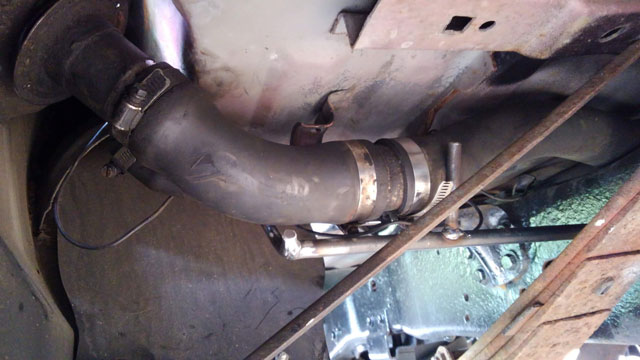 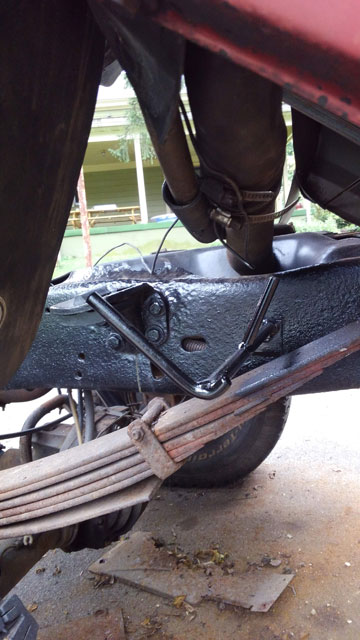 Had to cut the hole for the filler wide open, but you cant see it with the filler door closed anyway 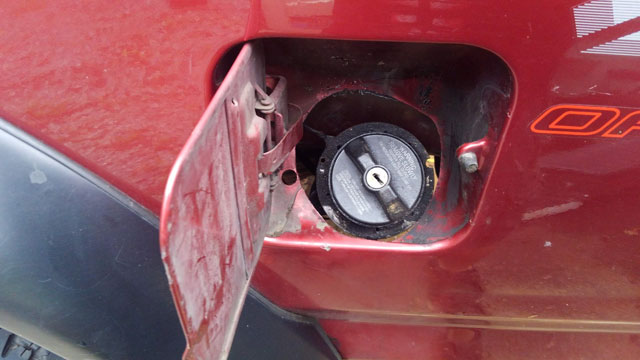 This actually works; the bed can go up and it holds the neck in place; when the bed comes down it guides the neck right into place. The front was much more challenging. The bed full on collides with the neck and pushes it down: 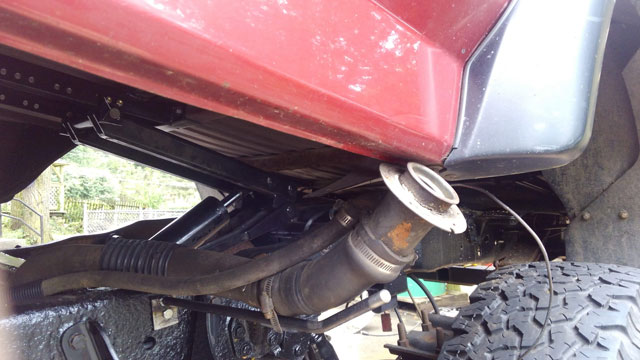 So this is what i came up with 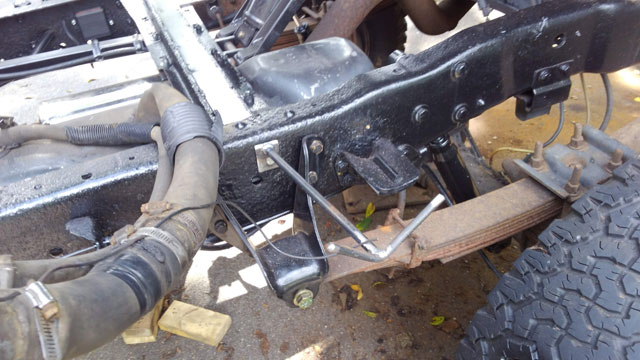 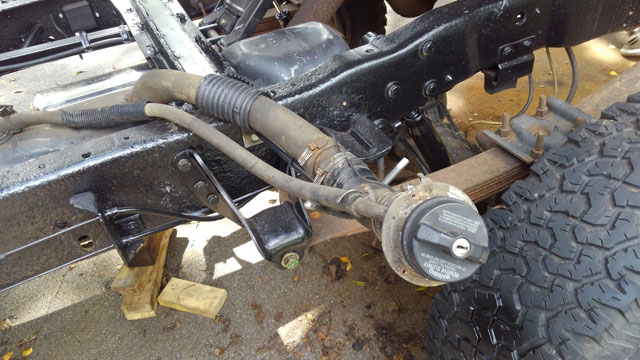 It holds the neck right where it needs to be. But, because the bed hits the neck on the way down, you have to hold the neck up and tuck it behind the fender as it comes down. Then the bracket guides the neck into place: 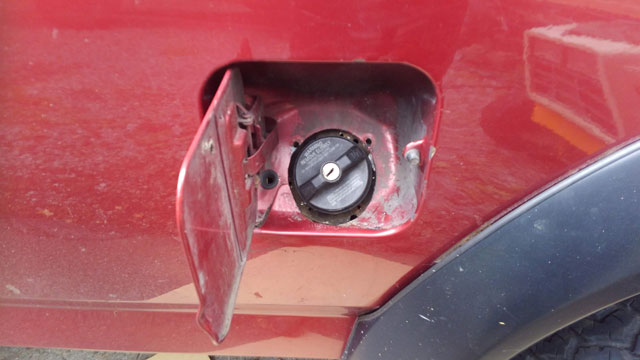 No way around that one, w/o cutting a notch in the bottom of the fender to clear the neck, which i think would look dumb. Ok so then i got to looking at the bumper. Well, no chance in hell of the stock bumper going back on. The bumper has to tilt with the bed, and there is just no room with the trailer hitch there. 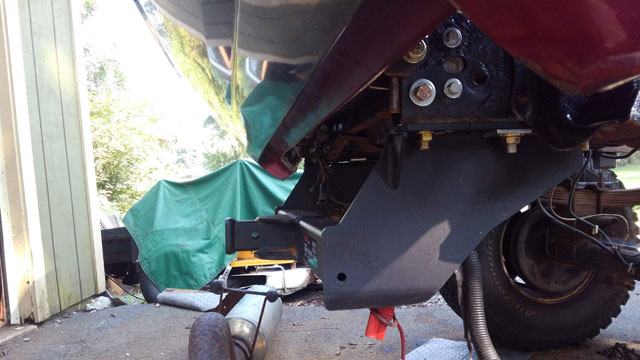 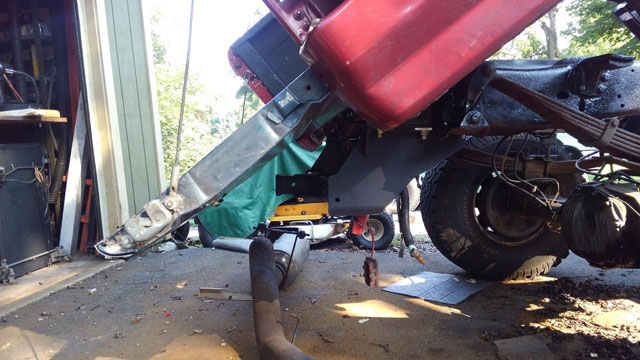 Mockup with a peice of 2*4 to simulate a bumper: 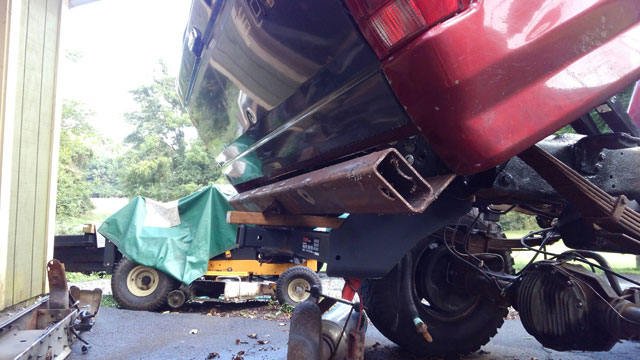  Im going to have to build my own rear bumper, and its going to have to be small, so it clears everything. I also still need to re-do the water/meth injection & move my CB antenna, but i think that might be it! Holy crap, finally an update. This weather is nuts, it has rained every single day except i think sunday; took me all day to mow the jungle that was my yard! So i have updates. I was waiting until i was done to post, since ive basically been running outside in breaks between rainstorms to get stuff done. So for heavy use they recommend adding a brace, from the xmember the hydraulics bolt to, to the xmember under the cab to stiffen it up. 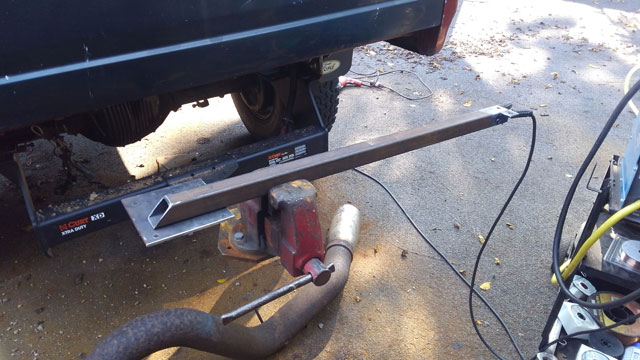  Next up is wireless control. I bought this from Harbor Freight 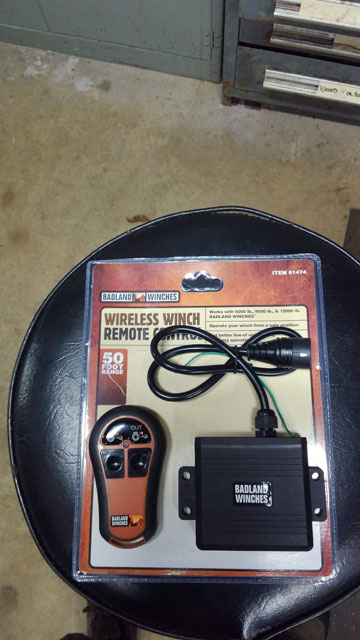 the case comes apart; its got a nice rubber seal in there 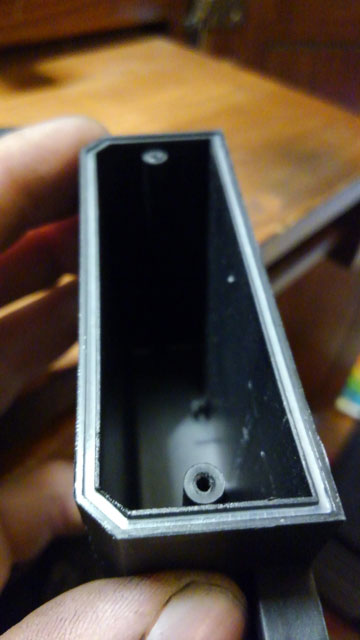 The guts: 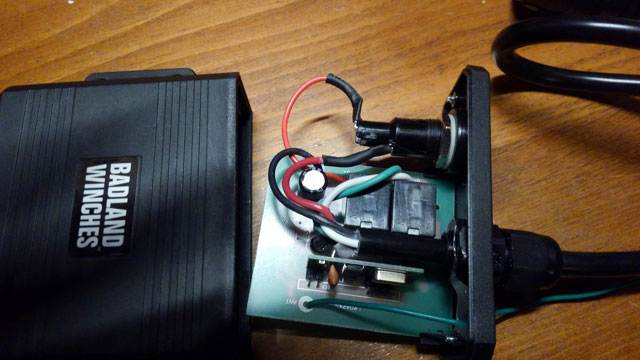 Its a standard 5-pin winch connector on the end. Only uses 4 pins. Power in, ground, and 2 power out. Well, thats eay enough to wire up! Cut the end off, hardwired it to the winch solenoids, and mounted the box on the frame 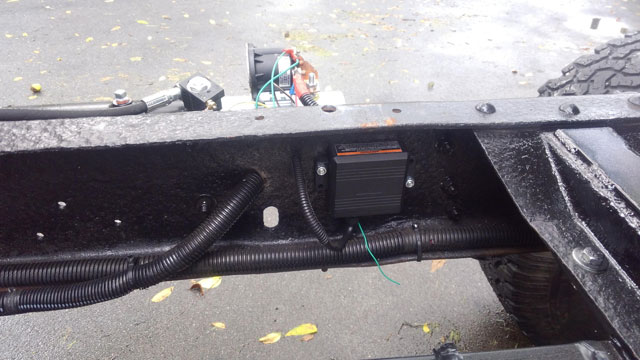 The range is impressive; its like 60-70'! More than ill ever need. And since the system has a kill switch on the main power, theres no concern from a rogue signal making the bed move on its own :toothless Speaking of wiring; ive finished all of it. The winch relay has the same kill switch on the dash it always had, and i put the supplied toggle switch next to it, for a backup in case the wireless remote quits. Also, as it would turn out, the exhaust fits! Barely, but it fits. 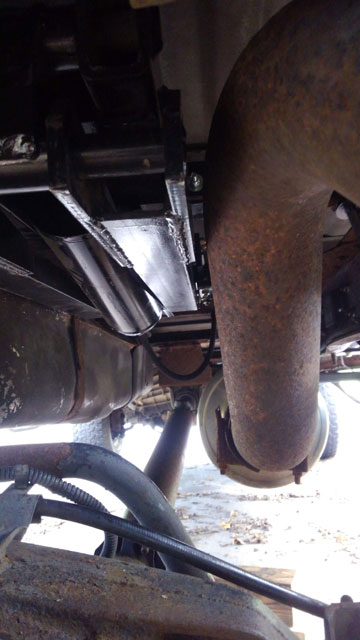 |