|
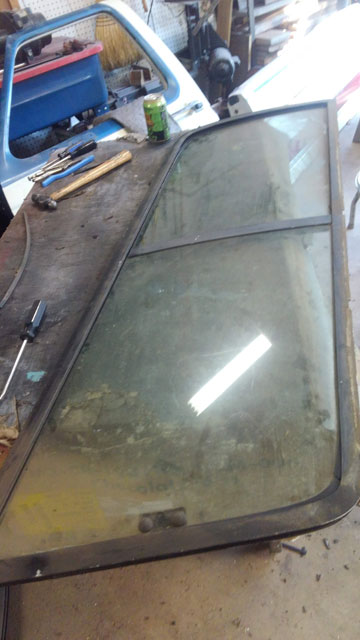
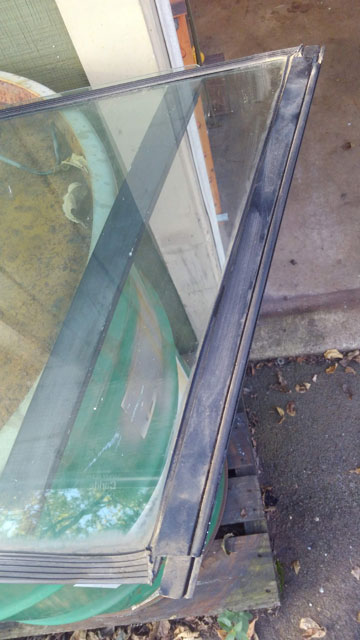
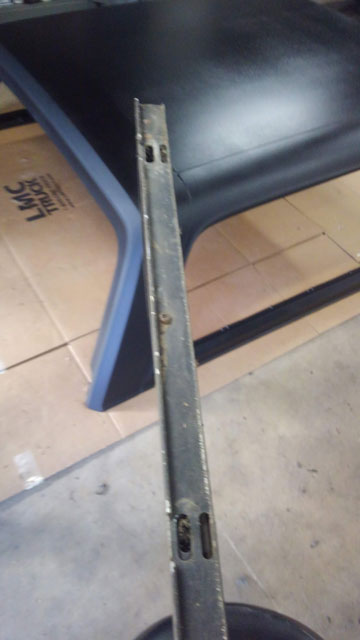
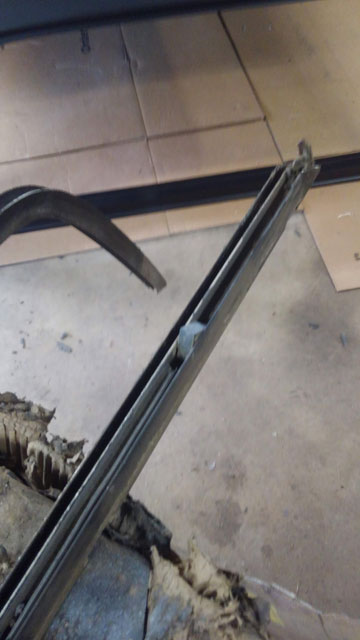
Next up, the windows! But not the original ones, ive had these bad boys stashed away in the garage for years. Now's the time to use them! 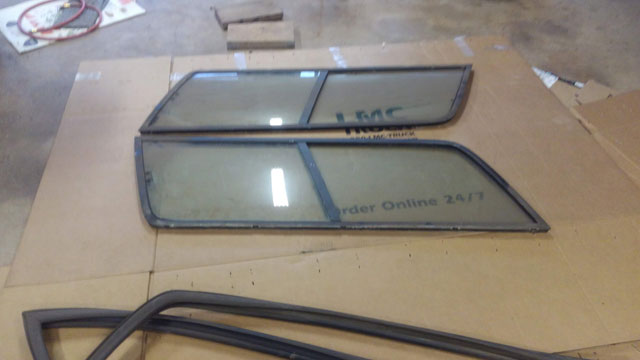 Random pics of the window disassembly:
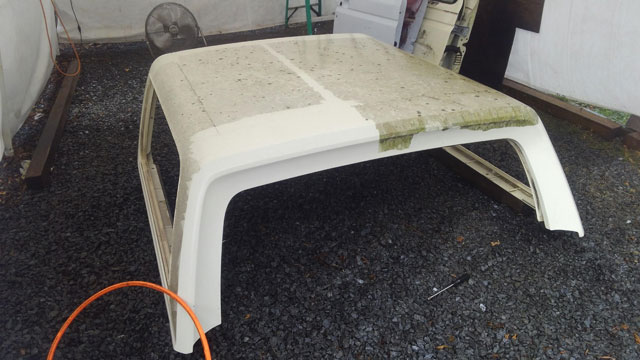
New felt window run channel from J&J Auto Fabrics: 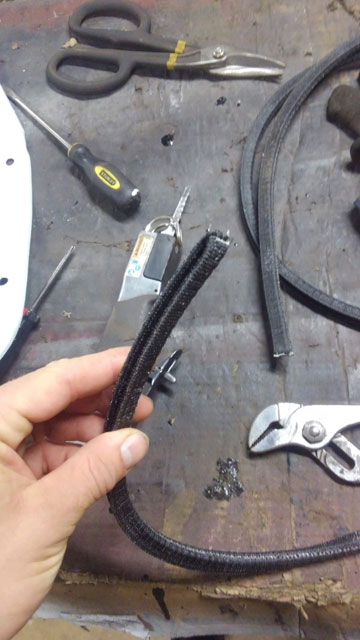 ..and installed 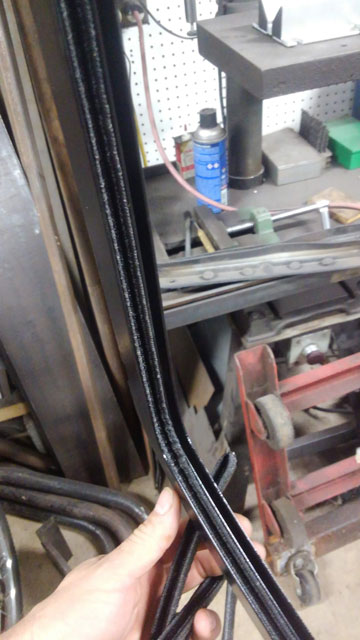 Going back together, fixed window gets installed into top rail first 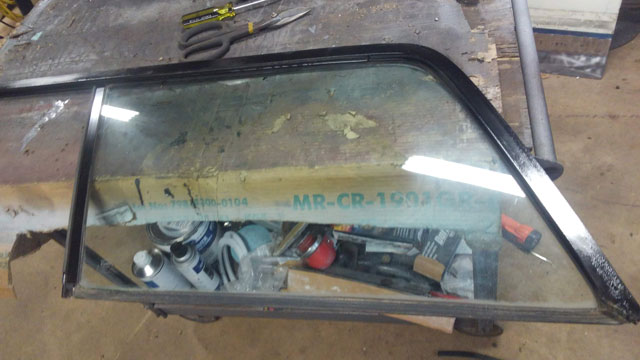 ...sliding glass in  Black rtv in the corners. Yes, this is the way Ford did it. 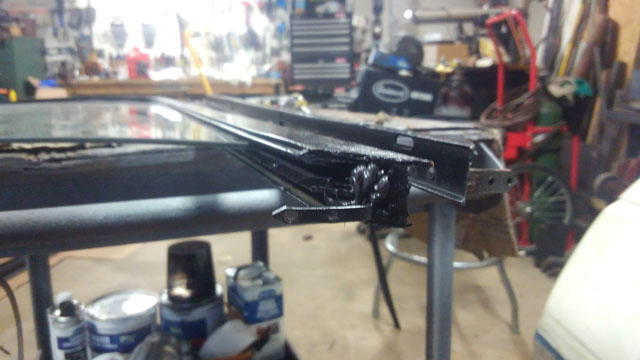 One done 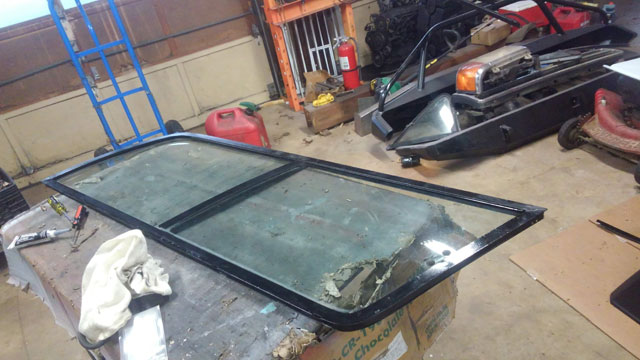 Both done  ...and installed! 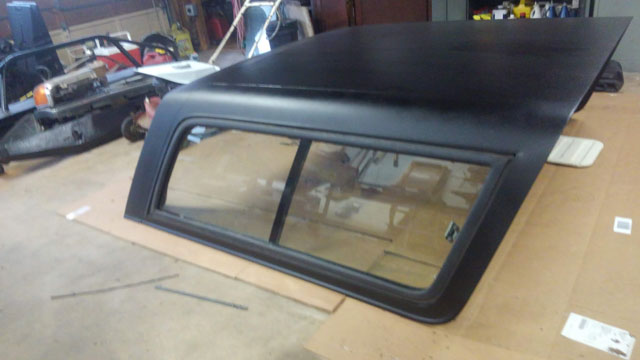 Man, this is gonna be awesome! 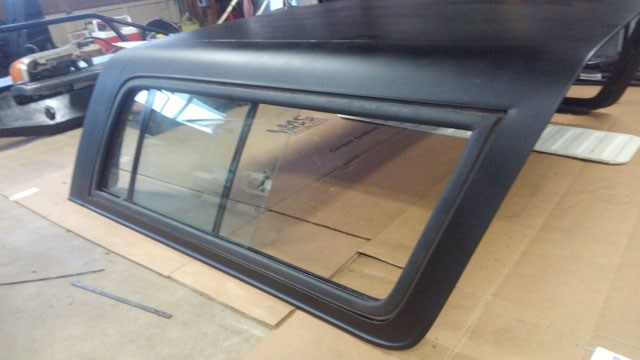 Bronco is at the paint shop 2 weeks this upcoming thursday. So im figuring ill be bringing it home with its shiny new paint job next week! Just cuz the bronco is out for paint, doesnt mean we cant work on it, right? So here we go! I drug out the hard top and brought it to the tent. First off, i forgot how much lighter the 80-91 tops are compared to the 92+. Second, this thing is gross! 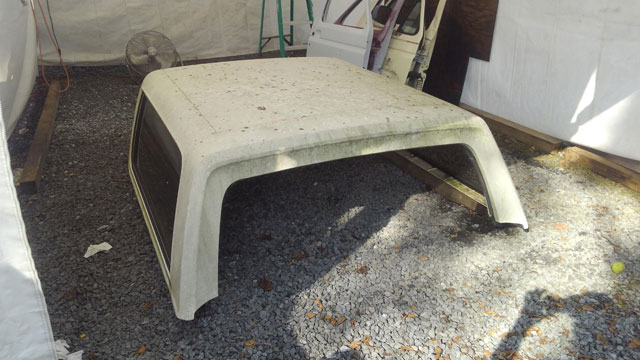 Windows coming out 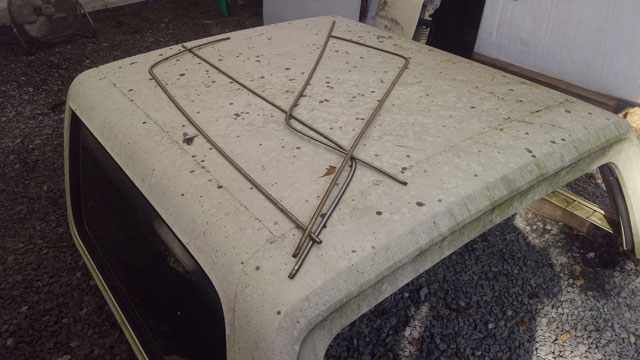 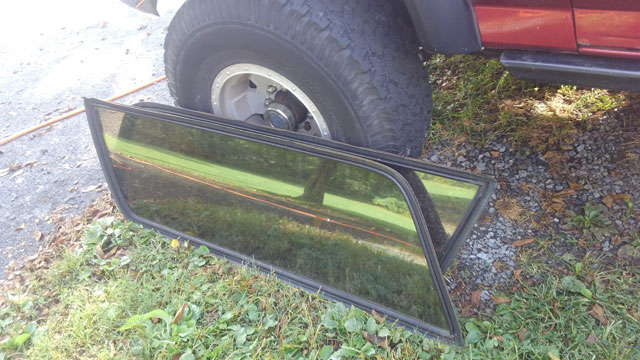 Pressure washing shows just how bad it was
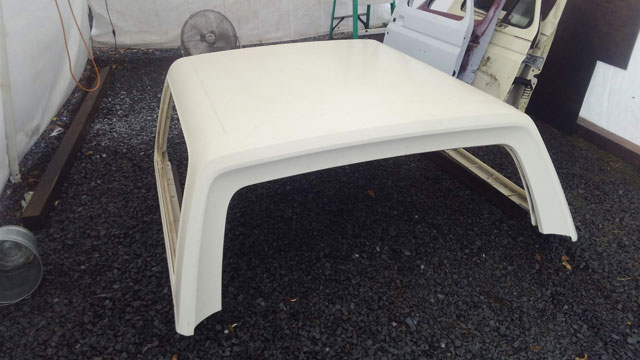
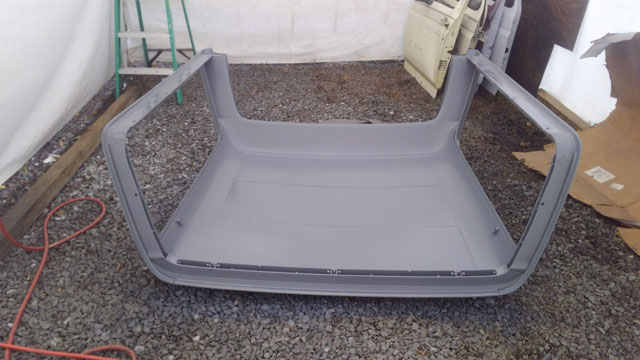
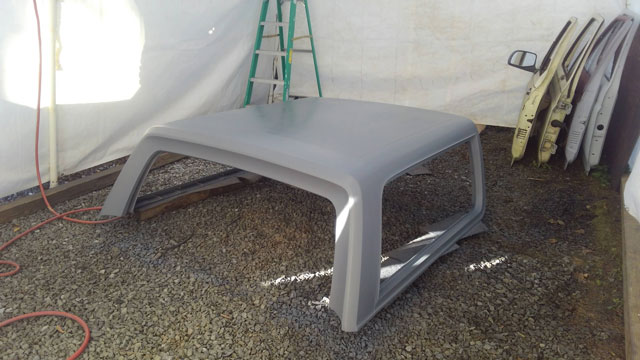
Primer!
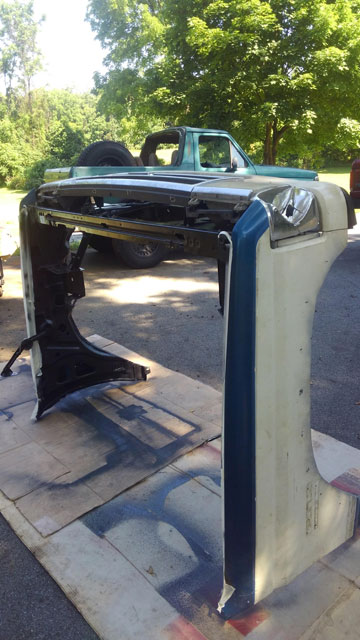
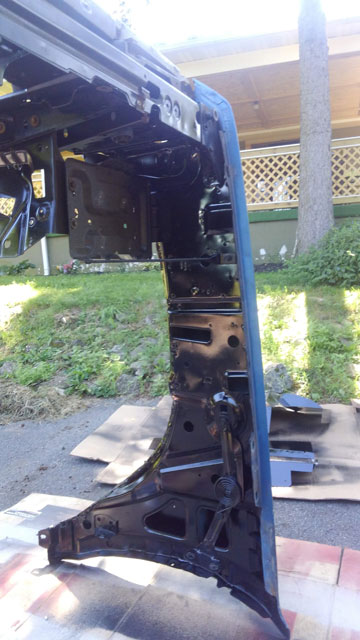
...and paint! 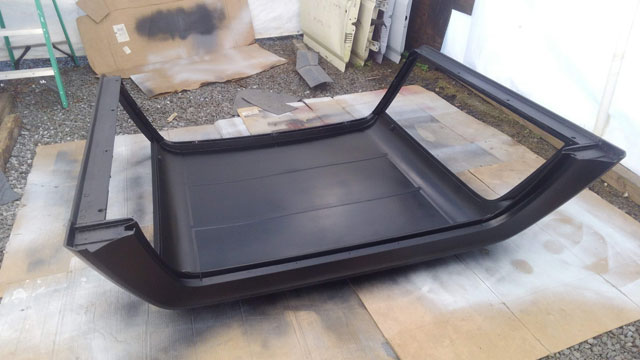 So much better now! 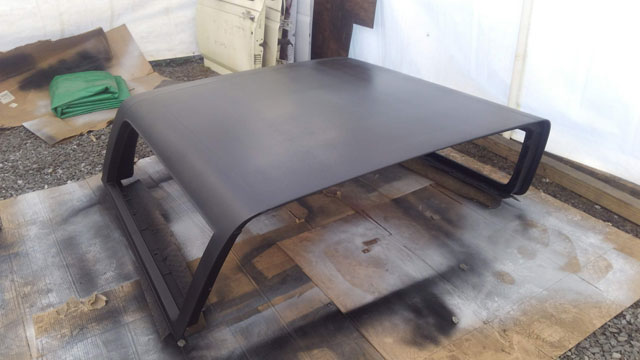 No matter what i did to the doors, i couldnt get them straight enough to make me happy, so i finally said **** it and bought new ones 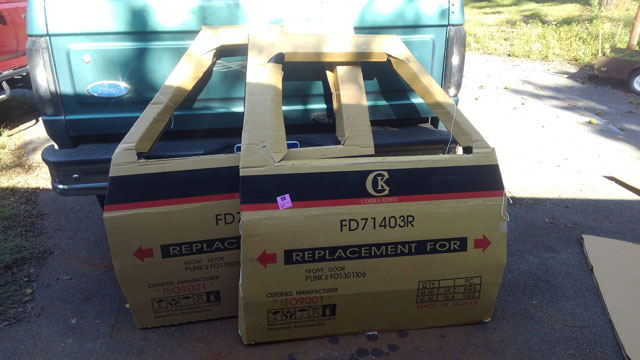 So thats it, body work done. Time for paint! 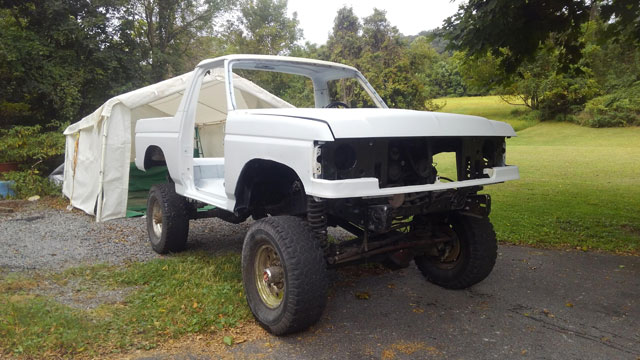 I dont have the room to paint inside, and the black walnut trees are dropping leaves and nuts like crazy, so im not going to even bother messing up the paint job, im letting someone else do that! 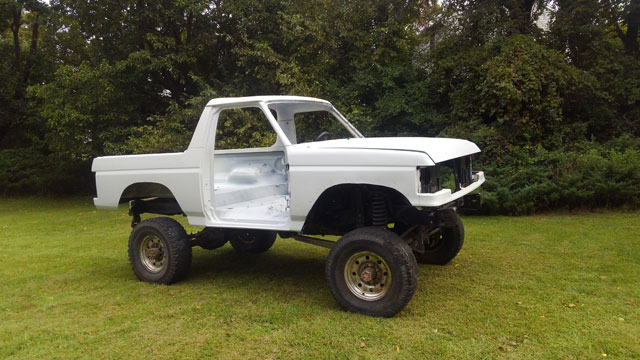 ...and off we go! 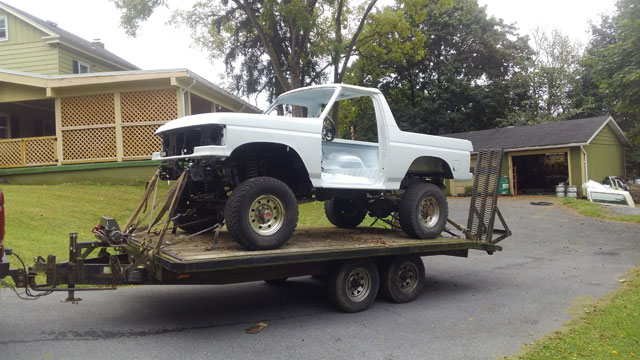 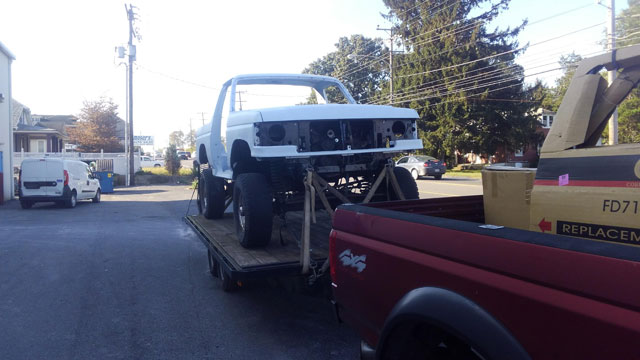 Dropped off on thursday, she'll be back home in fresh paint in 2-3 weeks! Man, bodywork takes forever! Hopefully im doing this right. Most of the dents hammered out of the passenger door: 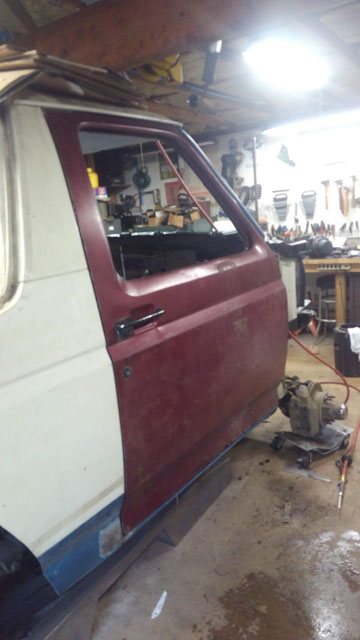 driver door mostly straight (more work has been done since this pic was taken); theres a dent in the back behind the latch that i cant hammer out, still need to finish this: 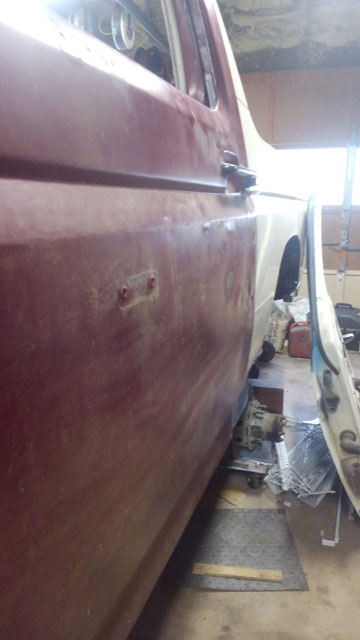 From there i set up the tent in the stones again: 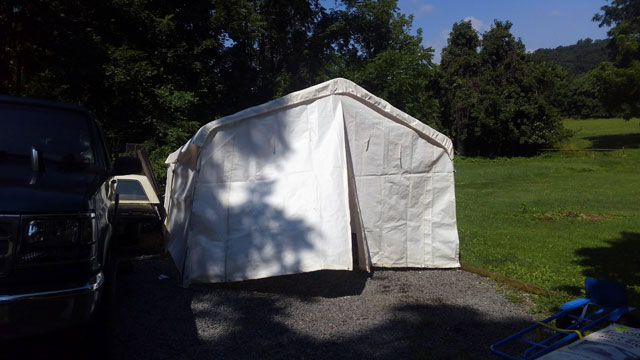 ...and holy crap, shes outside for the first time in three-ish years! 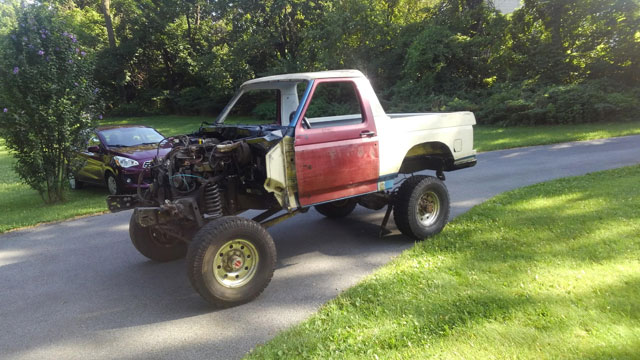 just barely fits in there on the 33s! 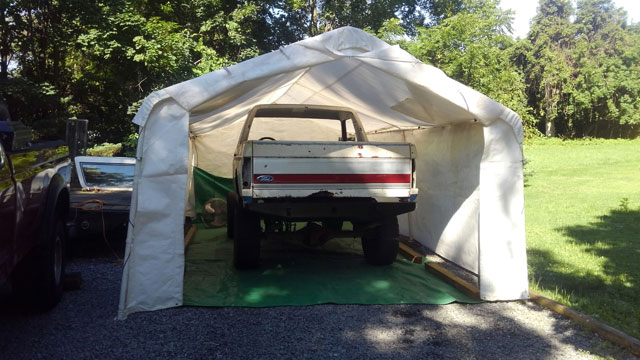 With the body work on the tub mostly done, i stared sanding and shooting primer: 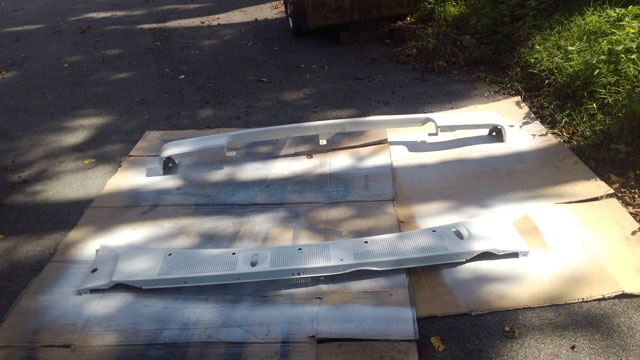  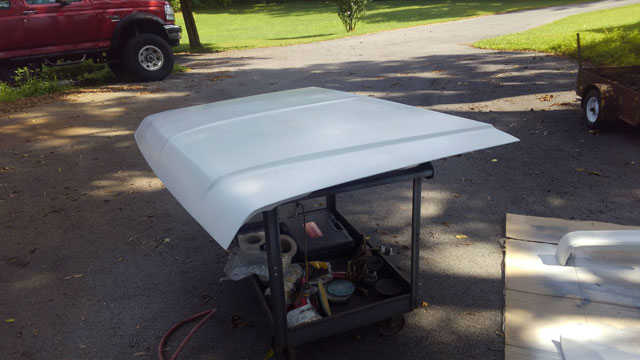 Considering this is the first time ive used a real paint gun, im pretty happy with how its laying down. 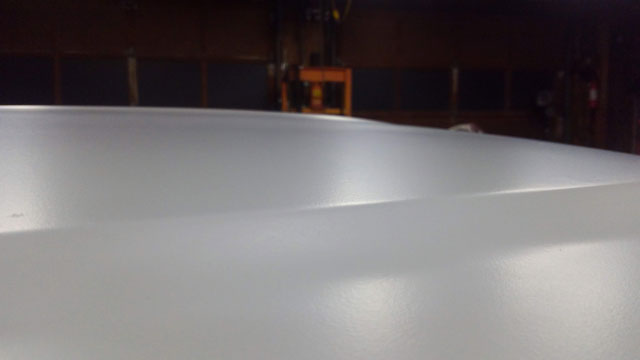 Started priming new tailgate, still have to shoot the other side (maybe tomorrow) 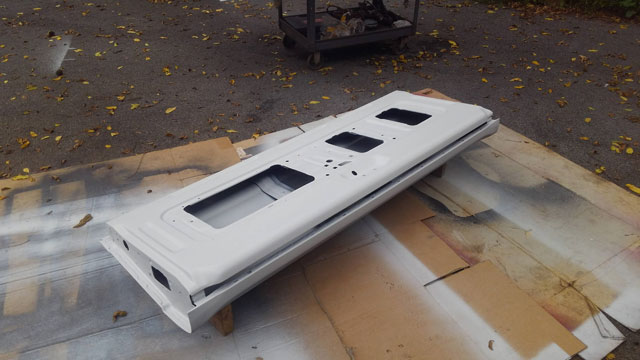 ...and then finally yesterday a buddy came over after work, and we hung the front clip! It was pretty hot out so i didnt snap any pics of it outside, only these after we put it back in the tent. 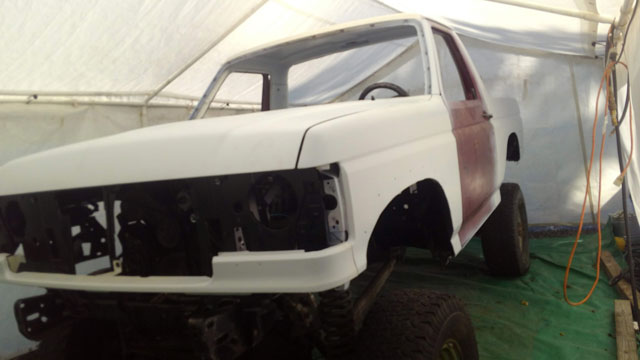 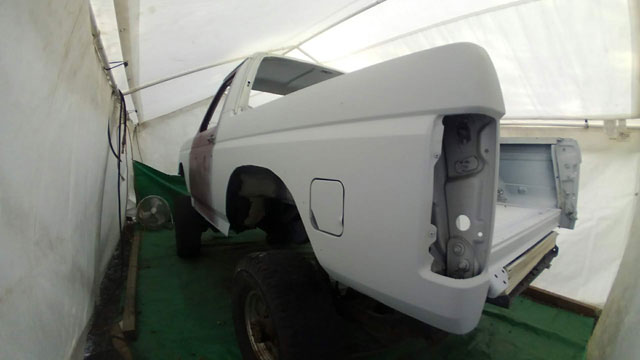 We're getting ever closer to paint! the front bumper is black now! 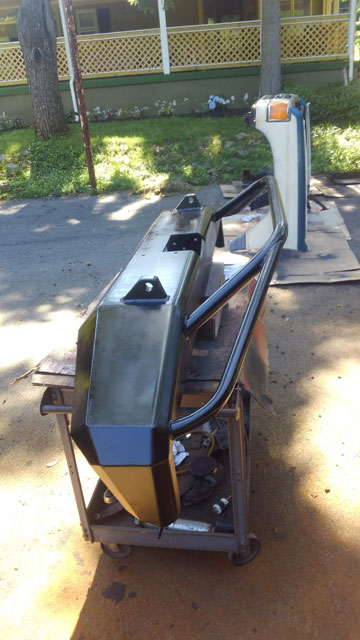 All fender liner parts now painted 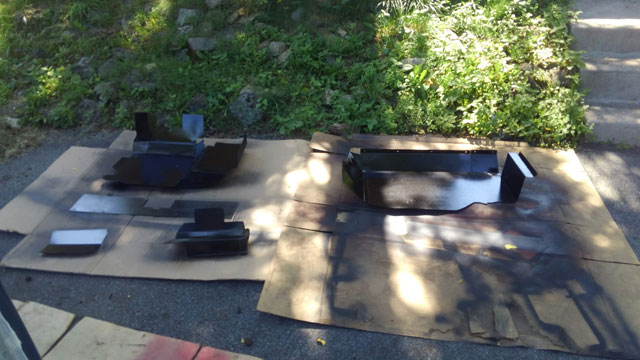 And the inside of the fenders are now black too
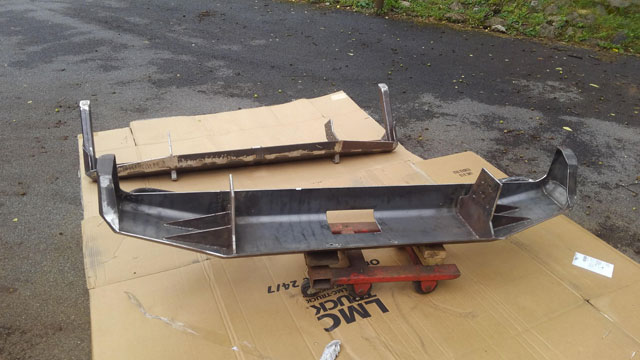
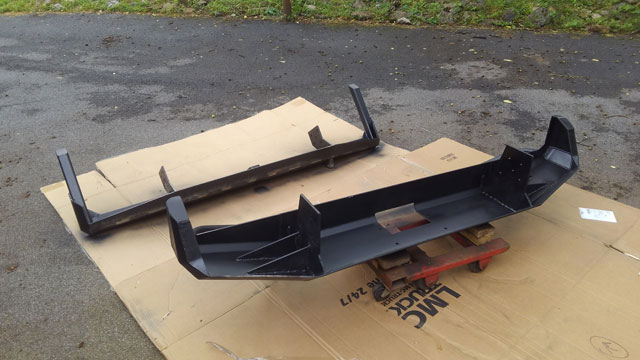
Bumpers getting painted:
Rear all done: 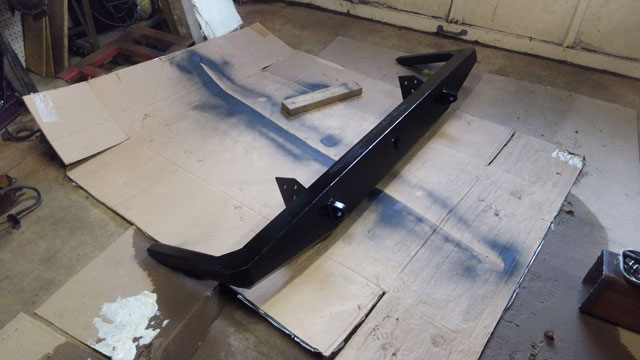 the front is done, its on a cart in the garage. I need to roll it outside tomorrow, so ill snap a good pic then. I yanked the front clip off and primed all the wheel well pieces; tomorrow (weather permitting) theyll get some chassis black on them too. I hung and aligned the red doors to the cab; they need a little love with the hammer, but i dont think they need any rust repair at all 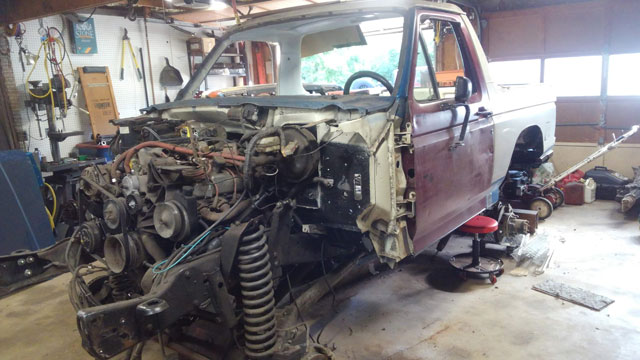 Theres a couple small dents in the hood, but i dont think that needs any rust repair either. my biggest problem now is, im not a body guy so while i want it perfect, im not sure i have the skill to do it. Also, its gonna end up getting pinstriped in the woods anyway, so it really doesnt need to be perfect. So basically, its a battle against my OCD. I wish i had some super awesome update but i dont. I came up with a solution that works, but im not super thrilled with. There is a lot less space than the pics show. Also, the clutch lever is tilted back towards the motor, and the gearbox can only be clocked every other position, so theres really no 'perfect' position; each one has its own issues to deal with so i stayed with this one. I straightened the clutch lever... 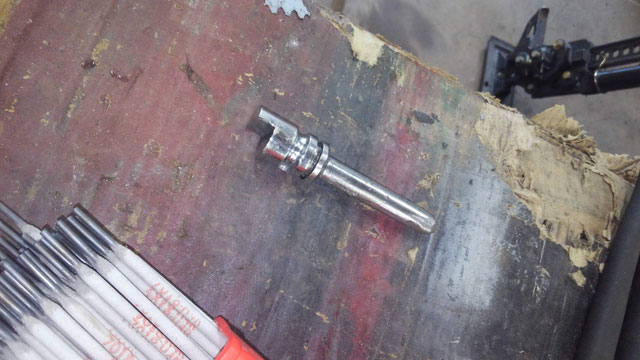 ...and then made a removable extension for it:
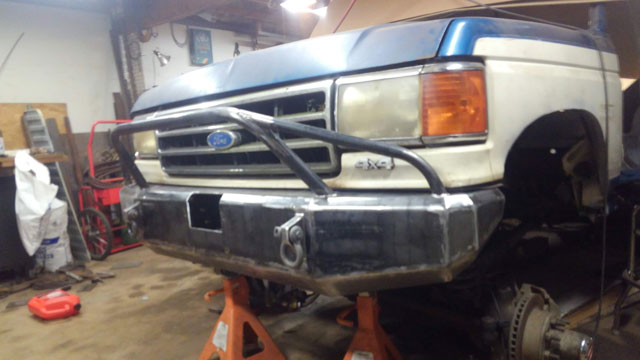
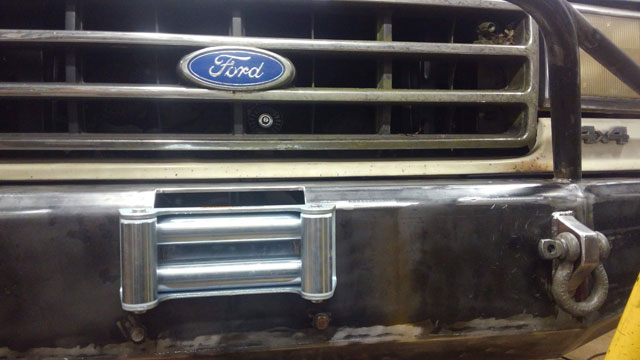
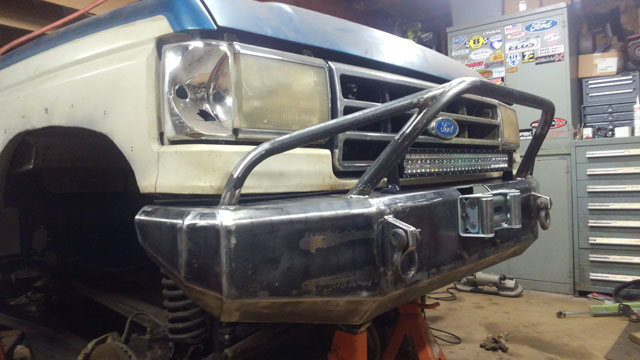
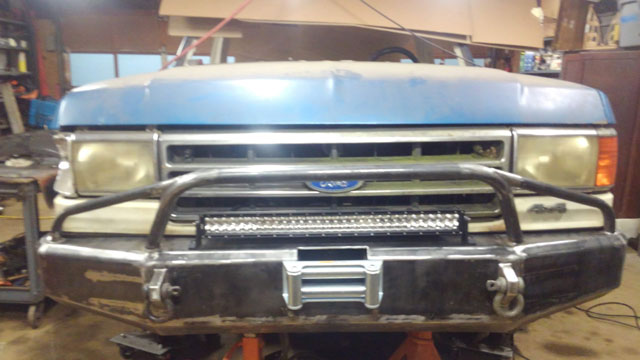
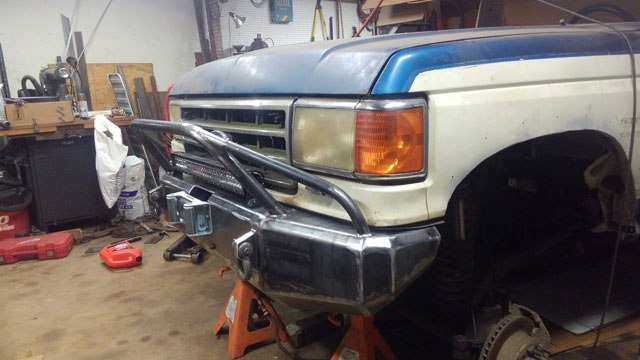
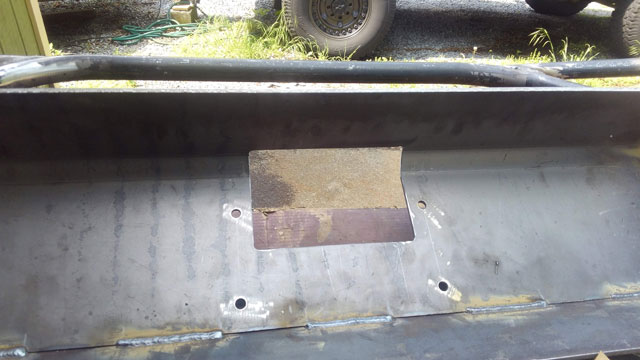
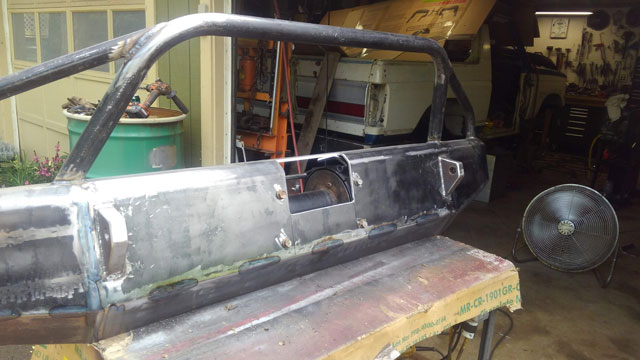
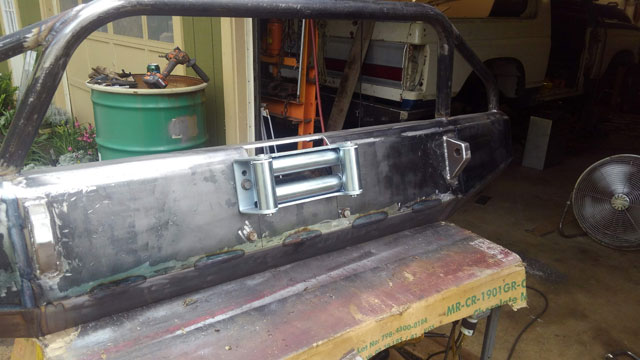
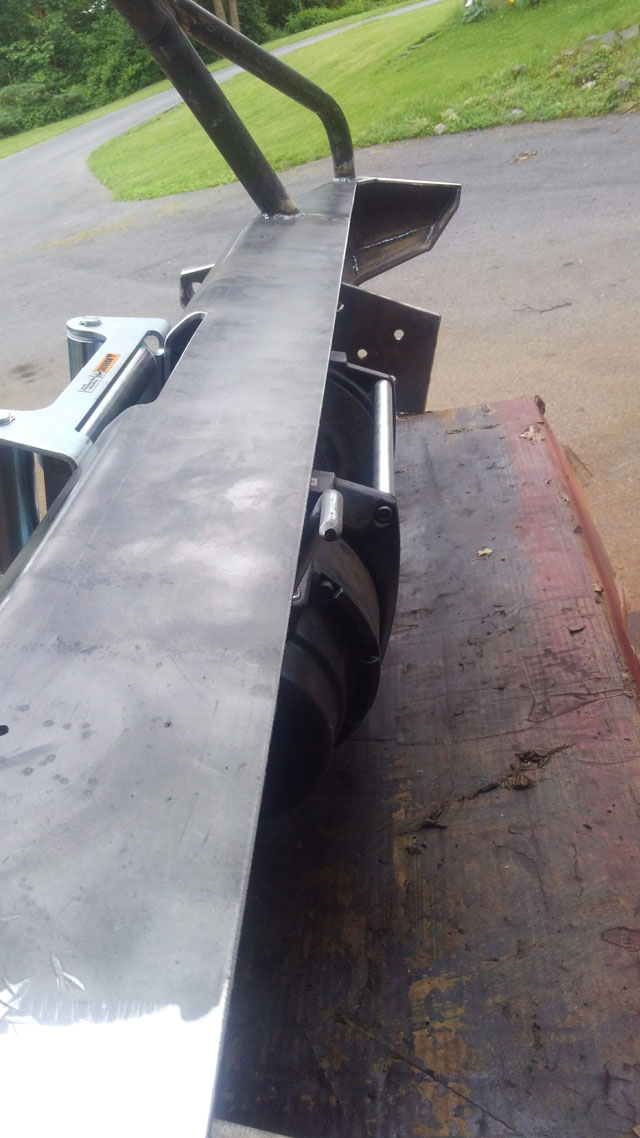
 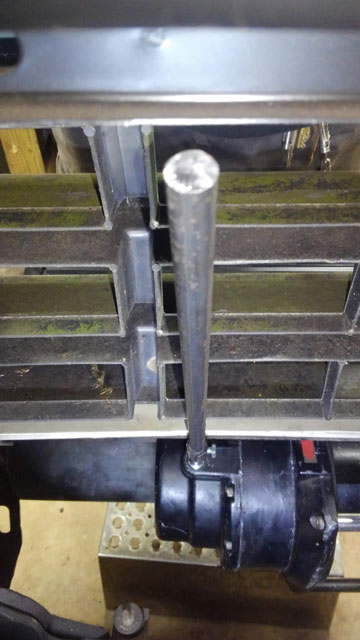 It might look like theres a ton of room in this pic, but there totally isnt. I actually had to notch the bumper, valance & grill to get this to fit. 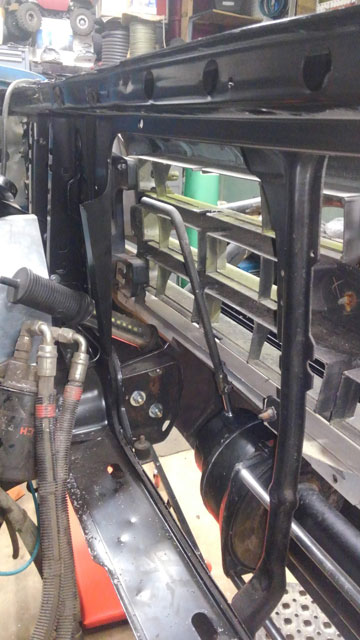 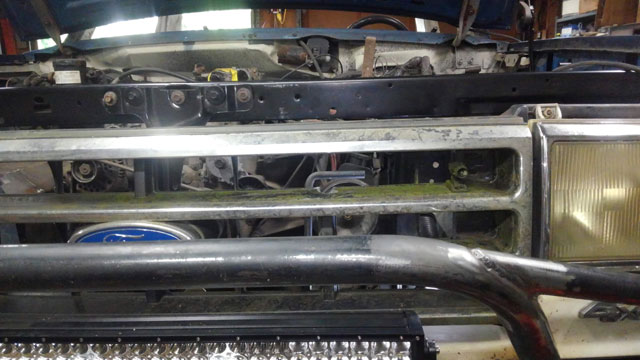 This is the 'lock' position. The handle swings forward into the grill, and over towards the passenger tire when in freespool. It works just fine with one hand, but its not much to look at. The problem is, it will become a very tight space, once the radiator/condenser, and trans/p.steering coolers go back in. Because of this, im stopping right here. This will work, but im afraid if i try to design something more elaborate, itll be in the way later down the road. So im going to keep this for now, and once i get closer to the truck being complete, ill revisit it and see if i cant come up with a more elegant design, that doesnt interfere with anything else (i already designed, mostly built, & then rejected a 'better' design because it took up too much space). So i went over to Eastwood today, bought some epoxy primer, and their extreme chassis black. Supposed to be pretty durable, and its an aerosol so i dont have to worry about trying to brush it on the bumper, and into all the crevices. Hopefully i can start painting them in a week or two, but first i need to deal with this: 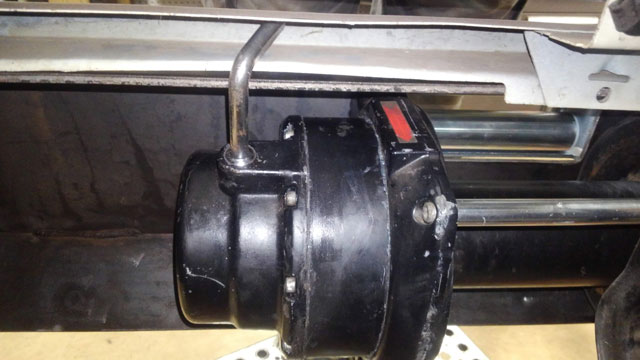 I dont want to cut the sheetmetal, so im modifying the clutch lever again. If all goes well, ill have this sorted tomorrow! Bumper installed!
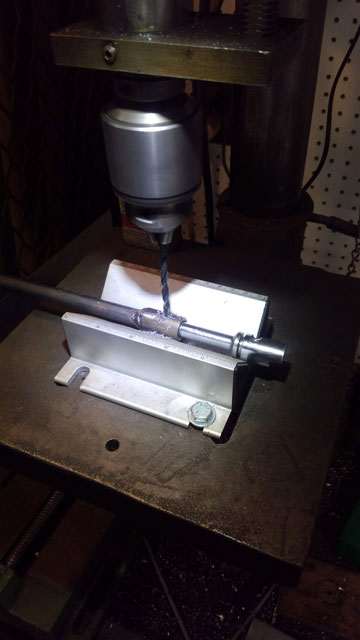
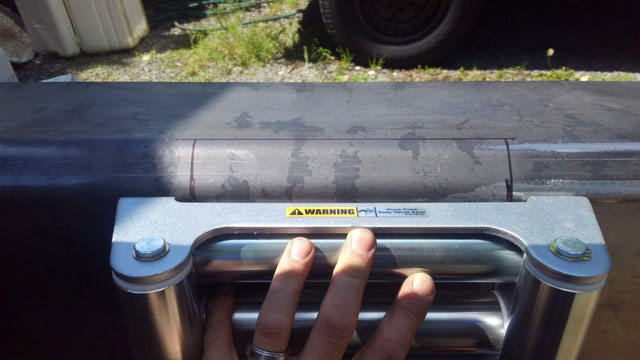
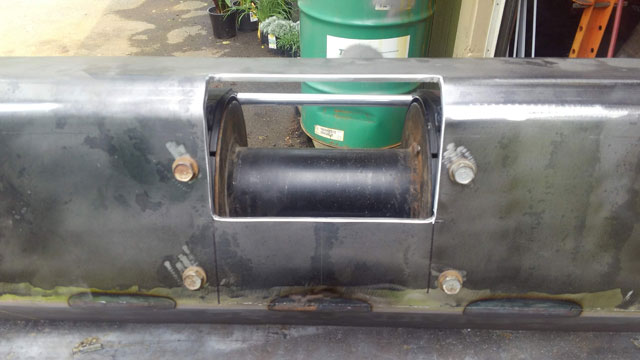
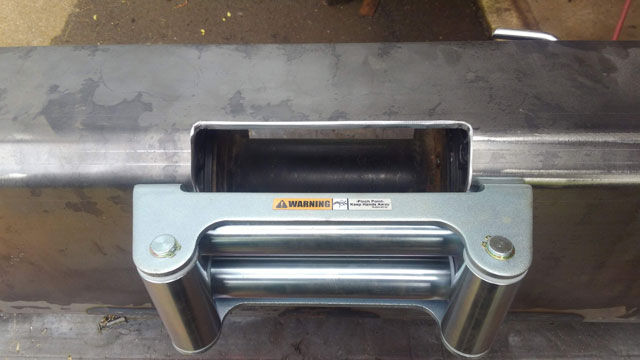
In case you were wondering, i weighed it, and the bumper comes in at 130#. The winch weighs in at 72! And thats w/o 90' of 7/16 cable on the drum. So id call this project complete but if you look closely, youll notice the clutch lever is behind the valance! Im gonna look into it tomorrow to see if ill be modifying the lever again, or making an extension or something. Welding is basically done! 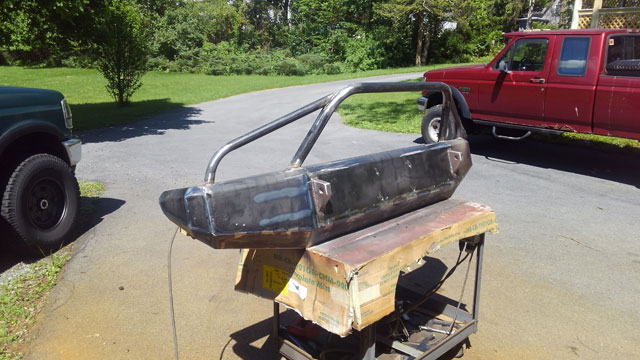 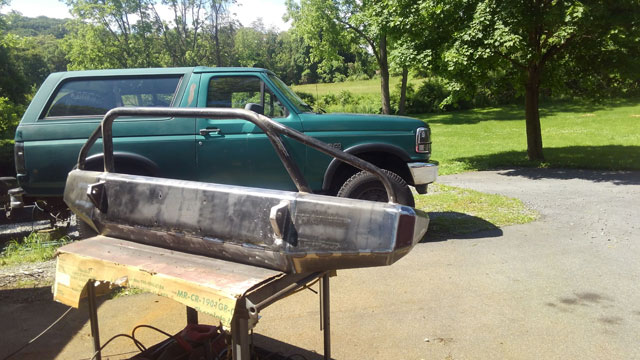 Mocking up window for fairlead:
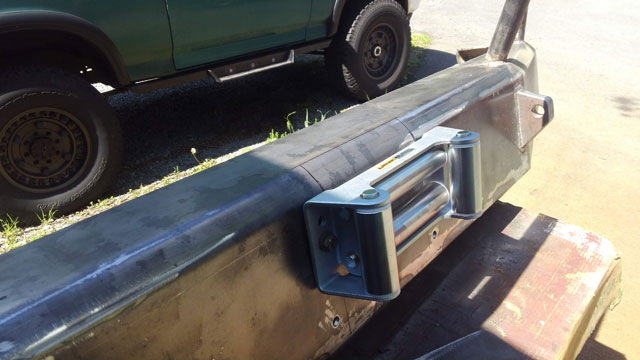
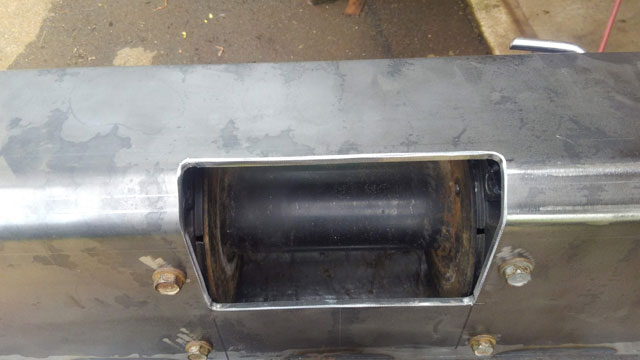
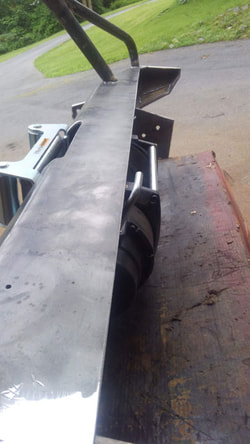
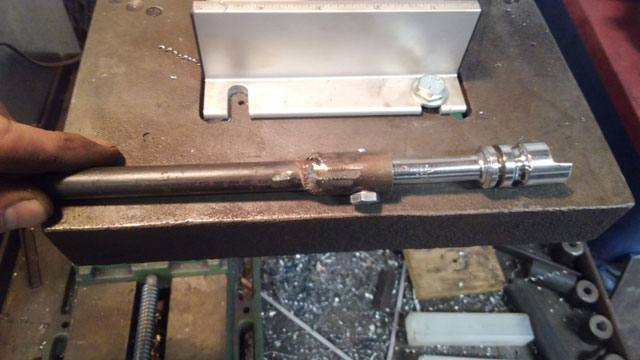
This Powerwagon winch has an usual handle (it was also cut down at least once before i got the winch). It also doesnt clear the bumper. 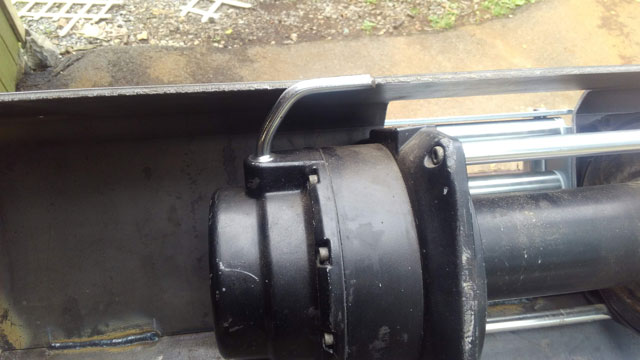 Pulled the winch apart to modify handle, as i dont want to cut a notch on the bumper. The inside is nice and clean, and recently greased too 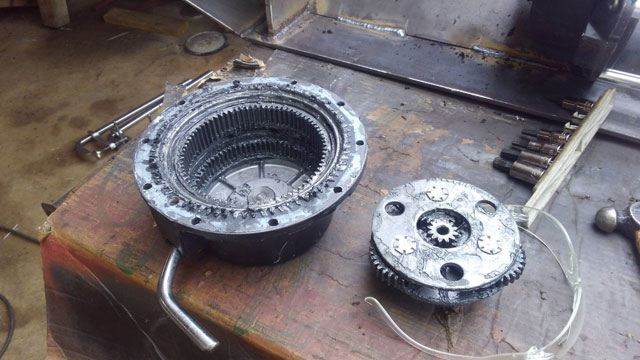 i straightened the handle and reassembled to mock up: 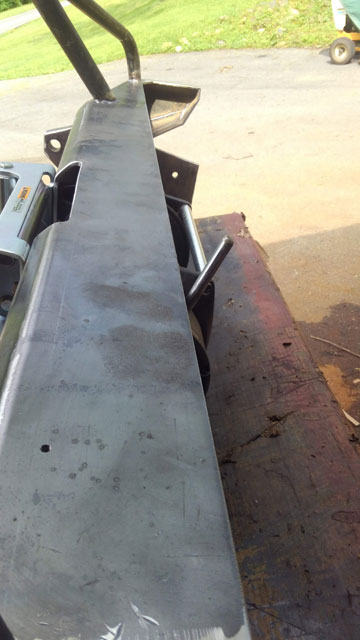 Then bent a 90º in it in a different place.
...and done! 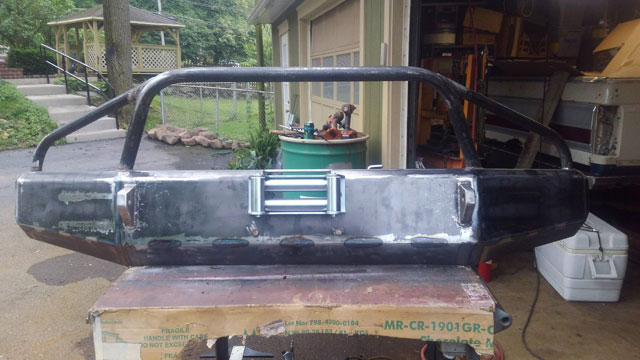 Tomorrow im going to do some touchup on a couple welds & corners, then pull the cap back off the winch to reseal it (it still needs rtv on it). Then ill throw the whole thing back on the bronco for some proper 'finished pics'! |