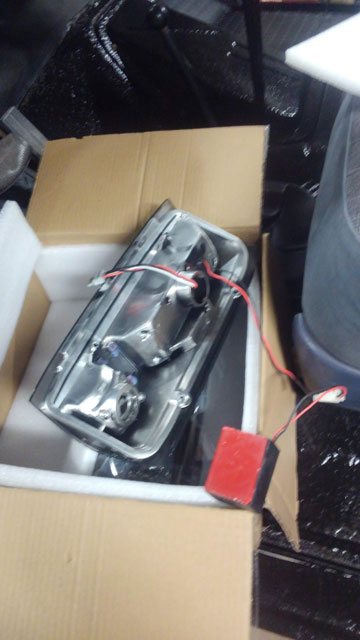
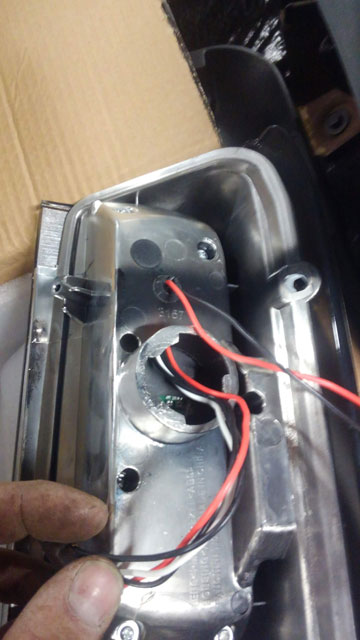
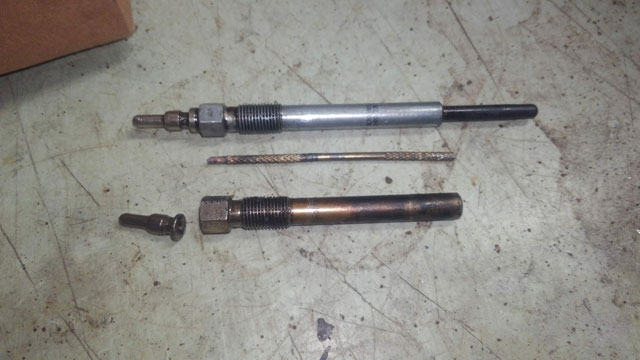
 I broke a glow plug a couple weeks ago when i was trying to replace them. Couldnt get the last piece of it out of the head, so....... 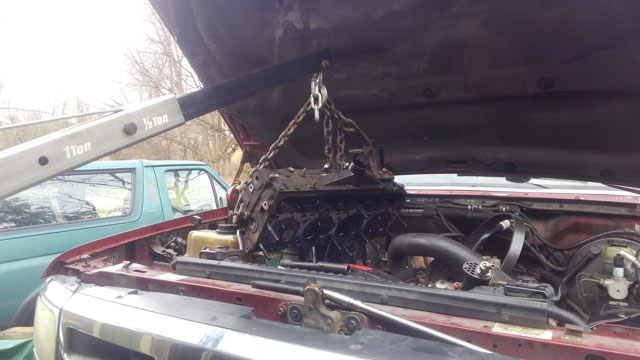 That was yesterday. Hopefully next week ill be able to put the head back on. OEM head gaskets & bolts, OEM exh manifold gasket & bolts. Had a cracked injector cup so theyre all getting changed (bought the kit from Rosewood Diesel to do it). Doing valve stems seals, because she's at 201k & the head is off so why not. Also have the parts to convert the truck over to the Superduty valve cover gaskets + UVCHs (Under Valve Cover Harness for you non-diesel guys). So while rewiring my tailgate, i used a harness from a 90+ bronco so i could upgrade my reverse lights from 1156 to 3156. I also found, completely by accident, that CA Autoparts makes LED taillights for our trucks! Theres 8 versions, i bought one of the smoked variants: 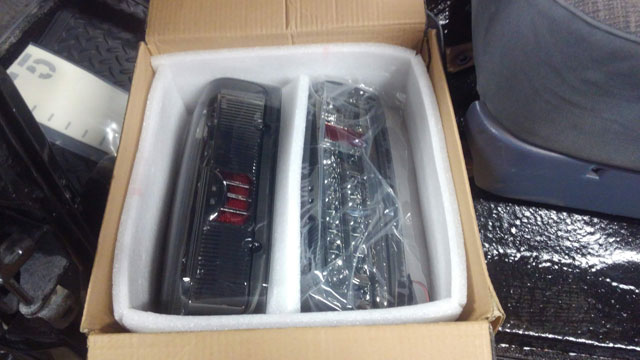 They look pretty good IMO, and the fit & finish is really nice. Definitely seems like a quality part. 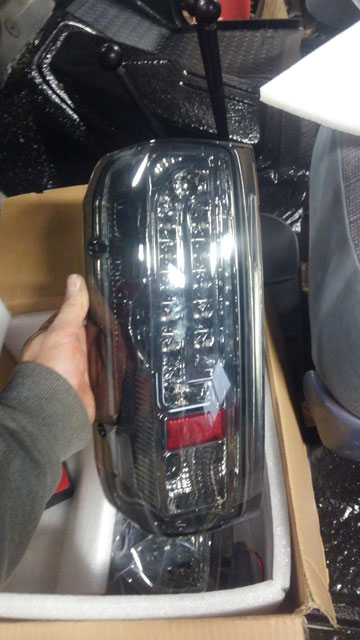
Installed: 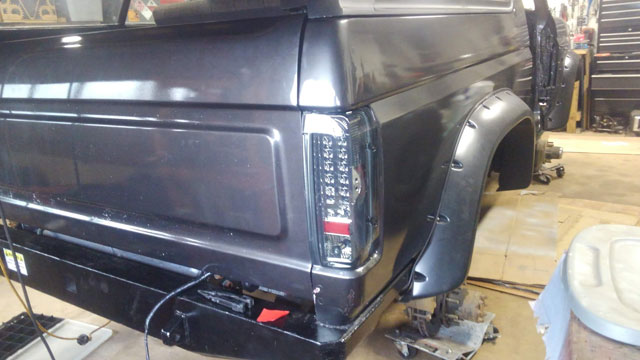  And in keeping with my black/gray theme, black fender badges: 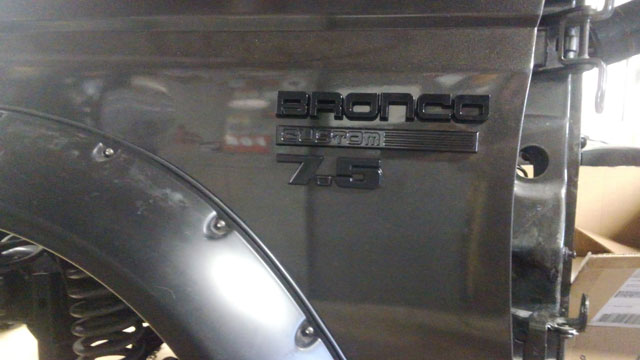 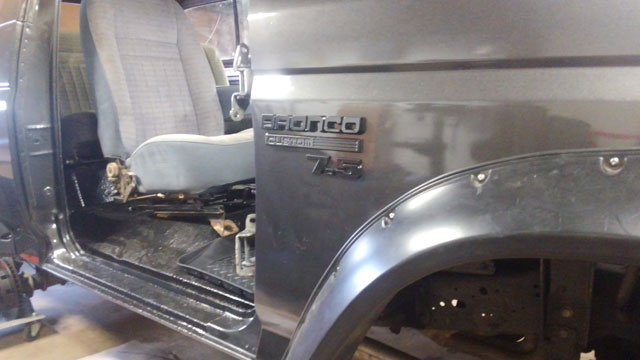 out of the tent she comes! 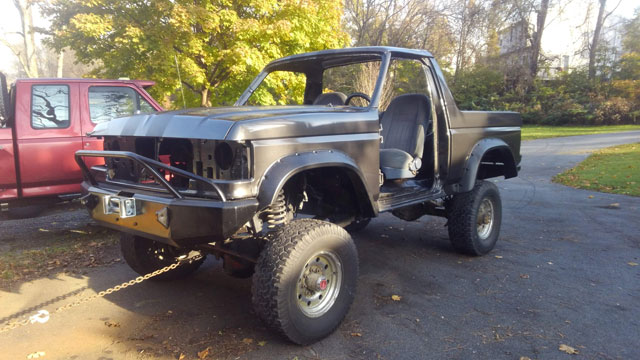 A coworker came by and helped me install the hard top, and then install/align the tailgate. Unfortunately i forgot to get a pic of it with the top on out in the sun, so this will have to suffice: 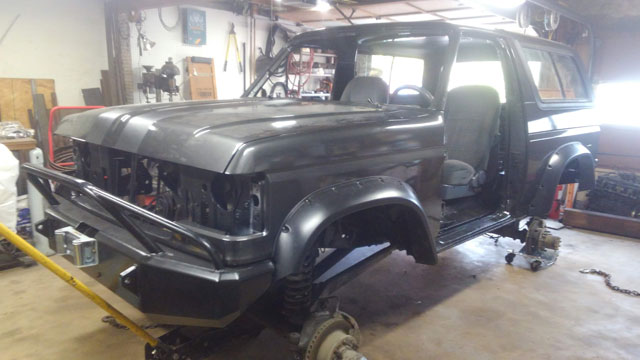 So she's officially back in the garage for winter, and just in time, too! Yesterday it was 56º and sunny, today its raining and 29º. Its about to get cold and snowy, so i got it back in the garage just in time! Also, i couldnt help myself, so i installed the new headlight/turn signal housings. Shes looking goooood! 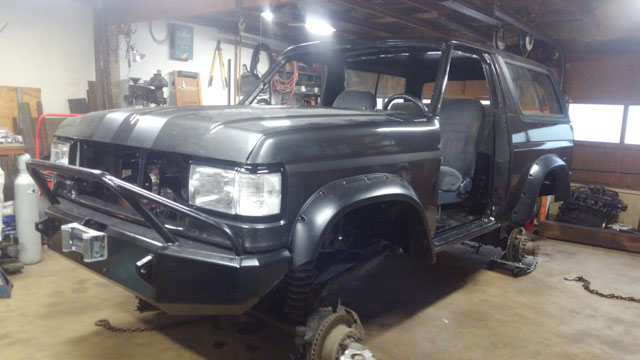 Gotta clean and organize the garage which means parts gotta go back on! So......seats! Theyre a little dirty from sitting in the corner for 3 years, but otherwise in good shape. 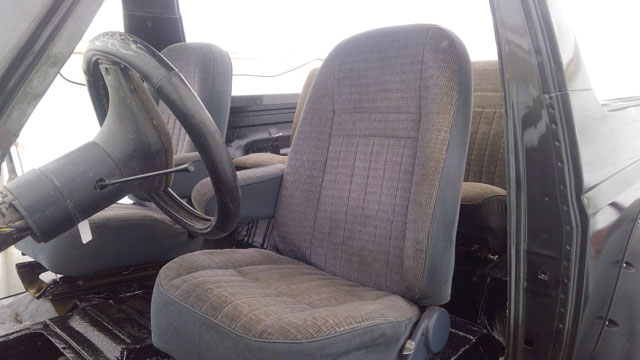 Put the doubler shifters and the trans tunnel cover on too. 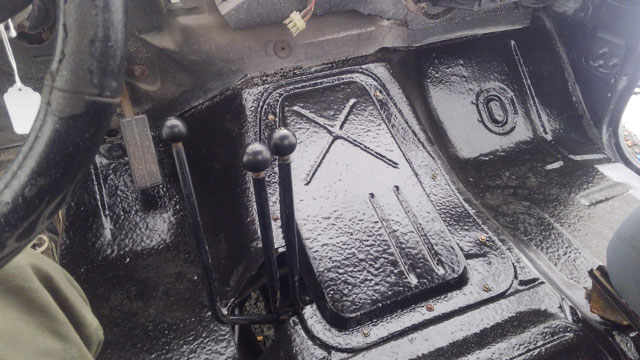 Moving to the back of the truck....this is the chassis harness. Those two plugs a foot or two back, are for the companion harness that runs up to the driver taillight, and the tailgate. (The plug at the end is for the passenger taillight harness, which is still boxed up) 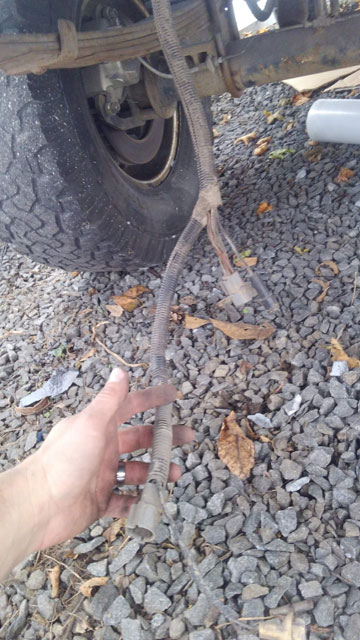 Companion harness. This isnt my original 88 harness but the one from the '90. Same tail light, but the 90+ use a 3156 instead of a 1156 for reverse which is a big plus. 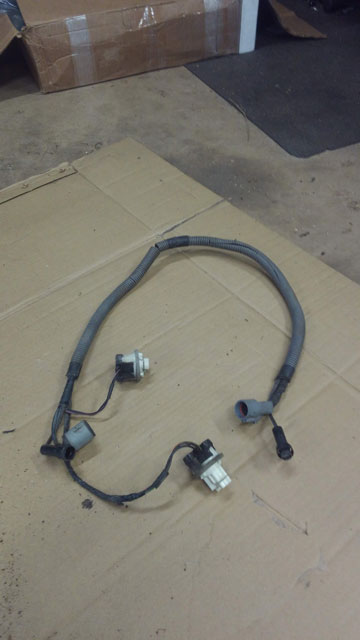 ...and the tailgate harness fully repaired! 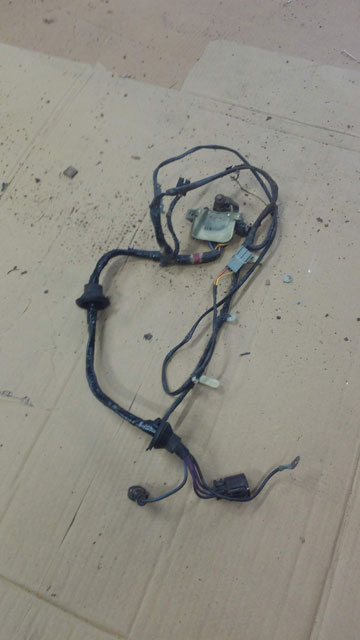 Tomorrow the plan is to throw the harness into the tailgate, and hopefully finish rebuilding it....and the tailgate harness fully repaired! Started to gut the original tailgate to swap parts over to the new shell.  Unfortunately im dead in the water right now; had to go to the junkyard yesterday to find a harness to repair the tailgate harness; im guessing it broke and the previous owner lost the whole chassis side half of the harness, cuz i saved the entire harness from that truck, and didnt have that piece! I also found out that the tailgate kit from JBG doesnt include the felt window run channels for inside the 'gate, so i had to order those too (should arrive today). So hopefully Monday ill begin repairing the harness and start swapping all the old parts into my new 'gate. Once the tailgate is back together im gonna clean up the garage and bring her inside for the winter. Ive got a lot of parts to start putting back on! 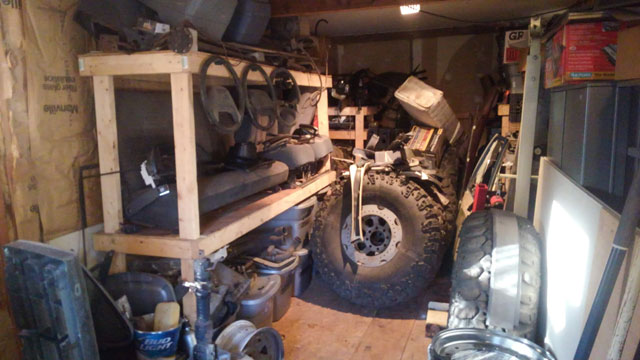 Whats the best way to make a truck faster? Racing stripes! I really liked having them on the p/u cab, so i decided to do them to this body as a throwback to that one. Plus, i think black stripes on gray paint looks awesome. And think of all that added HP! Laying it out: 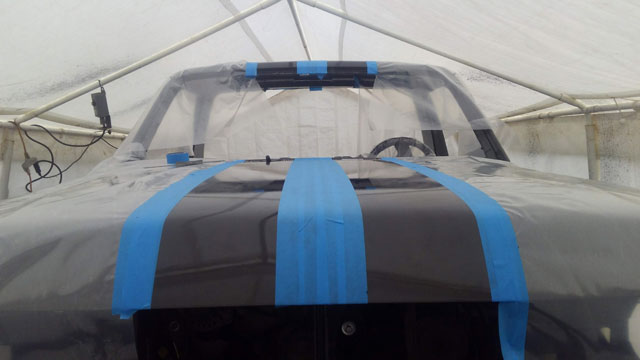 ...and here we go! 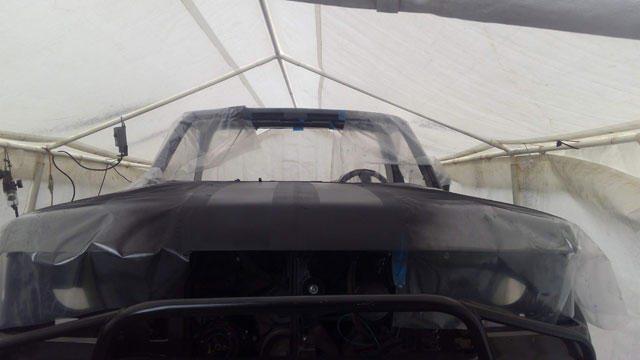 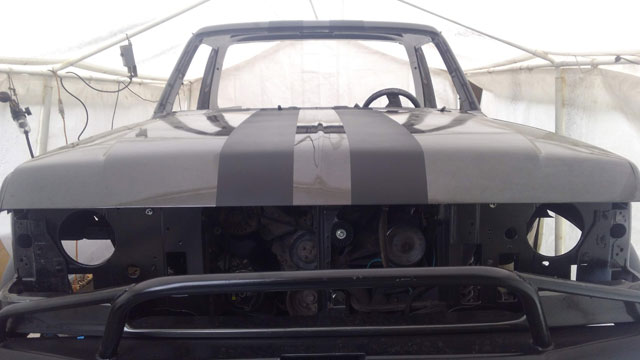 This officially finishes the work i need to do in the tent, which means next week i can get the top on and get it back into the garage to begin the reassembly phase! 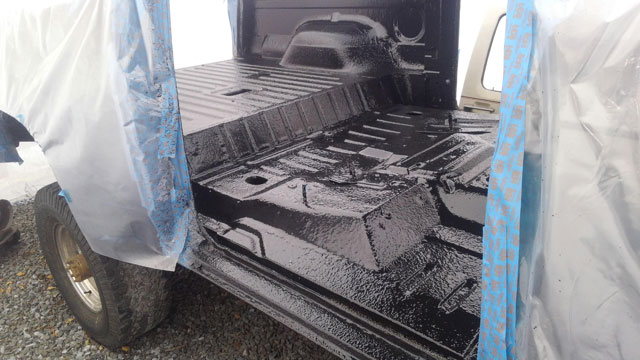 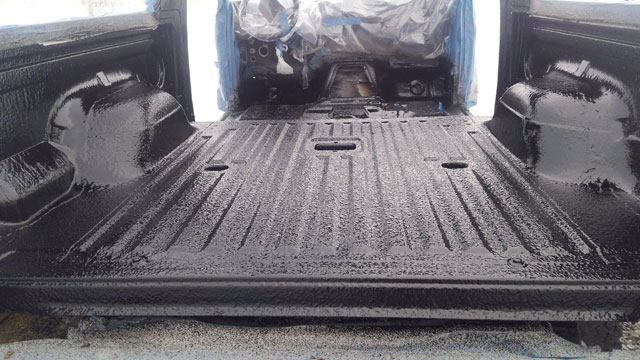 I ordered all new weather stripping for the truck, which showed up wednesday 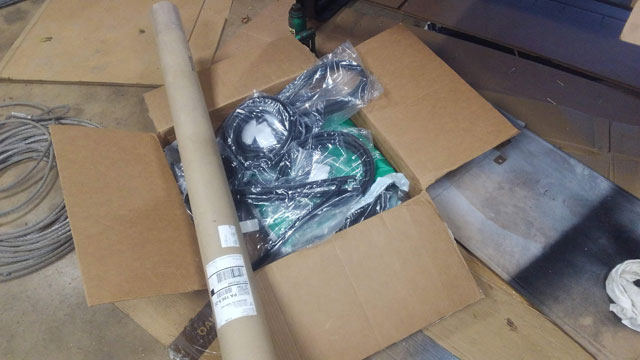 ...and since i had some free time, i installed all the seals in the hardtop 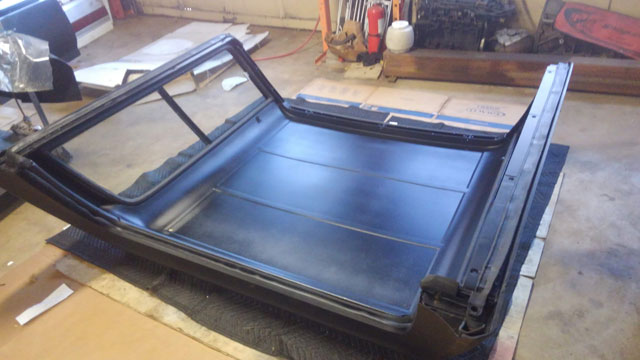 So now the top is 100% done, just waiting to go back on the bronco; hopefully in another week once i get a couple other things done on the body. Now that she's got fresh paint, lets wreck it!  masking everything off to spray Al's HNR (heat & noise reducer) 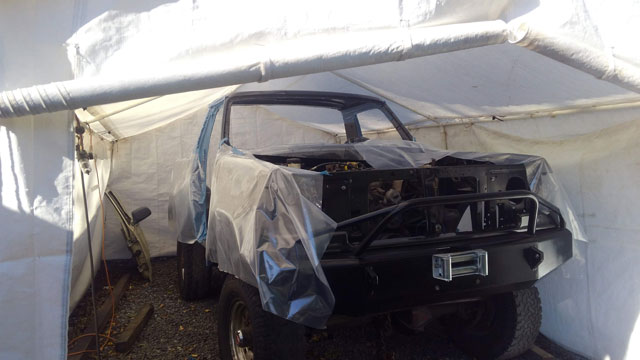 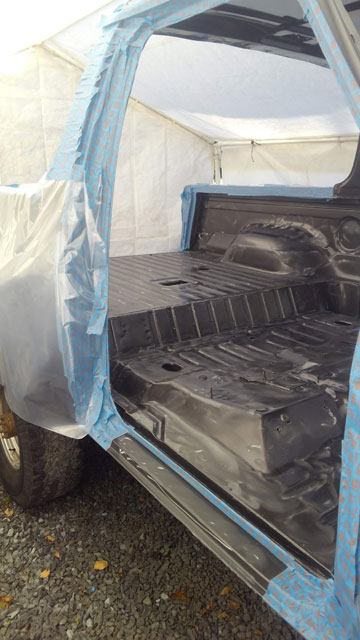 ...and here we go! 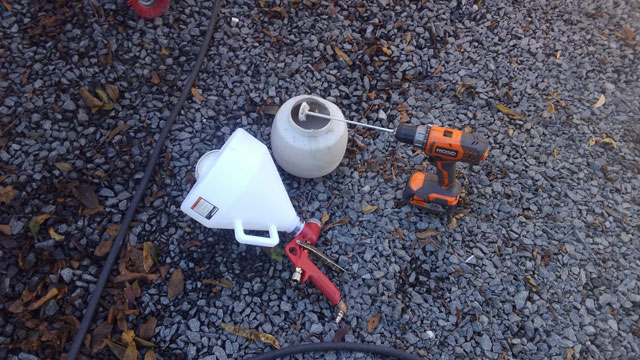 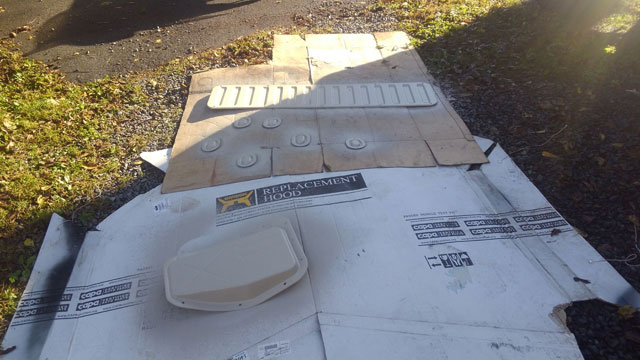 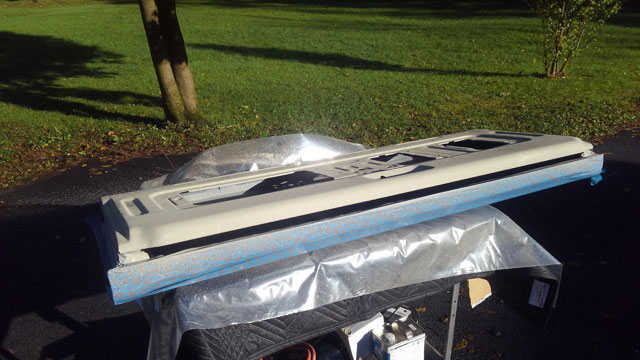 ...and done! 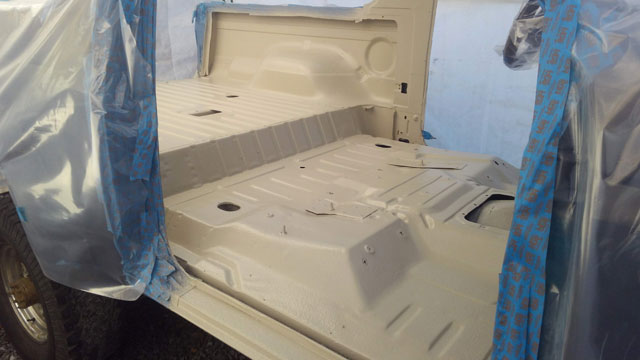 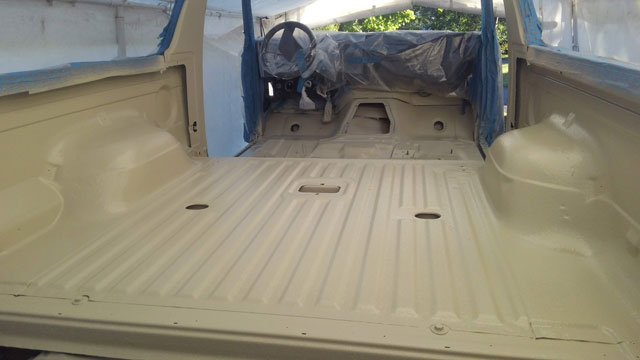 Weather permitting, ill be spraying the bed liner Friday! Finally after all this time, im actually starting to put parts back on! Rear bumper back on: 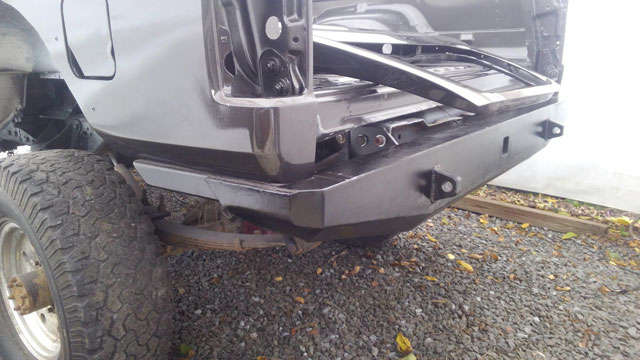 Fit the rear flares 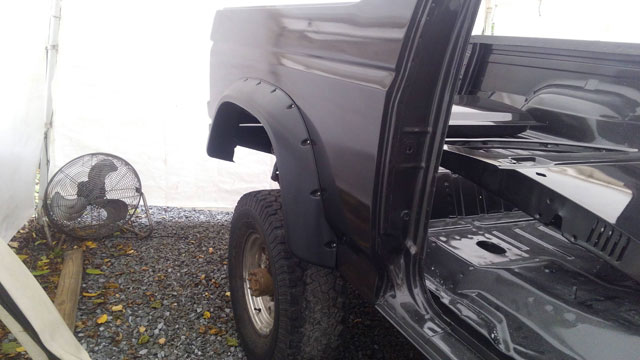 ...and then installed the front bumper, and installed/trimmed the front flares as well! 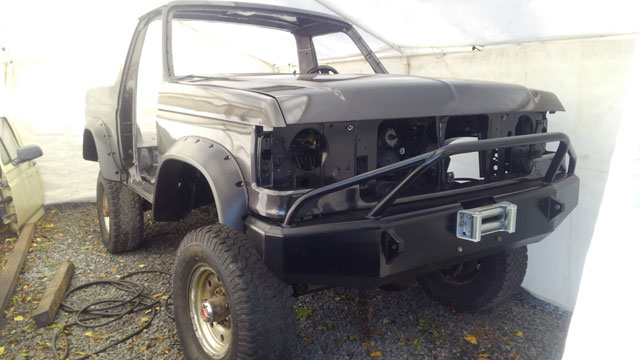 I need to trim the rear flares a bit as they hang down below the bumper, but im not sure yet how i want to trim them, ill look at them again next week.  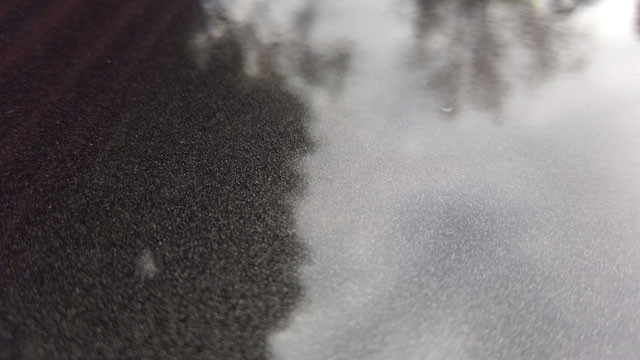 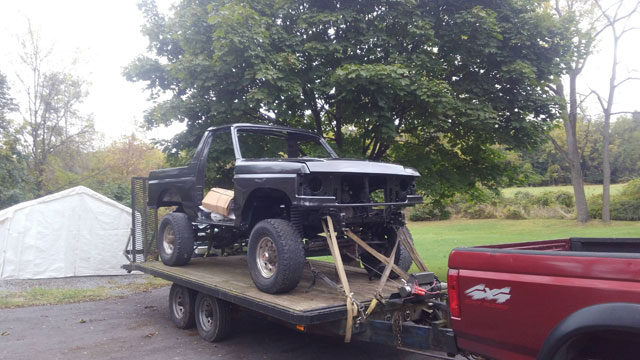 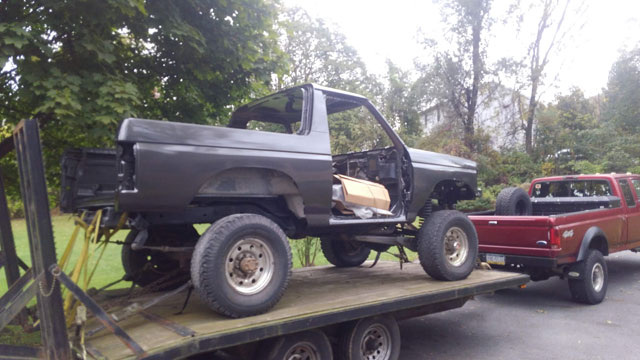 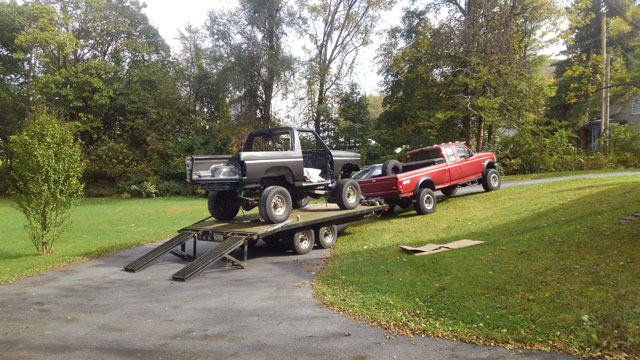 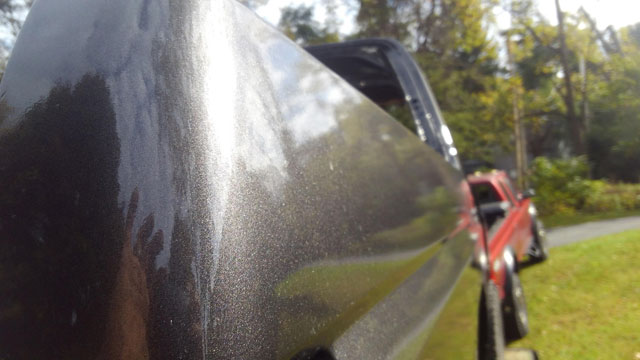  Aside from the bad job i did on body work/primer/etc, it came out awesome! |