|
Thats a terrible pun. killed the fan controller on the last trip out so the bronco has been sitting idle while i wait for a new one 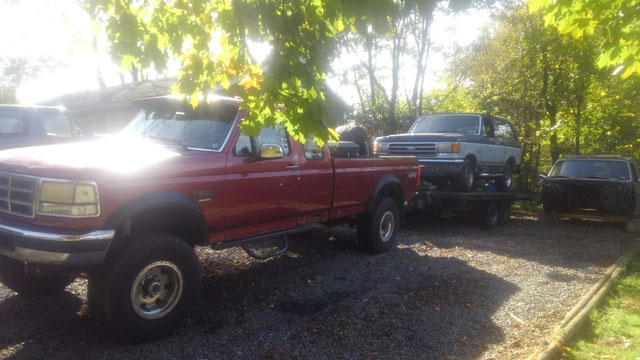 ...which finally showed up! This is the new S70 fan controller from DCControl, which is replacing my older FK75 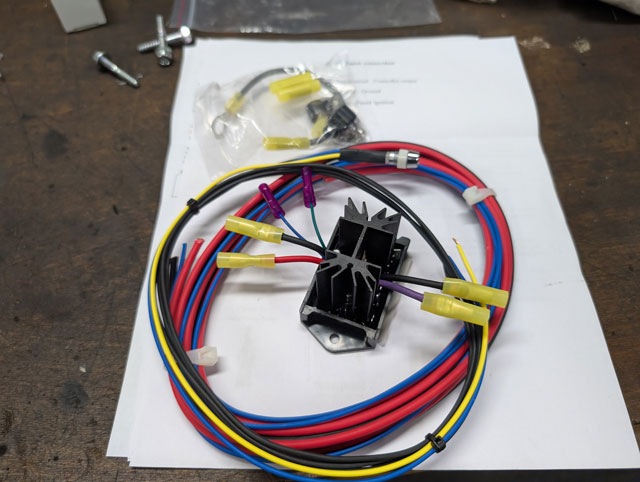 Installed it where the old one was. Using deutsch connectors to tie in the signal wire for the a/c input, and the output for the feedback LED in the dash 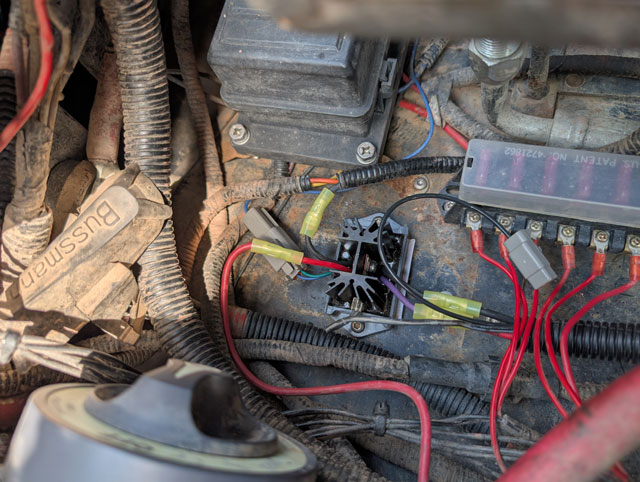 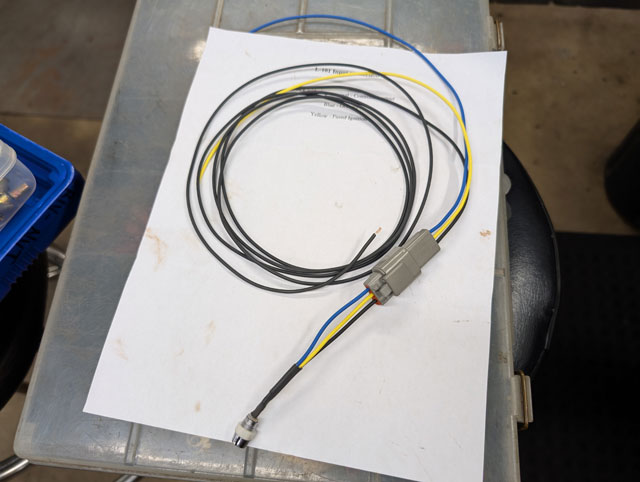 LED comes on green, and slowly turns yellow & then red as the fan speeds up 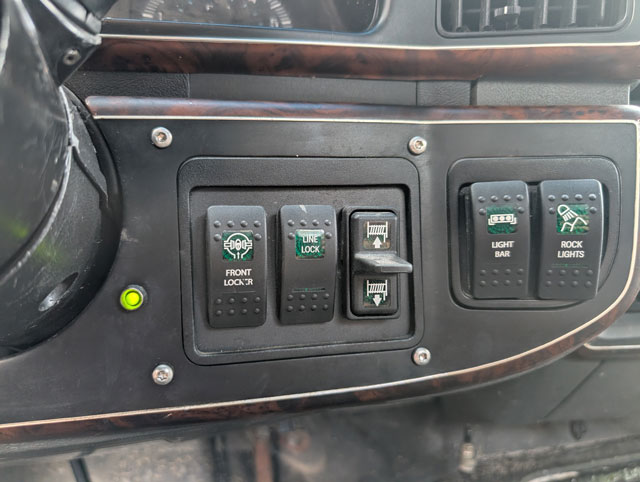 So that's one thing off the list. Had to pull the alt. 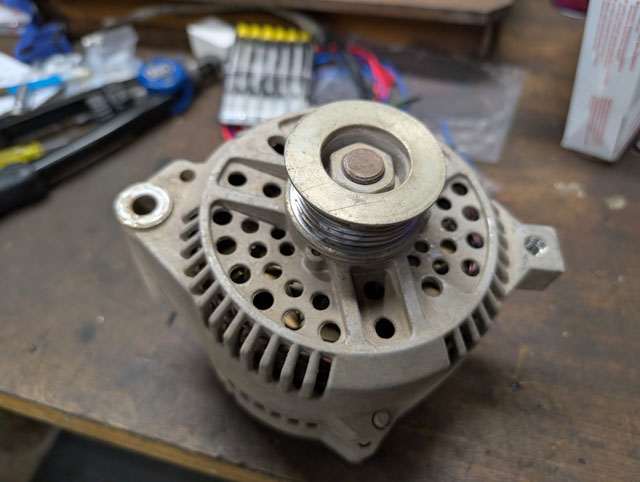 I remember why i dont like playing in the mud. One of the brushes in the regulator was dirty and got stuck 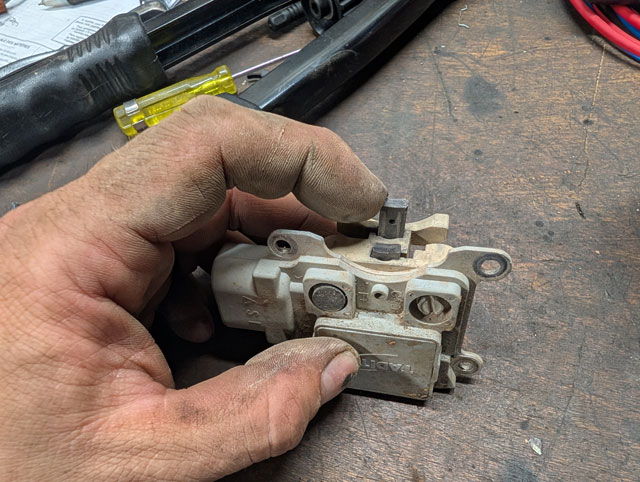 Got that all sorted & the alternator reinstalled just in time 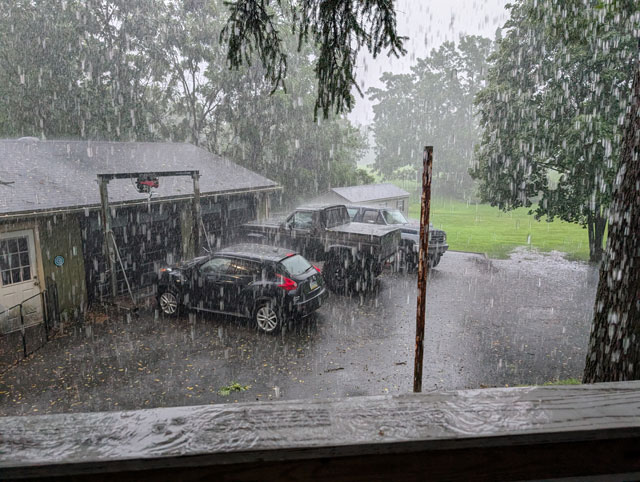 I have a couple minor electrical issues to deal with. #1, my left turn signals stopped working. My hazards work so im guessing its in the column, need to investigate. #2, the driver side window switch for the passenger side window quit working so i need to pull the door panel off and investigate. I want to take it for a drive and so i can do some tuning before our next wheelin trip, but i have other plans. Hedman finally has coated 460 headers back in stock, and since i have a leak somewhere in the passenger header i ordered a set. So now it looks like im going to replace the exhaust system and then ill go back and start tuning again. Decided to take pity on the wifey and the little due and install a proper set of steps on the bronco! The original steps i built were designed more as a set of frame mounted rock sliders, and while they worked, the step was a little bit small and a bit tight to the body
Little dude helping with the removal  For being my DD for the last 9-10 years, its still pretty clean under here!  So, were using a set of Amp Research Power Steps for a Chevy, specifically part number 75113-01A. We also need the adapter kit from OBS Solutions. You can buy the steps direct from OBS Solutions as well but i did not as when i bought the kit (way back in March) the steps were out of stock. Waiting for them to come back in stock delayed the project a bit. So heres the adapter kit, which is basically a bunch of brackets and some new trigger switches for the steps. In this pic i have already begun installing the brackets on the swing arms  The running boards are way too long and need to be cut down  The swing arms mount to the seat belt rail and the inner rocker rail. They reuse several holes already in the body from Ford, but you have to drill a few extra. They are all hidden though, even in my case with a bedlined floor instead of carpet or the rubber floor  The supervisor showed up to inspect my work
Here's the wiring harness that comes with the steps, plus some mounting brackets that came with the kit from OBS Solutions  This is where the module is mounted, behind the passenger kick panel  Its two modules in one; the left is the controller for the steps and the right is for the lights (which im not using). Here's the wiring harness all laid out  Stripping/sorting:  ...and laying out my new configuration. The kit is for a crew cab so i eliminated the trigger for the second set of doors, and i eliminated the entire circuit for the lights  Laying out the harness in the bronco. Since were not using the lights that right module doesnt get used. The red wire is the power wire i ran to the dash from the fuse box i installed when i put on the Superduty bumper. The ground i landed at the main harness ground right next to the module
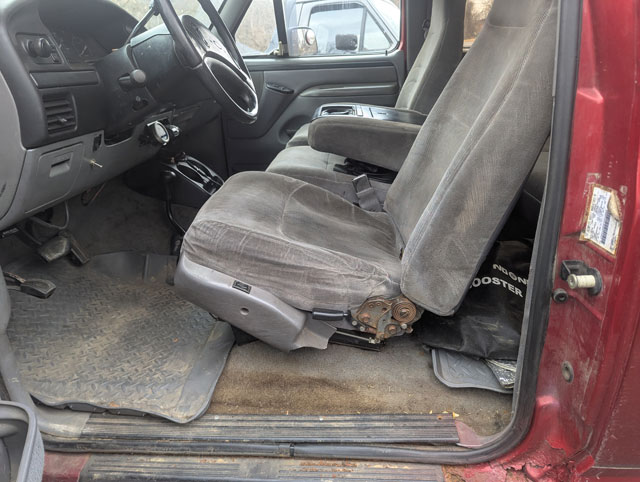
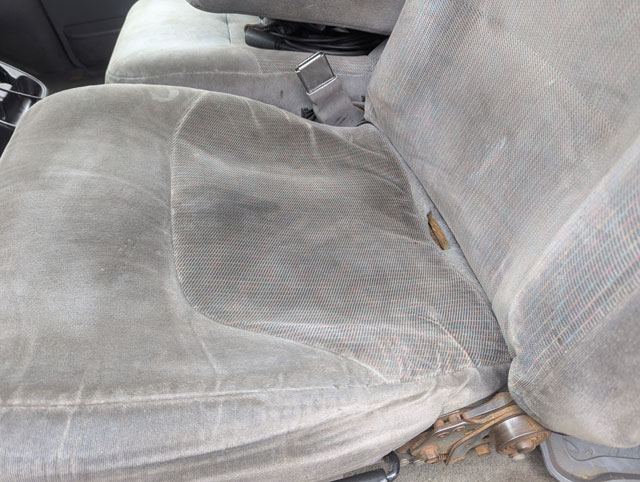
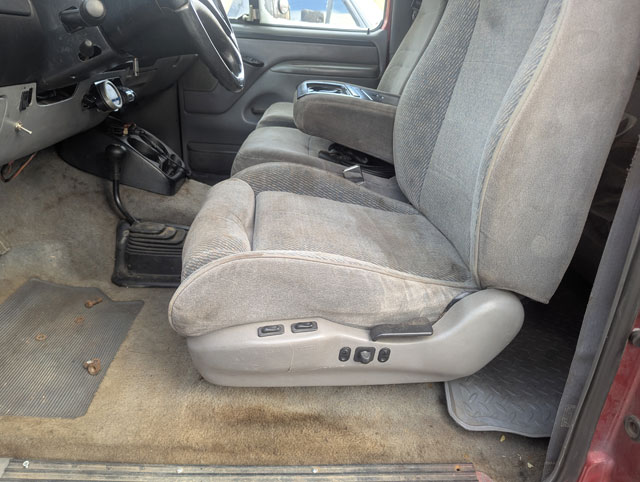
Ran the harness down in the channel under the sill plate where its safe  Drilled one hole in the floor near the seatbelt spool, hidden by the spool cover. The wires come out into this channel. One set of course plugs into the passenger step motor, the other set follows the channel in the body structure to the driver side  These are the trigger switches installed in the door jamb, in an existing hole in the body  Unfortunately i have an XL, so theres no interior panel on the other side to hide the switch. To this end i opted to drill a small hole and hide the wire in the b-pillar. I also added an extra layer of shrink sleeve to protect the wire. Not ideal, but its tucked in there pretty tight and itll have to do, until i get around to installing a set of XLT rear interior panels.  ...and the finished product!    They work really good; they swing out quickly, and are nice and stable. They retract 3 seconds after the door is closed so if you close & open the door quick they dont move. Been on here about two weeks now and everyone is super happy with them. Now the wife wants me to install a set on her bronco too! After probably 5 years, ive had enough. Time to fix the a/c in the daily driver! 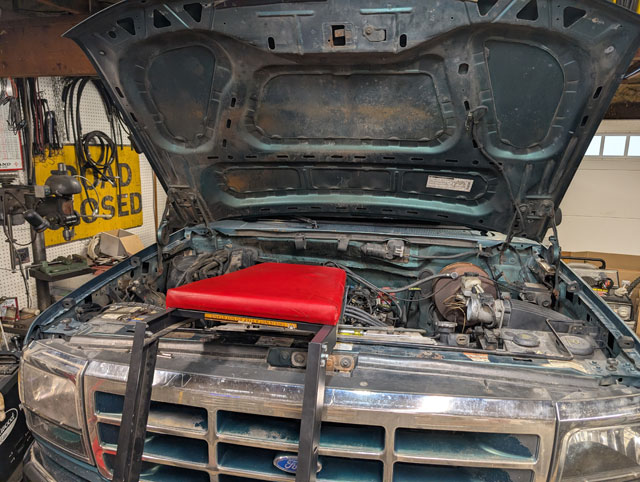 Heater box open: 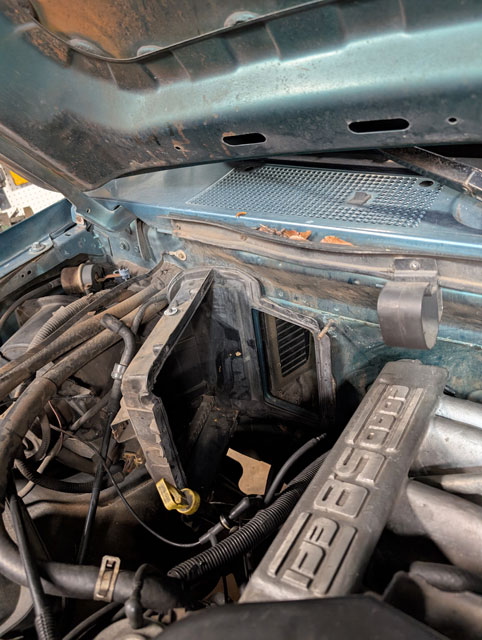 New evaporator vs old 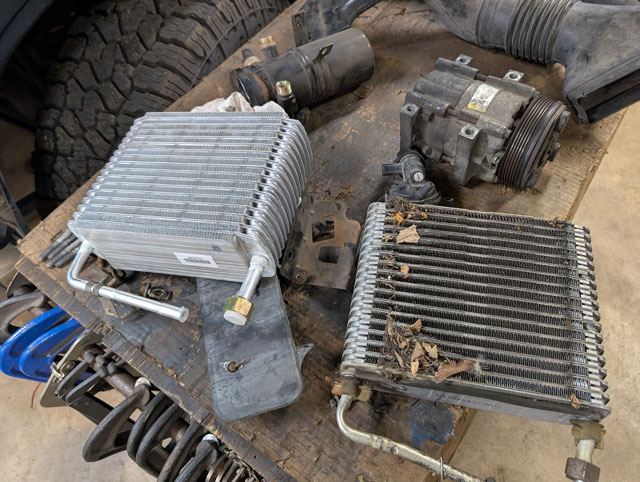 (yes i replaced the orifice tube &dryer, i just didnt take pics of them for some reason) The insulation on the heater box had disintegrated so i covered it with that sticky heat/noise insulator, hopefully this works! 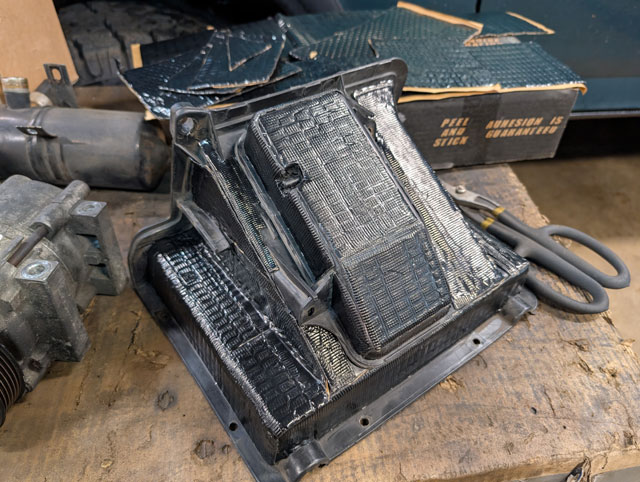 new compressor... 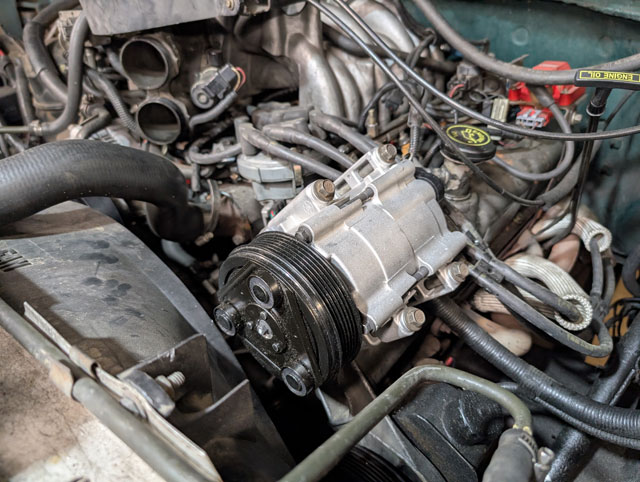 new condenser 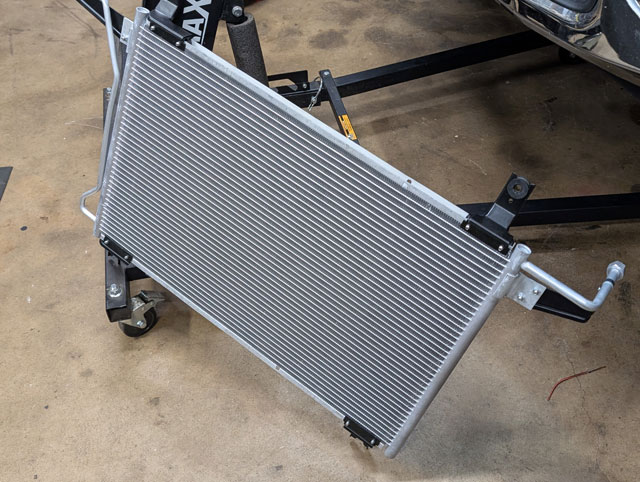 of course its slightly different 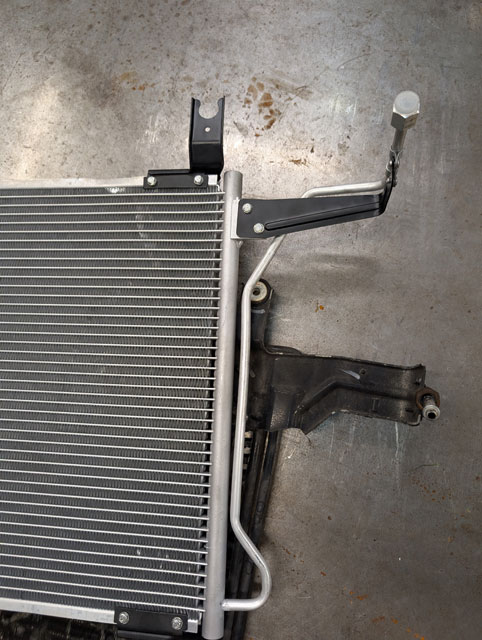 Youd think it would fit, but it didnt. Had to trim the core support a little bit. So with that done all thats left is some new hoses, and then we pumped it all down to leak check! 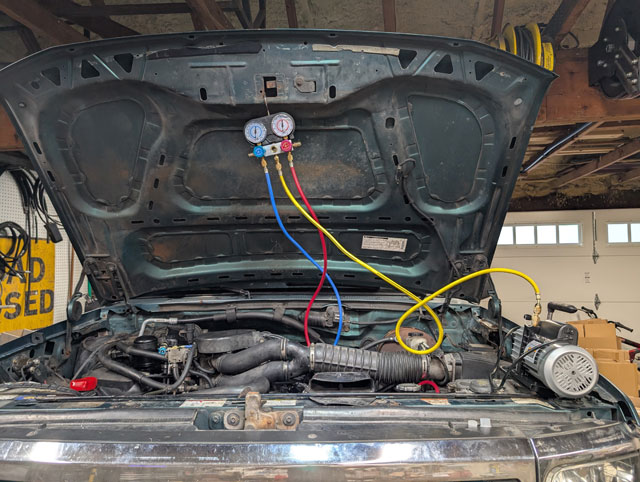 Since the bronco needed to be inspected anyways, i had my buddies shop charge the a/c for me while it was there. It certainly is nice having good working a/c again! Got the big one all cleaned up and on the trailer thursday... 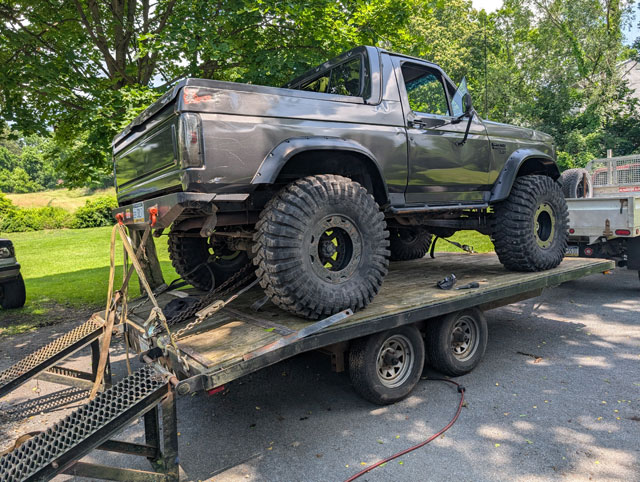 ...and spotted the driver leaf spring had a broken main leaf 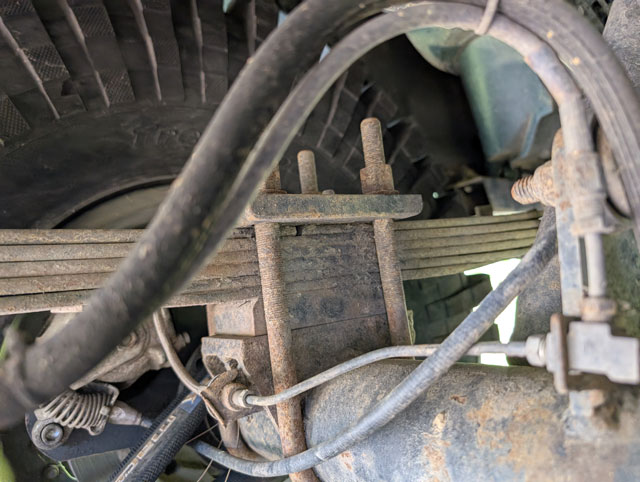 Last year i broke the passenger side main leaf, so i guess this one was on borrowed time 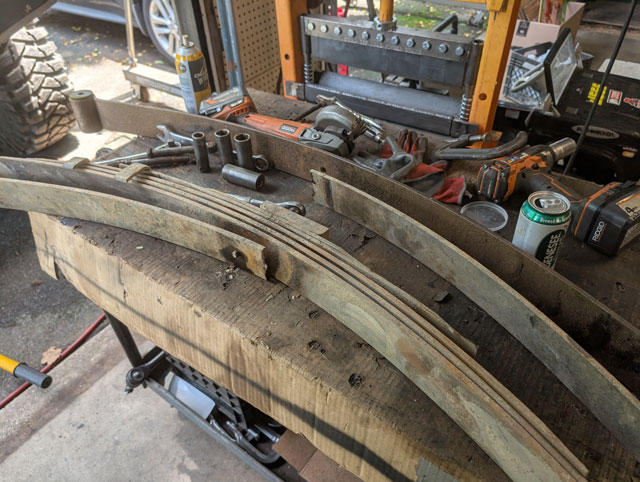 thankfully i had another spare main, so the repair went pretty quick 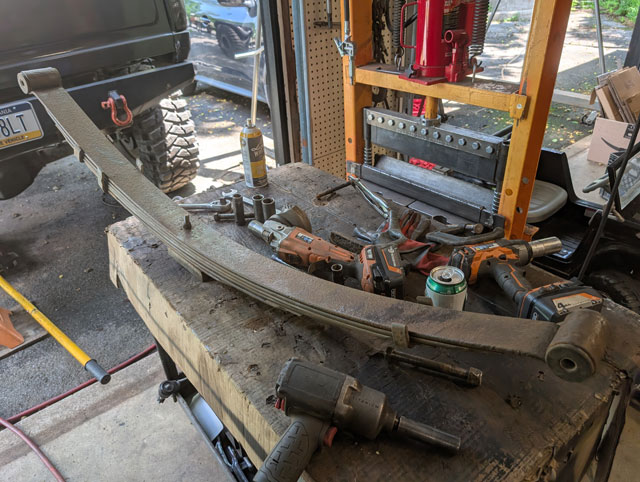 lets try this again! 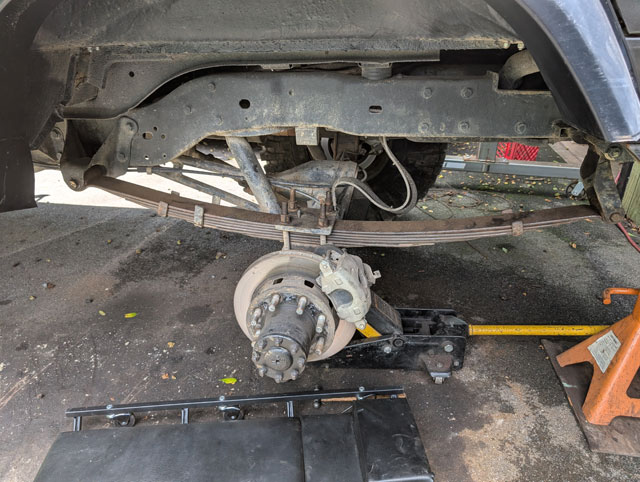 So we made it about 10 miles from Rausch Creek when the bypass hose for the heater core blew on the diesel and we lost a couple gallons of antifreeze pretty quick 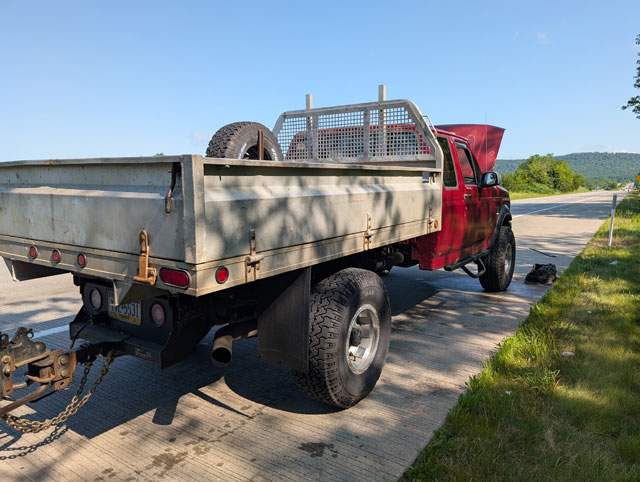 Fortunately our buddy Jim was close by and he grabbed a barb fitting & some hose clamps from the store and we cut the bad section out, shortened it up and refilled the radiator. We ran the east & west sides of the Rausch Creek with Joe from Bock's Garage, his dad in his 68, and our buddy Jim with his 95. I didnt really take any pics during the trip. I brought the boy along with me for his first wheeling trip which he thought was super cool, so i kinda just hung out with him and made sure he was having fun 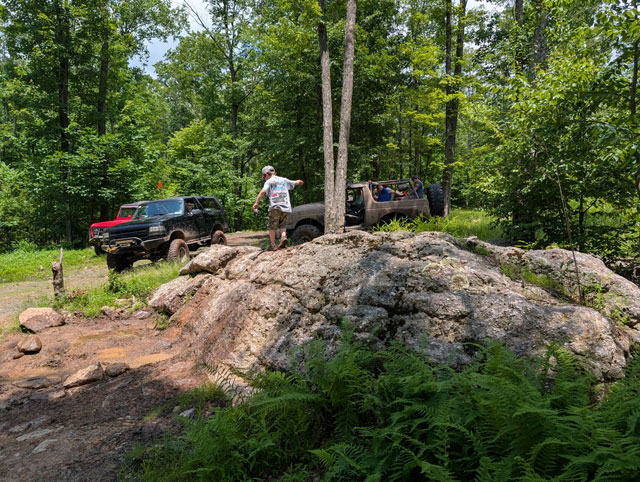 Everywhere we stopped he had to get his r/c bronco out and hit the trails to 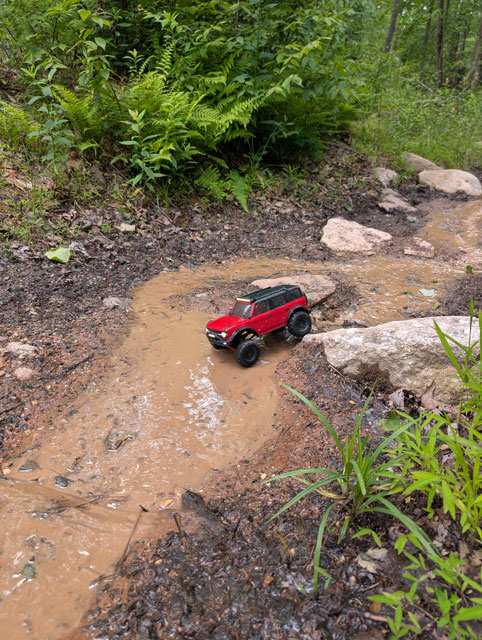 We came down the Pole Line on the east side and he saw the big mud holes and said "I wanna go in the water holes!" and just like that it turned into a mud run! (i cant embed YT shorts videos so click here!) It was a pretty muddy day, but the little dude had fun so it was worth it  Now i gotta go outside and fire up the pressure washer!  Bumper's installed, now weve got to wire it up. First up, i found the pigtails for the OEM fog lights 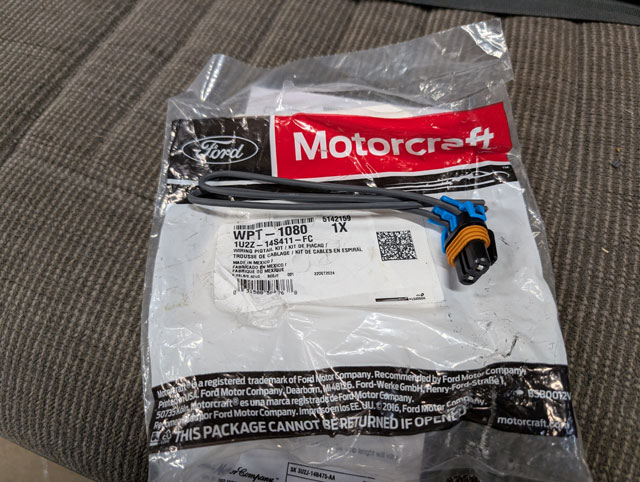 I built a harness using them for both fog lights, plus a deutsch connector for the lightbar 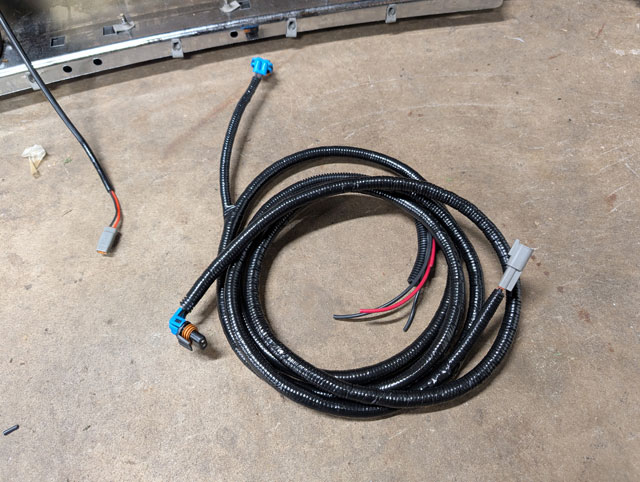 This pic shows how tight the bumper & fog light is to the body, how i trimmed the fog light bracket for tire clearance, and the harness itself, safely tucked up out of harms way 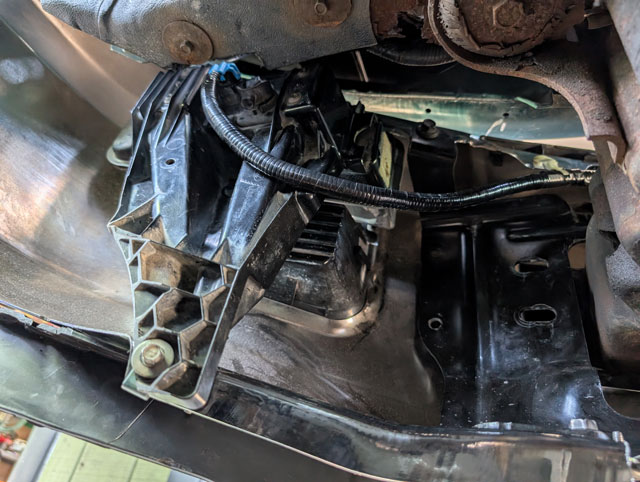 ...and the tie-in for the light bar. I reused some old OEM wire keepers to keep the harness tucked up nice and tight  i bought a small 2-relay fuse box from Amazon 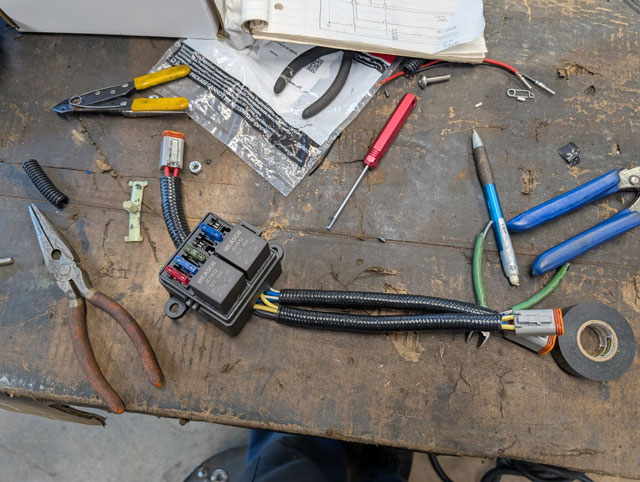 ...that i mounted here in some free space next to the battery 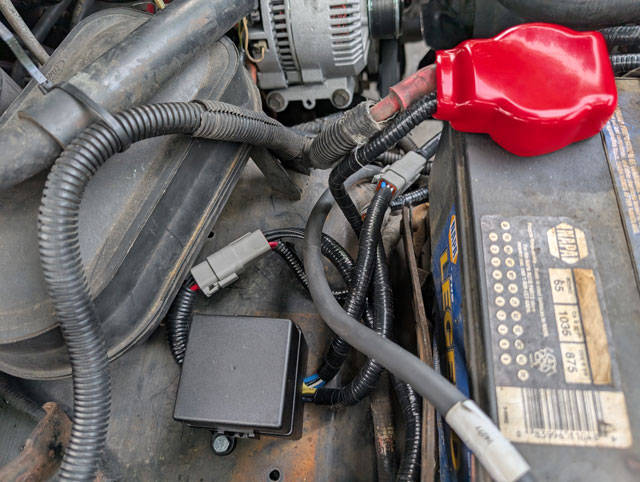 Im using 4 of the fuses. One for switch power, 2 for the two relays, and a 4th that i wired up now, but will be used for a future project. For control wiring, i found these cool flange connectors from deutsch that im using to pass power back & forth thru the firewall 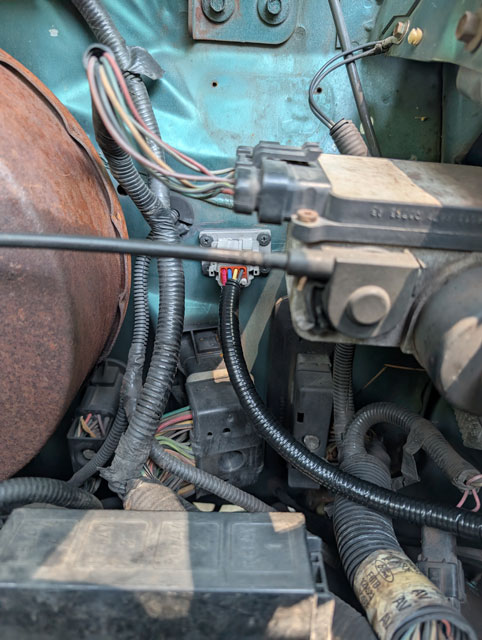 From the firewall (under the dash) the wiring comes to this plug 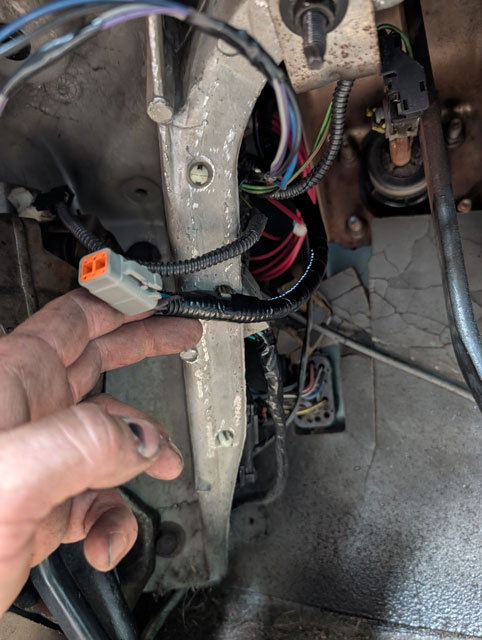 which plugs into this 2-gang switch panel using a a pair of Carling Contura V switches 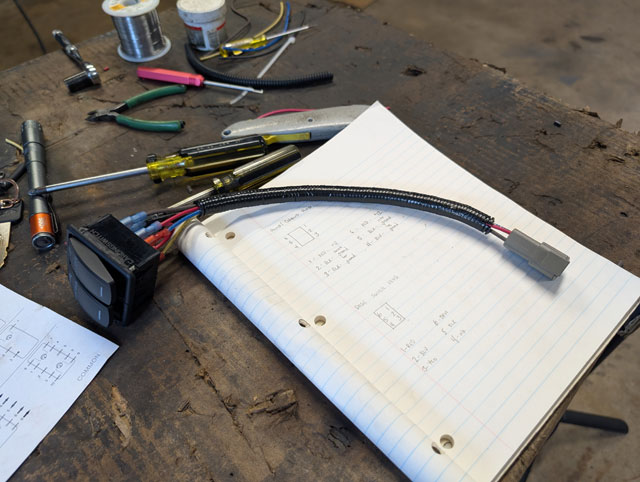 cut a hole in the dash to make some room... 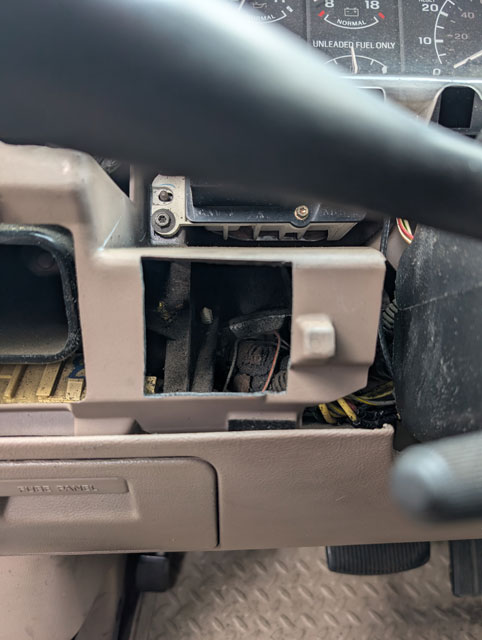 ...and the switches are installed!  ...from the driver seat  ...and the completed project!     So i picked up this bumper off of a 2020 Superduty, probably a year ago now. Its been sitting in the shed taking up space. Well no more! We're going to get it installed on the 96 Bronco. 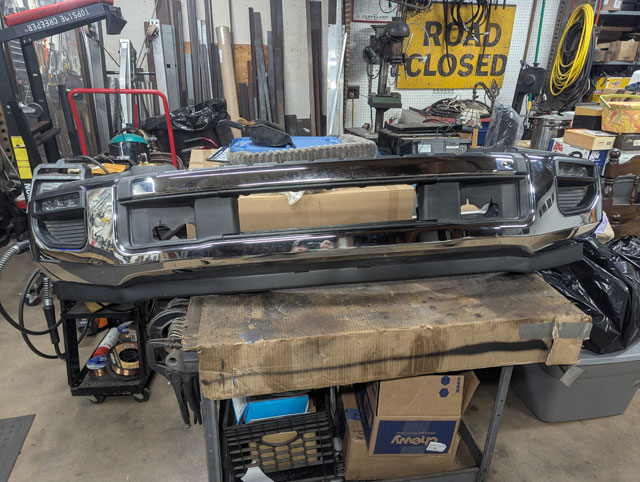 Since i dont have a diesel, ive removed the center air dam in favor of a lightbar 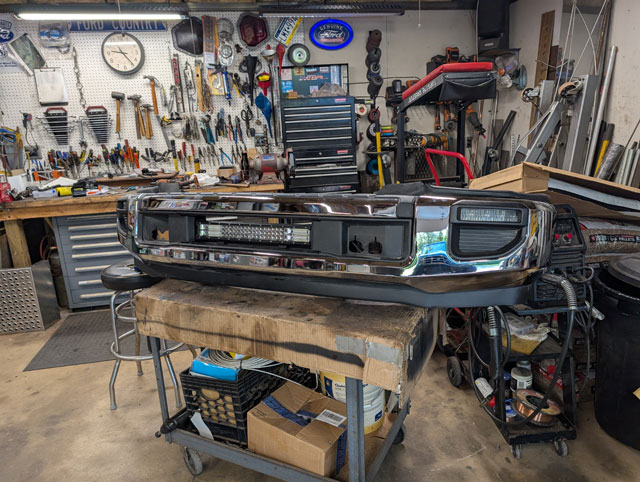 We're using these adapter brackets from Complete Performance, which basically make the bumper bolt onto the truck 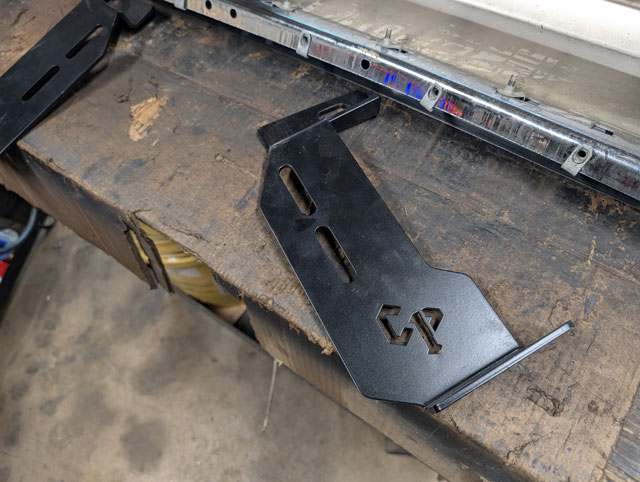 Step one, get the old bumper off! 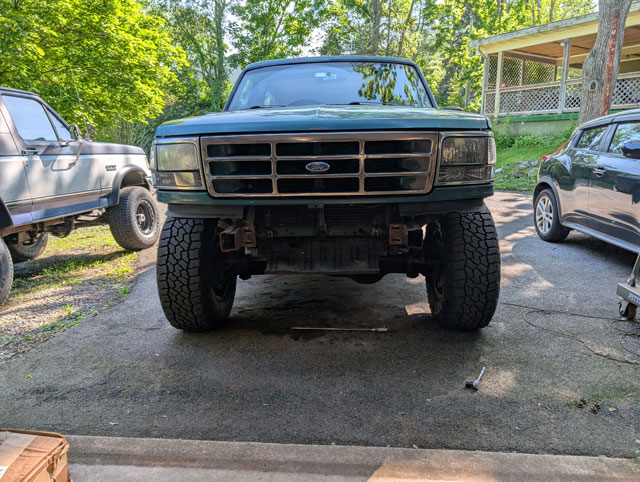 We have to trim the body a little bit to clear the bumper. Before: 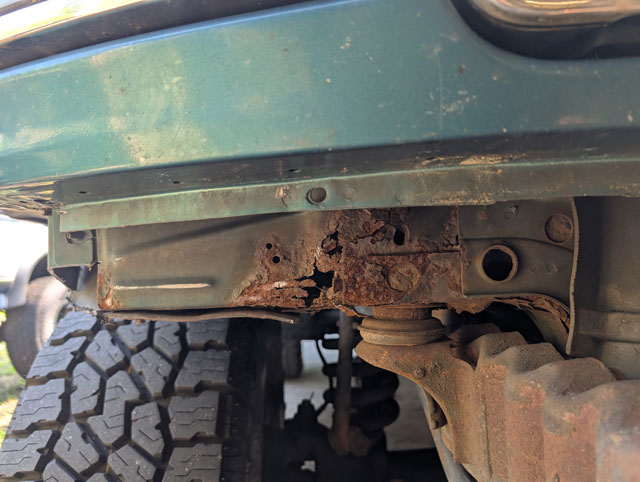 ...and after: 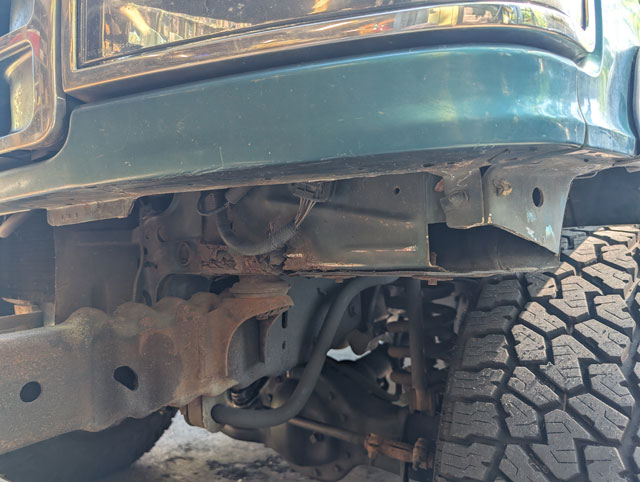 Because im running a 35" tire with only a 2.5" lift, the corner of the bumper needs trimmed as well as part of the plastic bracket for the LED fog light needs to be trimmed. This is before: 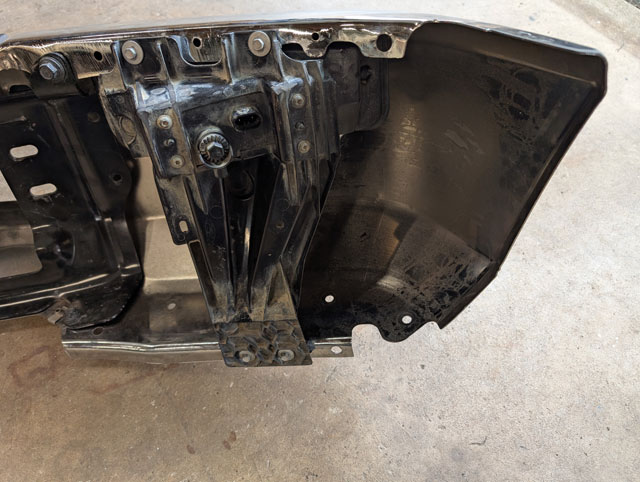 ...and after: 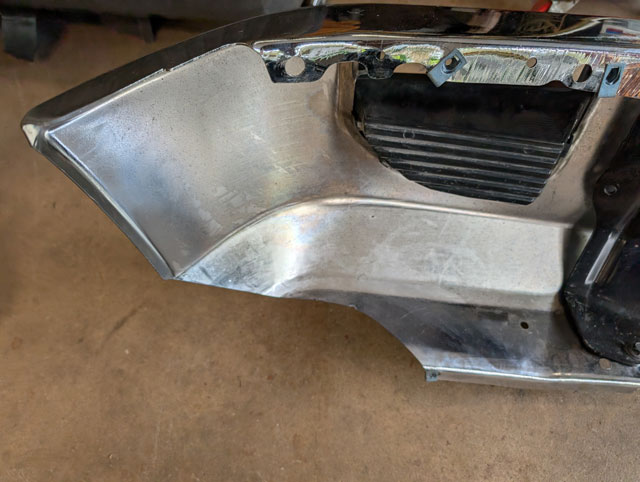 both sides trimmed, brackets installed fog lights installed and ready to go on the bronco 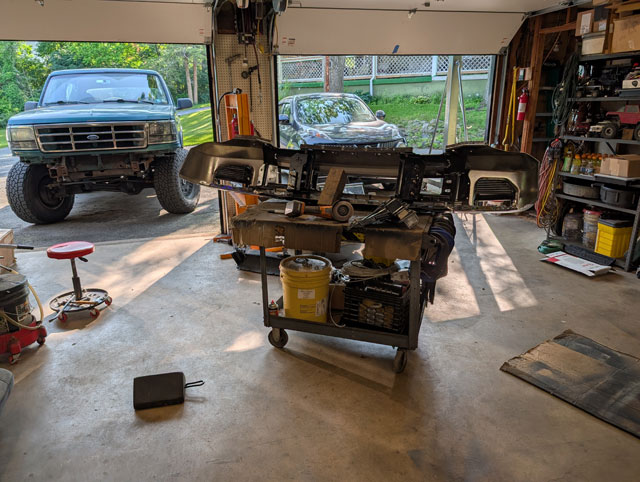 ...and installed! 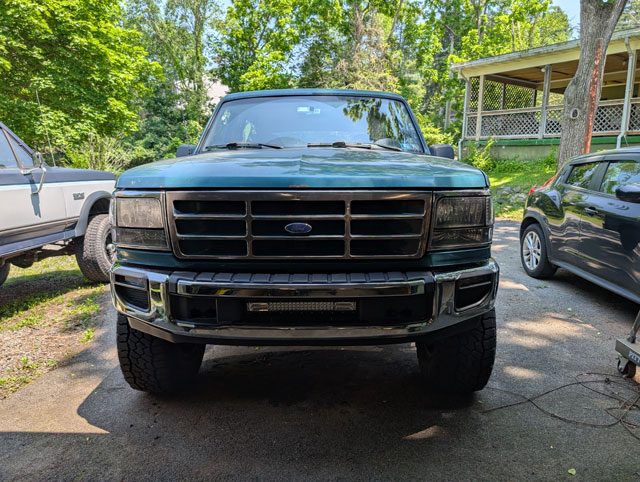 Next up: Wiring up the lights Got the F250 in the driveway for a much needed upgrade 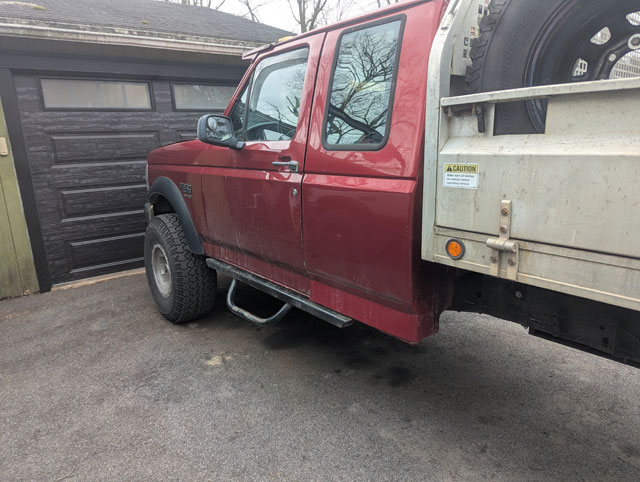 The drive seat is whooped. Side panel broken, seat cushion shot, lumber bag turned to dust and fell out of the seat years ago.
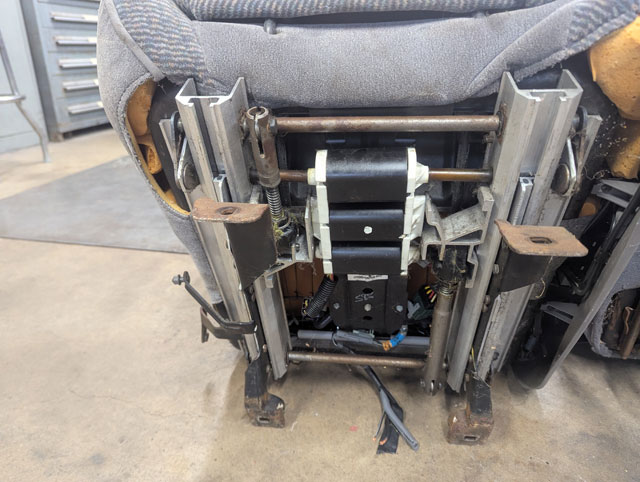
Its long overdue for replacement. So lets get that seat out 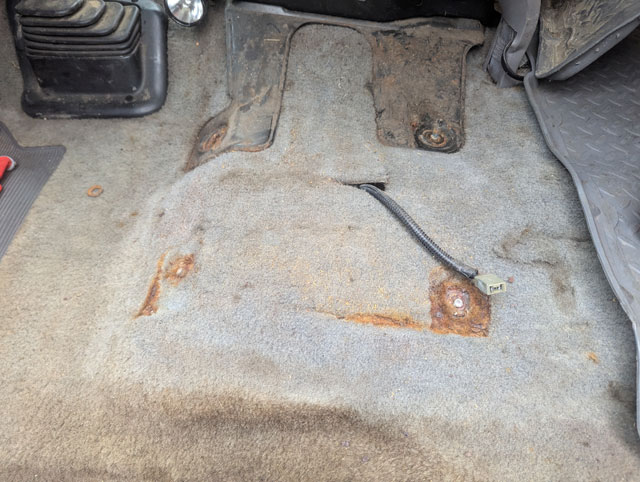 Broke both outer bolts off, but the seat is out 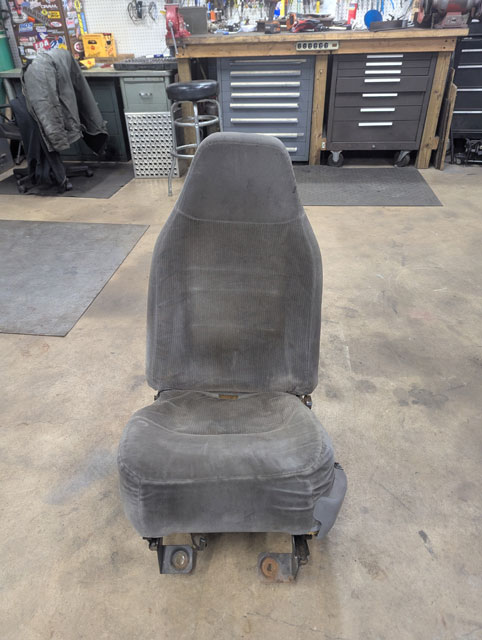 ...and here it is, next to the explorer seat i bought to replace it almost a year ago! It looks even worse next to the replacement seat 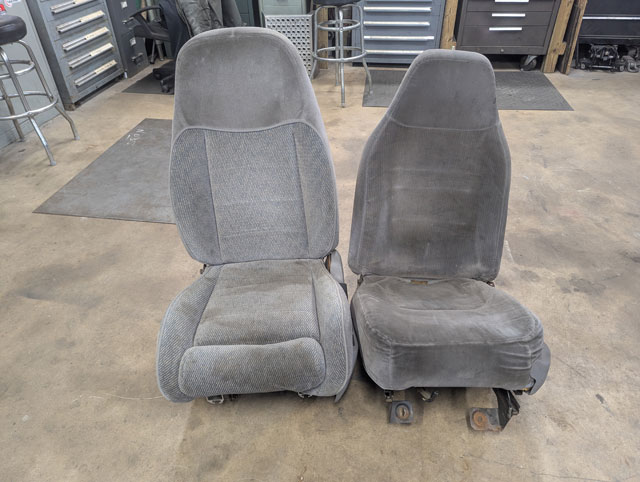 So lets compare the seat bases. The explorer seat is full power everything whereas the F250 seat only had a power lumbar bag so its quite different under there 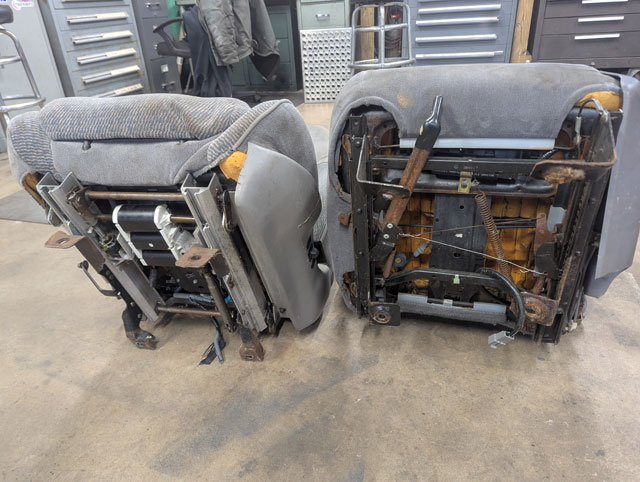 Closeup of the two:
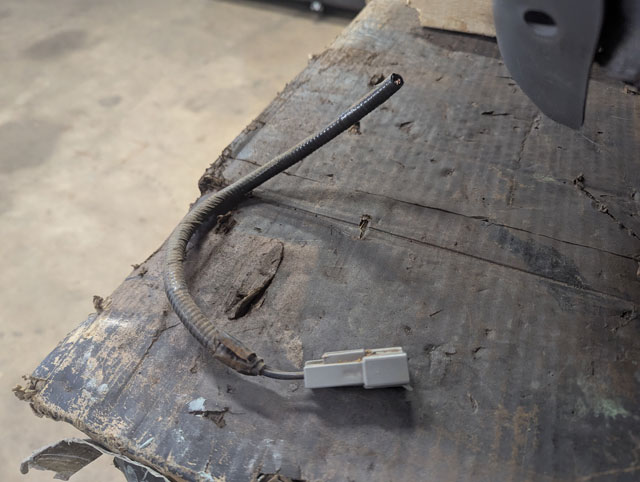
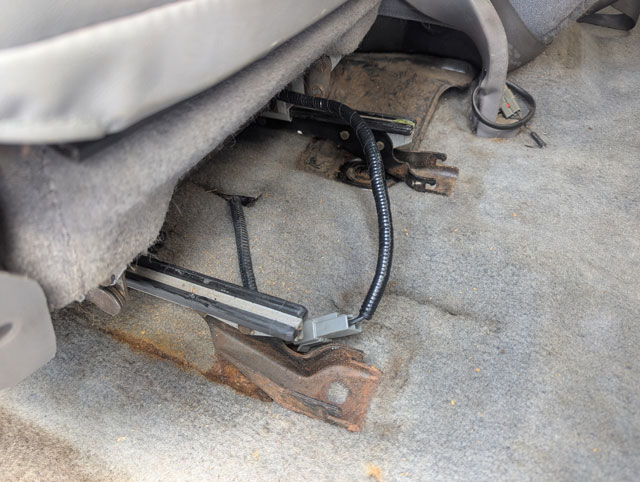
Not sure how challenging this is gonna be, but its gonna be easier if i can move the seat. So that means weve got to fix the wiring  This is a simple enough fix; i just cut the plug off my original seat and spliced it onto the explorer seat
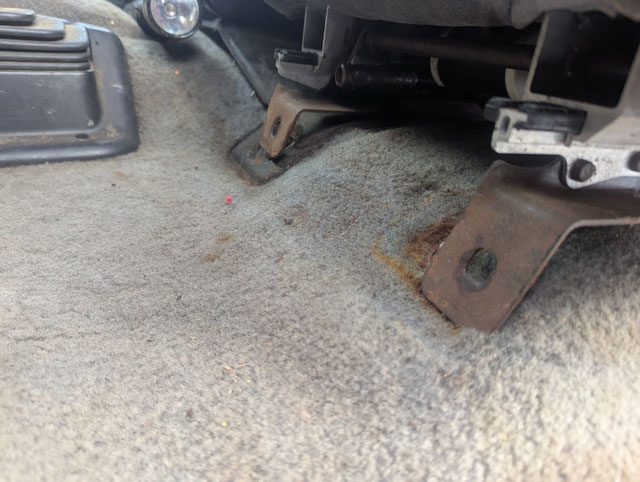
Next thing is to remove the mount for the fixed half of the seatbelt. Im planning on reusing the original mount in the truck 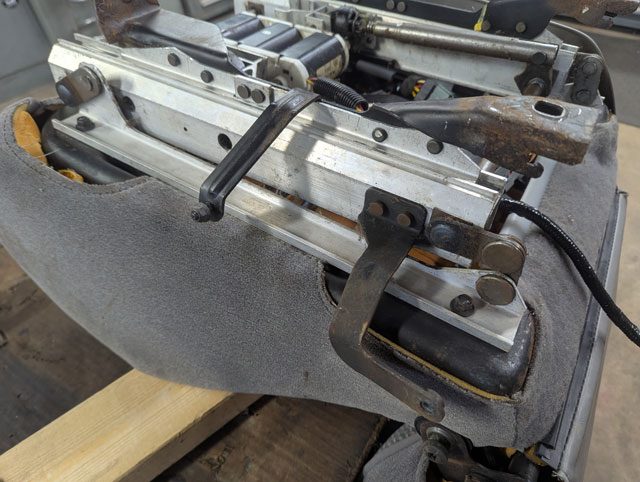 Ok, much better 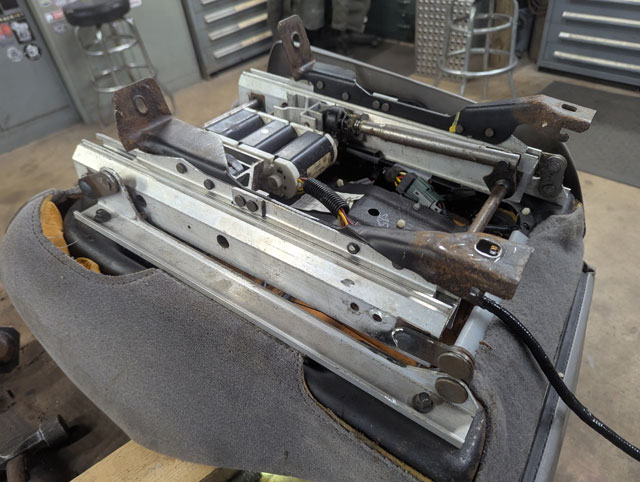 I cut the rivets and removed the seat base off the original seat, so i could see more easily how different they are 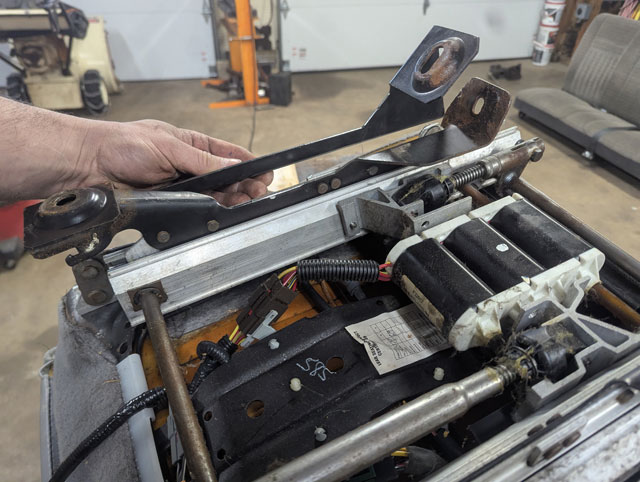 At first glance, they look like theyre way off 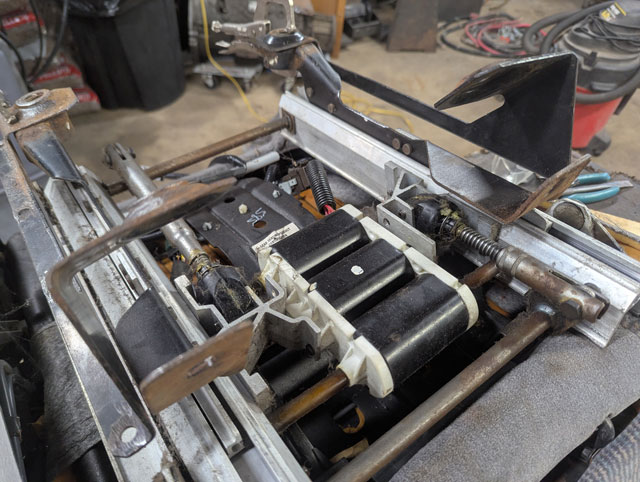 I figured theres not much use in speculating, lets just set the seat in the truck 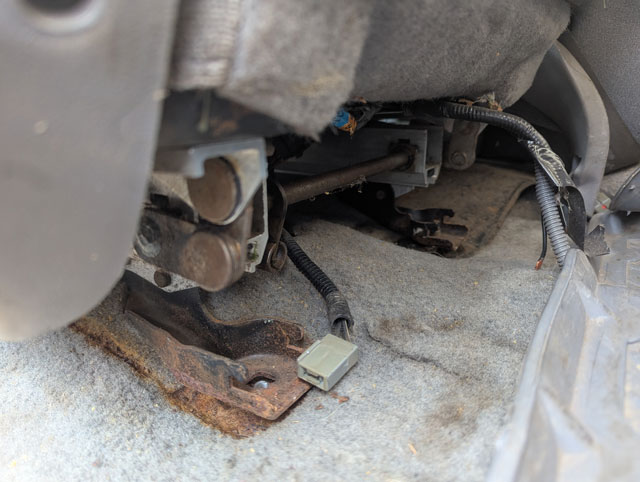 Interestingly, with the rear right hole slipped over the locating stud, the rear mounts are surprisingly close to working with only some minor work to the rear left hole 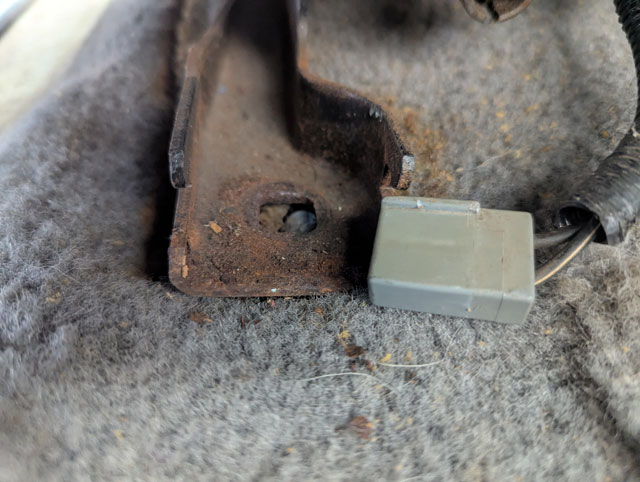 up front isnt so great though 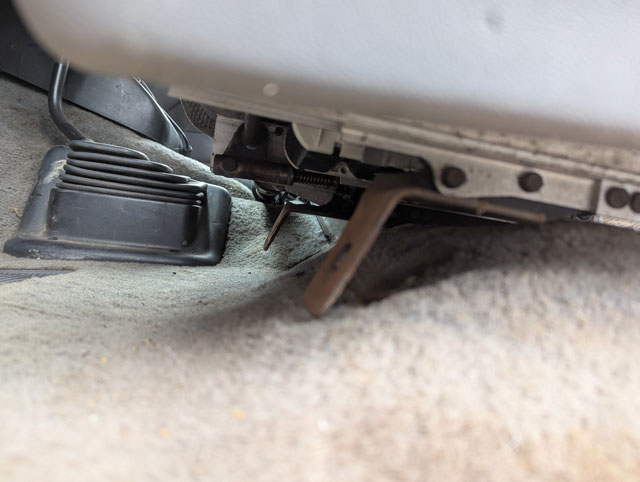 Looking at it, the seat has a ton of adjustment forward/backward
This also looks like itll be a lot easier to mount the seat too
So i went back to the original seat base and cut one of the mounting tabs off
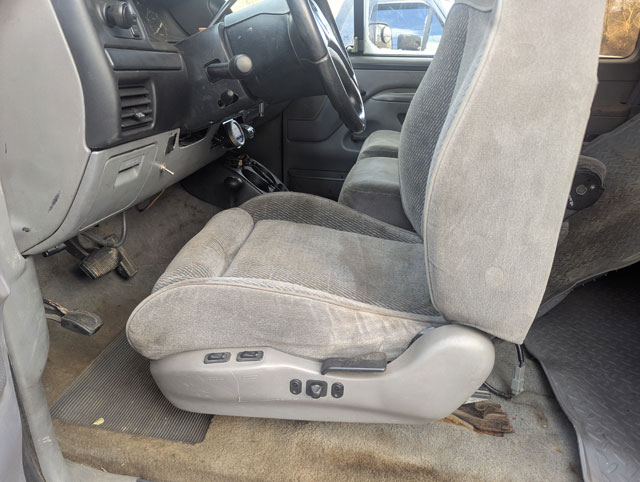
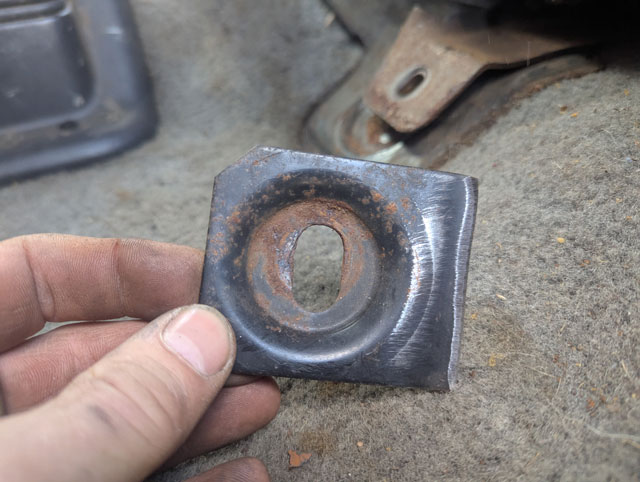
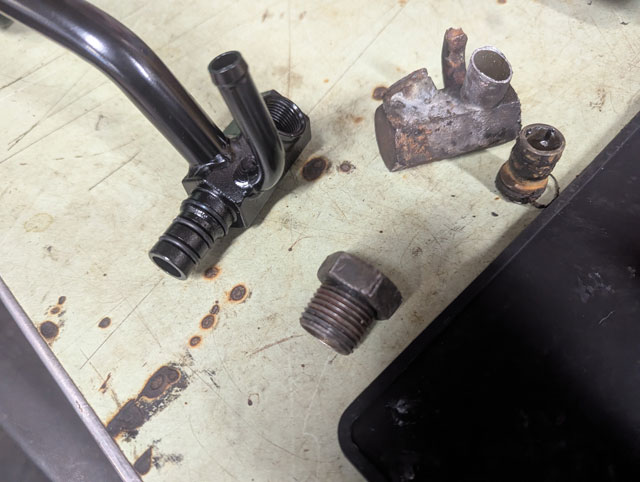
The rough idea, this actually looks like itll be pretty easy to do 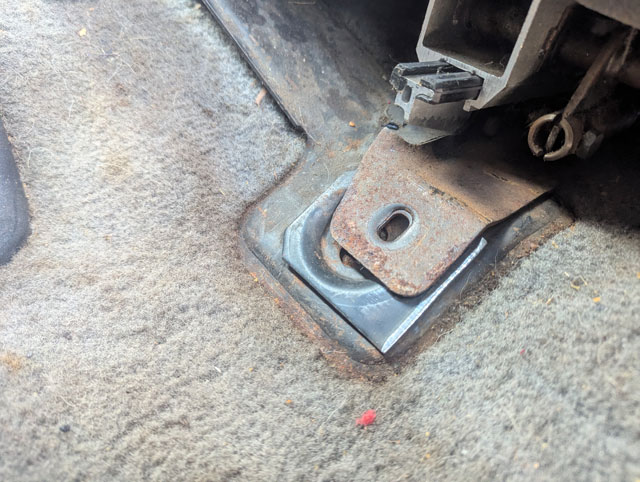 Trimmed a little bit of material off the explorer seat base 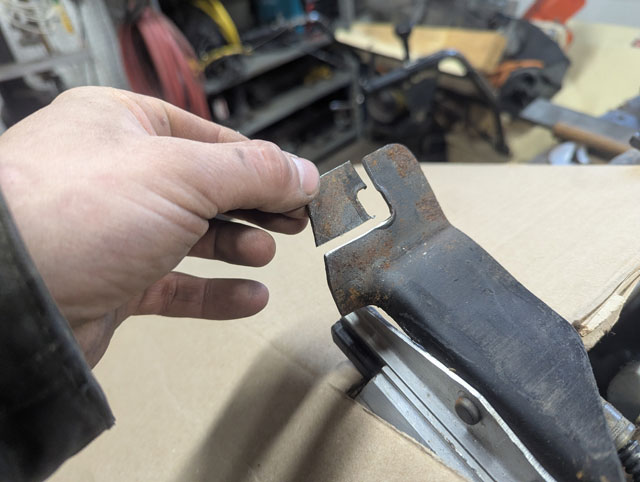 ...and then welded that tab onto the frame 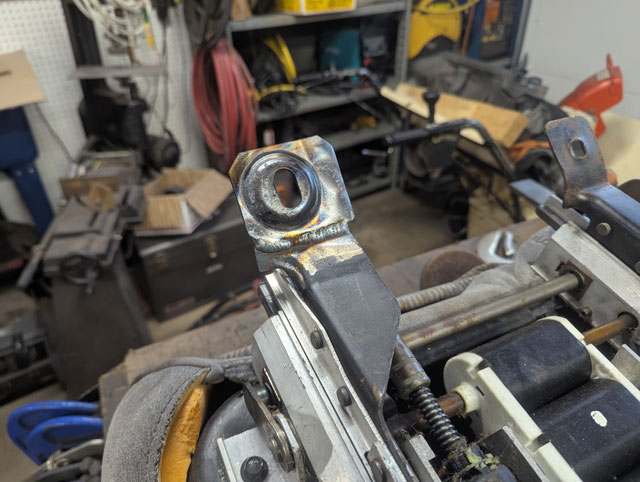 ...and with that done....the seat is in! 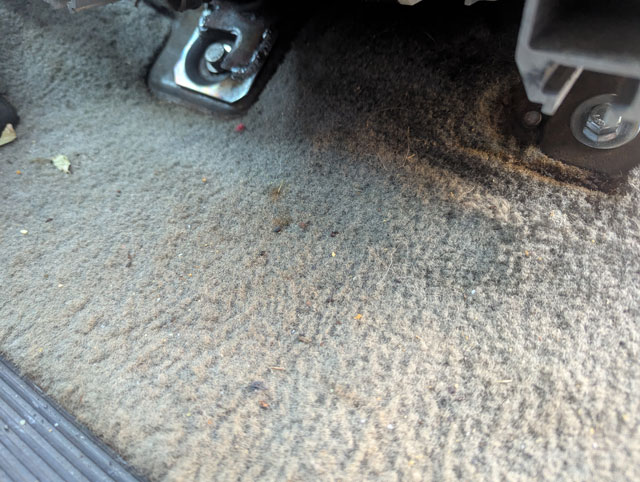 The other 3 mounts laded flat on the floor, so i simply drilled new holes and bolted the seat down in place 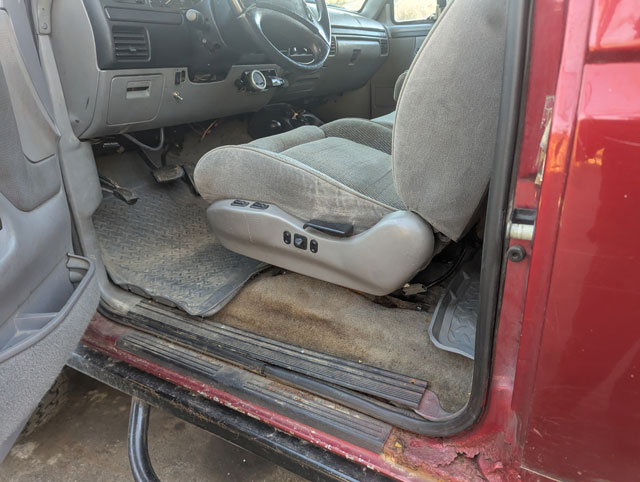 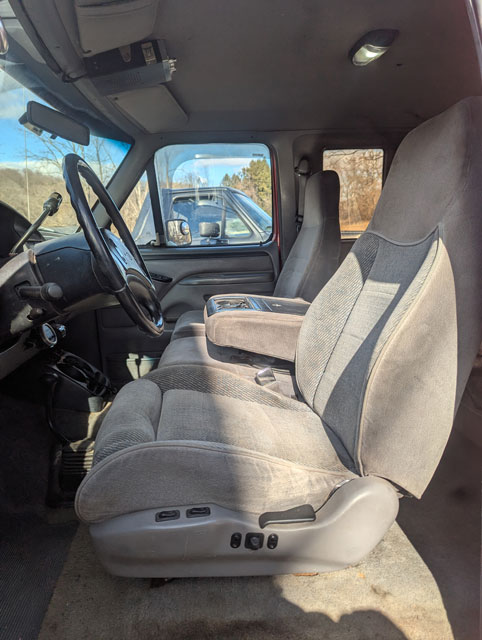 Super comfy, and having all those adjusts is pretty sweet! The seat matches the center jump seat pretty well; i think once i get the passenger seat swapped in it will be hard to tell i changed out the seats at all. The new coolant manifold showed up last night 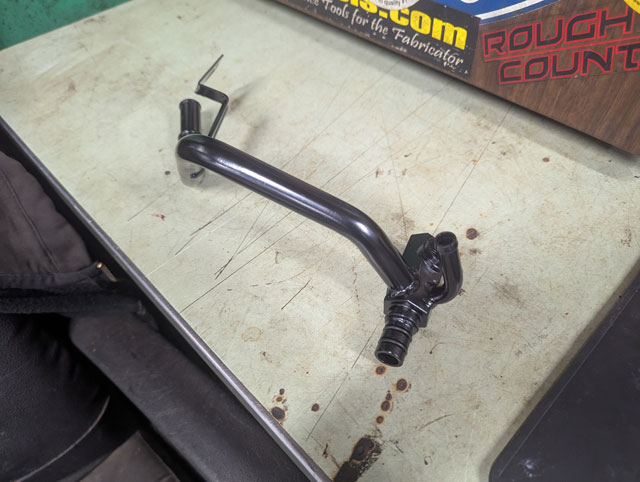 Wasnt expecting it to come w/o the threaded fitting, so i had recover that from the old manifold
...installed... 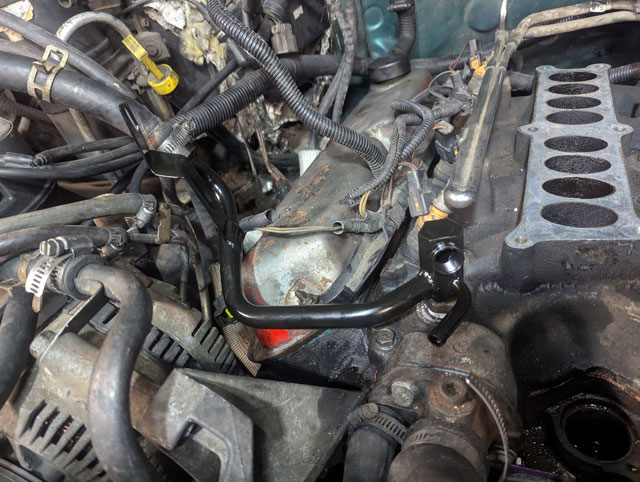 ...and finally done!  Me and the little dude took it to the carwash to get the road salt off, just in time for it to snow again tonight and all next week  ...oh yeah, and i still havent found my damn ratchet!! Intake off 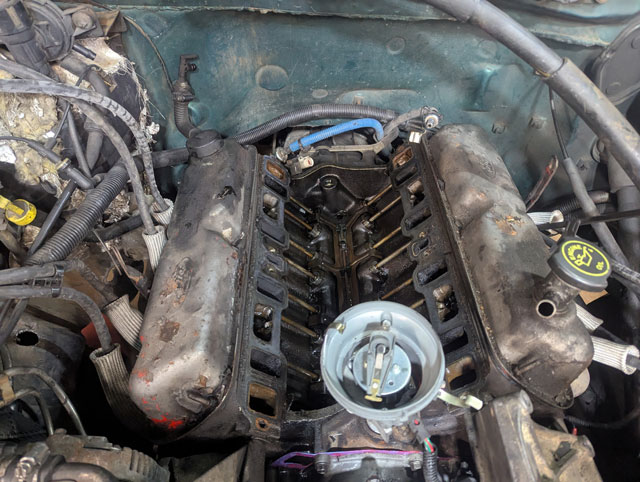 intake on 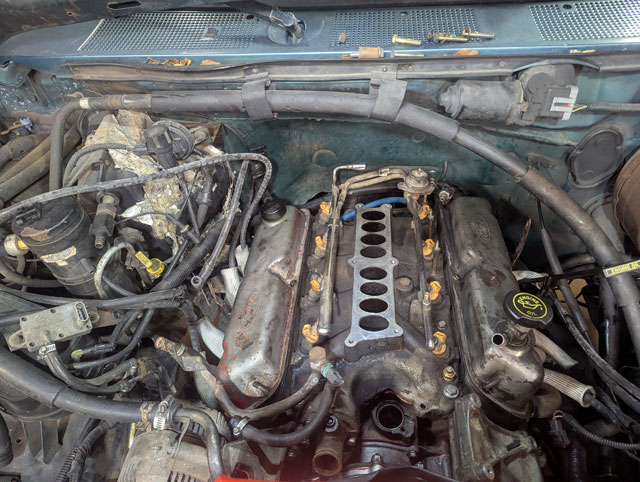 stove fixed 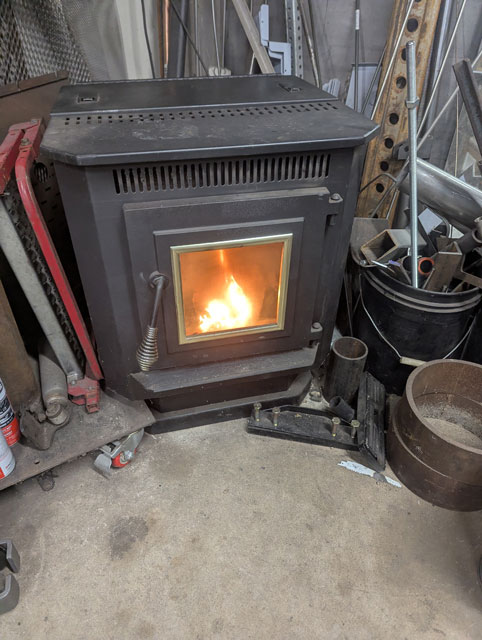 ...and engine back together! 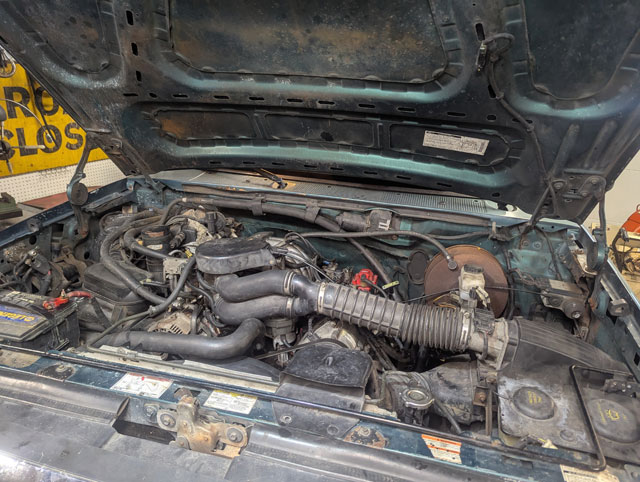 ...or not 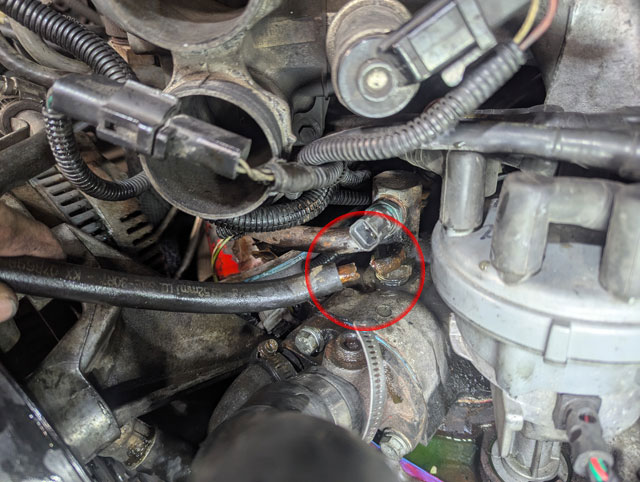 Stem rotted out and snapped off in my hand. Cant get one til Friday, and the plenum and distributor will have to come back off to replace it. Still dont know where my ratchet is either. |