|
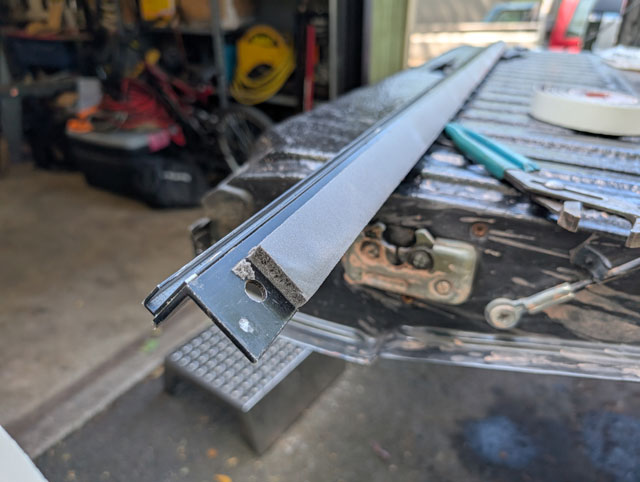
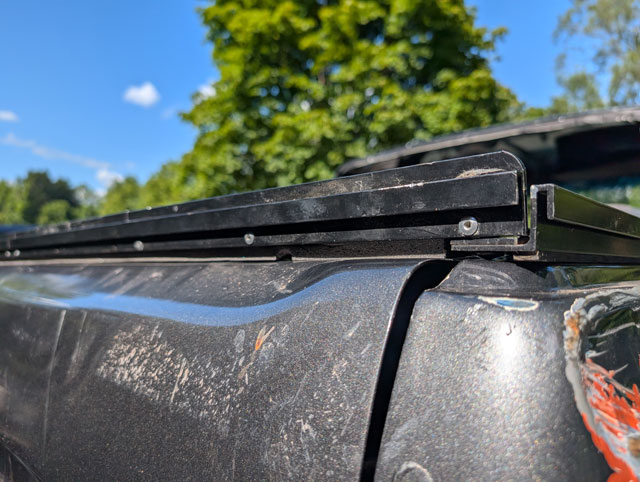
Diesel is back in the driveway  Ok, here goes. Last night on my way to work it wasnt running right. It started rough but then was cruising along just fine. Made it halfway and the CEL came on and it cut power. Still running smooth, but no power at all, couldnt maintain 55. Finally i pulled over and it stalled and wouldnt restart. Pulled the dispstick and it didnt look right, almost like it was low on oil. Called a buddy who was on his way to work too, he swung by my place on his way and grabbed oil and my scanner. Sat for maybe 5-6 minutes and it fired right up an ran, so i heaeed to the Wawa right down the road from work to fuel up, and waited for my bud to arrive. Maybe 15 minutes later he shows up so we pull the stick and its definitely low. Ended up taking 5 quarts to fill up. This truck doesnt leak oil, so im not sure where it went. Thinking injector orings, even though i did orings and injector cups back in March '20. Anyways, drove the rest of the way to work just fine. Drove it home in the stock tune and my buddy said he could still see it smoking a bit when i would hit the throttle, so now im thinking injector orings. Get home and pull the fuel filter, looks ok  Take a peek down into the fuel bowl and, well......  Pulled out the stem and fuel bowl heater  Yup, its full of aluminum shrapnel  So for now its parked in the driveway. Going to assume the fuel pump is imploding. Tired of putting replacement pumps in it, so i guess its time to do an electric fuel conversion & fuel bowl delete while im in there. Of course this requires unbolting & moving the turbo over a little bit, which means its time to replace that suspect up-pipe. This is going to hurt the wallet.... Sigh....that didnt last long... 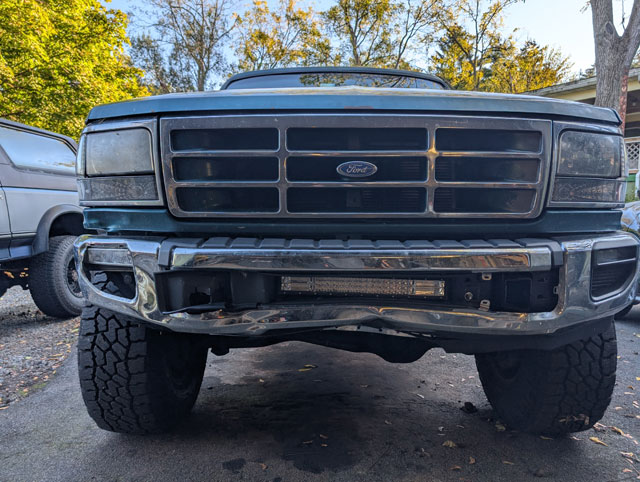 Hit a deer last night on the freeway on my way to work. Cruise set at 70, no time to react. Knocked her over, and ran right over it. Coworkers said i splattered that deer all over the highway! Bumper is wrecked, lower valance dented and it pulls to the right. 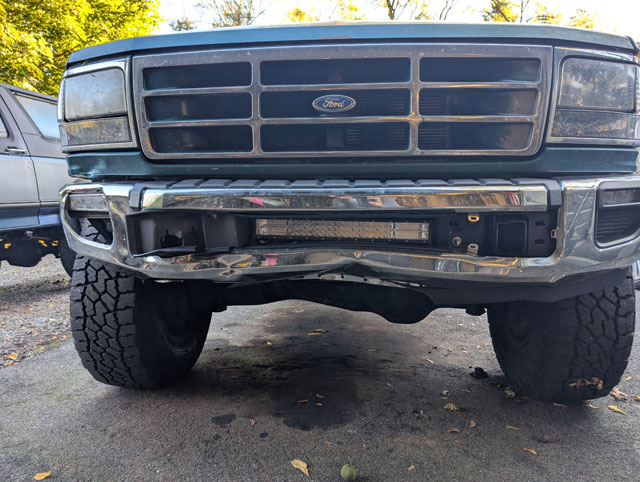 valance dented 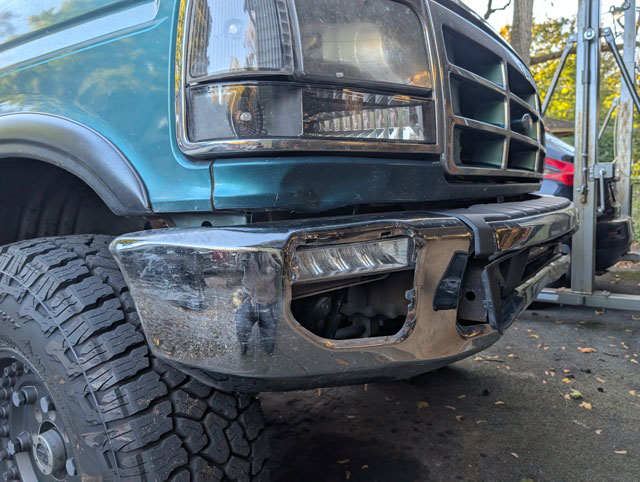 No time to waste. Yanked bumper off. Good thing i made the wiring harness for the lights modular 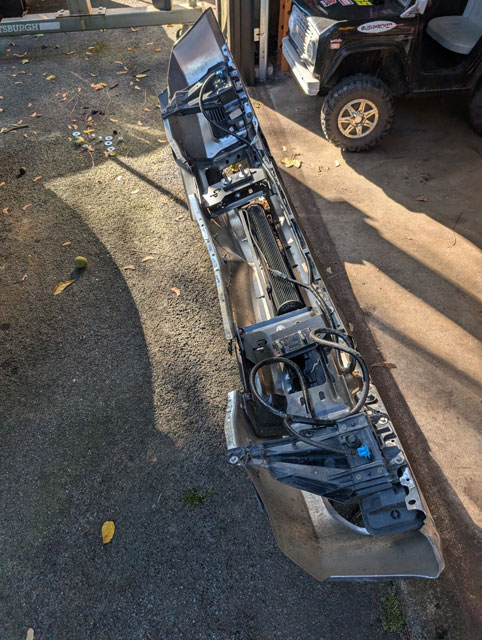 One of the LED foglight brackets broke; LED lightbar made it out unscathed  Bumper adapter bracket bent:  Bumper mount bent:  draglink bent up when the deer went under the truck 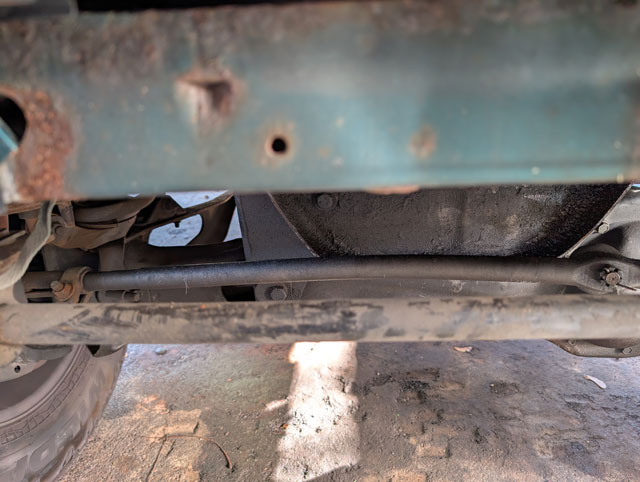 I used a winch to straighten the tierod 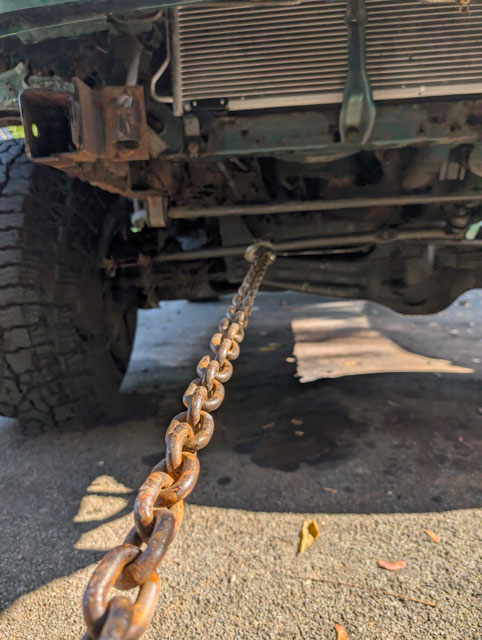 ...and a winch + torch to straighten the bumper bracket 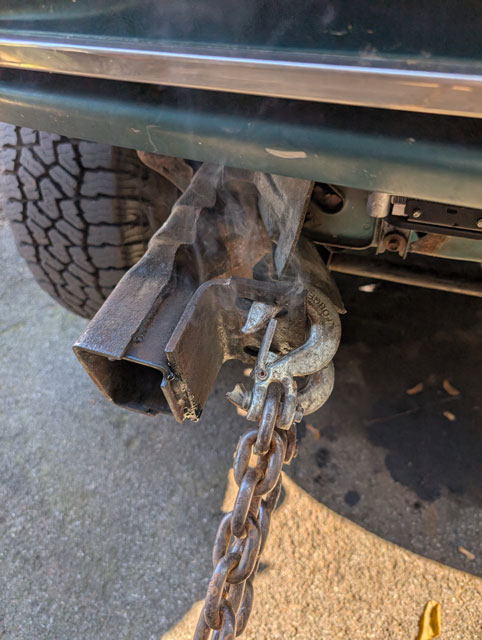 Took it for a test drive to the carwash to wash the blood and fur off the undercarriage (its everywhere- i even have fur on my motor mounts!) and it drives straight down the road again, so i dug out the original bumper and slapped it back on 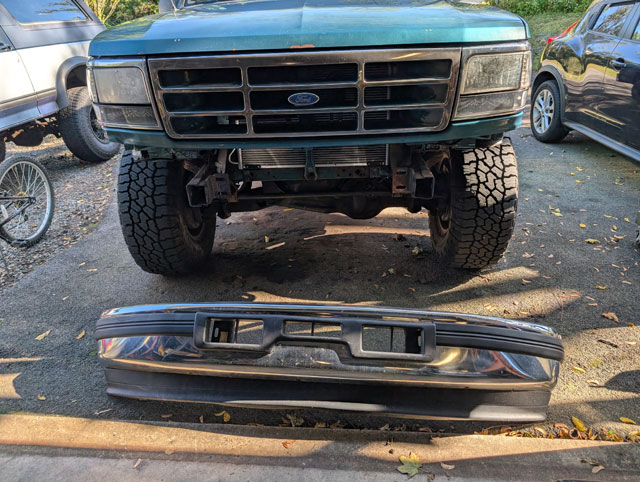 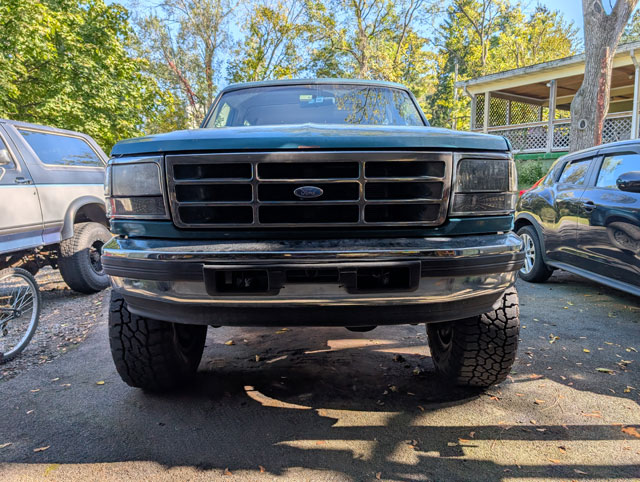 At least it drives straight and looks ok, but im going to need to fix that valance at some point. Been busy, never updated this. New probe from Autometer 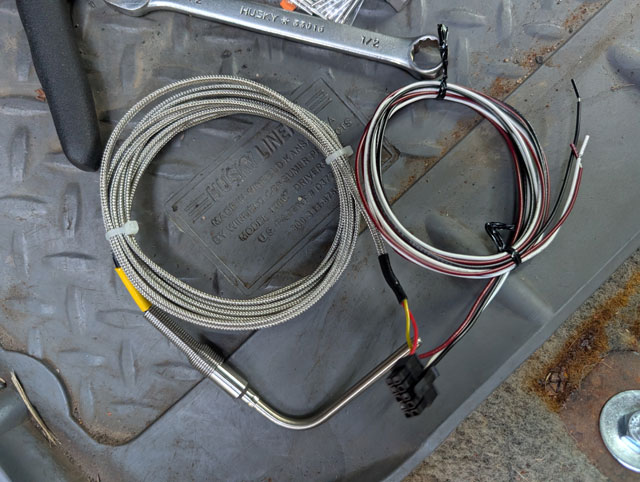 swagelok threaded into the manifold 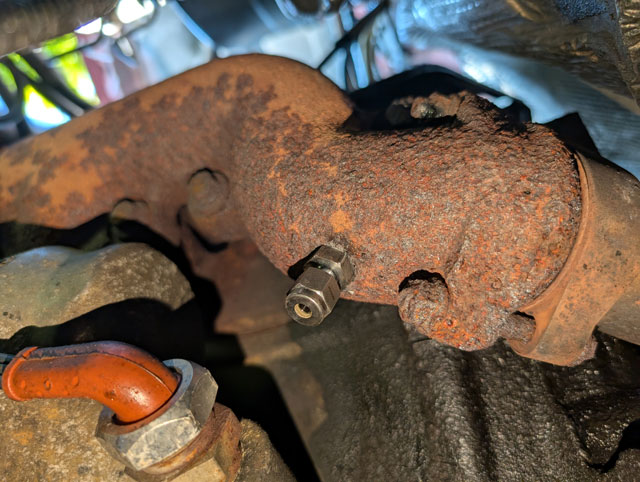 ...and done! 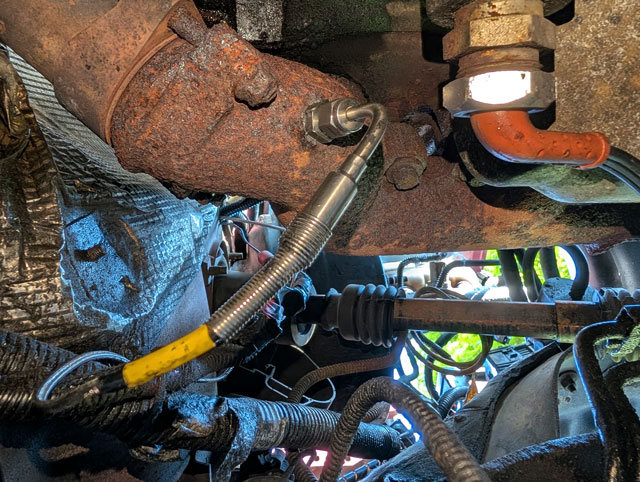 Driven it a few times now, all is well :smokin: Good thing too, because last week i started getting a thunk in the green bronco when i put it into gear. Long story short - bad ujoint in the double cardan 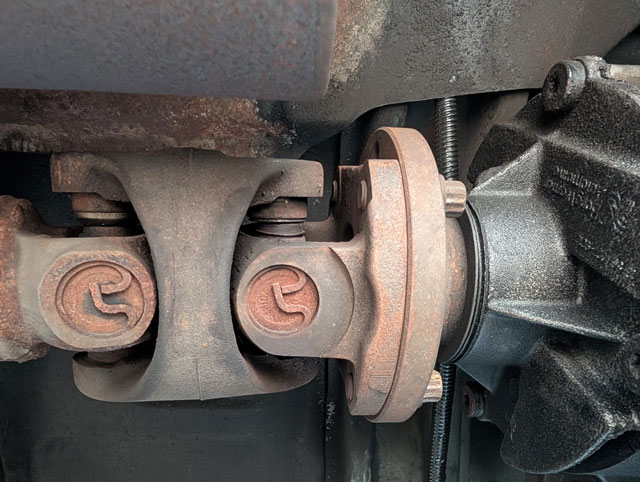 Pulled the driveshaft out thursday and went over to the local driveline shop for parts, and then rebuilt it friday morning after work 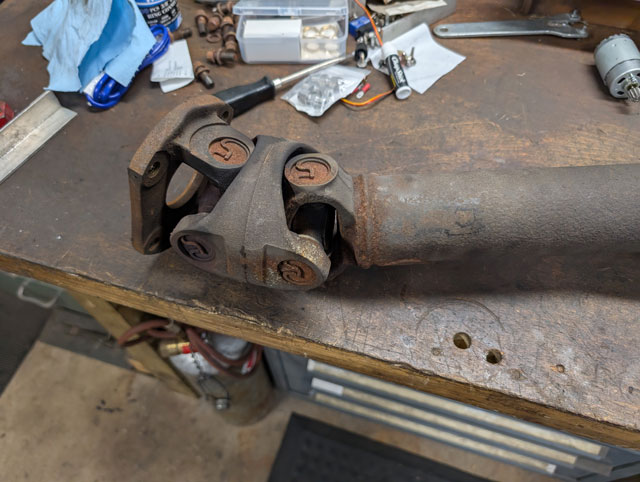 yep, id say its bad 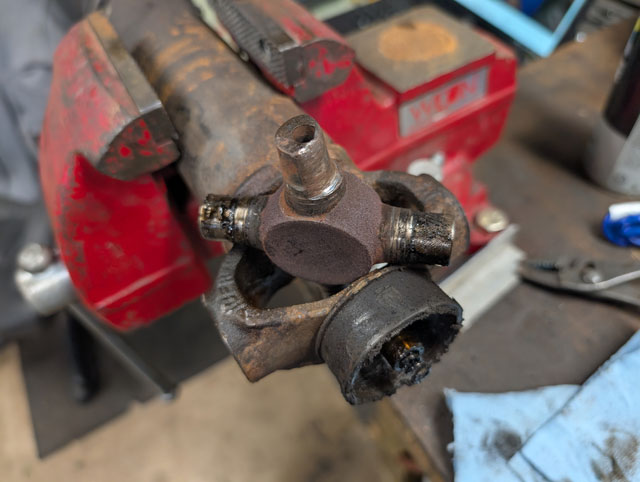 new spicer non-greasables, plus a center ball kit from neapco 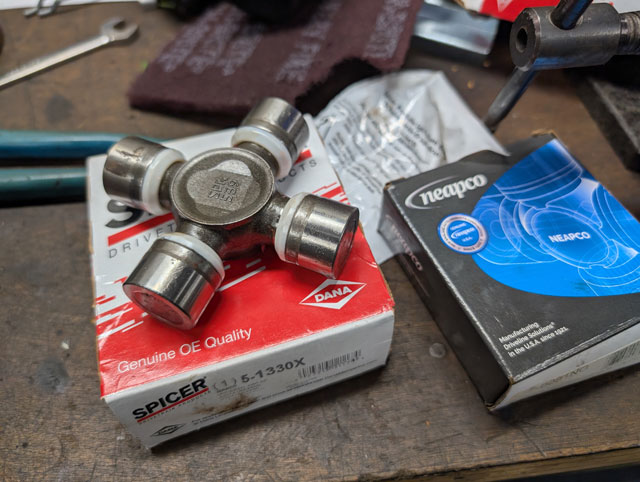 no way i was replacing both ujoints, and not replacing the center ball 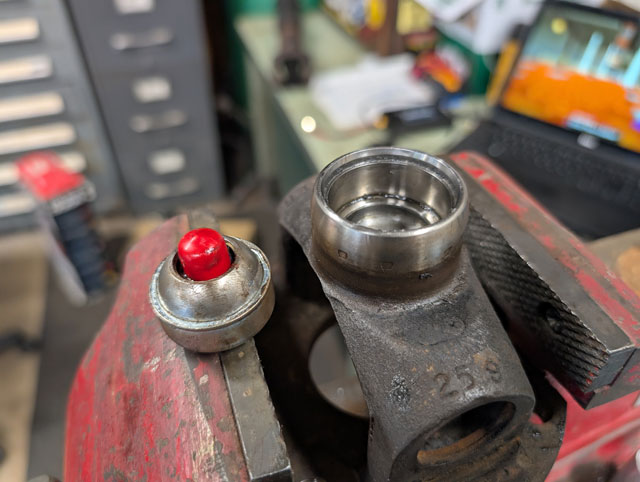 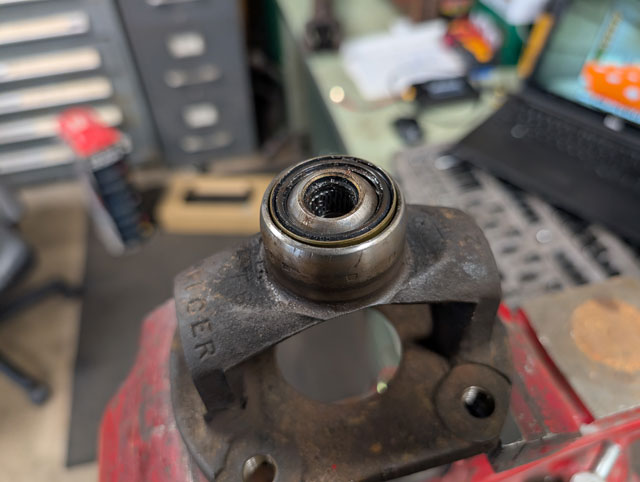 ...together... 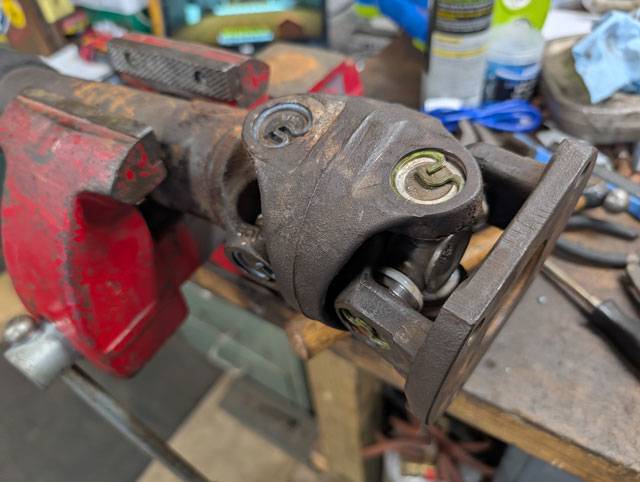 ...and done! 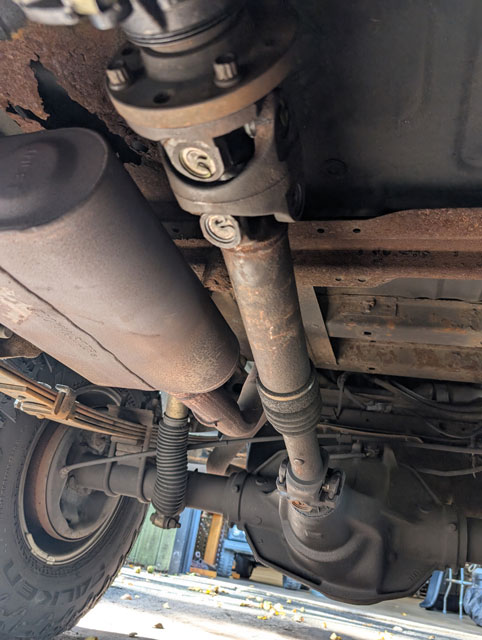 Got this one done just in time too......me & the little dude were hauling trailer loads of black walnuts out to the woods, and we had a breakdown ...little dude had to tow his bronco home! 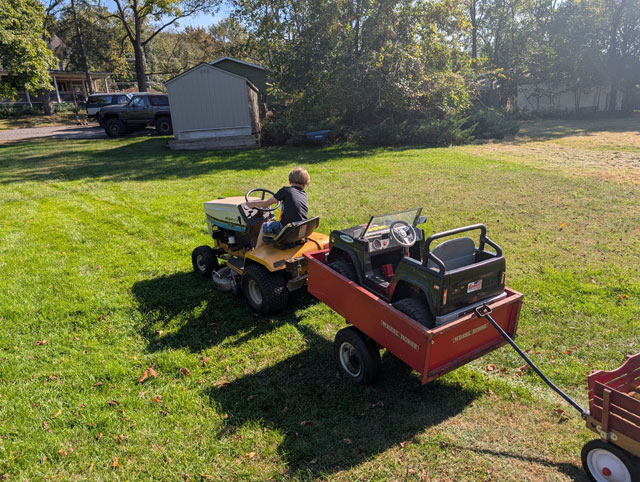 So i drove the wife's 90 to work the other day, and no CEL. Thinking about driving it in again tonight just to get another couple drive cycles on it before i call it fixed.  Moving on, im back to work on the F250. Gotta get the pyro probe issue resolved. The steel fitting the probe is held in with. Its pretty crusty, and that little set screw is probably never coming out. 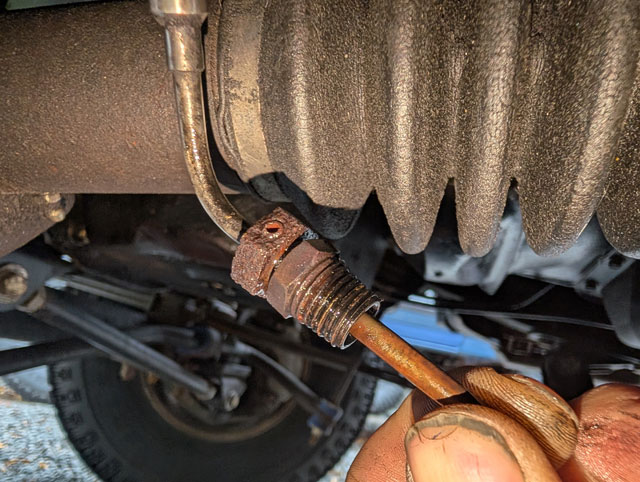 Got the brass reducer bushing off, and drilled out the set screw best i could. Its rotted enough that neither standard nor metric allen keys fit it properly anymore so not much choice there 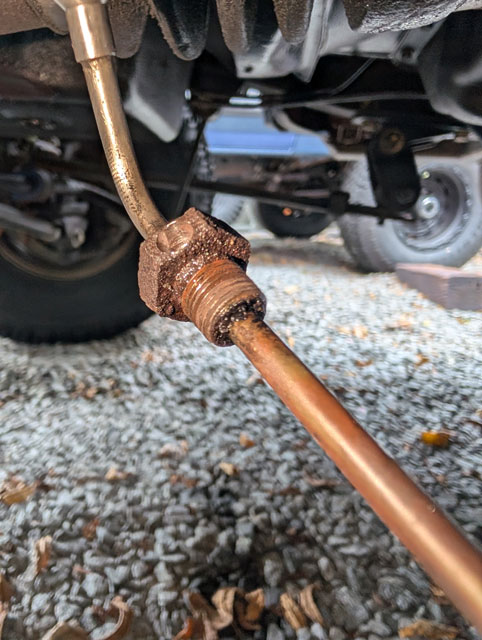 Soaked it in penetrating oil for 5 days, then tried one of those magnetic induction heaters for removing crusty bolts and nuts; it works pretty good, but the fitting has become one with the probe. Ended up cracking the thin outer wall of the probe, so now i have to replace it. I guess i cant complain too much, it is ~15 years old at this point. 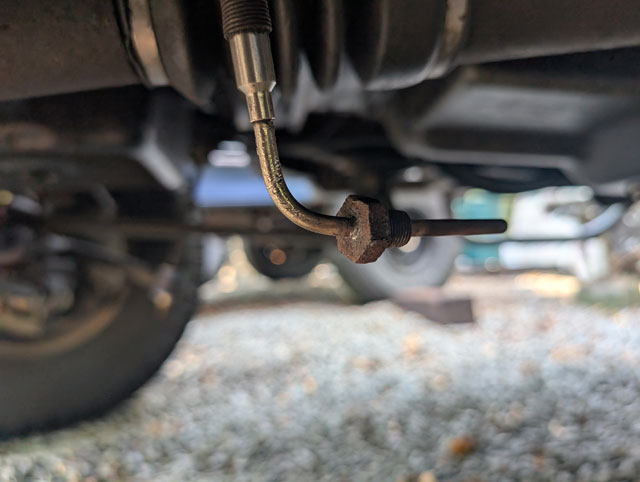 Moving into the interior 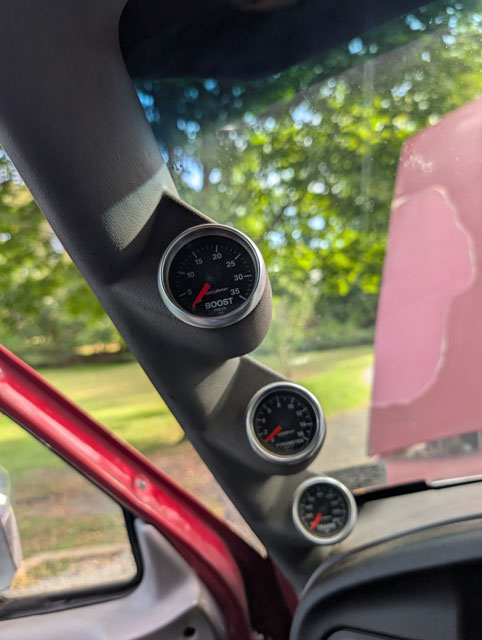 Autometer GS Series is a stepper motor gauge, which means one fancy plug for everything instead of multiple for power, sensor, etc 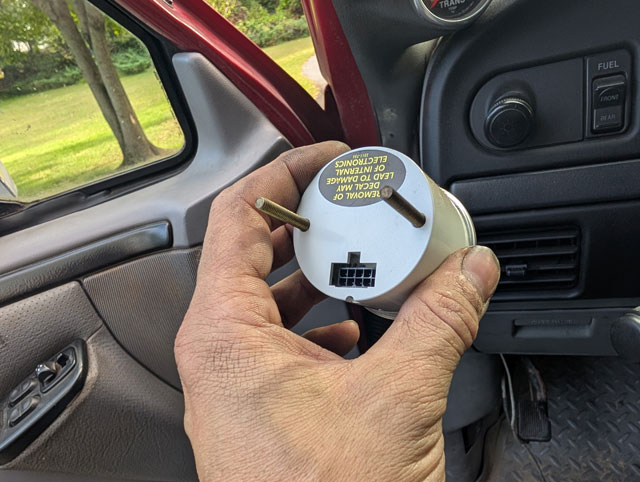 Pretty sure i can just pop the pins out of the plug for the probe, so i dont have to cut & rewire the gauge harness 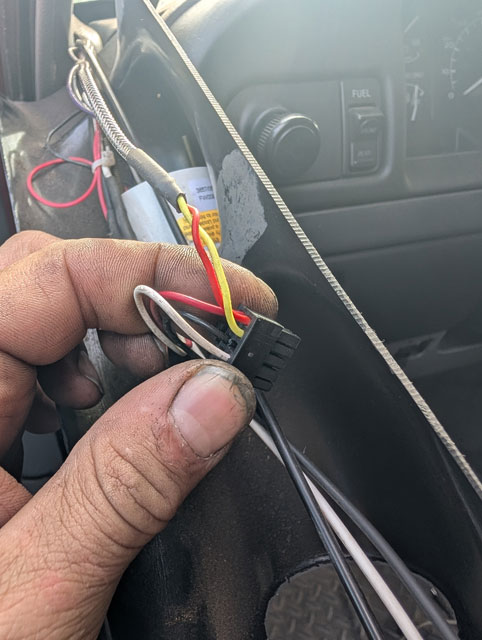 GS series uses temp probe p/n 5251, which doesnt include the fitting, which is kind of lame. However, the manifold fitting they sell for it is not that dumb one with set screw, its a swagelok 3/16 compression fitting. Im not paying $59 for a compression fitting though, so i ordered one elsewhere, which i already have actually. So tomorrow im going to get the fitting installed in the manifold so whenever my new probe comes i can just slap it in and call this project done. Dont have a DMM that can test Hz so i couldnt test MAP function. But i figured id still test for power and ground. Power was good, but my ground reading was off a bit 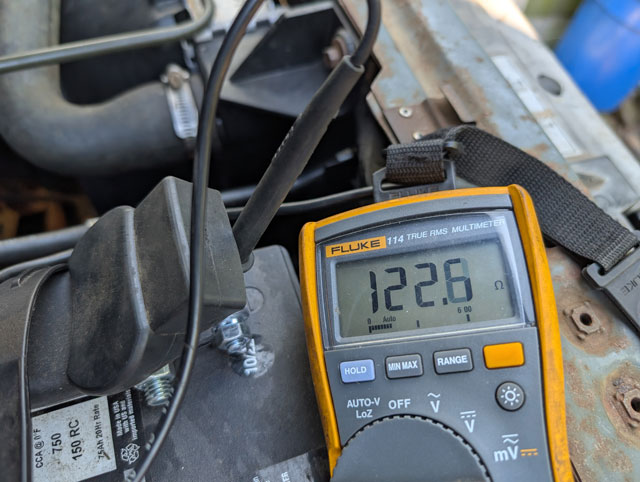 what the f-? I was caught so off-guard by that i actually performed the test several times, with several meters! Then i took everything apart and cleaned the ground. Much better: 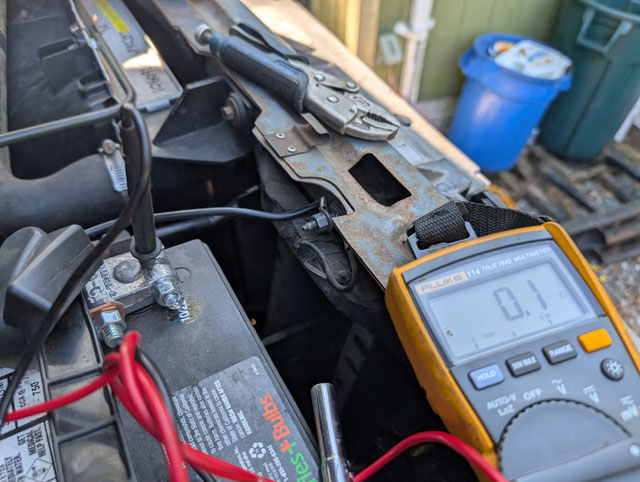 This was one of the main harness grounds, so now im wondering if this was the problem the whole time. Tomorrow im going to clean & reinstall the spark plugs, and temporarily bypass the vacuum cannister since i dont have a good spare. Then maybe ill take it for a drive and see if anything changes. Holy cow, when it rains it pours. Ive got a fleet of vehicles that decided they want attention, all at the same time!  So friday the green bronco popped a P0707, transmission range sensor. That's an easy one, order a new MLPS, which i just got and installed this morning after work. So that's one fixed. So i was driving the diesel all weekend; well last night it decided to blow the temp probe for the pyro out of the manifold! 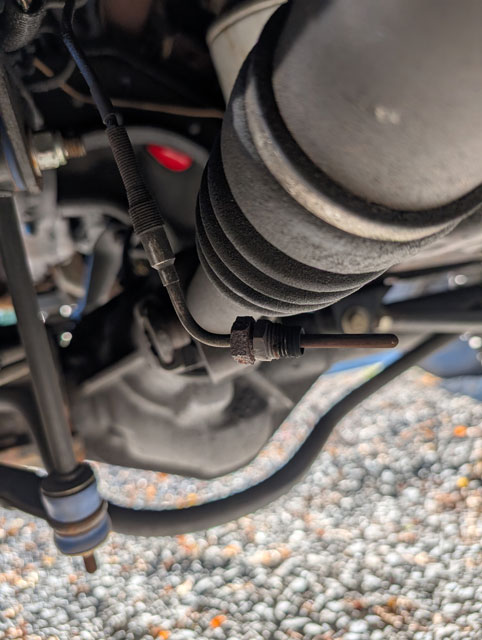 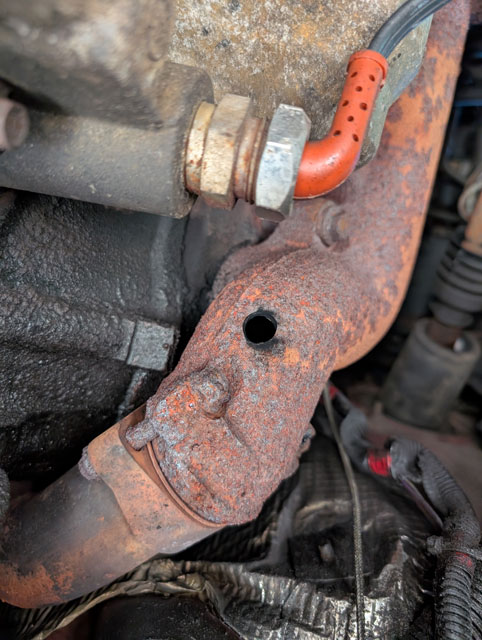 This is probably going to suck to fix. There is a little tiny set screw in the fitting that locks the temp probe in place, and after 15 years its pretty well seized in there. Got it soaking currently, hoping i can get it to free up and come off the probe. If not ill cut it off the probe and worst case replace the probe. We'll get back to this after a couple days of it soaking in penetrant. So i drove the wife's 90 to work last night, and of course its running rich and popped a CEL 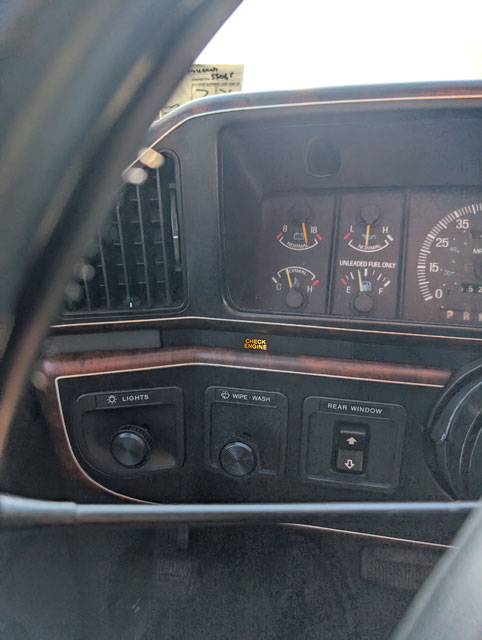 Pulled codes, all i got is a 42, system rich. Swapped the MLPS on the green one while i waited for this one to cool off, then pulled the plugs. Yup, its running rich! 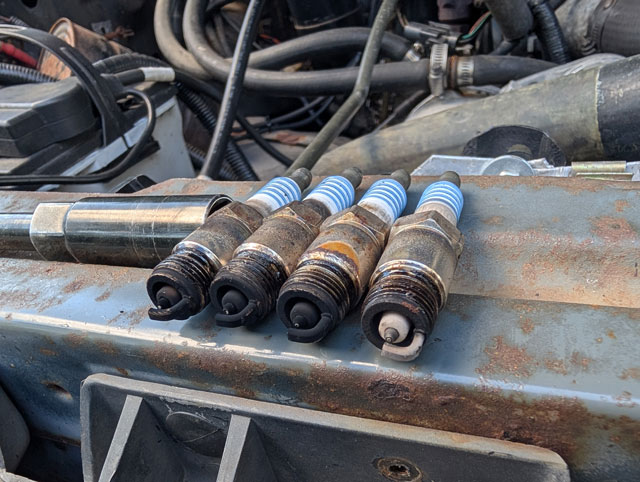 Every plug is covered in soot, except for #4 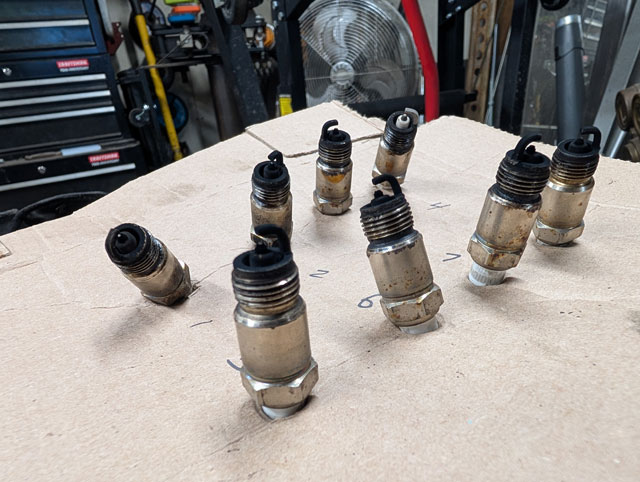 Check fuel pressure (chart for reference)  KOEO - 40 PSI. KOER - 36 PSI. Unplugged FPR and it jumped to 42 like it should. No fuel in vacuum line, and the system doesnt bleed down. So i decided to look at the vacuum lines even tho theyre all new from a couple years ago; all good. I pulled the steel vacuum cannister off the bracket and spotted this 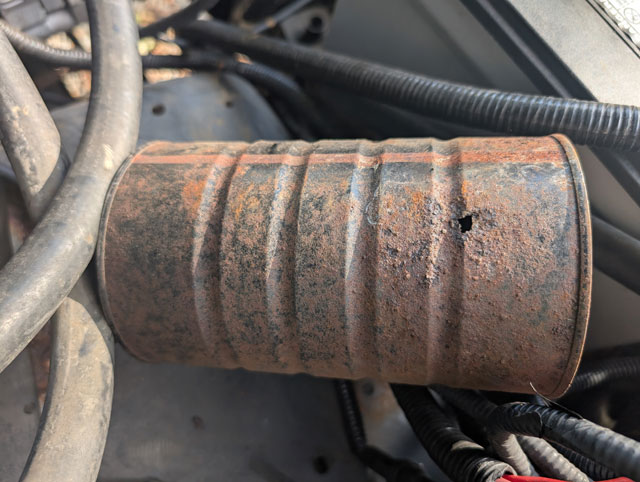 So either this was leaking the whole time, or i caused it when i took it off the bracket. Either way, i cant see why a vacuum leak in between the manifold and the EVR solenoid would cause a rich condition. And it never threw an EGR code anyway. Out of time for the day though, so will continue looking at it tomorrow. I made the terrible mistake of going on marketplace, where i found a soft top for a bronco, in great shape, for $200! 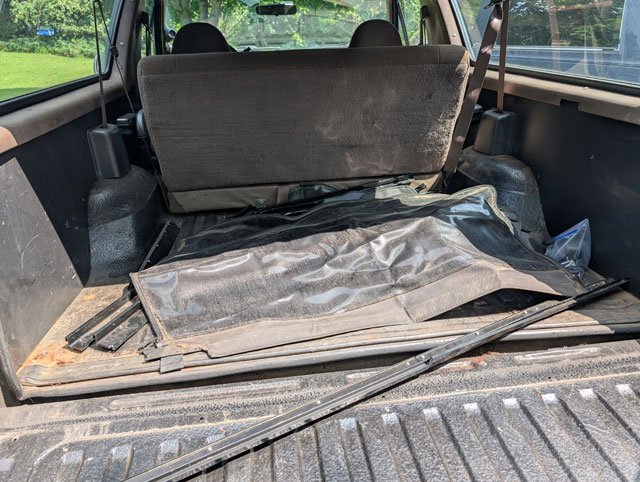 No instructions and missing some hardware but i think we can figure it out, so yesterday me and the kiddo sorted it all out and got it installed. Friday i pulled the half cab off 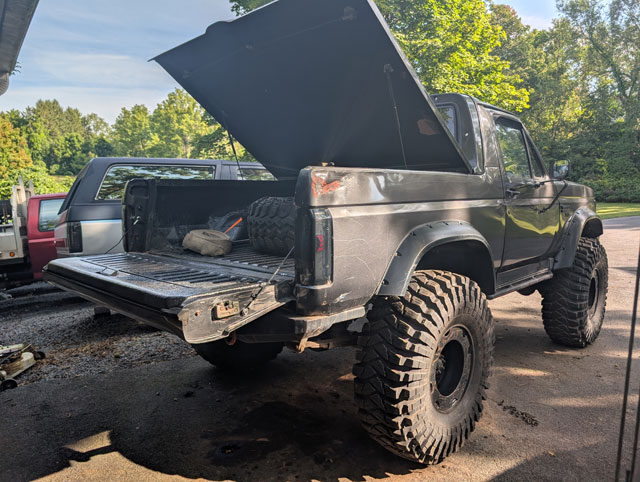 ...washed the mud out of the inside... 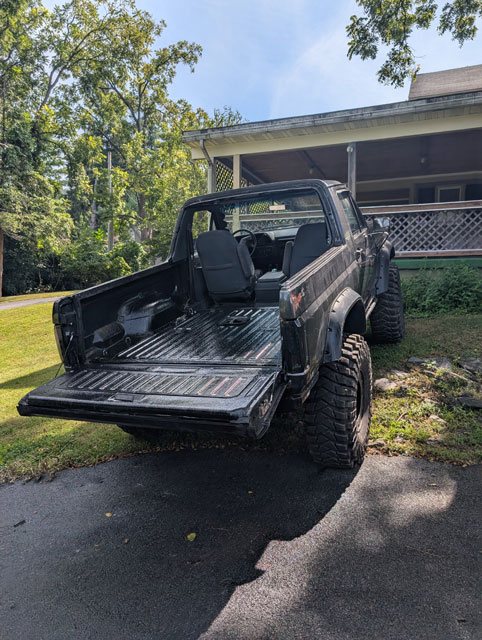 ...and reinstalled the back half of the interior! 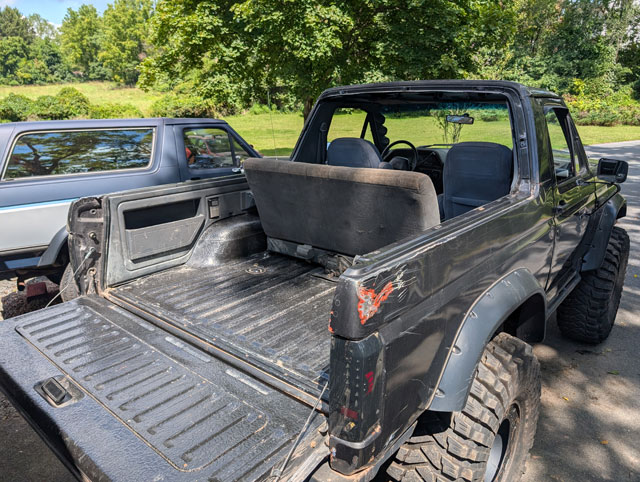 So yesterday me & the kiddo started laying out the rails to figure out how it goes together 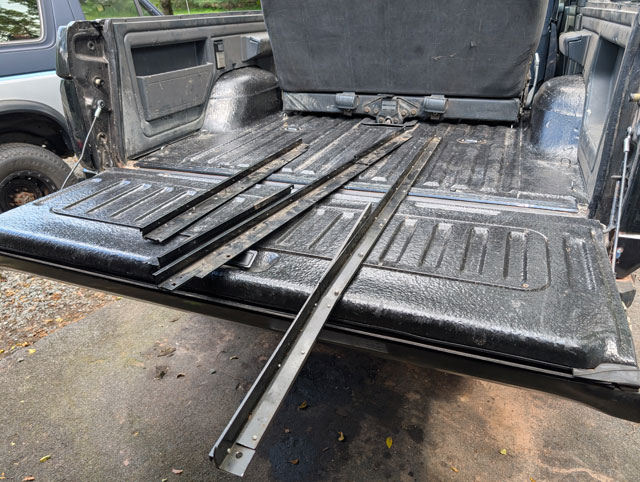 He was super excited about the project and started laying out parts 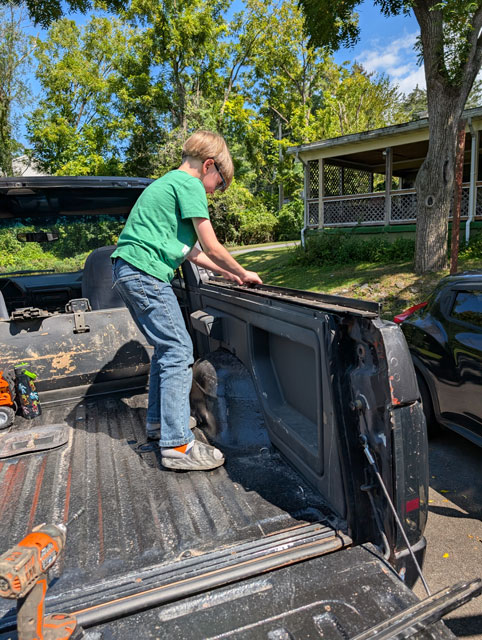 Bedside rails in. They bolt to the original hard top captured nuts altho you have to drill a couple extra holes & put an extra couple screws in to hold it a little more secure 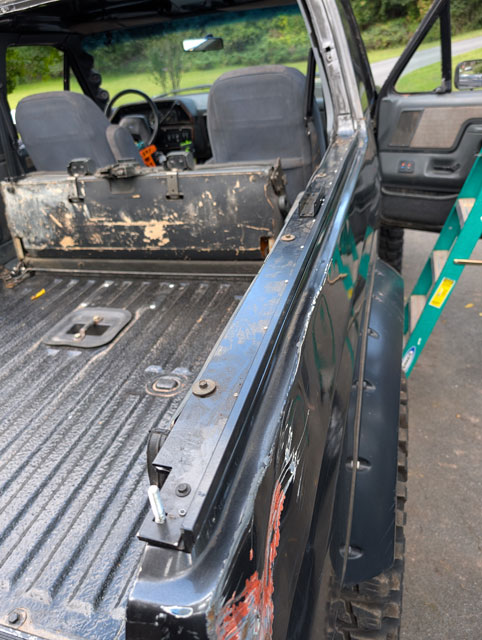 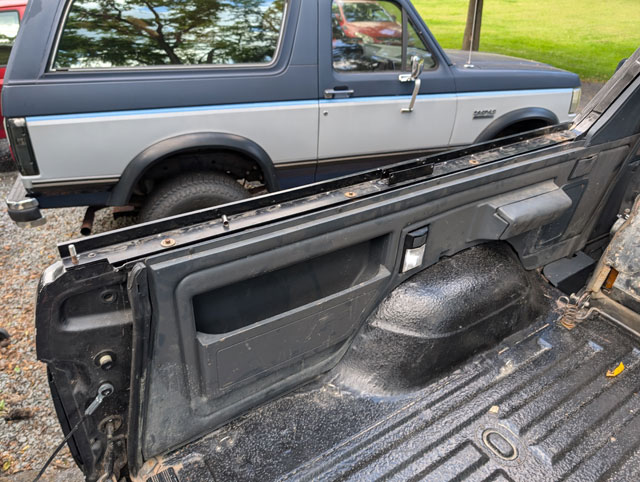 Sorting out the top rails: 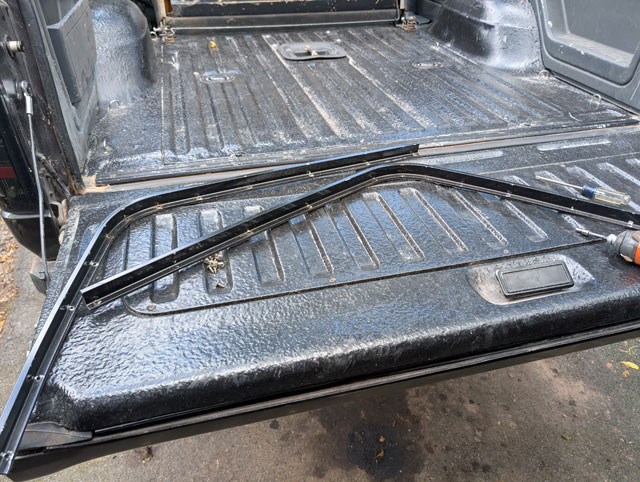 They are supposed to be held in place with these stainless sheetmetal screws but im missing about half 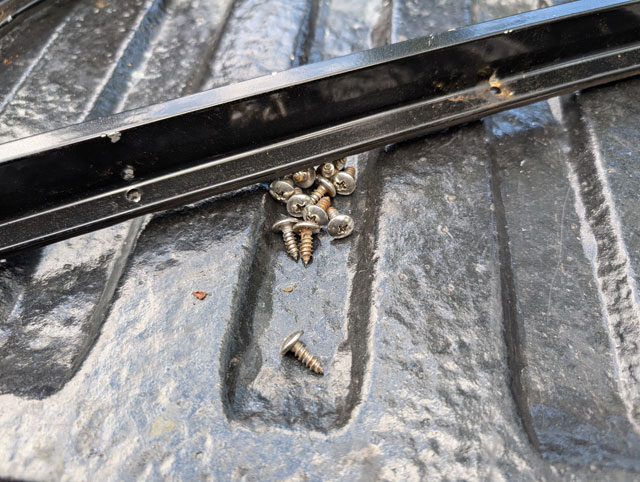 ...fortunately i have a ton of oem body hardware, so i used some oem sheetmetal screws instead 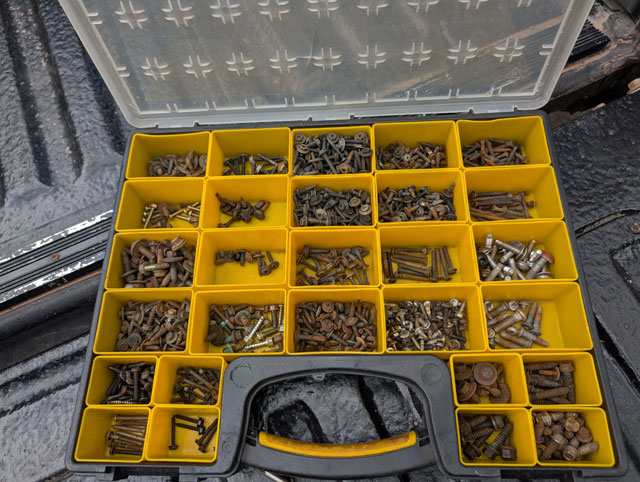 Top rails installed: 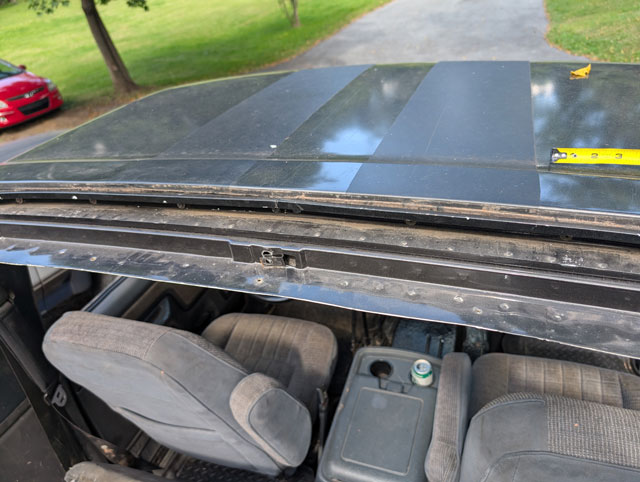 working on the tailgate rail: 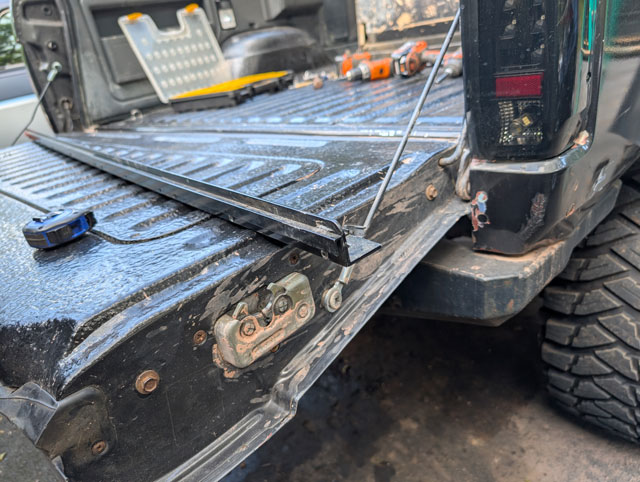 It doesnt actually attach to the tailgate, it attaches to the siderails using studs & wingnuts (for easy removal). But it s supposed to have some kind of seal here 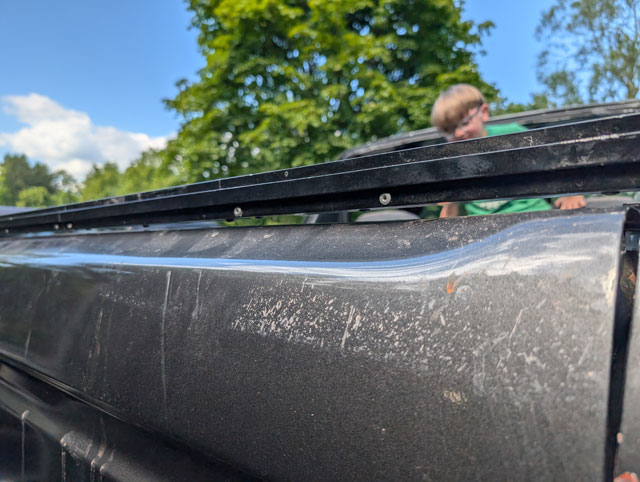 i had some random weatherstripping in the shed, thought it might work but its not big enough to fit over the lip 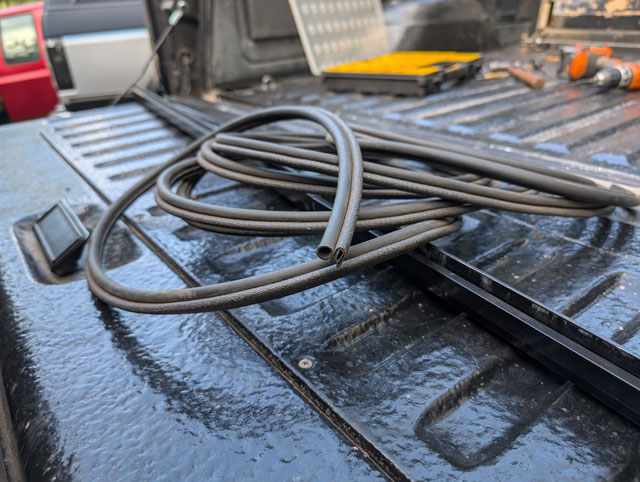 for now foam will have to do, ill have to reach out to Broncograveyard during the week to see if i can buy the correct seal
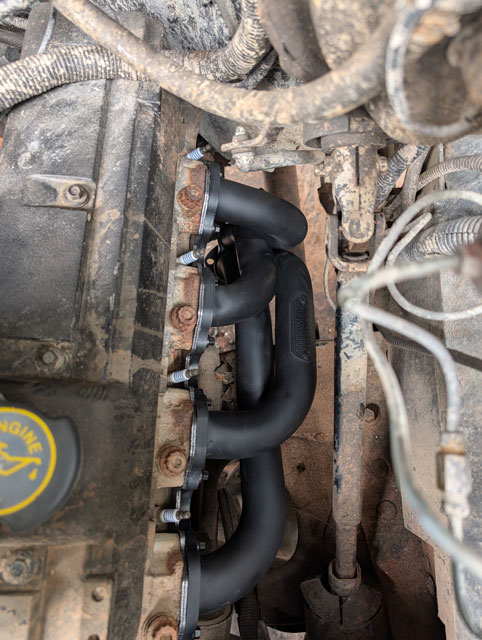
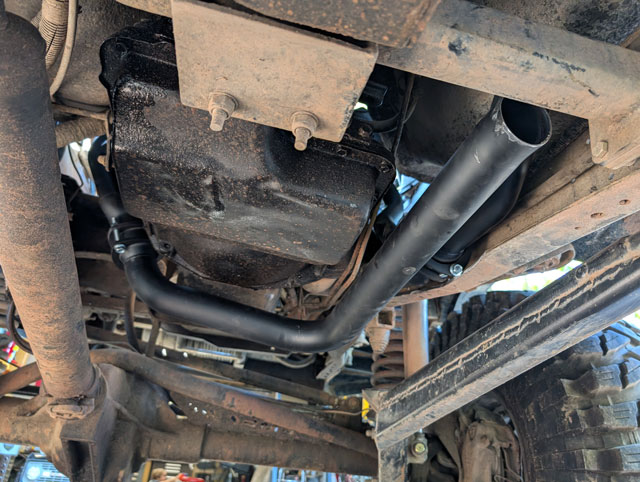
Sorting out the bows. The fabric sleeves for the bows are also missing, maybe i can get them too. 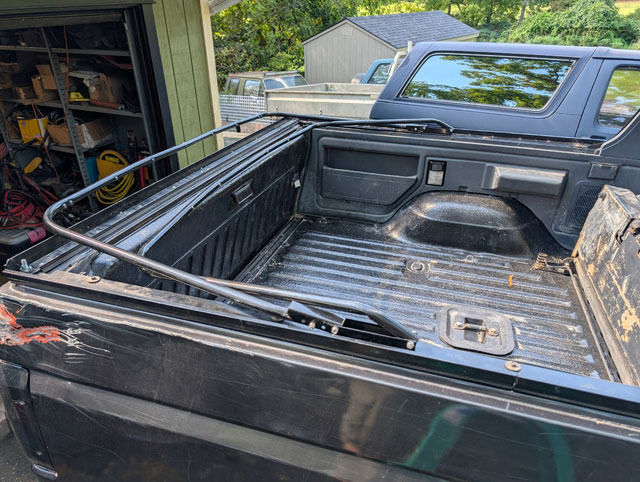 ...stretching out the top... 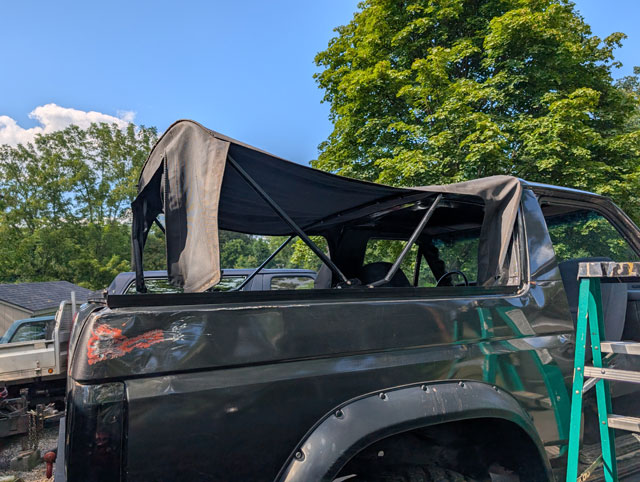  ...and done!    I think i like the soft top the best of the three. Doesnt hurt that its the kiddo's favorite as well. So naturally we had to take it for a drive to get ice cream! im full of terrible puns. while recovering i managed to get a ypipe built 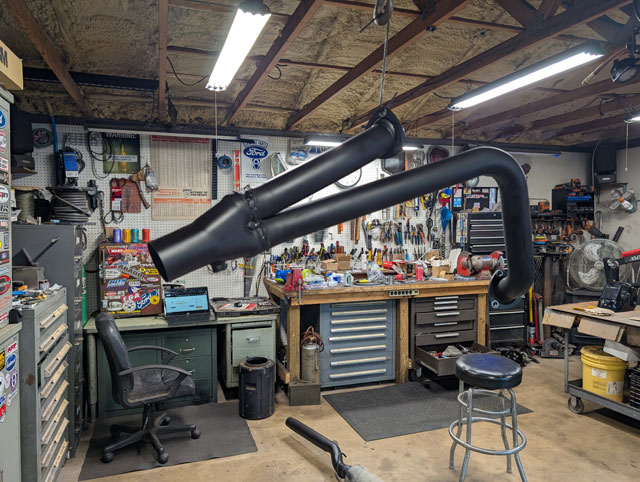 ...and the exhaust is now done! 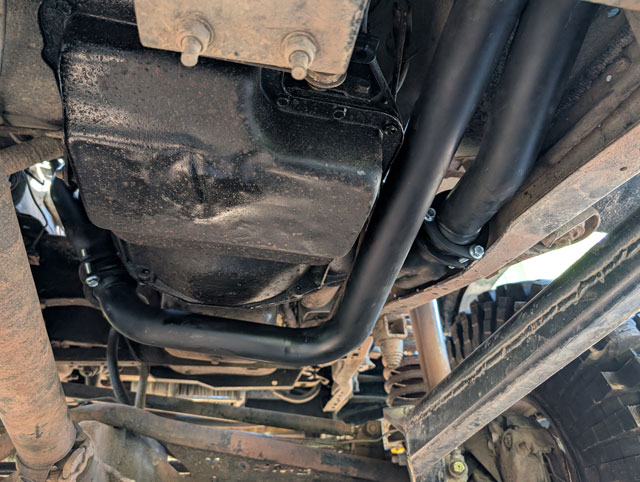 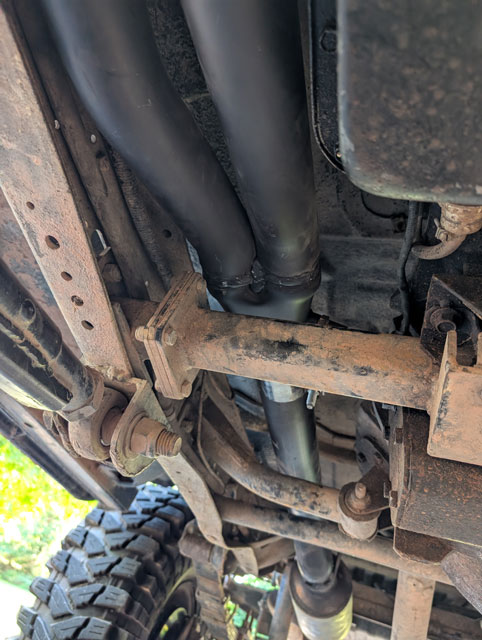 Same muffler so tone hasnt changed, the headers must have been leaking worse than i thought because the noise under the hood has lessened. I also spotted a couple things i needed to fix. Ram seal sprung a leak so ive got a reseal kit from PSC on order 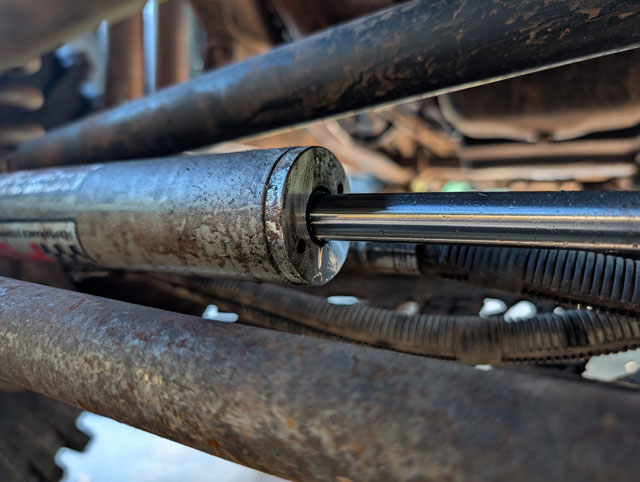 somehow i managed to lose the retaining spring for the driver caliper (which is now replaced) 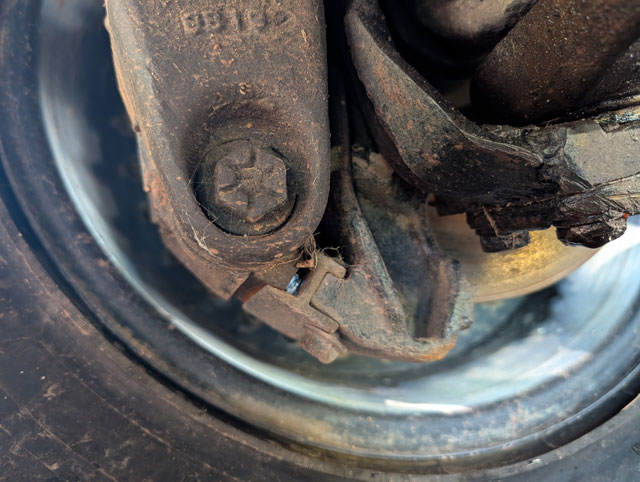 ...and somehow i broke my CB antenna?  I had modified the original antenna mount to accept a CB antenna instead, since i never listen to the radio anyway. But i think its time to upgrade from a CB to a GMRS unit, i just have to see if i can find a GMRS antenna that will fit my custom cb antenna mount. So that's on the list. But first!  soft top! Finally. Started working on the headers, then i threw my back out, then i got sick. But its done now!  Old headers & ypipe out 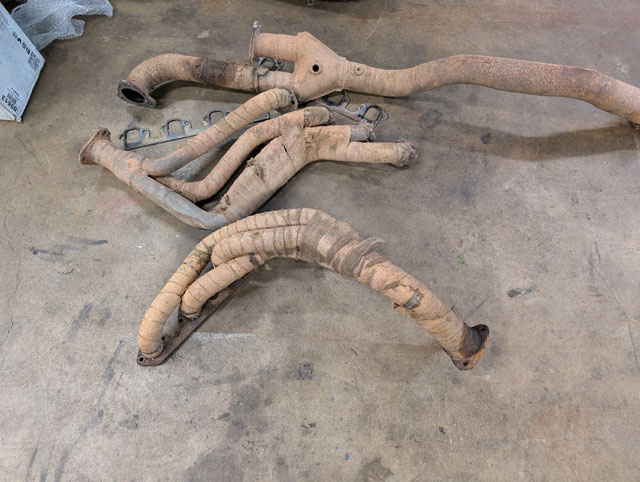 The header wrap was already starting to disintegrate. That didnt last long. 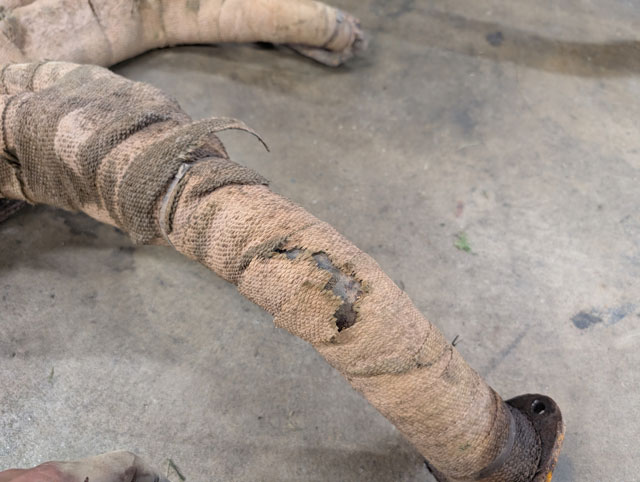 Had one header bolt on #7 fight me on the way out 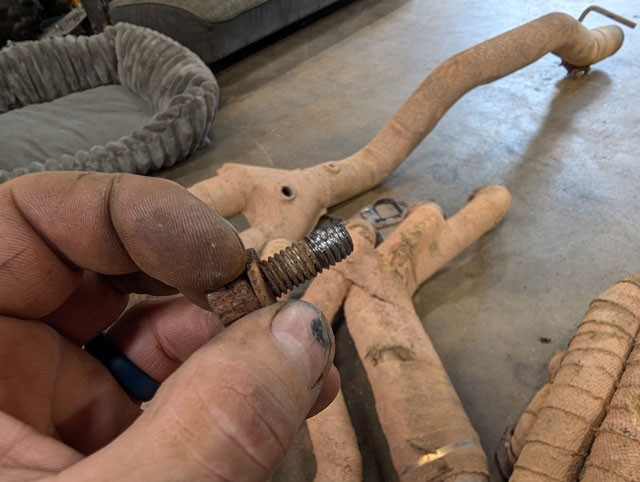 threads chased: 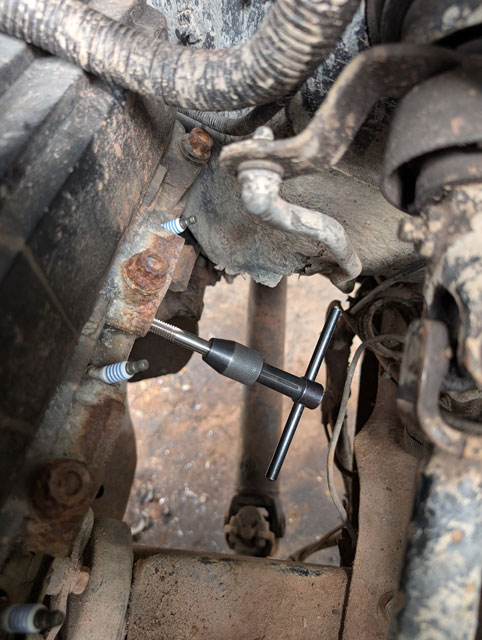 New ARP header bolts: 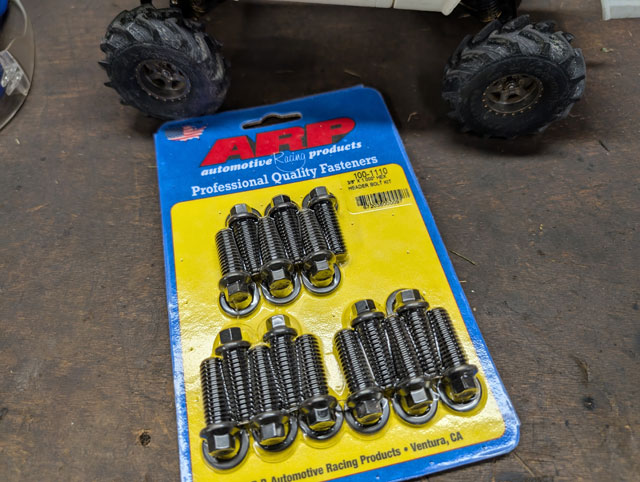 ...and im using Remflex gaskets: 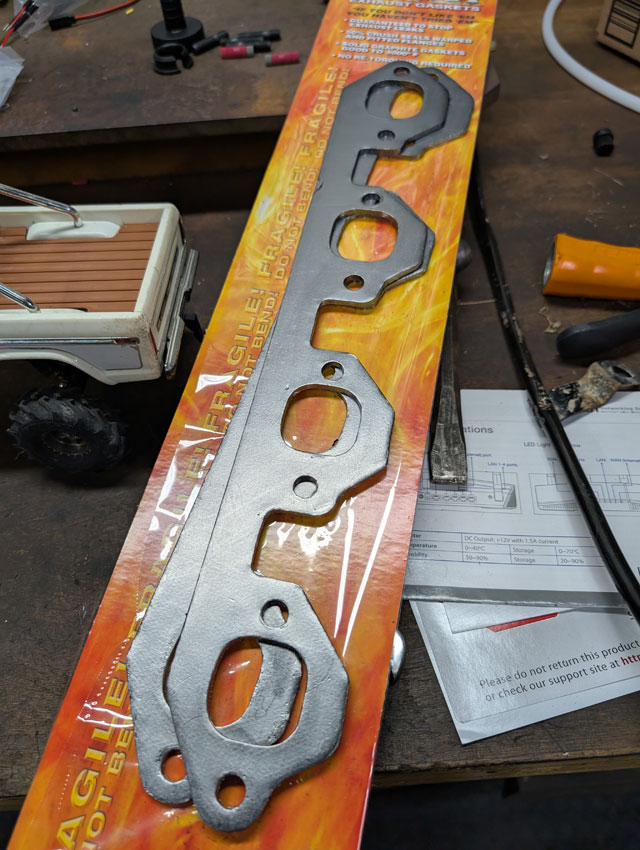 Driver header in:
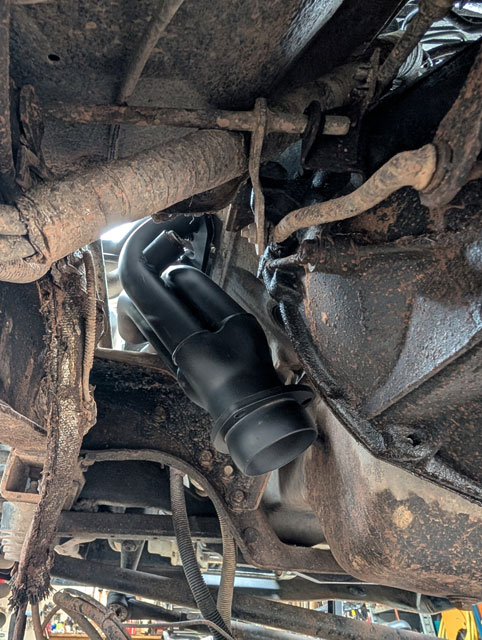
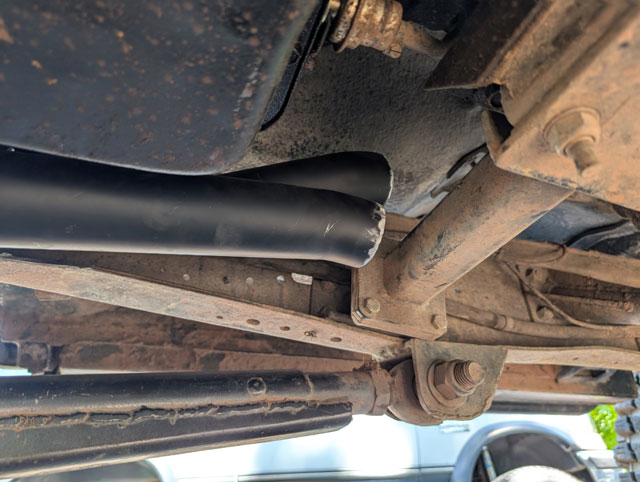
...and passenger side in:  ...which is kind of close to the frame rail: 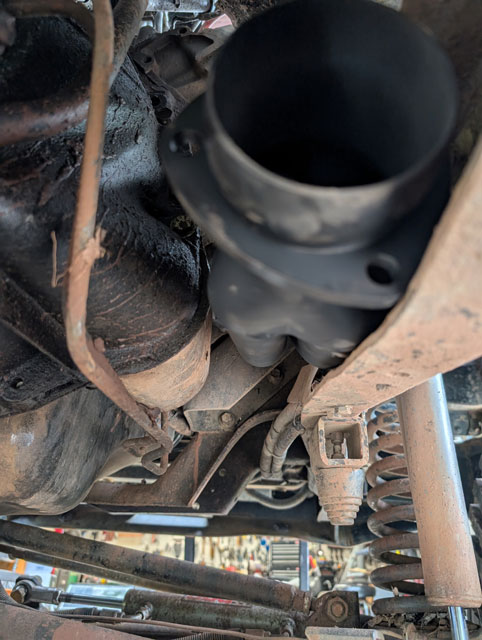 ...so i trimmed the rail a little bit 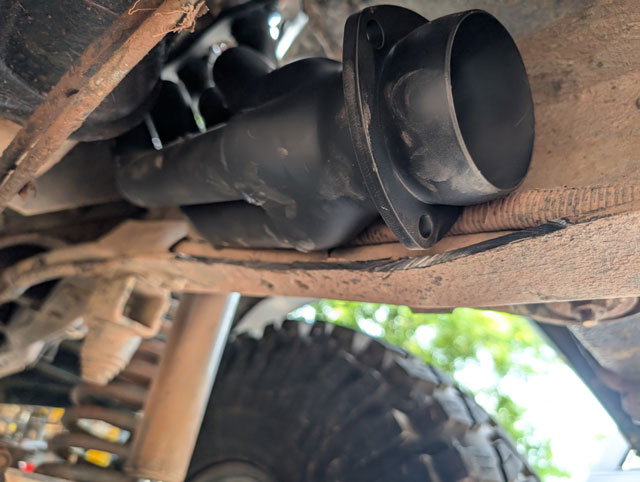 Unfortunately the y-pipe doesnt clear the trans xmember 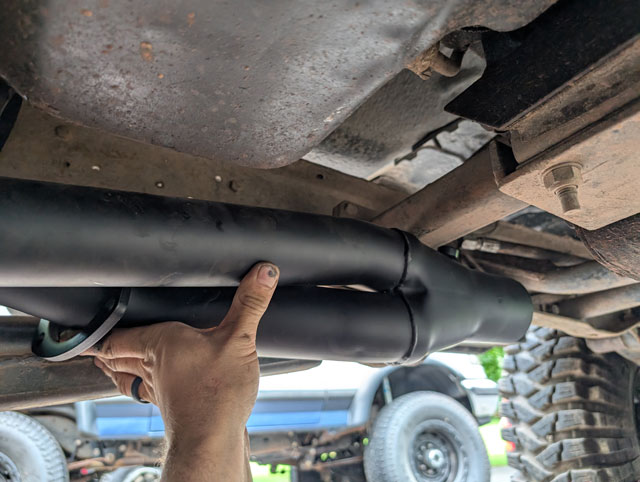 ...so i cut it in 3. 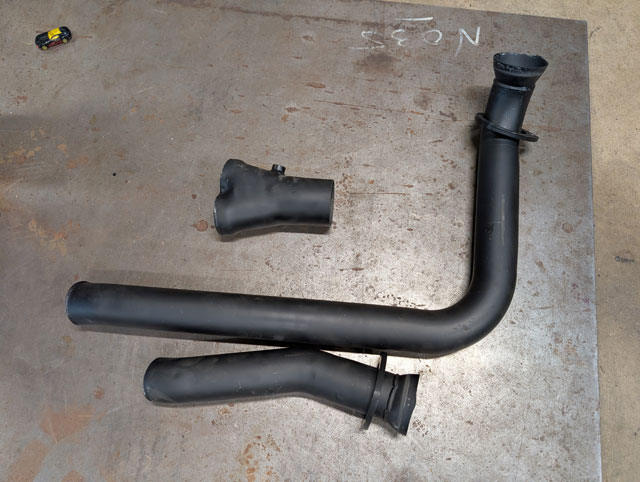 the driver pipe fits around the bellhousing nicely but will need to be modified to clear the trans xmember
The passenger pipe, when rotated 180º, clears nicely 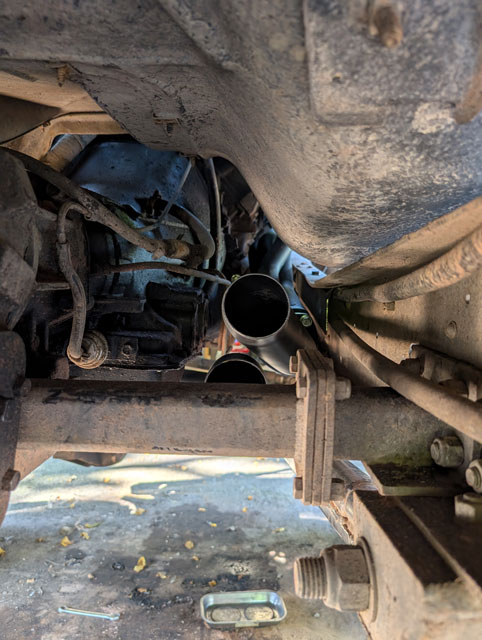 its at this point that i threw out my back doing yard work. Headers just showed up, couldnt wait until tomorrow to unbox them  Hedman p/n 89513. Satin black ceramic coating on them. Hedman claims their ypipe does not fit around the C6 xmember but mine is custom so it might work. I guess we'll find out soon enough- plan is to get my old headers off tomorrow! |