|
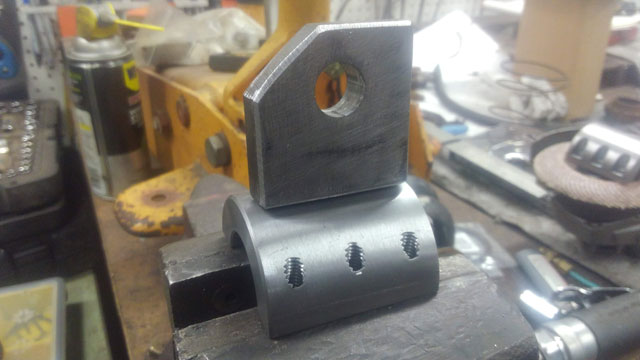
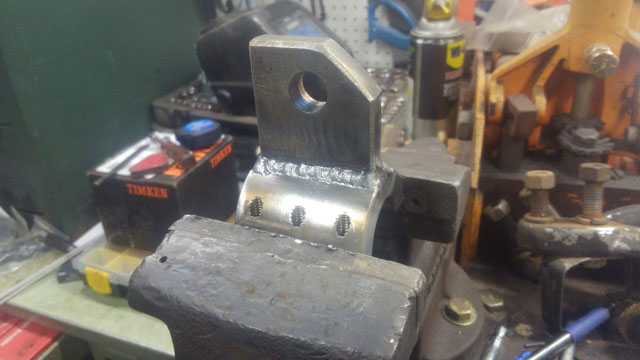
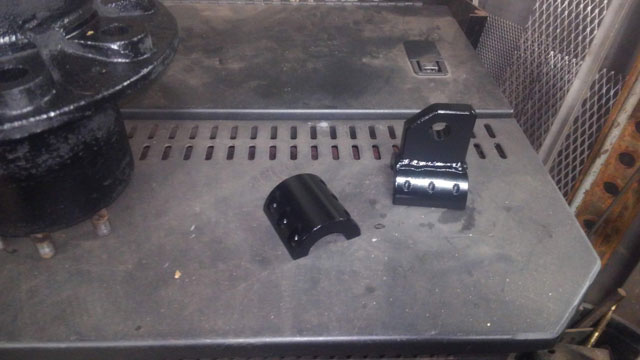
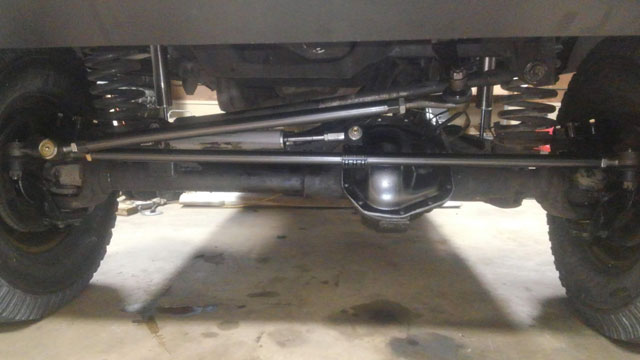
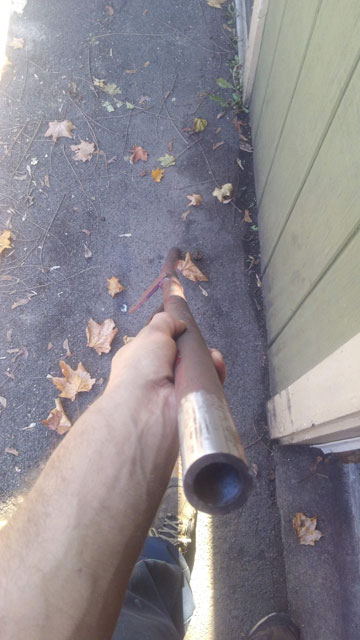
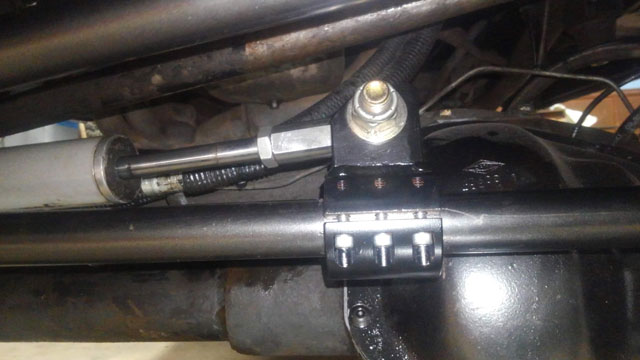
Finally after all these years, weve got a working parking brake again! I ordered a set of universal cut-to-length cables from Lokar, p/n EC-80FU:  These are pretty nice looking cables 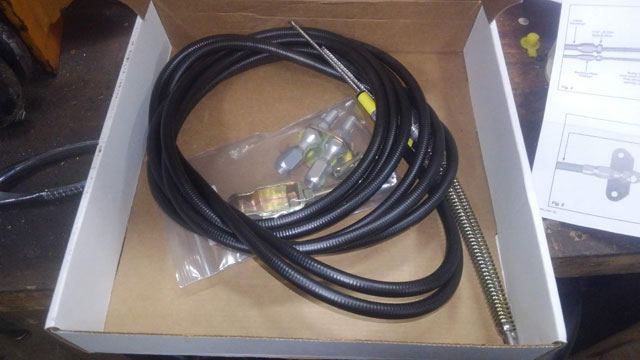 The install is basically the same as any other parking brake cable, very easy. I managed to get mine routed way up high, out of harm's way: 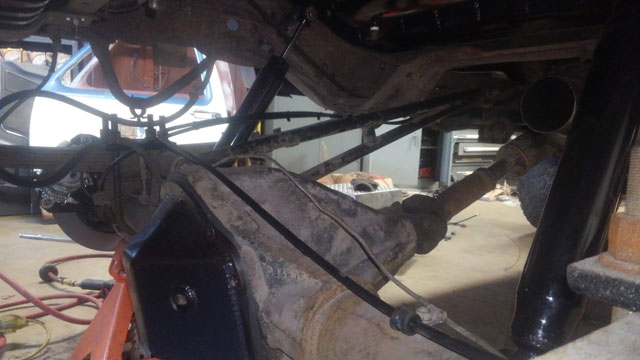 The tensioner is nice & small, & mounted up high on the frame rail, where it wont interfere with the rock sliders i havent built yet 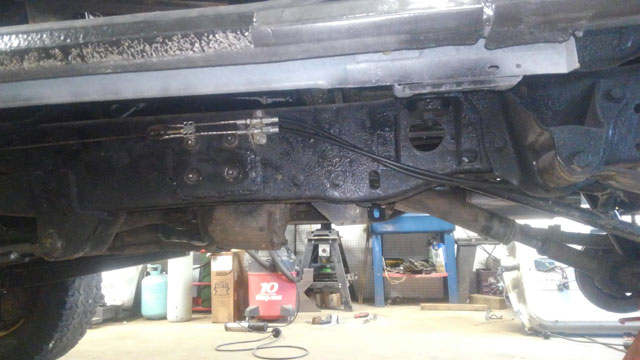 I made a small modification, that would allow me to reuse the original cable that comes down from the pedal assembly  With that done all that was left was to adjust the parking brake. This turned out to be a pretty easy job to, now we just have to get this thing done and out of the garage so we can test it! Got some work done on the D70! My old disc brake caliper brackets were in sorry shape and needed replaced. I wanted to stay bolt-on, but this particular D70 came out of a dually, and as such i could not find a set of bolt-on brackets with the correct offset, so i opted to use weld-on caliper brackets from RuffStuff: 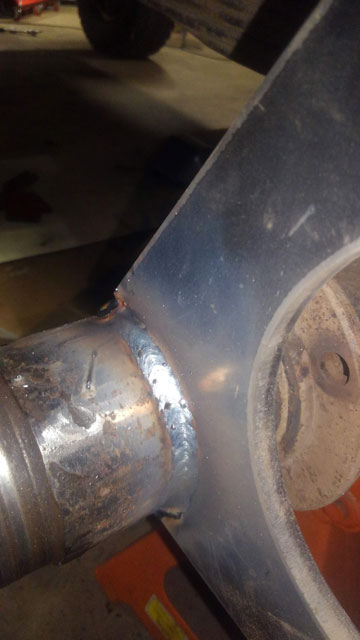 New lower shock mounts to replace my rock-bashed ones, also from RuffStuff: 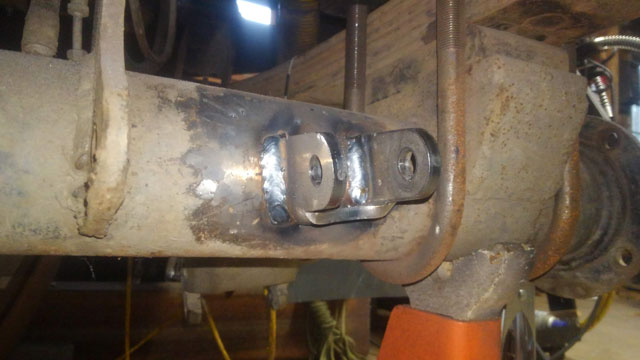 Everything painted and ready for reassembly!  I ordered repair sleeves for the spindles. You can see the groove in the seal surface, and this is the good side!  This looks much better:  So with that done, the rear is now back together! 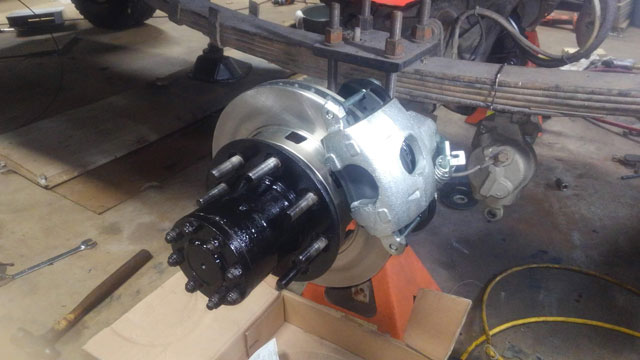 The calipers are adjusted, but i havent bled the brakes yet. In this pic the old calipers are still hanging off the springs, bt they have since been removed, and my stainless flex lines are connected to the new calipers. Also waiting on parking brake cables from Lokar which are supposed to arrive Monday, so hopefully by Wednesday/Thursday both axles will be 100% done! I also got the rear shocks installed, along with my anti-wrap bar: 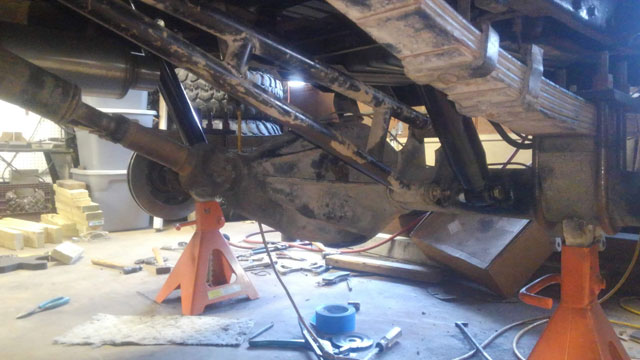 We're actually getting pretty close now, i think this is all thats left:
That actually might be all of it! We're in the end game now! Ok, finally had time to update this! I havent made as much progress as id have liked; was trying to get some yard projects done before winter really sets in. Which are now done, so here we go! So in the front-end, i got my new ram mount made & installed: This is a 1¼" OD tube clamp i picked up from ECGS:  I made a tab out of 1/2" plate to weld to it:
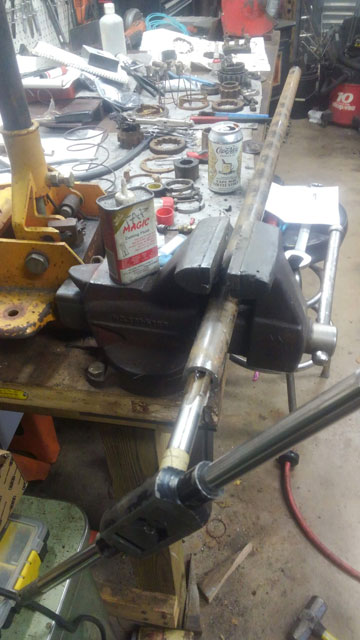
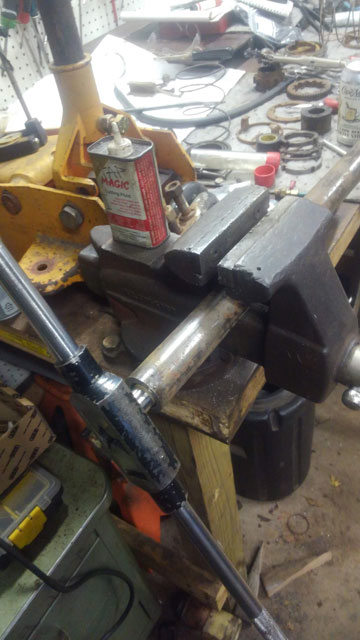
 My shocks finally came in the mail, Bilstein 7100s  Of course, they are just a tad bit longer than the 5125s, and with the heavy bumper/winch up front, it sits a bit lower now. So i have to redo the shock mounts. Cant go up on the uppers, so i have to go down on the lowers. So i cut the original mount off the arm: 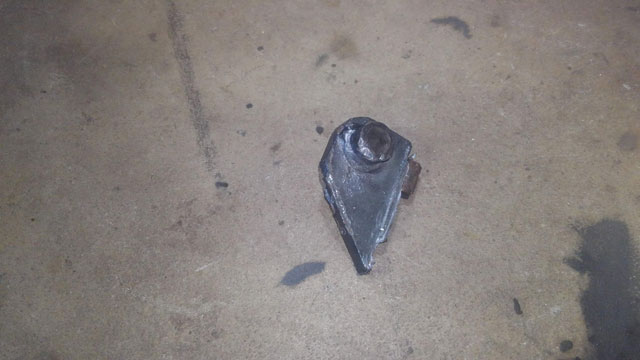 Got some 3/8" plate, and i found some 1", ¼ wall tubing at the scrap steel yard which is perfect for a ½" bolt: 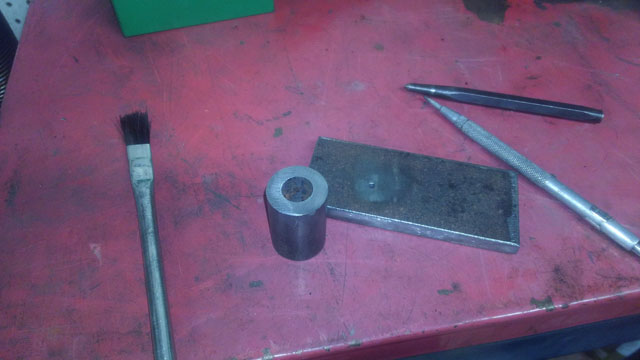 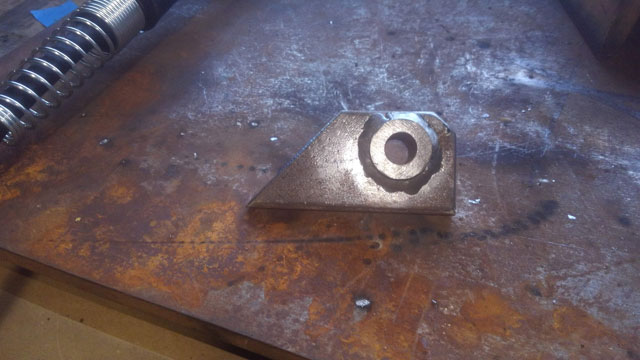 Mocked up, ~2" lower than before: 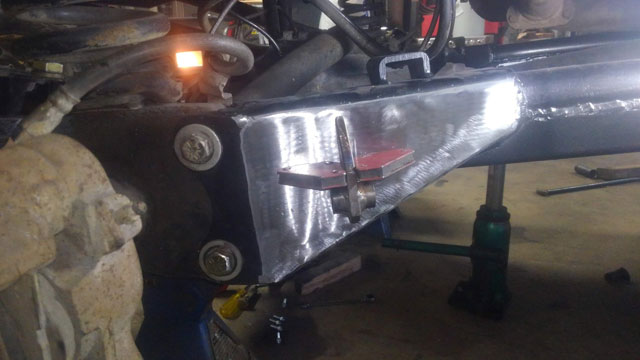 So this gets me 5" up (bump stopped at 4") & 9" down which should work out well. 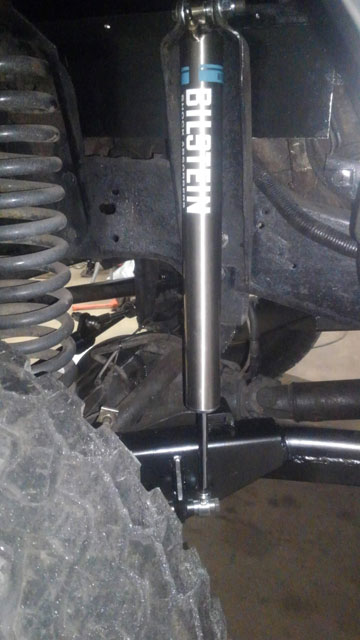 From there all that was left do to, was a front-end alignment! With that done, the front end is now complete! 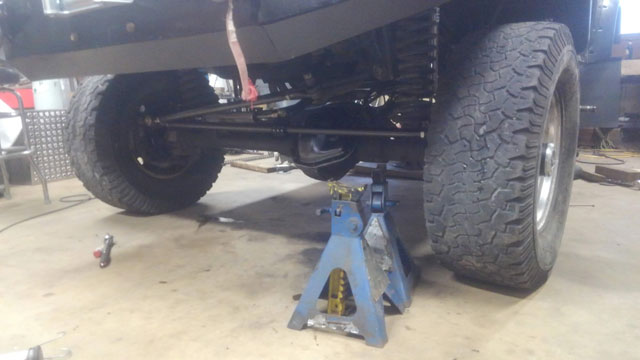 Next up is to finish rebuilding that rear axle... Got my replacement wheel bearing hub tuesday: 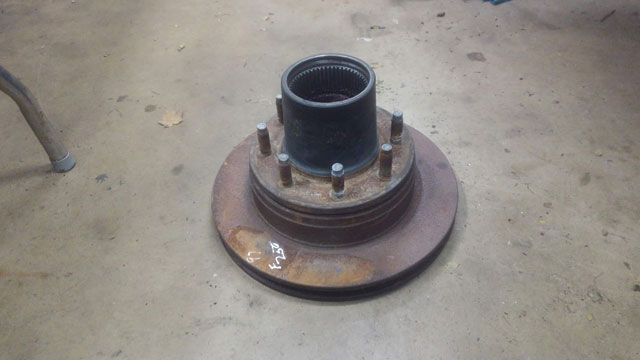 Got it all cleaned up, painted, modded for the 5/8" wheel studs, and installed! 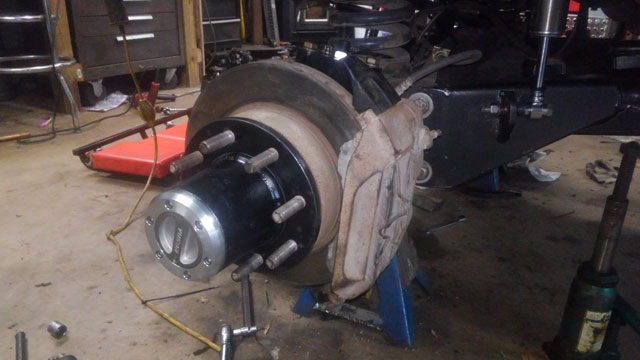 Finished cleaning, painting, and reassembling my draglink: 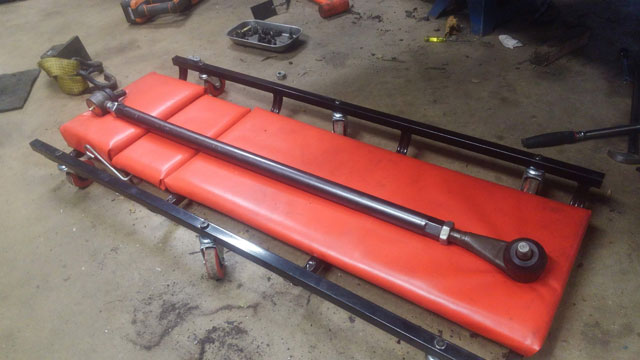 As you may recall, my tierod has a few bends in it:
So, i got a new piece of tubing tuesday as well, and started tapping it!
Both done and installed! 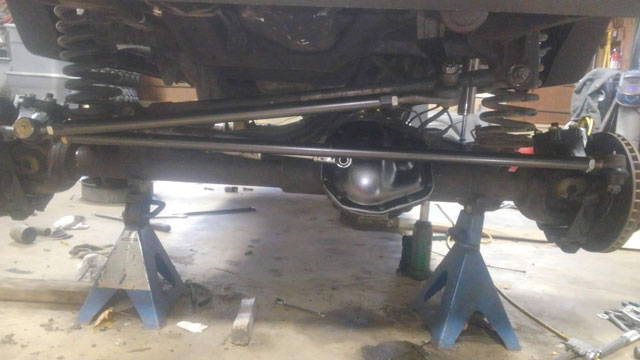 Of note though, is that the steering ram is not yet connected. Thats the next project, which i hope to make some progress on this afternoon. More parts! 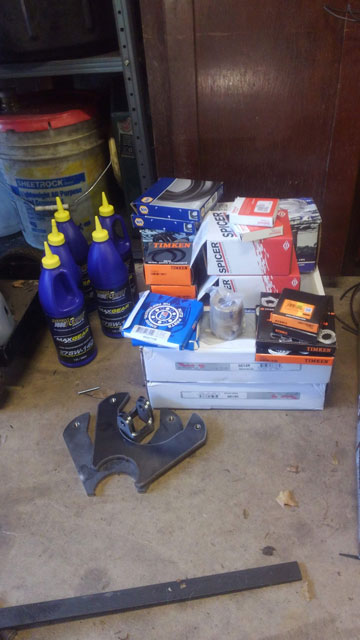 I started the reassembly of the D60. Greasing kingpin bearings: 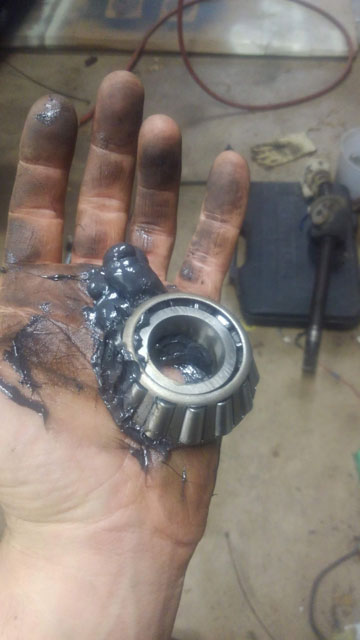 Springless Kingpin caps from PartsMike:  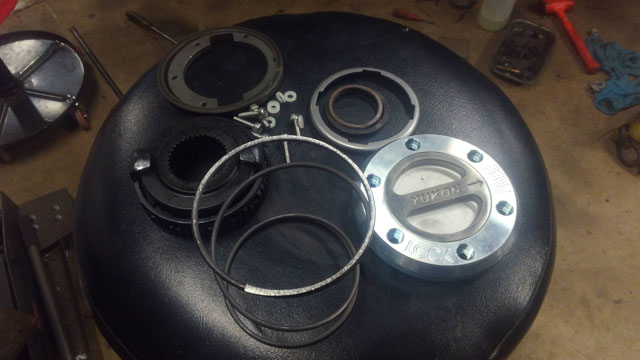 and the passenger side is now complete 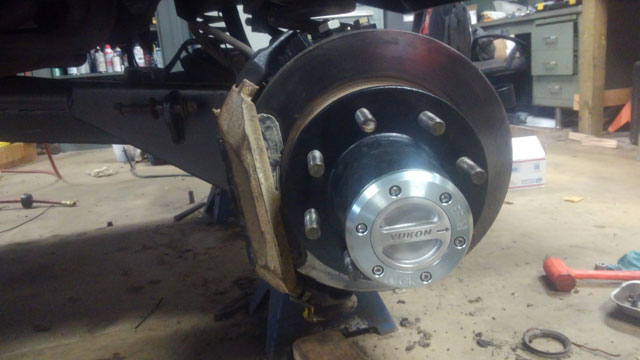 This is as far as i got on the driver side: 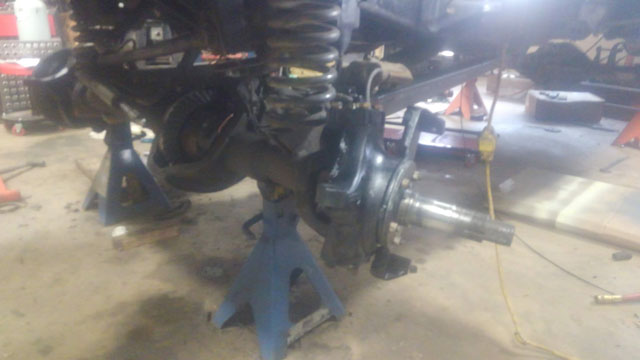 I picked up my wheel bearing hub, and the outer race fell out! Looks like the wheel bearing hub is shot, so im now sourcing a replacement. So since im dead in the water on the D60 i moved to the D70, but all ive gotten done, is the removal of my old, very beat, lower shock mounts 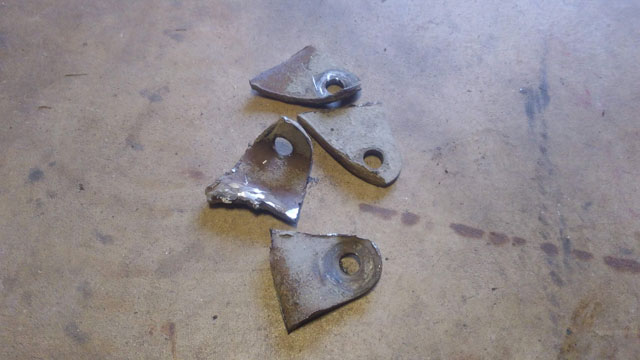 So i guess the next step will be to weld on new lower shock mounts, and then mock up my new caliper mounts. I have a line on a replacement wheel bearing hub for the front, which i hope to pick up sometime next week. Radius arms out: 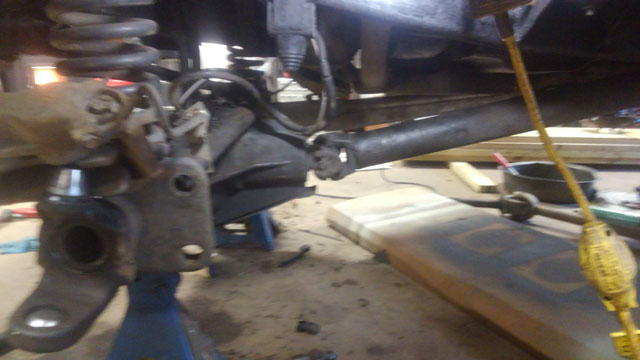 The bushings were toast 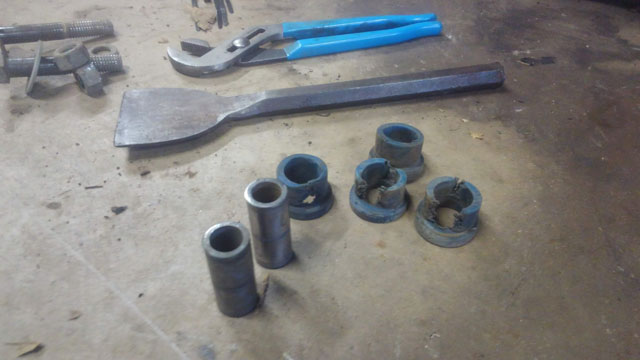 ...and i decided to paint them. Color matched to the truck, which probably wont even be noticeable underneath it, but oh well 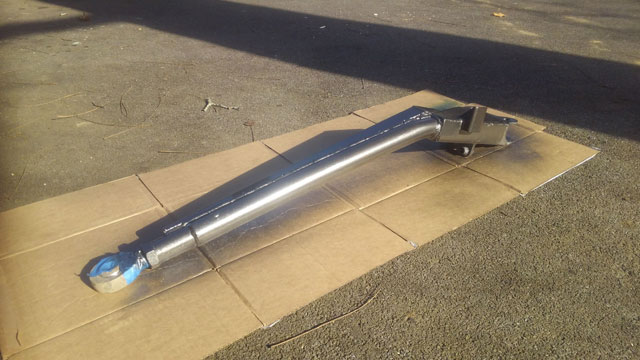 Both arms are reinstalled; no pics. Thanks to COVID, my steering kit is still backordered. Shocks are still backordered. Kingpin caps will show up tuesday, and my new rear caliper mounts are in a truck somewhere in CA, so maybe theyll show up at some point. So not much i can do, until some parts actually arrive. Ok ive got a small update. The D60 is stripped and cleaned: 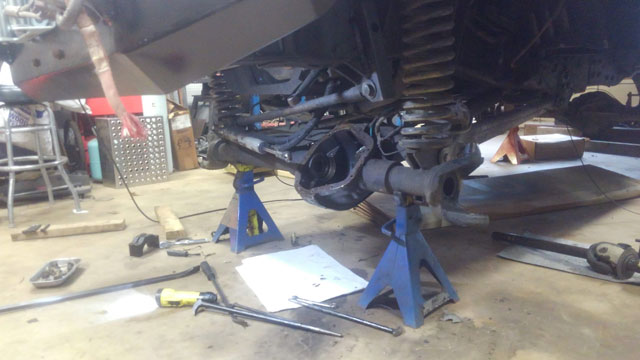 My air leak was a rupture in the soft copper tube for the locking collar for the ARB. So thats out 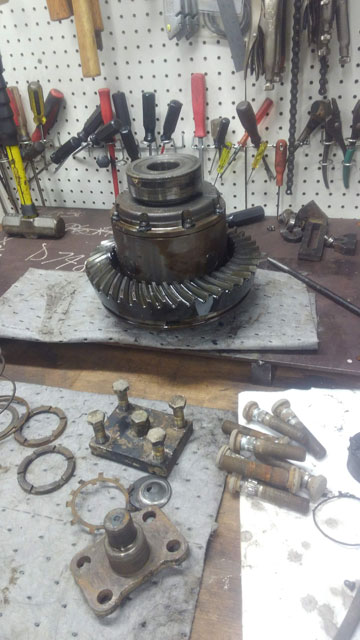 The o-rings are not in bad shape... 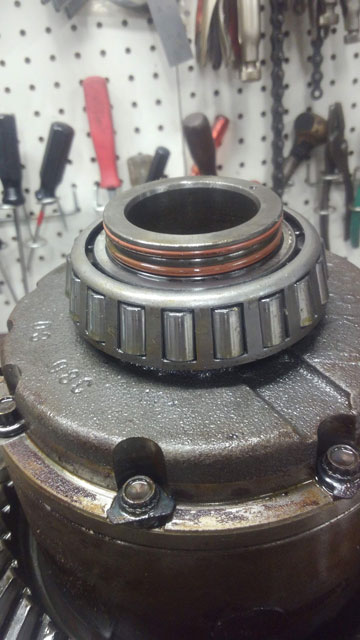 ...but the new collar comes with the updated quad-rings, so of course they went in 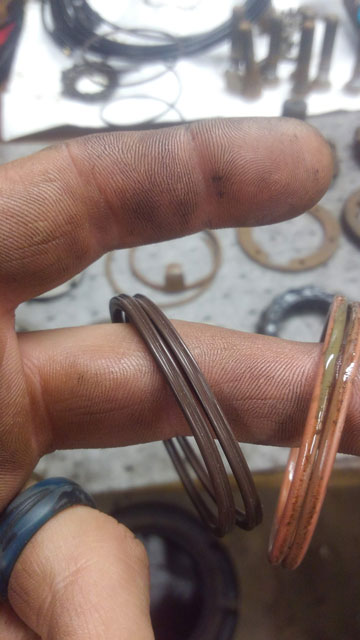 ARB ready for reinstallation: 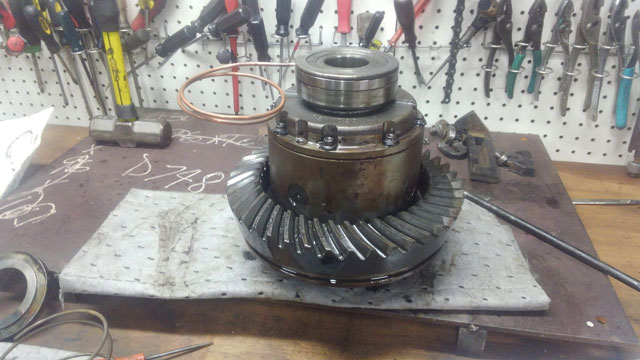 At this point, the ARB is back in and pressure tested; all is good. I have a growing pile of parts in the garage: 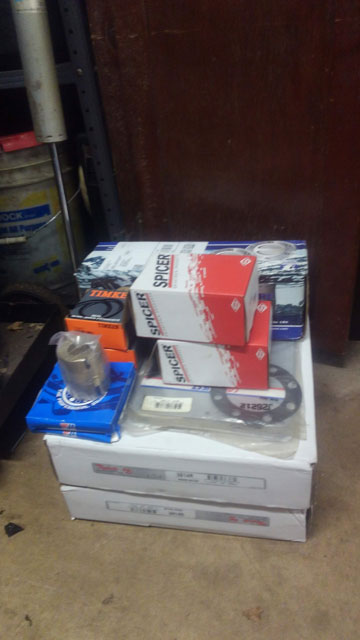 Im expecting 5(?) more deliveries before i have everything to finish the truck. One of those is my new springless kingpin caps, which i wont get until next week, so i cant reassemble the D60 just yet. So i tore into the D70 today. Apparently i ordered the wrong wheel bearing hub seals! Also, i need repair sleeves for the spindles which im currently researching (proving to be a challenge to find the right ones). Also, my caliper brackets are wallowed out and need to be replaced so it looks like im pretty much buying a whole new disc brake kit, once i can find one with the correct offset for my housing, which i am also having trouble finding. I may have to buy a weld-on kit, or try and make my own. So yeah, not much accomplished, and it looks like itll be at least another week, before i have all the parts required to finish rebuilding either axle. So now that im done with the electrical upgrades, the next step is to inspect my neglected axles. So, tuesday i got the truck up on jackstands! 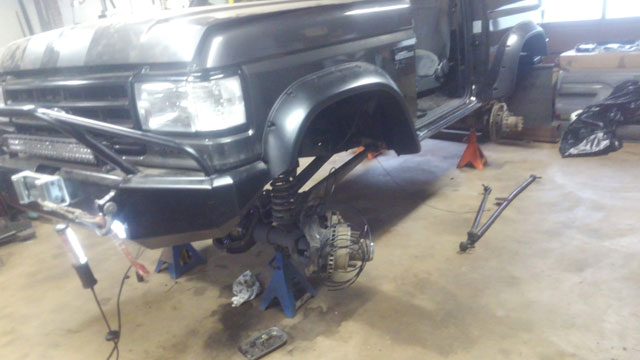 Pulled the steering off so i could inspect the ARB. it has seen better days! 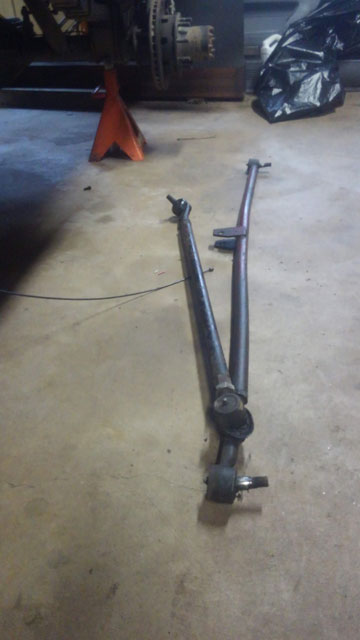 I am replacing the whole steering setup with the system the Boulder Proof HD Steering Kit from Broncoair. Unfortunately backordered for a couple weeks due to COVID, but ive got enough to do just yet that it shouldnt delay me anyway. So i took a look at the ARB, to see if i could find my air leak. Figuring after 15 years an o-ring was leaking. Well..... 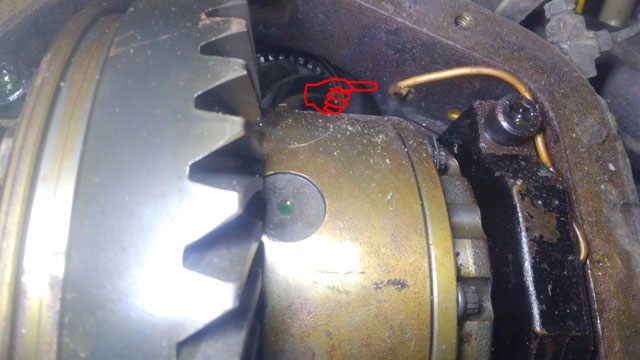 ...the copper supply tube is ruptured, so that needs to be replaced. So the ARB is coming out. Breaking it down: 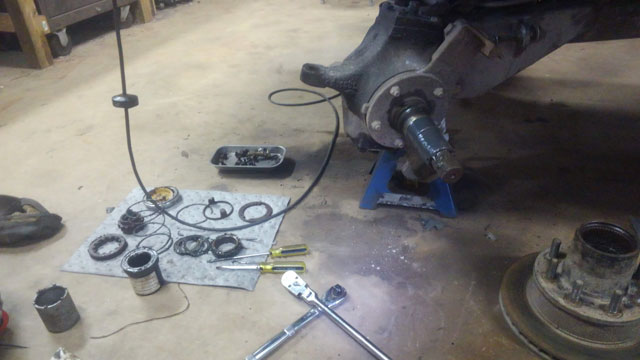 Probably 5 years since i inspected the bearings. Was super happy to find nice clean grease! 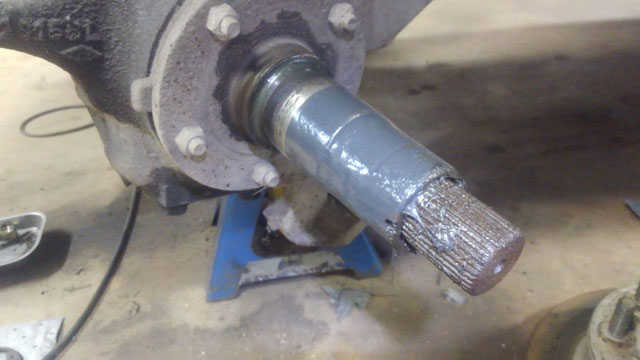 spindle seal is shot, on both sides 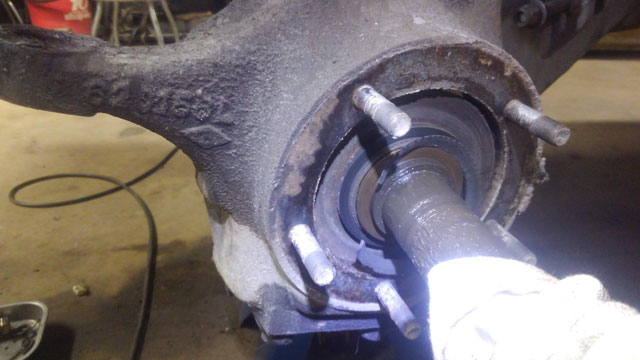 Difficult to see, but i cracked both upper kingpin bushings, so theyll need replaced 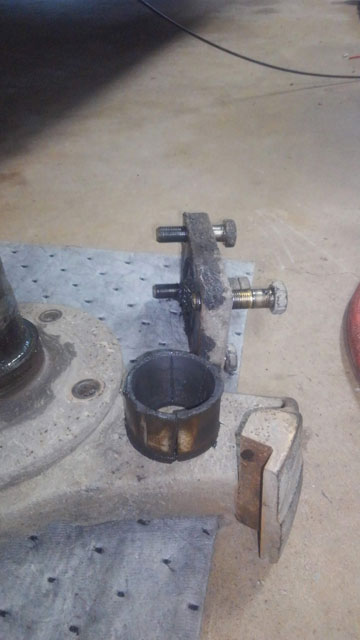 stripped bare, ready to start cleaning the housing: 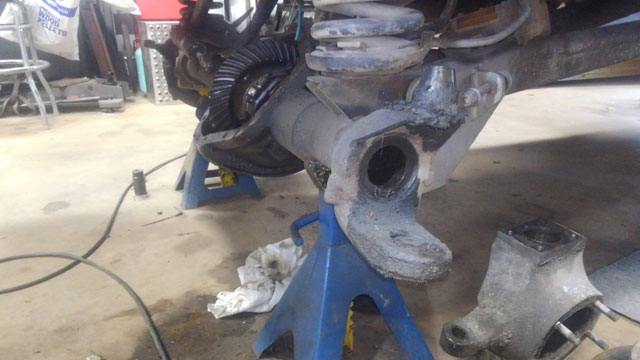 parts! 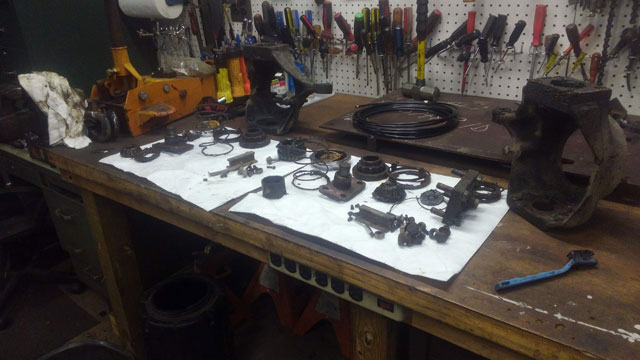 As of today, the knuckles, wheel bearing hubs, spindles & caliper brackets are now cleaned & painted! 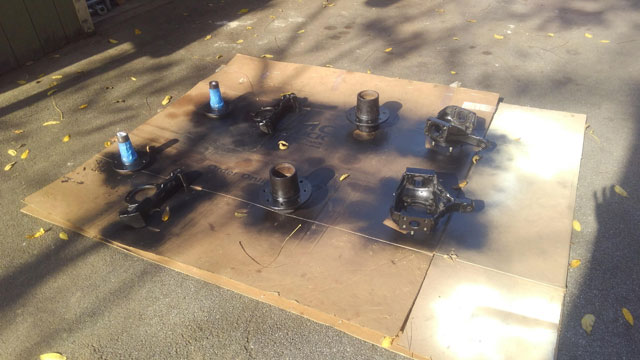 and i got my new collar for the ARB in the mail yesterday too 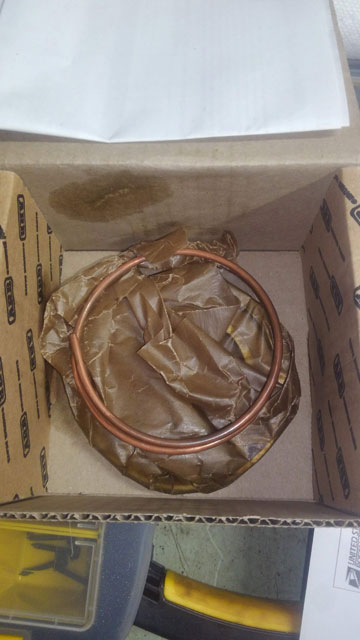 So now im putting together a shopping list of parts that i need to get it back together. I was looking at bronze kingpin bushings. Pricing seems to be all over the place, with RuffStuff @ $90, Branik @ $95, Ballistic @ $100, TMR @ $130, NWF @ $149, ECGS @ $159, etc etc. I cant see much of a difference in them, so not sure why the price is all over the place like that. This is the second set ive cracked, so i think while its apart im gonna upgrade to em. Probably going to run them in conjunction with the springless kingpin bushing kit from PartsMike. All my bearings & kingpins are in good shape, with the exception of the lower kingpin bearings. After cleaning theyre looking a little rough so im going to change them, and get new seals. upper kingpin seal, Spicer 620058 lower kingpin seal, Spicer 41777 for the spindle seal i was going to use the Spicer 708084 kit, which is the updated '2 seal' version for the 92-97 Ford axles, as im pretty sure this will fit the 79 D60. Comes with spindle bearing. Spicer 708084 The hub seal should be the same as pretty much every other D60 out there, National p/n NS 415960 From there i think im going to order a set of the 35 spline Yukon locking hubs for street use. The Spicers, while bomb proof, dont lock/unlock very easily, and im just tired of always disassembling them to get them to work again, so theyre getting replaced. I also need to spec and order a new pair of shocks for the front. So yeah, lots of parts to buy! Im gonna try to get everything ordered this weekend, and then next week yank the ARB out, change the orings, replace the collar and reinstall. If i get done before i get my parts in, then i guess ill move to the rear and start taking that apart (it needs wheel seals and rotors). Im hoping to drive this thing down the road before Xmas! So the next big part of the wiring job is the electric fan. I opted for a can controller from DC Control, specifically his model FK-75 controller. Its a PWM controller, rated for 75a continuous duty, and fully adjustable. For those that dont know what PWM is, its pulse width modulation. The short version is, it doesn't just turn the fan on, it pulses the power on & off, to control how fast the fan spins. This means you can run the fan at any speed you want, and it also means theres no big load on the electrical system when the fan starts. Most OEMs are now going this way for their electric fans, and its all over the industrial world as well since its so effective for motor control. Anyway.... So im running the windstar fan, which i installed on the radiator some time ago: 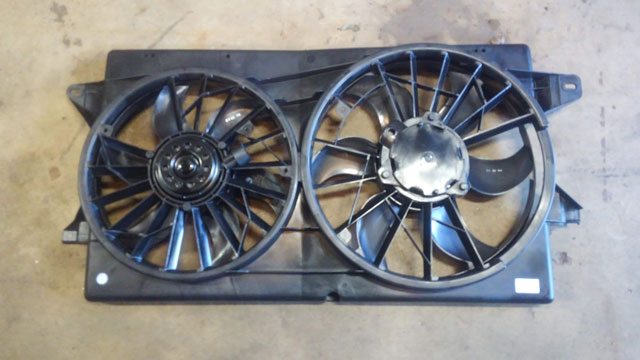 Its 2 single speed fans that Ford ran in parallel. Its not a high/low thing. 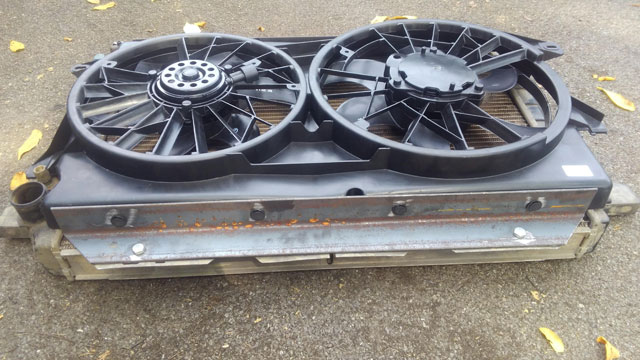 Fan controller: 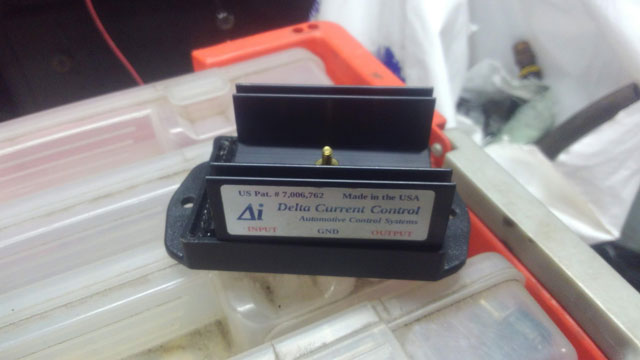 Came with everything required to wire it up, so lets get to it! 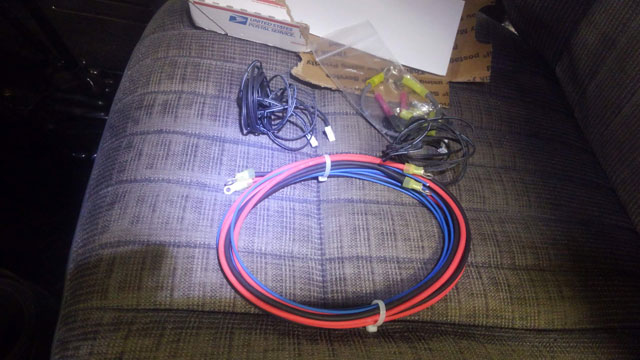 Ok, first off, i want the fan to turn on when i turn the key on. I dont want to have to turn a switch on on the dash, because that also means i can forget, and overheat the engine. Youd think youd remember, but my old fan was wired that way, and i definitely forgot once or twice! This meant i needed a relay capable of handling 60+ amps continuous duty. Well, i found one, and its more affordable than you think Obtain Surplus: 75a relay 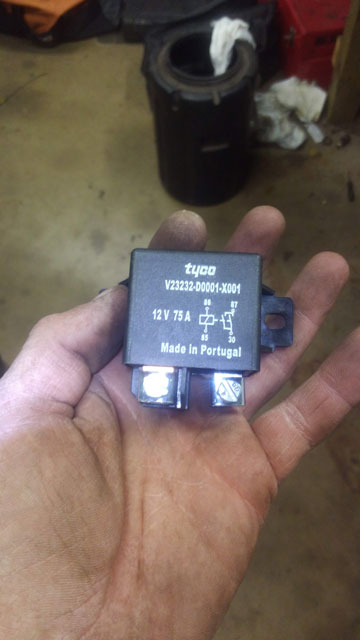 Conveniently, it fit right between my winch disconnect and the contactor. Perfectly. I didnt have to drill any holes, its the perfect spacing that its held in place by the screws from both of them: 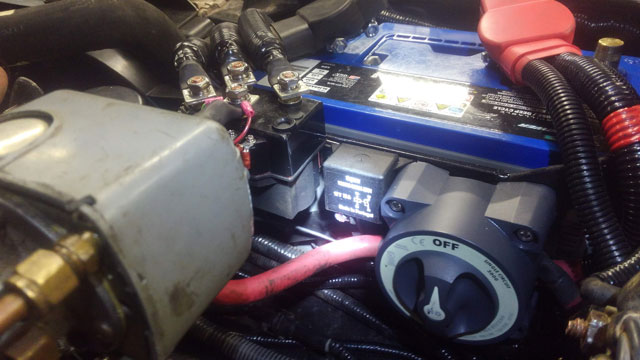 fan controller mounted: 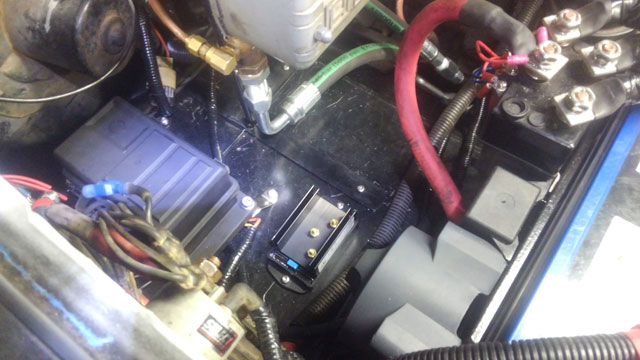 Fans wired. You can see the temp probe wiring poking out of the loom: 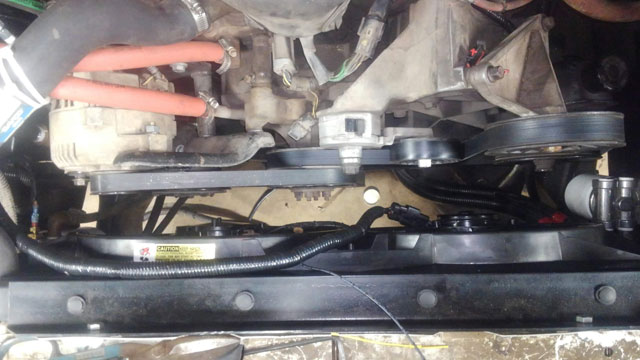 Temp probe. Its a delta temp probe that installs right in the radiator fins, and it is remarkably quick to respond to temperature change: 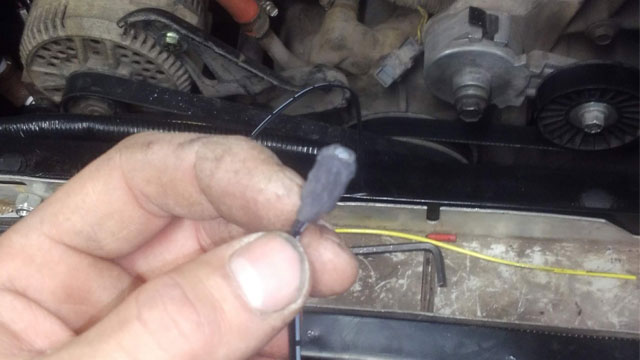 This was an interesting picture to take. I had to drill a small hole in the fan shroud for it to pass thru, and then wedge it into the fins. Then hold the fan away with one hand and try to snap a pic with the other! 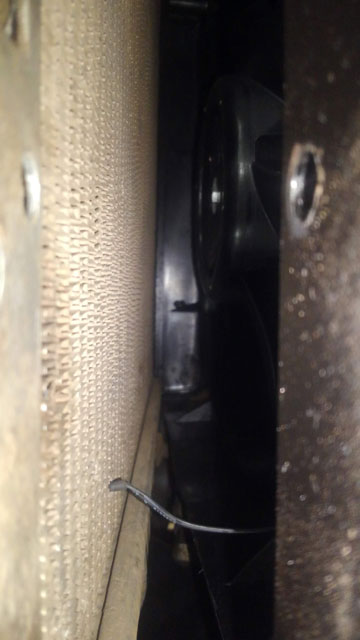 Everything all done being wired & loomed: 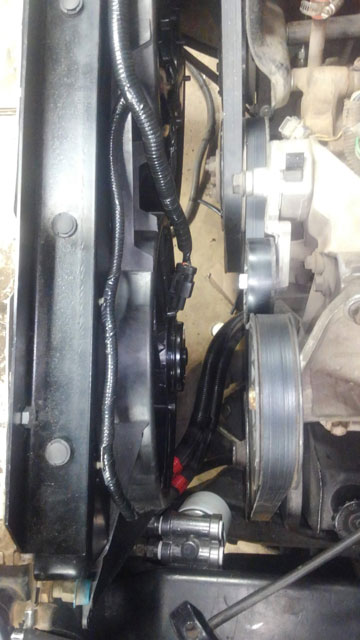 So theres an input for A/C. When the A/C is on, it automatically turns the fans on at 50%. So i tied into the output for the pressure switch, this way it only spins up if the A/C is actually working. Which currently it isnt! 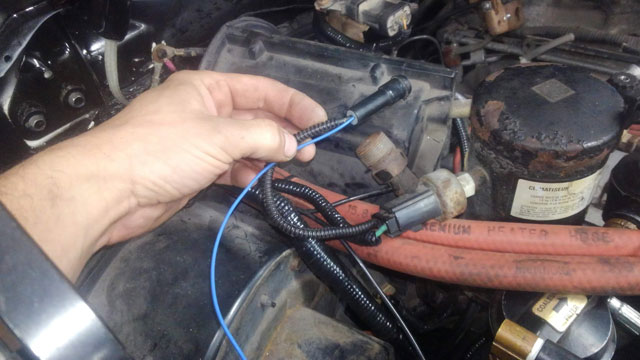 ...and there it is, the whole thing done! 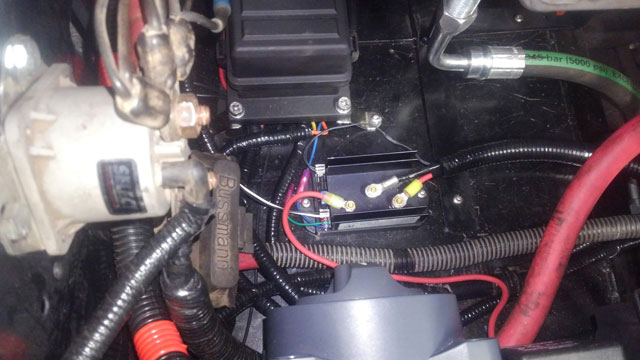 So there was nothing left to do but test the system. And it works! So, if you were paying attention, you noticed an LED next to the switch for the winch control. Well, its for the electric fan: 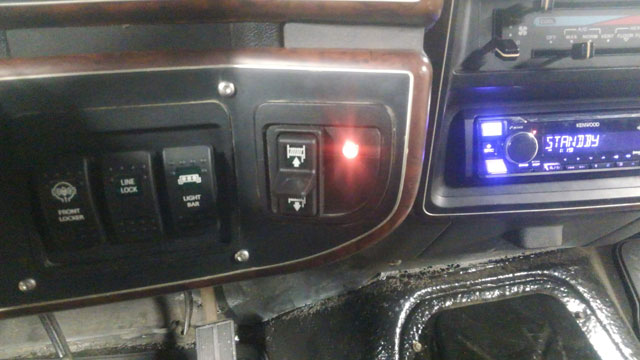 This is a feedback sensor for the fan. When the controller first turns the fan on, it will blink red. Then, it will start off green. As the fan ramps up in speed, it will turn yellow and then eventually red once its 100%, so you always know how fast the fan is spinning. So, i ran the truck for almost an hour the other day to test it, and its amazing how well it works. First off, the PWM is amazing; even at idle the volt gauge doesnt even flinch when the fan turns on. The controller ramps the fan up to speed and then turns it back off since at idle, it cools it off very fast. Even with the engine held at 1100 RPM, the fan doesnt run full speed, which is quite promising. The controller is adjustable +/- 35º, so i can fine tune it if i need it to turn on sooner or later, but my preliminary testing seems to show that its gonna work just fine. So, this concludes the wiring portion of this project! Im taking the next week to get some projects done around the yard (and cleaning the garage). Then, the truck goes up on jack stands, and we will begin rebuilding the axles and suspension. We're getting ever closer to driving this thing! So this took a while, but the end result was well worth it. All the aux wiring is done!! So, i bought a relay box off amazon: 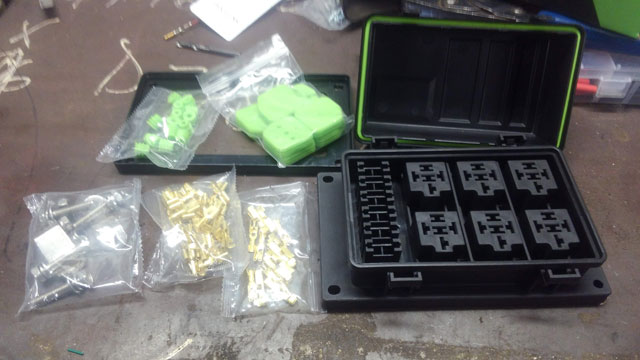 Switches are from OTRATTW. Locker, line lock, light bar & winch control switches installed: 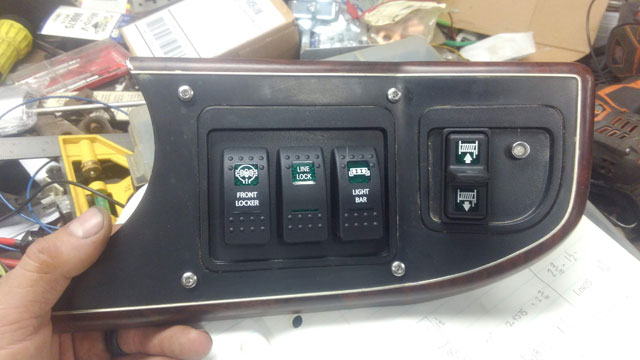 i bought 18ga 12 conductor cable from Show Me Cables to wire the switches: 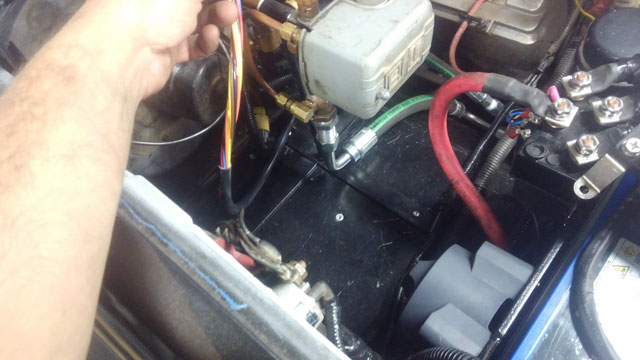 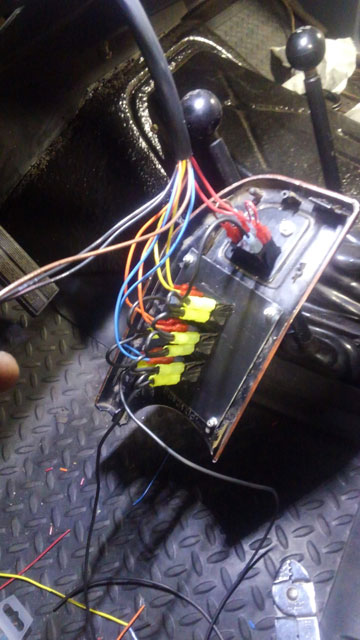 Wiring up the fuse/relay box: 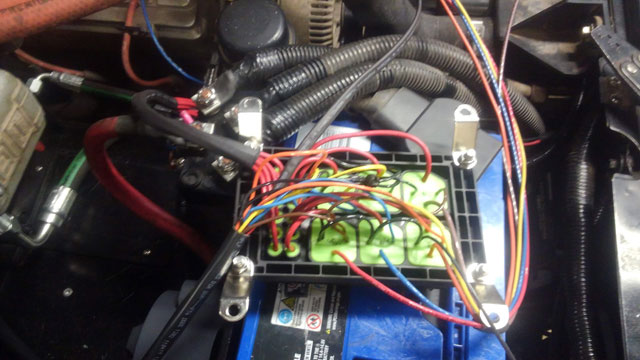 I have one standalone circuit for each accessory, plus one spare already run from the box to the dash, so if i ever want to add another switch, all the wiring is already done. Everything is color coded; the switch wiring is color matched to the individual +12 for each accessory so i cant mix up any wires. There is also a key-hot power source turning on 2 of the relays; one is for the OBA system, and the second is for the elec fan, so i dont have to worry about remembering to turn either on. 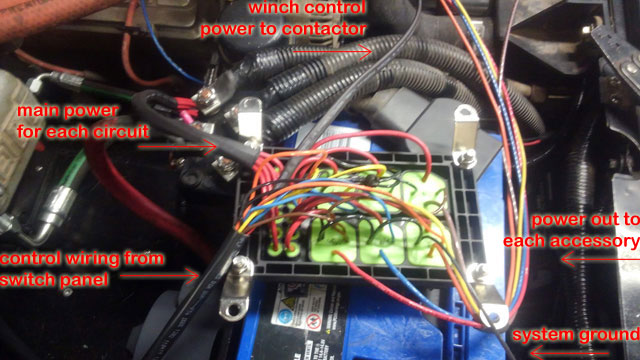 ...and installed!  At this point, every accessory has been wired and tested for function. |