|
Swerved to dodge a car in the snow this morning, ended up losing it and hitting a guardrail. Shoulda had the hubs locked in, oh well too late now. 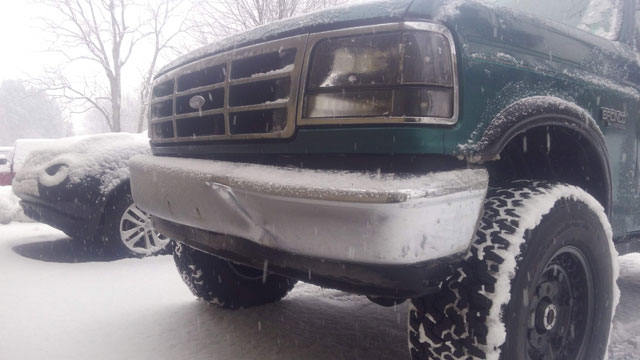 Caught it dead in-line with the frame horn. 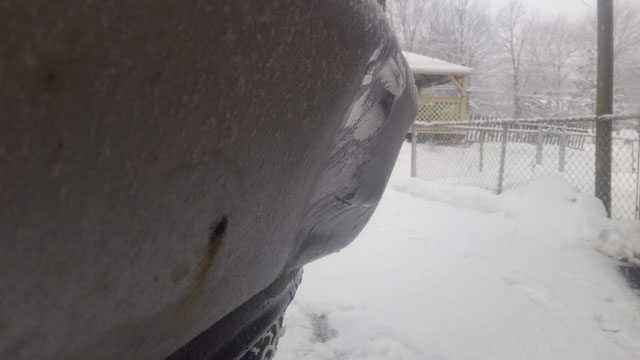 The whole bumper is twisted, so thats gonna have to go 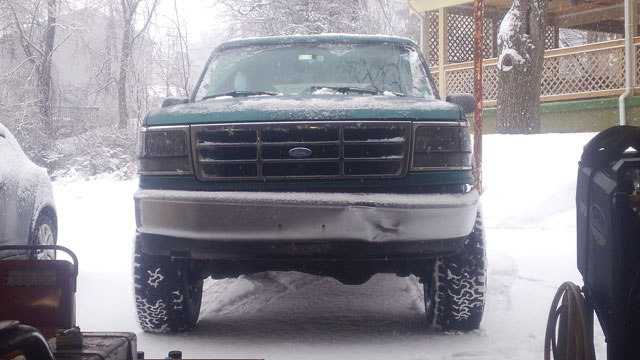 Frame horn is bent in slightly, as is the bumper bracket 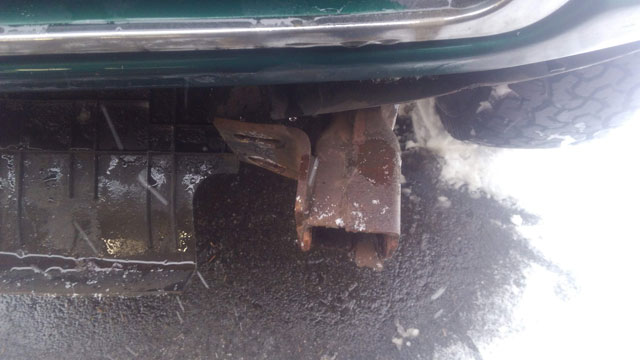 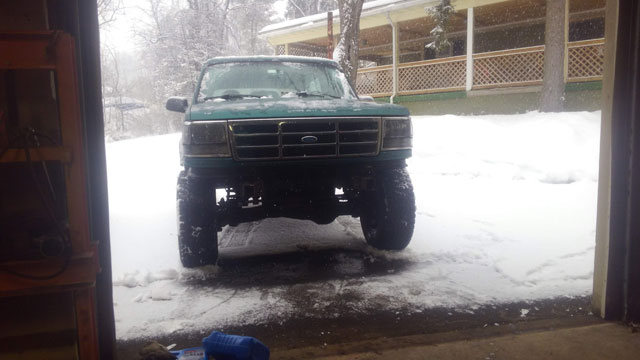 Steering wheel is crooked so its gonna need a front-end alignment. Still snowing so i dug out the diesel (which i never did from the big storm last week) so i can drive that to work tonight. Ive got a plan for tomorrow to straighten the frame horn, and then ive got to come up with a plan for a new front bumper. Its done, i went for a cruise about a half hour ago. It shimmies at 75! It is night & day better than it was before. The slop in the old box was damn near the whole problem. Its a little twitchy, might be toed in a smidge? Its god damned cold outside, theyre (big) old bias plys, and its got a locker in the rear. Its not gonna be perfect! I still want to triple check the toe-in tho and see if i can get dialed in a little better. So just cruising down the road, i cant tell a difference in the power of the box with the way Redhead has it ported, as opposed to the way PSC did it. I always thought porting the control valve was the 'correct' way to do it, but RedHead knows a lot more about this stuff than i do! The real test will be the next time i get a chance to play on some rocks with the tires aired down. Got my old PSC ported box out: 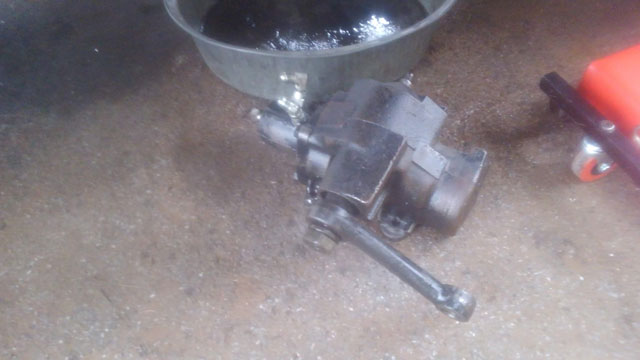 New redhead box, unfortunately ports are in a different place: 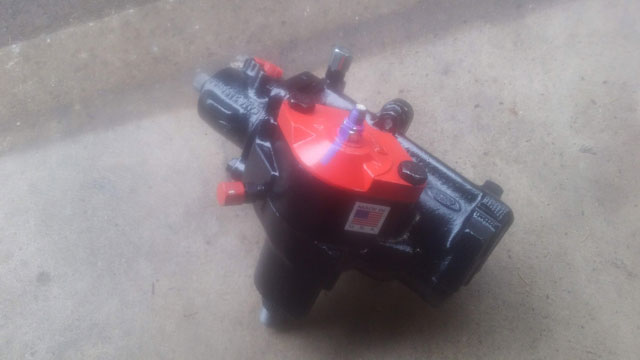 Terrible picture! 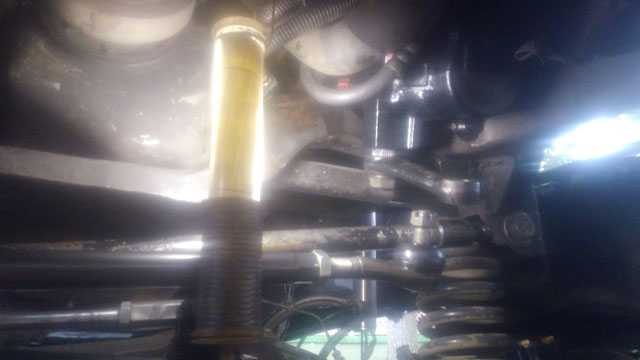 The box is in. It was sleeting! So i didnt get a good pic. Im working on new hydraulic hoses now, hopefully have both done & installed tomorrow so i can bleed it and resume the front end alignment. 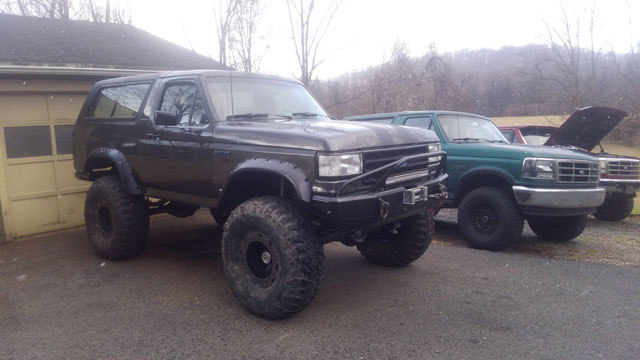 Passed inspection last week! Also, i finally figured out how to properly adjust the Eldorado calipers. Turns out theres a really easy way to adjust them that i guess most people dont know? I certainly didnt. Check this YT video out. Ok, so now that youve watched that, you should know: I just followed that and adjusted both of my calipers, in about 30 minutes. With the tires still on, on the ground. Plenty of room to swing a wrench: 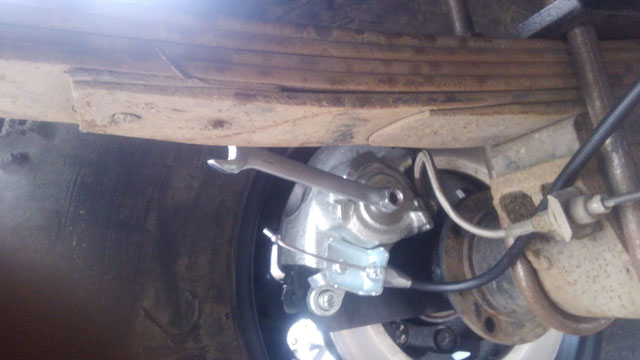 Push the lever down until its starting to apply the parking brake, and this is the gap i have them adjusted to: 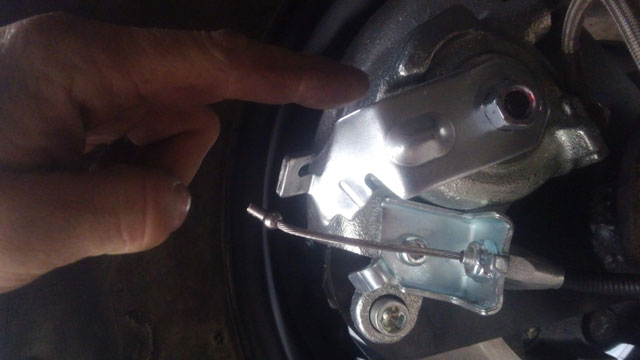 100% done with tires still touching the ground. Now, here's the important part: When setting the parking brake, make damn sure your other foot is on the brake pedal!!!!! I cant stress this enough. The caliper ratchets. Thats how it locks the brake, and thats how it self adjusts. But! It only moves a very small amount at a time. You have to have the caliper already clamped on the rotor when you set the parking brake. If you dont, it wont be tight enough, and it wont hold. So, if i set it w/o my foot on the brake, itll power thru at idle. If i pump the pedal up a few times and then set the parking brake while im still holding the brake pedal, it holds great. I read all sorts of articles on adjusting these, and never once saw anyone mention holding the brake when setting parking brake, but it makes a huge difference. So now im still tinkering with the front end alignment. 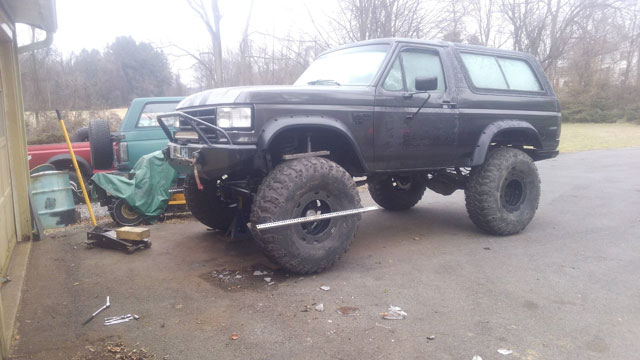 Im not happy with it. Flat spotted bias plys (in the winter no less) arent helping. I do have some slop in the steering box which also isnt helping, so this happened:  Redhead #3! This one ported for hydro assist, to replace my 14 year old ported box from PSC. Hopefully the weather holds, and i can start the swap tomorrow. I started throwing codes in the diesel recently, only i didnt know what they were! As im sure anyone with an OBS 7.3L knows, the OBD-II implementation in these trucks is pretty spotty, which made this one a little frustrating to solve. I started getting a CEL that would appear & disappear and not throw a code (confirmed or pending), but the idle would change when it set. I figured ICP, so pulled the connector and sure enough there was oil in there, so i assumed that was the problem, bought a new OEM one, and slapped it in. It wasnt the problem. I started digging a little deeper and found in Continuous Memory code P1211, "ICP Higher/Lower Than Desired (engine running)". So now im figuring either my IPR or HPOP is failing. Cant get live data from the PCM with my scanner, so i figured id just yank the IPR out and inspect it. 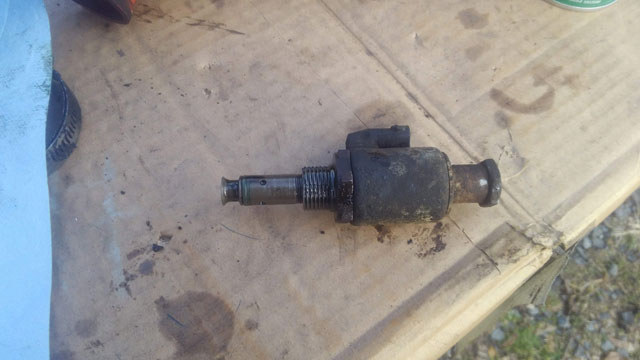 In case you dont know, removing this required removal of the fuel bowl. Its a fairly daunting task if you havent done it before. The last time this one was out was ~10 years ago, so i was a little rusty on how to do it, but honestly its not too bad. I immediately noticed something funky going on. It like the silicone boot for the plug turned to goo inside the socket: 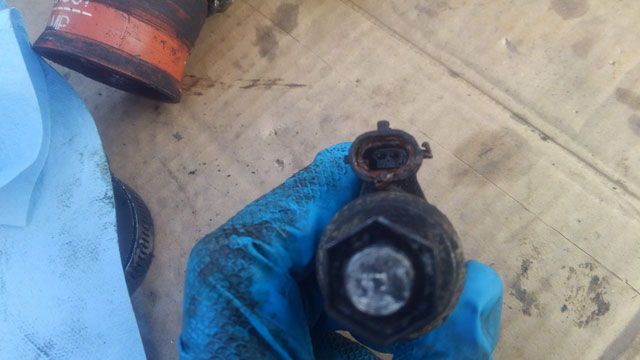 The plug for the IPR is on a short harness connected to the fuel bowl. With this removed from the truck, it was easy to inspect. And it looks like weve found a problem! 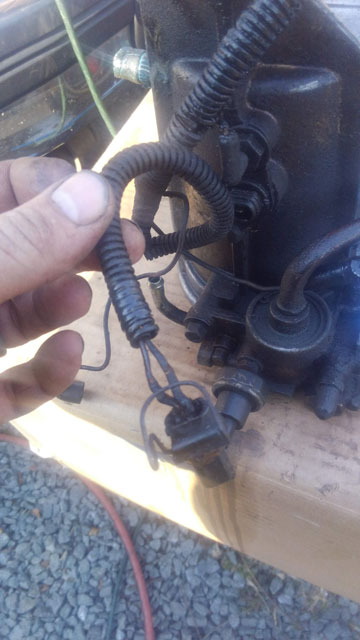 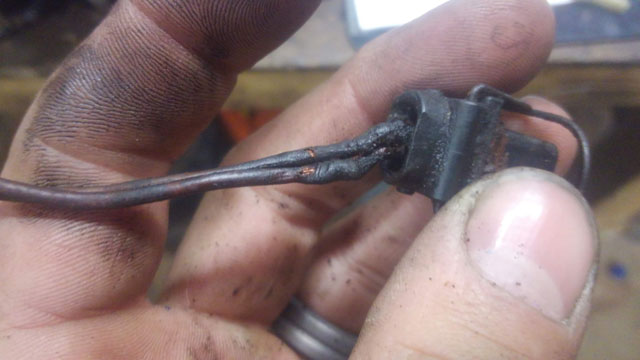 Well, surely thats our problem! So i did some research and then called the local Ford dealer. Turns out they had the pigtail in stock, along with all the short fuel hoses you need to reinstall the fuel bowl! So i made a run up there and picked everything up. Fast forward a day, and we're ready for repair! So here's the replacement pigtail from Ford, p/n 6E7Z-12A690-DA. 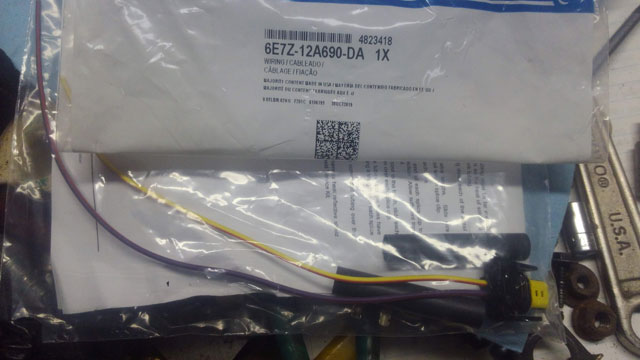 It comes in a bag with some crimps and shrink sleeving, but i opted to solder it, and use my own shrink sleeve, as i have adhesive lined 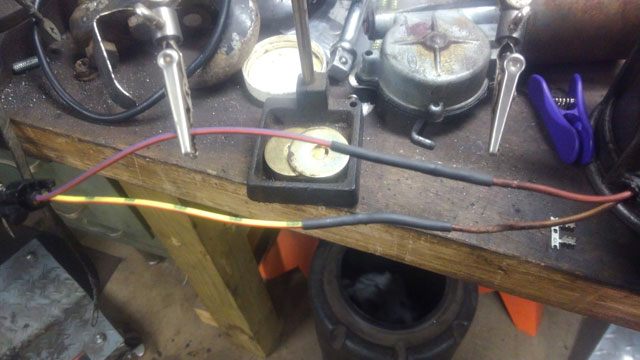 I disassembled and cleaned the IPR while it was out (i should have taken pics, but i was a bit oily at that point), and then reinstalled it. Fuel bowl went back in with all 4 hoses replaced plus the short one for the drain, and i cleaned all the sediment out of the bowl. The HPOP resevoir had been drained so i put about a half quart of new oil in there so it wouldnt try to start dry, and then fired it up! It did initially pop a CEL, but i attribute that to there being air in the fuel & oil systems. I let it idle for a while, then turned it off/on, and problem solved! Runs great now, and no CEL. ...with ~3PSI in the tires, the bronco drove out of the garage on its own! 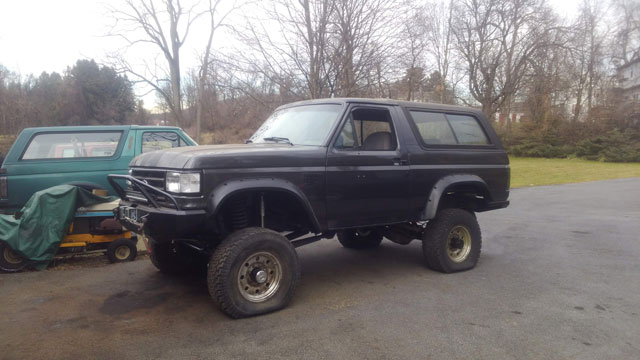 Its covered in a couple years of dust, so i washed it, and then....tires!  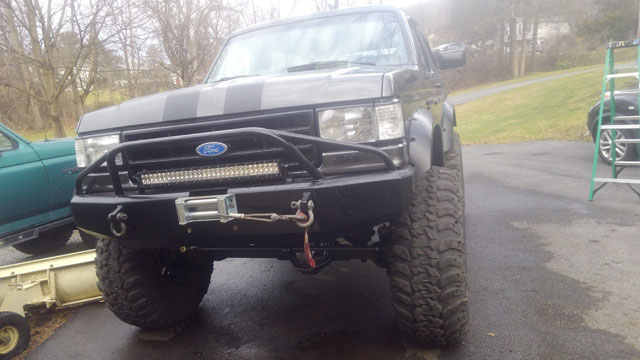 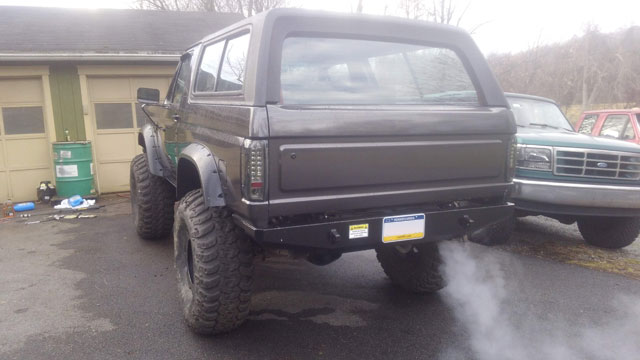 I did get my depth markings back on the door, but with it so overcast the pics didnt come out the best. Ill get some better pics one we have a nice sunny day! 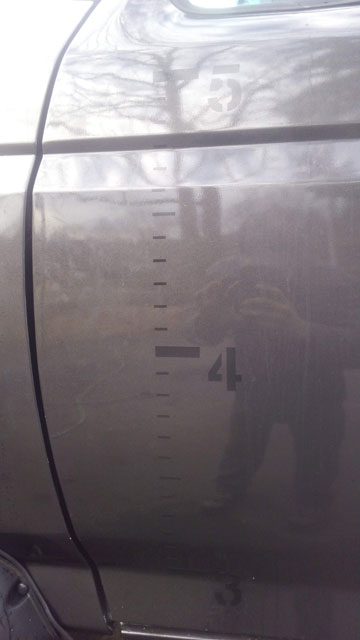 I took it for a quick spin around the block, and it definitely needs a front end alignment! So thatll have to be monday's project, because i cant wait to cruise this thing around again! Ok not sure how this happened. But both the door, and the dash harness, have the same sex plug for the speaker 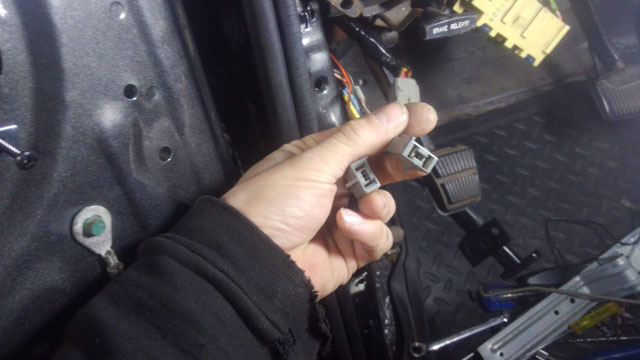 Ok thats better: 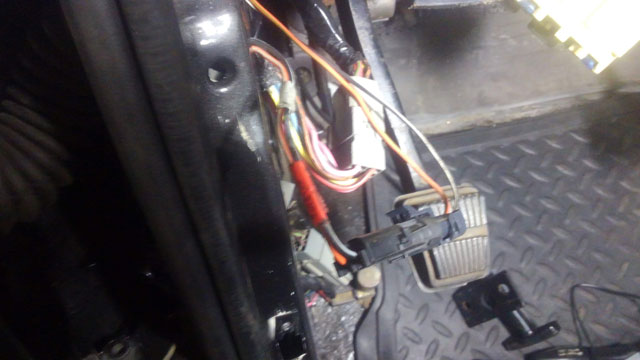 That was the last piece of the puzzle, so the door is now together! 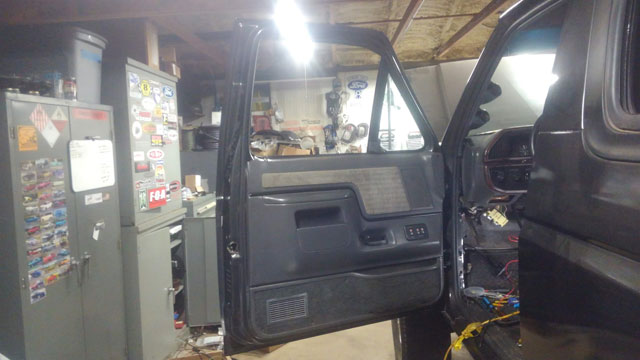 Next on the list was the horn. Turns out every horn i have is bad! So i bought new ones off Rock Auto: 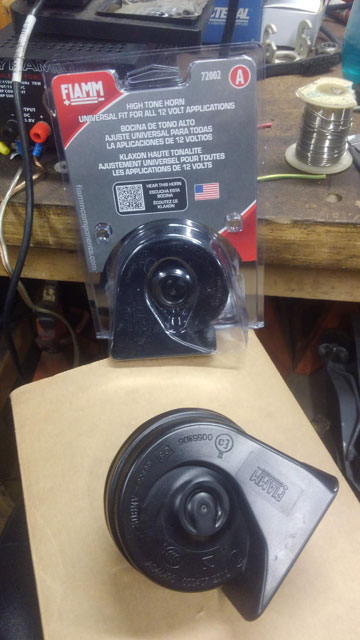 This is a pretty terrible picture. The horns are tucked up underneath the driver headlight, like they would be from the factory  After that i moved on to the wipers. Figured i should test them before i put arms on. Good idea! The motor was bad. So i had to get creative; youre supposed to remove the hood & cowl to replace it, but its actually possible to do it if youre careful 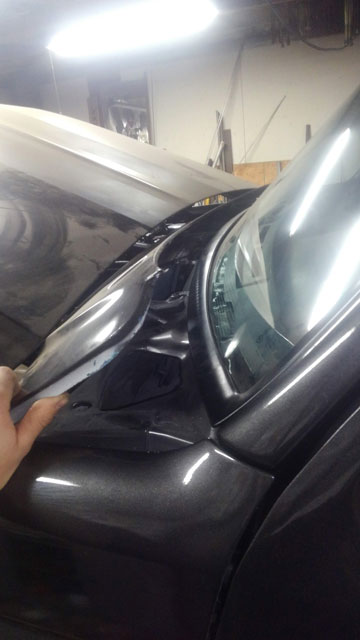 There is *just* enough room to reach in there and remove the clip to remove the arms: 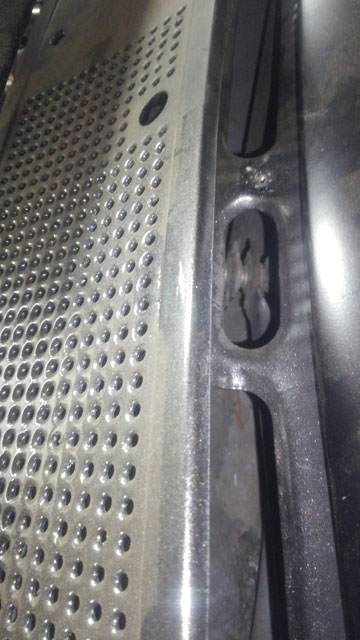 So with that done, i moved it over in the garage, so id have room to work on the tailgate:  This unfortunately is not done. I ripped the whole gate back apart, check the window tracks & all the seals, greased the regulator, made sure everything is moving good, and even swapped the motor out for a different one, but its still struggling to roll the window up. Its like the old motors dont have the torque anymore to compress all those new seals. But, a new motor wont be here til wednesday/thursday, and this kinda works, so i closed the window and moved on to the next task..... I made a little progress on the driver door today 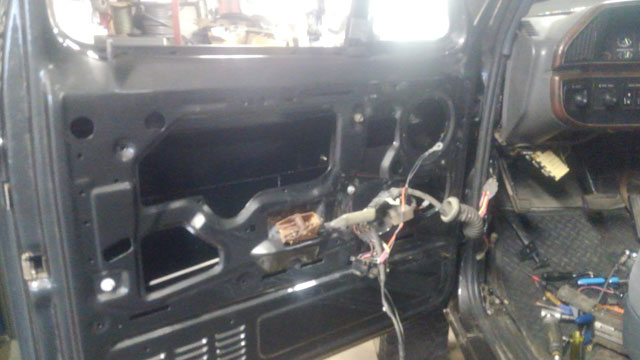 Put the wing window in, window tracks & felts, regulator, window, and then realized the plastic gears in the motor were bad! Fortunately, i had another regulator that i had already repaired, so i pulled the glass back out, swapped that regulator in, and put the glass back in. Dont ask why i didnt put that one in, because i dont know. I did some upgrades to the wiring harness while the door was apart. Added one of these:  Its the one-touch module out of a Probe? or Taurus? Maybe Taurus. I dont remember anymore. I got a bunch of them out of the junkyard years ago and theyve just been sitting in a box til now. So yeah, driver door harness all redone, with the module wired in and functional!  The harness is installed in the door and good to go, but this is about as far as i got. I still need to fix the speaker wires, and then i can finish up the kick panel & door panel. But, with tomorrow being New Years Eve, i dont anticipate working on it again this week. I have a new horn & wiper motor coming in the mail i think monday, so hopefully next week we'll button up these loose ends and get her outside!! With the exhaust done, the next big project is to reassemble the doors! In continuing with the no-chrome trend, i disassembled the door handles, dusted em, and then shot them with some satin black:  Looks pretty good against the grey paint: 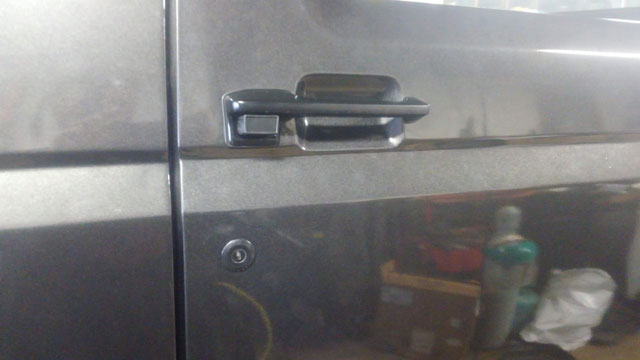 The LMC doors were missing the two lower riv-nuts for the mirrors, so i had to add them (in case youre wondering, theyre 6mm) 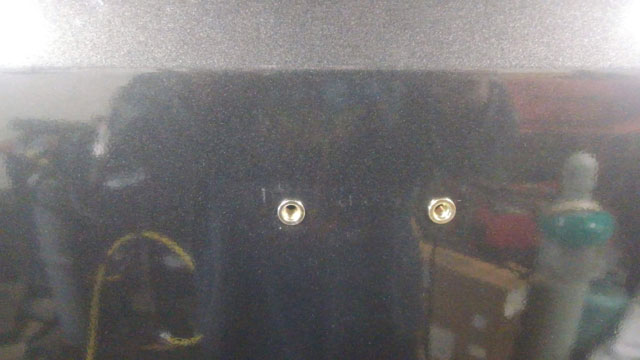 These shells were an absolute pain to get aligned, but the end result looks good- it looks like a truck again! 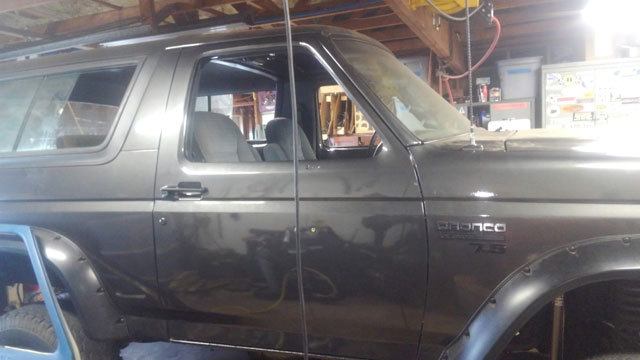 I installed some old school rain guards, because i think they look better on these old trucks than the plastic ones. Black, of course:  I had sound deadener left over from putting the rear cargo panels in (in both broncos actually) so i put some in the doors. front to back, from the bottom up to the body line in the door. We'll see if it helps. 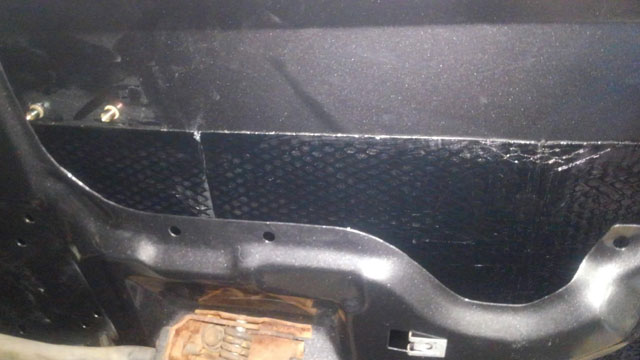 So next up, its time to go back into the box of seals! 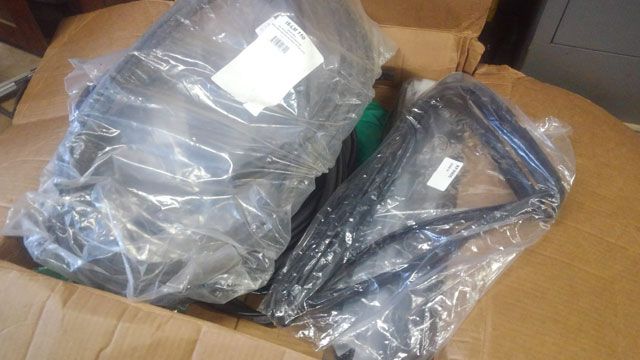 i had ordered the Super Weatherstripping Kit from Bronco Graveyard (along with a bunch of other rubber seals & felts, etc) about a year ago, and ive been slowly working my way thru the pile. The next thing we need out of the pile, is for these: 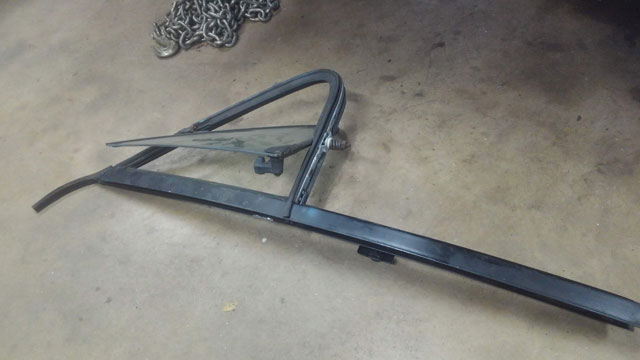 In order to replace the seal, you need to remove the glass. Step one, remove these two little screws: 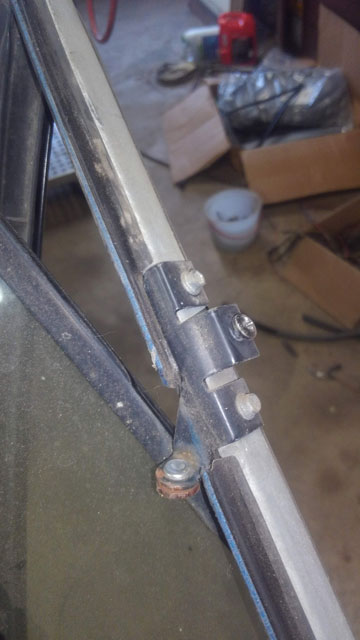 And then remove this nut from the bottom. Take note: there is a steel oval washer + a plastic washer inside the frame, and a second thicker plastic washer under the spring. Each piece gets installed in a specific location and oriented a certain way so make sure you pay attention when taking it apart 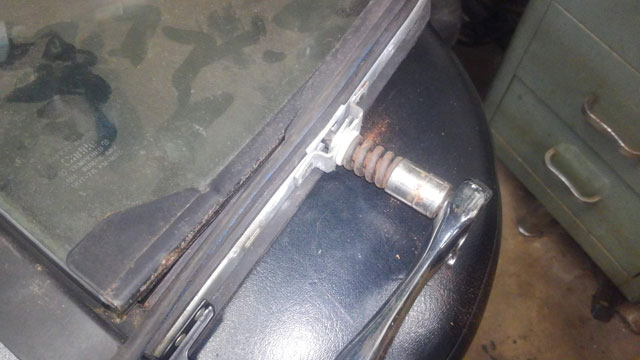 The bare frame after the seal is removed. Ive already cleaned it, and touched up the black paint: 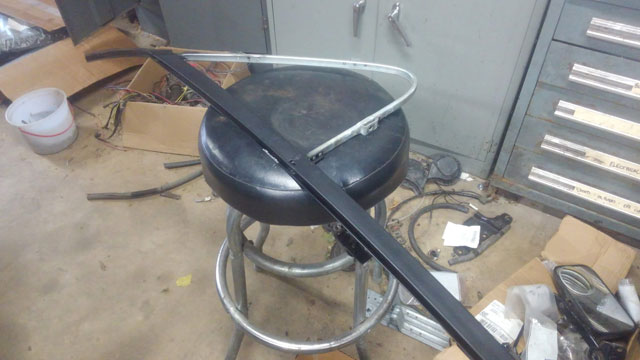 I also took the opportunity to clean up the frame on the glass and touched up the paint on them too: 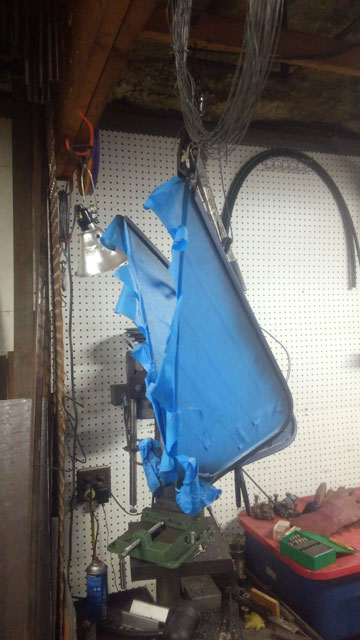 One window rebuilt! I didnt take pics of the seal install. Honestly, it sucks. A lot. It takes a decent amount of finesse, and i had to use some wd40 to lubricate the seal to get it to seat into the frame. The first one took me an hour to do, the second went way faster. If you dont get it installed properly, the window wont close properly, or the seal wont stay in place, etc. Youre gonna curse up a storm and swear it doesnt fit but it does, it just sucks that much to do. 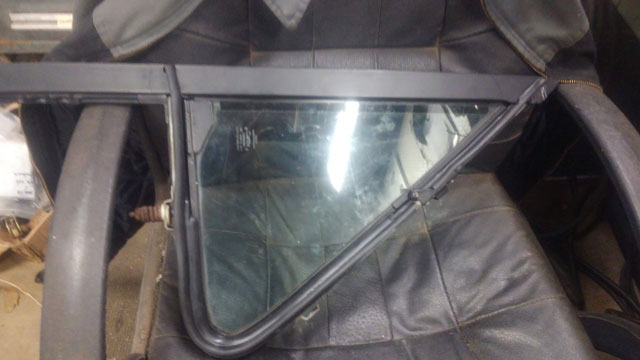 With that done...lets build a door! 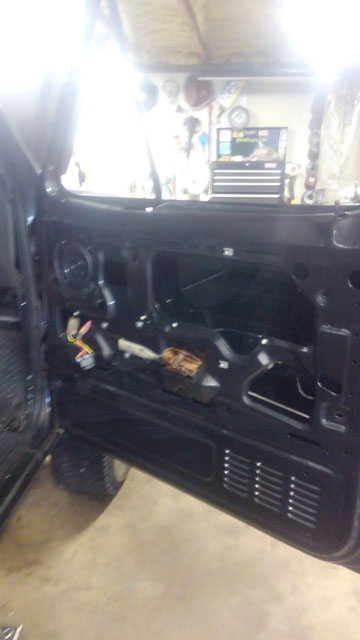 Dug out my door panel. This is gonna need to be cleaned up. Also, we cant have that chrome strip on there! 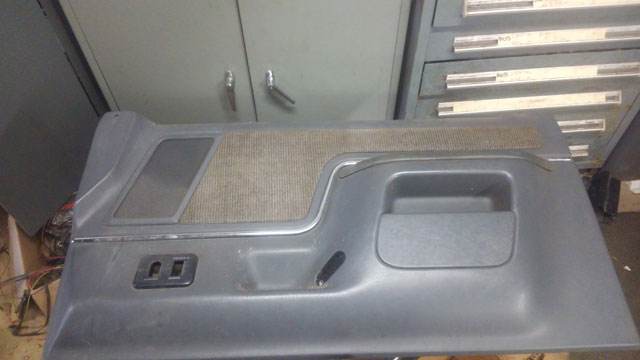 Chrome strip removed, door panel all cleaned up and looking way better: 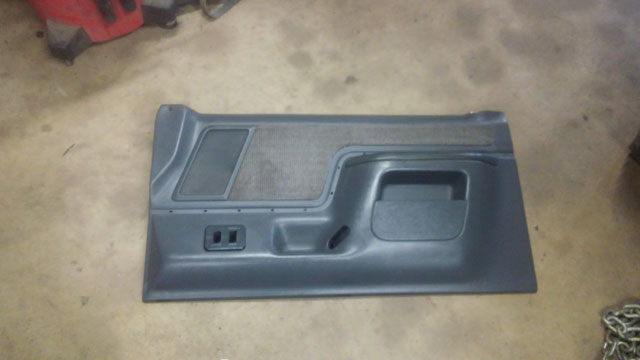 I prepped the driver side door panel at the same time. Also got both chrome strips cleaned, sanded and painted satin black: 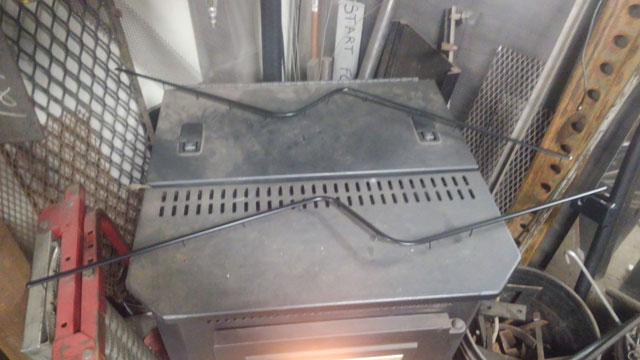 One set of window run channels, felt glass wipers, a bunch of them body panel clips and viola! Weve got a completed door!  Next up ive got to do this all over again for the driver door, but then the interior is done! After that weve got to
Ok small update, but progress is progress! I didnt know what i wanted to do for my exhaust. When its a rock crawler it doesnt matter where it goes, its gonna be in the way & get smashed. So i made something simple that would be easy to service, and replace when it gets smashed! First off, the muffler: Gibson MWA 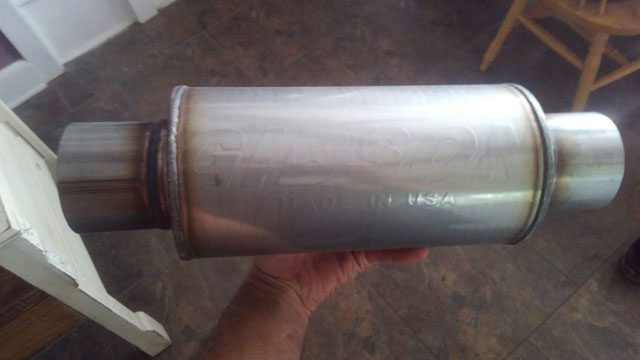 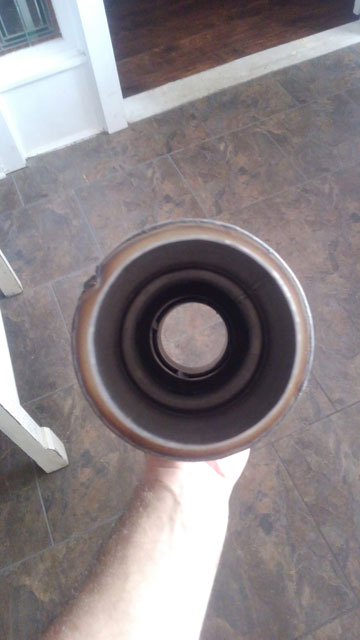 Let me just say, it sounds mean. Idle actually isnt that loud, but damn does it have a rumble when you rev it! I havent heard it with a tailpipe yet, but thatll come soon enough... I bought some 3" fittings from amazon for cheap, turned out to actually be some pretty nice pieces. So i mocked it up, and realized this would actually be pretty easy to do! 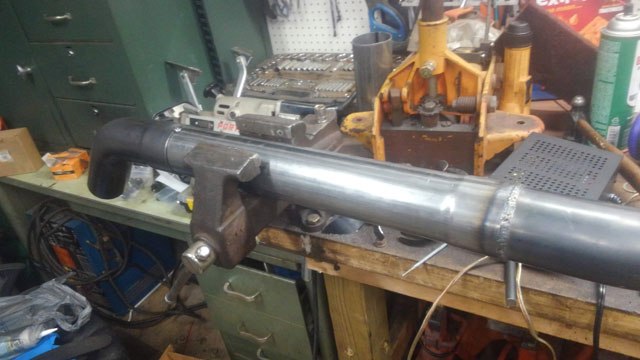 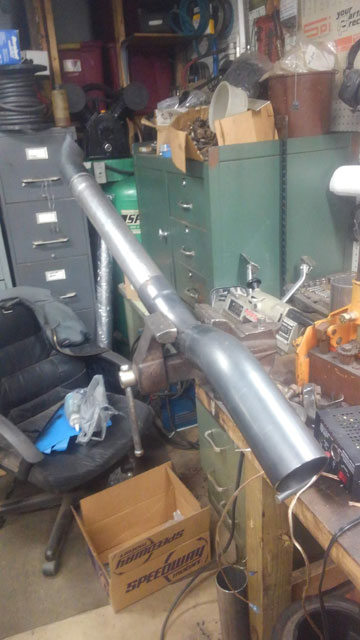 This is pretty much it. I mitred the end to give it a more finished look: 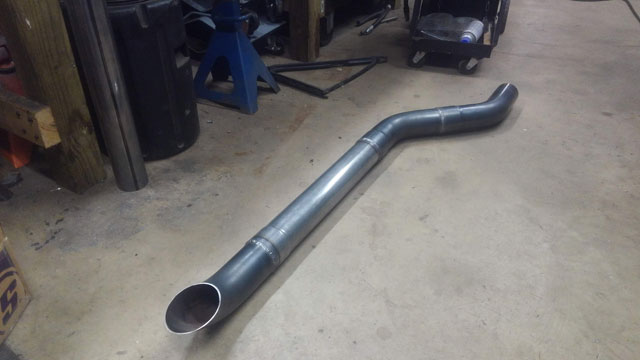 Its tucked up in there pretty tight: 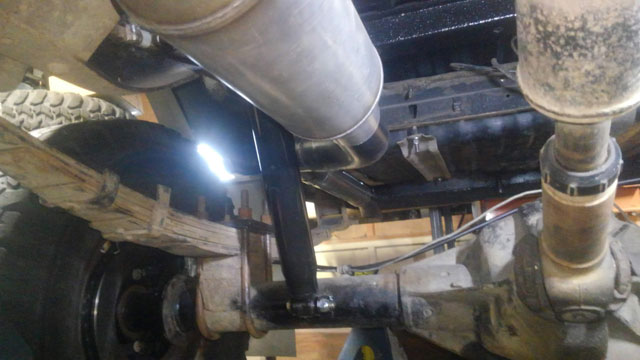 Built a couple exhaust hangars for the frame (one in front of muffler, one on tailpipe): 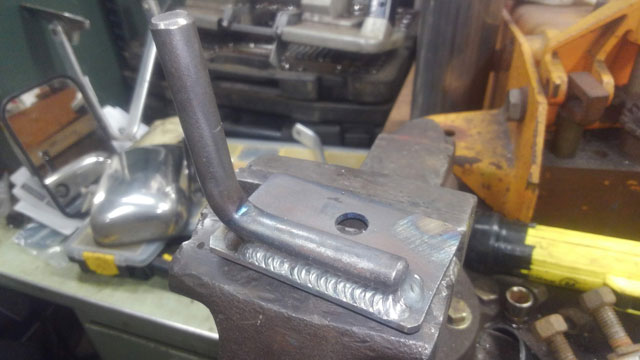 ...and the finished product! 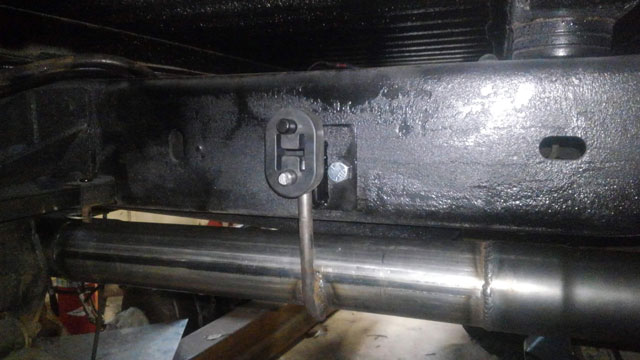 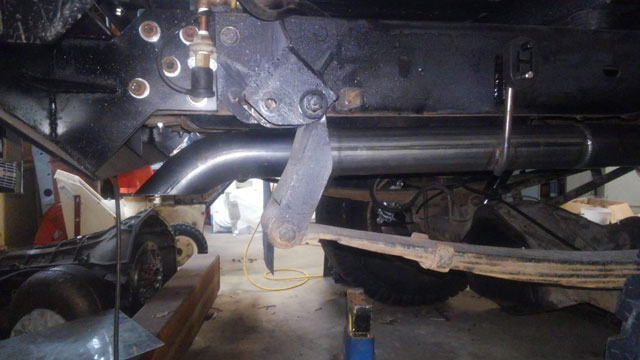 Hopefully its somewhat protected there, time will tell! As a bonus, the doors are hung and aligned as well! So the next day i get some free time ill begin the reassembly of them. So very close now! |