|
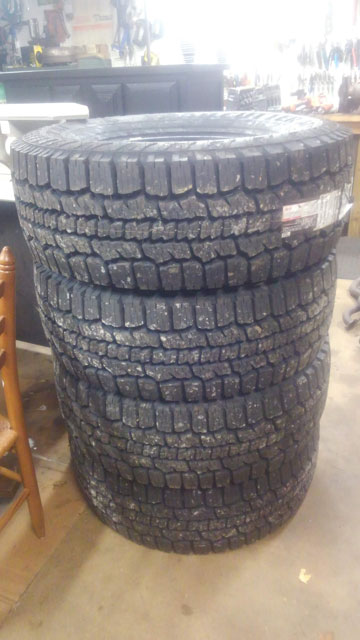
The parts pile grows. 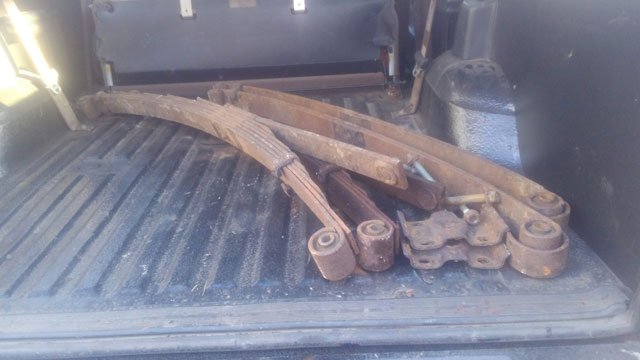 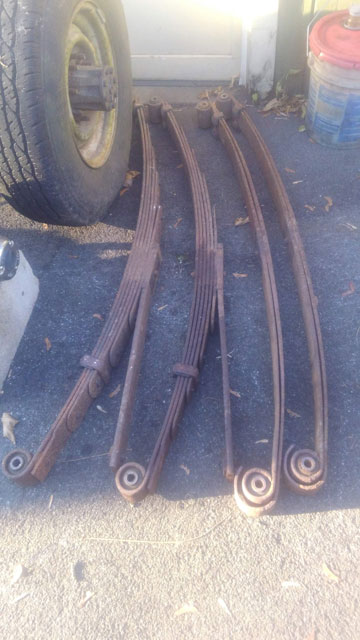 One complete set of leaf springs out of an Excursion! The front leafs are U-Code, and will be perfect for doing a leaf SAS on the '90. The rear leafs will go on the pile for now, as possible replacement springs for the rear of the '96 F250. So weve got this '97 10.25 with 4.10s thats been sitting around in the yard, so were going to use this for the rear axle. 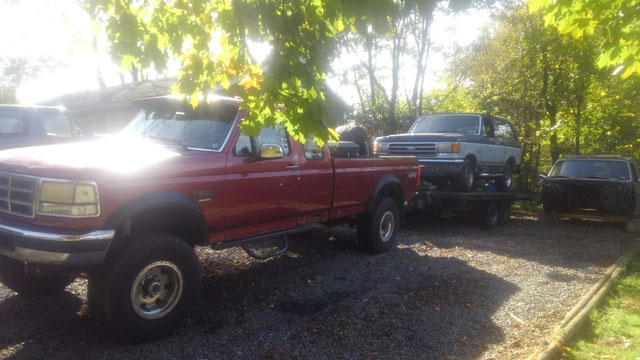 Up front the plan was to do another 3/4 ton TTB using chevy parts, with a junkyard third since the '90 has 3.55 and we want 4.10. So we made a trip up to EZ Pull, and scored: 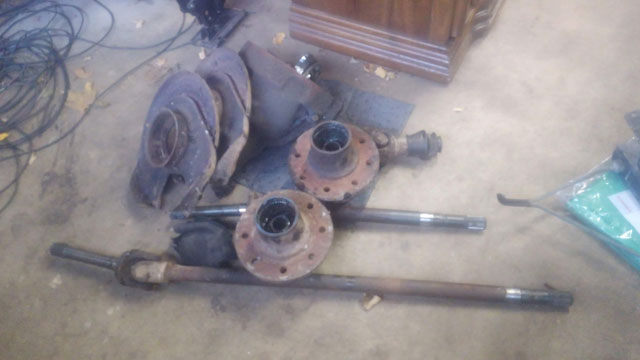 While we were there we also picked up a newer dome light, and a big trans cooler, both of which will be going in: 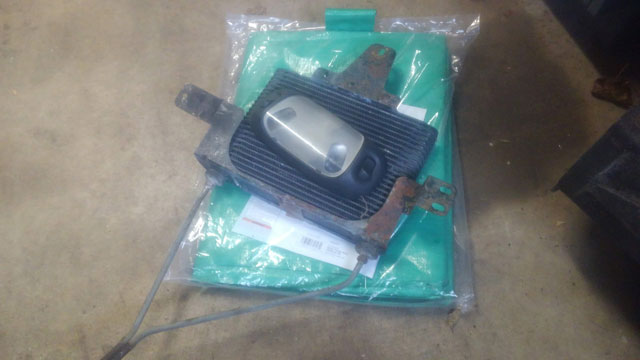 The icing on the cake though, is this: 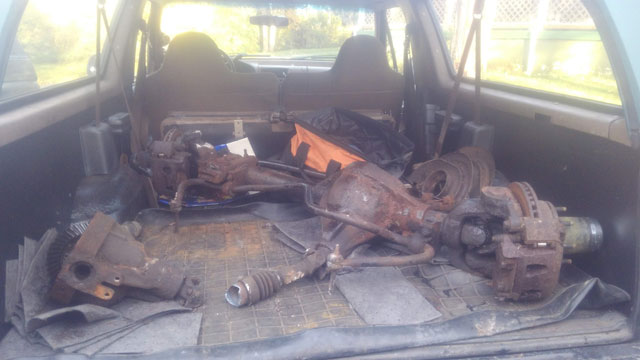 All that work disassembling a 3/4 ton chevy D44, just so we could find a '96 D60 (w/ 4.10s) later! And for a price we couldnt pass up. So now these are sitting in the driveway: 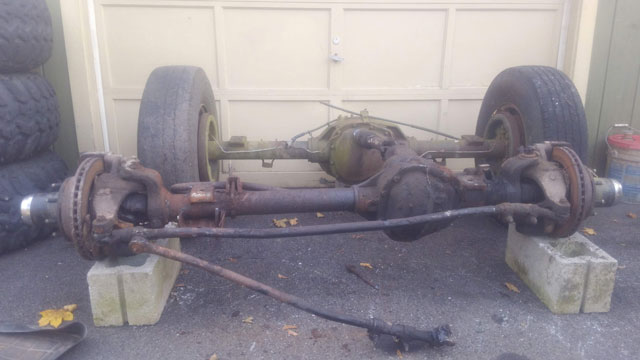 So new plan. Chevy parts go on shelf for spares for the '96, and the '90 is getting a solid axle swap! So we're not ready to start the '90 Bronco build yet, but that doesnt mean we're not gathering parts for it! The current plan is to go 3/4 ton on 35s like the 96 is. And it just so happens we found a set of tires on Marketplace, brand new, for a price too good to pass up so we picked em up and brought em home. 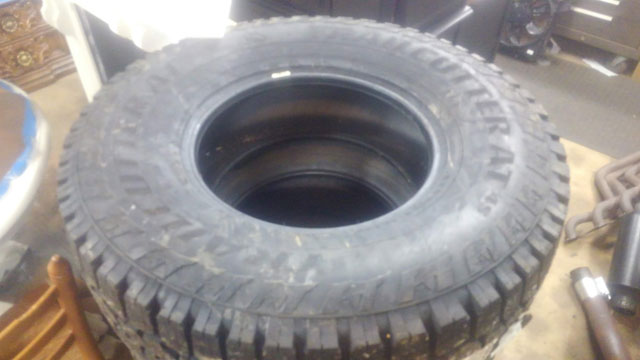
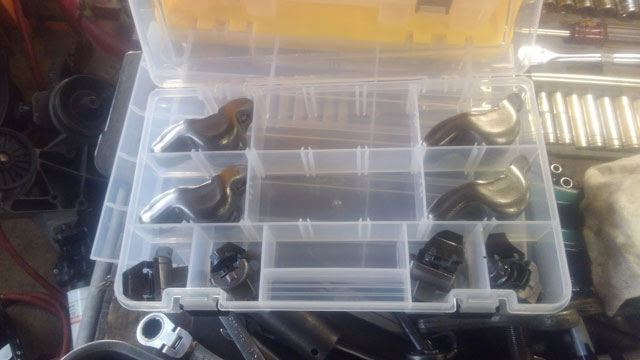
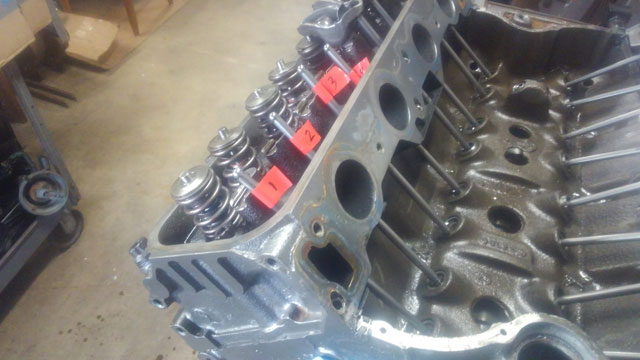
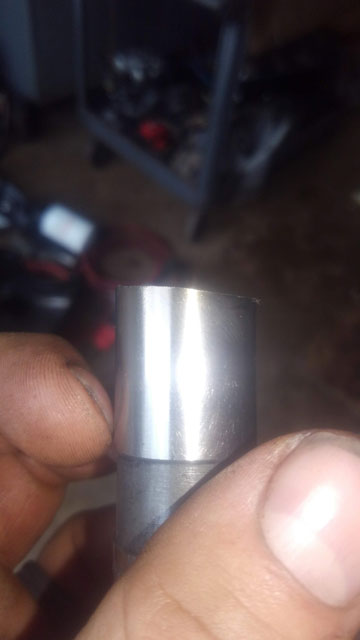
315/70/17. Brand new, still have the stickers on them. Load Range E, and they have the 3 peak snow rating. i think theyre gonna do pretty good. Time will tell! Well...here we go again! So we found a '90 on Marketplace thats been sitting around for several years. Needs a fuel pump plus a bunch of other minor things from sitting unused for years, but its in good shape, and the price was right, so we decided to pick it up! 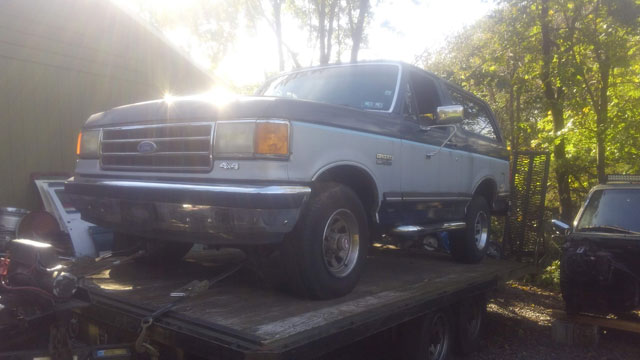 Rear wheel arch is in good shape despite that rust-causing trim. Theres a hole in the bottom corner of the fender we'll have to deal with though  Just a little bit in this wheel well... 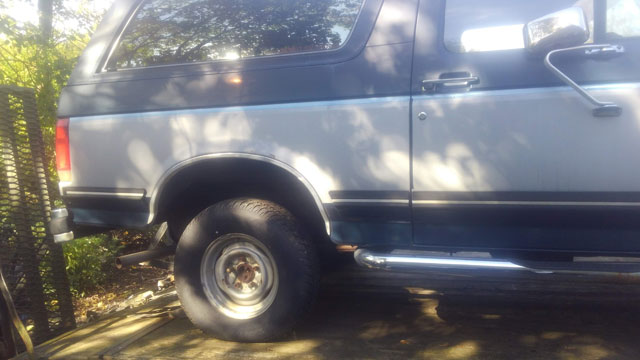 ...and its definitely going to need a tailgate 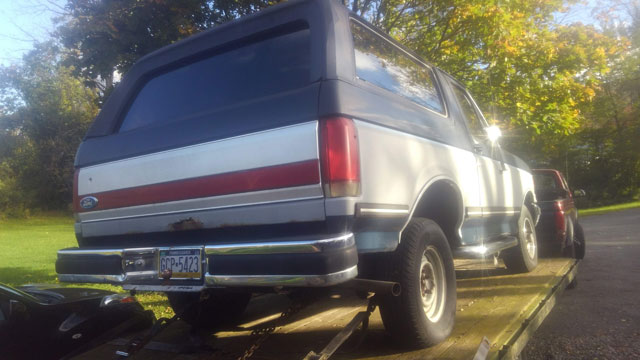 The gas tank is rotted and leaking, fuel pump doesnt work, and the brake system is dry. But its got good bones, so we're gonna give it a second lease on life! So the engine is now back at the machine shop again. We'll see what it needs soon enough. In the mean time, i decided to open up the Kaase oil pump. As expected, its ruined as well. All sorts of scoring on the gears, and the aluminum housing as well 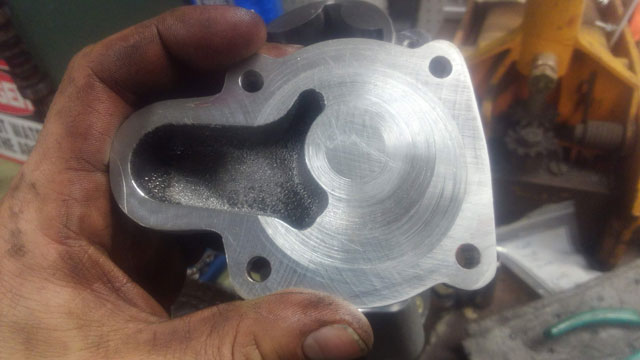 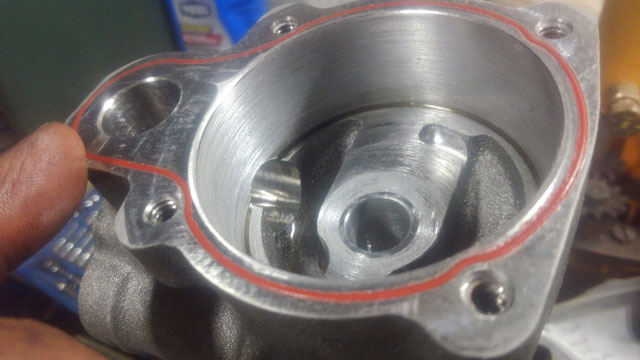  So add that to the list of items that will be getting replaced as well. So the engine came out and went back onto the stand wednesday. Spent thursday & friday disassembling it to see just what went wrong. Heres what i found. I had pulled the oil drain plug the night before, so when i got home from work i could immediately drop the pan. This is what i found: 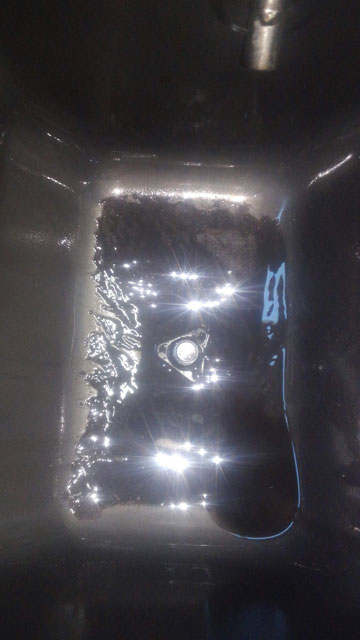 So we're not off to a good start. So i moved to the top end to remove the heads. I bought a cheap ($10) parts organizer from Harbor Freight and used it to organize the rockers + hardware, lifters and pushrods so i could keep track of where they came from
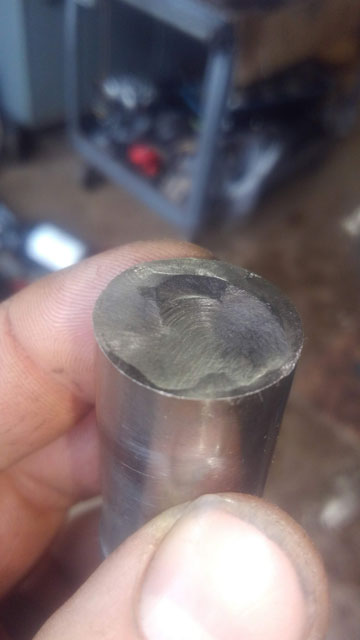
I found 3 pushrods with chips in the top. Coincidentally all exhaust valves 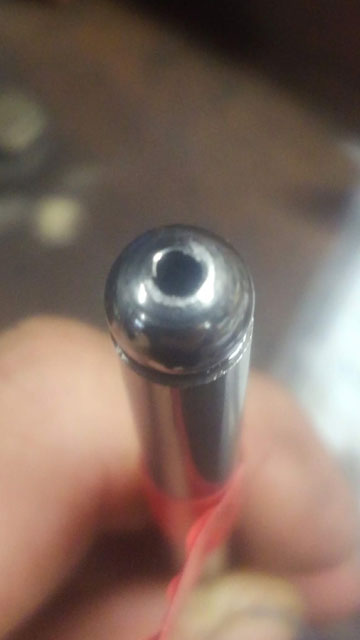 Heads off: 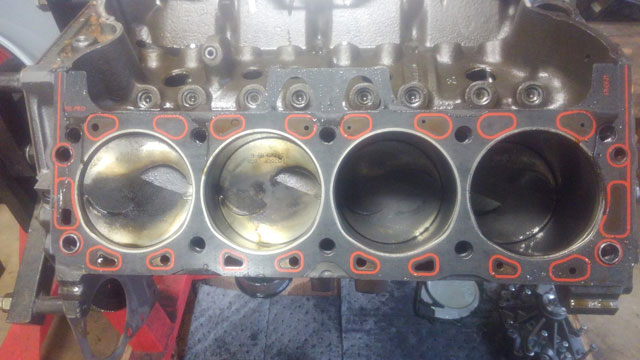 I can see slight scoring in the bores: 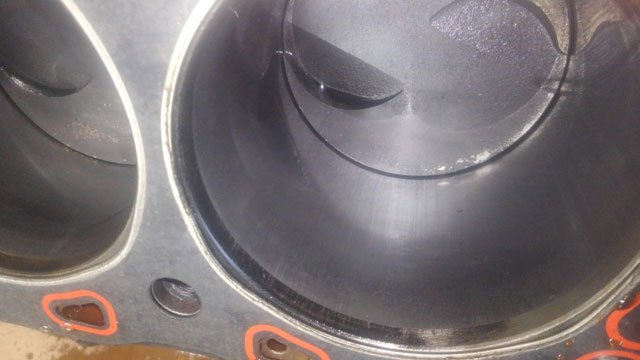 Rolled over, lets inspect the bottom end: 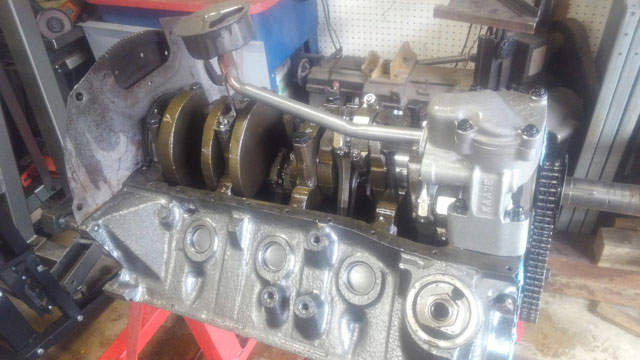 If its not clear in the pic, the oil pickup is absolutely covered in metal, to the point of it seeming like it was dipped in nevr-seize 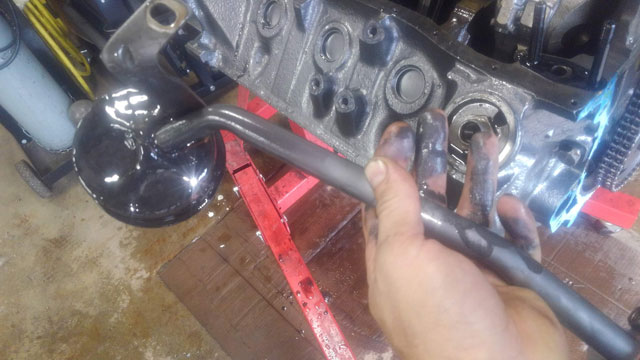 Pulled the #2 crank bearing cap, and well.... 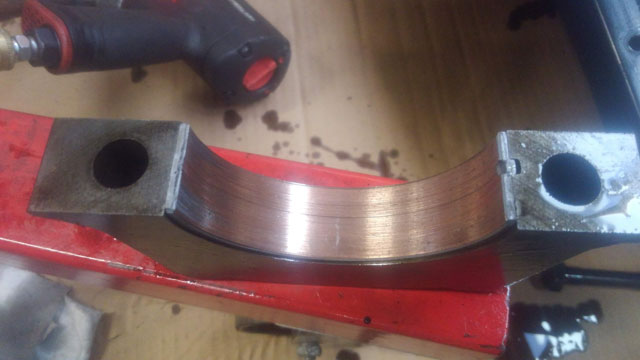 Scored to all hell, including the crank journal. Pulled a rod bearing, and same thing: 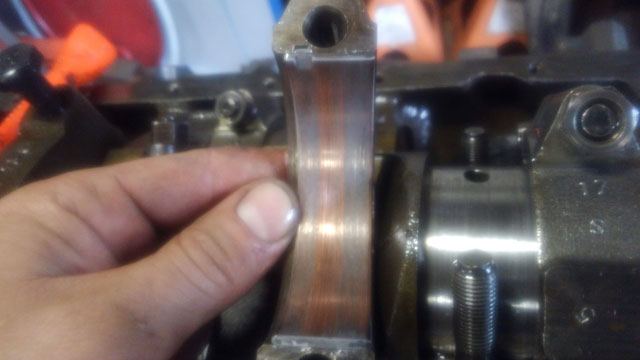 This is typical of all rod bearings:  Crank is out. All bearings wiped, all journals scored. I hope i can salvage the crank. 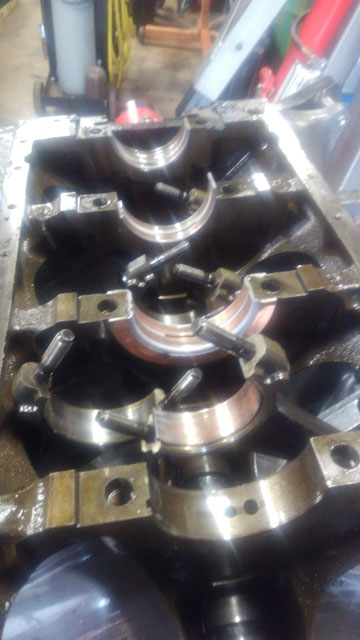 Starting pulling lifters. #5 intake lifter is wrecked:
#7 intake lifter also damaged, altho not nearly as bad: 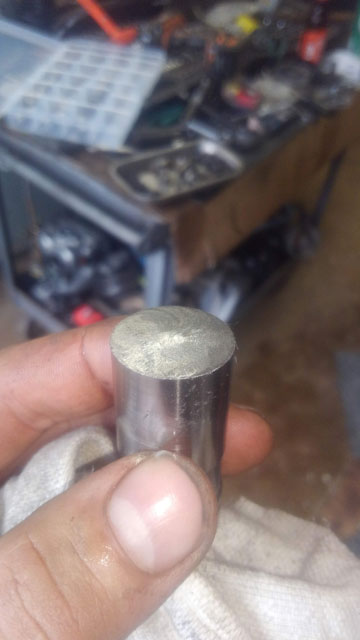 Cam lobe wiped out: 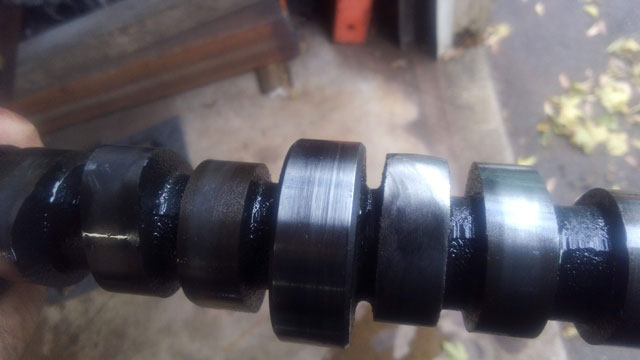 All piston skirts showing wear: 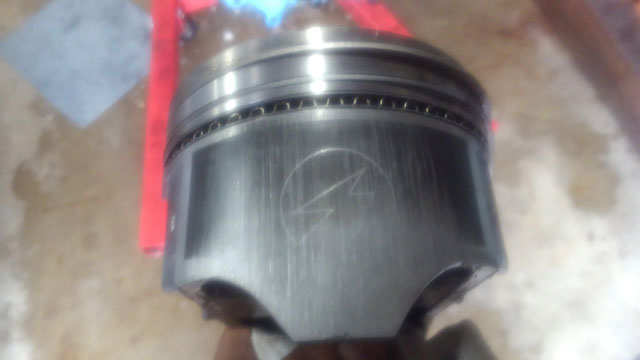 All cylinder bores scored: 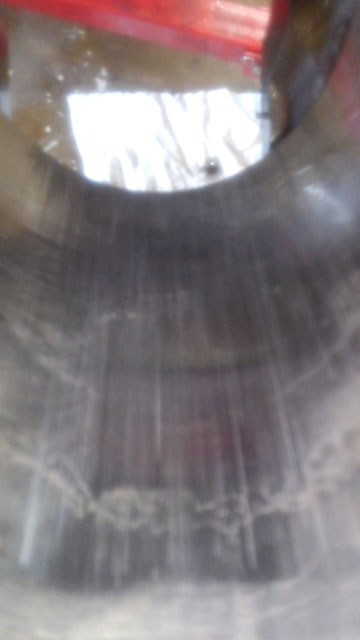 And the bare block, waiting for its return trip to the machine shop next week: 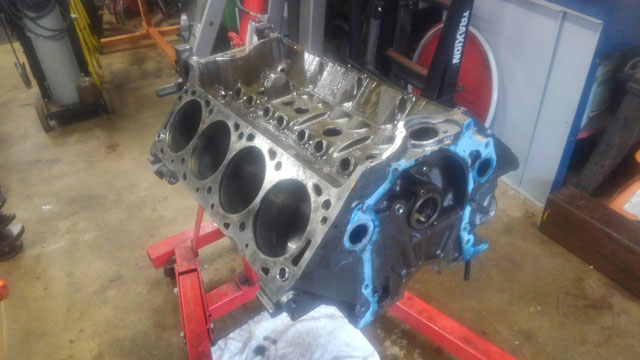 You know what they say....any job worth doing, is worth doing twice. 466 on its way back out: 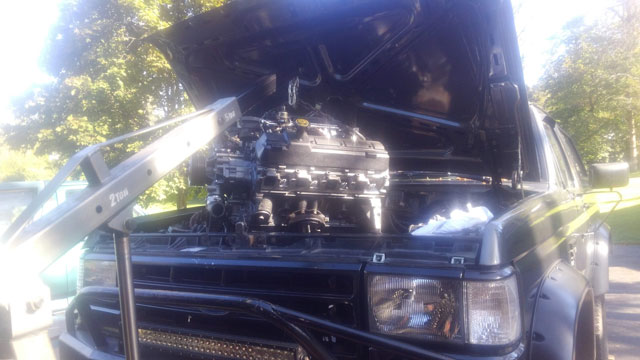 Slinging this thing by myself, without removing the hood, wasnt easy. 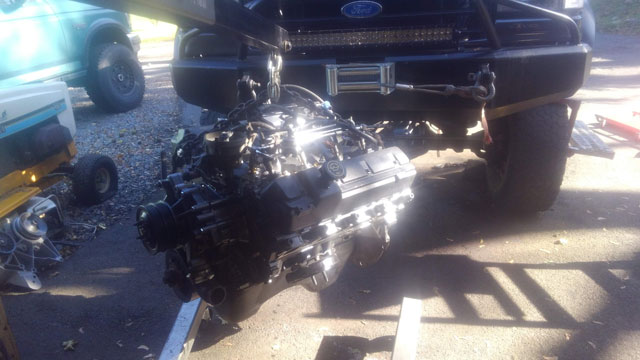 So here we are again, back on the stand. Now to see what went wrong. 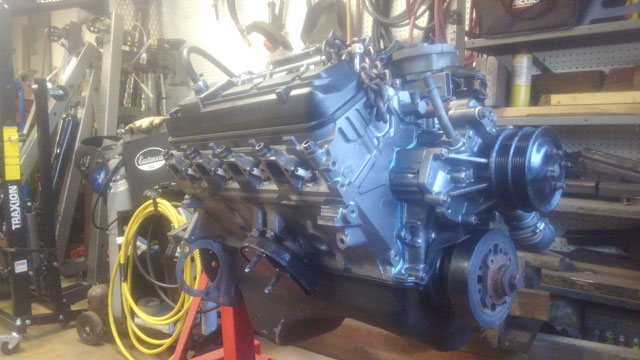 So i have two oil pressure sensors in the rear port on the block. The OEM sending unit, and the aftermarket one from NVU. So i removed the OEM one and hooked up a mechanical gauge there. Pulled the distributor and ran the oil pump via the driveshaft, and i see ~40 PSI on both the mechanical & electrical gauge, so that confirms i have oil pressure when cold, and confirms my electrical gauge works properly. Drained the oil, pulled the filter, cut it open, and i dont see any bearing material. Brought the filter over to the machine shop since hes only about 5 minutes away and he agrees, no bearing material in the filter. Today i changed the oil out for Rotella 15W40 (this time i put in 7 quarts instead of 6), ran the oil pump via the driveshaft and got ~48psi, which id expect from the heavier oil. Put the engine back together and fired it up. Ran it at 2k rpms for 4 minutes, and in that time it dropped to about 5-6psi so i shut it down. Waited 5 minutes, fired it back up and no oil pressure at idle. Shut it off, waited another 10 minutes, and fired it up again. Barely any increase in oil pressure. So i dont think its a problem with oil draining back down to the pan. At this point i cant see anything else i can do, without pulling the motor back out. I have been hesitant to update this, because reasons. It runs.  It took me 4 weeks to get to this point. I have been working on the engine 20+ hours a week, every week since my last update a month ago. Timing cover came back off, bought a different set of fuel injectors, and a second wideband O2 sensor as i probably ruined mine. Passenger header has been off 3 times, still leaks. Struggled with the tune. Still not right, but im going to have to replace the headers to get it right since i cant get the one to stop leaking. The engine is still not 'broken in'. I am dropping to about 5-6 PSI on oil pressure (at 2k rpms) by the time the thermostat opens. Idle might be close to zero. I dont know whats wrong. Im going to try to get a mechanical gauge on it tomorrow to make sure. I expect the motor is going to be coming back out. So the frustration level is high. We're getting close. 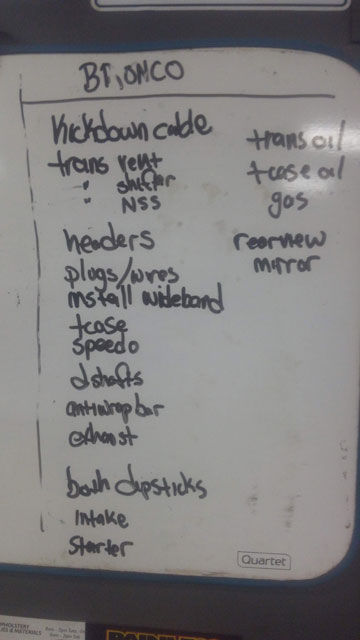 In between multiple storms, ive checked off about 75% of everything on that list. I finished everything for the trans. Kickdown, shifter, NSS, and vent. Just needs ATF now. Starter and headers are installed now: 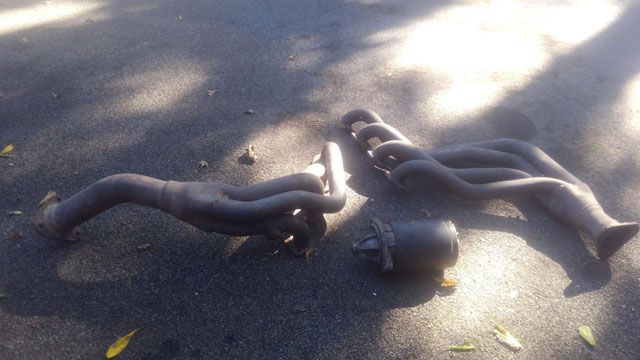 The stock 460 intake has horns in it, to reduce airflow while increasing velocity. Well, with everything ive done to the motor i need the additional air volume, so i removed them: 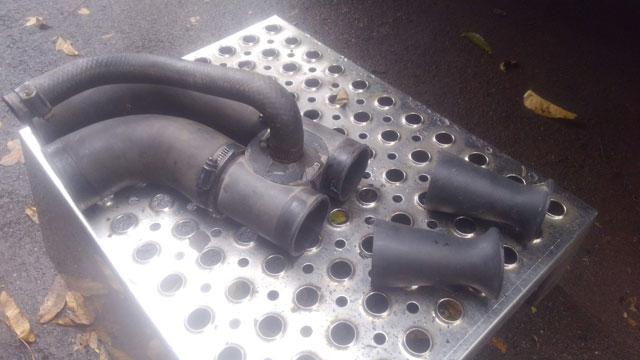 So with the headers in i installed the plugs & wires, coil, air filter, intake, pretty much everything that was left. Pretty sure the only things i have left to do, is add coolant and hook up the battery! 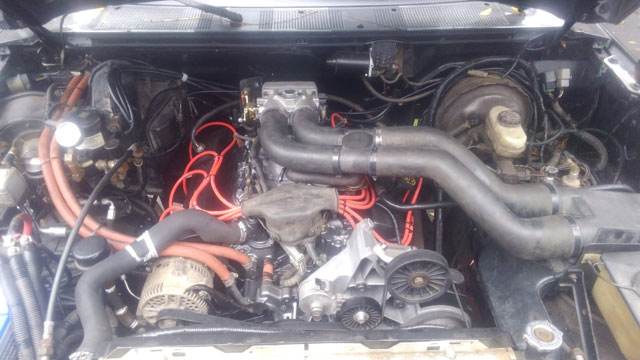 So today i finally sucked it up, and drug this out of the garage:  It royally sucked, but its in:  The doubler fought me every step of the way. So while its in, thats as far as i got. Still need to hook up the shifters, vent lines & speedo cable. Then i can put in the anti-wrap bar, both driveshafts, exhaust, and i have to run the wires for the wideband O2 sensor. Be ready, cuz if all goes well, she'll be running next week! |