|
Couldnt get the window in the back of the green bronco to roll down from either switch. Hot wired the window to get it to roll down and then did some troubleshooting- turns out it would roll up from the key switch in the bumper but thats it, no other function worked on either switch. 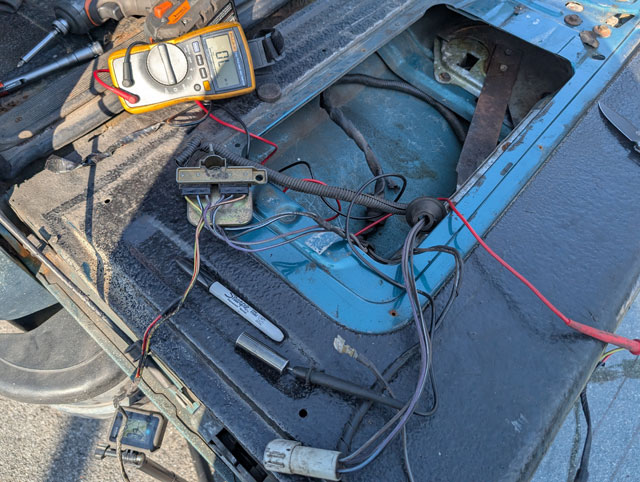 Dug deeper, and figured out that the ground path through the 'Up' switch in the tailgate had failed, causing it to not roll down from the tailgate switch 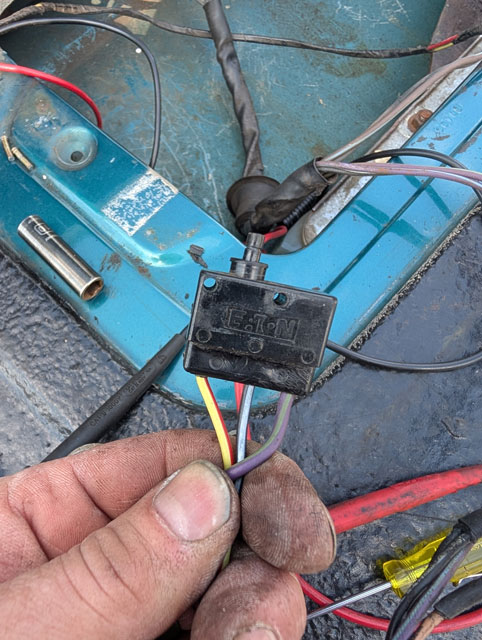 Decided to do some destructive exploration. Busted the corner off the switch to inspect the contacts. Fixed it, but i also lost the spring and busted the corner off, so technically its still broken lol 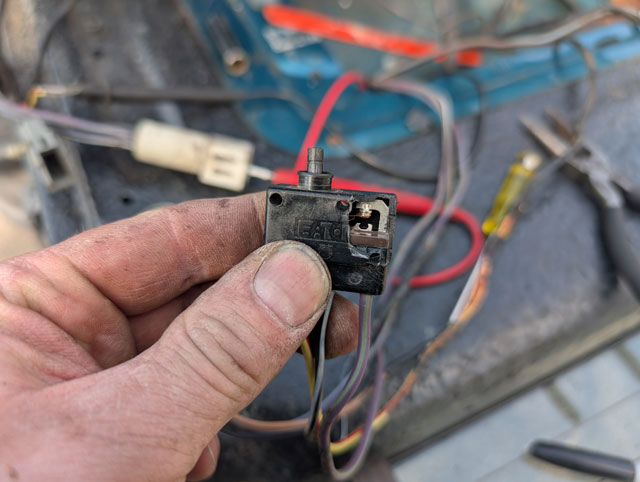 With the path through this switch broken, neither up nor down would work on the dash switch, and down wouldnt work on the tailgate switch. Fortunately ive got a parts bronco in the garage so i stole one of the switches out of that harness and bolted it into mine using some 2.5mm hardware from one of the r/c trucks 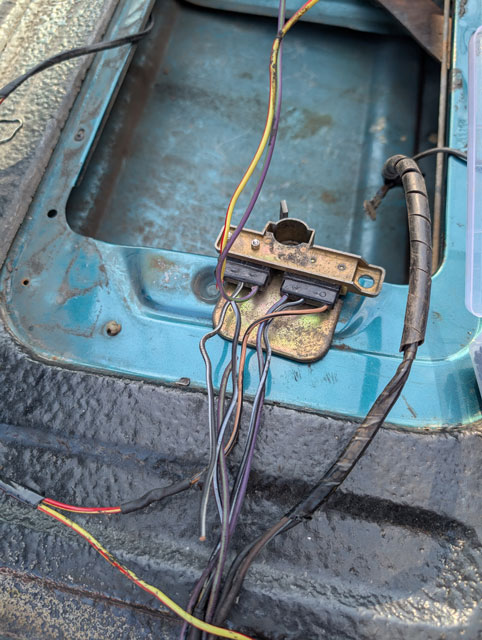 ...and here we are, replacement switch successfully wired into my harness. Now i just have to put it back in the bronco and we're back in action 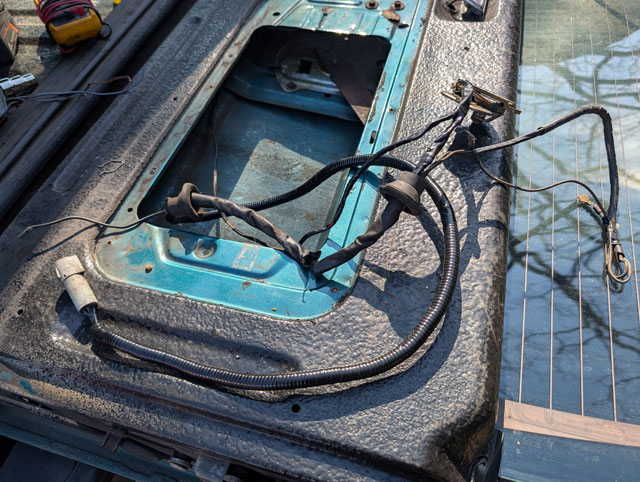 Ok, job done, time to get back to the parts bronco! 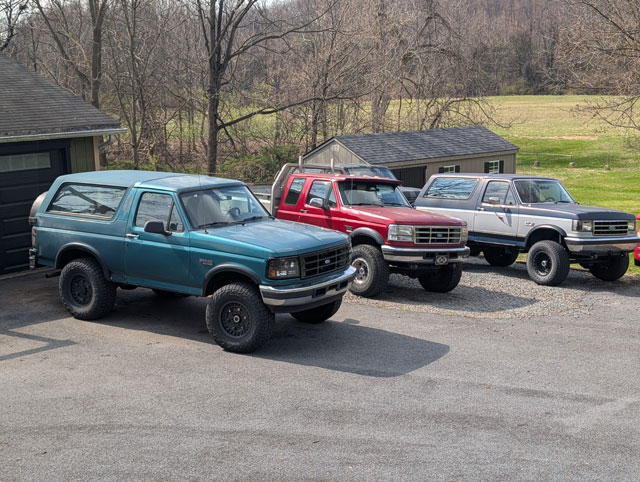 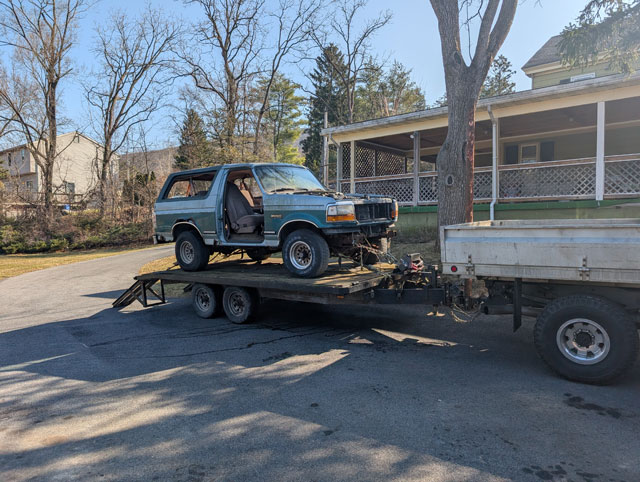 Drove the bronco to work last night. Headlights are a big improvement! I need to adjust them a little bit more yet, but heres what they looked like last night: Low beam 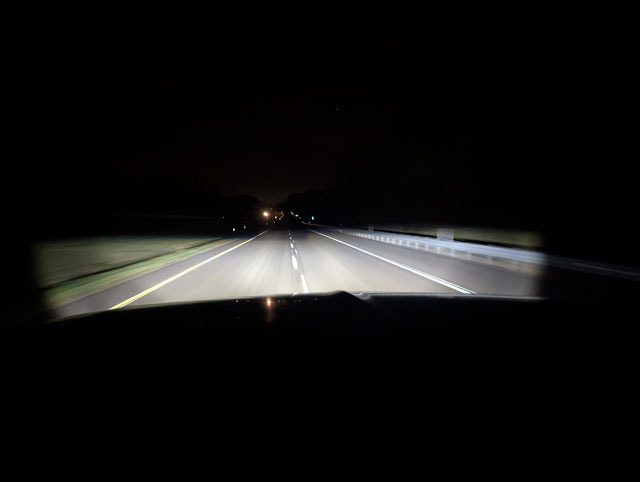 high beam 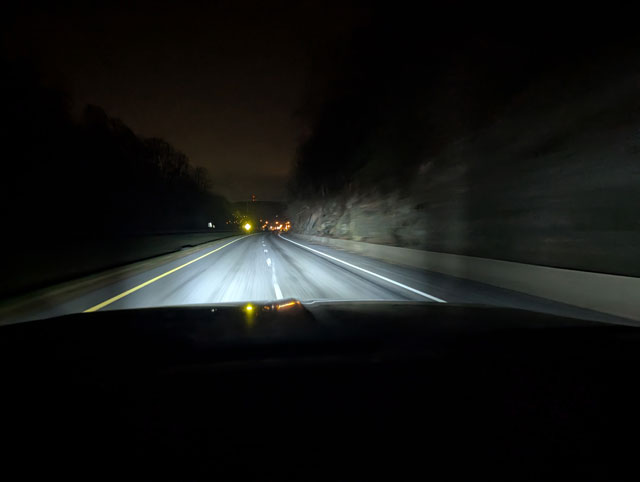 Suffice to say, im pretty happy with the end result. Running Hikari LEDs in them from Amazon- i think the pics speak for themselves. Finally had some time to deal with this  All 3 lenses shattered, mounting tabs broken, chrome retaining ring broken. Nothing salvageable in this corner. So, a year or so ago i bought headlights for this thing, and never installed them. Since i need new lights, and i already have these, theyre going in. 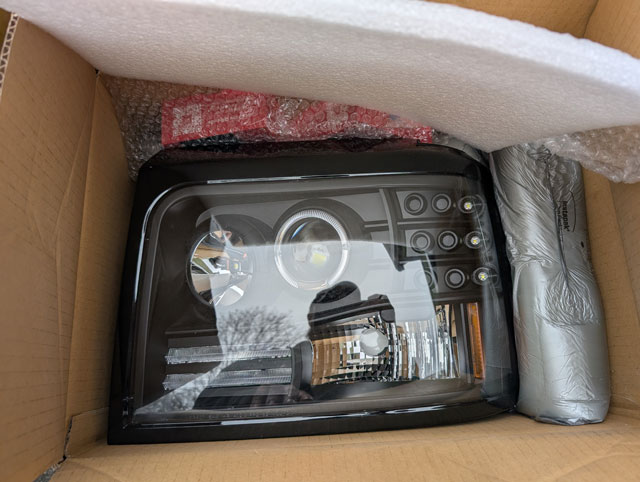 Grill and housings coming out 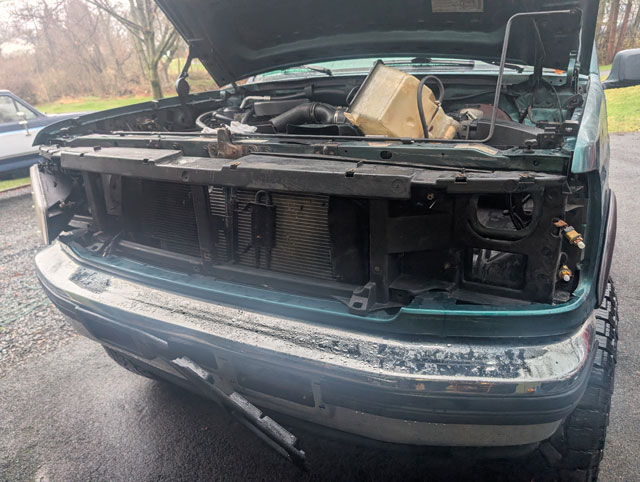 Header removed, so i could remove the stone deflector 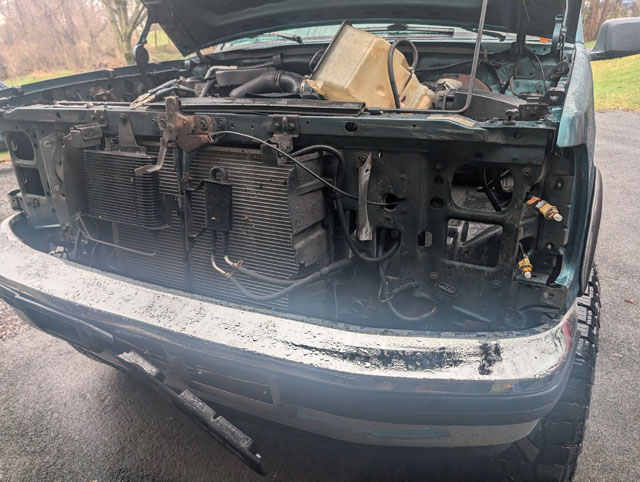 My dented one, from that deer hit last year 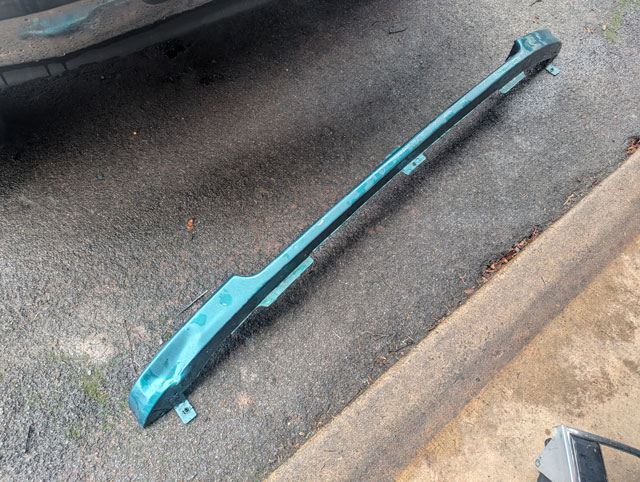 parts truck piece, same color, and no dents 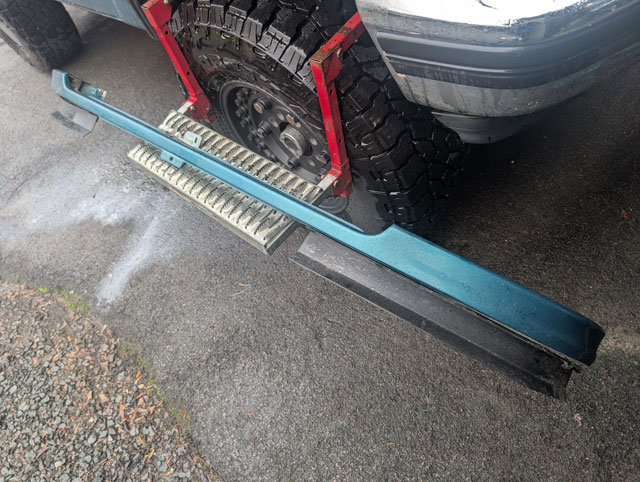 stone deflector and header reinstalled  housings going in 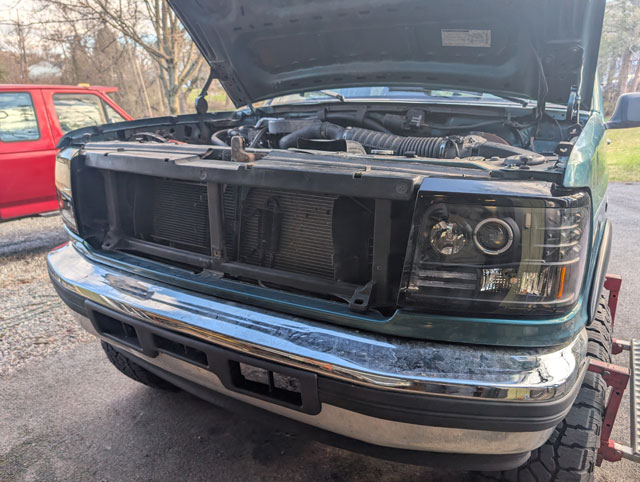 ...and the finished product! I had a gloss black grill in a box i was saving for this project, so it went on at the same time 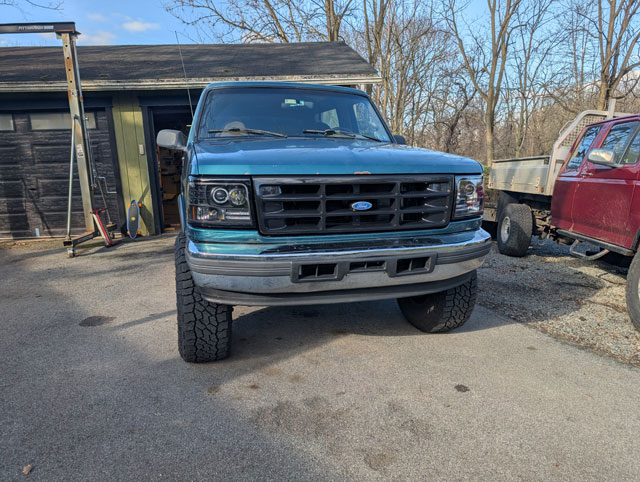 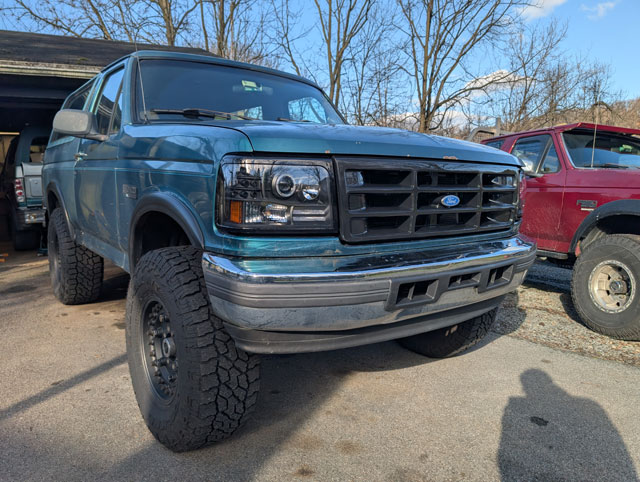 This is one of those mods where people either love it or hate it. Honestly, im torn, because it completely changes the look of the front end. But, having projector housings should be awesome for night driving, we'll see. Im going to have to aim them on my way to work tonight. Im now thinking i need to find another 20-22 Superduty bumper to put back on this thing, and then maybe color match it to the truck. Might look cool to have a green/black bumper on there instead of the chrome, especially since now the only chrome on the truck is the bumpers. Rusty! 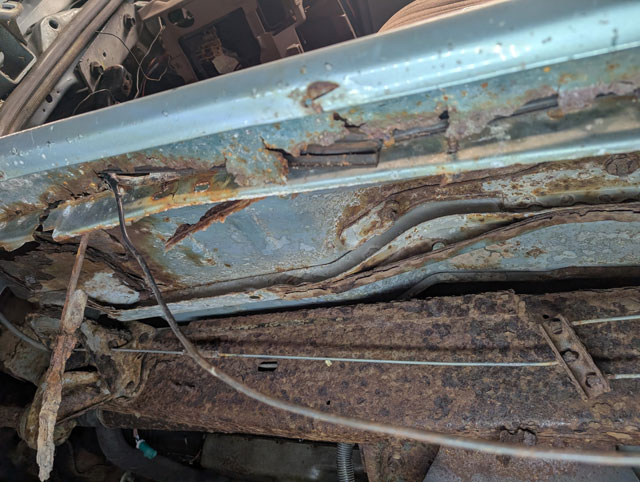 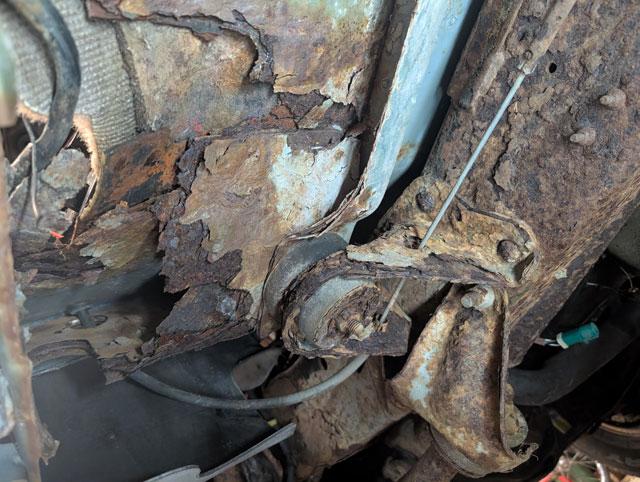 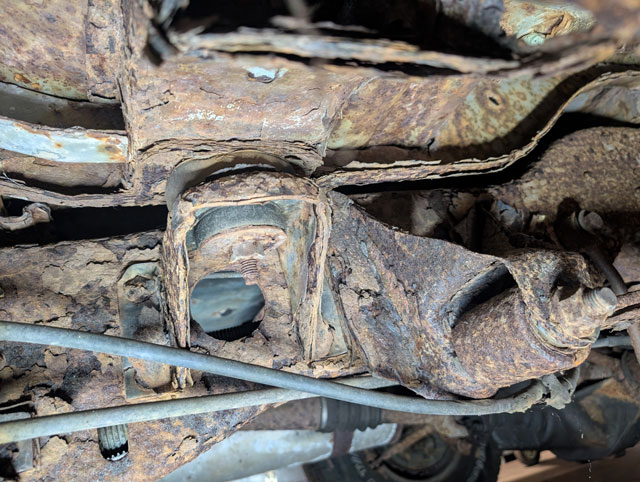 Ok enough of that, lets get the tcase out 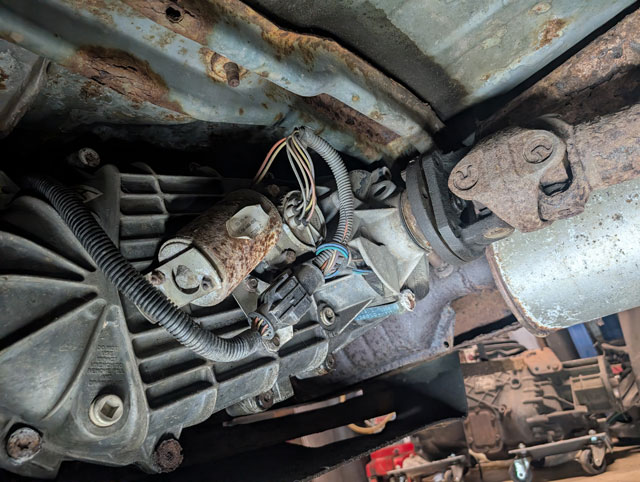 Hmm, seems someone already started taking the driveshaft out 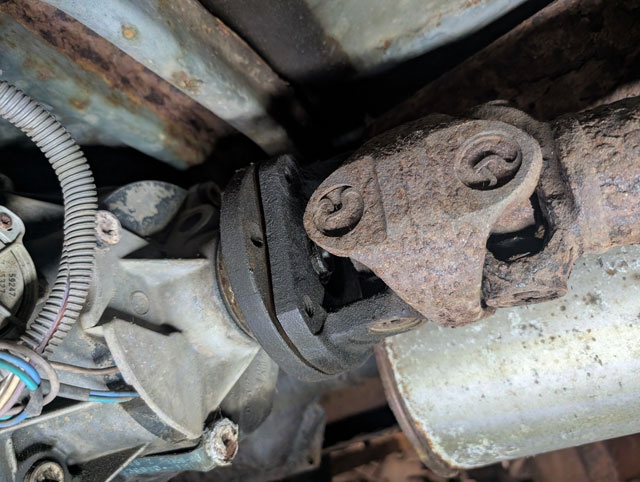 Cut out the cats, sold em for $110. This thing is already making me money, lol 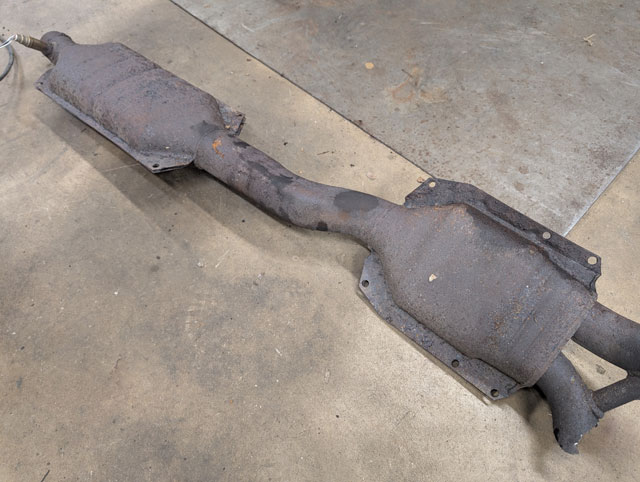 No drain plug in the pan? Screw it, self tappers to the rescue!  Yes, i put the screw back in the hole the next day, lol One pile of parts: 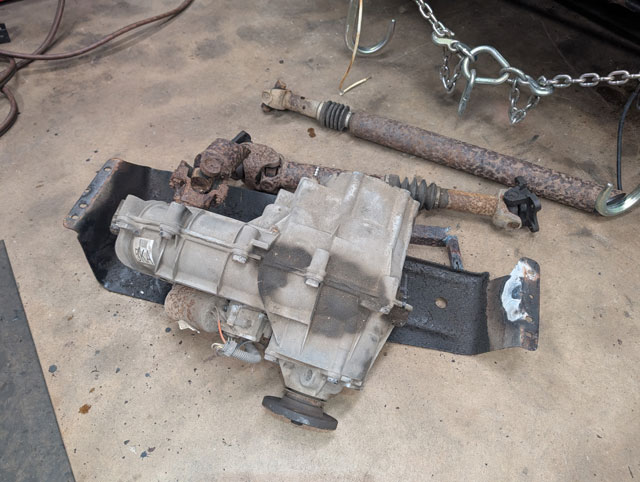 Pulled the light housings and the plastic header since its mint 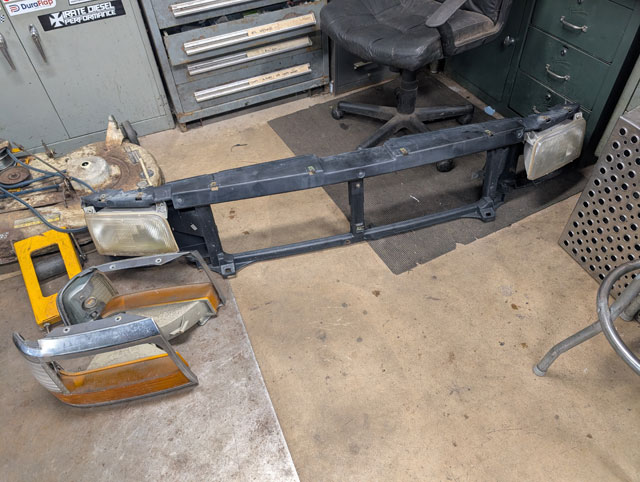 Not much left thats good to take... 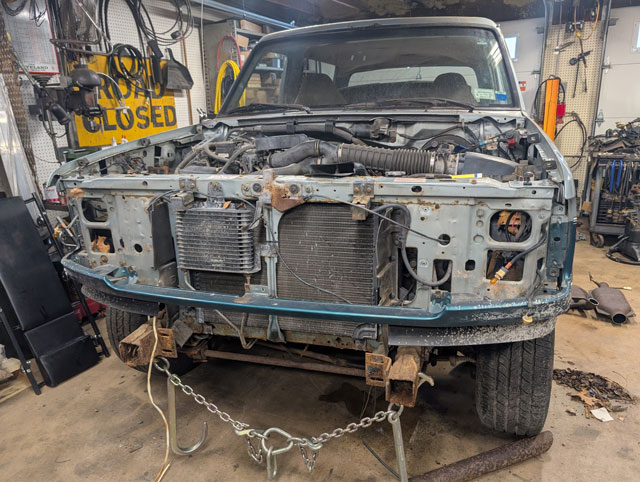 ,,,except that stone deflector, which just so happens to be in mint condition too, and the same color code as my green bronco! 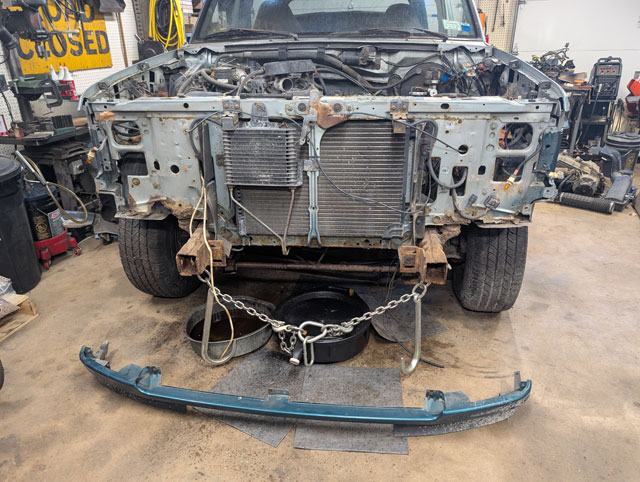 So we had a wild storm the other night, 70 mph winds, raining sideways, etc. Driving in to work that night i hit a downed tree, and smashed the headlamp housing and chrome trim for it 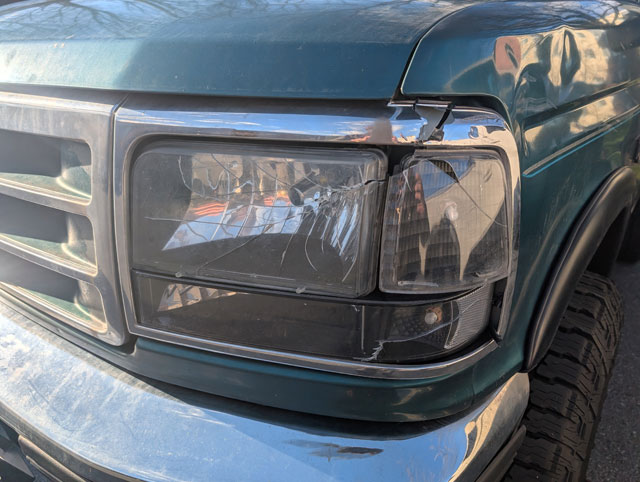 Ive already got a set of headlamp housings i bought years ago in a box in the shed, so i guess thats Monday's project. Rip all the broken parts off, swap in that dent-free stone deflector, and put some new light housings on. Its Fake Spring in PA this week, so lets get some work done! This is a parts truck i picked up way back in December! Finally have time to dig into it.  Its a 96 Bronco w/ a 351w, which is mainly why i got it. Its a very badly rotted plow truck that gave her all until the frame broke at the steering box. Anwyays, lets get this thing in the garage! No steering & no brakes, im sure itll be fine! 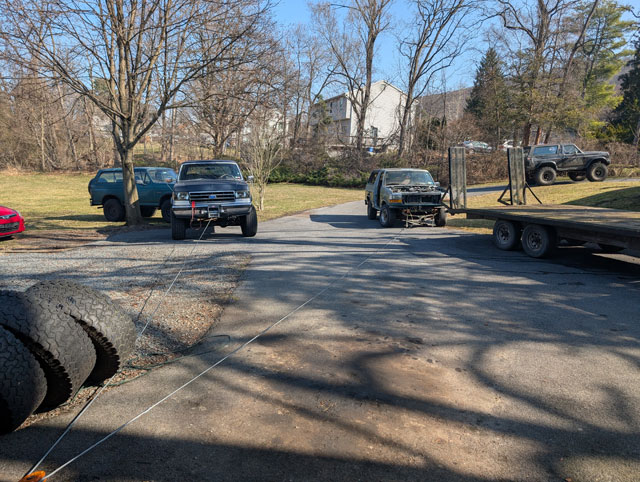 Joe wanted the driver door, and i wanted the wiring harness so i could put power windows & door locks in my green 96 (the DD) 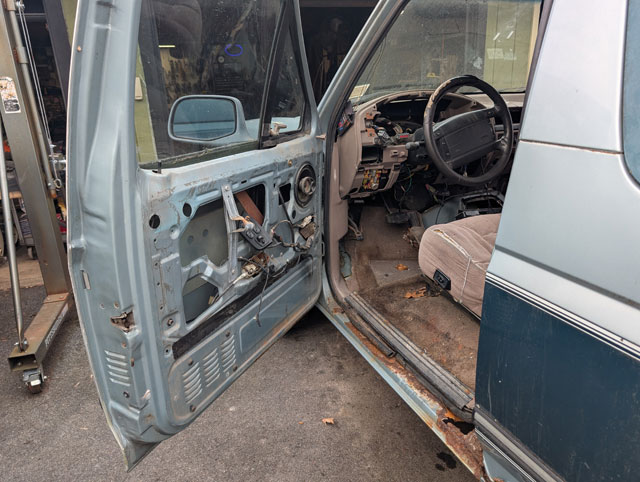 This thing is rusty! 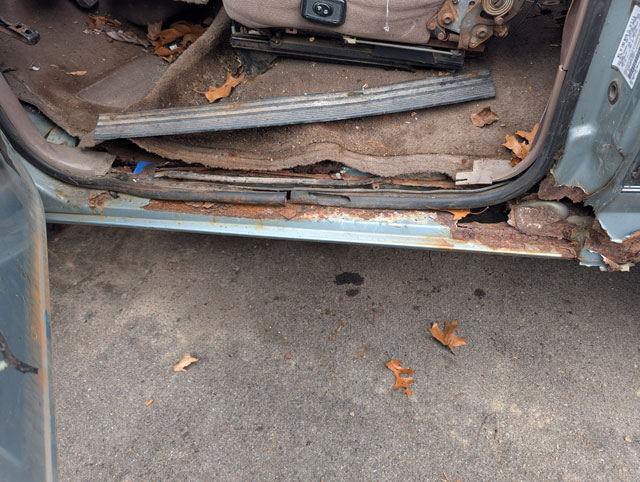 Pic is deceiving, theres no floorpan! 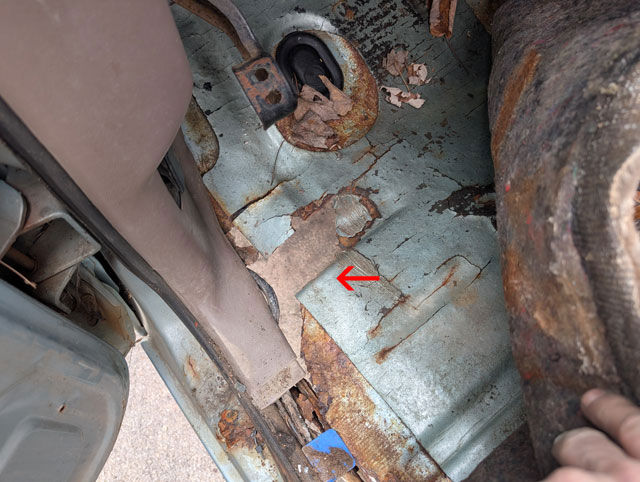 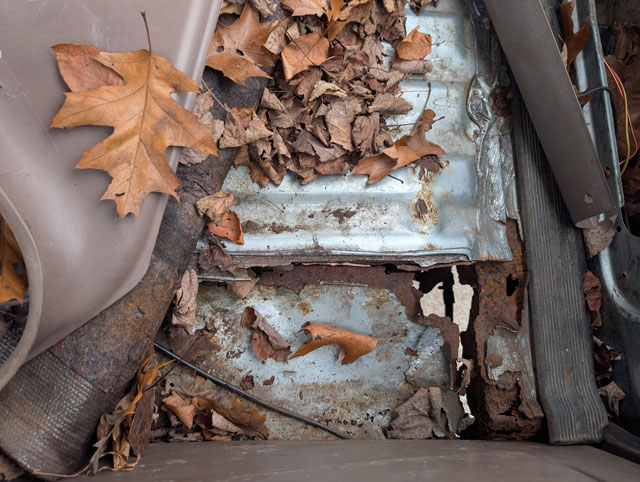 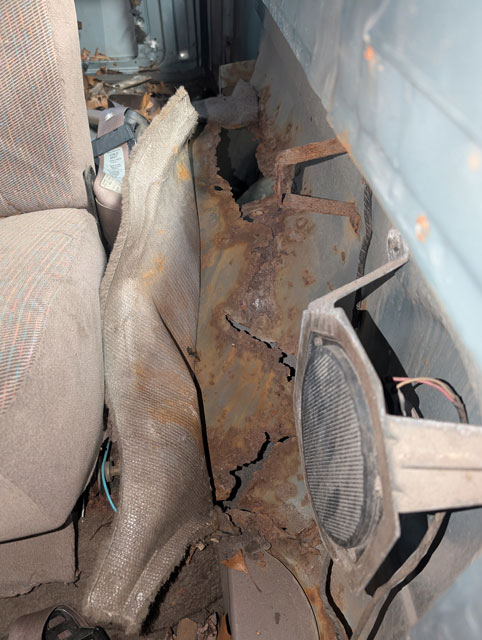 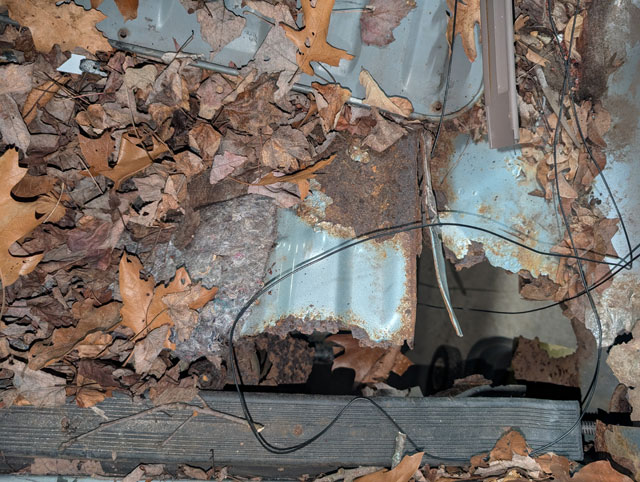 I barely got anything done at all before the weather turned, and it changed from sunny and 75º to raining and 35º! So much for First Spring; only lasted 3 days this year! So its been in the garage since wednesday morning. I have every part i need to put power windows/locks/mirrors in the green bronco except the driver door harness. So heres my opportunity to get it! On first glance, it looks like the driver door plugs in behind the parking brake pedal assy, just like the 87-91 trucks do 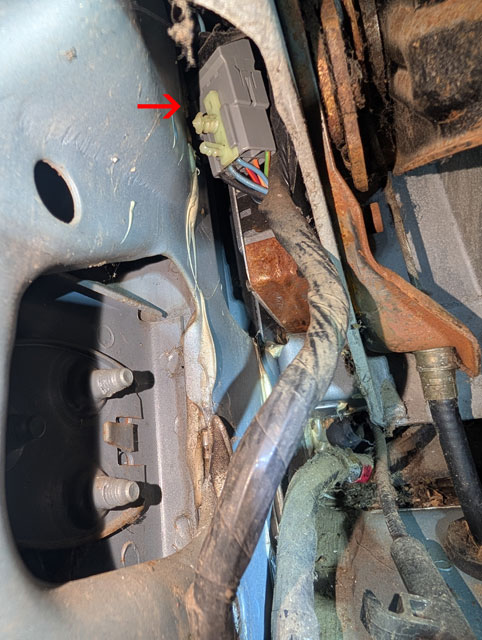 Unfortunately, thats only the speaker wires. Seems the wires for the windows and door locks run up behind the dash. There it is! 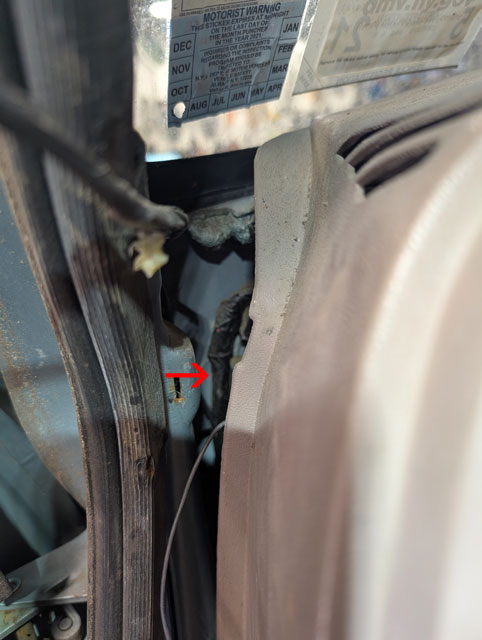 Cant get to it, w/o mostly removing the dash 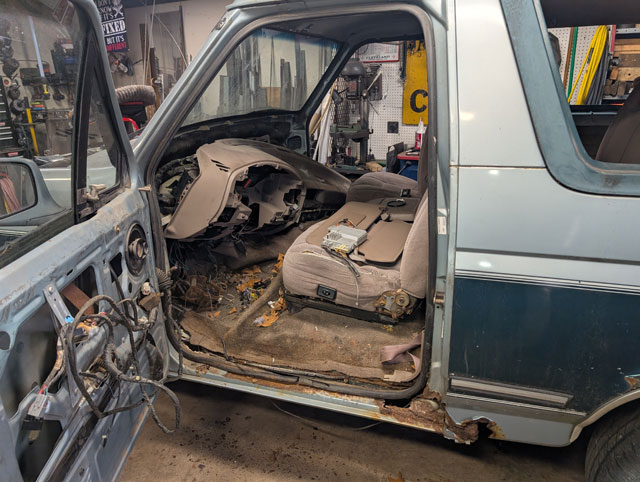 Theres the harness, running across the firewall 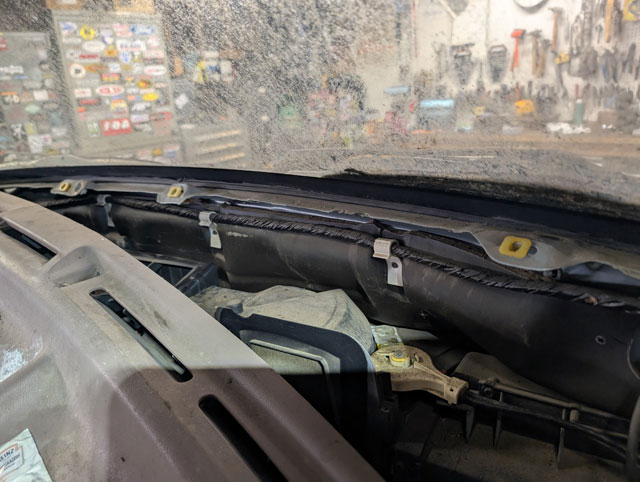 Runs all the way to the passenger kick panel where it plugs into the passenger door harness 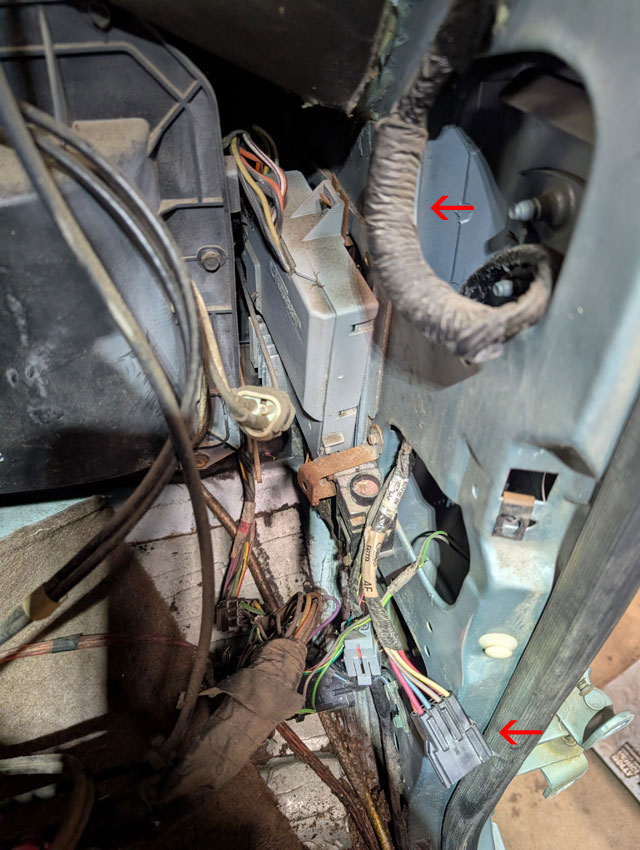 Apparently Ford made it a stand-alone harness, with all the power and control coming from the driver door 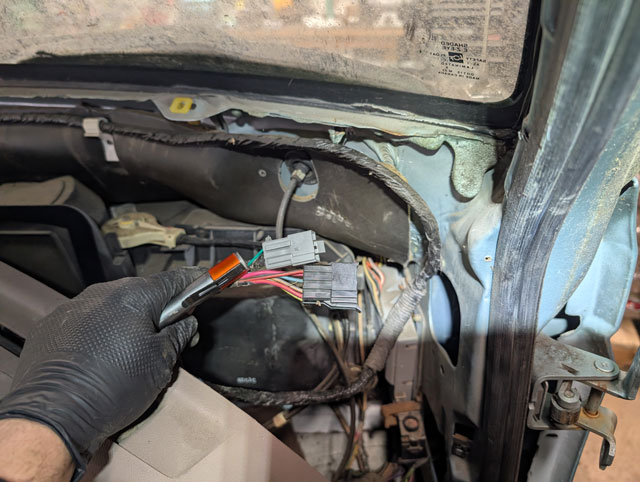 ...and there she is! 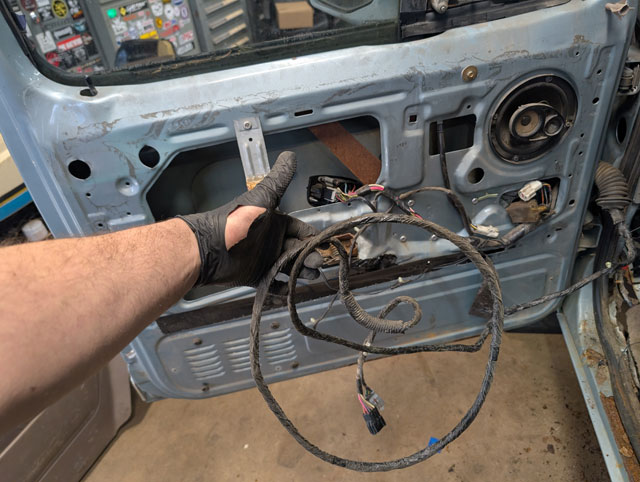 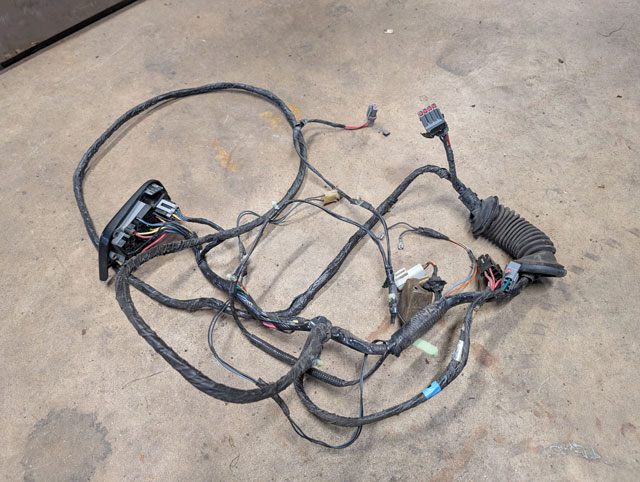 ...and now finally, i can remove the door for Joe! 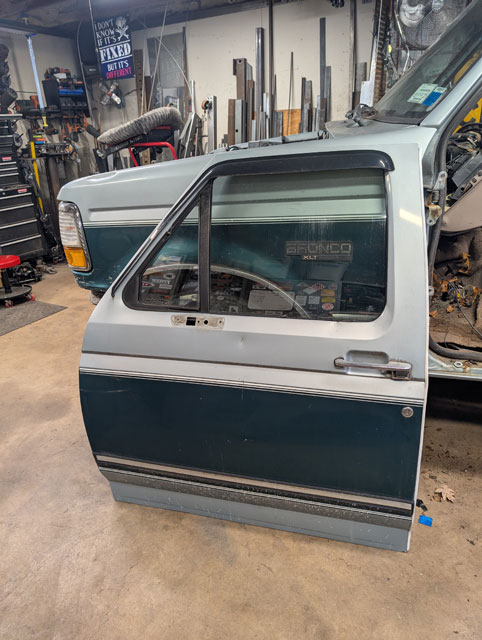 I also saved the wiring harness for the auto-dimming mirror and the illuminated sun visors, as well as a couple other dash parts. The dash itself and most of the interior is beat so not much to save there. Starting monday i will be under the hood- i want to remove and save the under-hood harness and PCM, and then the motor comes out and goes on the stand Got out of work late today. Walked in the garage to see this: 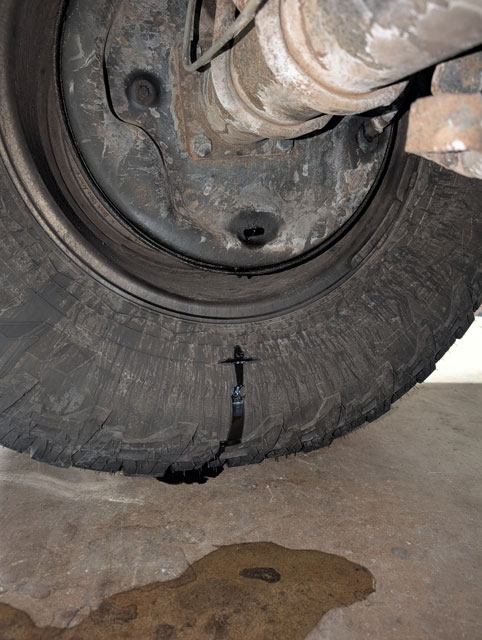 That didnt take long! Got the rear end up and tires off: 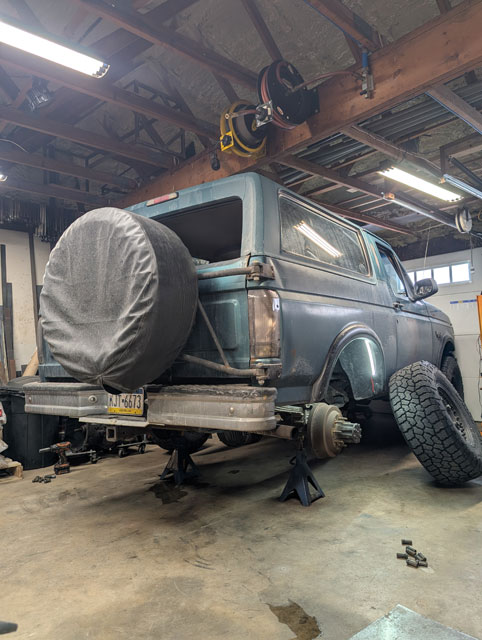 That flexible Olsa light is pretty cool 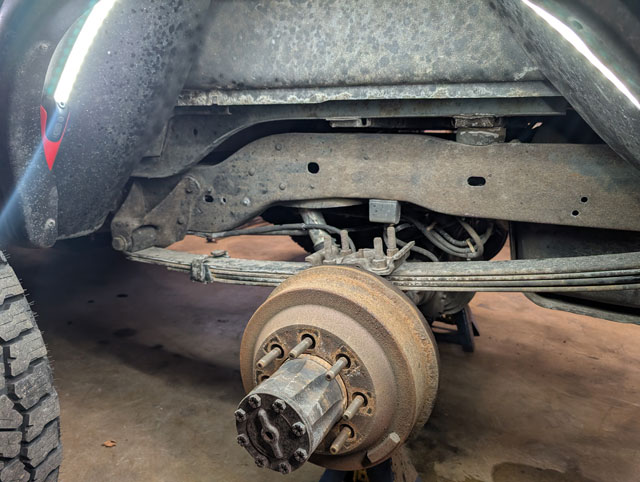 Yikes 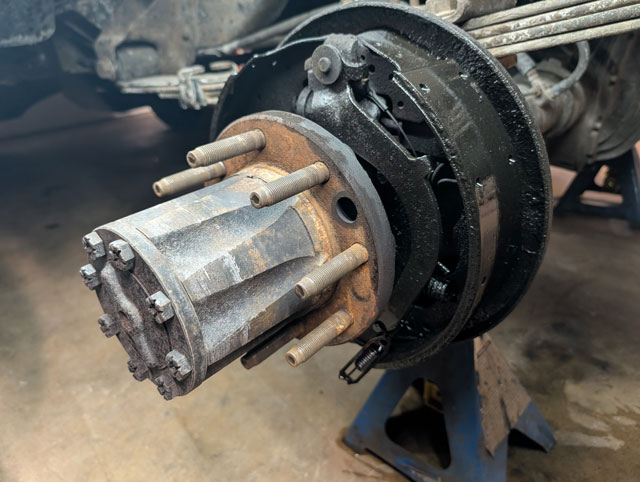 Popping the diff cover 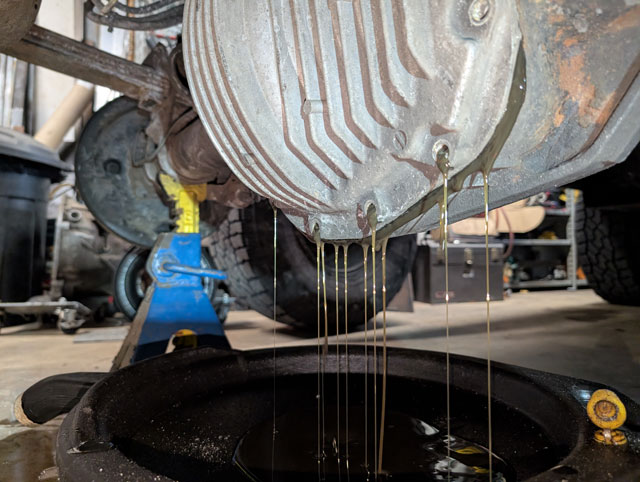 This 10.25 had 150k on it when i put it in 125k ago. Looks pretty decent inside for 275k! 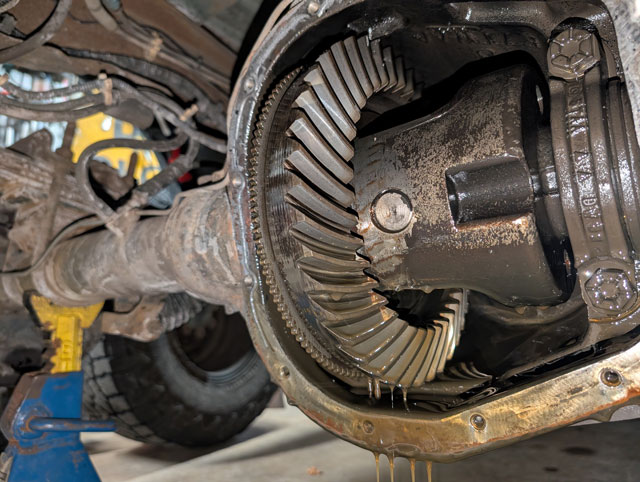 I got the drum all cleaned up but thats about all i had time for. Tomorrow morning ill pull the hub and get those oil soaked brake parts swapped out. Success 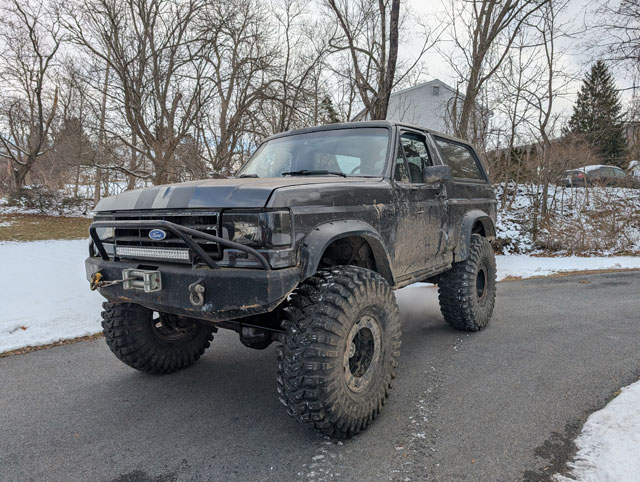 Did a quick spin around the block, no highway speeds yet but the alignment seemed good. Made an adjustment to the draglink to center the steering wheel better, will need to drive again later in the week. Got it done just in time; the green bronco got jealous and decided that it would be a good idea to have a rear wheel seal start leaking, so that one is now in the garage so i can do wheel seals and rear brakes tomorrow 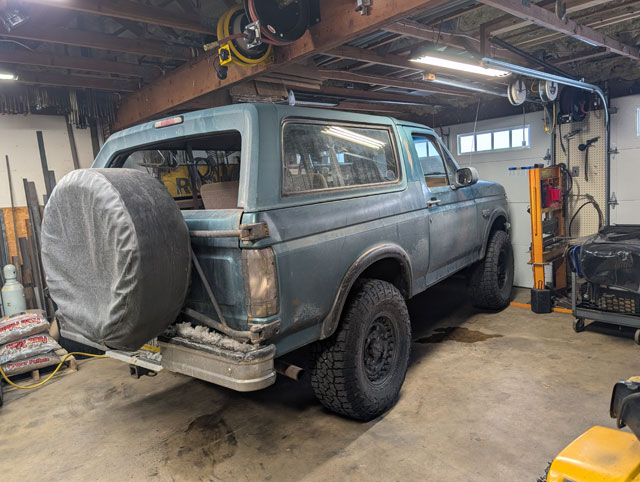 Havent driven the diesel in two months so i pulled it up to the garage door so i can drive it to work tonight. Immediately afterwards i lost the leys. Spent about a half hour looking for them before i gave up, went inside and grabbed the spare set. Guess ill look for those again tomorrow after work. Ok, so. High-steer just doesnt work with coils & radius arms, its a packaging nightmare. So lets do something else. One new draglink and tie-rod custom made by my friends over at EMS Offroad, with a fresh cvoat of Chassis Black on them. The draglink is 1.25" .250" wall, and for the tierod we stepped up to 1.5" .375" wall. Beef! 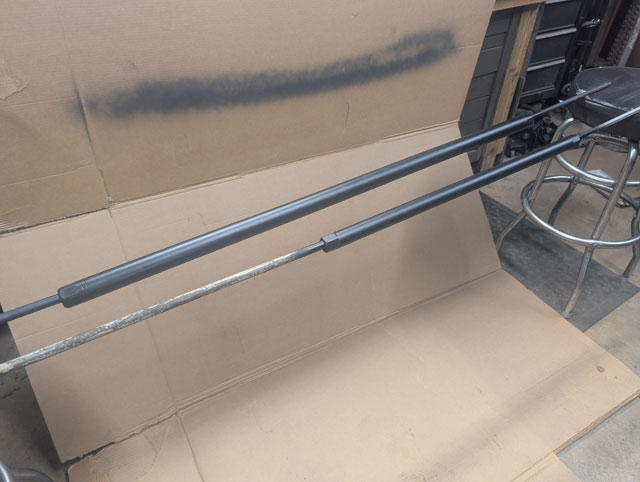 If im replacing the tubing, im replacing the TREs. For the draglink im running ES2027L and ES2234R. For the tierod im running ES2233L and another ES2234R. The ES2233L needed to be reamed larger to fir the ES22334R 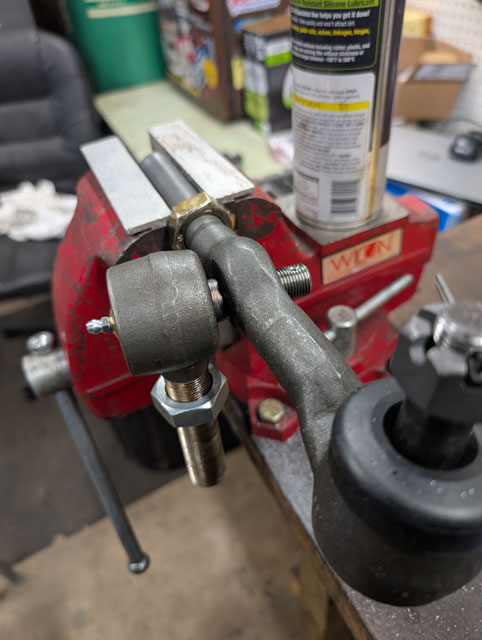 Since the tierod got bigger my original clamp mount for the steering ram wouldnt fit, so i made a new one
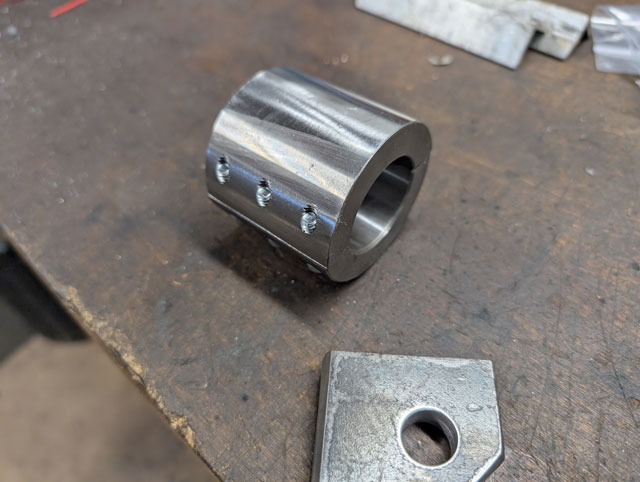
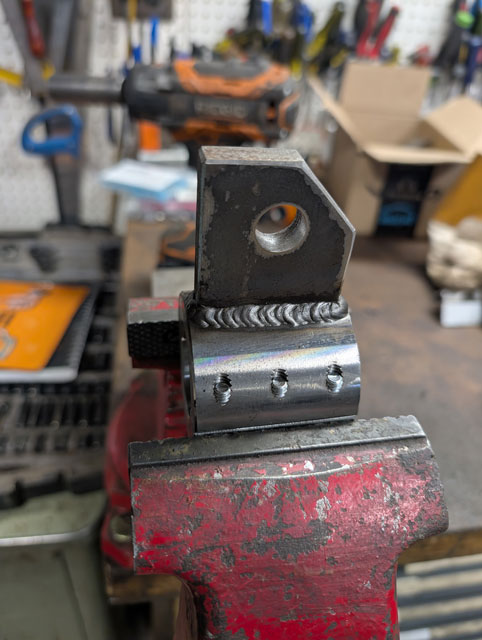
After 20+ years of wheeling abuse, the tapered holes in the knuckles were getting a bit sloppy. So i ordered a set of tapered repair sleeves from ORD. There's a re bit mnore expensive than most other, but they are also a lot nicer than pretty much everyone elses too.
With the steering links installed and a rough alignment done, i found a problem 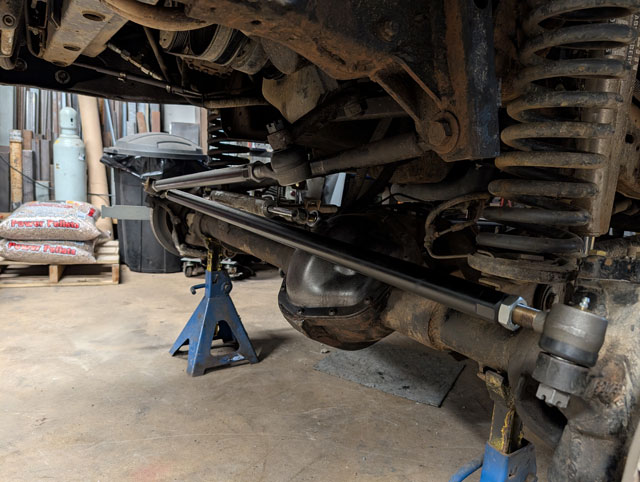 When steering left to full lock, the bigger ram clamp contacts the diff cover 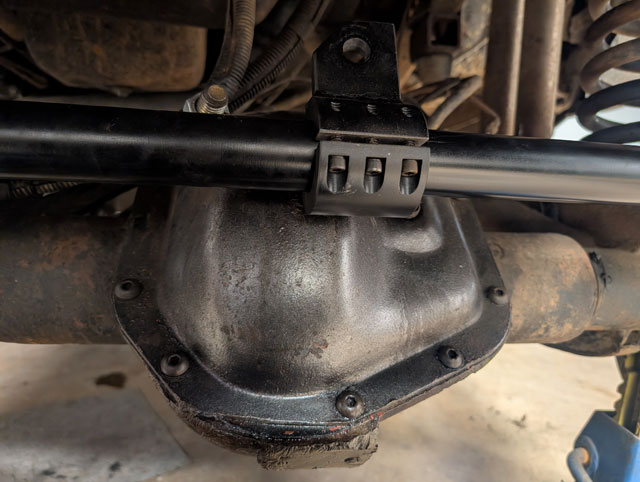 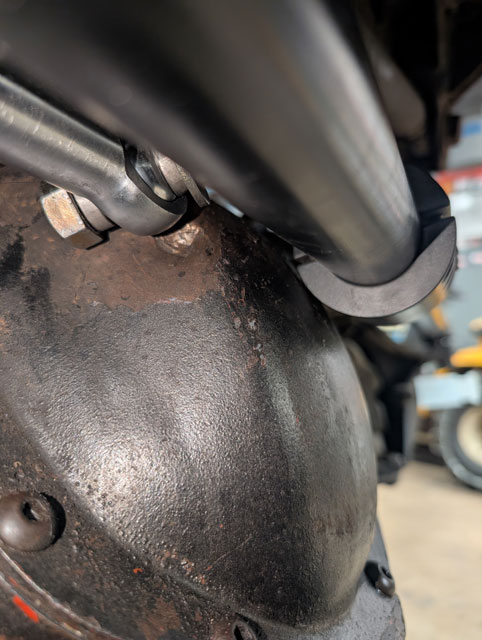 The simplest solution, seemed to be to move the fixed ram mount left towards the center of the vehicle, so the clamp could go further left as well, and hopefully clear the diff cover. The original mount:  Tabs cut off/cleaned up: 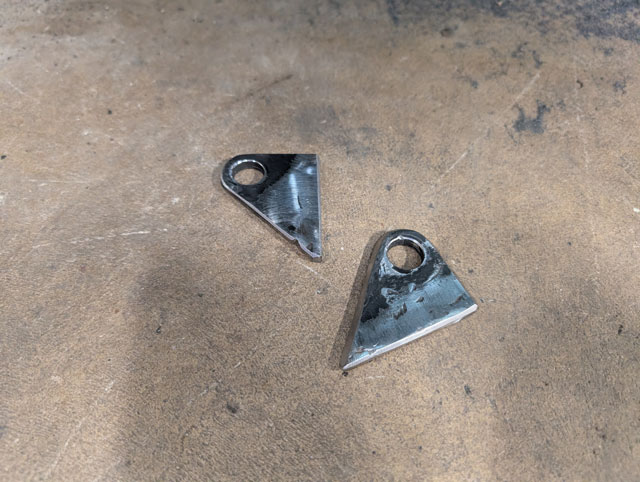 ...and flipped around, to move the ram 1.5" closer to the center of the truck. I also added that small gusset between the tabs to stiffen it up a bit 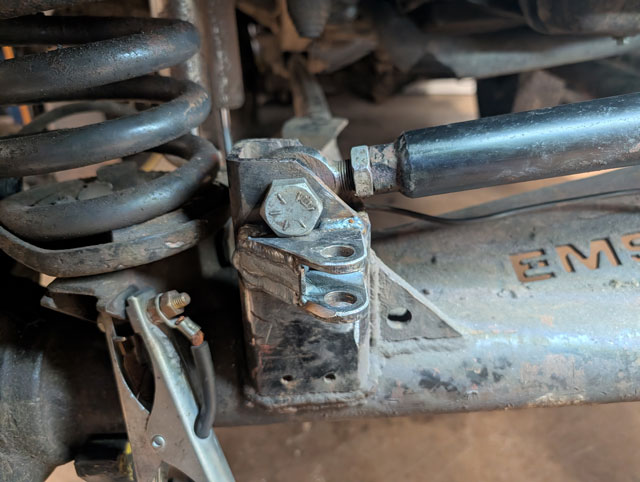 Much better now! 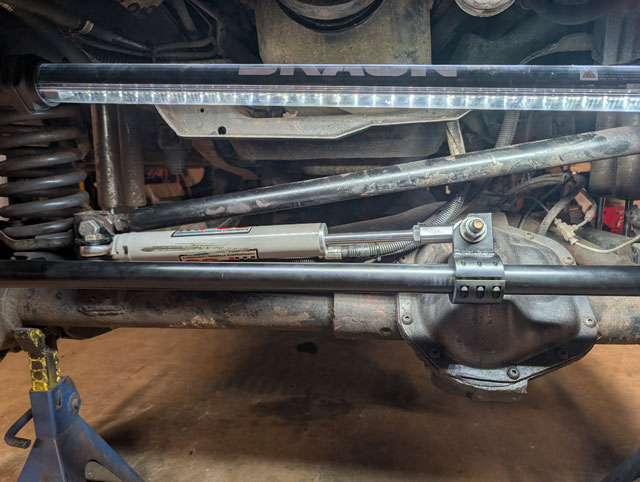 Full right: 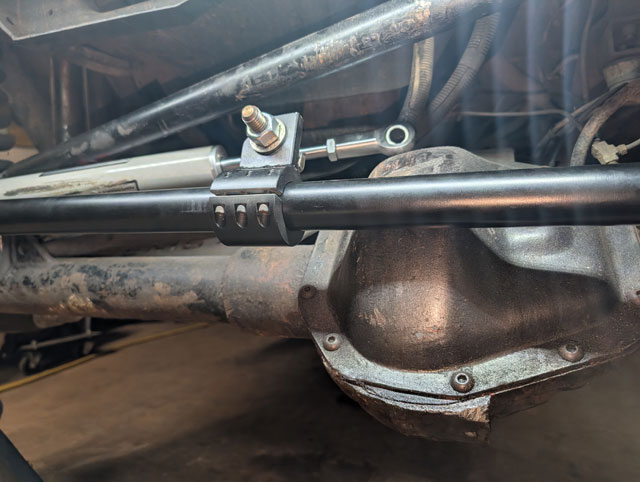 ...and full left. Much better now 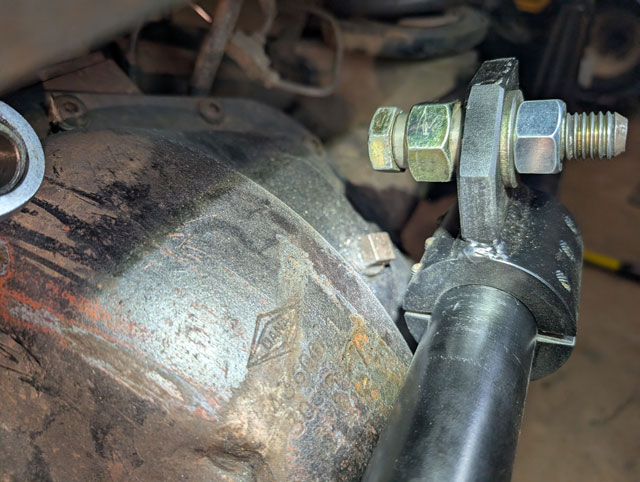 Nothing left to do now, but a proper front-end alignment, and then i threw the rollers back on. All thats left now is to get it outside, put the 42s back on, make sure the brakes and steering are 100%, and we're done! 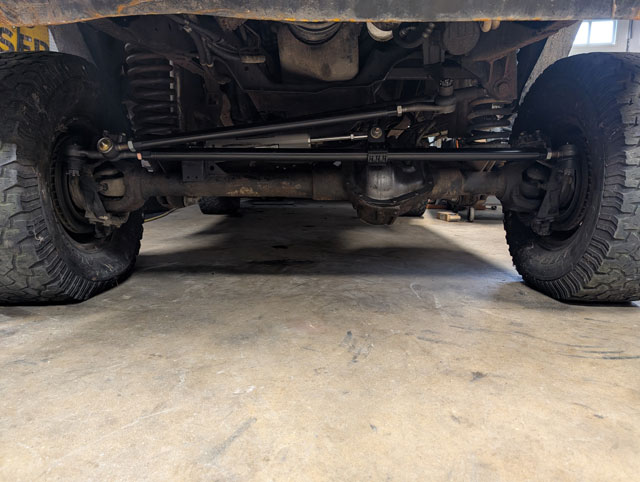 Ive had a CB radio or two in this thing over the years. But, no one really uses citizens band on the trails anymore, so i havent actually used it in a few years now. So, since the bronco is already in the garage for the winter i figured nows the time to replace my old Cobra, with a proper GMRS unit. Enter the MXT575 from Midland: 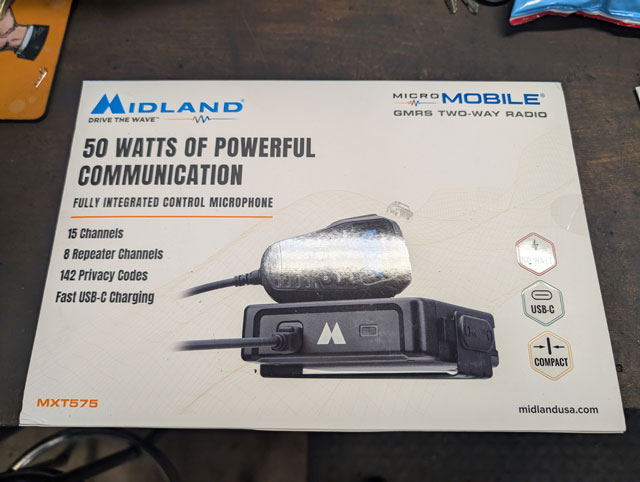 Comes packaged nicely, and includes everything you need for install, from power wires to a small magnetic base antenna 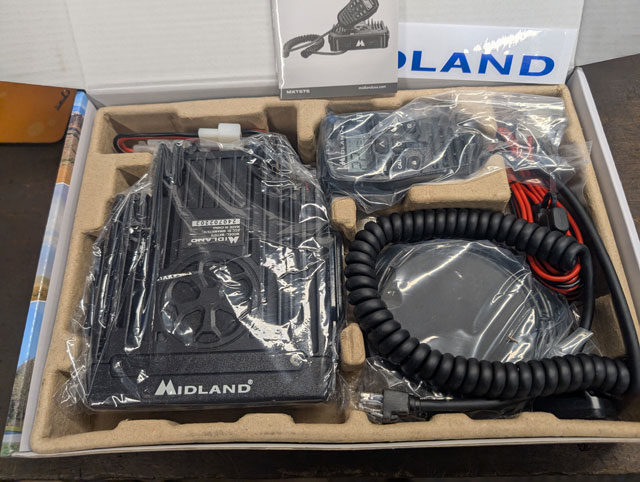 The radio itself is smaller than some CBs ive had in the past, and looks like itll be pretty easy to mount 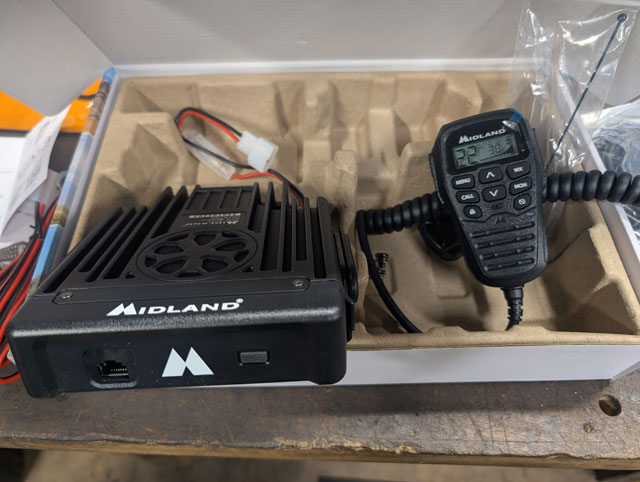 Step one is to open up the dash and remove the old CB unit. Can you see it? 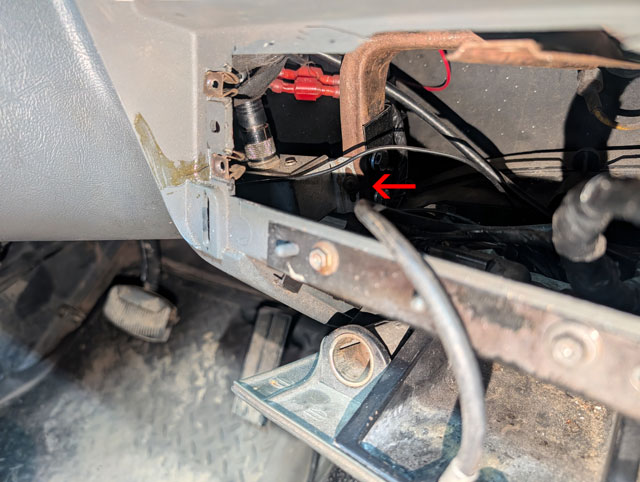 This is an old Cobra 75 WXST All-In-One CB units, where all the controls are in the mic, leaving a small TX/RX unit you can hide somewhere (like i did inside the dash). Here's the whole thing: 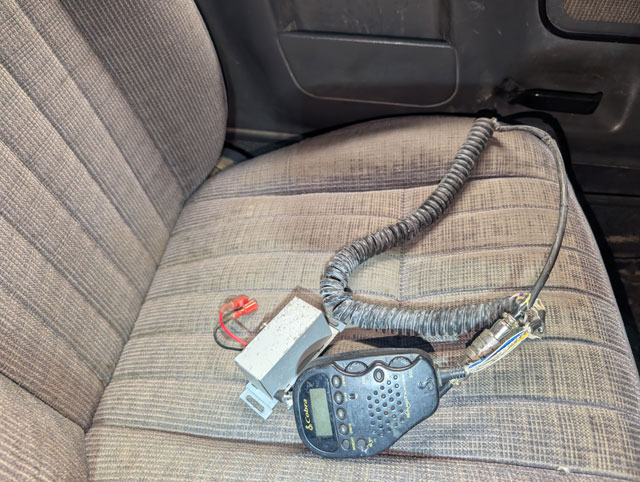 Ok enough chitchait, lets get this the Midland installed. So right off the bat its obvious its not going to fit inside the dash, but it will fit where the ash tray is. Since i dont smoke, it seems like the perfect place to put it! I removed the ash tray from the mounting bracket 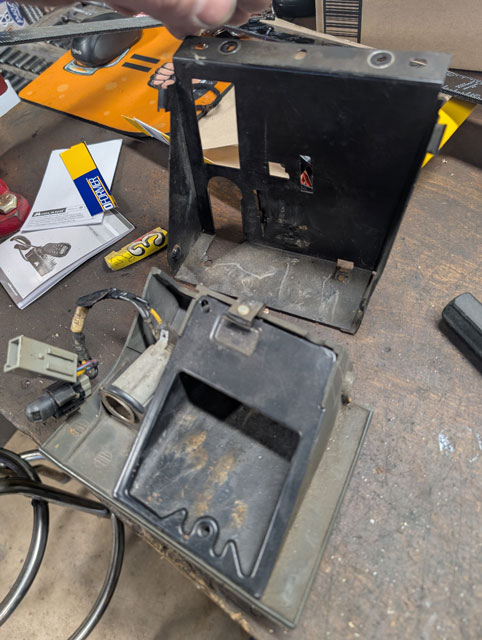 Had to make some room for the radio mount, so i trimmed the sides a bit, and added a couple rivnuts for a mounting location 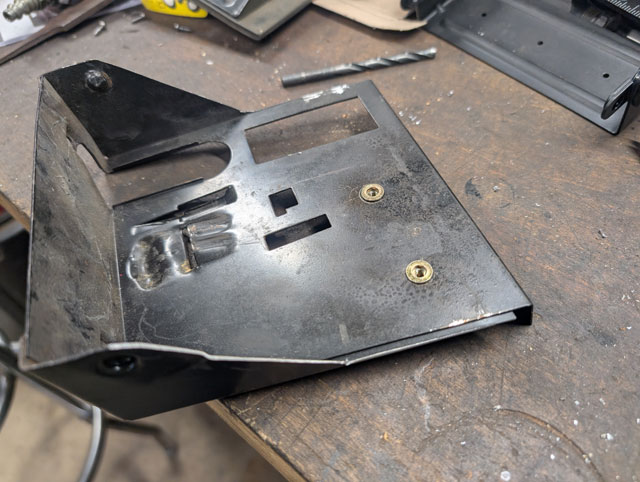 ...and there you go! That was simple enough 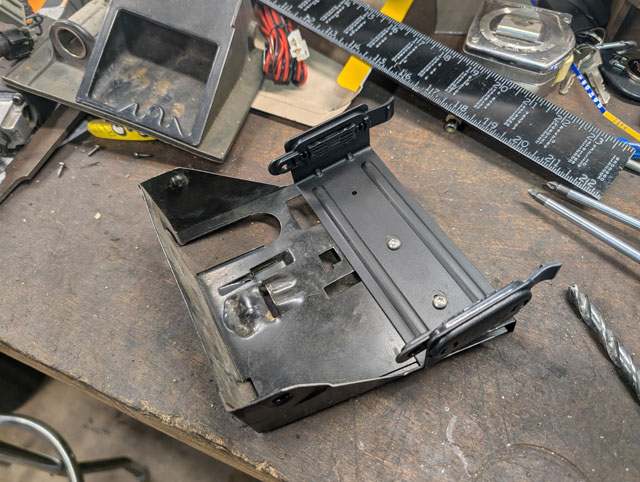 The original power source for my CB radio... 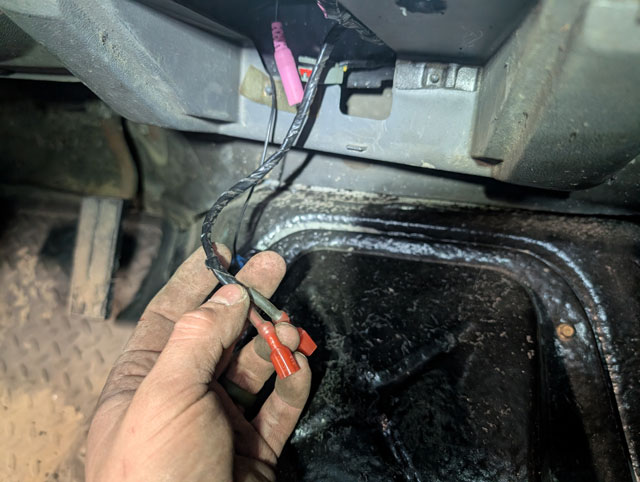 ...now modified for the new radio's power plug 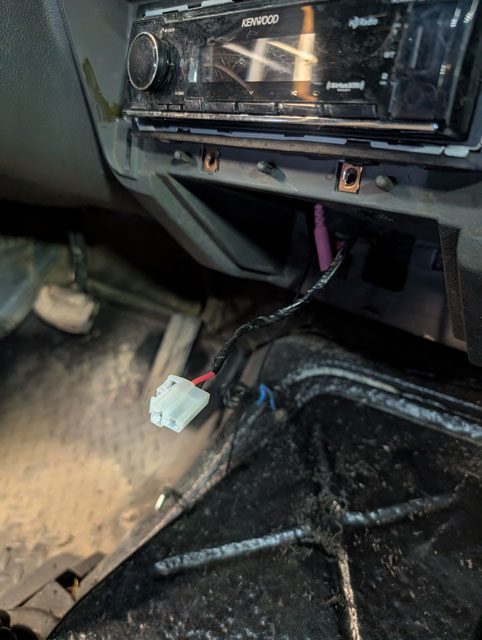 ...that was easy enough to do. Next up is the antenna. I could have used the small magnetic base antenna it came with, but i figured with the tight trail network in our area, it would always be getting knocked about by tree branches. So i opted for this antenna from Retevis. I figure with its flexible base it should probably survive getting caught on trees, and if not, well, at least it wasnt very expensive
Now all we have to do it run the antenna wire, and get the radio hooked up  ...and the final install! 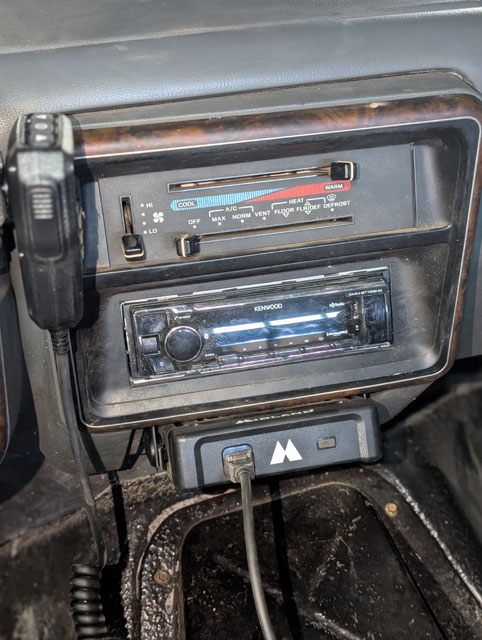 Fits in the space like it was made to go there by Ford 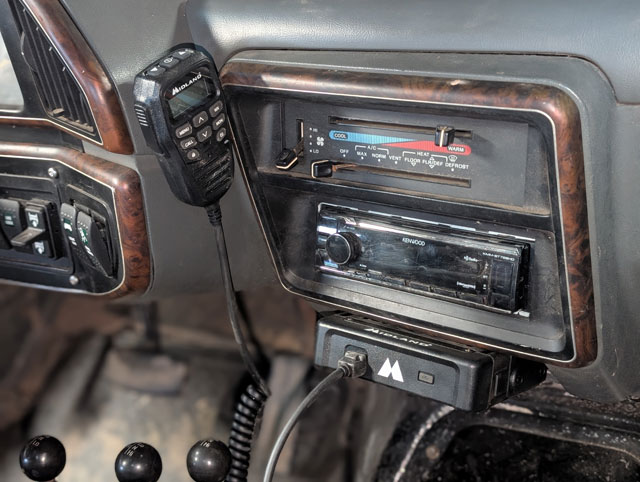 |