|
So the brake system is now complete. Were now rocking a master cylinder & brake booster for a 1996 F350, to match the axles 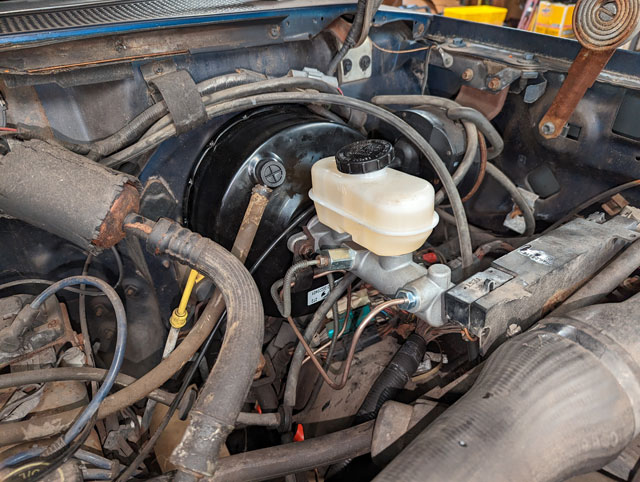 Brakes are plumbed to the front axle: 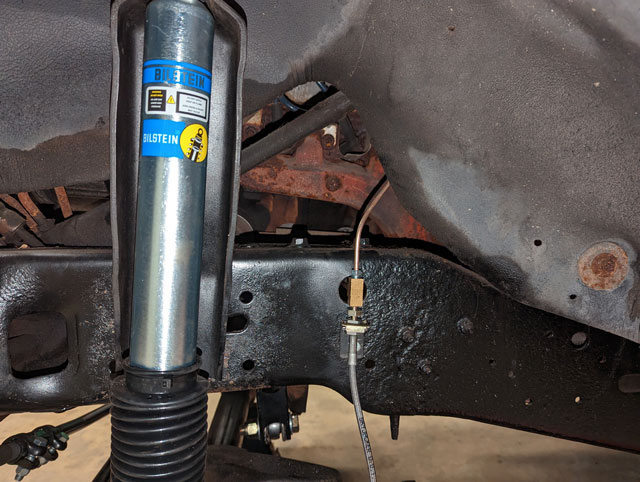 ...and thanks to a spool of tubing... 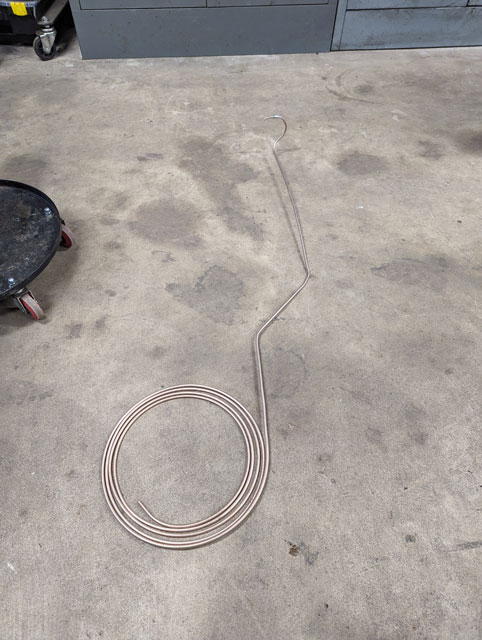 The rear half of the brakes are completely replumbed as well! 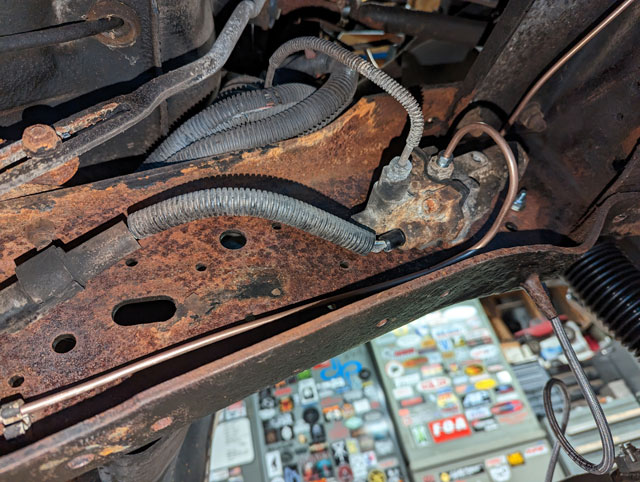 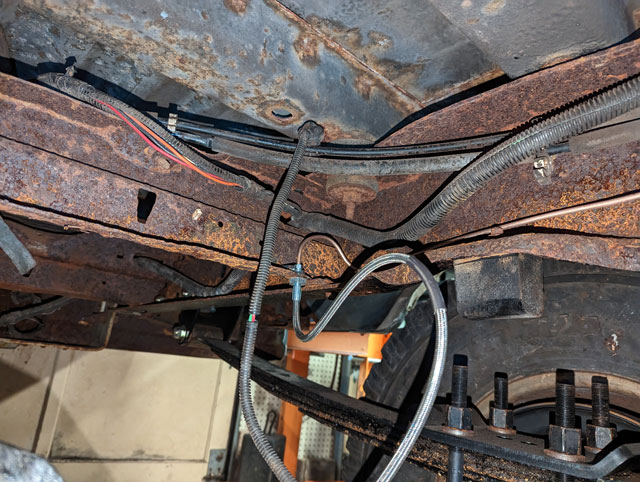 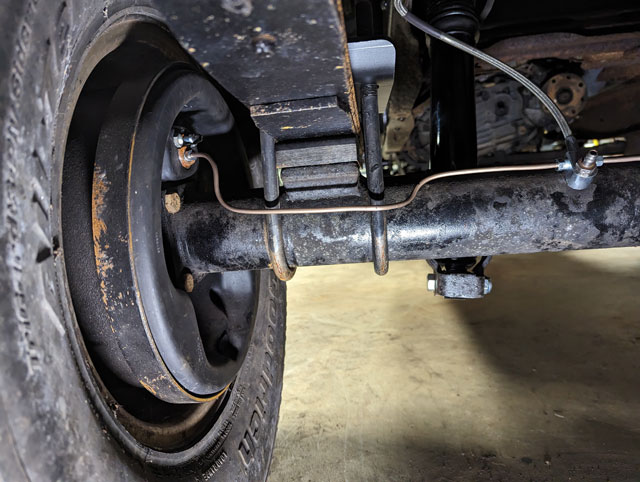 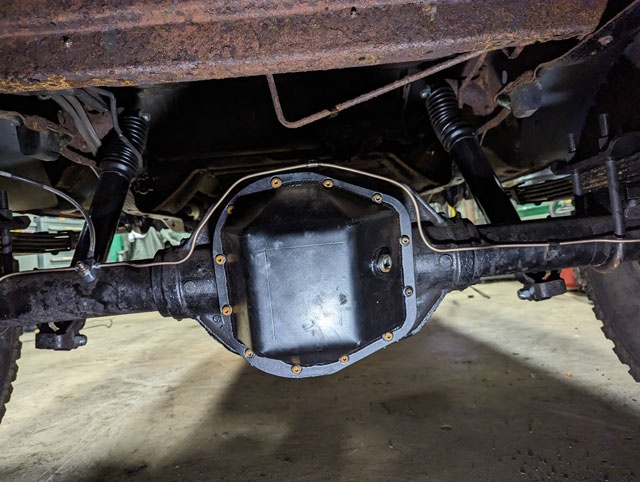 This i thought was interesting. Rough Country extended stainless brake line for a bronco with 4-6" of lift, next to the OEM F350 brake hose: 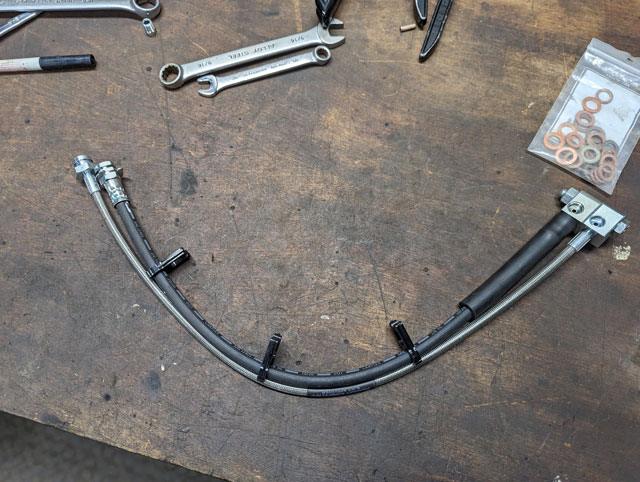 The stainless line is only 1" longer than the OEM hose, which means for most mildly lifted trucks, the OEM F350 hose is just fine. I already had the extended line though, so i used it. So with the brake lines done, theres not much left to do under the truck, so its time to move under the hood! Ok sorry, that was a terrible pun. Front shocks! Bilstein 5125, with the old shock towers off the big bronco: 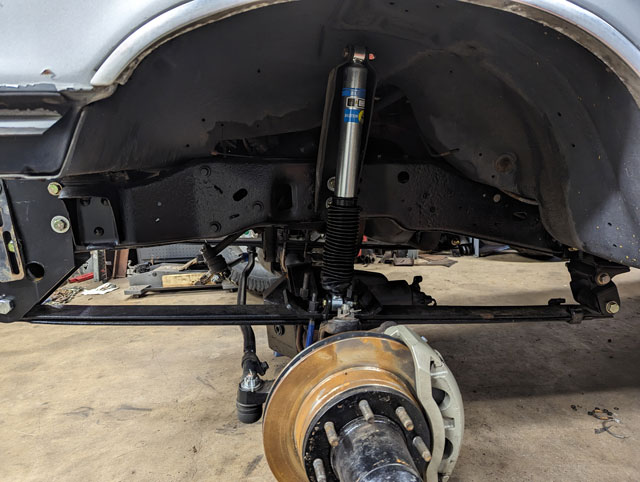 From there i got tired of tripping over the front bumper so i decided to put it on the truck. Fairly easy to do, just extend the notch Ford put in the bumper to clear the leaf springs on the F250/350s to clear our longer SD springs: 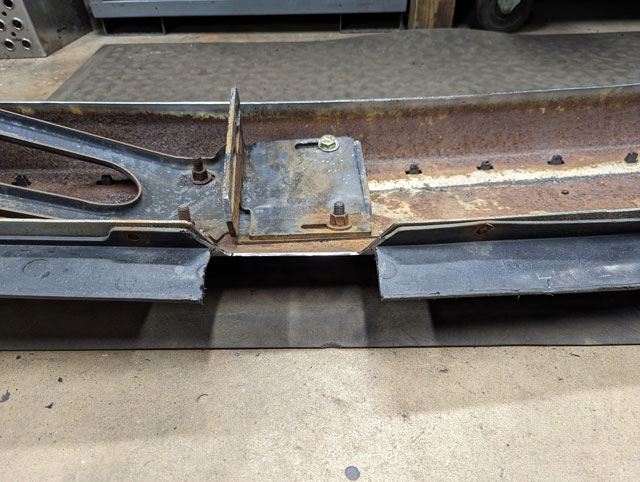 Success! the bumper fits now:  I had to notch the bottom of the bumper bracket slightly, and i had to transfer the lower hole from the frame thru Sky's bracket, since they didnt include that hole in their hangar for some reason: 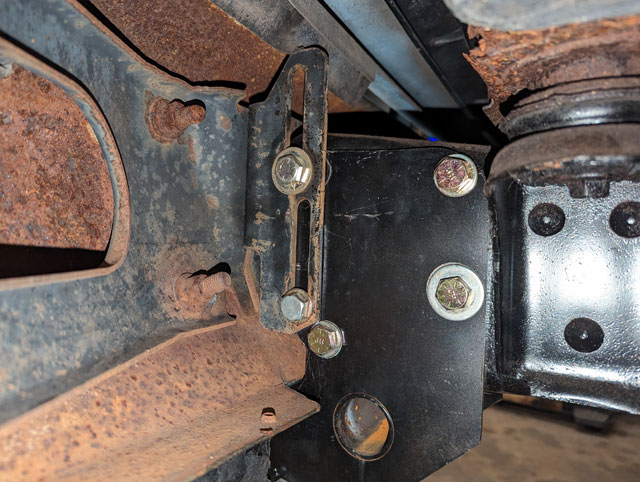 So while i was there, i decided i might as well add a front receiver to this thing 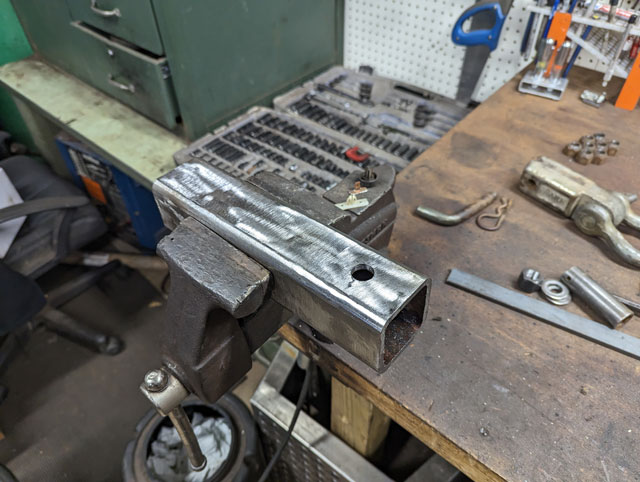 notch cut: 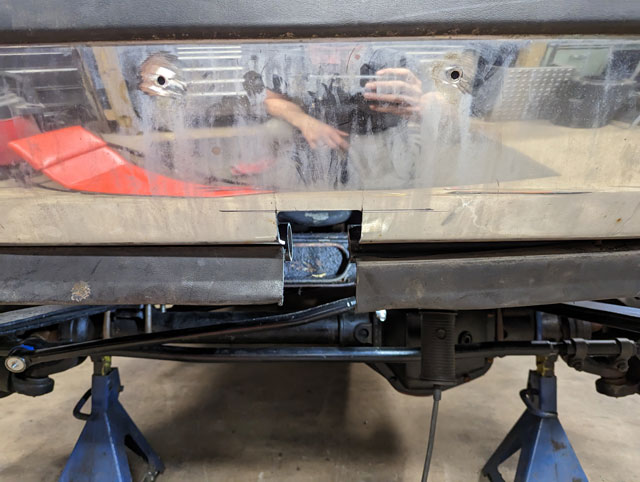 ...and the hitch in its new home: 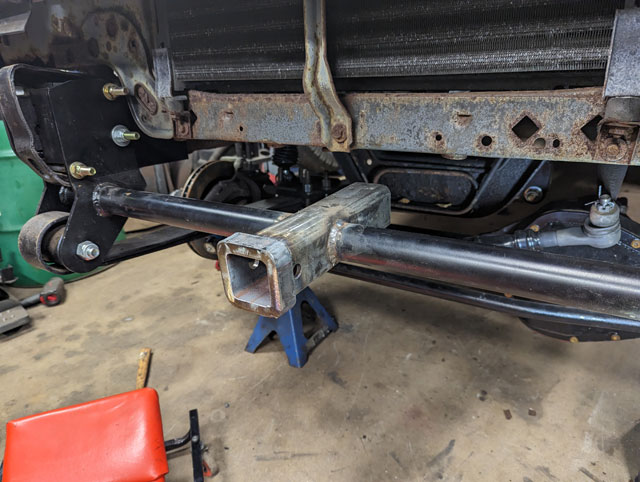 I dont think the main tube being .120" wall is sufficiently beefy, so i added some extra braces to strengthen it up a bit: 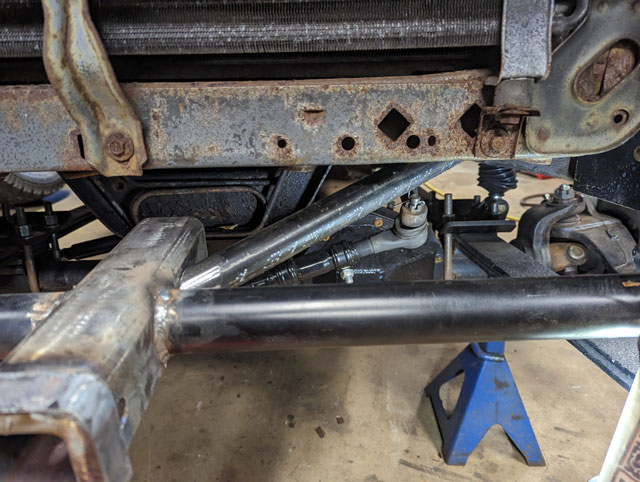 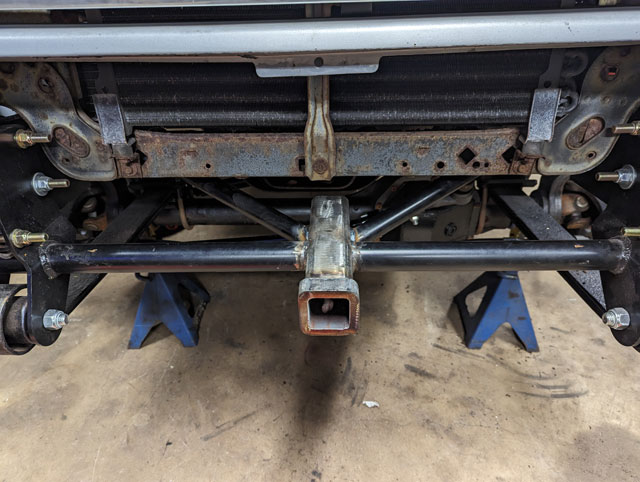 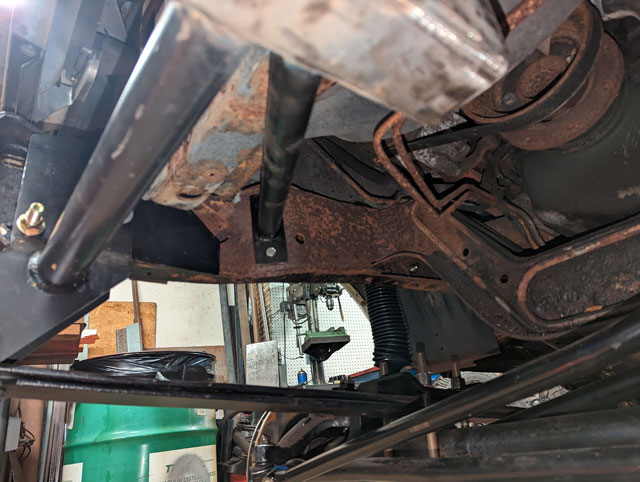 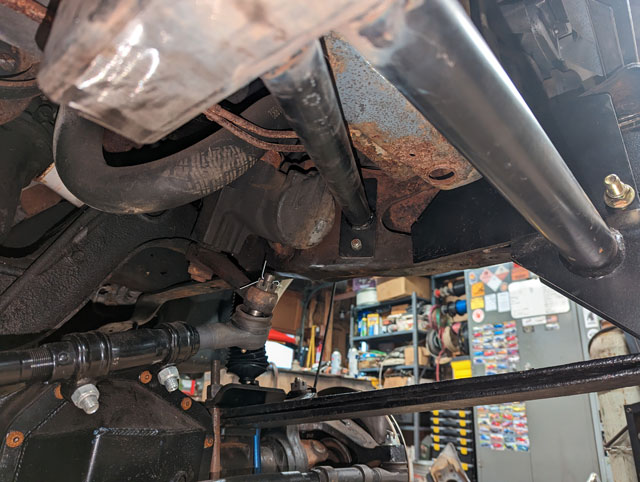 For the hell of it, i grabbed my x8000i and decided to see how it would look: 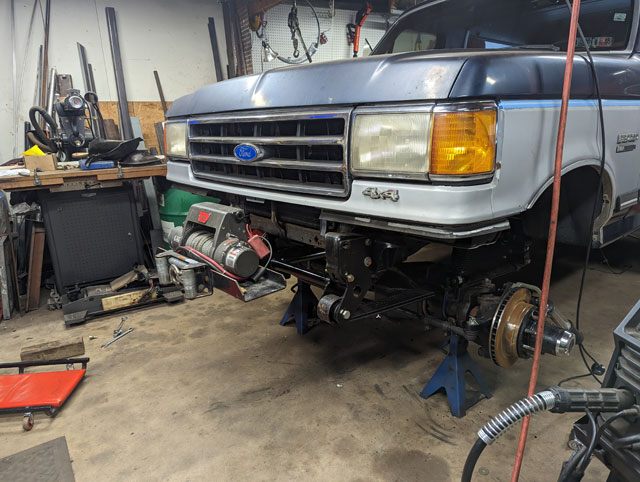 ...but back to the bronco, the bumper is now installed! 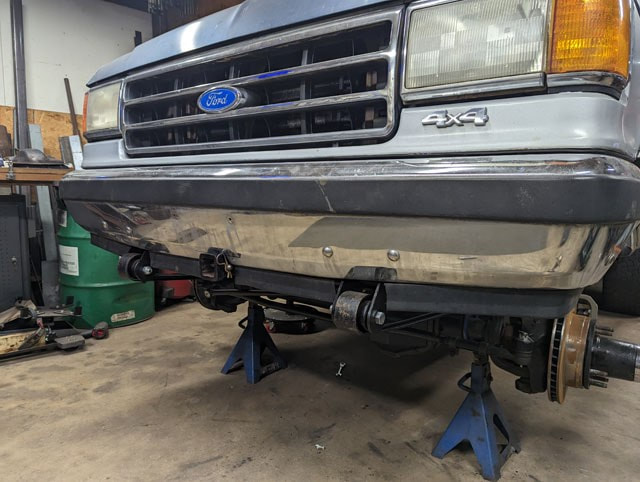 Tucked up nice and tight: 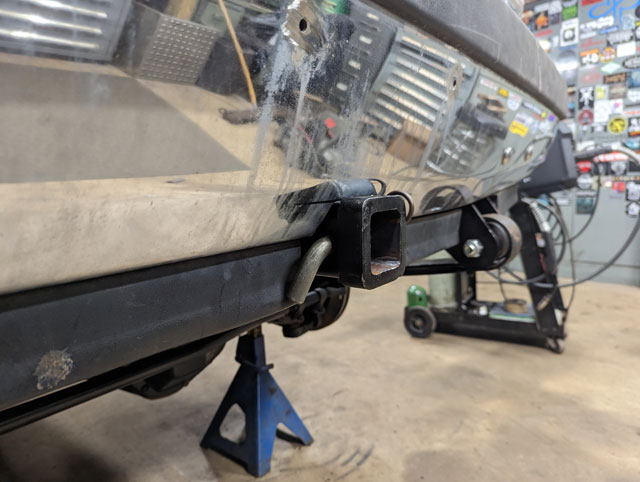 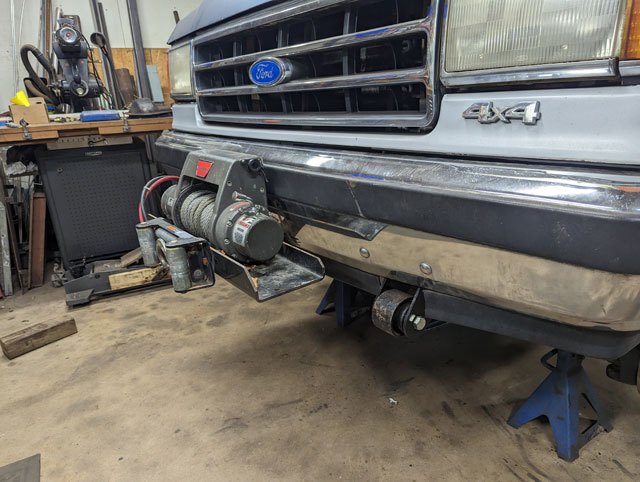 im diggin it! ill get around to wiring the bronco up for the winch whenever i get around to replacing the battery cables. For now im calling this project done. Next up: getting the brake system replaced! Decided to get the tracbar for the Better Half done this week: 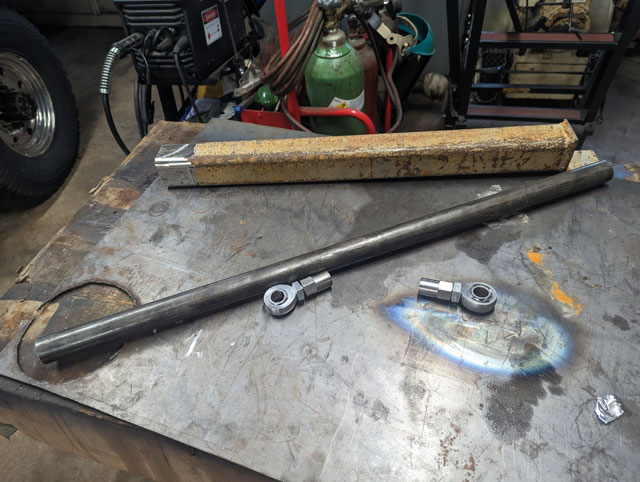 Mocking it up, the bar needs to be roughly here, to match the draglink angle 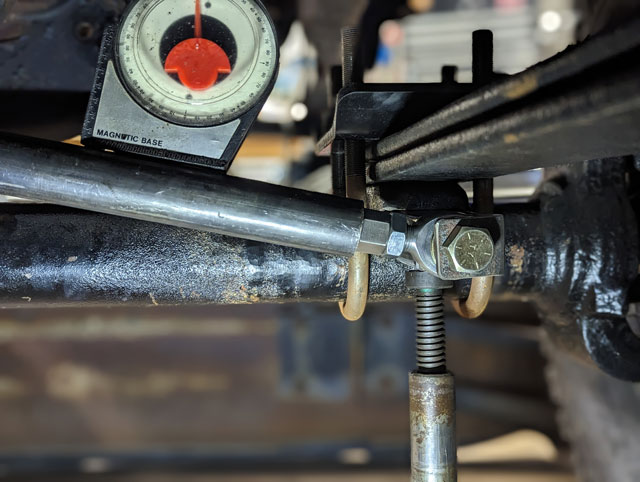 Took some time with the upper mount, as i wanted something that would bolt up in place of the original TTB pivot, so i didnt have to drill any more holes in the frame:   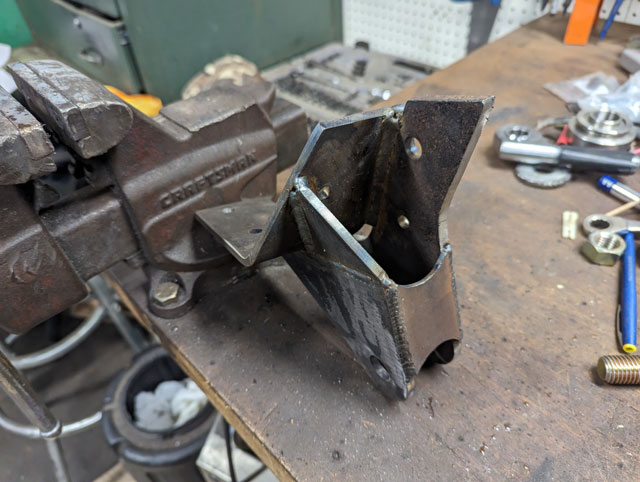 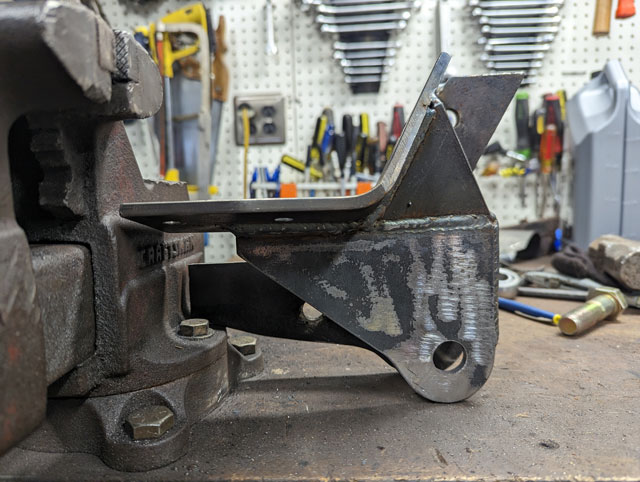 ...and installed! 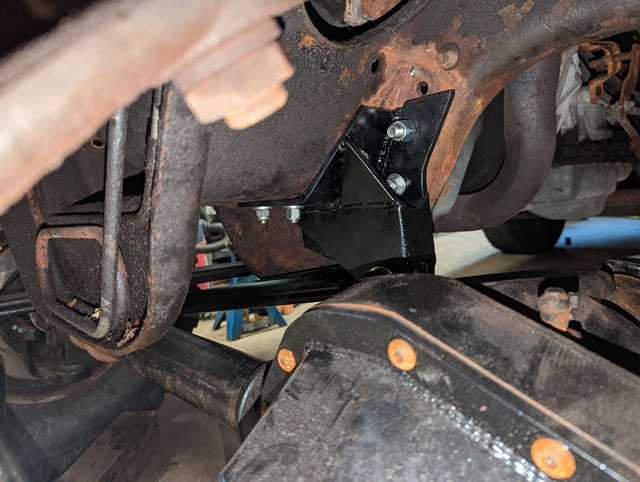 The lower mount on the axle 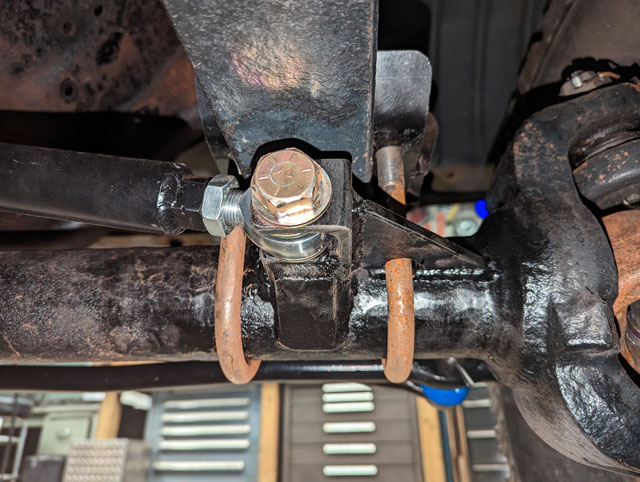 ...and done! 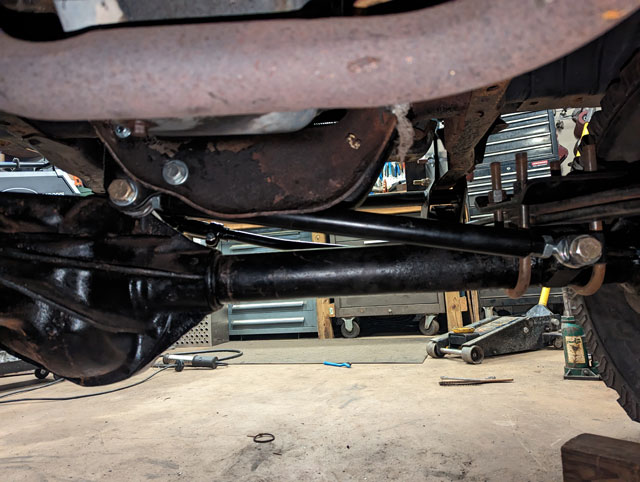 Im not in love with the lower mount, but i think itll do the job ok. I would have preferred to put the mount closer to the knuckle to get the bar longer but im pretty sure it would have hit the springs when the pass side drooped out, so i had to compromise. Im not building a hardcore long-travel rock crawler anyways, so i think itll be ok as is. So the garage is clean 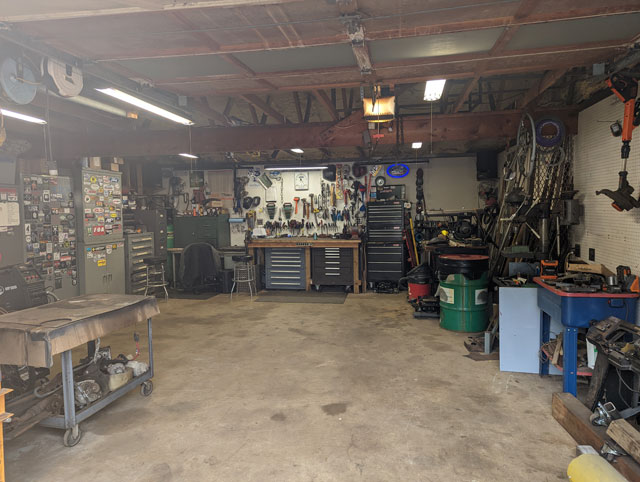 ...which can only mean thing thing: the bronco is inside!   and the mountain of parts continues to grow: 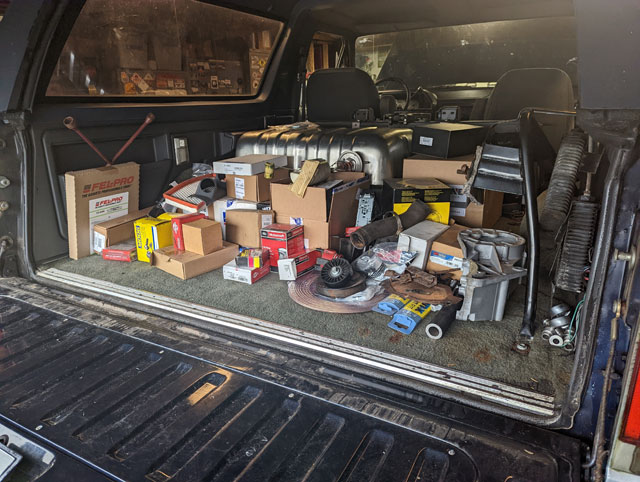 Now that it's inside, the very next thing we're going to do, is get a tracbar made for the front. Stay tuned! Let's fix that tailgate! 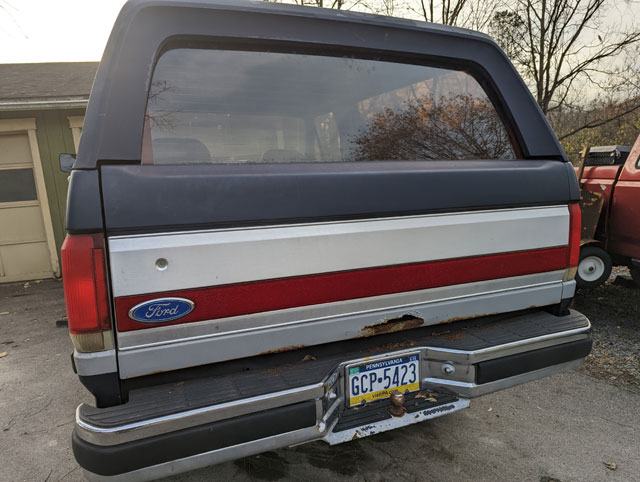 Couldnt get the window to go down. Had to resort to drastic measures to get the regulator out, but we were successful. We had some issues with the wiring harness that needed to be resolved 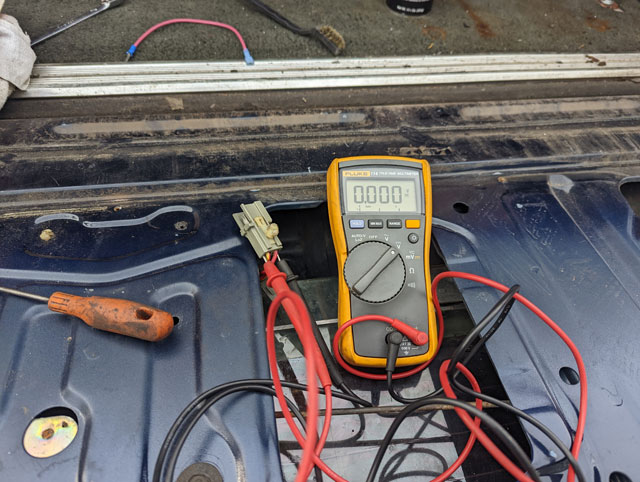 ...but in the end we were successful! Alright we're trying this YT thing. I recommend watching Joe's video, he's got a pretty good overview of the day in his: Heres the highlights from running the trails at AOAA with Ox, Darre & Joe. It was a rough day for me with issues with the water/meth injection on the drive up, then sinking the bronco in a mud pit and stalling it, and wrecking the alternator as well. Everybody else did fine! Got some cool pics though. I shot some video as did Darrel, so there should be some good videos to watch soon at least! Weve got a wheelin trip planned for this weekend, so what better time than to quick cram in an update to the front suspension! Enter one set of Bilstein 7100s: 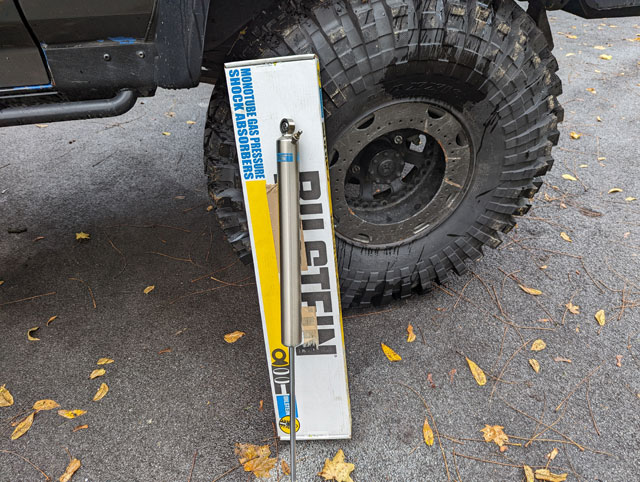 We're also swapping from the standard 80-97 F250/350 shock mount, to a set of Rough Country dual shock mounts for a Superduty:  So lets get the old tower removed: 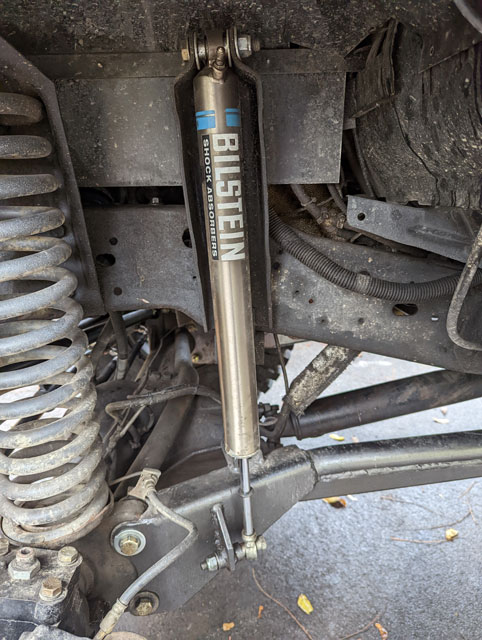 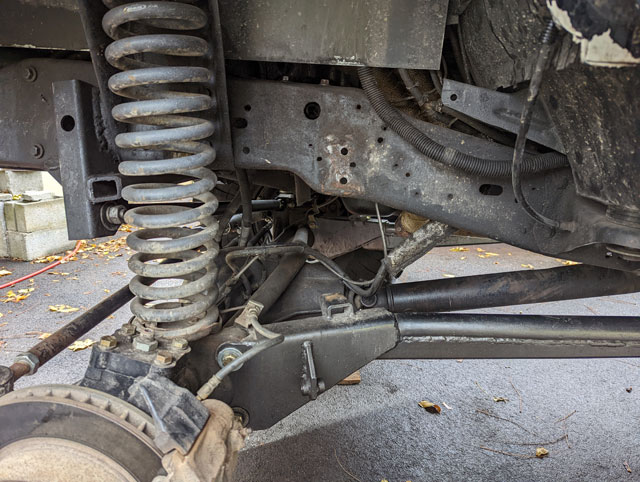 But wait, what's this? 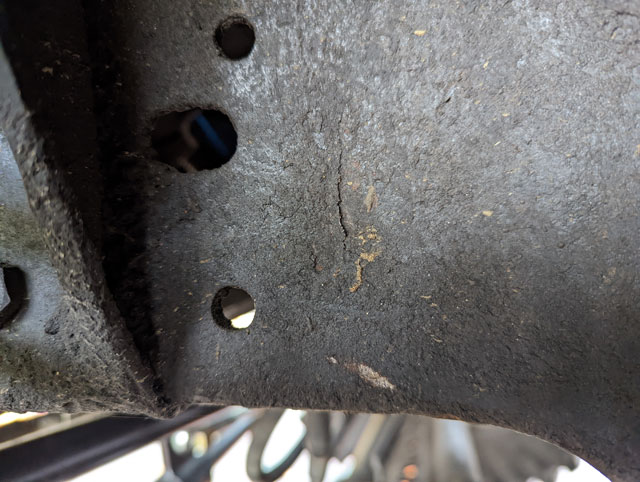 Crack in the frame! It was far worse than it looked. But i got it all ground out from top to bottom, and all welded back up, which meant we could get the upper mount installed: 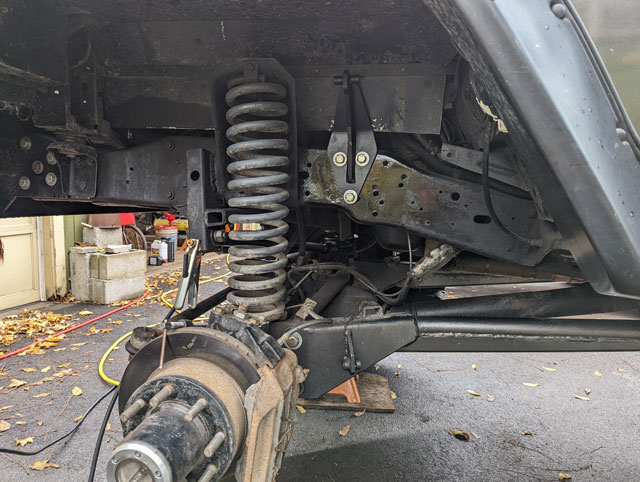 ...and shocks! 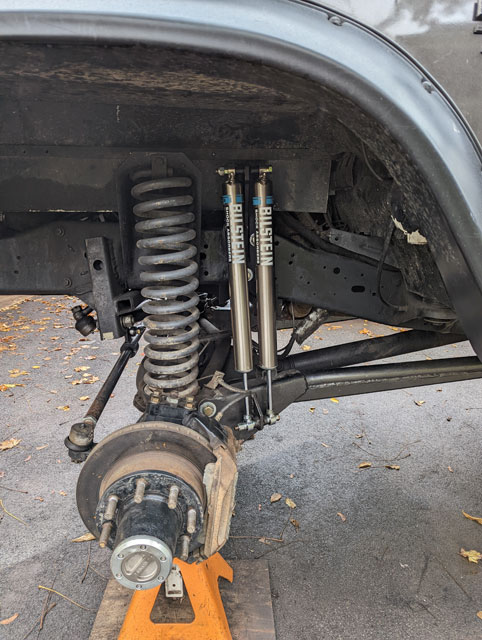 ...and done! 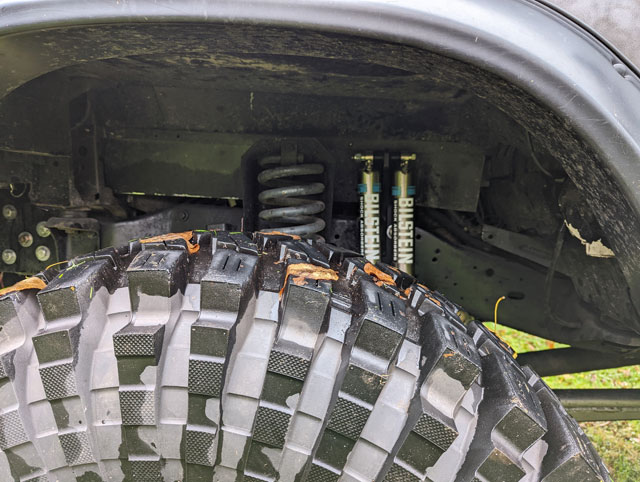 Barely noticeable, but makes a huge difference on the road. Nice and firm without being stiff. Definitely what this big heavy truck needed, and just in time to test it out this weekend! Time to deal with these things: 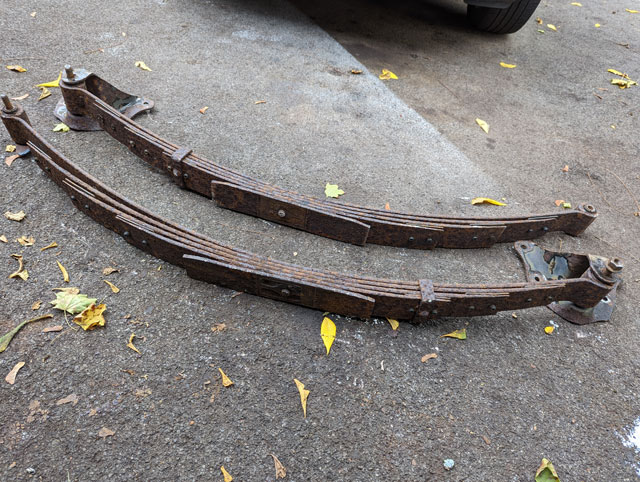 Theyre a little scaly from sitting for so long 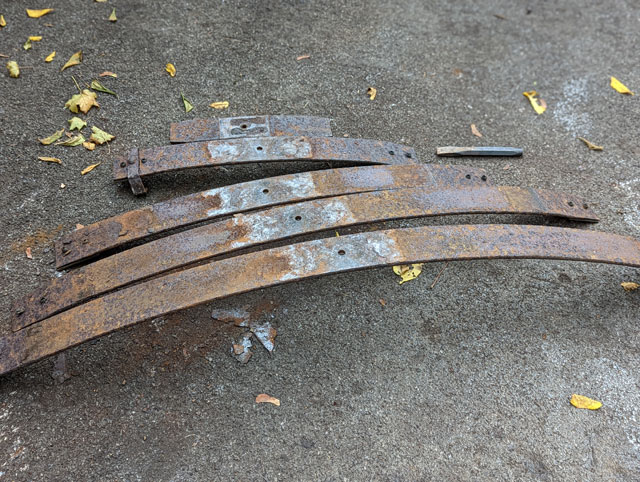 all cleaned up: 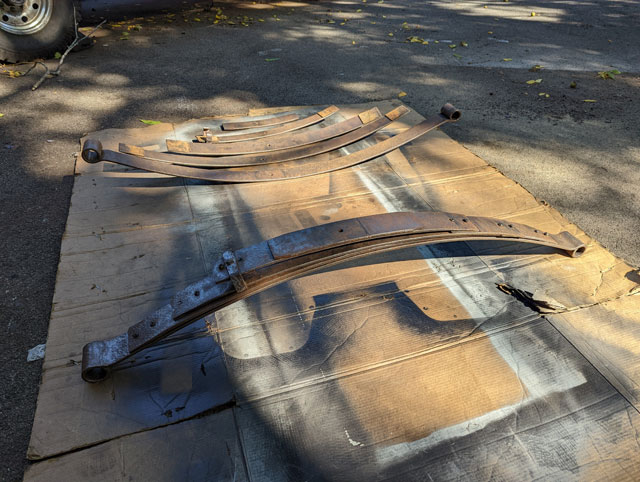 ...and done! new bushings, center pins, and a coat of paint! 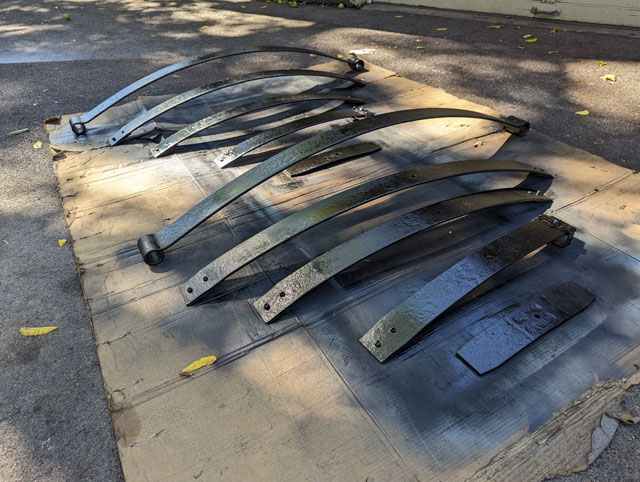 added a set of 1" zero rates from ORD as i expect to need the extra inch of lift, and i also need to push the axle back to correct for the loss in wheelbase from the shackle flip we'll be installing. 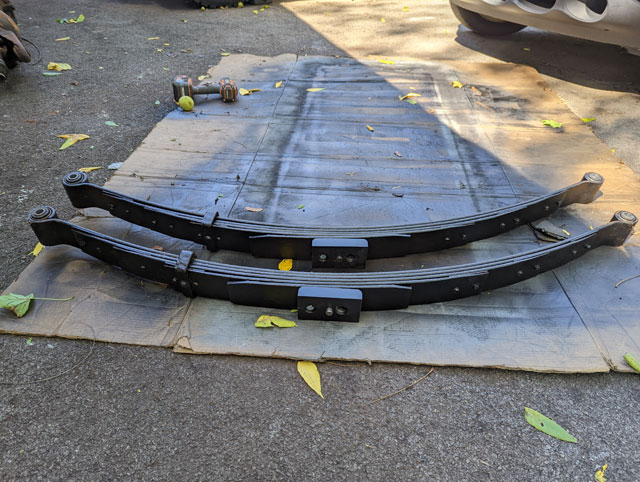 Coming up next week, the rear suspension and the Sterling 10.25 get installed! |