|
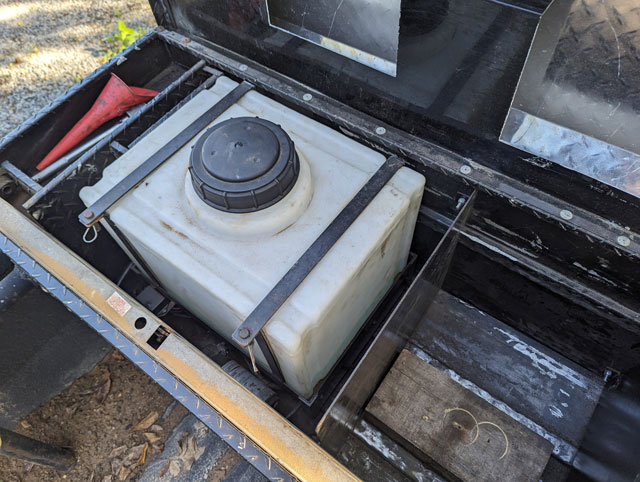
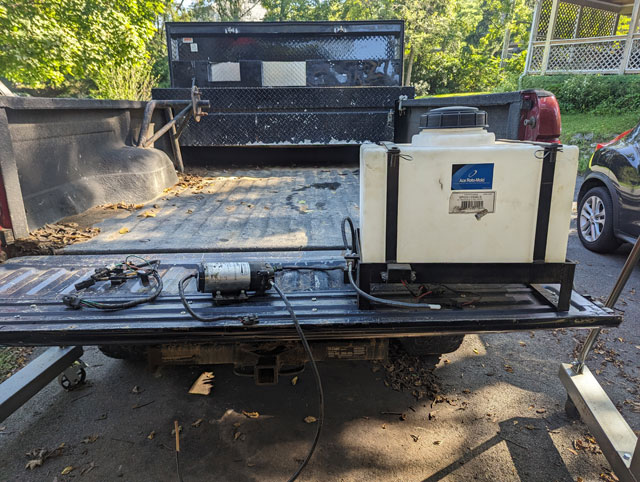
This update has been slow in the making. First up, the bed had to come off:  Located safely in the toolbox is my water/methanol injection pump & tank, which also had to come out:
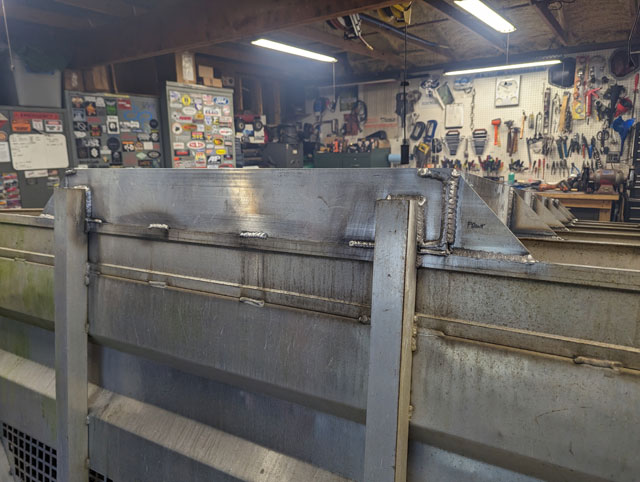
Bumper, taillights & associated wiring removed: 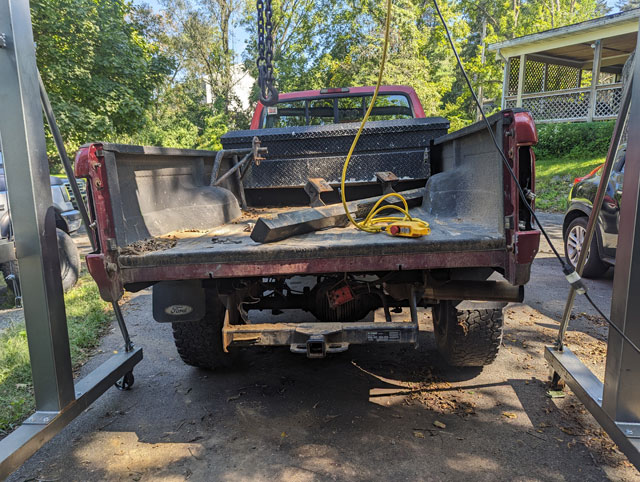 ..and off the bed came! 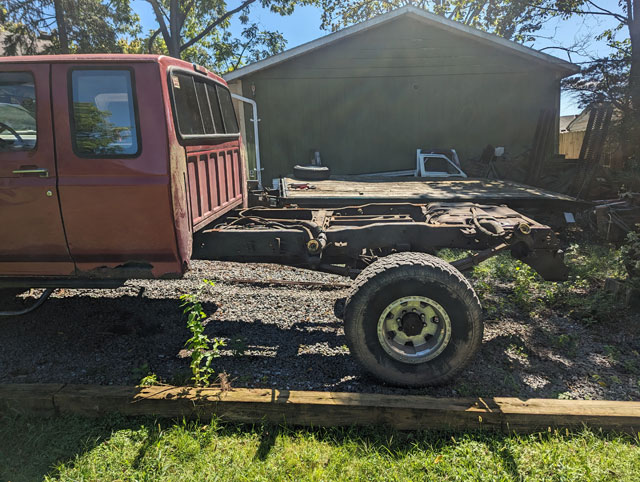 I set it down on the back of the donor Superduty 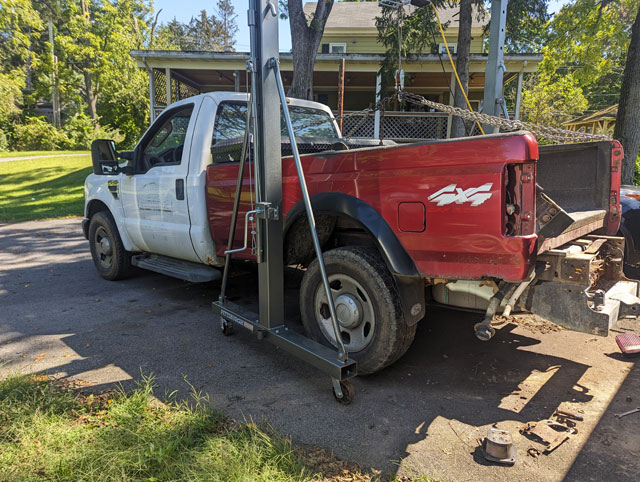 ...and the successfully scabbed it onto the frame! 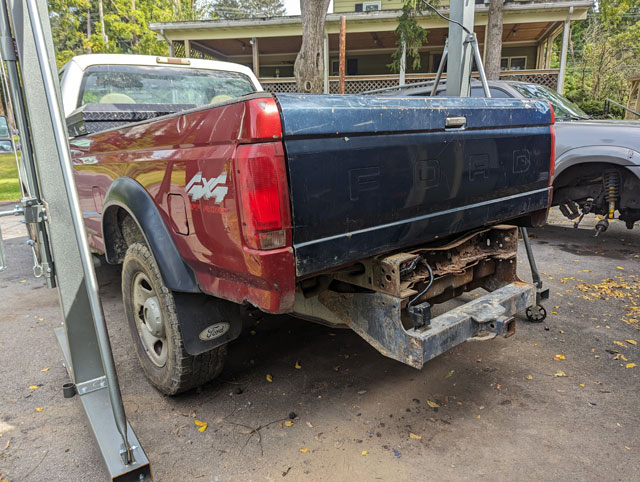 I had to put a couple notches in & make a couple simple spacers, at which point i simply drilled new holes in the bed floor and bolted it down to the trucks frame! Whipped up a simple license plate bracket, and then sold the truck for $1k, which is almost half of what i originally bought it for! Lost some time troubleshooting a drivability issue in the '90 Bronco. Started running rich but no codes. Took me a longer than im willing to admit, to figure out the ECU had failed. In addition to the usual capacitor failure, we also had a resistor blow 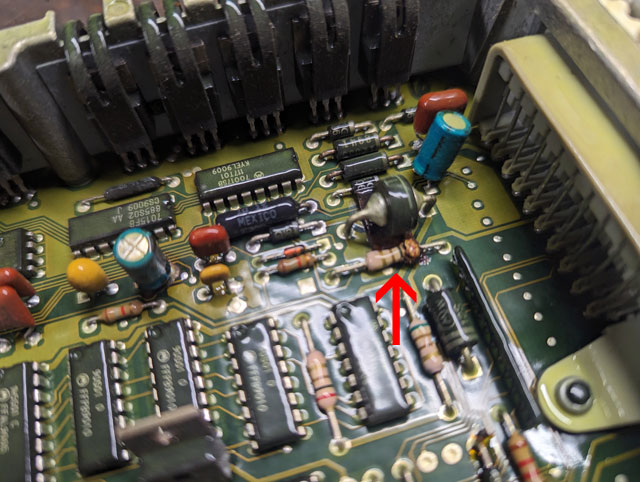 A buddy fixed the ECU for me, but im my troubleshooting i replaced the injectors, assuming i had a sticky one. After reinstalling the ECU the bronco ran just as bad if not worse; some more troubleshooting revealed that one of the reman injectors had failed and was stuck open, just dumping fuel down the intake. So back apart she came: 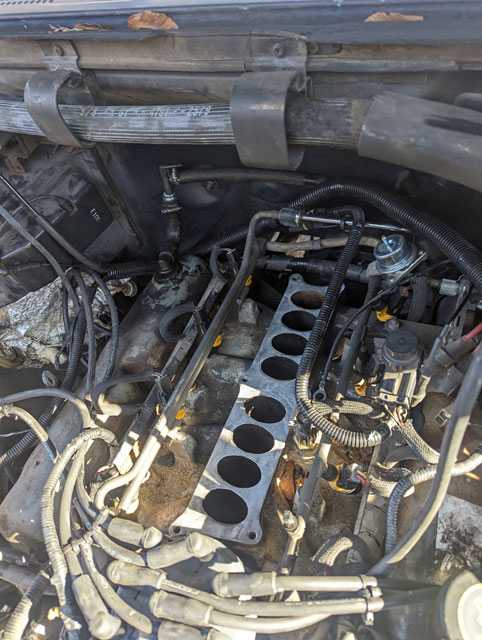 I ended up putting the original injectors back in (the ones i had rebuilt myself about a year ago) and now its back to running just fine again! The moral of the story is, troubleshoot better, and dont assume the ECU in a 33 year old vehicle is still good! 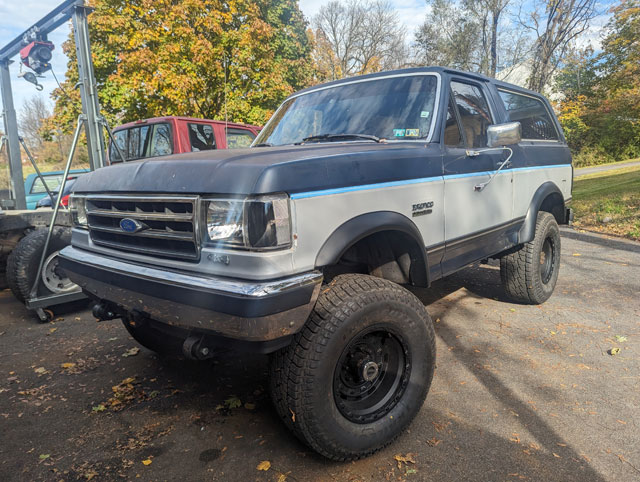 Frame rails and gussets are now fully welded: 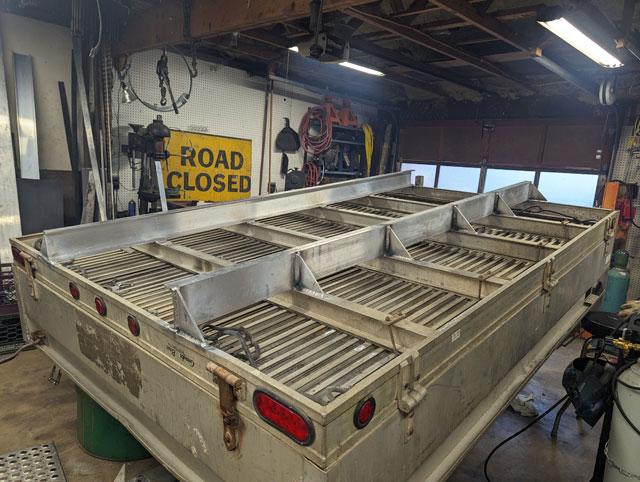 Still new to AL welding so i did some practice beforehand to dial my settings in which i think paid off; im pretty happy with how my welding is going thus far: 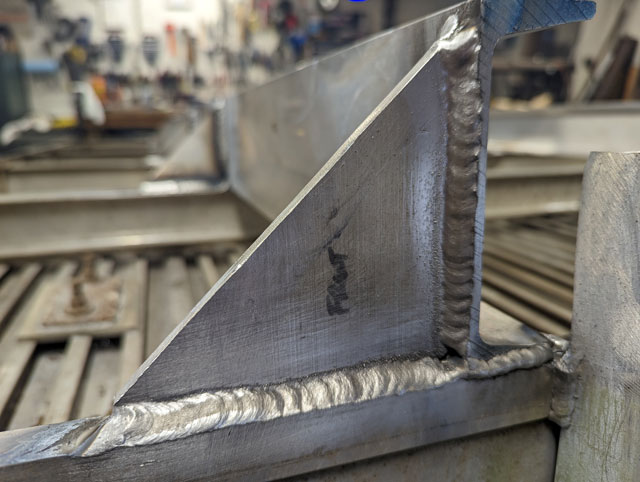 I had 9' leftover from my 25' stick, so i made 2 crossmembers 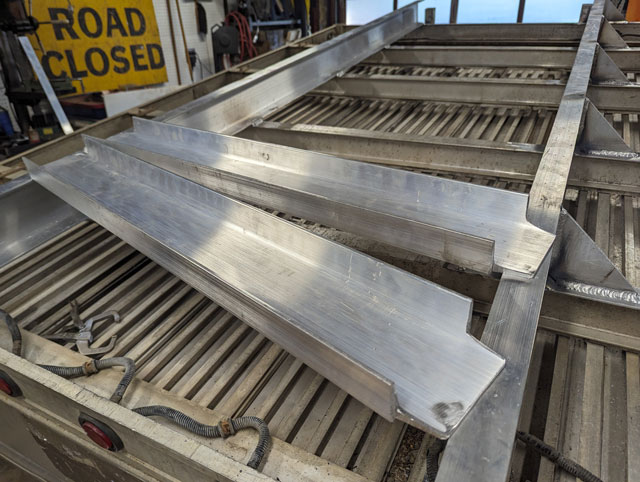 First one is getting fit up at the front, to tie the frame rails to the headache rack
...and all done
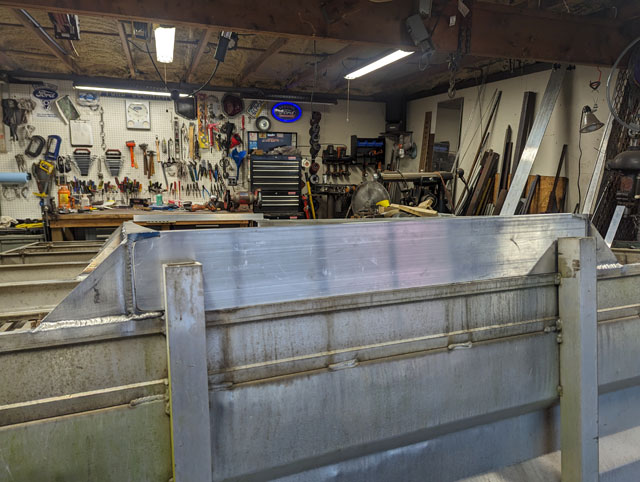
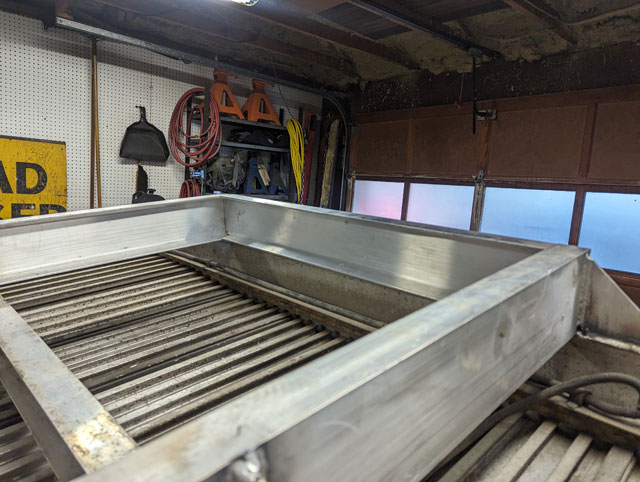
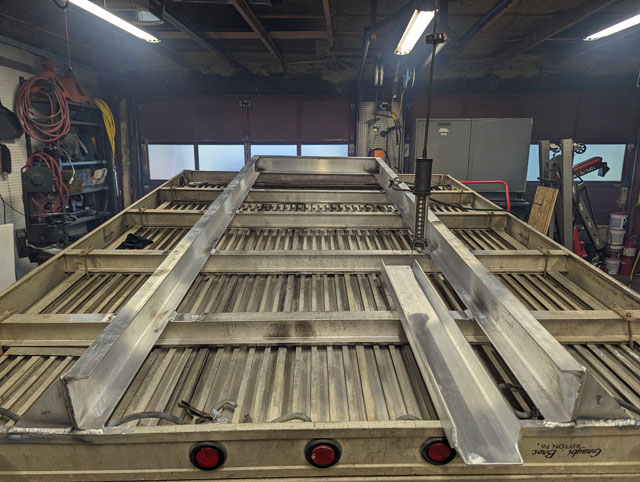
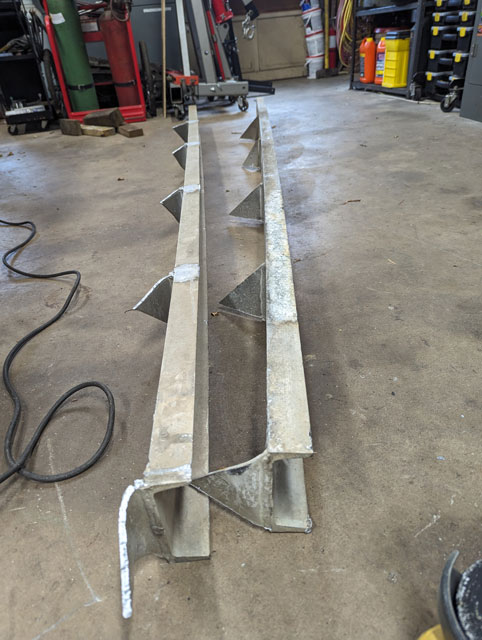
I dont know the location of the second one yet. I want to put that one where the hinges will bolt to the bed, but i need to take measurements since this is a 9' bed. So i think the best way to do this will be to just pull the F250 into the driveway and yank the original bed off so i can mock this one up properly. So this week's plan will be to get the stock bed off, and get this one sitting on my frame so i can figure out where the hinges will bolt up. From there i can get it welded in place, and start working on building a beefy crossmember for the scissor to connect to. Finall, an update! So i removed the galvanized storage box for the ramps, and started removing the original frame rails from the truck bed 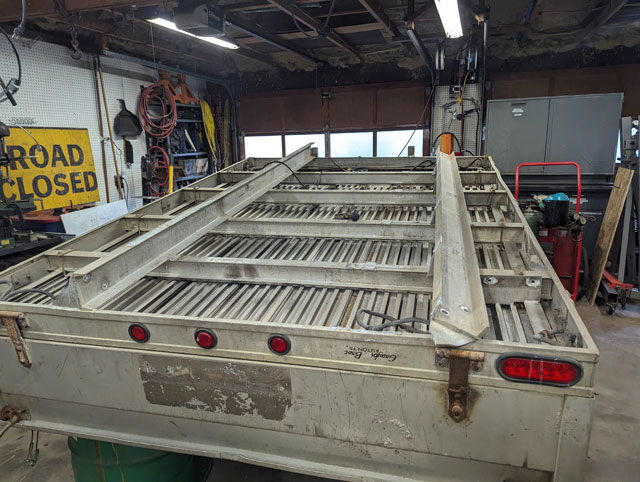 ...but then this happened during a storm:  So i lost a couple weeks while i cut those trees up, got rid of the stump and brought in dirt to fill in the hole and re-grade the yard. So with that done, i was able to resume my work on the bed. So... Both frame rails are removed now:
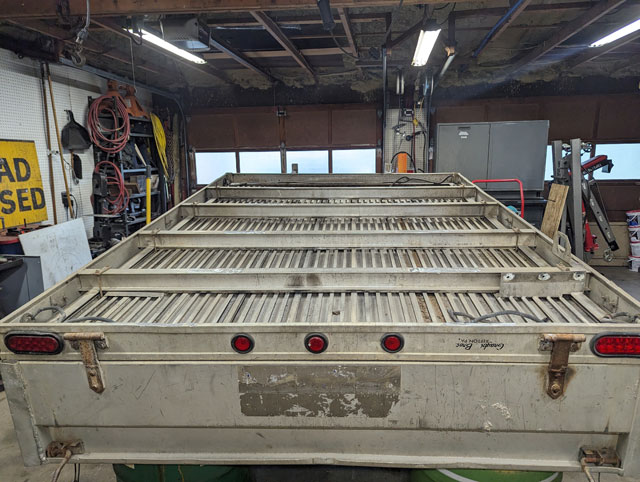
Looking at the construction, the I-beam cross members sit inside the outer frame instead of flush with the bottom of them: 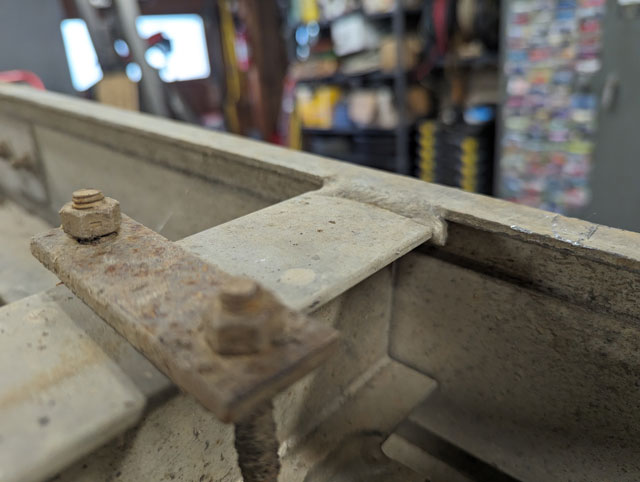 ...which means the frame rails sat on 1/8" spacers so theyd contact the i-beams. Since the rails are getting replaced/moved outboard i had to remove these as well 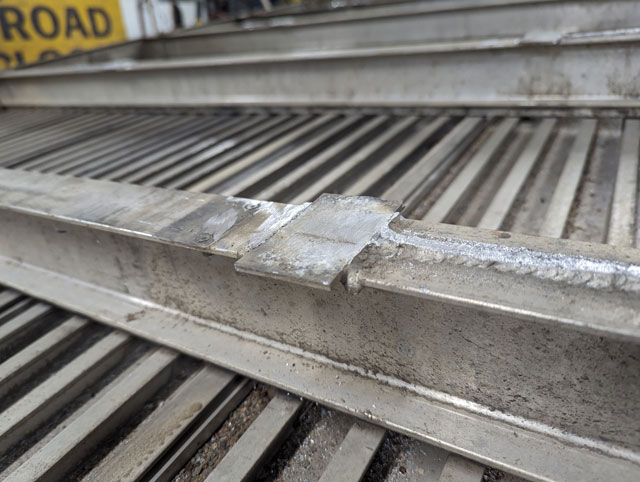 So previously i had bought a 25' stick of 5" 6061, which i had cut down to two 9' rails (plus a remnant for cross members) 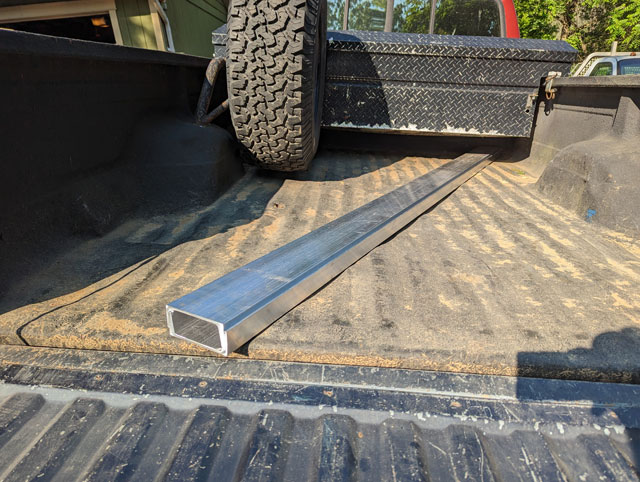 ...so that gets me to this morning, when i triple checked the frame rail width on the F250, set my new rails in place, and tacked them down! 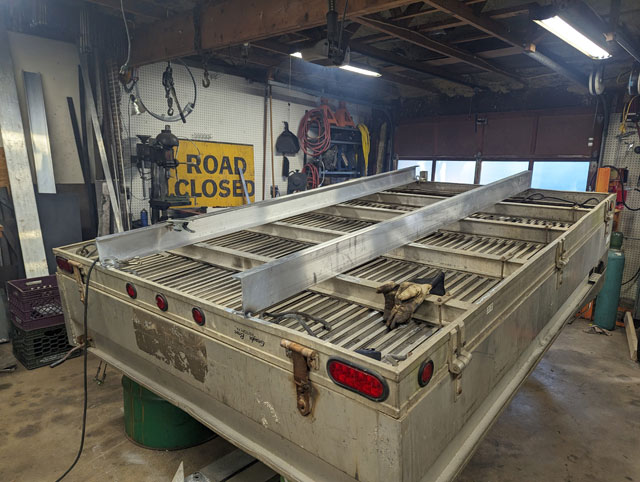 I made all new gussets for every i-beam just like the bed originally had, made some spacers out of 1/8" plate, and started welding. I bought the spool gun for my machine, and after tinkering a bit started welding. I think ive got it dialed in ok? First time mig welding aluminum, i think the welds look good. 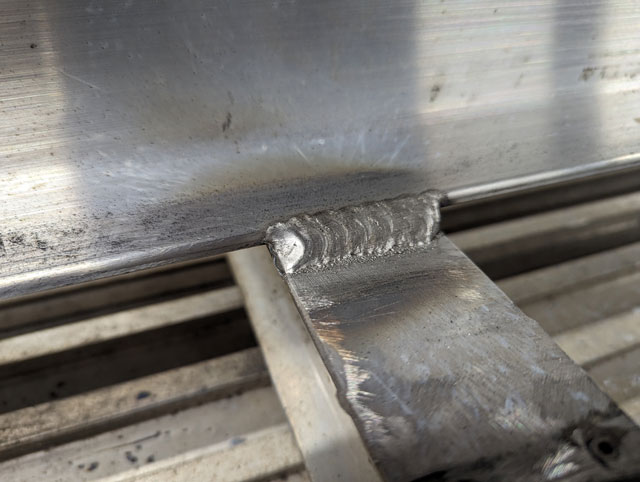 I have the rails fully welded so i started welding the first gusset before stopping for the day: 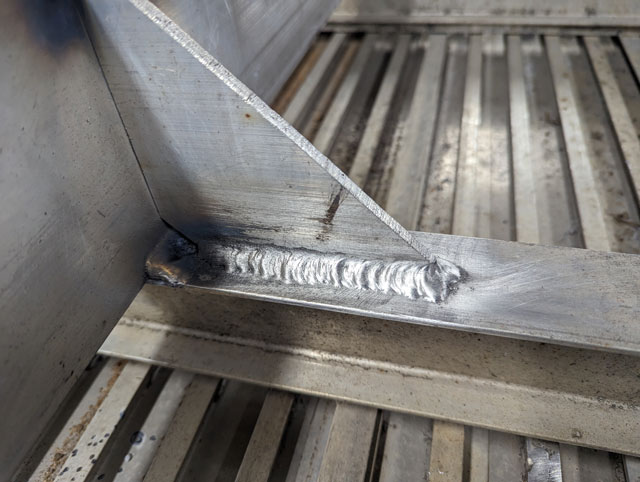 Tomorrow morning ill be back out there- hoping to finish welding this gusset (plus get the other 11 all done as well). Im not sure about the verticals yet, so im gonna have to set some scraps up and practice that a bit before i start welding on the bed. Got my assistant helping me: 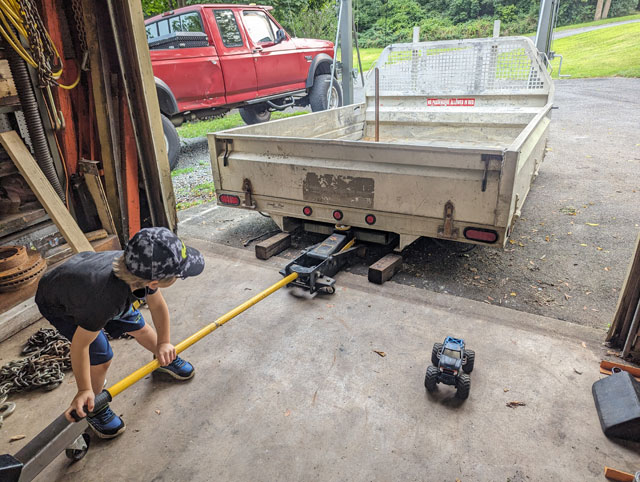 ...and in the garage! 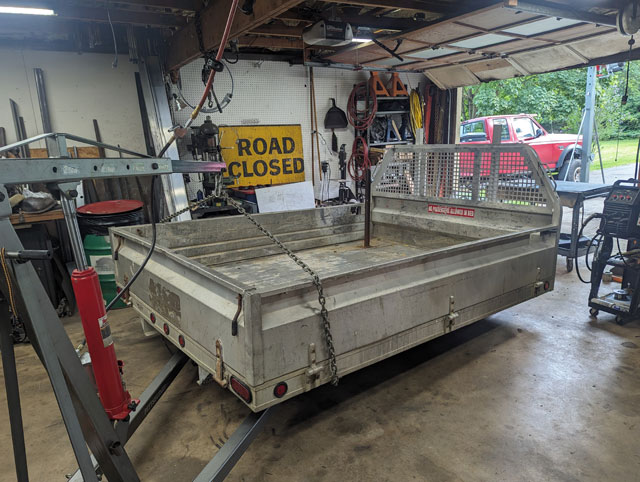 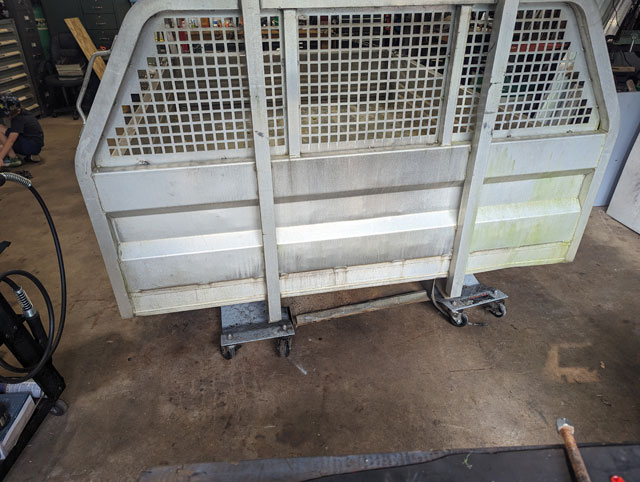 Going over: 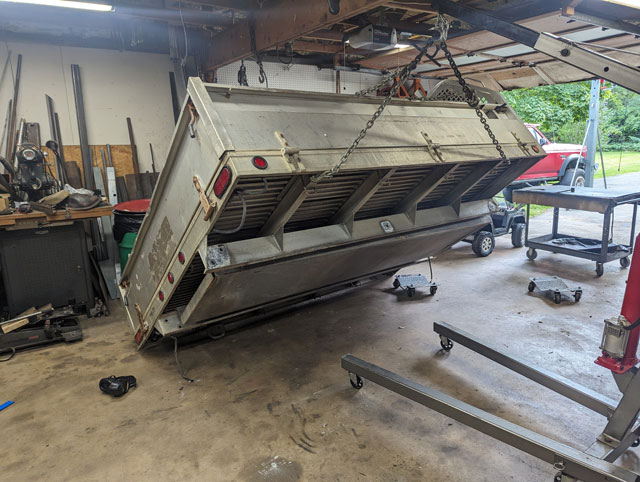 The header is sitting on a set of wheel dollys while the back end is on a pair of 55 gallon drums. Whatever works, right? 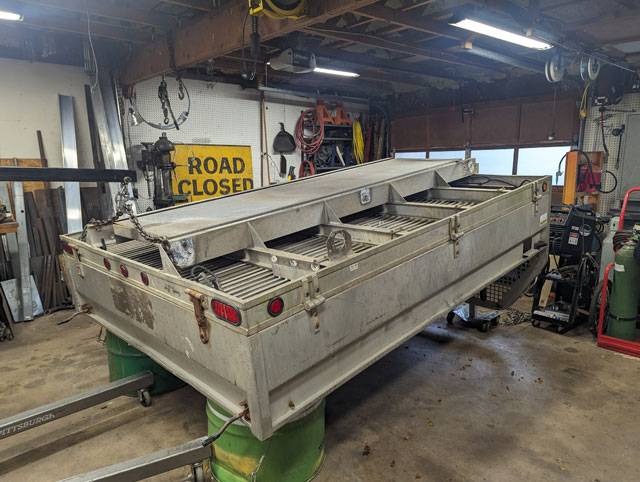 Tin box for the ramps, its just riveted to the underside of the bed 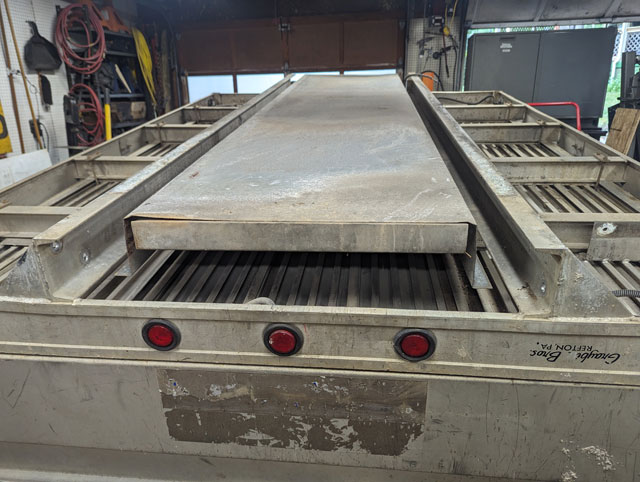 So the plan is to remove the ramp box as it will interfere with the hydraulic scissor. From there i need to start on the frame rails- the bed is for a C&C and they measure ~34.25" wide, whereas my truck is a standard frame, which measures more like 37.375" wide. So the plan is to remove the original frame rails from the bed and put new ones one at the correct width. Ive got new channel in the garage ready to go to make new ones, so the weekends plan is to try and get both rails off the bed so i can start mocking up the new ones. Remember this?  Mounting hardware removed: 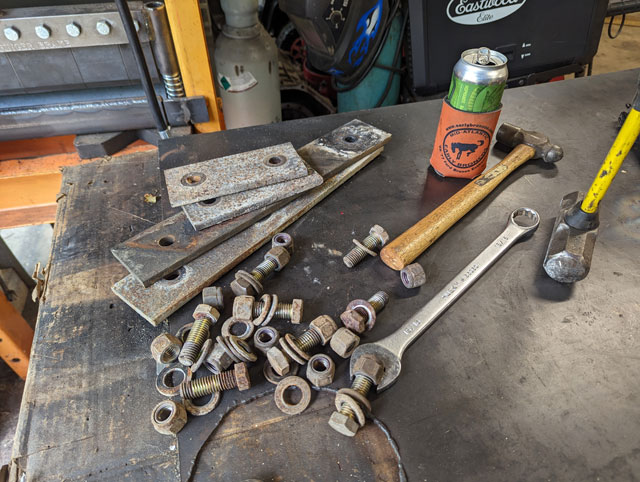 filler neck disconnected: 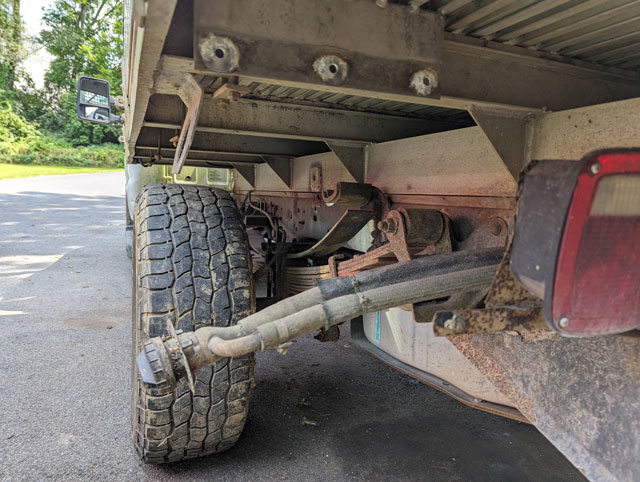 dissecting the wiring: 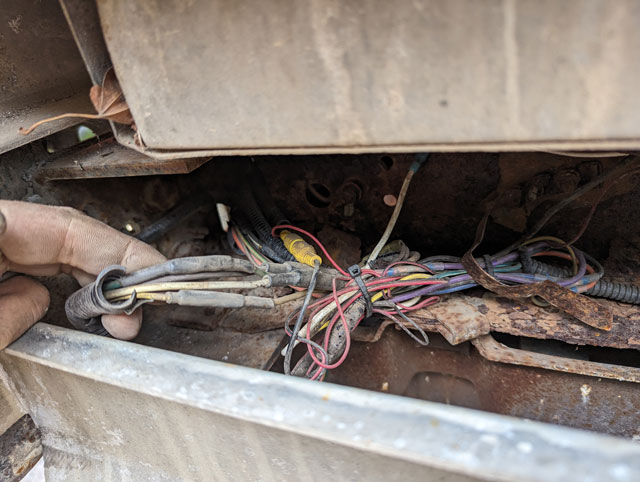 these things have a galvanized tray underneath for ramps that will need to go: 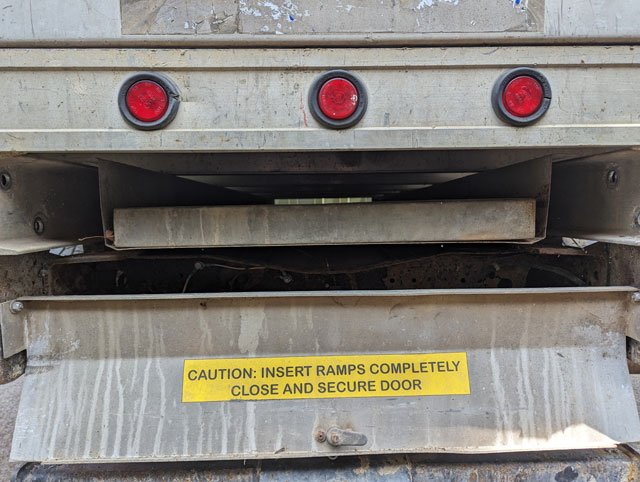 ...and coming up! 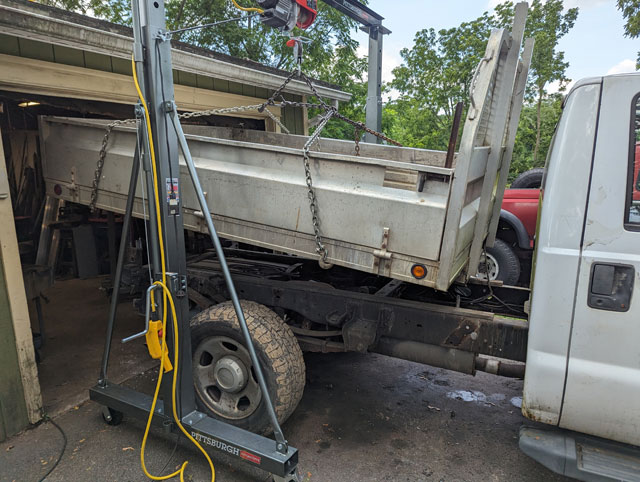 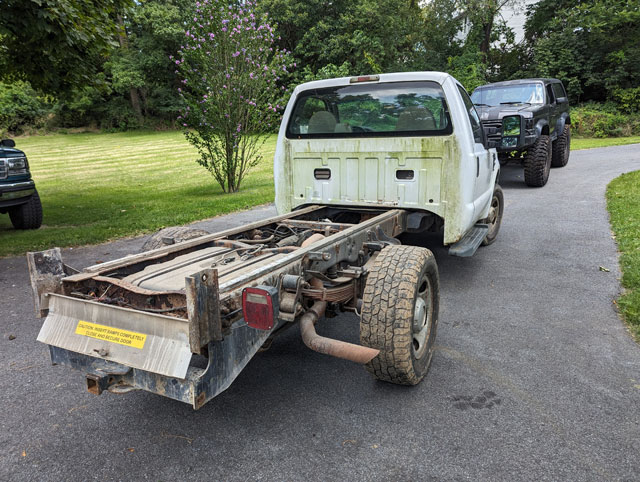 The donor truck went back to its parking spot in the stones for now. Eventually my red bed will get cobbled onto it and then a buddy is buying the truck from me. 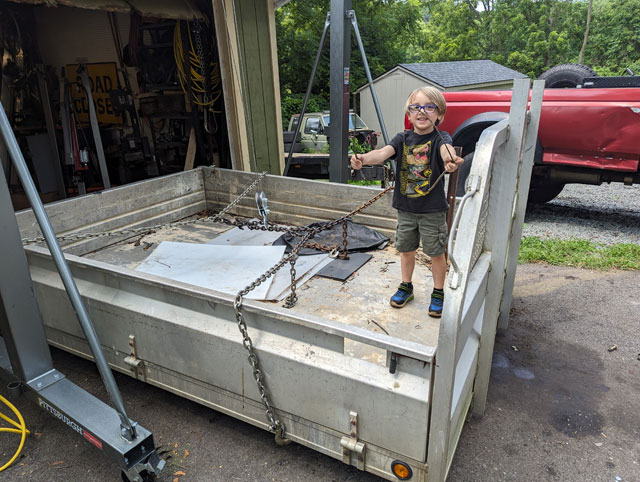 Today im going to clean the bed and get it ready to go into the garage for some modifications. I need to make it fit my 96 F250, which is not a C&C truck, so its going to take some work to fit on my frame. |