|
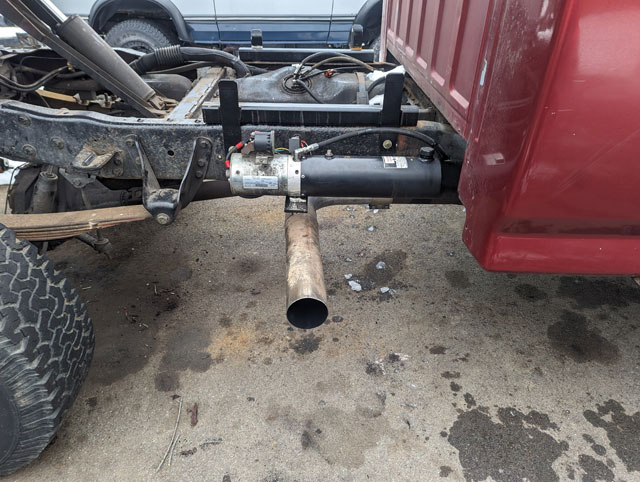
With the bed done id like to get the truck inspected (as i have work piling up that i need it for), but after 15 years, the Banks exhaust i had on here was falling apart and had been patched back together multiple times. Well finally the muffler rotted out and broke: 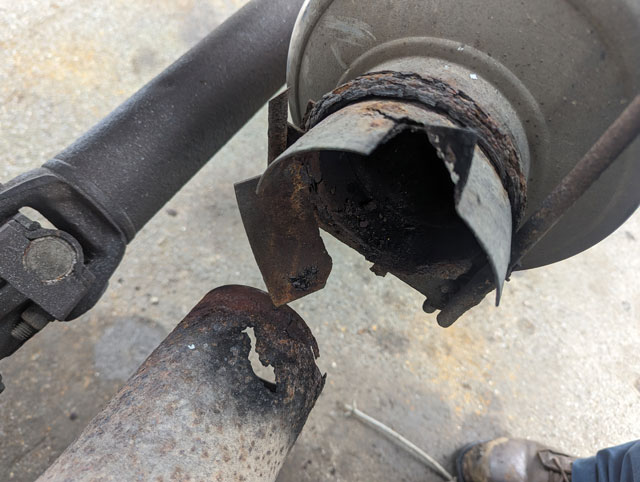 As a quick fix, i just eliminated it and threw an elbow on there so i could drive it to the exhaust shop
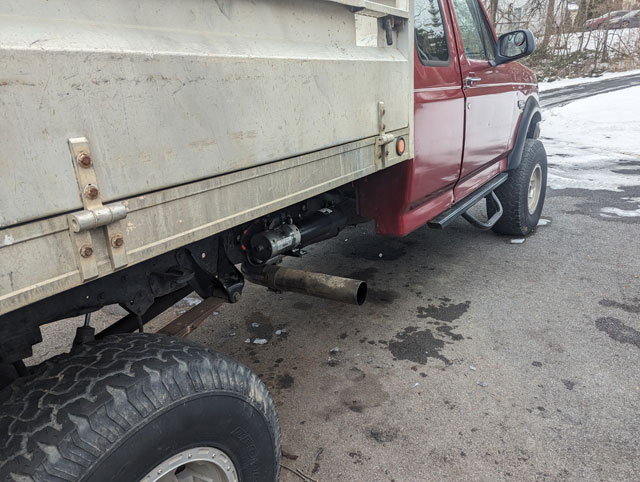
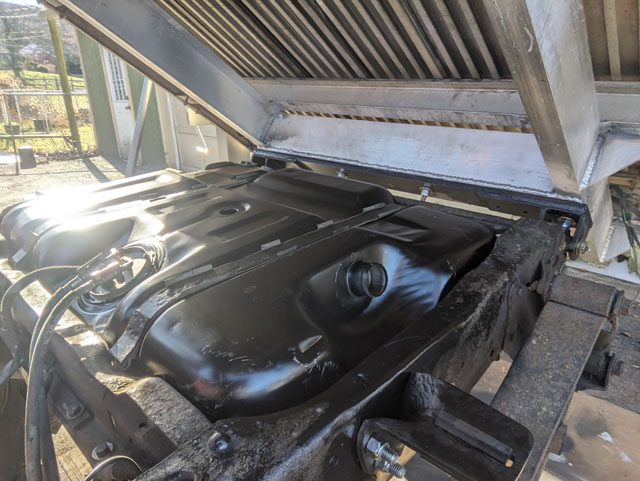
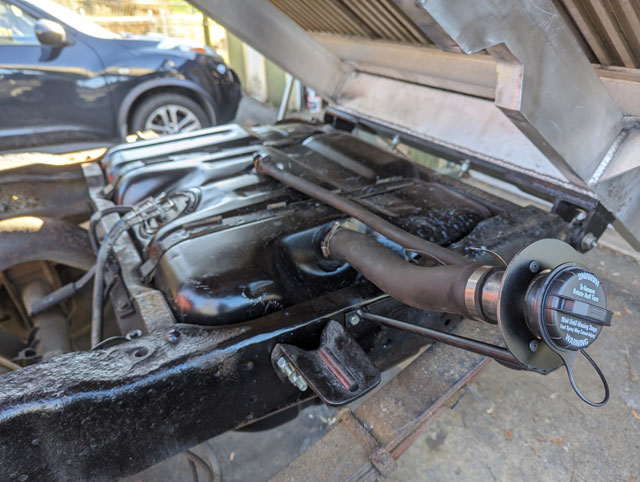
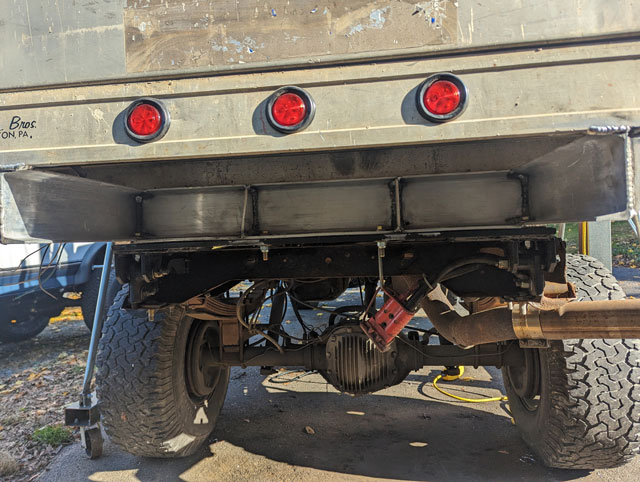
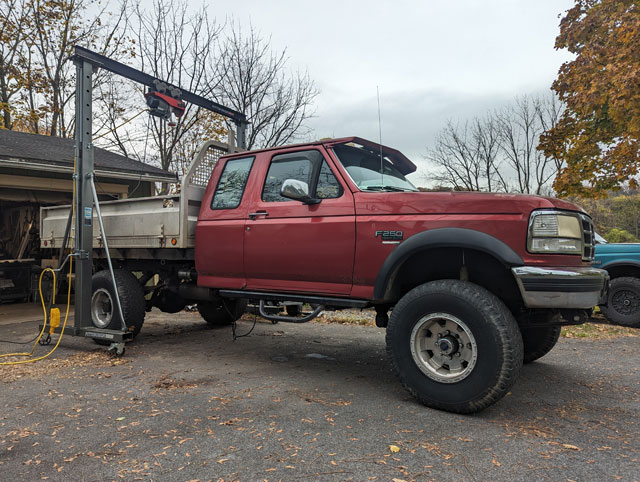
Its a total brodozer look and i hate it, but it was sufficient to drive to the exhaust shop to get a proper exhaust made anyway 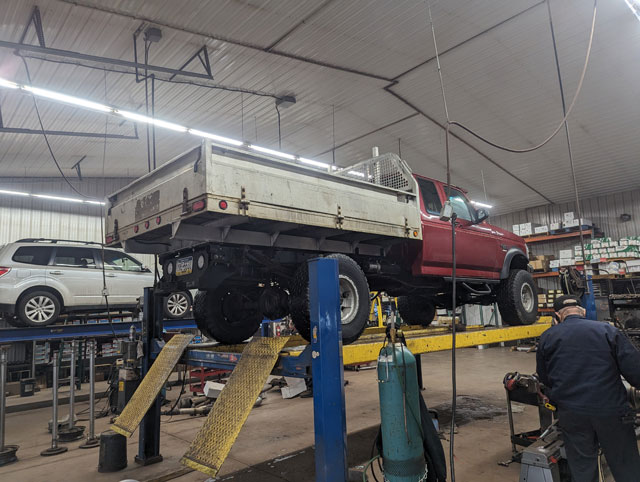 So now ive got 4" stainless all the way from the downpipe to the tip, along with a new stainless muffler as well  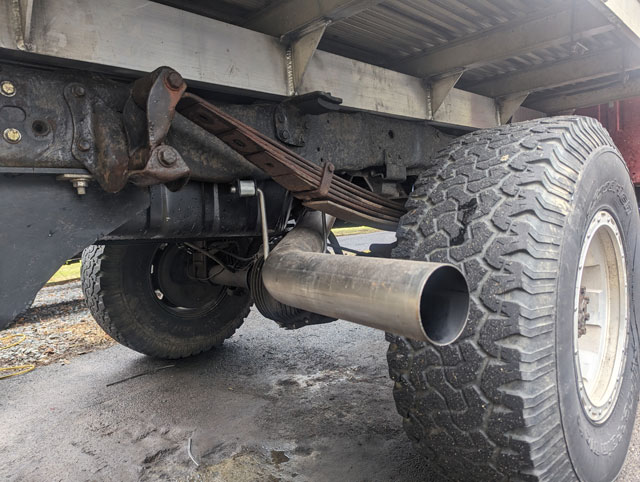 Nice and quiet, for a 4" pipe anyways. So from there it was just a matter of stopping and filling up the rear tank, so next week i can finally drop the front tank out of the frame rails 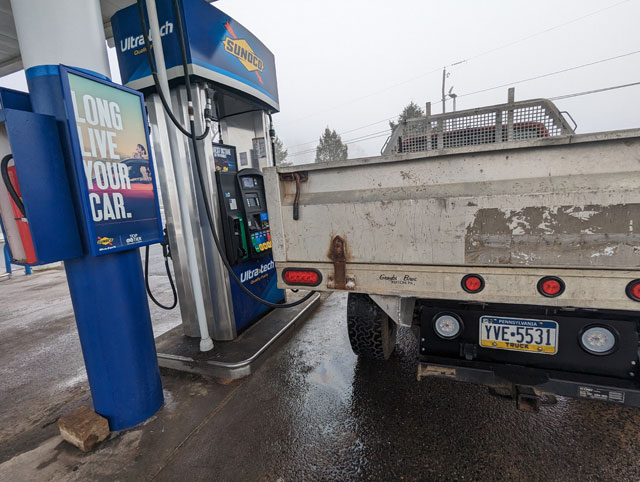 I bet you didnt think this would fit, but it totally does, and with room to spare: 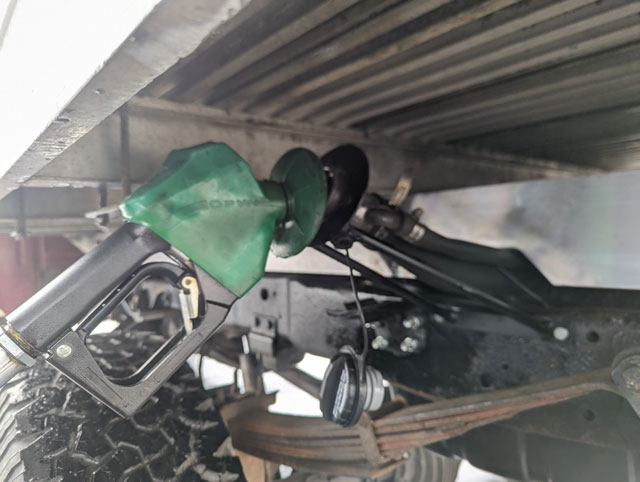 And the new rear tank holds an honest 38 gallons  Its way out of inspection (was due in august), and i still need to get my water/methanol injection reinstalled, but at least she's a driver once more! 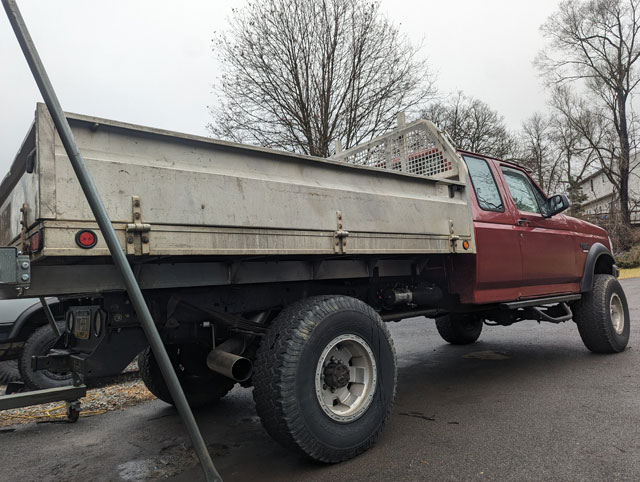 The next part of the project is lighting. I need to wire up the bed, but i also need a place to put my license plate, trailer plug and reverse lights 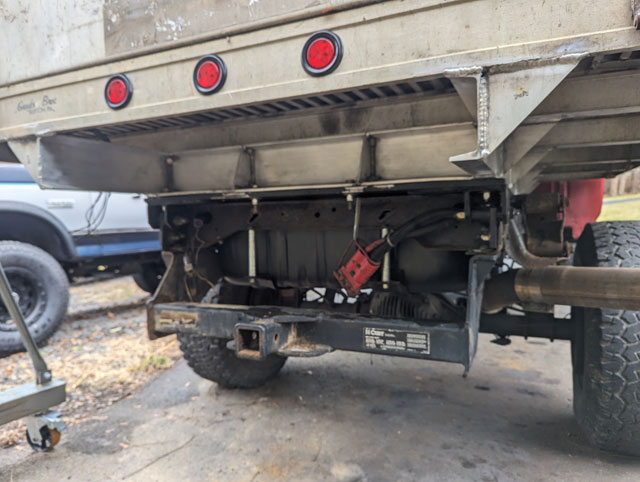 I spent some time staring at that space, and started thinking about just building a panel to house my lights & plate, similar to what a traditional dump truck might have 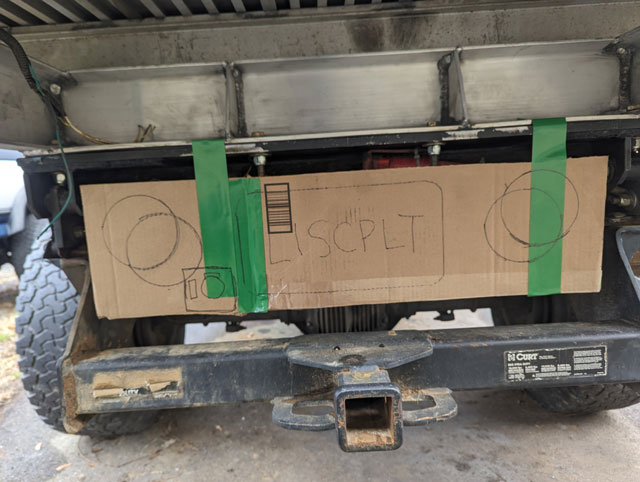 Mocking up in steel: 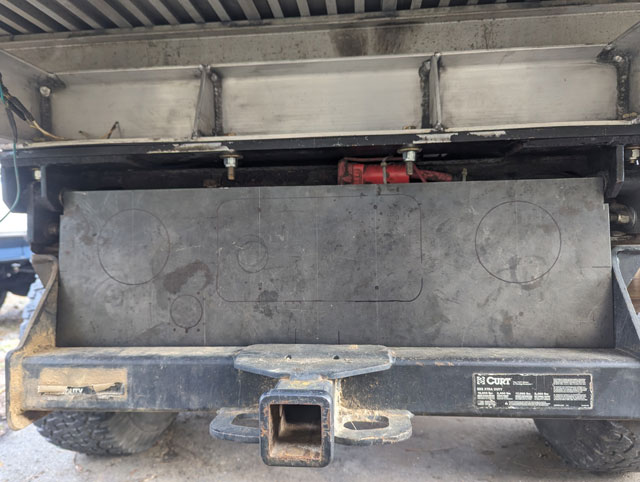 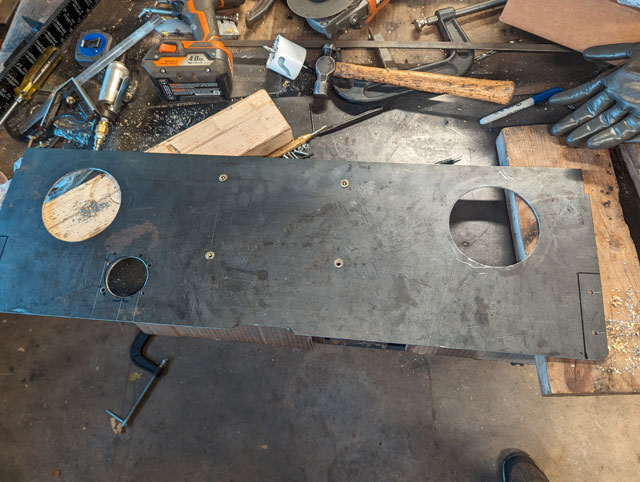 Brand new Ford wedgelock pins..... 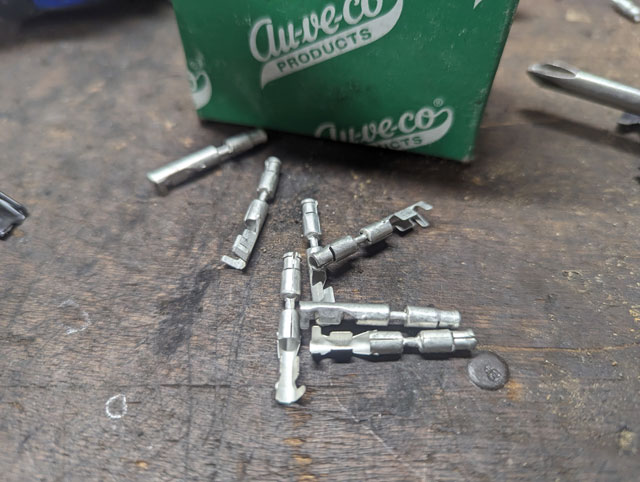 ...means i can rewire a new trailer 7-way, to plug directly into the truck's harness 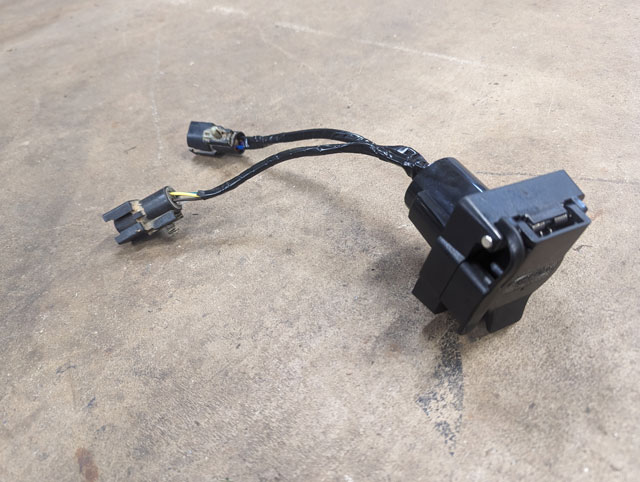 ...and this gray 8-pin connector is the plug for the original bed's tailllights. The plan is to rewire the bed lights to plug directly into this using some more wedgelock pins and connectors 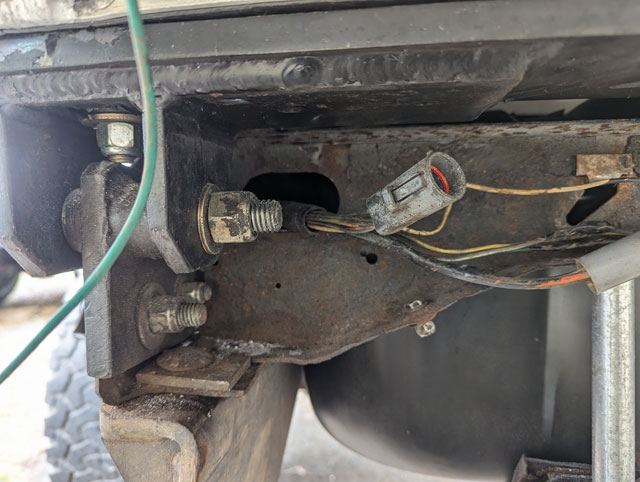 Running wires 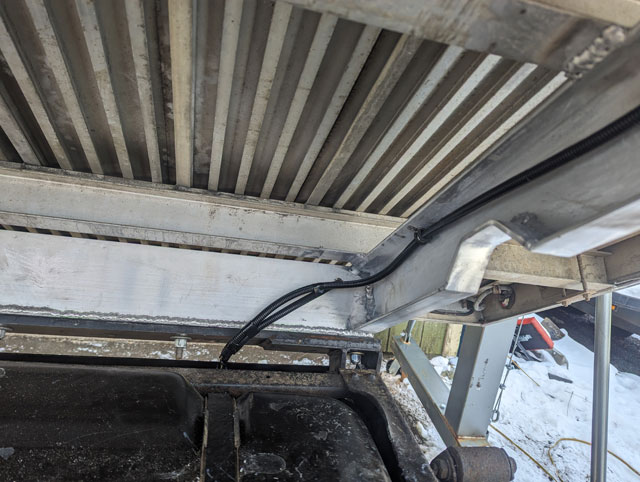 ...and with all wires ran, the panel is now installed! 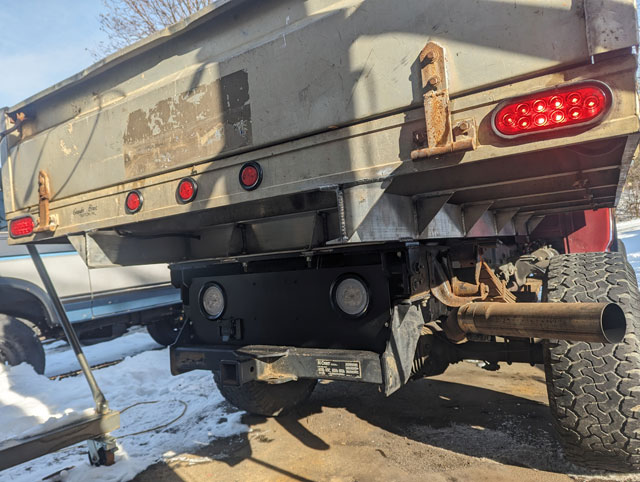 Why have an 18 gallon tank when you can have a 38 gallon one? Let's go! This is a Spectra F26E tank. Fits right into the frame rail, and comes with longer hardware to reuse the original gas tank straps 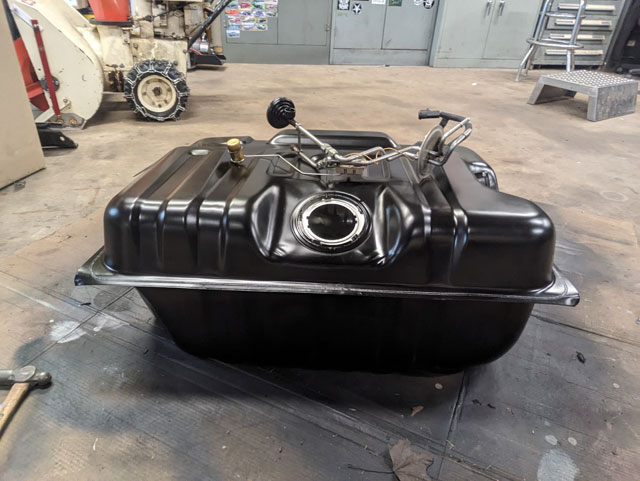 I modified the original sending unit to reach another 6" down to the bottom of the new tank, and then replaced the original float arm with a longer one from a bronco sending unit, altho i had to change the shape of it (bend) to get it to display accurately, while also being able to fit it thru the hole in the tank 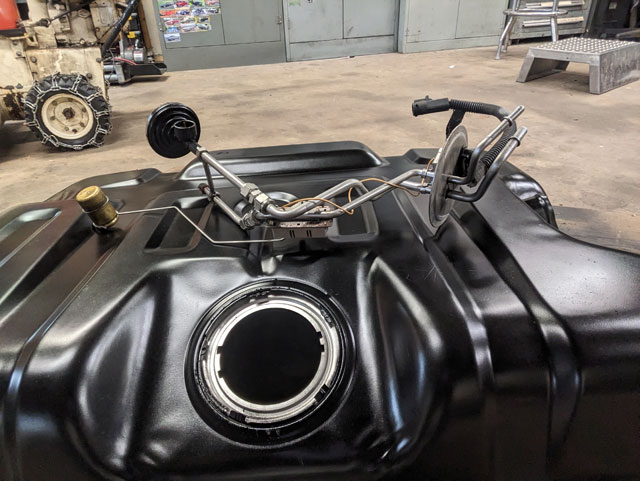 Sorry i dont have better pics as this is when i broke the lens over my camera, so youll have to wait for the video if you want more info on the sending unit mods. That said, the tank is installed!
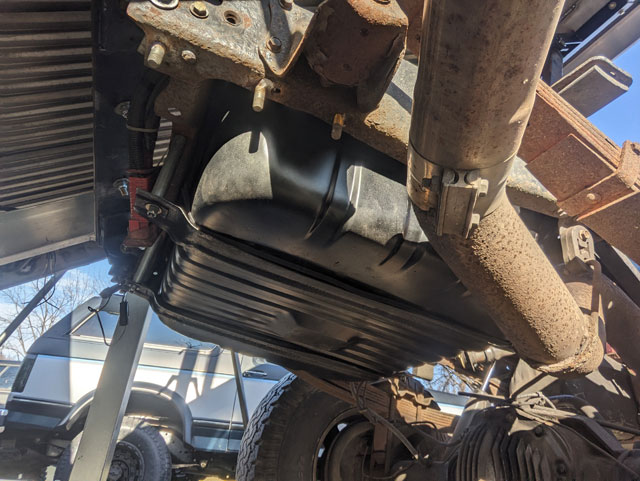
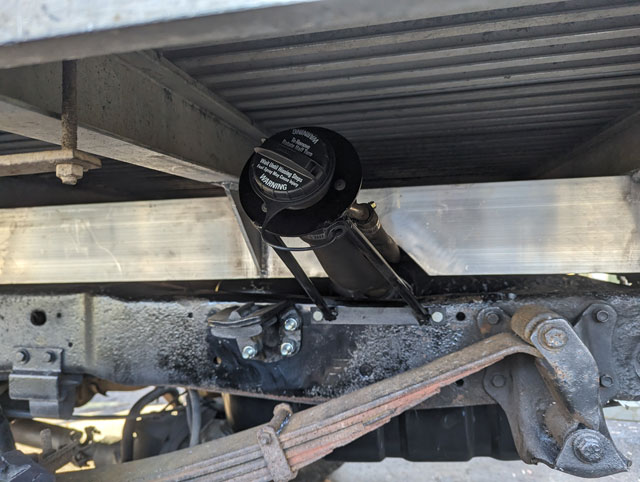
As you can see, it fits in there nicely and despite being bigger than the bronco tank, doesnt hang down as far: 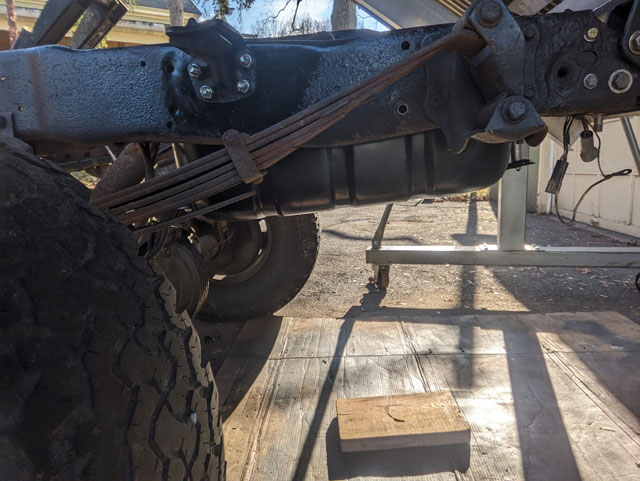 This would be the end of the mods for the swap, except dump bed. Seems theres some aluminum in the way: 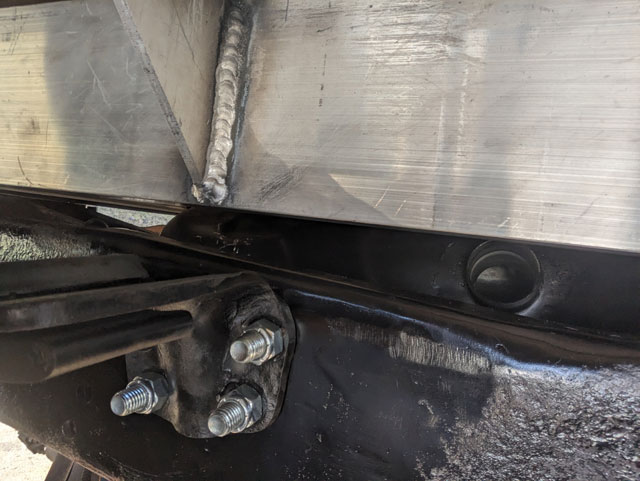 I had to notch the aluminum frame rail to make room for the filler neck. I also removed the coupling and extension hose to shorten up the filler neck a few inches, and then built a hangar to support the neck:  ...and the finished product!
Built some parts!
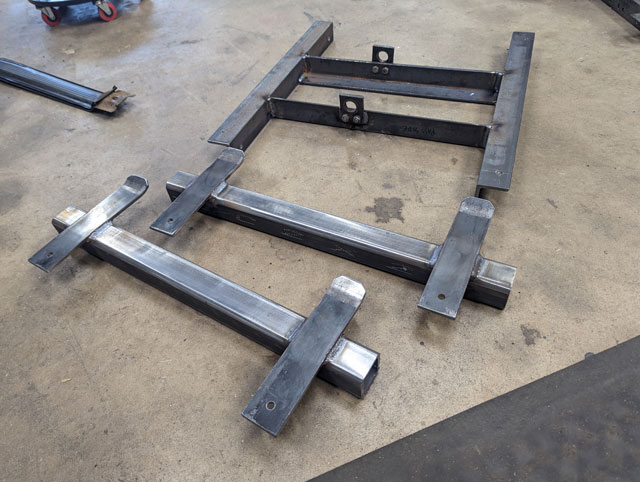
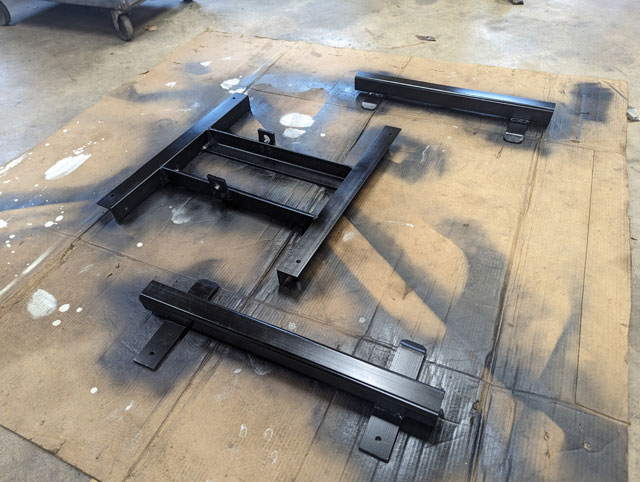
Then i broke the camera on my phone! Oh yeah, and it works now! 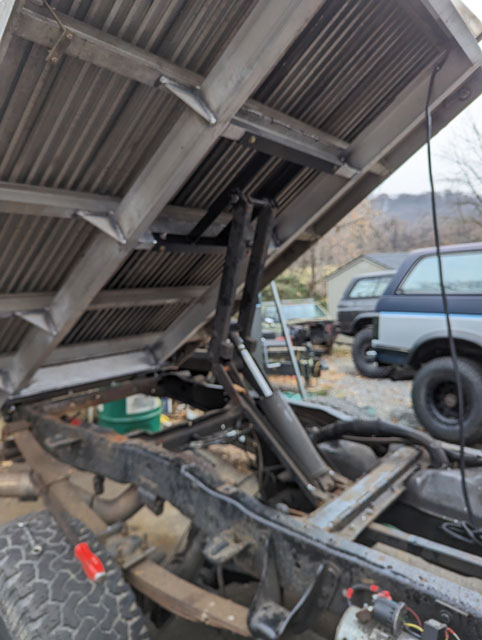 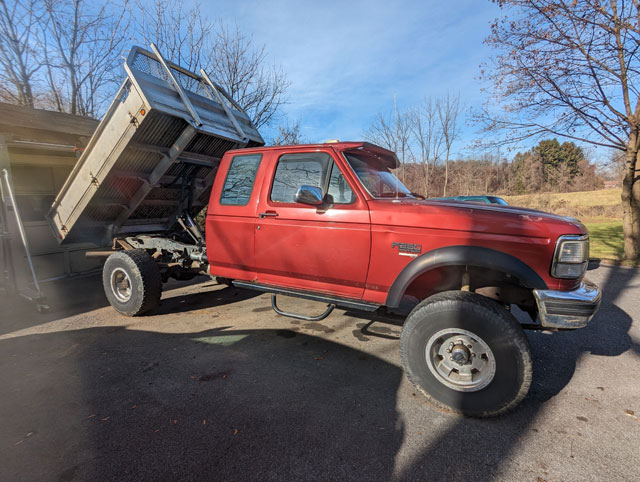 Found this bad boy and picked it up yesterday! 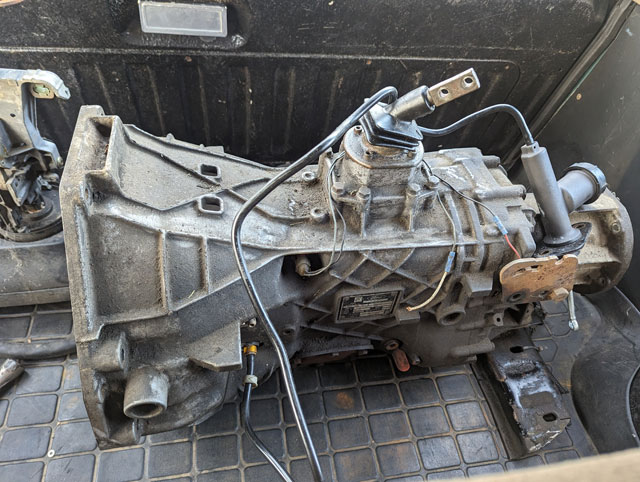 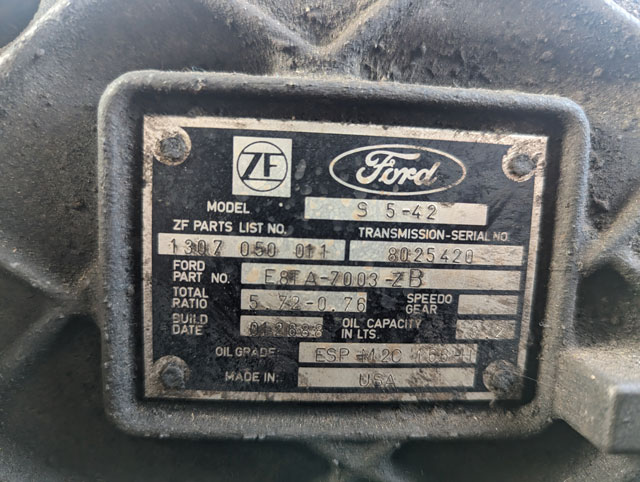 Looks like we're gonna be doing a 5spd swap in the 96 bronco this winter... Next up i had to finish the hinge. So i started by welding in that second xmember i made a while back, along with a piece of 4"x.250" plate underneath the whole frame, to give myself a place to bolt the bed to the hinge. In this pic its just clamped in place: 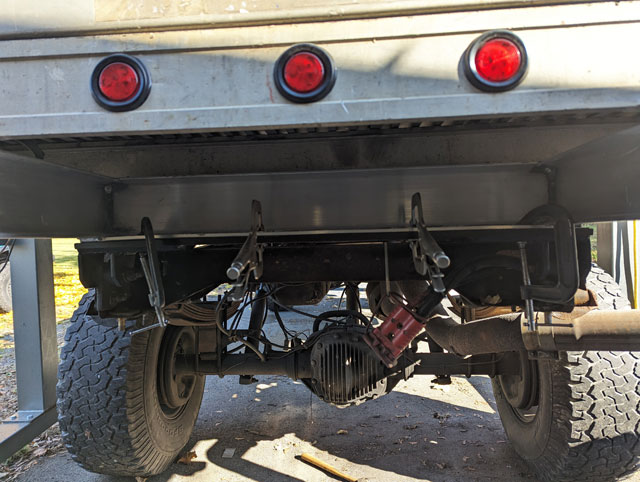 With that sorted, i drilled holes for four bolts (the previous dump conversion only used two), and i then added two gussets to it, to stiffen the area up:
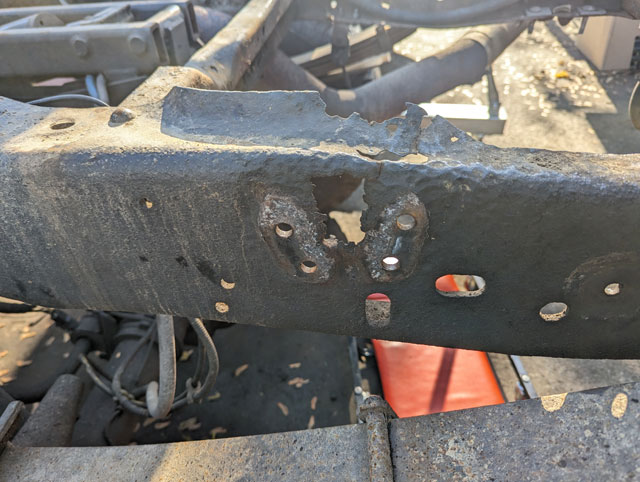
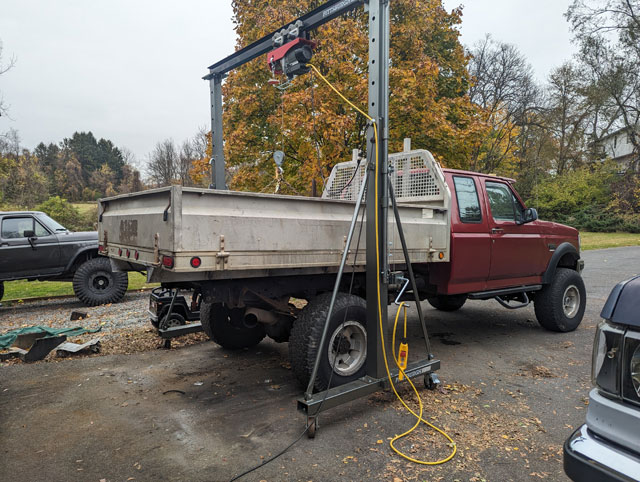
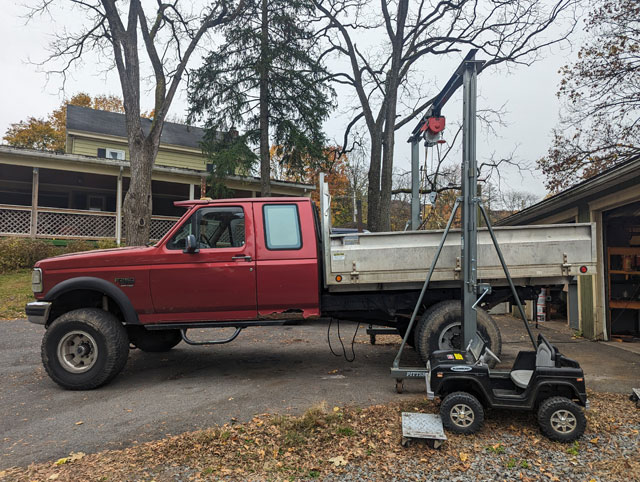
So this means, with the use of the gantry, i can now tilt the bed! 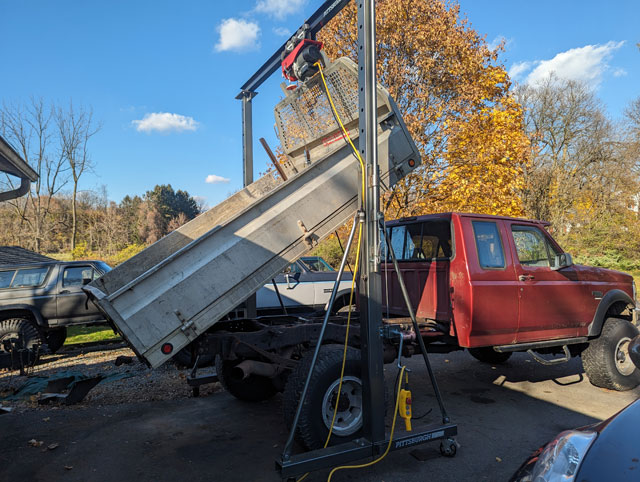 So now theres two more issues to deal with. #1 is the front bed support: 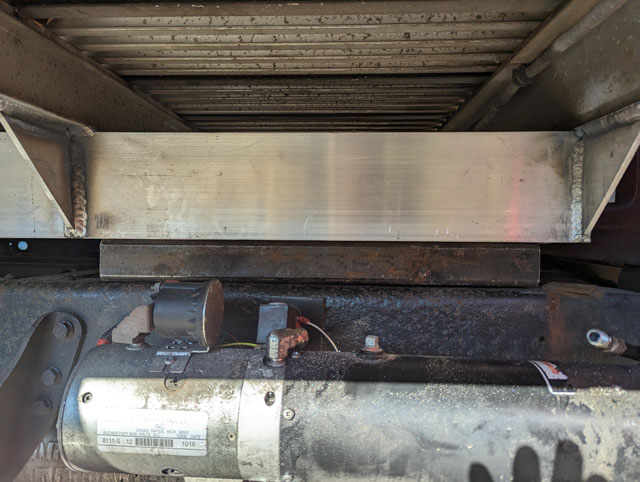 Currently i just have it sitting on a piece of 2x2 box. Im probably going to use a longer piece, and then make tabs to bolt it to the frame + make guides to align the front of the bed. it doesnt necessarily need it but will make it more stable when loaded, The second is dealing with the mount for the scissor. Looking closely you can see it almost lines up with the existing xmembers in the bed: 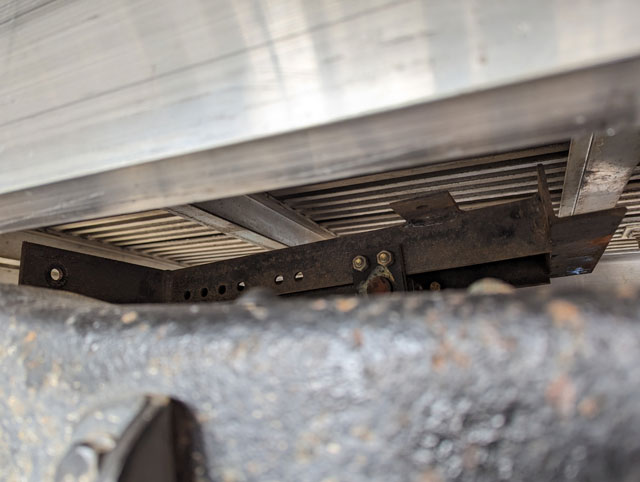 Im planning on building a new one to fit the bed better, but it gave me an idea. So i grabbed one of the old frame rails i cut off, and made two more xmembers out of it: 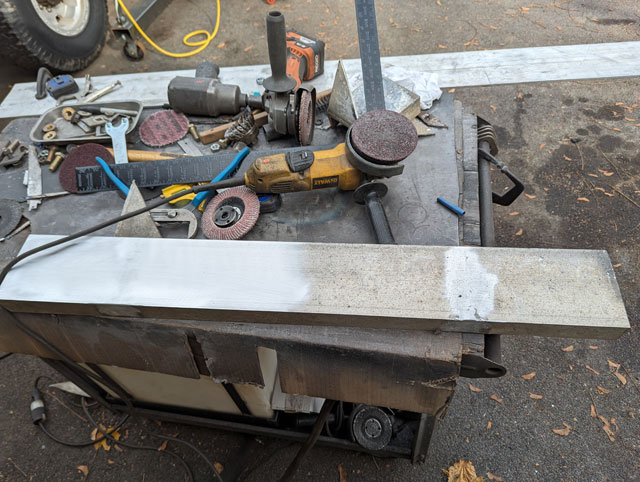 ...and welded in! They line up with two of the small i-beams that support the bed floor, so theyre welded into the frame rails, and those beams, which should stiffen up the middle section of the bed significantly: 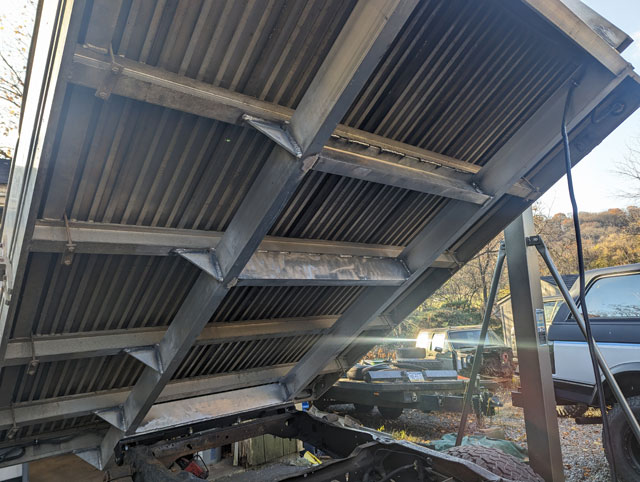 My next move is going to be to build a new frame for the scissor that will bolt to those two xmembers, and then the bed will go up and down by itself again! Rewind to 2018, and you have the hinges i first built for the dump conversion 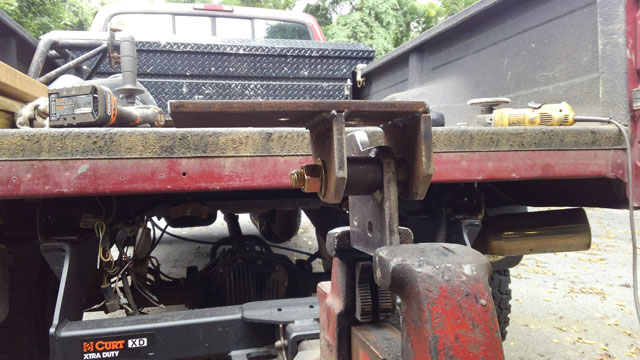 Now, those hinges and have been joined together, with a piece of 4x.5" plate: 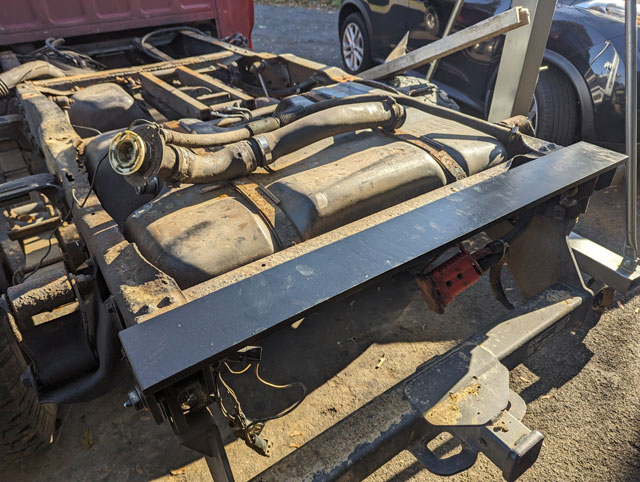 I wanted to remove the rear tank, but that necessitated the removal of the trailer hitch, so off it came! 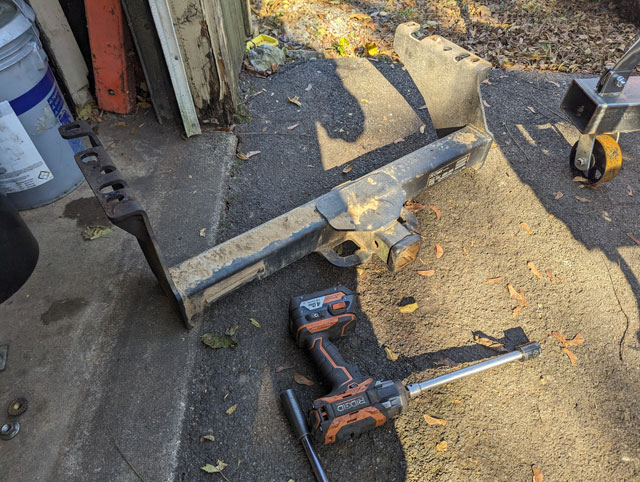 Tank removed. This one wont be going back in (more on that later) 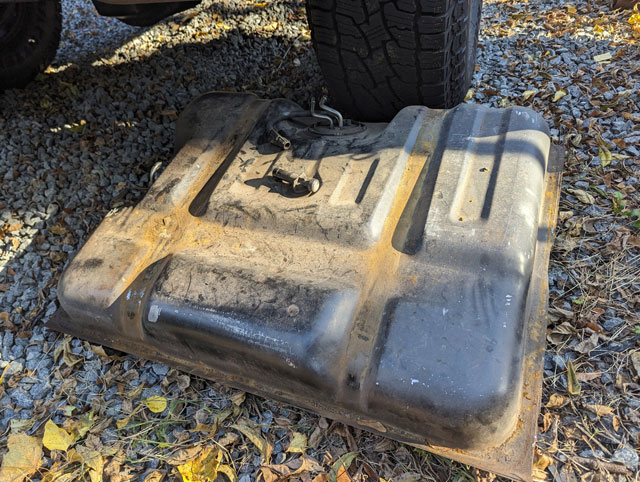 Looking at this side of the frame rail, we have some rust to deal with 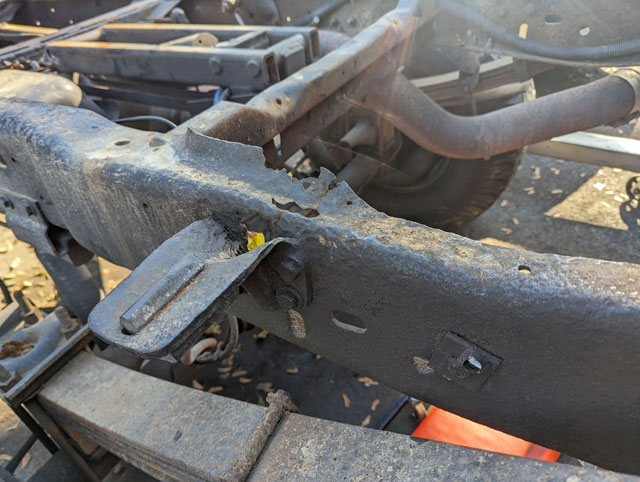 With the hangar off, you can see how rough the frame is 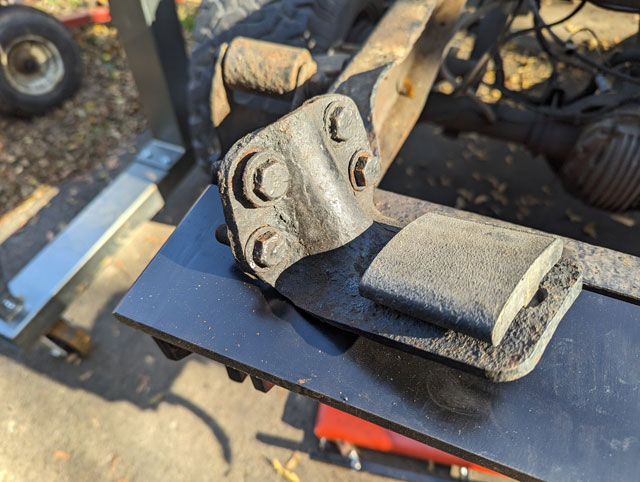
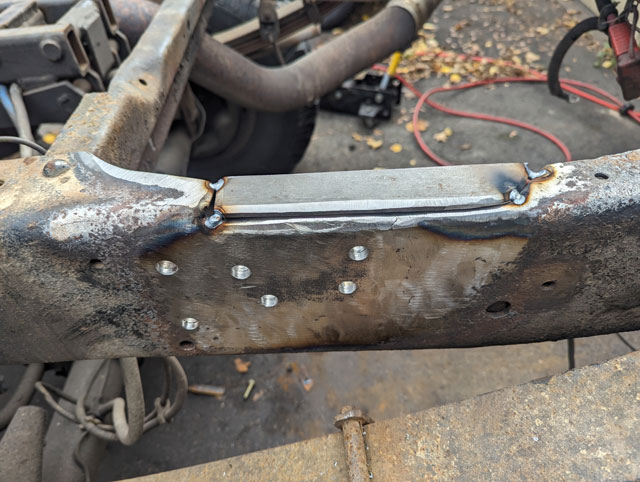
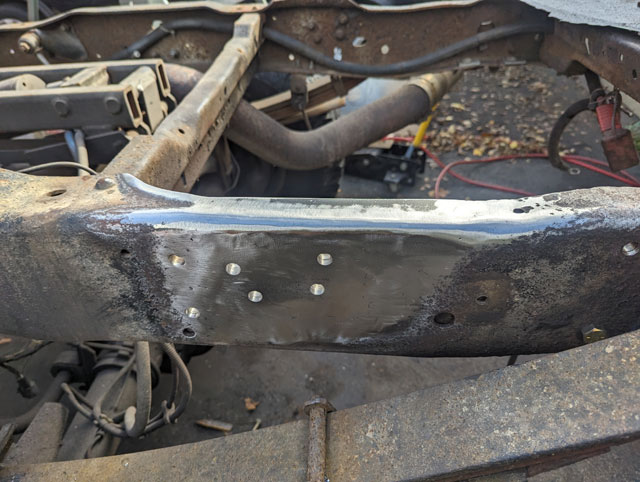
So step one of the repair required making a backing plate that fit inside the frame rail. Its bolted in at the corners, and i transferred the 4 holes for the helper spring pad, so i could cut the bad section out, without having to worry about getting the pad back in the correct place later: 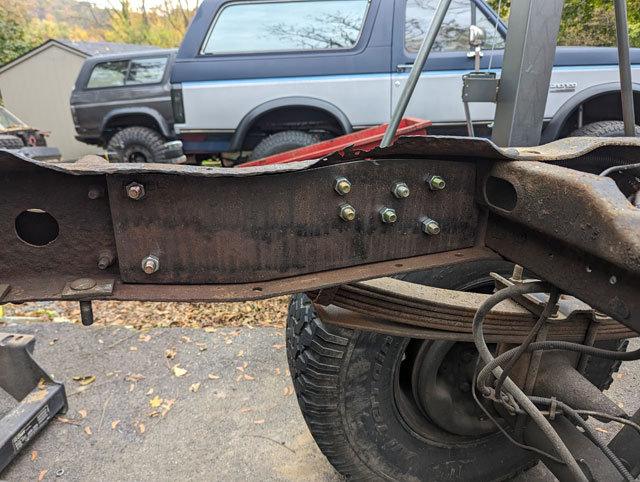 I cut the bad section out of the frame, and made a patch to fill the void. I purposely didnt do a square, over concerns of creating a stress point in the corners. I intentionally made the patch small so i could burn into the back plate when welding it in, as i have no intention of removing it. 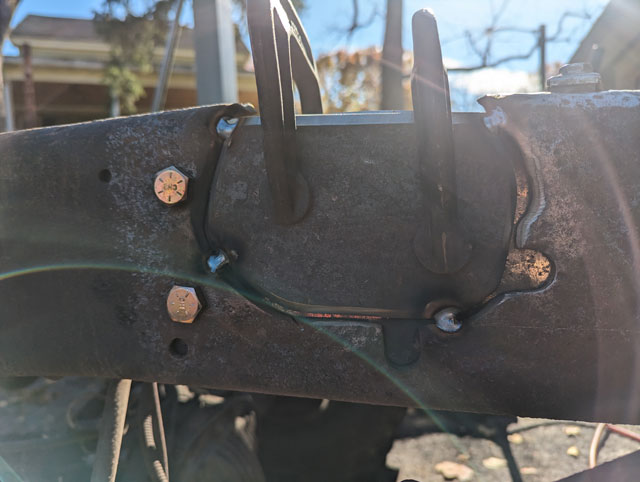 Vertical section welded and ground, tacking in the top section now
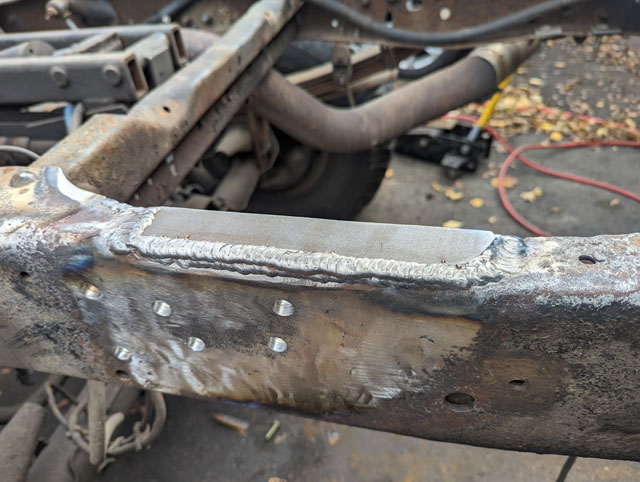
All done welding, ground and painted
the back plate is now fully welded into the frame as well 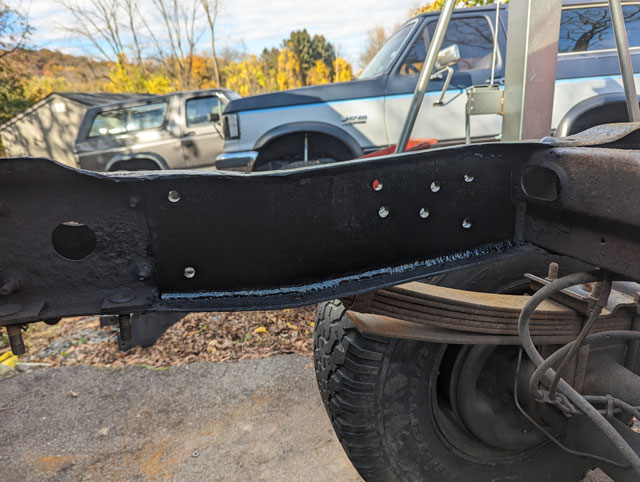 Moving on from there, i grabbed one of the old frame rails i cut off the aluminum bed, to try to get an idea of how the bed is going to fit onto the frame  All this really showed me though, it that i could do all the mockups i want, but really i just need to bring the bed outside and get it sitting on the frame. So, outside it went! 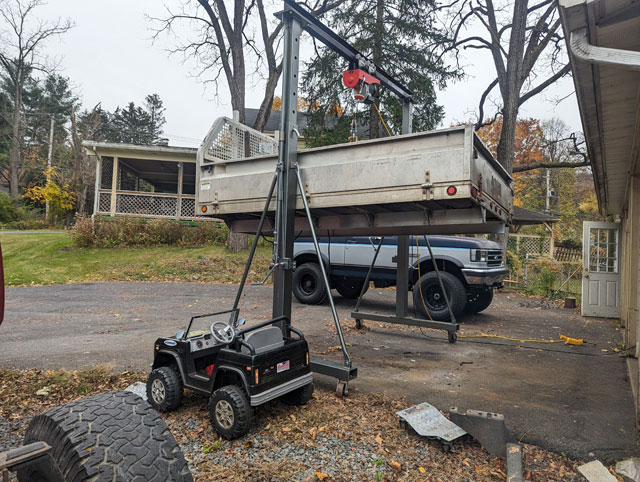 On its way down 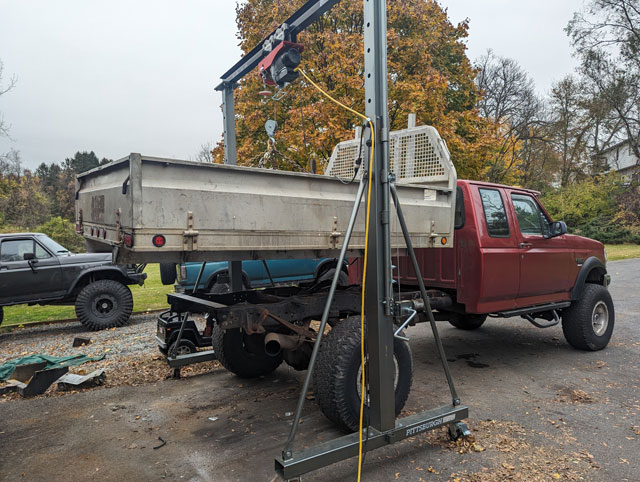 ...and onto the frame it goes!
 For now its just sitting there, with the bed rails c-clamped to the hinge so it doesnt move. The next step is going to be to get the rear crossmember built so the bed can actually be bolted to the hinge... |