|
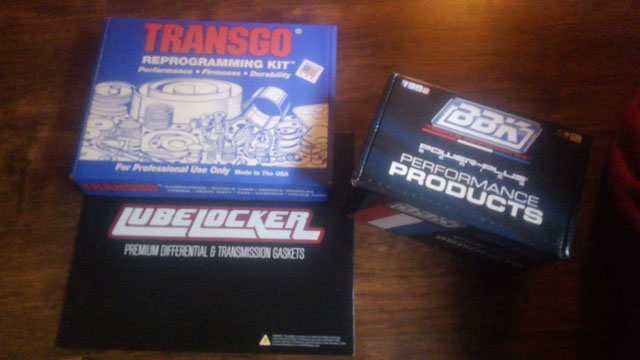
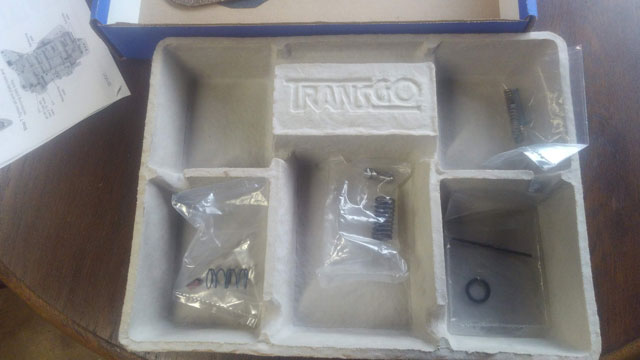
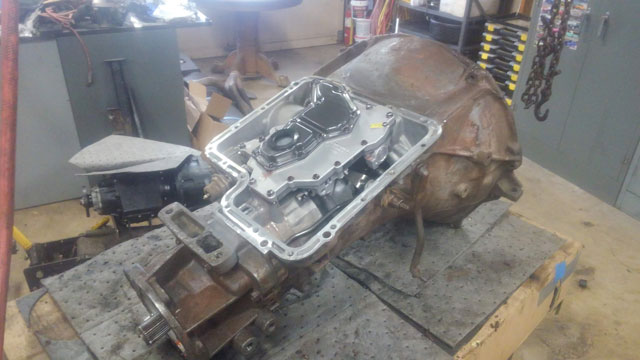
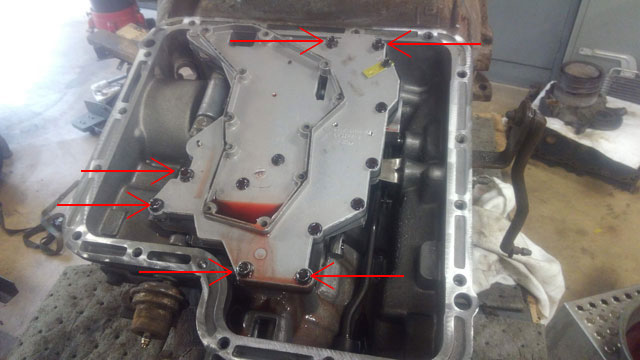
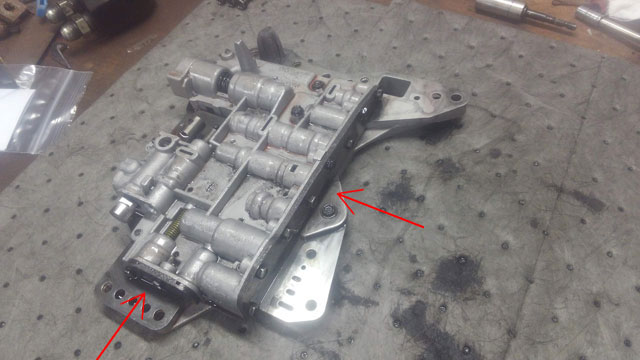
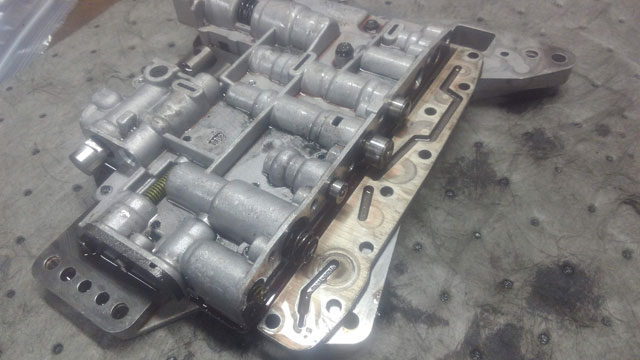
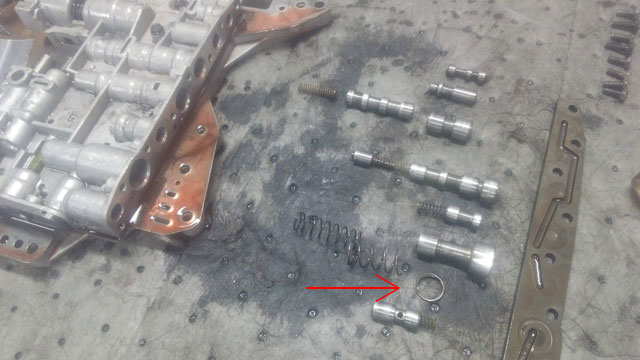
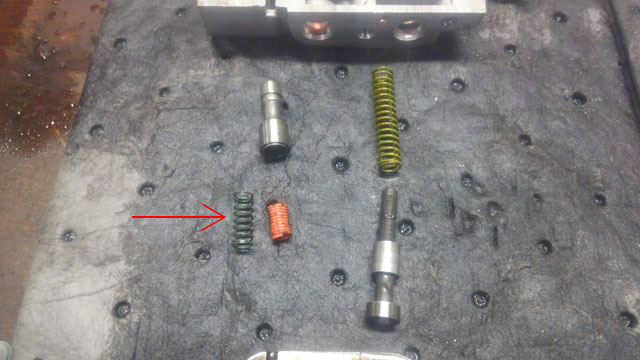
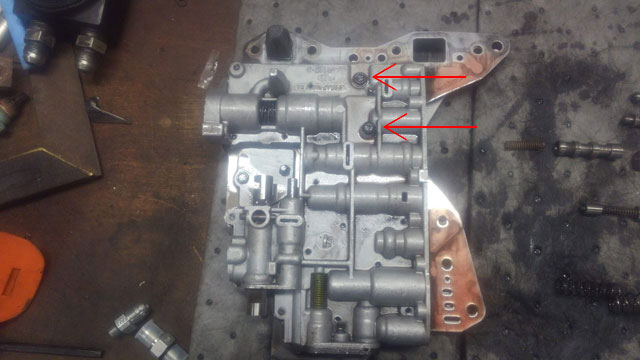
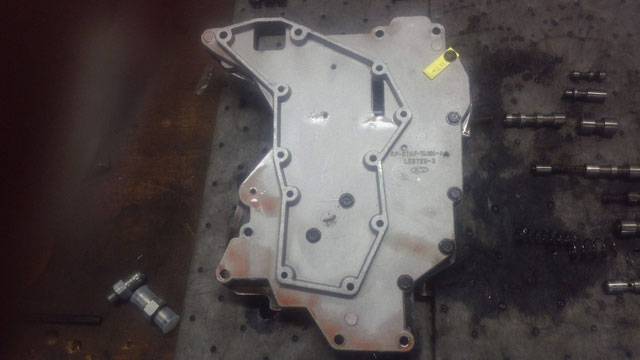
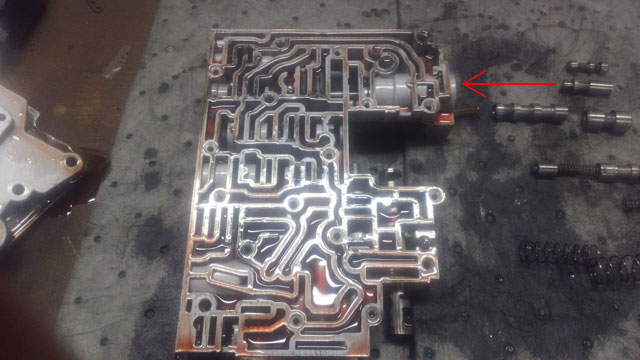
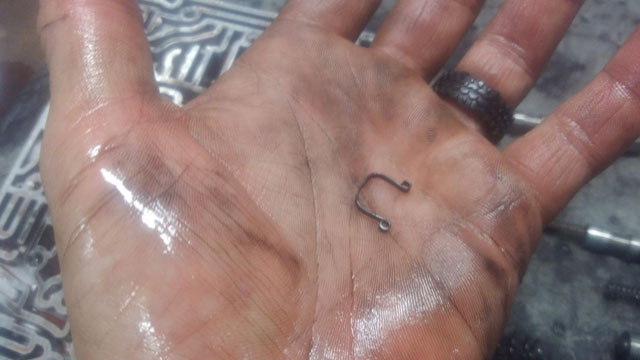
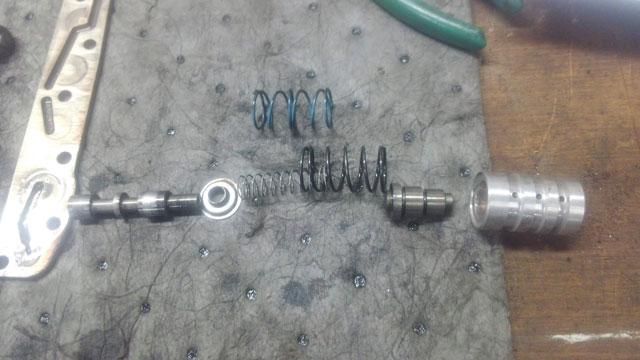
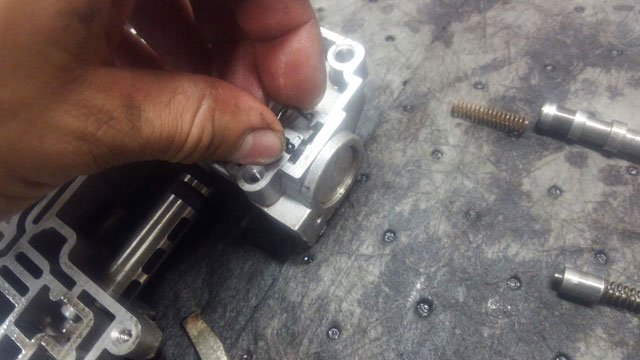
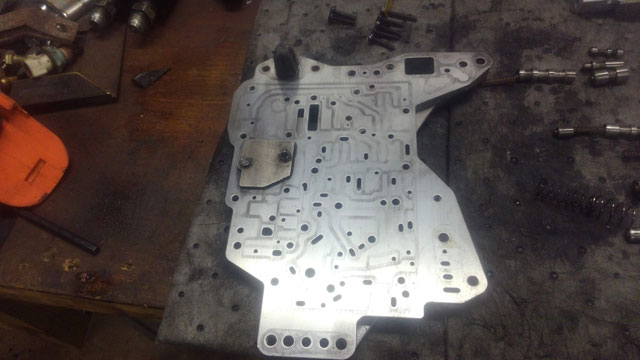
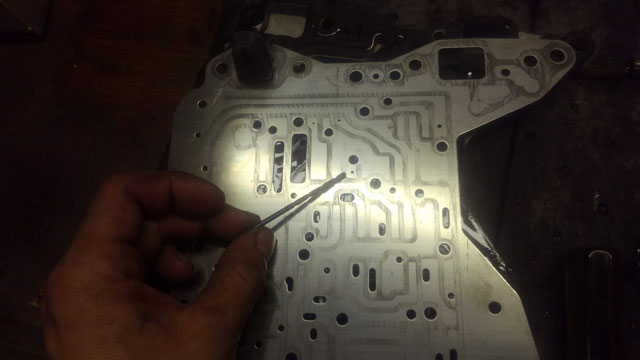
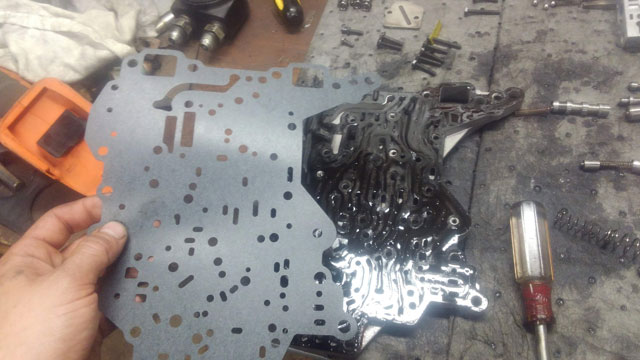
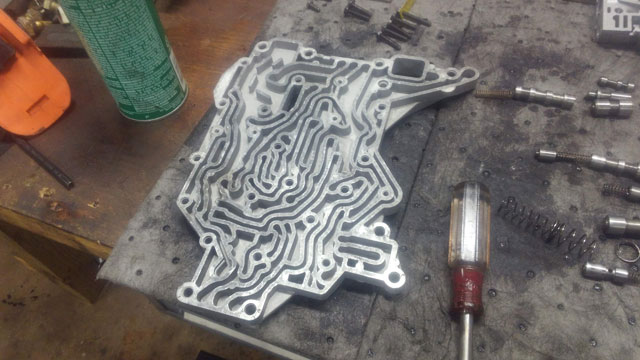
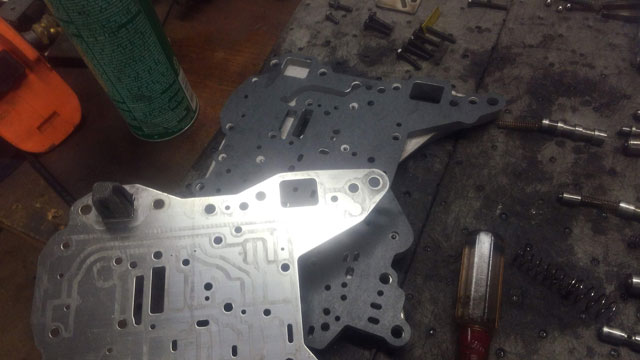
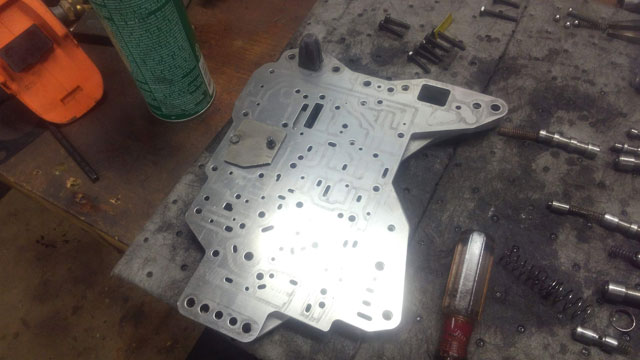
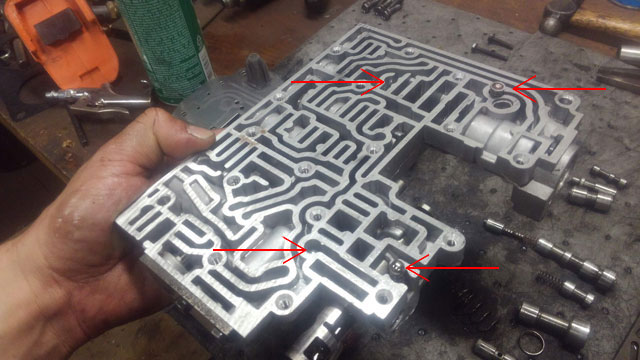
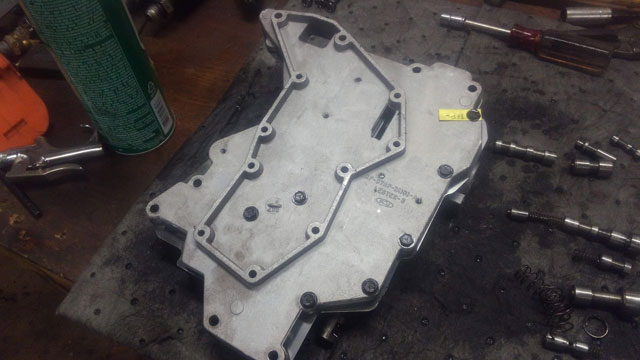
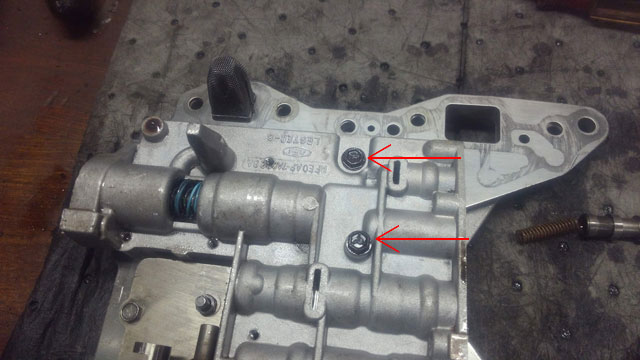
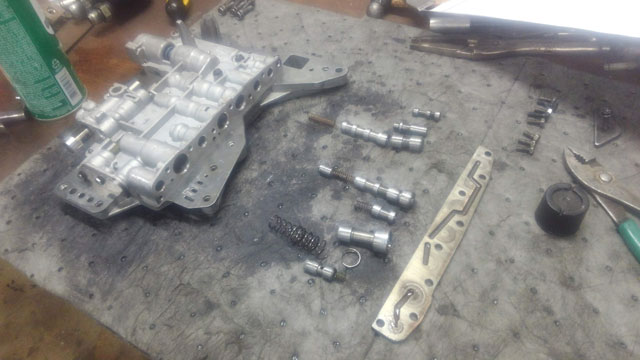
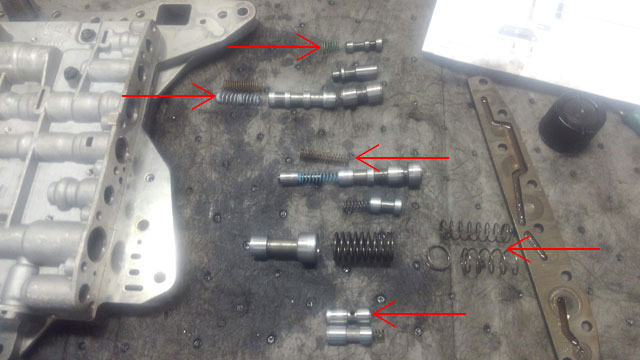
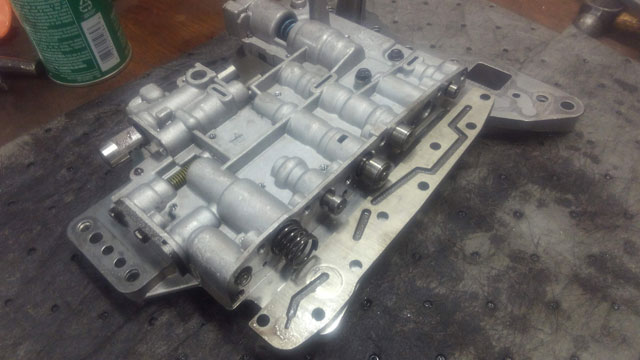
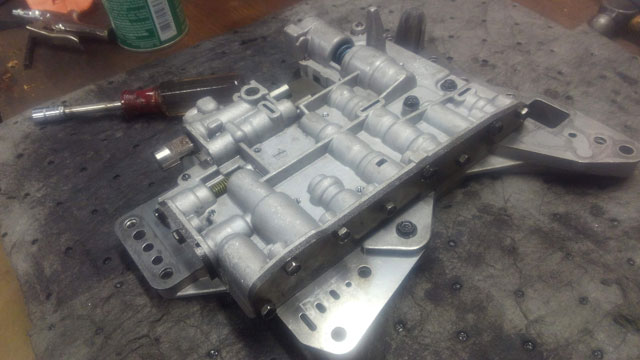
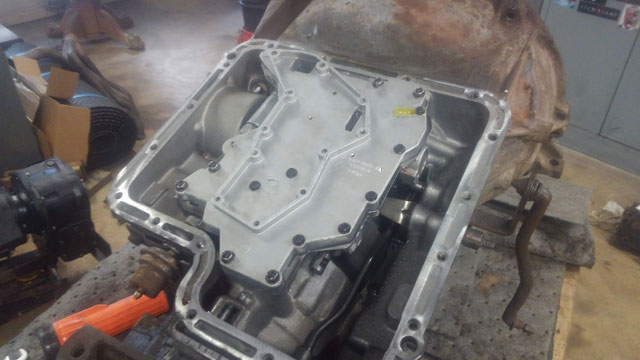
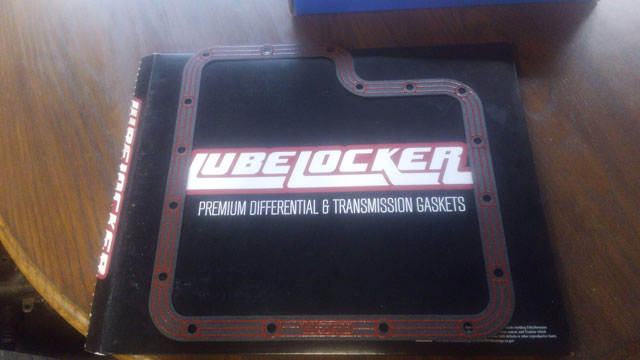
Ok this actually wasnt all that bad to do. So, i ordered a Transgo shift kit, and a lubelocker pan gasket: This shift kit is hilarious. Its like 5 springs and a piston! I guess if it aint broke, dont fix it right? So theres not a whole lot of work to do here, but it requires removal of the valvebody to do it. This is entirely possible to do with the trans installed, but since ive already got it out, i opted to do it with it upside down on the cart. Pan off: Filter removed. The bolts are varying lengths, so keep track of which one goes where. Remove these 6 bolts, and the entire valve body can be removed from the trans. This allows the whole shift kit install to be done on the bench, w/o fear of losing anything. Valve body facing right-side up. These two steel plates need to be removed, as all the modifications will be done behind them Be careful, just about everything is spring loaded: Here's everything removed, and laid out in the order of assembly. Of note at the red arrow, is the accumulator spring, which in my case is broken! This affects the 1-2 shift, so its a good thing ive got it apart! The shift kit will replace this spring anyway, so no worries about getting a replacement. Of note: in the top right corner of the pic is all the bolts that hold this plate in place. They are two different lengths so keep track of which is which. Heres the breakdown for the smaller lower plate. We're going to replace the 2-1 scheduling spring with the new heavier orange spring, and then this can go back together: Ok now we need to split the valve body. Remove these two bolts. Theyre different lengths so keep track of which is which: Flip over, and remove remaining hardware. Again, keep track of which bolt goes where Now we can remove the pressure regulator. This trans being an '88 is a 'late style', and it is retained via a small clip. The early model transmission had an external plate. Close-up of clip. Dont lose it! Pressure regulator removed, and disassembled. Discard old spring in favor of new blue one, then put it all back together On the back side, that steel plate needs to be removed so we can remove the valve plate. Once again, pay attention to bolt location With the plate removed, we're going to drill this hole out to .110", with the supplied drill bit. its not in the directions, but i would recommend deburring afterwards since its a fluid path New gasket to replace the old one. This was the worst part of the whole job; the old gasket was so old and brittle it was disintegrating as i was removing it, which make it quite a pain to remove. Friggin finally! Ok lets put this thing back together: Reinstall plate plus two bolts. Finger tight only! Flip over and reinstall springs/checkballs: top left=ball top right=spring w/ plunger bottom left=ball bottom right=spring w/ball Carefully set top plate back on, and reinstall those 7 bolts. Again, finger tight for now. There is a window to look thru in the side, so you can verify the spring/ball combo is still in its proper place Reinstall these two: Now you can go back and properly torque all those bolts. Once thats done, we can get back to this: This is where most of the modifications are done: Starting from the top:
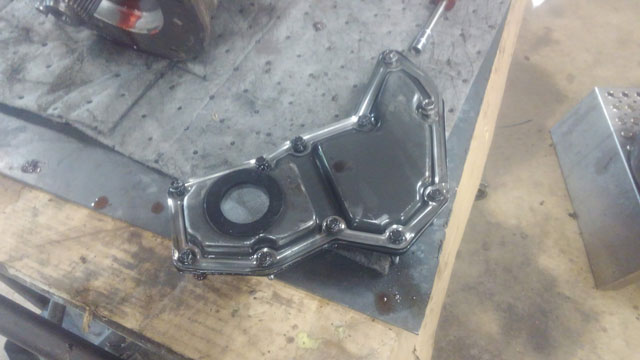
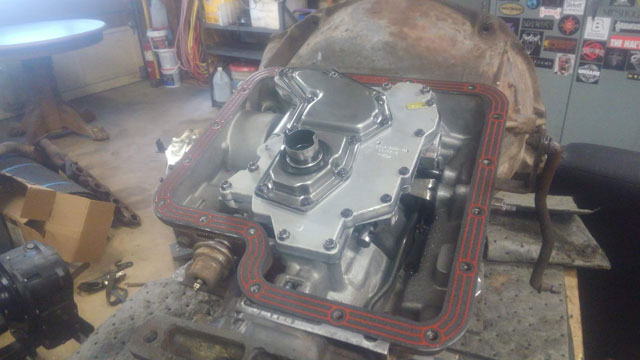
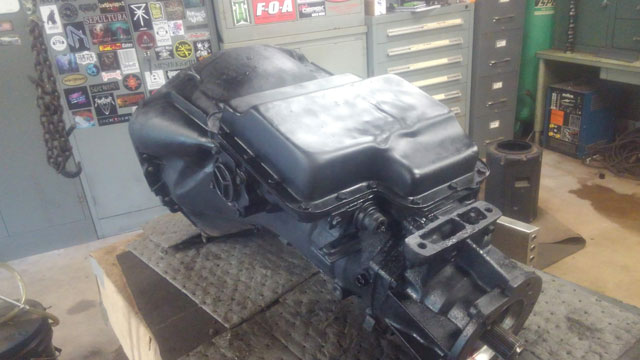
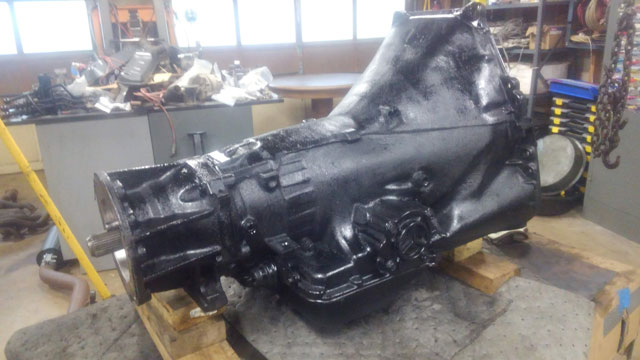
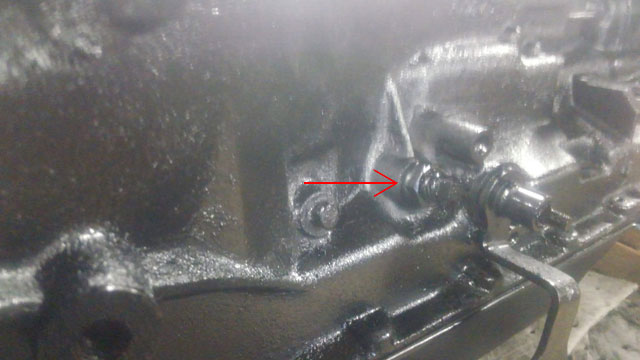
Make sure you put your bolts back in the correct order! ...And thats it! We can now set the valve body back in place and reinstall those 6 bolts we removed way back in the beginning: In hopes of curtailing any future pan leaks, im using a lubelocker pan gasket: Filter installed. Dont forget that pickup tube! Ok, well, thats pretty much it! So i decided to slap some fresh paint on it while it was in the garage Theres one more thing i decided to do while it was on the bench, and that's to adjust the band. I figured with the broken accumulator spring, it was probably going to need to be tightened. Here is the adjuster: This is actually quite easy to do. Loosen the jamb nut, torque the stud down to 120 in/lbs, then back off 1½ turns, and retorque the jamb nut. That's it! Comments are closed.
|
Categories
All
Archives
February 2026
|
