|
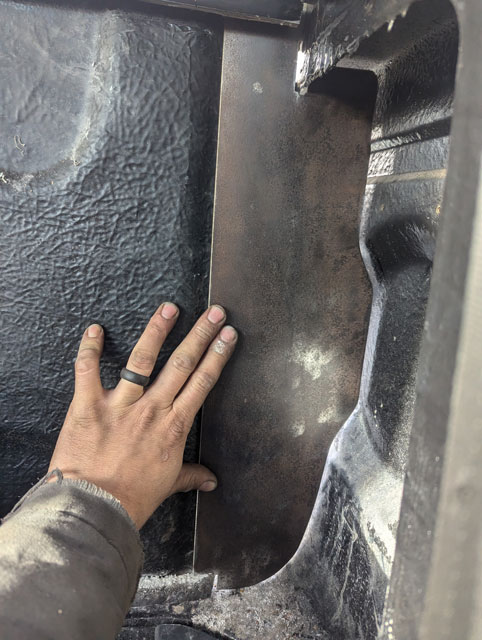
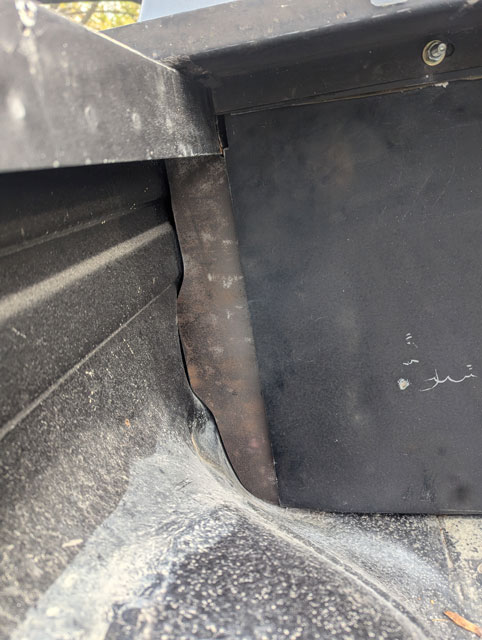
Ok, were back at it. First up, adding a seal to the header 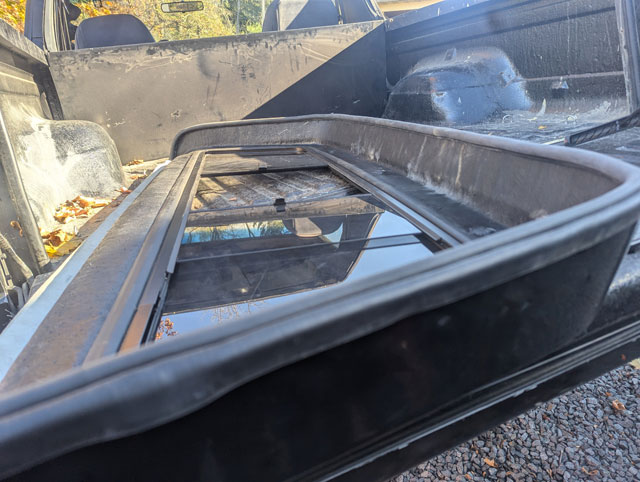 I made some simple spacers for the bolts that hold the header in place, so when you torque them down they wont deform the fiberglass. Time will tell if this was a good idea or not. 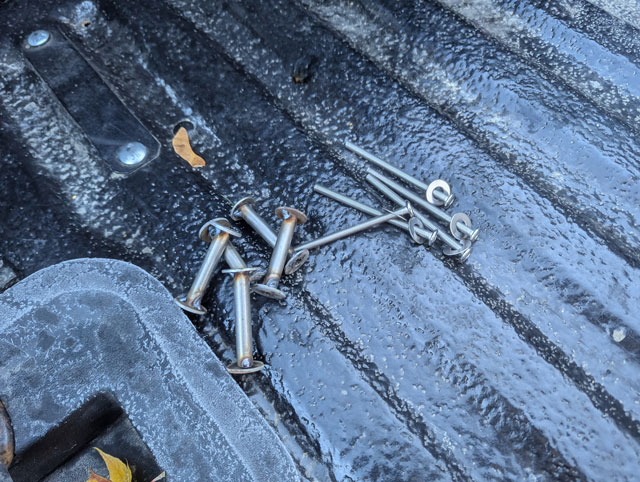 With that done, the header & bulkhead can now be installed: 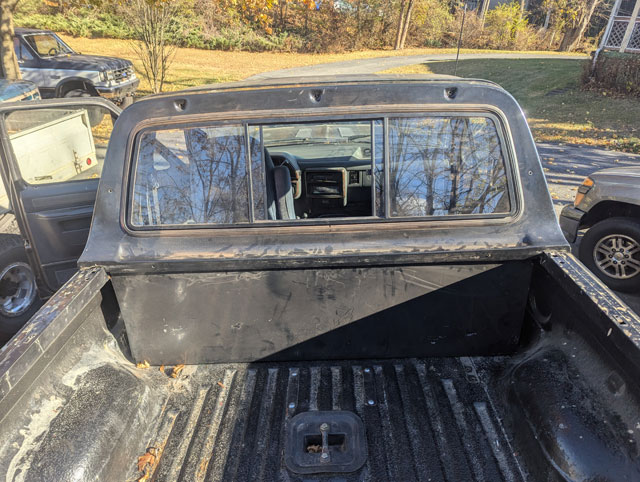 The lower bulkhead leaves a gap at the sides that i dont like, so i made filler panels to seal it off
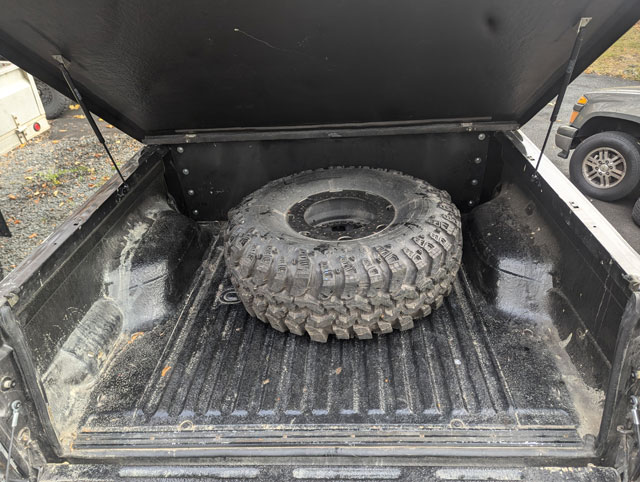
Those pieces then got tack welded to the original side panels to make assembly easier 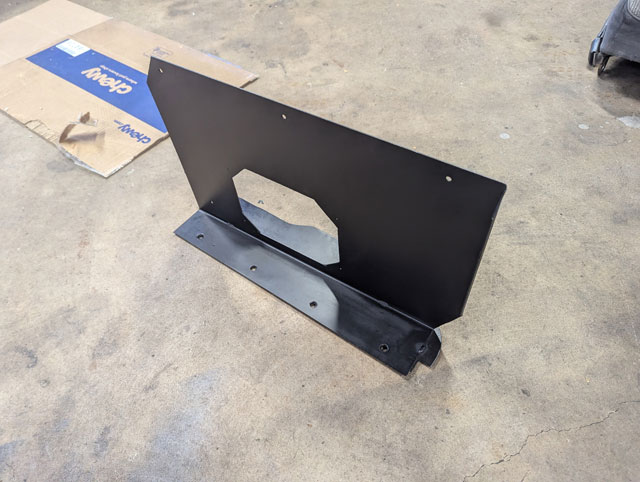 How it looks (prior to weatherstripping) 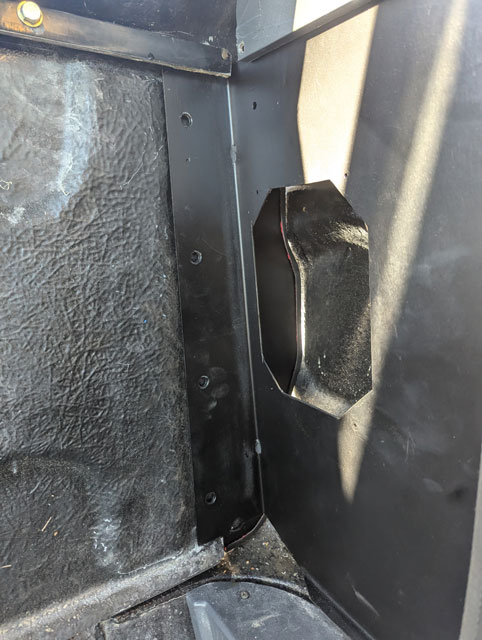 And the completed panels now fully installed, and bolted to both the b-pillar and bulkhead. SPeakers are installed too, which officially completes the cab enclosure 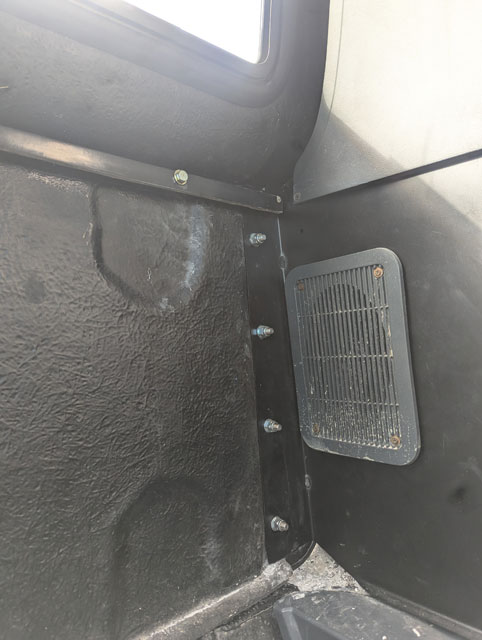 Moving on to the back, the tonneau simply bolts to that rail up near the header. It has studs for struts on the lid, and i grabbed the longest ones i could find an Autozone, application unknown, and installed them! 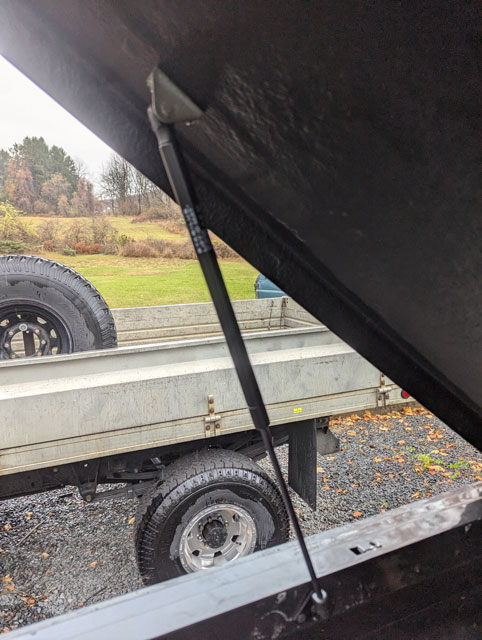 The bottom end is some universal strut mounts i got from Amazon, with some Ford sheetmetal screws i had laying around holding them in place. By pure luck the struts are perfect; they lift the lid nice and slowly and hold it up there just fine. 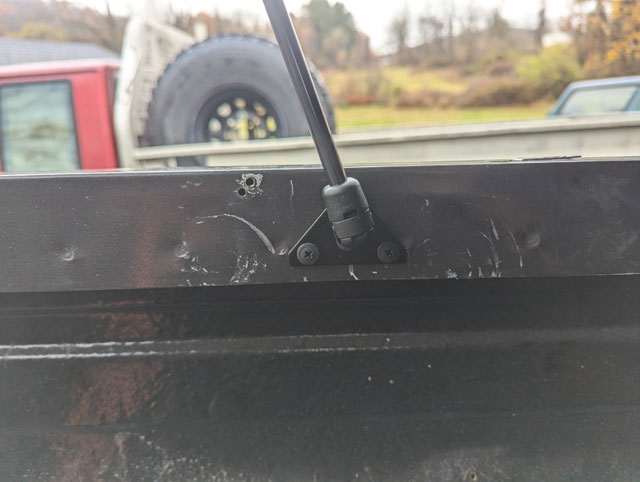 Out back at the tailgate i have installed the catches for the latches. I needed bump stops, and it just so happens that OBS Ford hood bumpers are the same size (6mm) as the older bronco's hardtop bolts, so i just threaded a pair right into the existing captured nuts in the body: 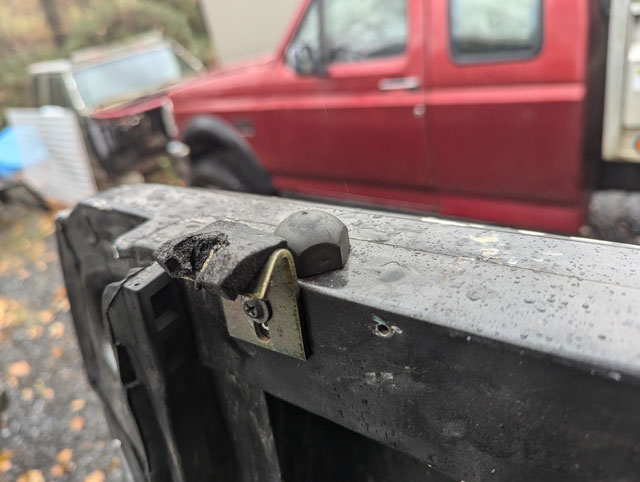 And......thats it! Installed!
I was at Rausch Creek yesterday with a cool group of rigs: 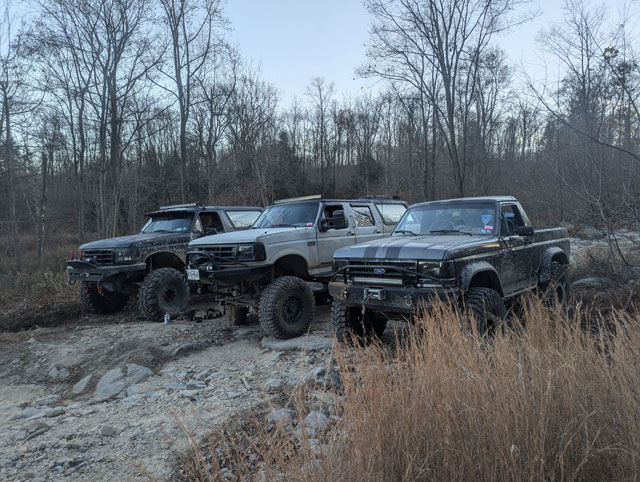 Thats Joe (from Bock's Garage) powerstroke bronco in the background. The Centurion was owned by a buddy of his (also 7.3), and then their buddy showed up with this monster Cummins powered jeep on Axletechs: 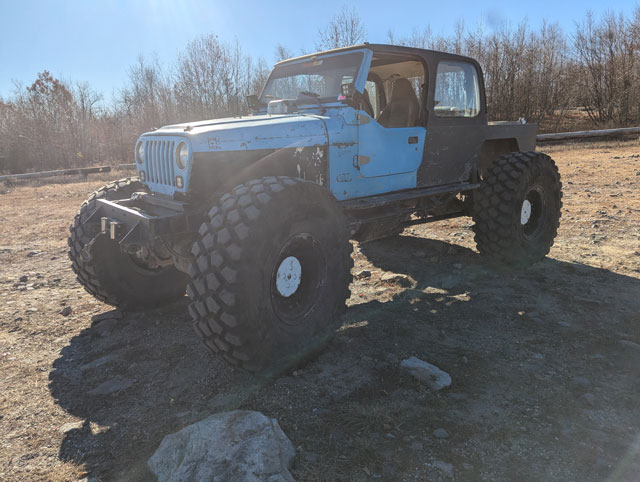 Not too many pics taken from the trip but lots of video. Stay tuned... Unloading this morning: 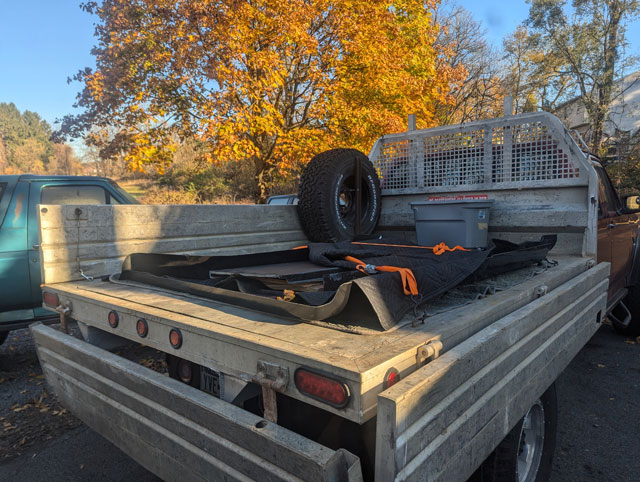 All the parts:
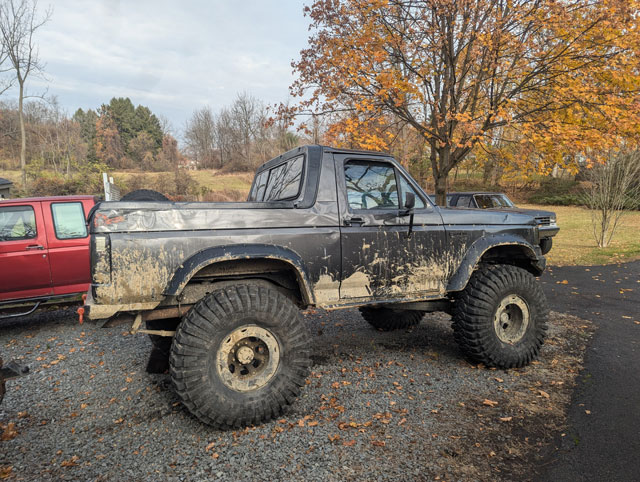
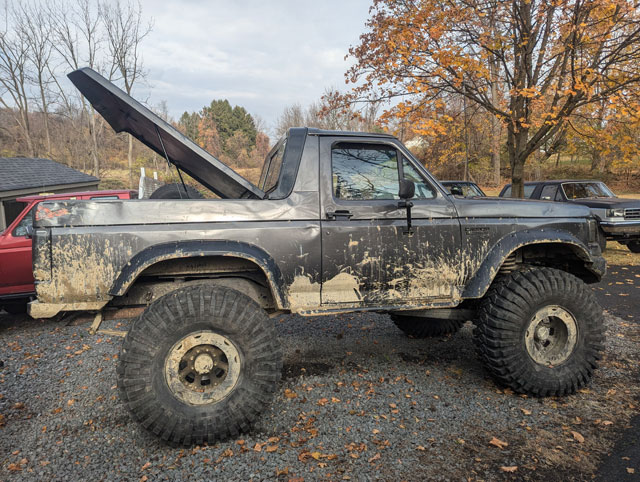
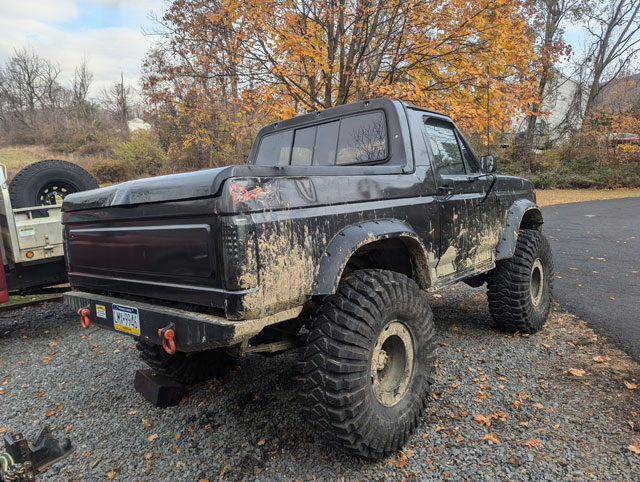
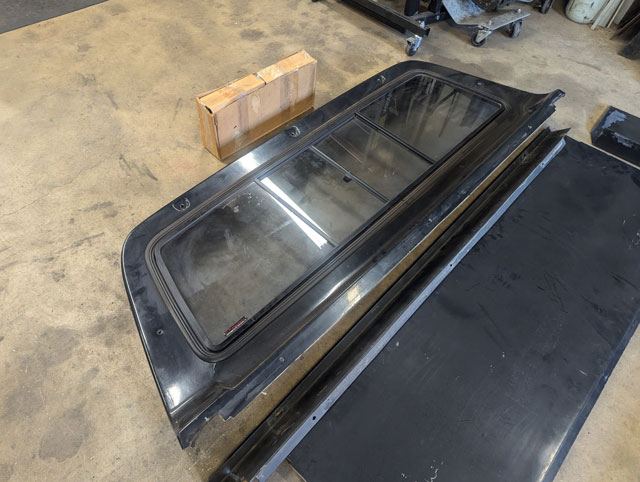
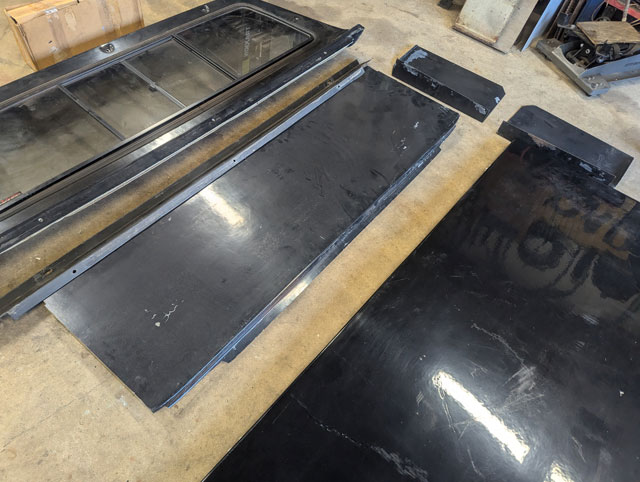
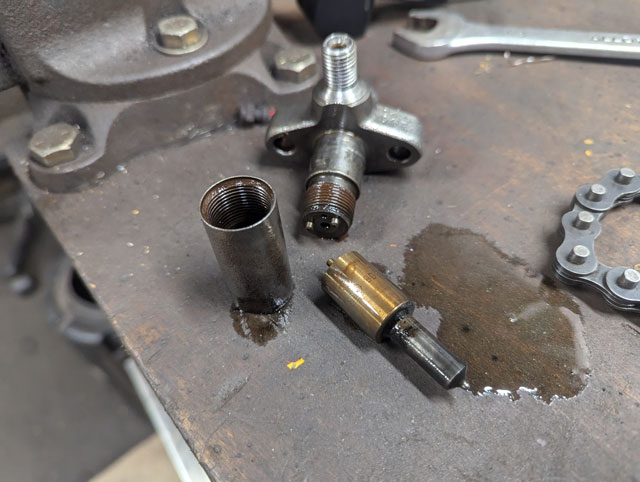
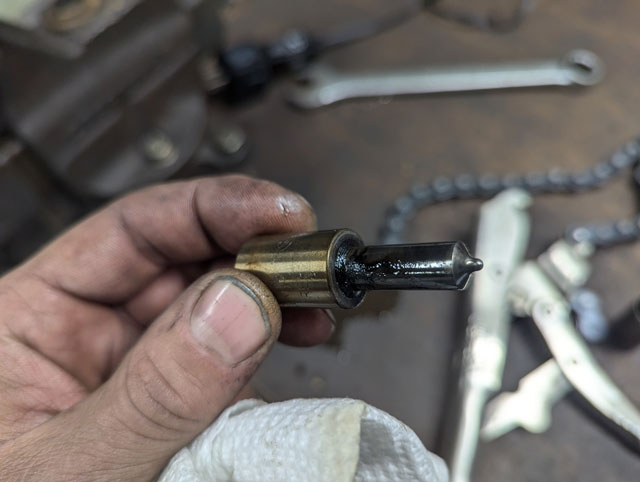
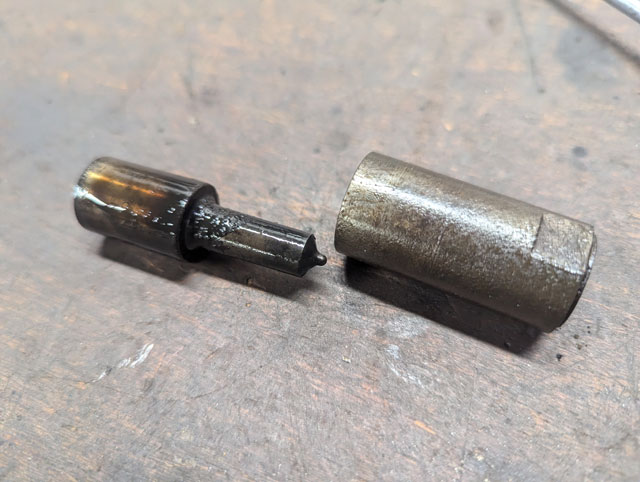
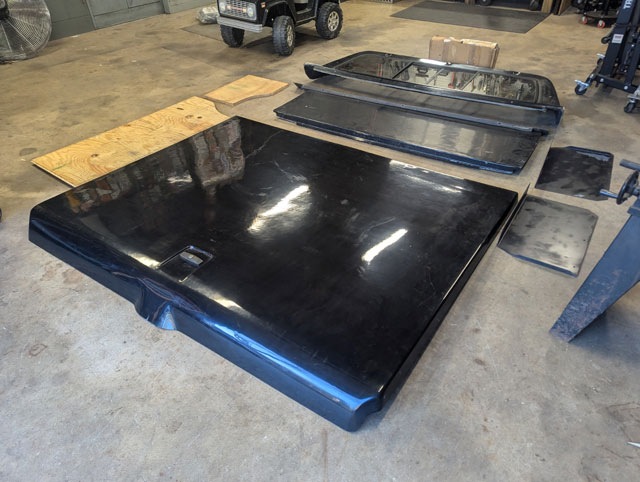 This is a half cab/tonneau conversion kit from the (now) defunct Creative Products. Here's an old screenshot from the ad they used to have on their website:  Theyre fairly rare these days, altho i still see one popping up now again. This one seems in great shape, like it either was never fully installed, or only installed once or twice. I got a box full of weather stripping (still missing some), no hardware and no instructions. Sent a pic of the pieces laying in the garage to a buddy and he simply replied "im on my way". So we got to work removing the hard top:  Poser pics (i dont actually have any topless pics of the truck since i finished it!)  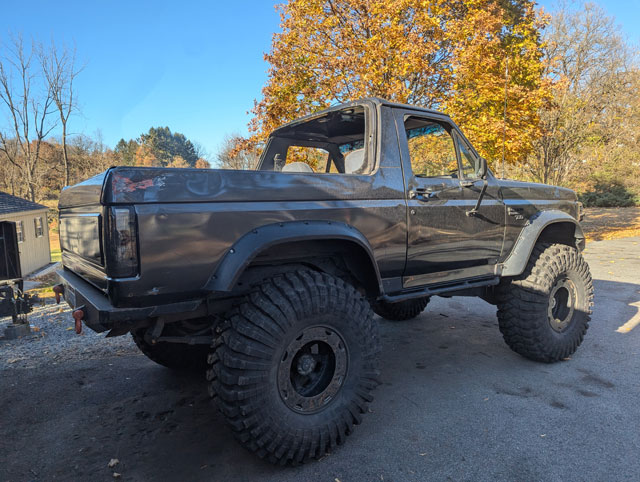 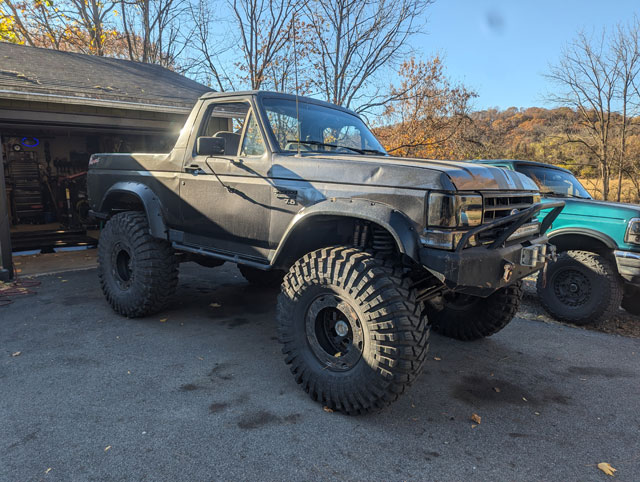 Side panel, encloses the cab. If you look closely you can see i have laid out a hole to cut in it, so i can reinstall the rear speakers 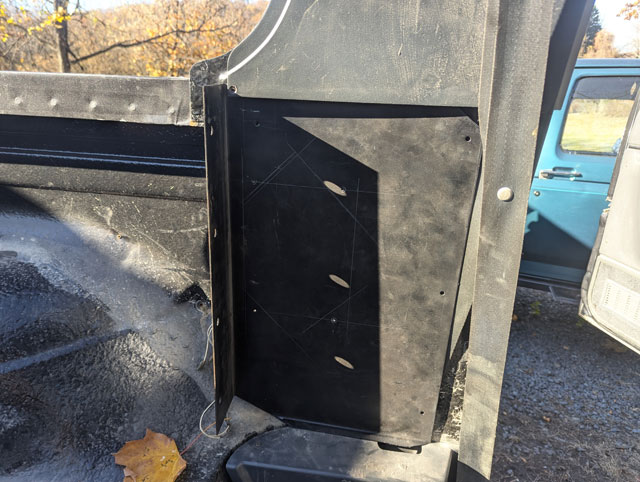 ...and this is how the lower header fits up: 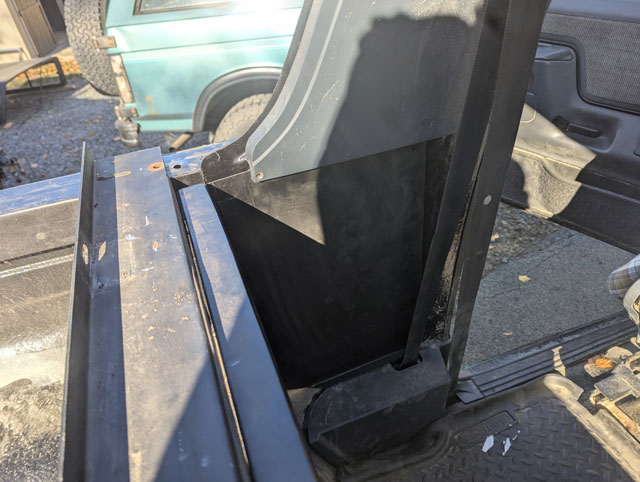 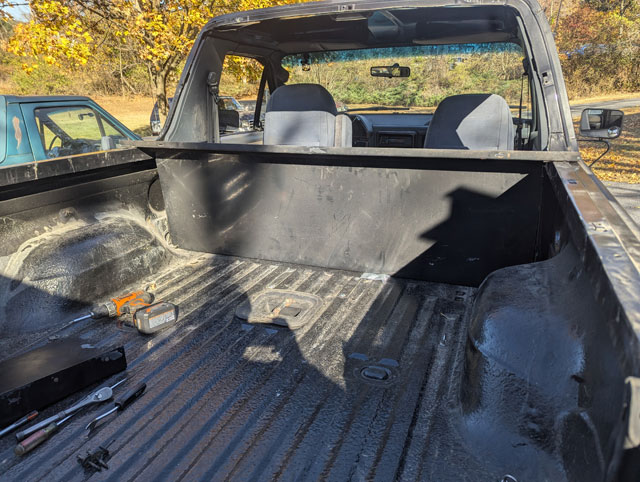 Unfortunately, this is where progress ended. The top half bolts into the original captured nuts for the hard top, but the screws need to be almost 1" longer, and we couldnt find 6mm bolts that length in any of the hardware stores we went to. So we cleaned up and put all the parts back in the garage, because i needed to pack the truck and get it loaded up for a wheelin trip tomorrow. We'll revisit this next week once i have longer hardware. So i tossed all 4 injectors into the parts washer and let em soak for a few days (ok maybe a week) 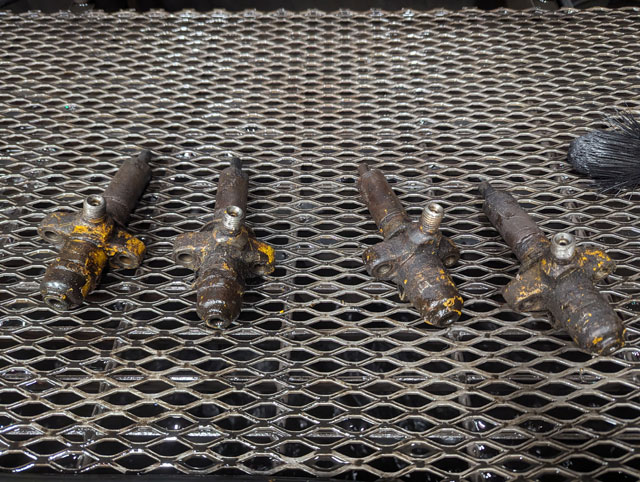 From there i began the process of disassembling and cleaning them: 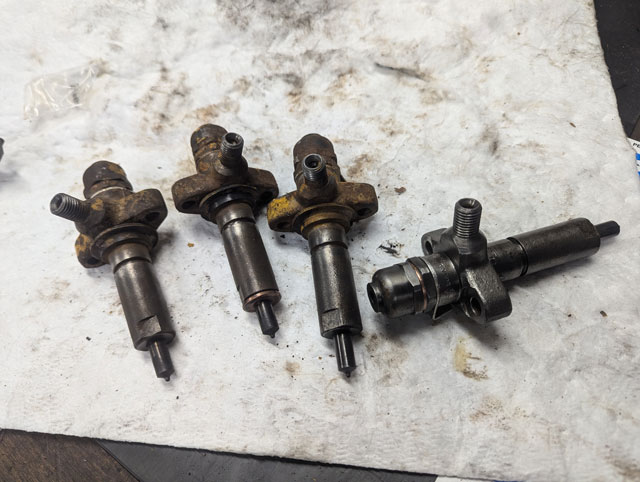 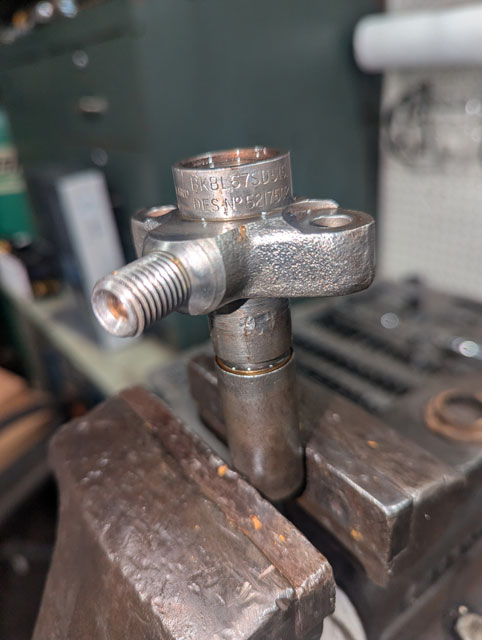 Pulling the nozzle apart, you can see there was still grime and buildup inside them
 All 4 injectors stripped down 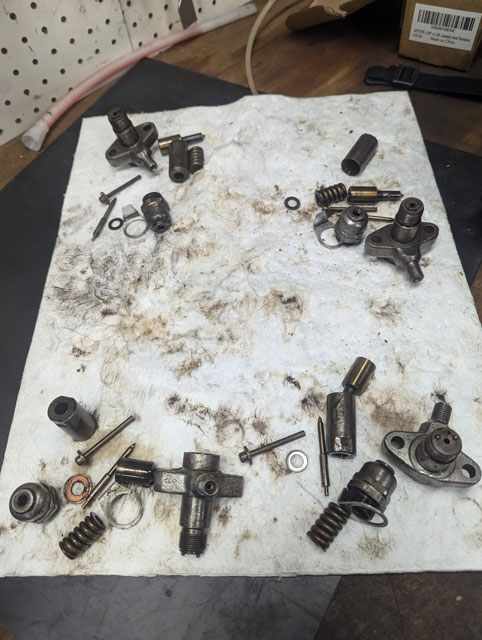 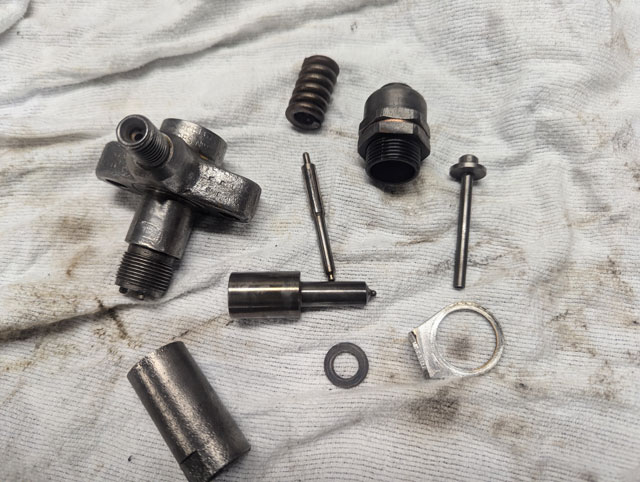 You can see that the 4 individual injectors have worn into each other differently, so ive made a conscious effort not to mix and match parts between each injector  After full cleaning (and testing each nozzle to see if all 4 ports in each nozzle spray), i have begun the reassembly process:  ...and all 4 are now done! 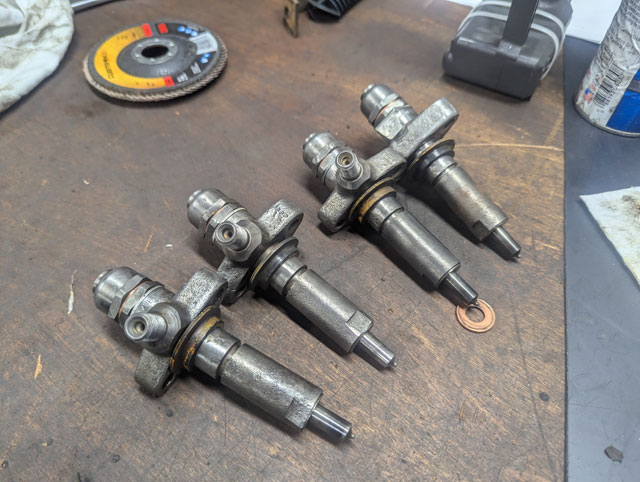 So nothing left to do now, but get these things slapped in, get the fuel system bled again, and it should finally roar to life! Here's hoping! Mission Fail  Got the injection pump in 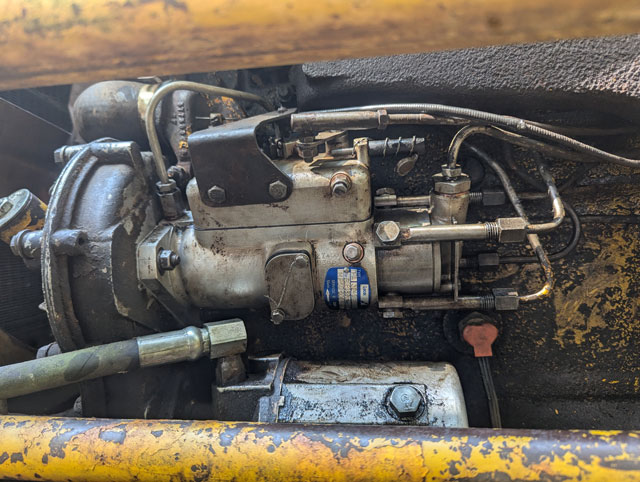 Bled the system to the injectors but couldn't get it to fire on diesel, only ether. Pulled the gas tank off to get to the injectors. Kinda grimy down there 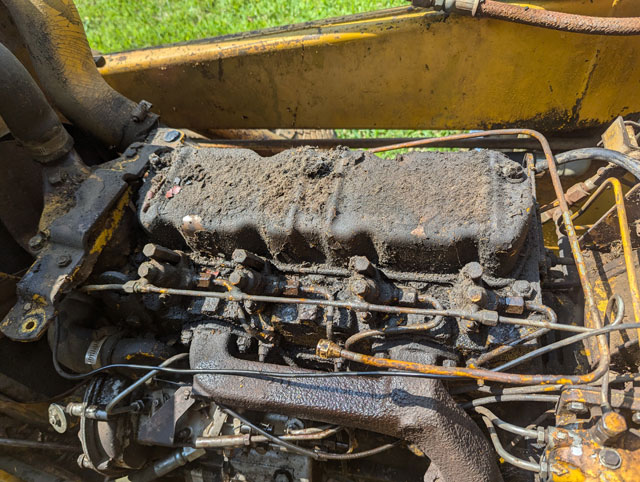 We had fuel to the injectors, and thru the return line back to the tank so I'm going to assume the injectors are gunked up and not spraying. Injectors out: 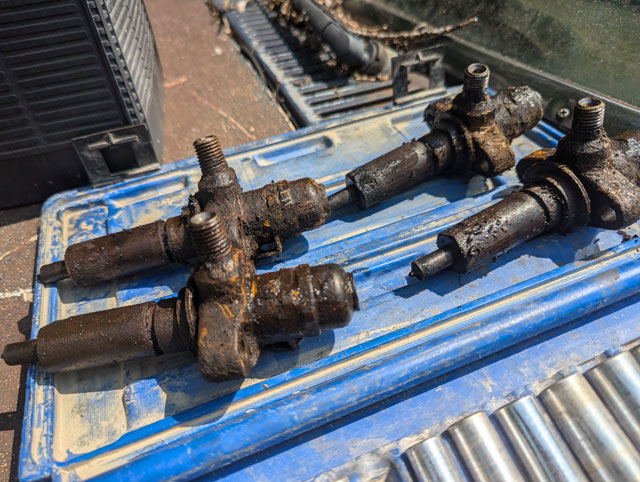 I'm probably going to bring them to work tonight, throw them in the parts washer and let them soak all weekend, then maybe I'll break em down during the week and see about rebuilding them. Working on the injection pump for the Massey 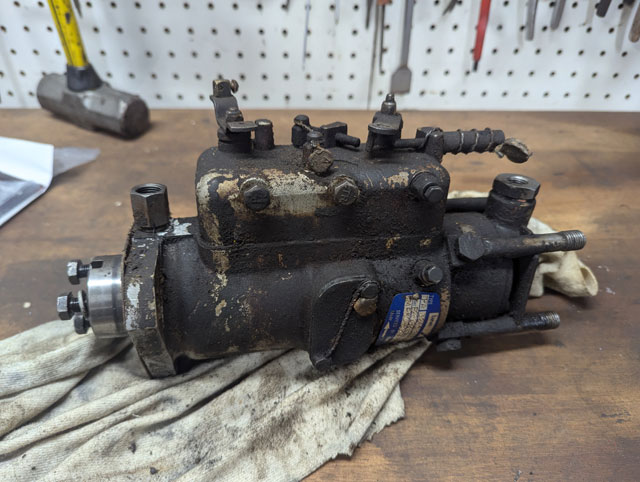 Picked up a cheap seal kit 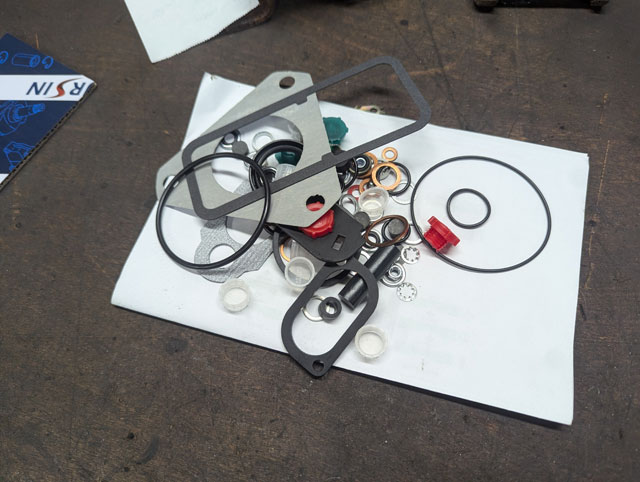 Pulled the end cap off and disassembled what I assume is a pressure relief 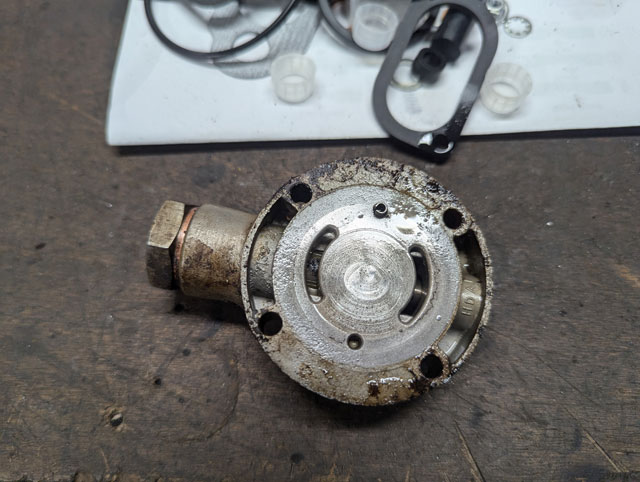 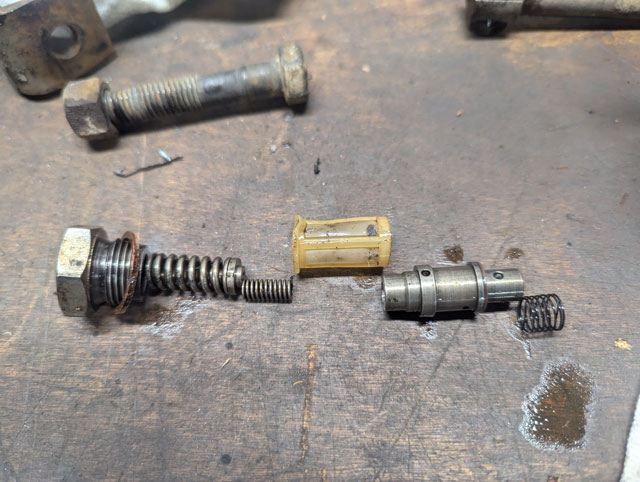 Found some chunks in the screen 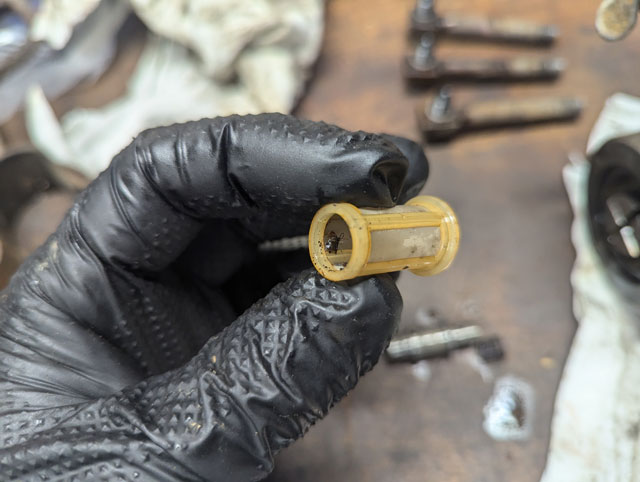 I popped the cap off the top. Not sure what I was expecting to find, but it wasn't this 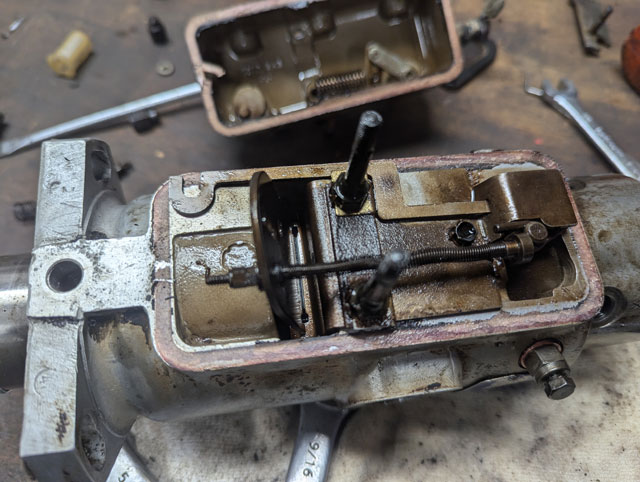 Overall the pump is fairly clean. I don't think I'm going to dig in much deeper. I suspect the mechanism for the shutoff was stuck, so I'm thinking that's why I couldn't get it to pump fuel. With noting really left to do i slapped it back together: 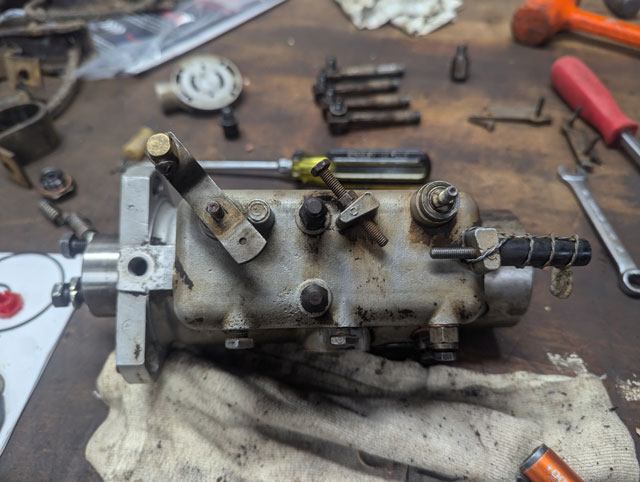 I rigged up a primitive fuel supply, and cranked the pump over with a cordless drill. It works! 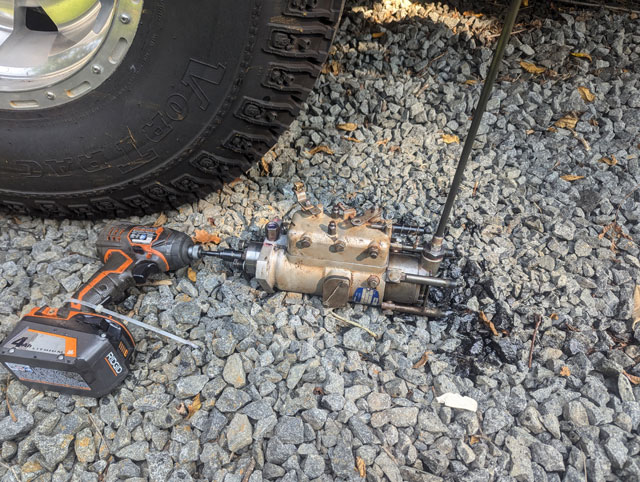 Just gravity feeding it 100% Marvels. It's spitting out all 4 injector ports. Not very much coming out, but I could see a ton of air coming out the return port, so assuming it's not bled yet. Not sure how long it takes to bleed, so I'll probably just sort that one out when it's on the tractor. Figure it'll probably bleed faster if it's being supplied fuel from a pump as opposed to just gravity feeding down some tubing. Mission Fail. We're 0/2 here. 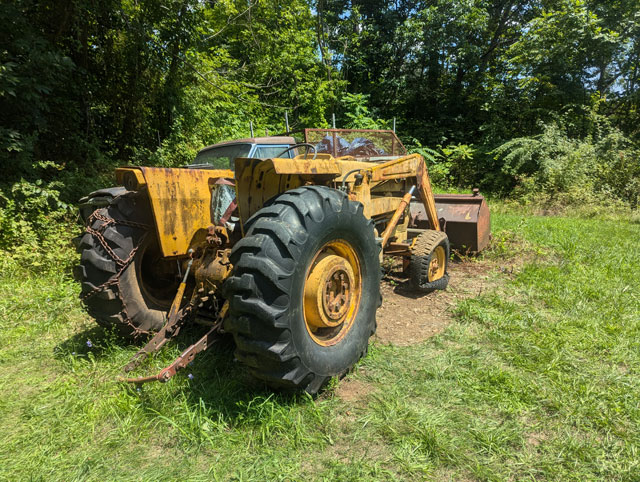 We removed the fuel lines to inspect before installing the new fuel pump. All lines were clear except for the one between the tank and the pump, so we cleaned that and installed the new fuel pump. 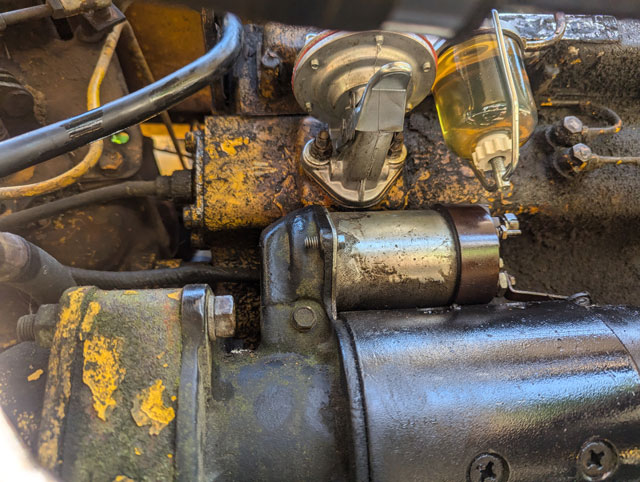 Bled the line + pump. Bled the next line + first fuel filter Bled next line + second fuel filter Bled next line + injection pump Got fuel to the feed and return so we threw a battery in it, and I disconnected all 4 injector lines. Cranked the engine over and nothing. Can't get even one drop of fuel out of any of the ports. So now the injection pump is on my work bench 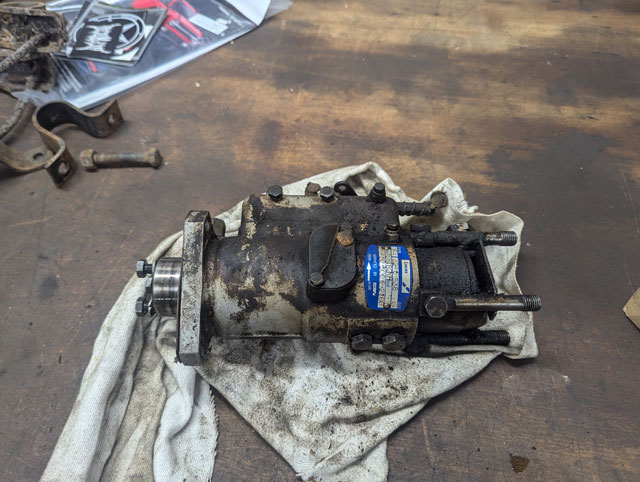 Hopefully it's something dumb like varnish in the pump or something, because id rather not rebuild the pump. |