|
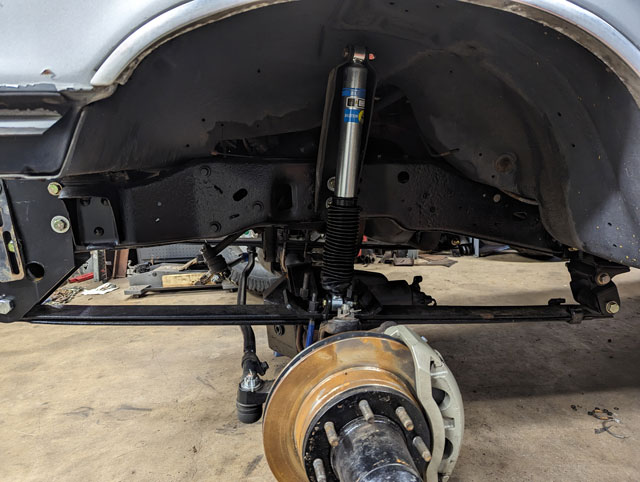
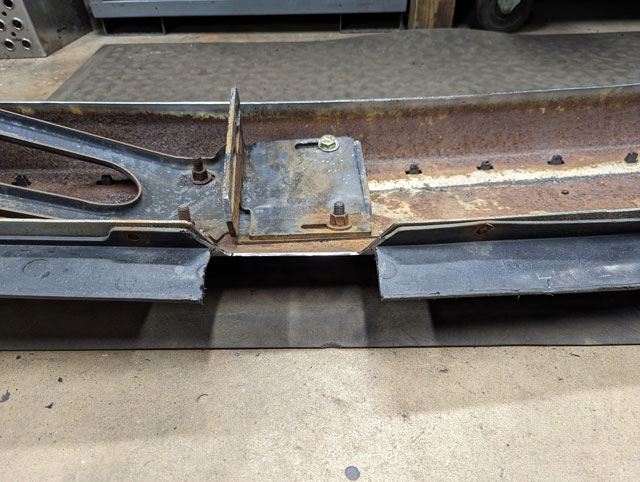
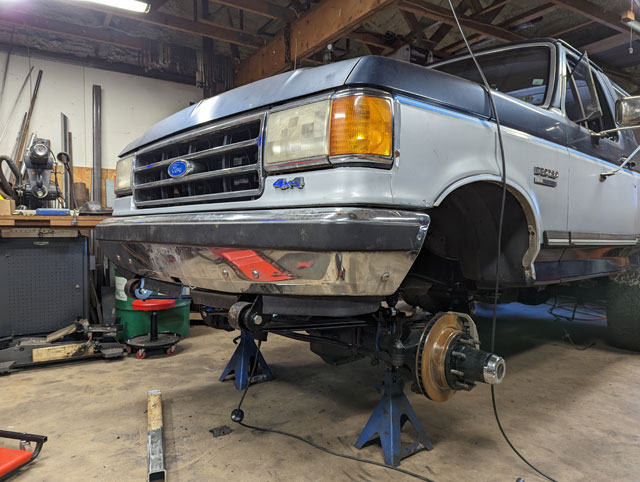
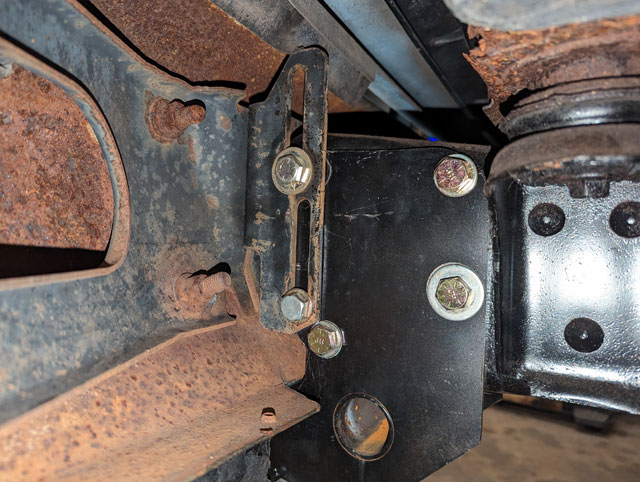
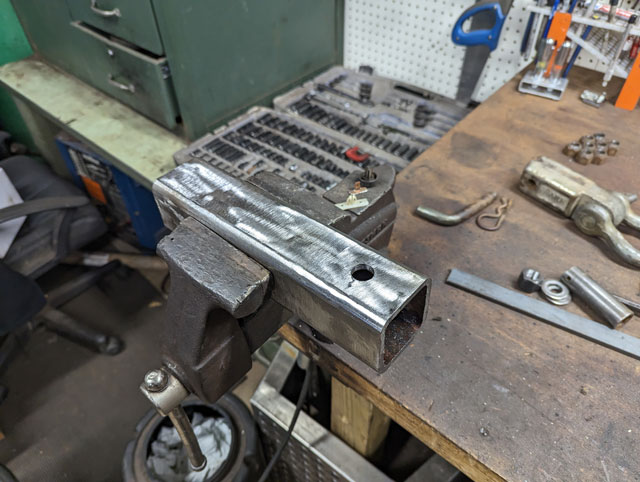
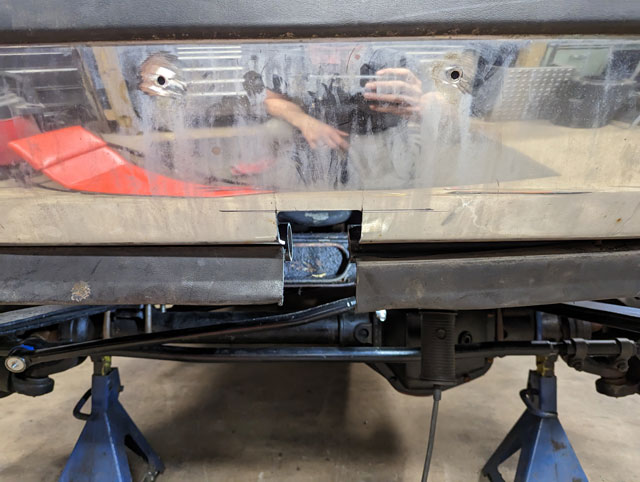
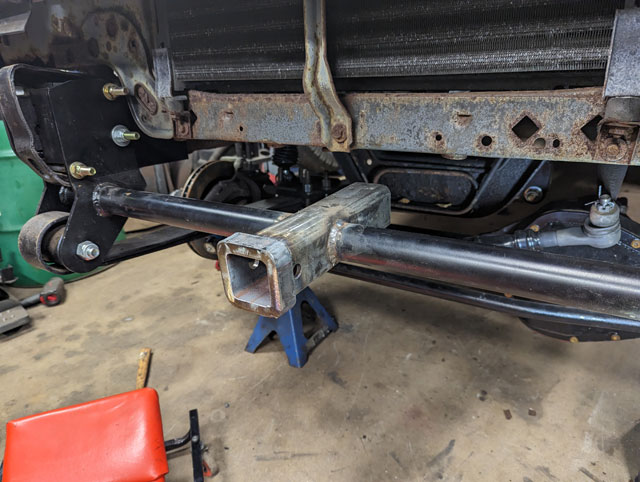
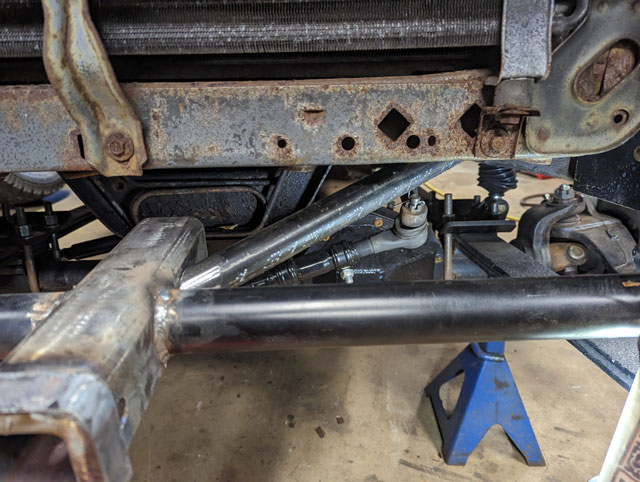
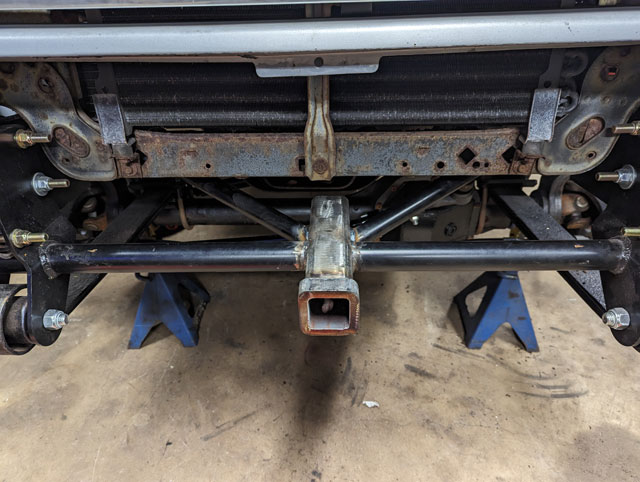
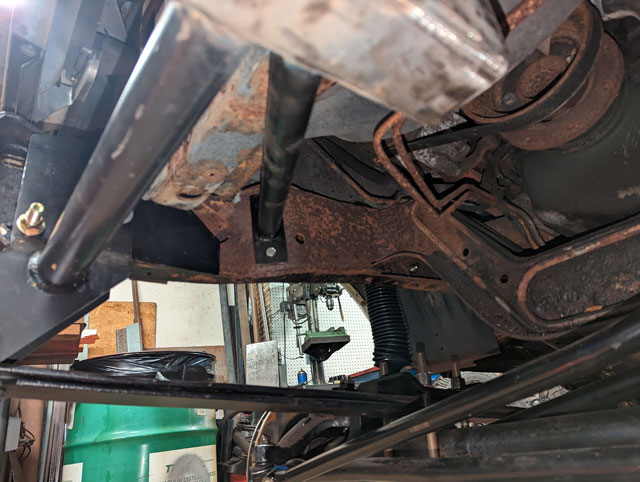
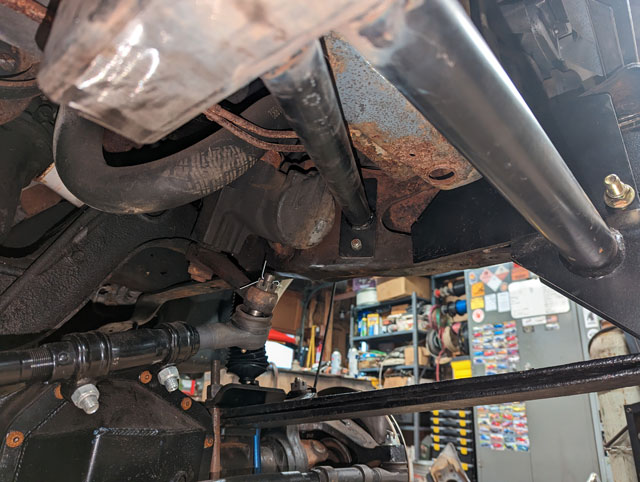
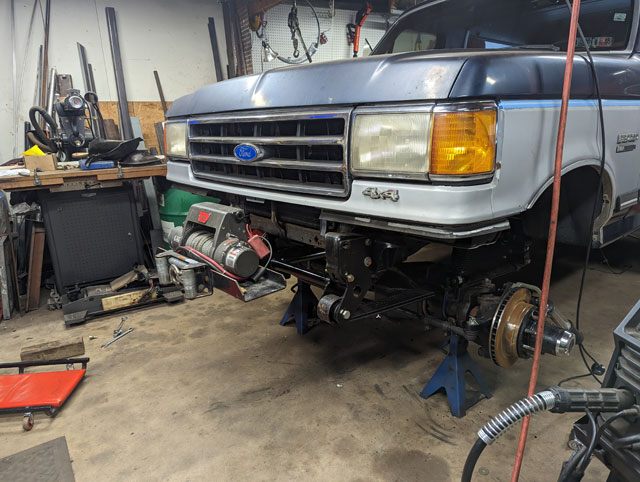
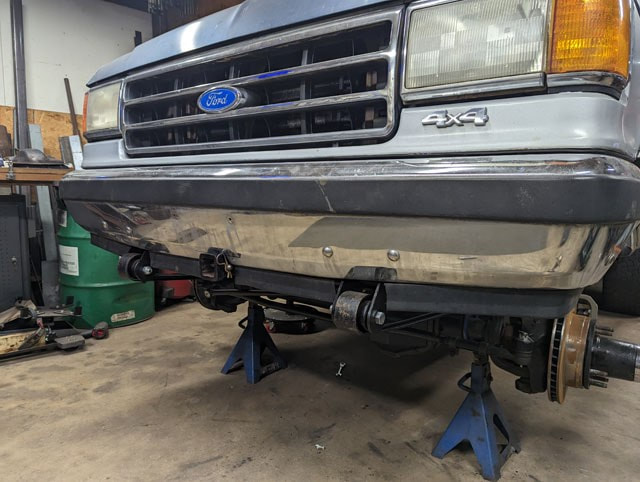
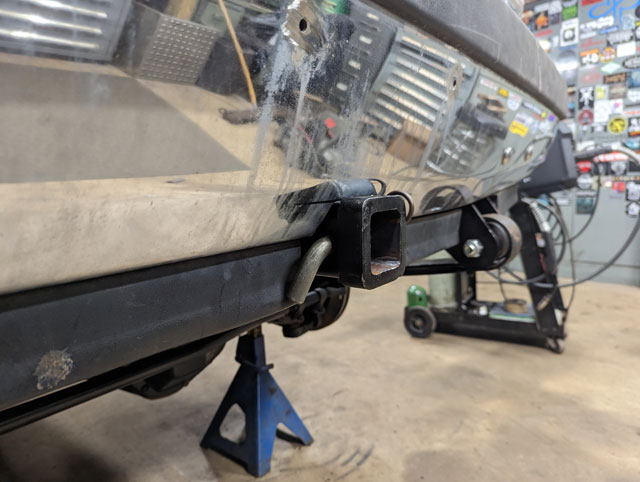
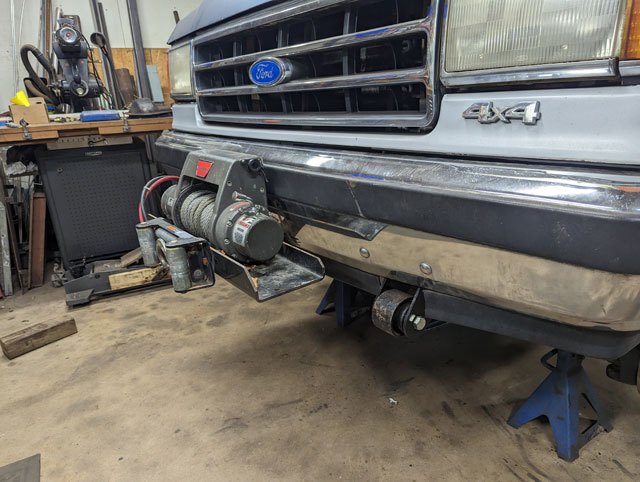
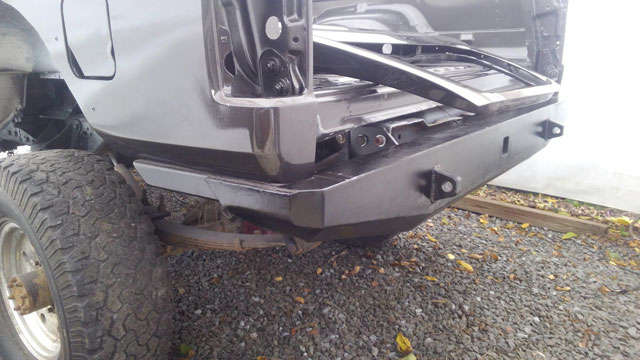
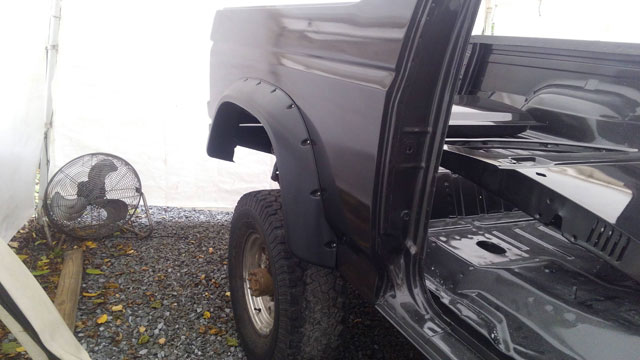
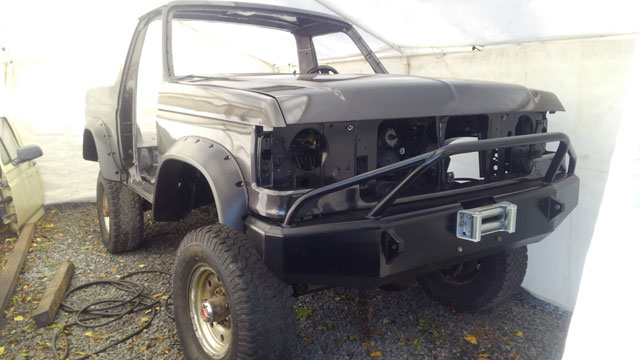
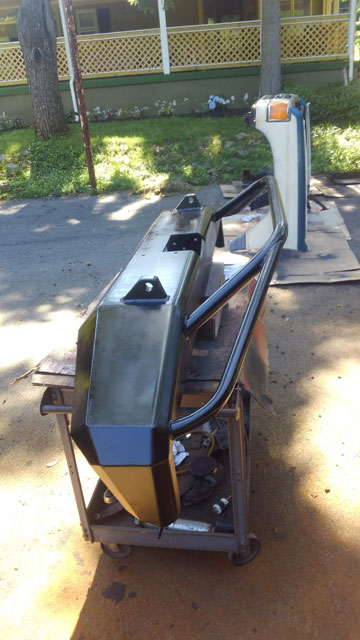
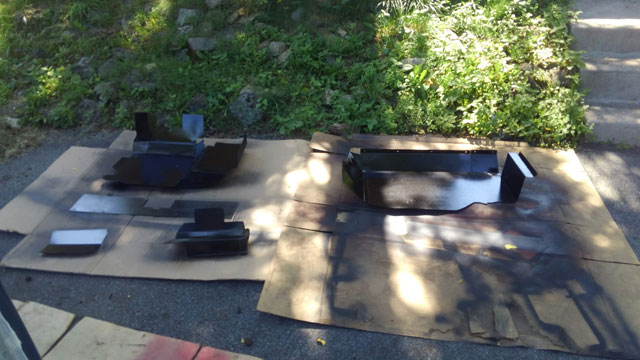
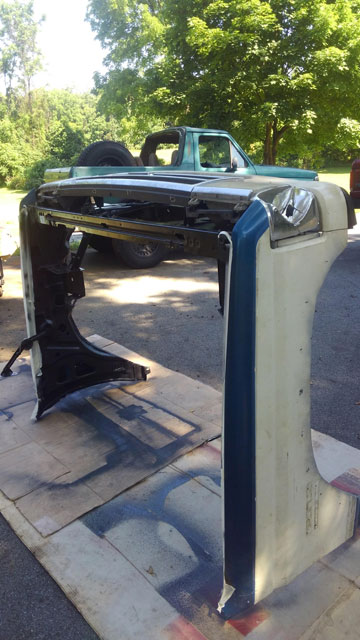
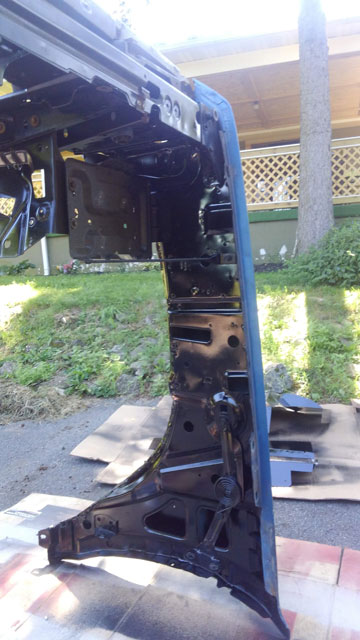
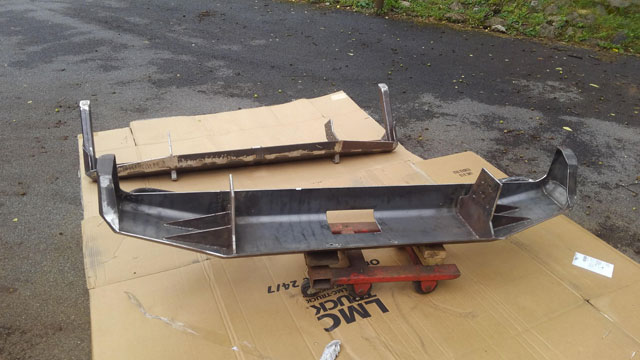
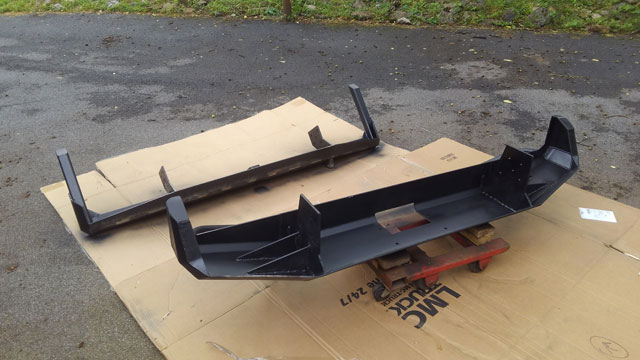
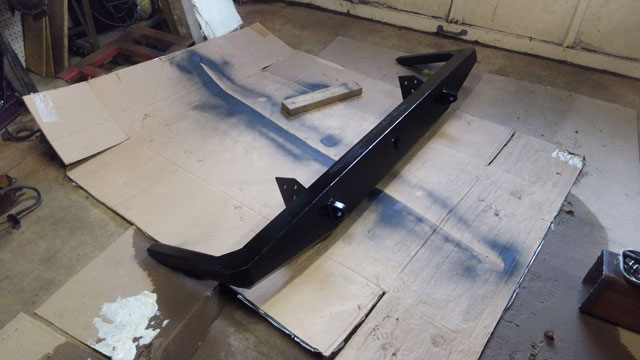
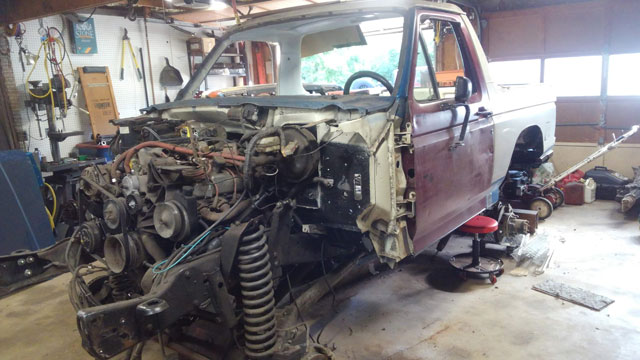
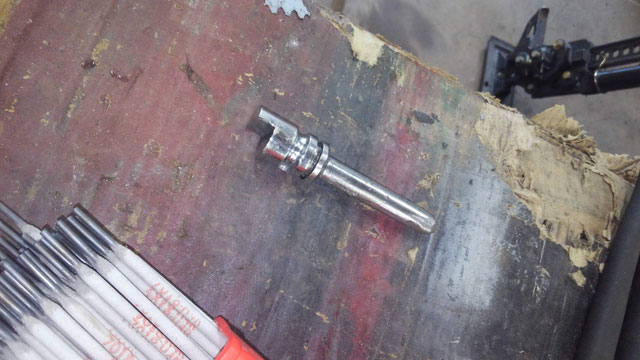
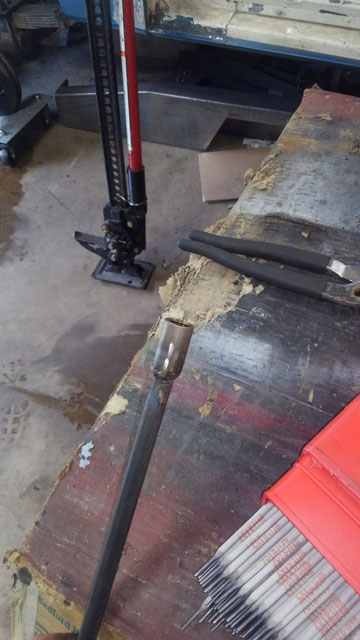
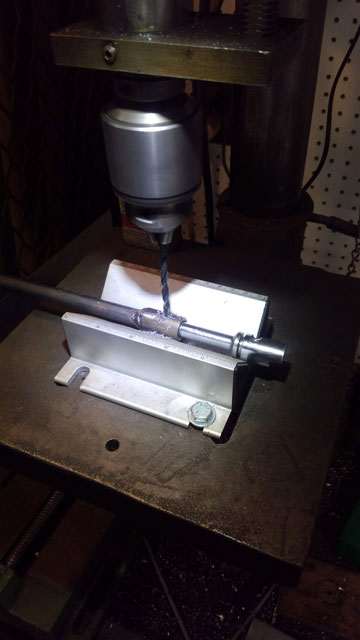
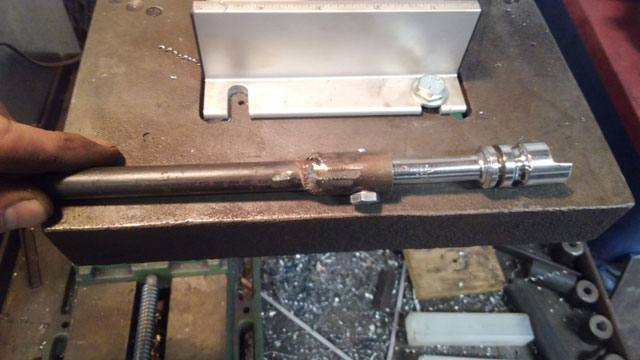
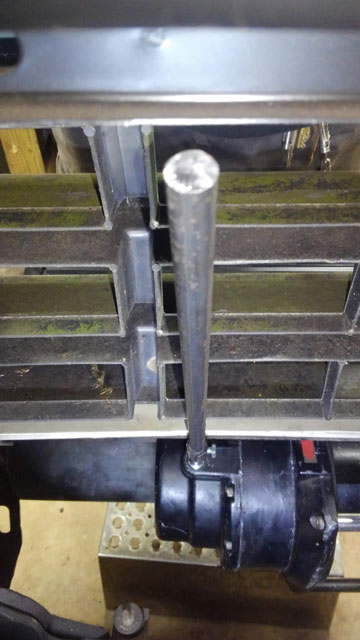
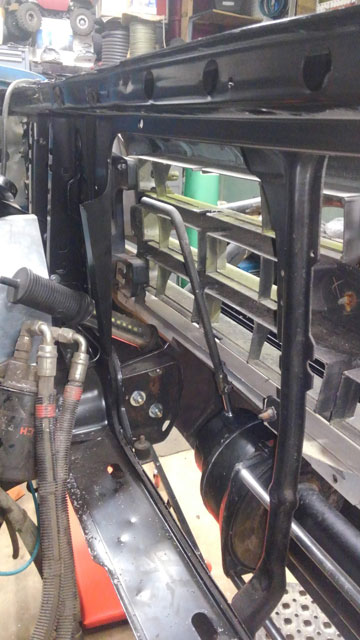
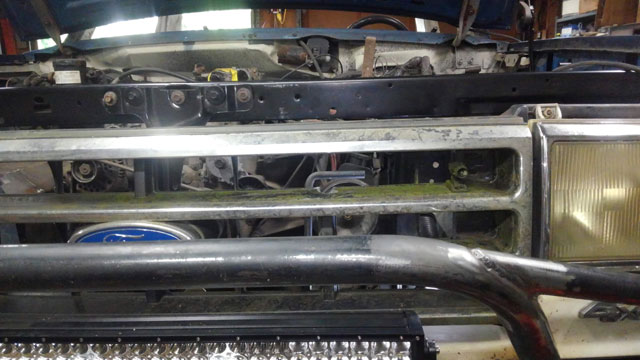
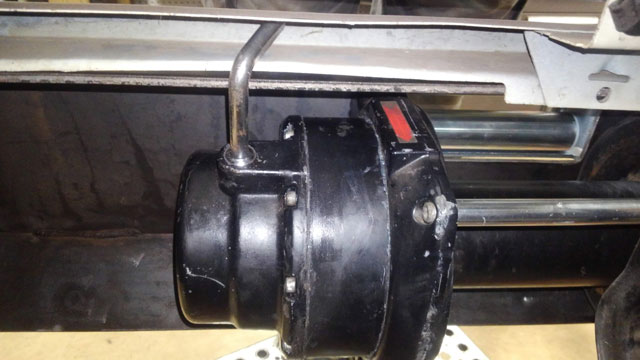
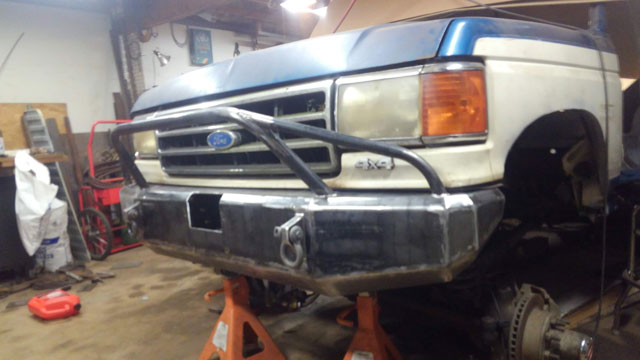
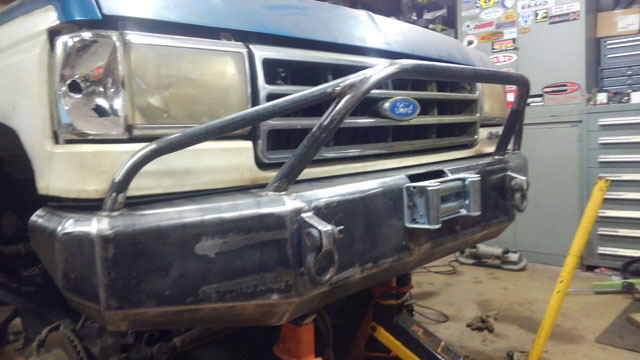
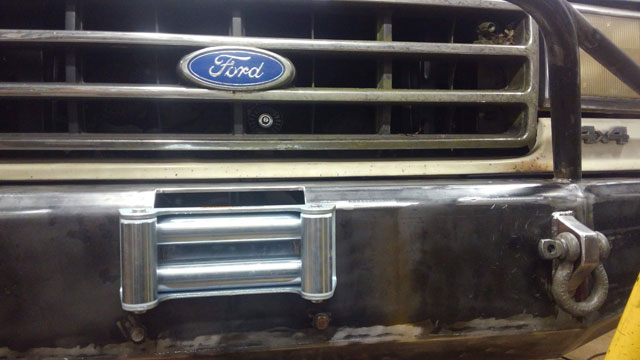
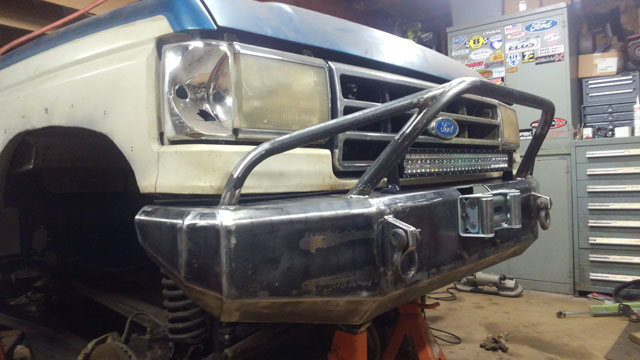
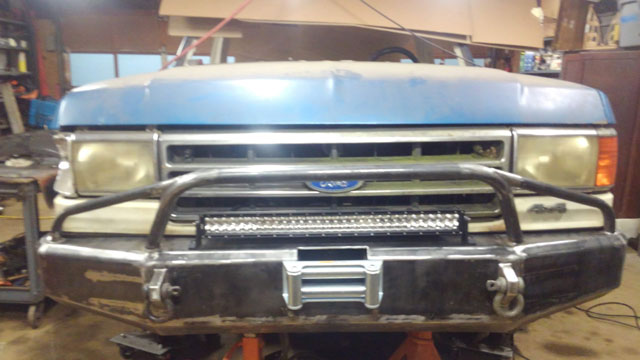
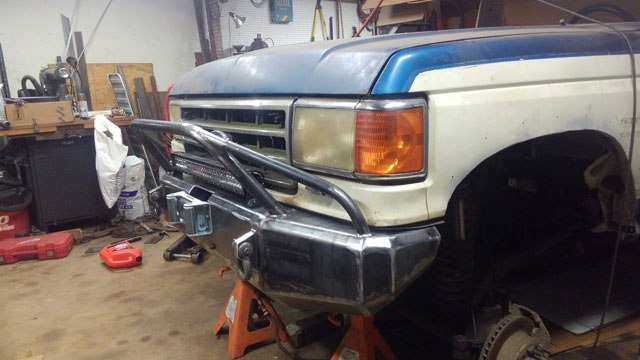
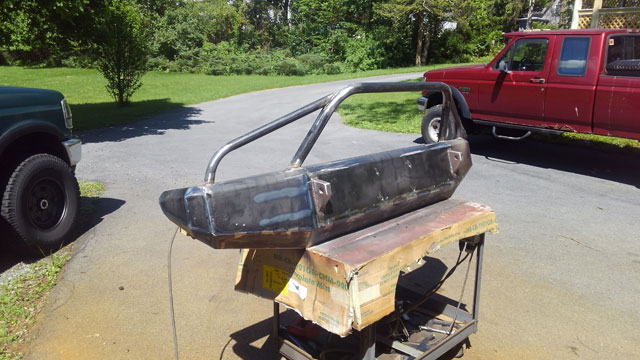
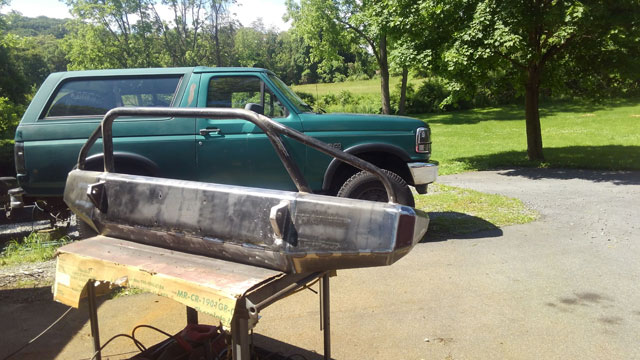
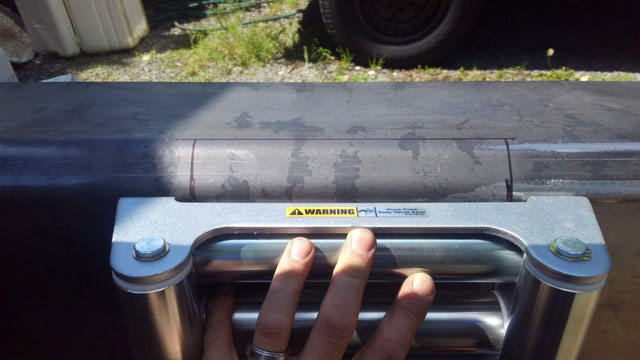
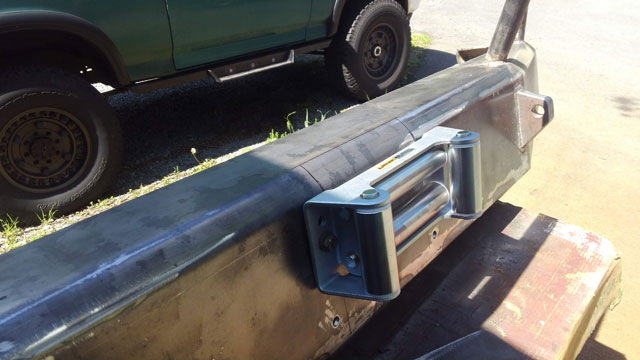
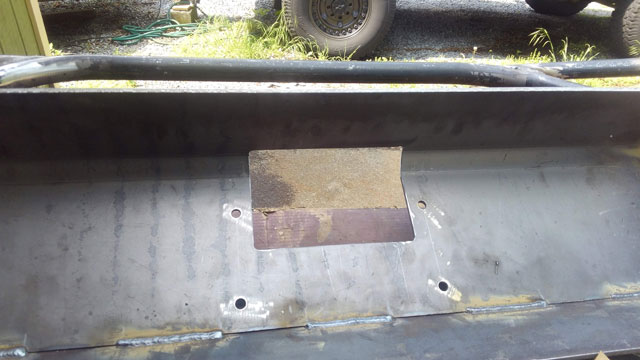
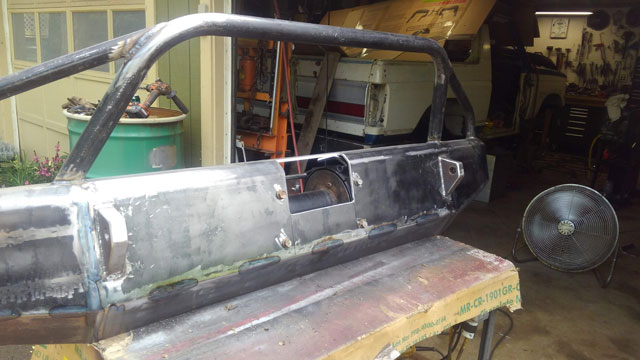
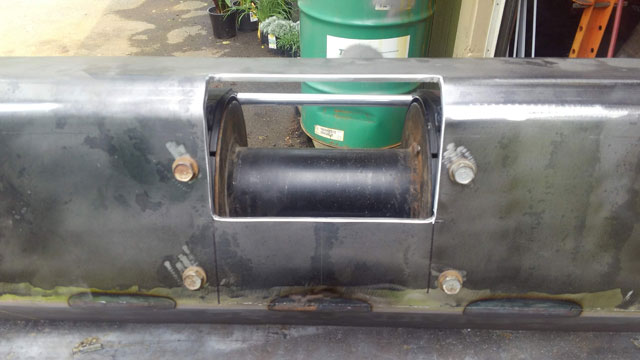
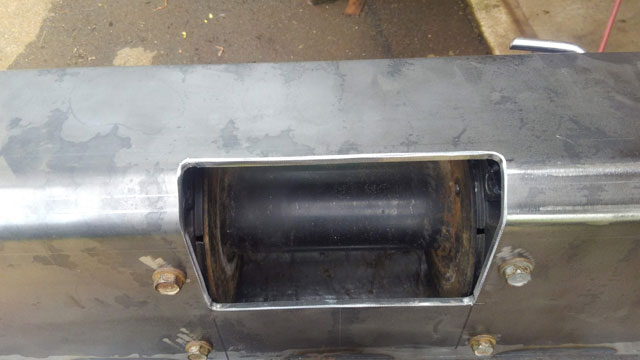
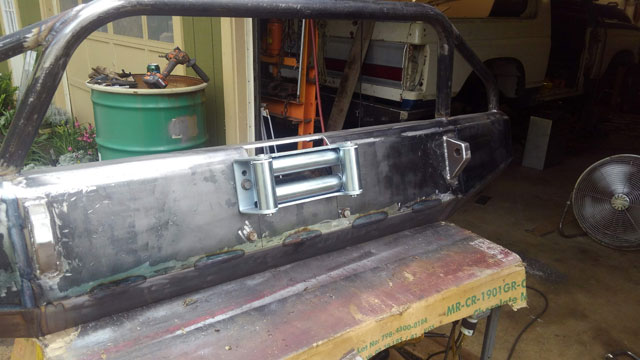
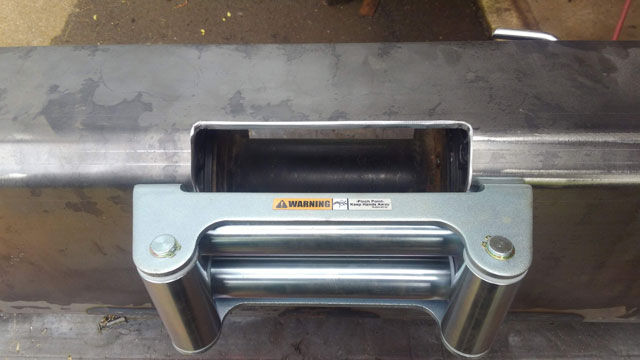
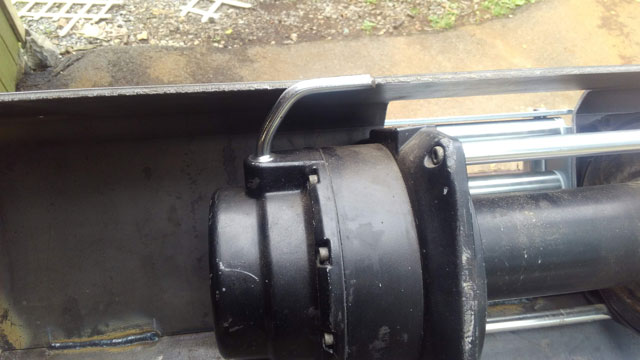
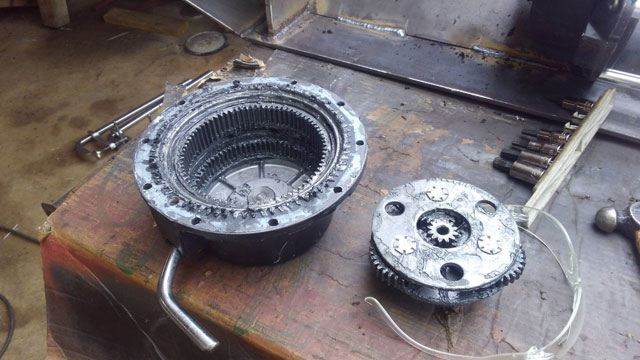
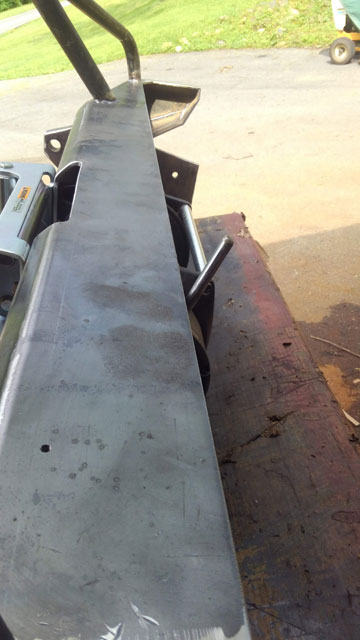
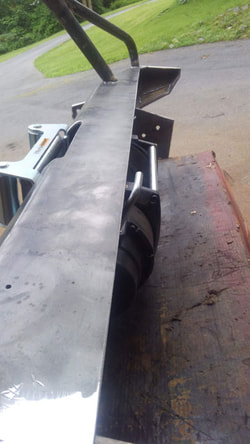
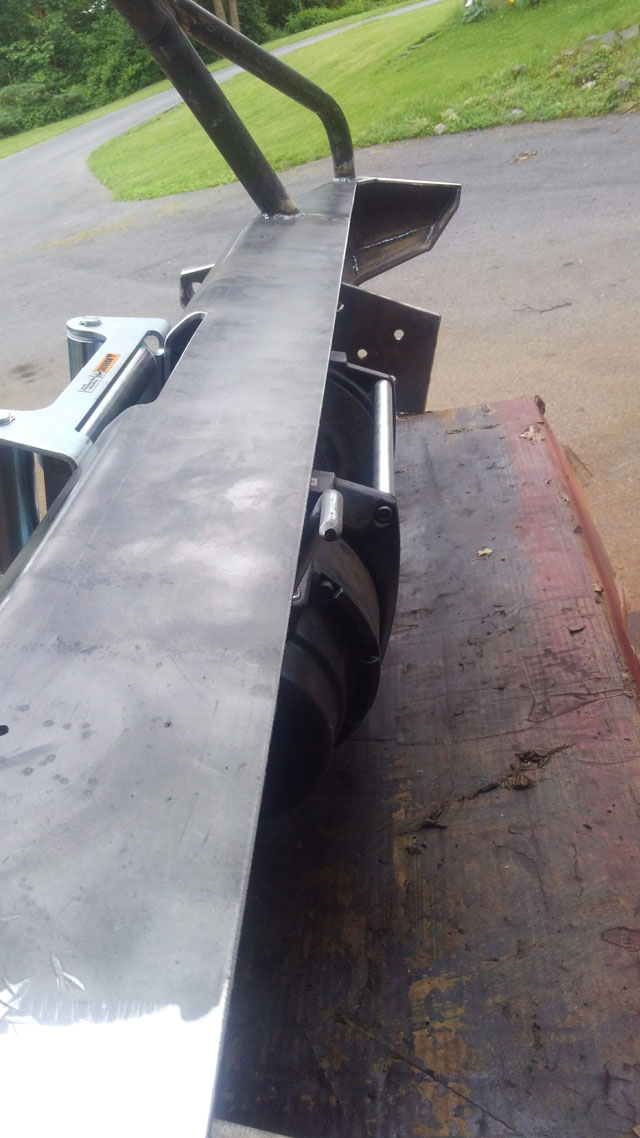
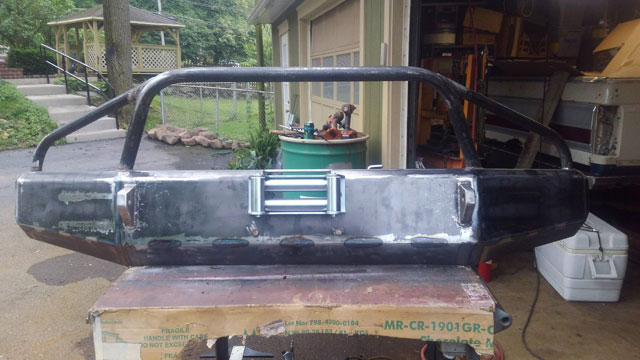
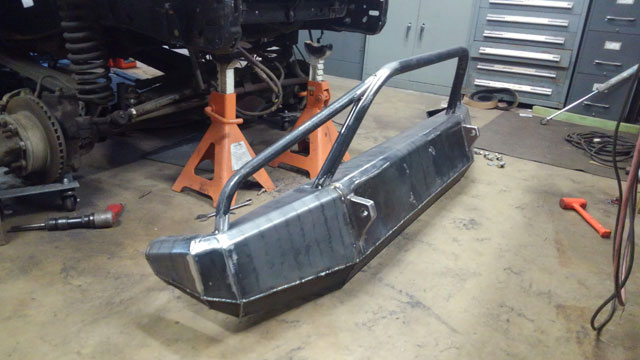
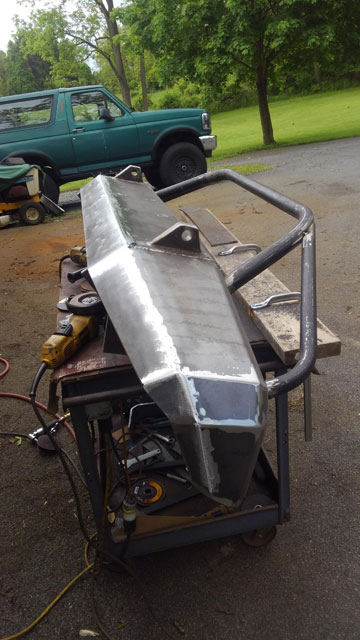
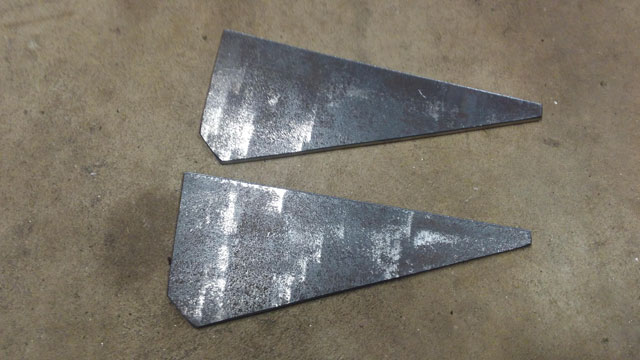
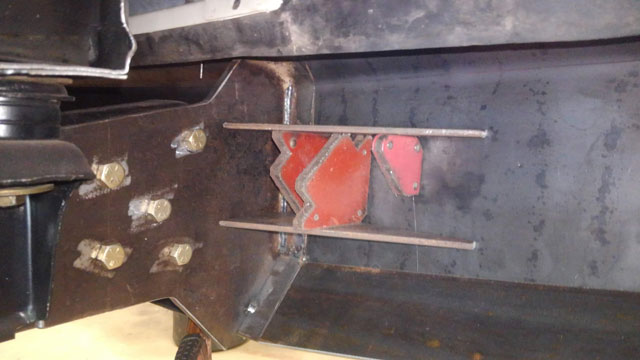
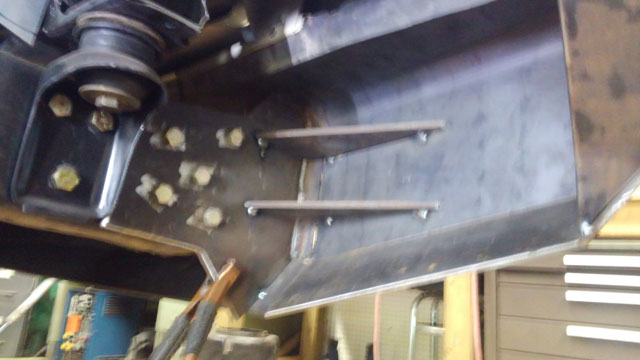
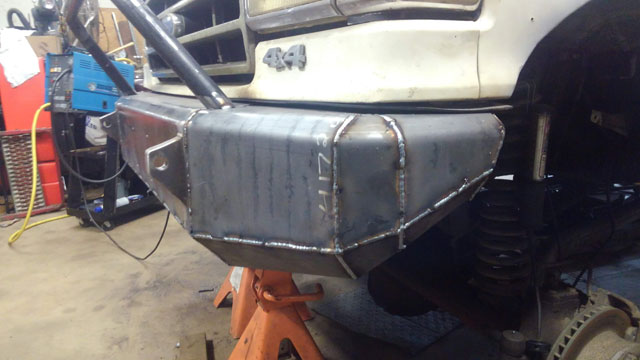
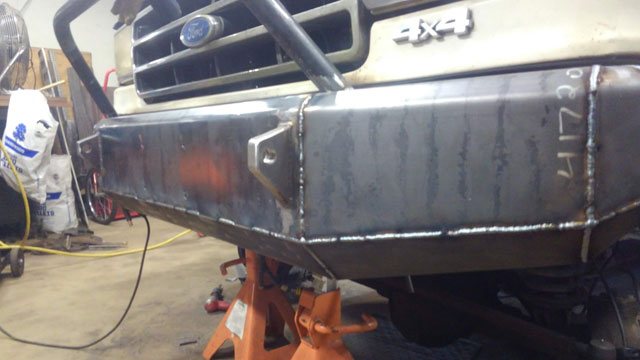
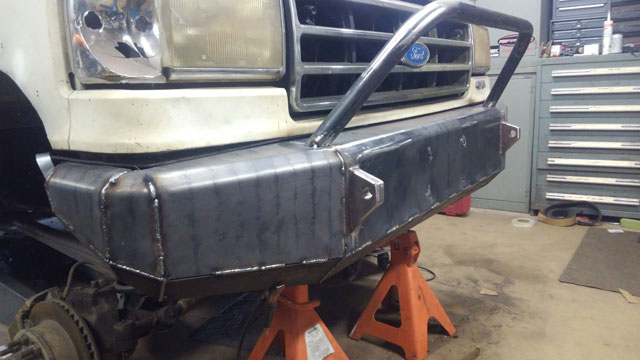
Ok sorry, that was a terrible pun. Front shocks! Bilstein 5125, with the old shock towers off the big bronco: From there i got tired of tripping over the front bumper so i decided to put it on the truck. Fairly easy to do, just extend the notch Ford put in the bumper to clear the leaf springs on the F250/350s to clear our longer SD springs: Success! the bumper fits now: I had to notch the bottom of the bumper bracket slightly, and i had to transfer the lower hole from the frame thru Sky's bracket, since they didnt include that hole in their hangar for some reason: So while i was there, i decided i might as well add a front receiver to this thing notch cut: ...and the hitch in its new home: I dont think the main tube being .120" wall is sufficiently beefy, so i added some extra braces to strengthen it up a bit: For the hell of it, i grabbed my x8000i and decided to see how it would look: ...but back to the bronco, the bumper is now installed! Tucked up nice and tight: im diggin it! ill get around to wiring the bronco up for the winch whenever i get around to replacing the battery cables. For now im calling this project done. Next up: getting the brake system replaced! Finally after all this time, im actually starting to put parts back on! Rear bumper back on: Fit the rear flares ...and then installed the front bumper, and installed/trimmed the front flares as well! I need to trim the rear flares a bit as they hang down below the bumper, but im not sure yet how i want to trim them, ill look at them again next week. the front bumper is black now! All fender liner parts now painted And the inside of the fenders are now black too Bumpers getting painted: Rear all done: the front is done, its on a cart in the garage. I need to roll it outside tomorrow, so ill snap a good pic then. I yanked the front clip off and primed all the wheel well pieces; tomorrow (weather permitting) theyll get some chassis black on them too. I hung and aligned the red doors to the cab; they need a little love with the hammer, but i dont think they need any rust repair at all Theres a couple small dents in the hood, but i dont think that needs any rust repair either. my biggest problem now is, im not a body guy so while i want it perfect, im not sure i have the skill to do it. Also, its gonna end up getting pinstriped in the woods anyway, so it really doesnt need to be perfect. So basically, its a battle against my OCD. I wish i had some super awesome update but i dont. I came up with a solution that works, but im not super thrilled with. There is a lot less space than the pics show. Also, the clutch lever is tilted back towards the motor, and the gearbox can only be clocked every other position, so theres really no 'perfect' position; each one has its own issues to deal with so i stayed with this one. I straightened the clutch lever... ...and then made a removable extension for it: It might look like theres a ton of room in this pic, but there totally isnt. I actually had to notch the bumper, valance & grill to get this to fit. This is the 'lock' position. The handle swings forward into the grill, and over towards the passenger tire when in freespool. It works just fine with one hand, but its not much to look at. The problem is, it will become a very tight space, once the radiator/condenser, and trans/p.steering coolers go back in. Because of this, im stopping right here. This will work, but im afraid if i try to design something more elaborate, itll be in the way later down the road. So im going to keep this for now, and once i get closer to the truck being complete, ill revisit it and see if i cant come up with a more elegant design, that doesnt interfere with anything else (i already designed, mostly built, & then rejected a 'better' design because it took up too much space). So i went over to Eastwood today, bought some epoxy primer, and their extreme chassis black. Supposed to be pretty durable, and its an aerosol so i dont have to worry about trying to brush it on the bumper, and into all the crevices. Hopefully i can start painting them in a week or two, but first i need to deal with this: I dont want to cut the sheetmetal, so im modifying the clutch lever again. If all goes well, ill have this sorted tomorrow! Bumper installed! In case you were wondering, i weighed it, and the bumper comes in at 130#. The winch weighs in at 72! And thats w/o 90' of 7/16 cable on the drum. So id call this project complete but if you look closely, youll notice the clutch lever is behind the valance! Im gonna look into it tomorrow to see if ill be modifying the lever again, or making an extension or something. Welding is basically done! Mocking up window for fairlead: This Powerwagon winch has an usual handle (it was also cut down at least once before i got the winch). It also doesnt clear the bumper. Pulled the winch apart to modify handle, as i dont want to cut a notch on the bumper. The inside is nice and clean, and recently greased too i straightened the handle and reassembled to mock up: Then bent a 90º in it in a different place. ...and done! Tomorrow im going to do some touchup on a couple welds & corners, then pull the cap back off the winch to reseal it (it still needs rtv on it). Then ill throw the whole thing back on the bronco for some proper 'finished pics'! So i did some minor grinding with the bumper on the truck, just enough so i could fit and tack the smaller tubes in place. Then, off she came! Set up on my cart, outside in the sun, grinding away! This part is gonna take a while! Gussets for the bumper brackets: I decided on two for each side. While im sure one would probably be sufficient, it just looked out of place with one, and i figure a second cant hurt. Time to weld those seams! ...and more welding.... ...and more welding! So if all goes well, ill be removing the bumper wednesday to begin grinding all the seams and getting them cleaned up, then lots more welding & grinding after that. |
Categories
All
Archives
June 2024
|
