|
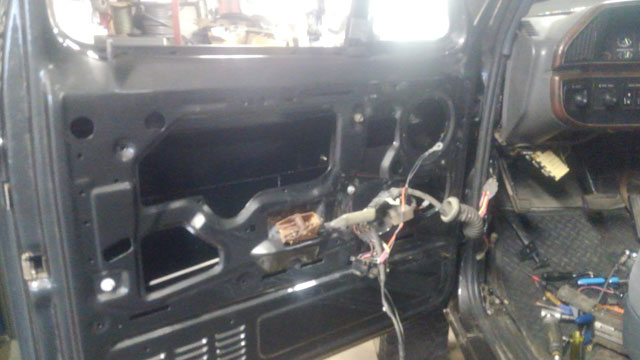
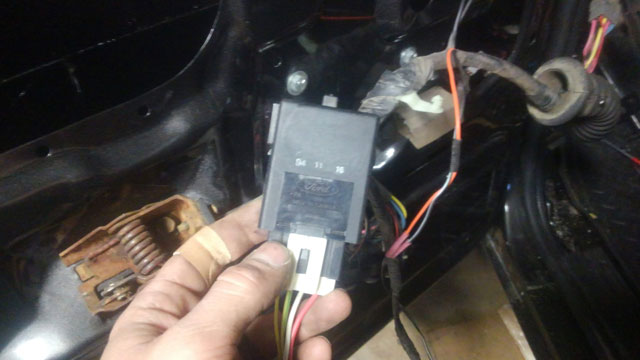
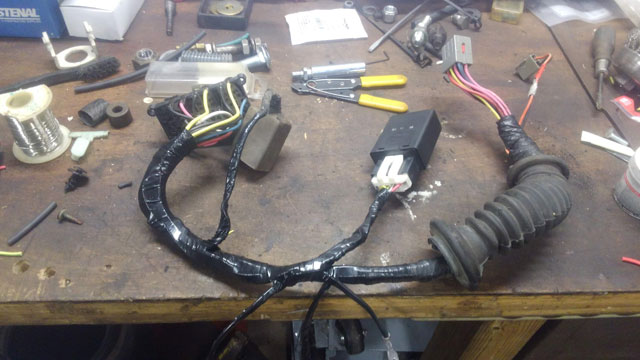
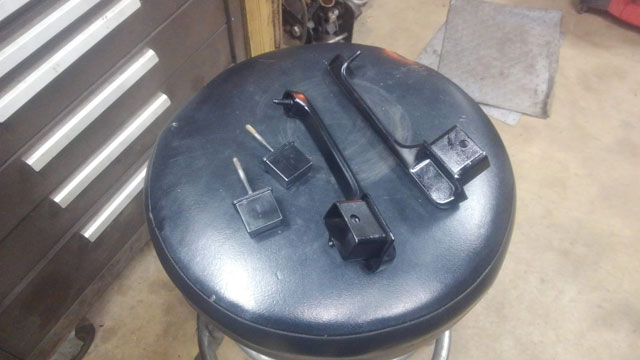
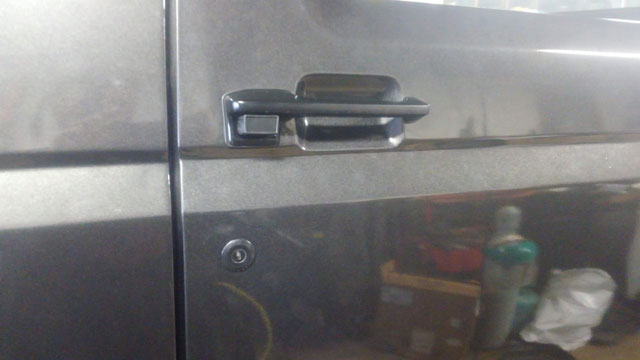
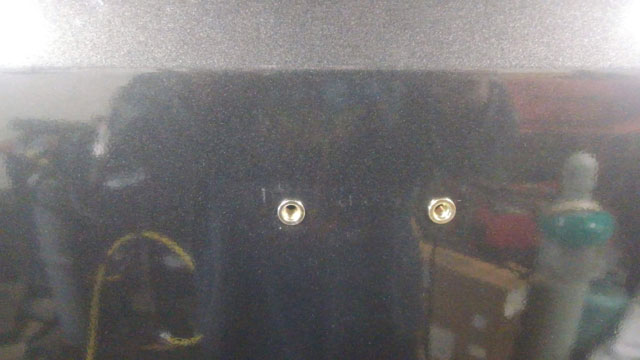
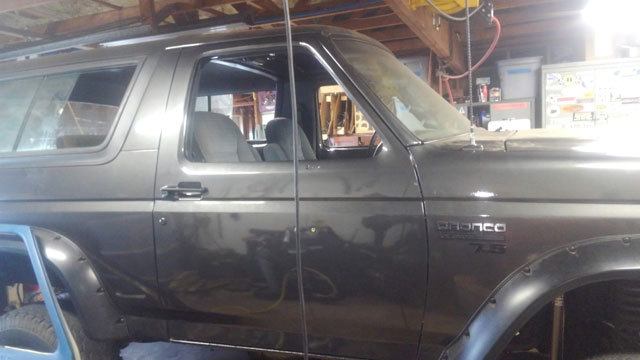
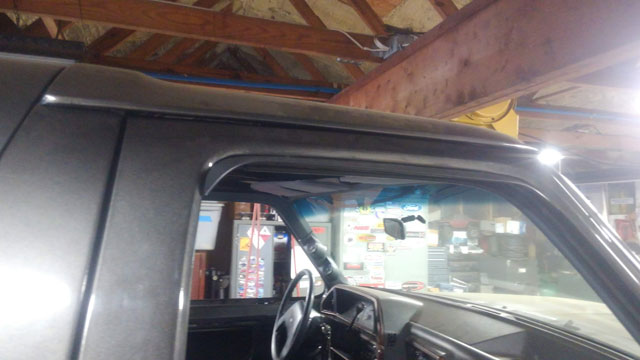
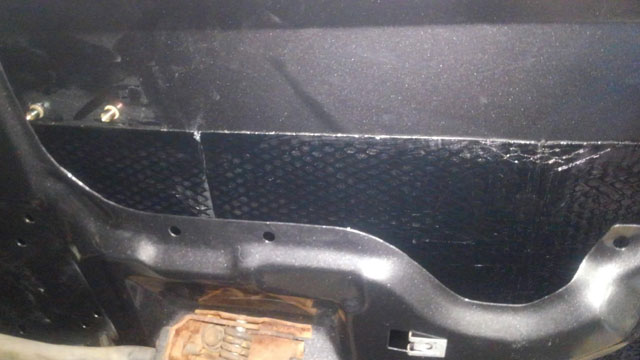
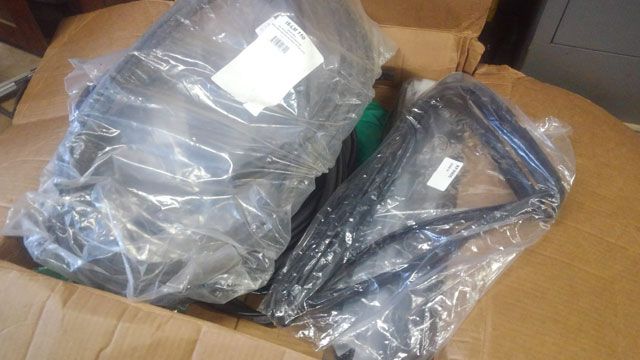
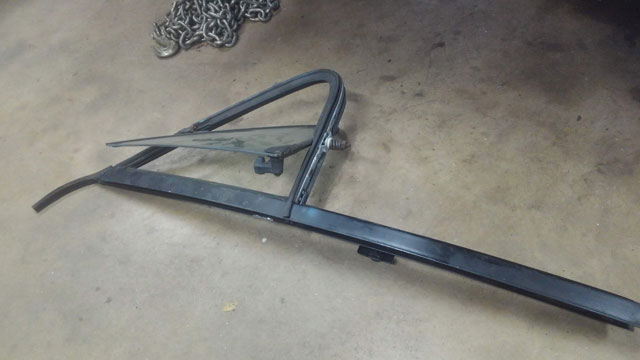
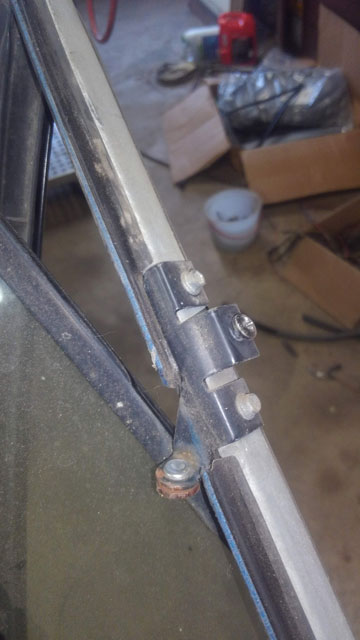
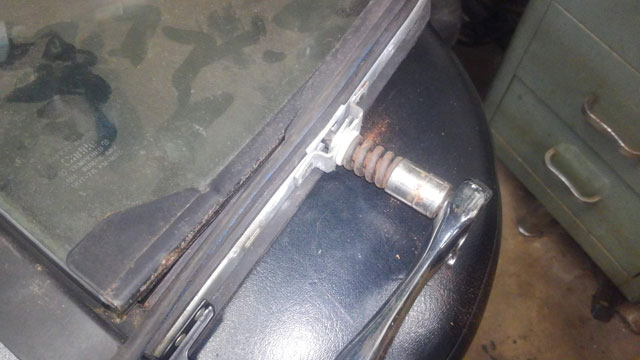
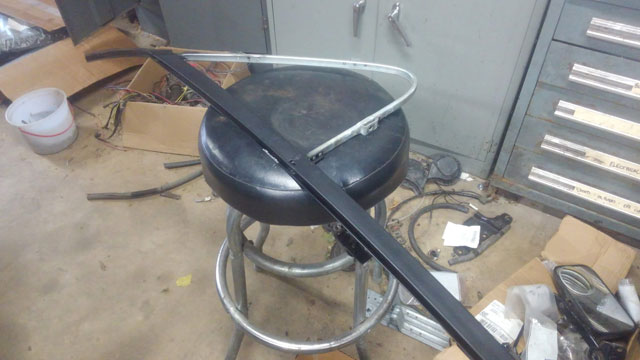
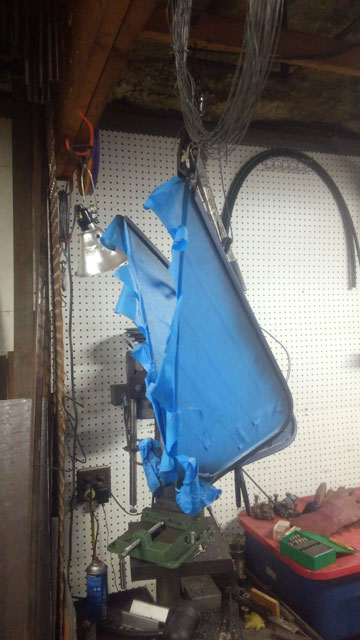
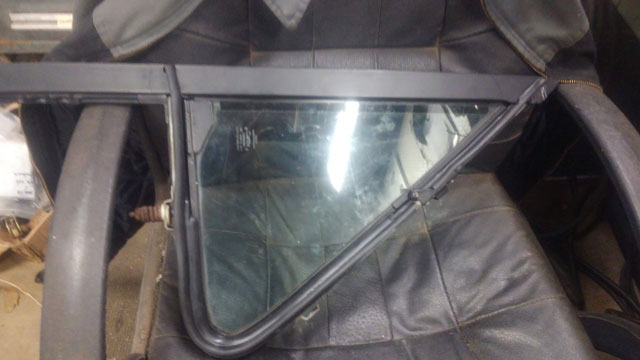
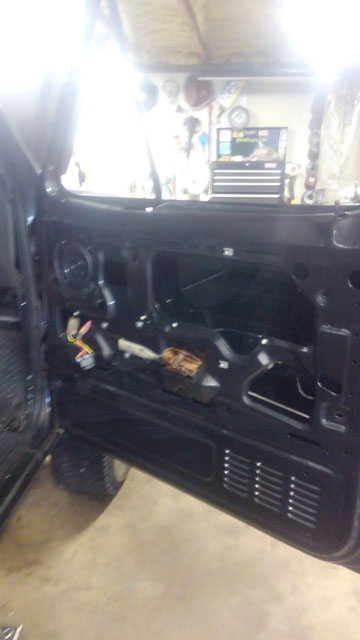
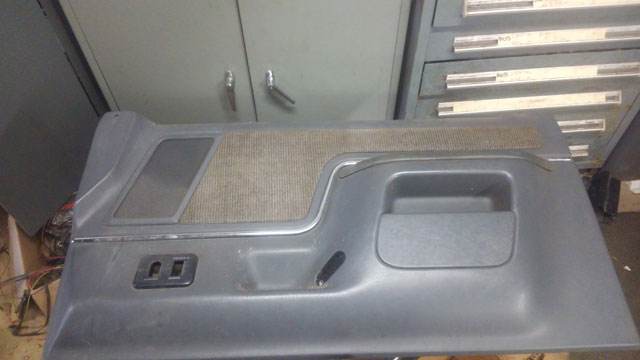
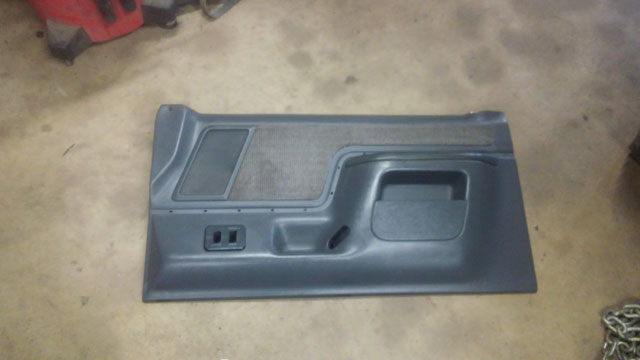
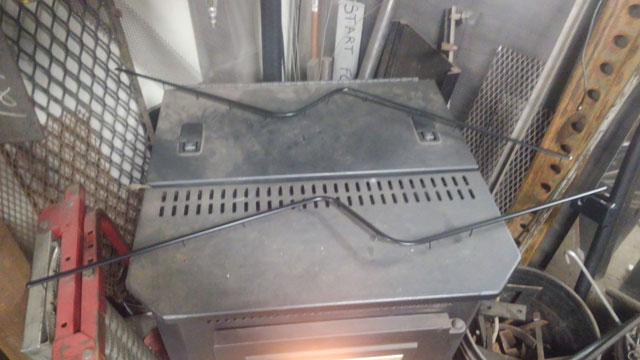
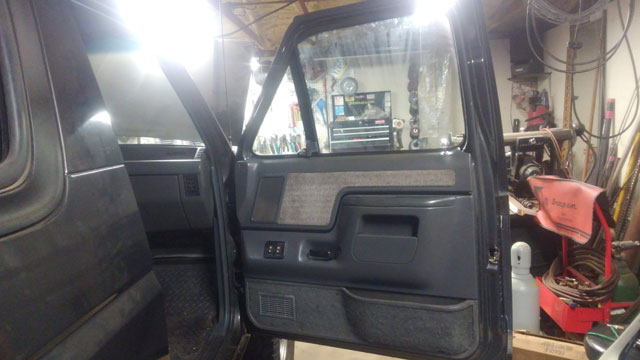
I made a little progress on the driver door today Put the wing window in, window tracks & felts, regulator, window, and then realized the plastic gears in the motor were bad! Fortunately, i had another regulator that i had already repaired, so i pulled the glass back out, swapped that regulator in, and put the glass back in. Dont ask why i didnt put that one in, because i dont know. I did some upgrades to the wiring harness while the door was apart. Added one of these: Its the one-touch module out of a Probe? or Taurus? Maybe Taurus. I dont remember anymore. I got a bunch of them out of the junkyard years ago and theyve just been sitting in a box til now. So yeah, driver door harness all redone, with the module wired in and functional! The harness is installed in the door and good to go, but this is about as far as i got. I still need to fix the speaker wires, and then i can finish up the kick panel & door panel. But, with tomorrow being New Years Eve, i dont anticipate working on it again this week. I have a new horn & wiper motor coming in the mail i think monday, so hopefully next week we'll button up these loose ends and get her outside!! With the exhaust done, the next big project is to reassemble the doors! In continuing with the no-chrome trend, i disassembled the door handles, dusted em, and then shot them with some satin black: Looks pretty good against the grey paint: The LMC doors were missing the two lower riv-nuts for the mirrors, so i had to add them (in case youre wondering, theyre 6mm) These shells were an absolute pain to get aligned, but the end result looks good- it looks like a truck again! I installed some old school rain guards, because i think they look better on these old trucks than the plastic ones. Black, of course: I had sound deadener left over from putting the rear cargo panels in (in both broncos actually) so i put some in the doors. front to back, from the bottom up to the body line in the door. We'll see if it helps. So next up, its time to go back into the box of seals! i had ordered the Super Weatherstripping Kit from Bronco Graveyard (along with a bunch of other rubber seals & felts, etc) about a year ago, and ive been slowly working my way thru the pile. The next thing we need out of the pile, is for these: In order to replace the seal, you need to remove the glass. Step one, remove these two little screws: And then remove this nut from the bottom. Take note: there is a steel oval washer + a plastic washer inside the frame, and a second thicker plastic washer under the spring. Each piece gets installed in a specific location and oriented a certain way so make sure you pay attention when taking it apart The bare frame after the seal is removed. Ive already cleaned it, and touched up the black paint: I also took the opportunity to clean up the frame on the glass and touched up the paint on them too: One window rebuilt! I didnt take pics of the seal install. Honestly, it sucks. A lot. It takes a decent amount of finesse, and i had to use some wd40 to lubricate the seal to get it to seat into the frame. The first one took me an hour to do, the second went way faster. If you dont get it installed properly, the window wont close properly, or the seal wont stay in place, etc. Youre gonna curse up a storm and swear it doesnt fit but it does, it just sucks that much to do. With that done...lets build a door! Dug out my door panel. This is gonna need to be cleaned up. Also, we cant have that chrome strip on there! Chrome strip removed, door panel all cleaned up and looking way better: I prepped the driver side door panel at the same time. Also got both chrome strips cleaned, sanded and painted satin black: One set of window run channels, felt glass wipers, a bunch of them body panel clips and viola! Weve got a completed door! Next up ive got to do this all over again for the driver door, but then the interior is done! After that weve got to
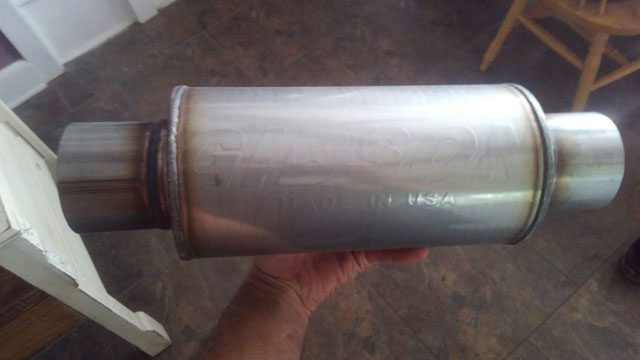
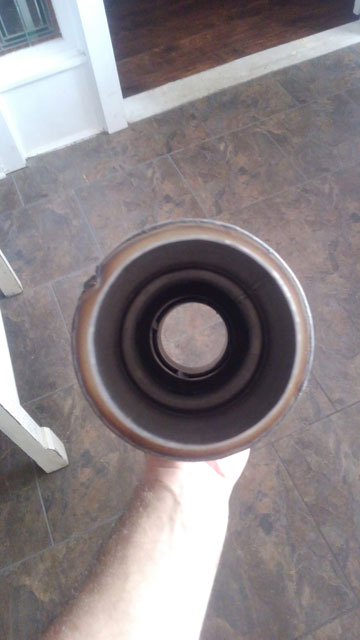
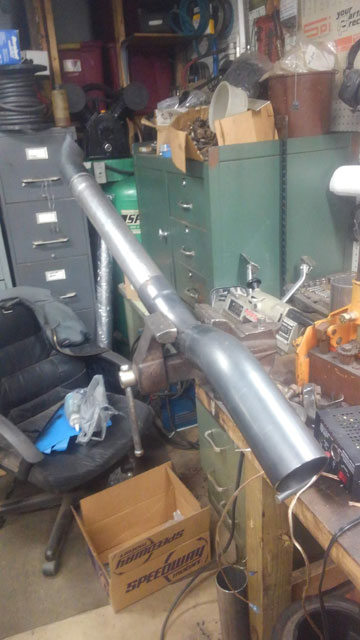
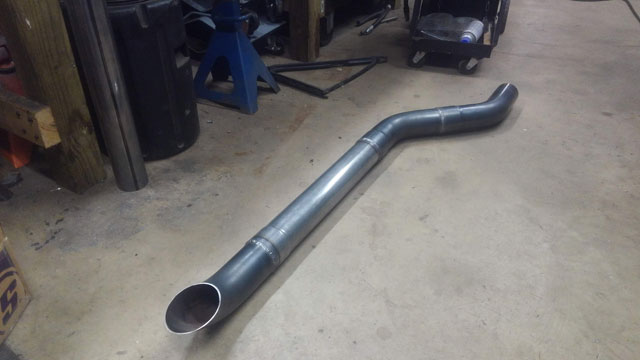
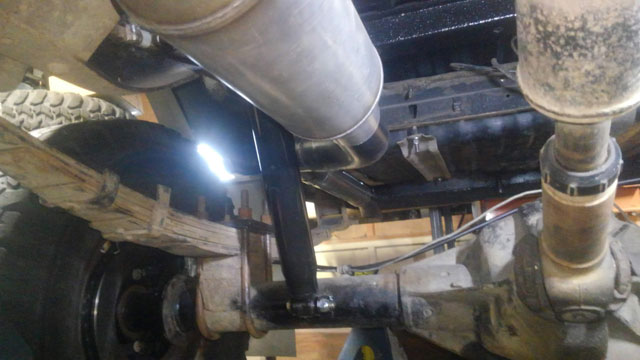
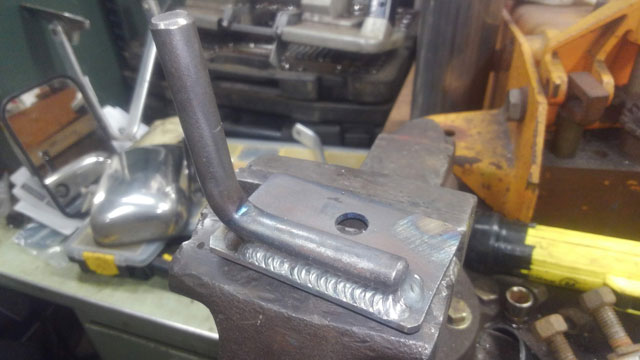
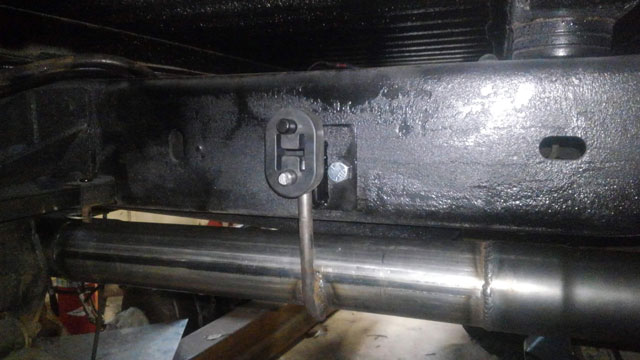
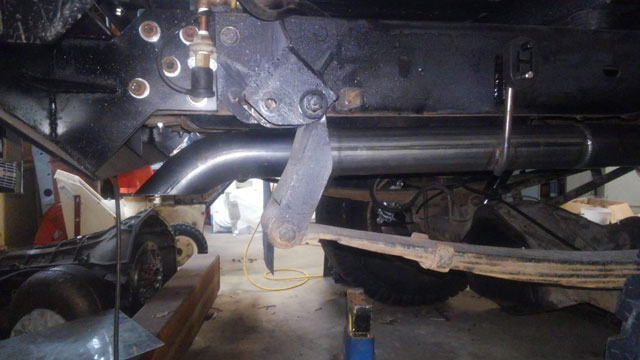
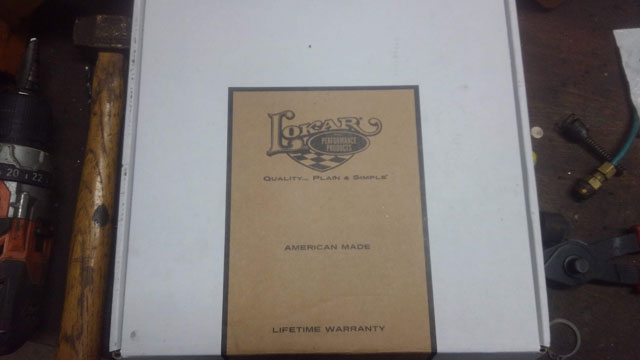
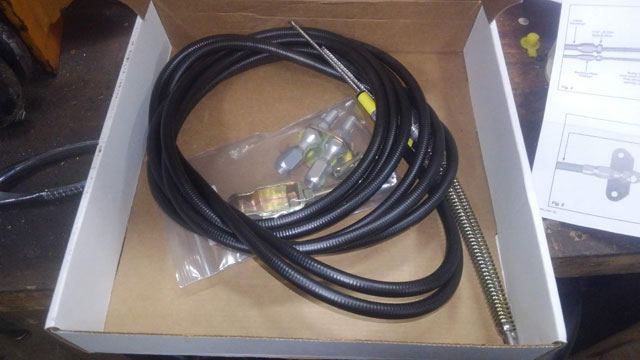
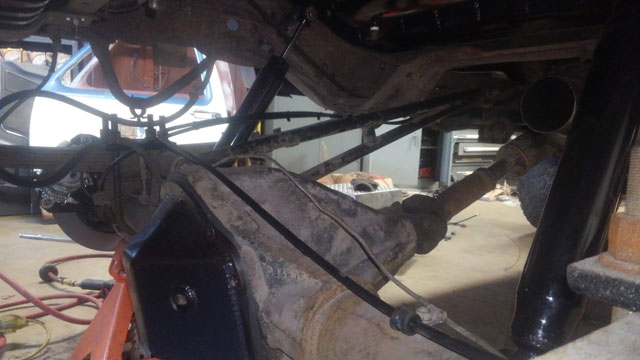
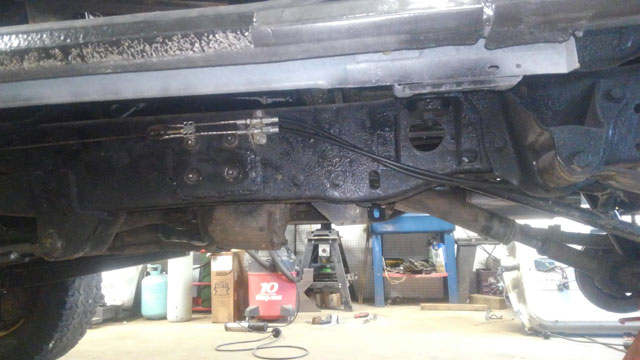
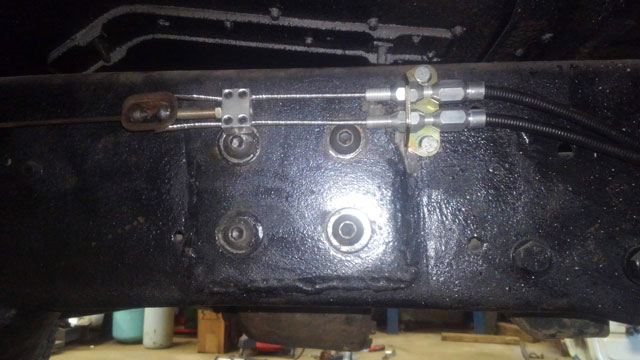
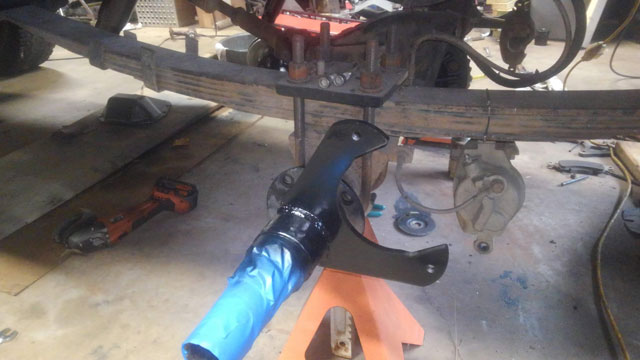
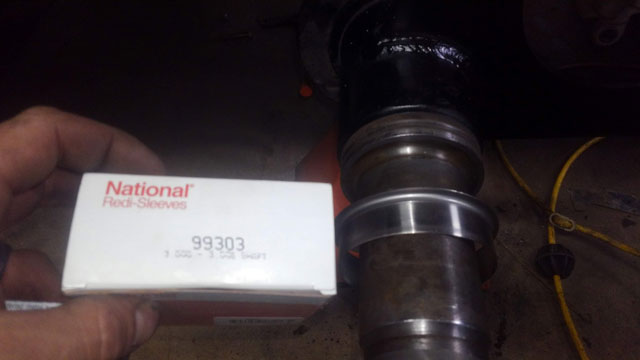
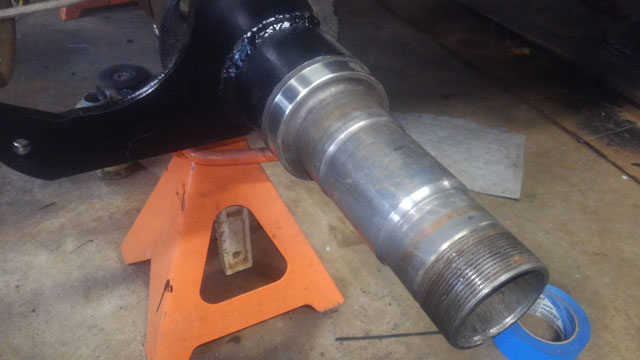
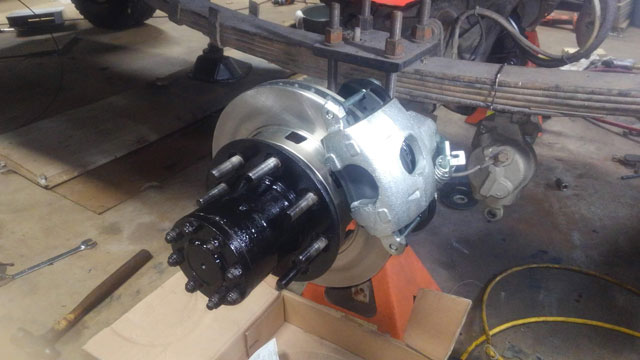
Ok small update, but progress is progress! I didnt know what i wanted to do for my exhaust. When its a rock crawler it doesnt matter where it goes, its gonna be in the way & get smashed. So i made something simple that would be easy to service, and replace when it gets smashed! First off, the muffler: Gibson MWA Let me just say, it sounds mean. Idle actually isnt that loud, but damn does it have a rumble when you rev it! I havent heard it with a tailpipe yet, but thatll come soon enough... I bought some 3" fittings from amazon for cheap, turned out to actually be some pretty nice pieces. So i mocked it up, and realized this would actually be pretty easy to do! This is pretty much it. I mitred the end to give it a more finished look: Its tucked up in there pretty tight: Built a couple exhaust hangars for the frame (one in front of muffler, one on tailpipe): ...and the finished product! Hopefully its somewhat protected there, time will tell! As a bonus, the doors are hung and aligned as well! So the next day i get some free time ill begin the reassembly of them. So very close now! Finally after all these years, weve got a working parking brake again! I ordered a set of universal cut-to-length cables from Lokar, p/n EC-80FU: These are pretty nice looking cables The install is basically the same as any other parking brake cable, very easy. I managed to get mine routed way up high, out of harm's way: The tensioner is nice & small, & mounted up high on the frame rail, where it wont interfere with the rock sliders i havent built yet I made a small modification, that would allow me to reuse the original cable that comes down from the pedal assembly With that done all that was left was to adjust the parking brake. This turned out to be a pretty easy job to, now we just have to get this thing done and out of the garage so we can test it! Got some work done on the D70! My old disc brake caliper brackets were in sorry shape and needed replaced. I wanted to stay bolt-on, but this particular D70 came out of a dually, and as such i could not find a set of bolt-on brackets with the correct offset, so i opted to use weld-on caliper brackets from RuffStuff: New lower shock mounts to replace my rock-bashed ones, also from RuffStuff: Everything painted and ready for reassembly! I ordered repair sleeves for the spindles. You can see the groove in the seal surface, and this is the good side! This looks much better: So with that done, the rear is now back together! The calipers are adjusted, but i havent bled the brakes yet. In this pic the old calipers are still hanging off the springs, bt they have since been removed, and my stainless flex lines are connected to the new calipers. Also waiting on parking brake cables from Lokar which are supposed to arrive Monday, so hopefully by Wednesday/Thursday both axles will be 100% done! I also got the rear shocks installed, along with my anti-wrap bar: We're actually getting pretty close now, i think this is all thats left:
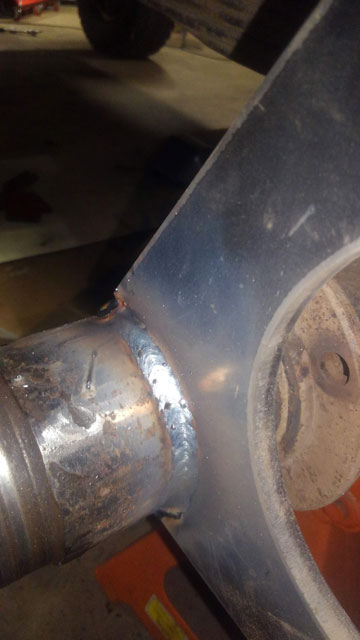
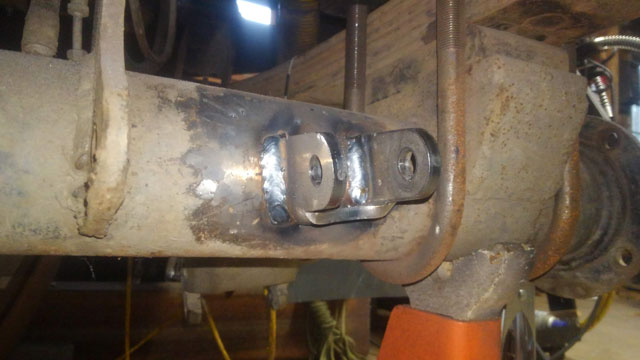
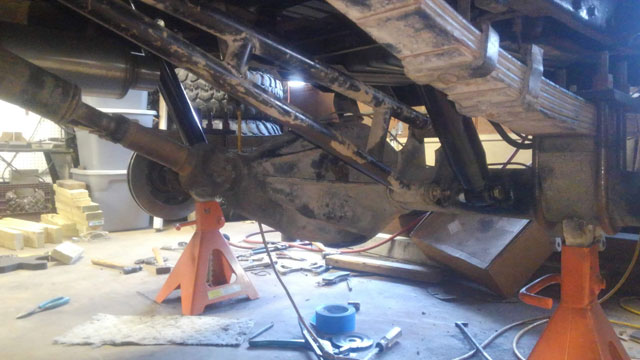
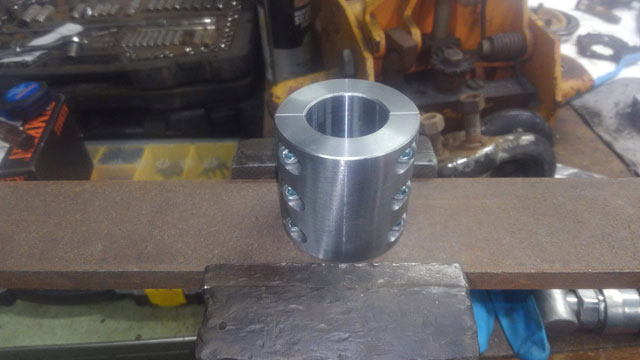
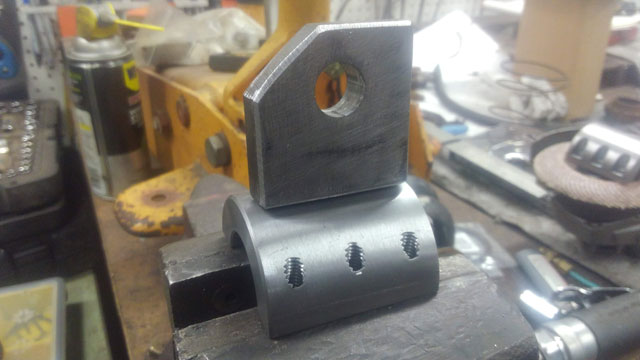
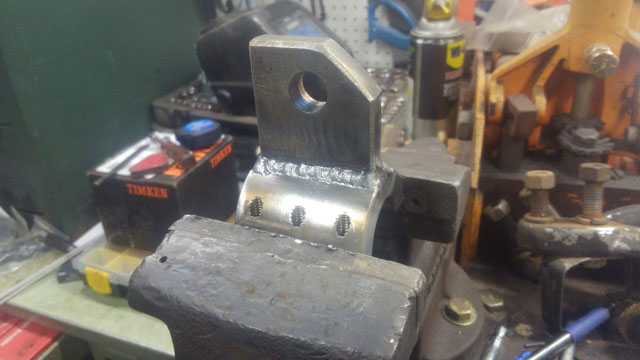
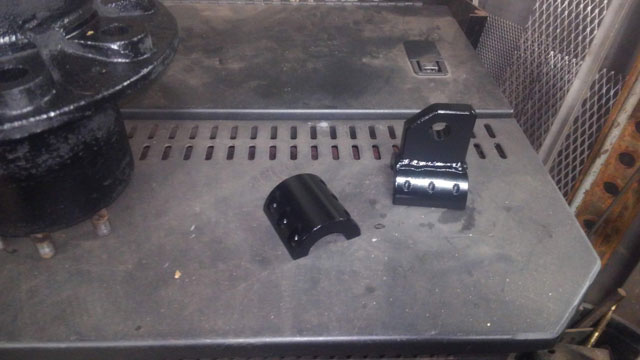
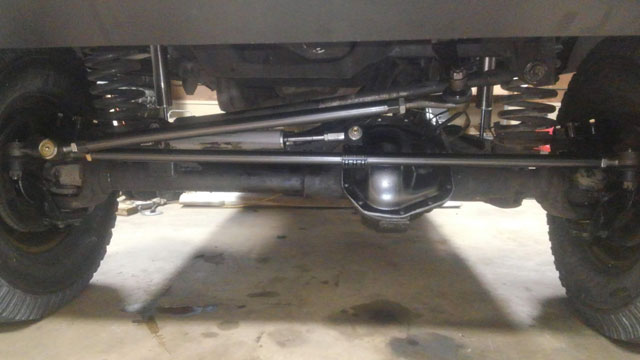
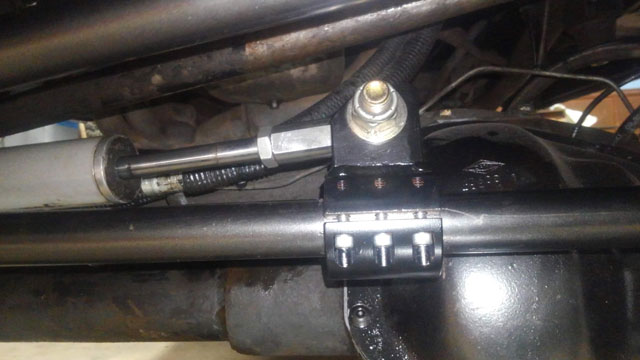
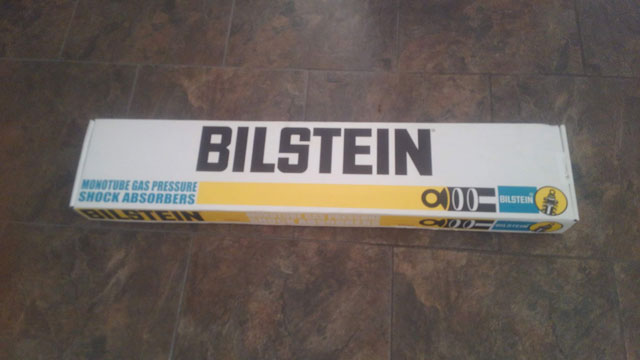
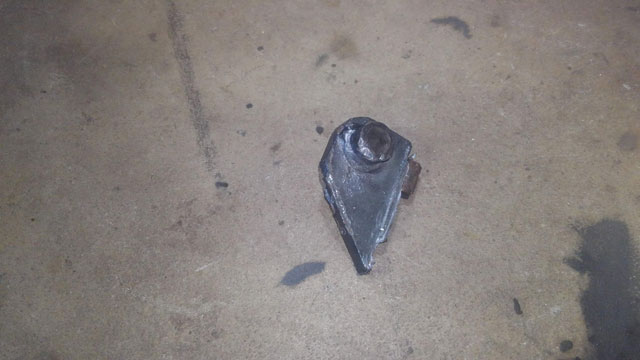
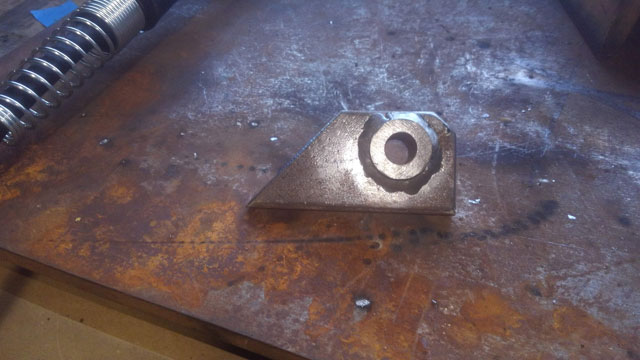
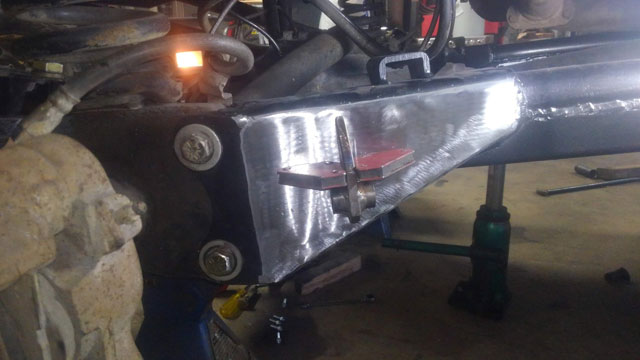
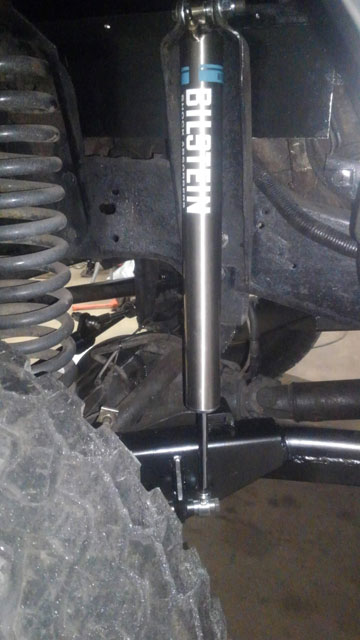
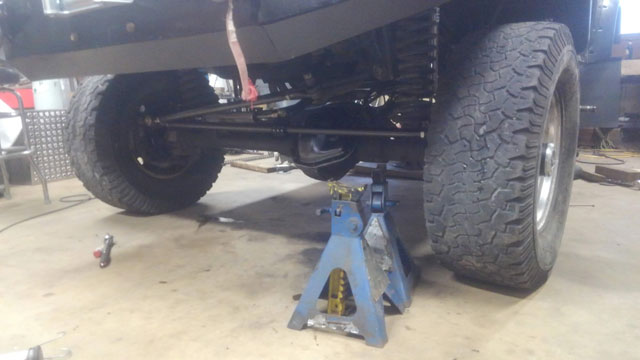
That actually might be all of it! We're in the end game now! Ok, finally had time to update this! I havent made as much progress as id have liked; was trying to get some yard projects done before winter really sets in. Which are now done, so here we go! So in the front-end, i got my new ram mount made & installed: This is a 1¼" OD tube clamp i picked up from ECGS: I made a tab out of 1/2" plate to weld to it: My shocks finally came in the mail, Bilstein 7100s Of course, they are just a tad bit longer than the 5125s, and with the heavy bumper/winch up front, it sits a bit lower now. So i have to redo the shock mounts. Cant go up on the uppers, so i have to go down on the lowers. So i cut the original mount off the arm: Got some 3/8" plate, and i found some 1", ¼ wall tubing at the scrap steel yard which is perfect for a ½" bolt: Mocked up, ~2" lower than before: So this gets me 5" up (bump stopped at 4") & 9" down which should work out well. From there all that was left do to, was a front-end alignment! With that done, the front end is now complete! Next up is to finish rebuilding that rear axle... |
Categories
All
Archives
June 2024
|
