|
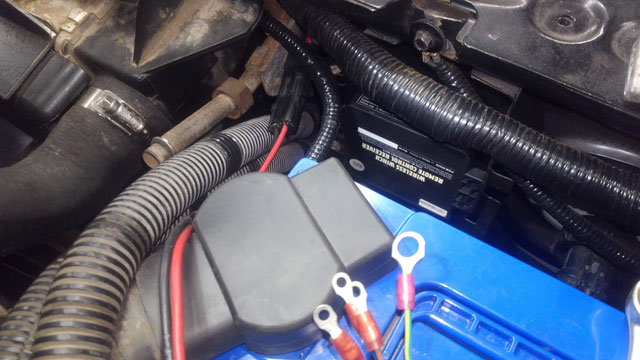
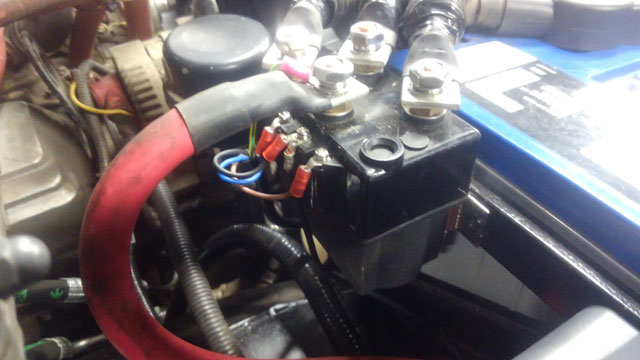
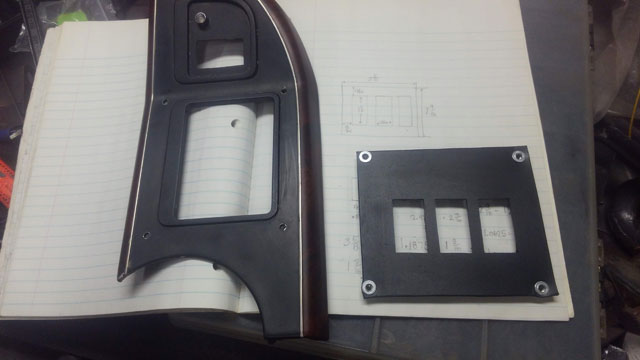
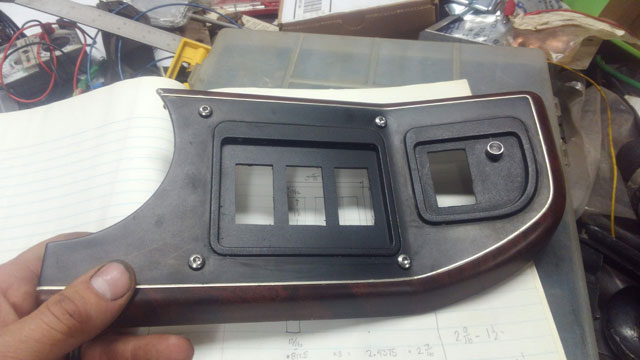
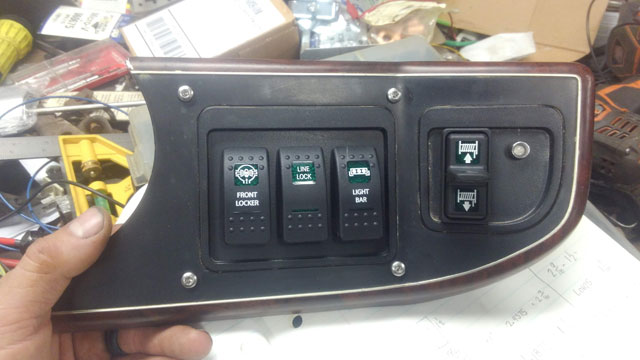
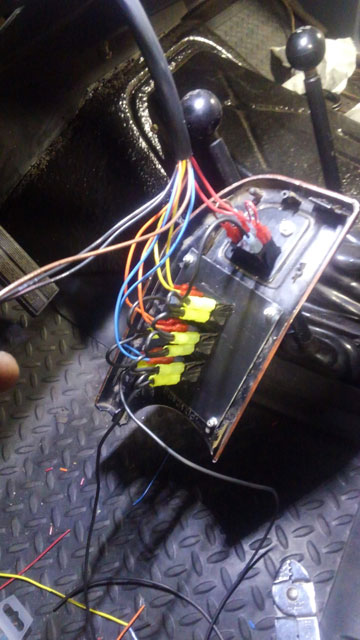
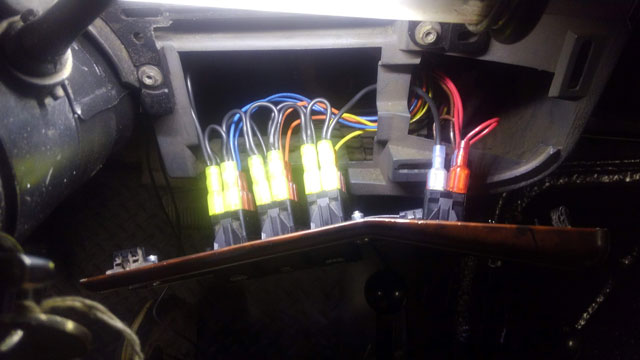
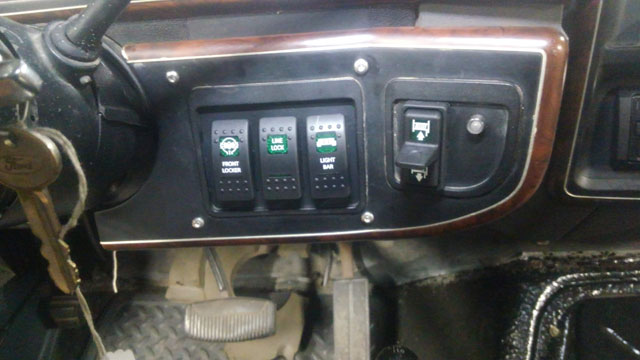
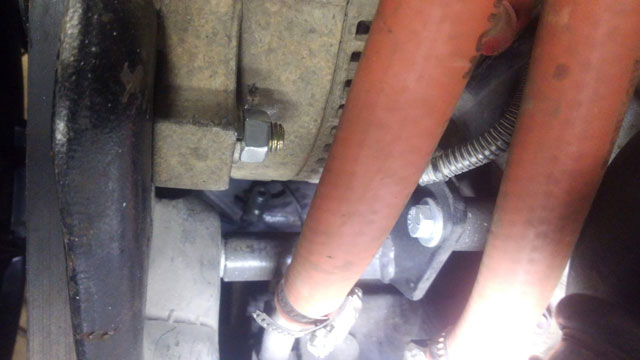
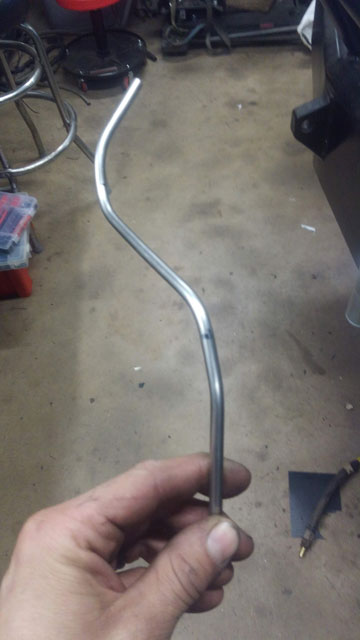
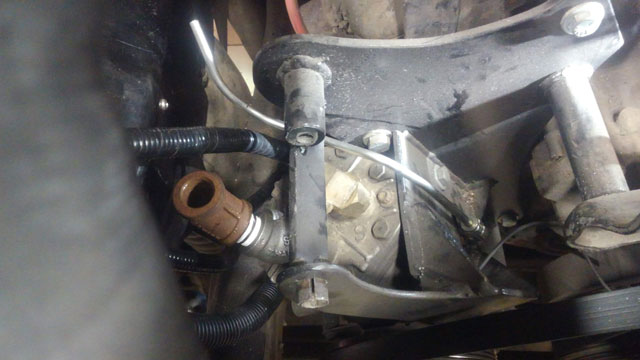
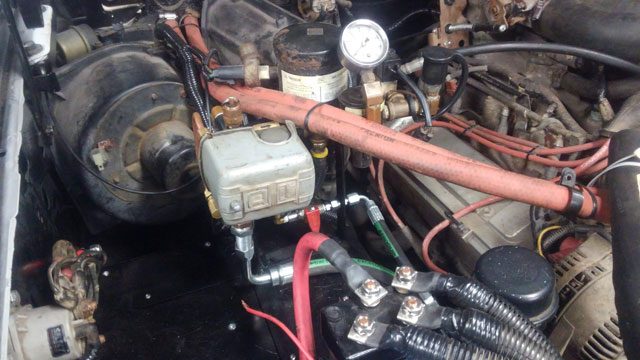
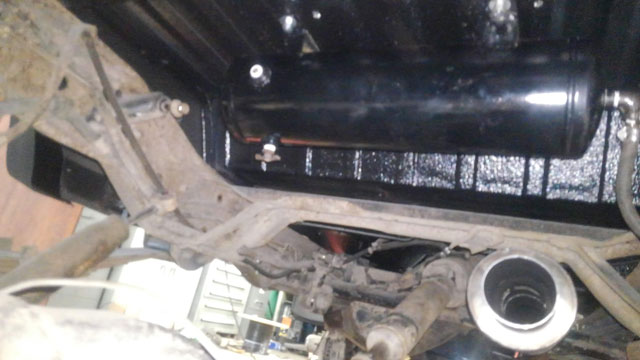
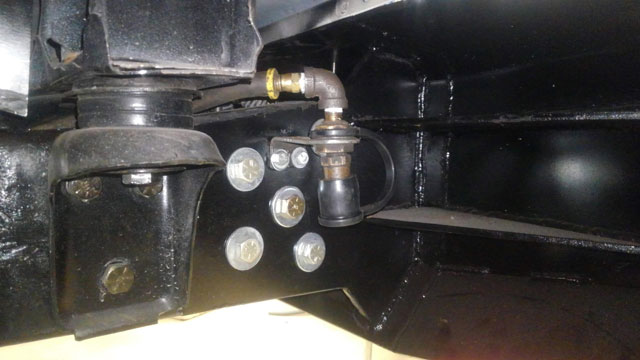
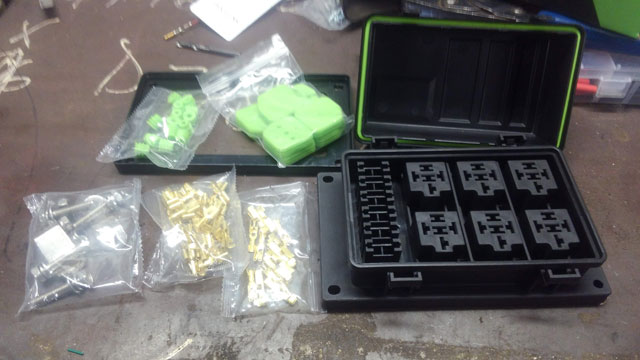
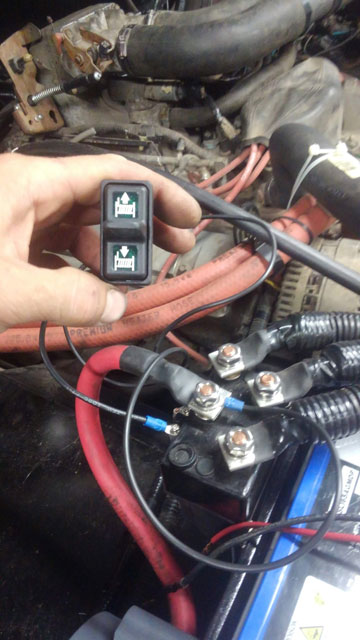
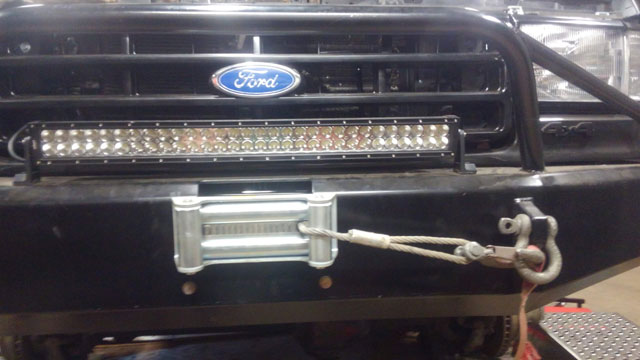
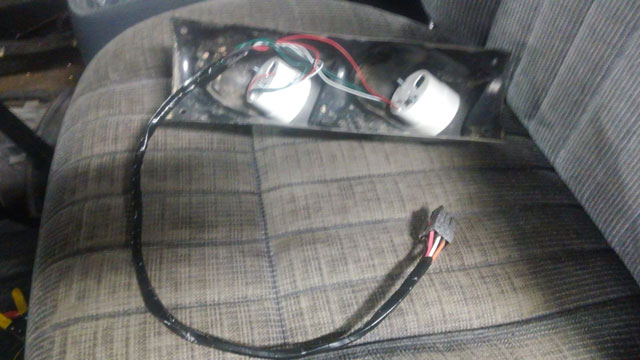
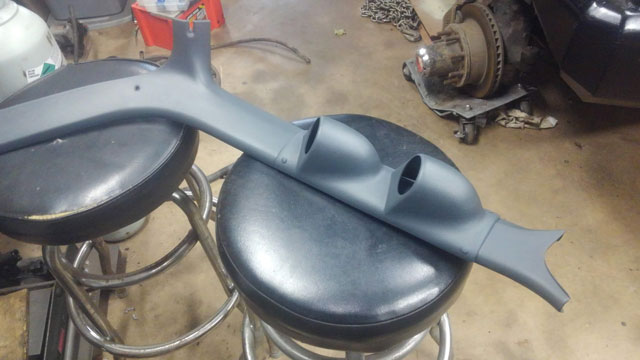
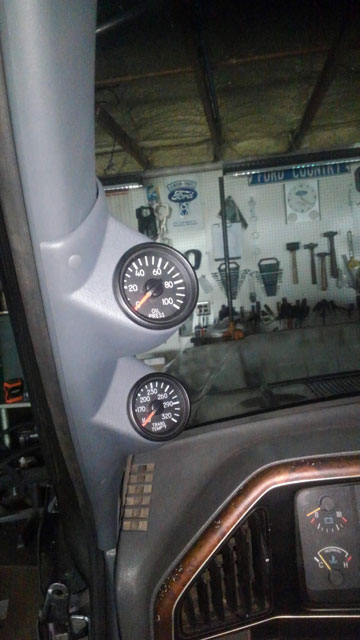
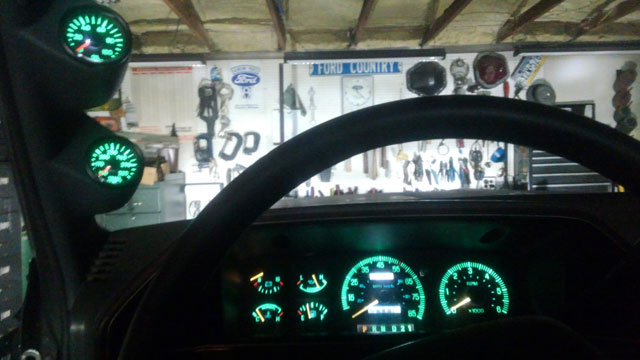
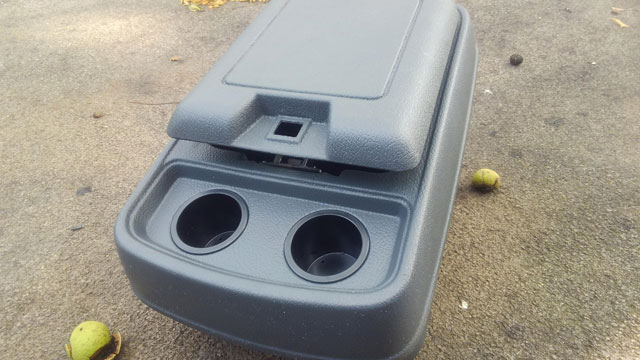
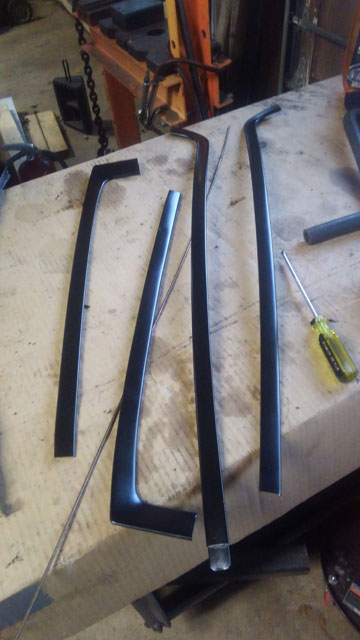
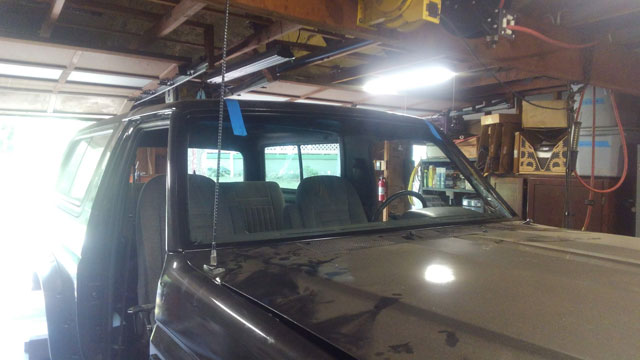
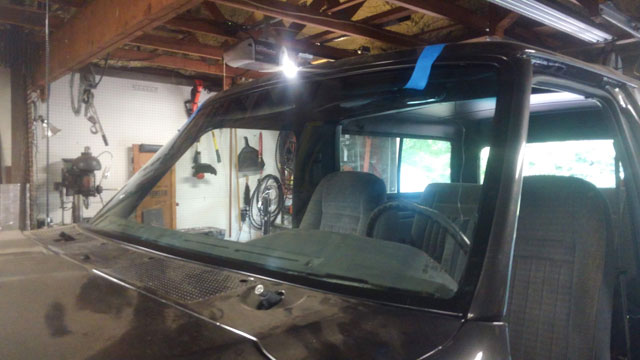
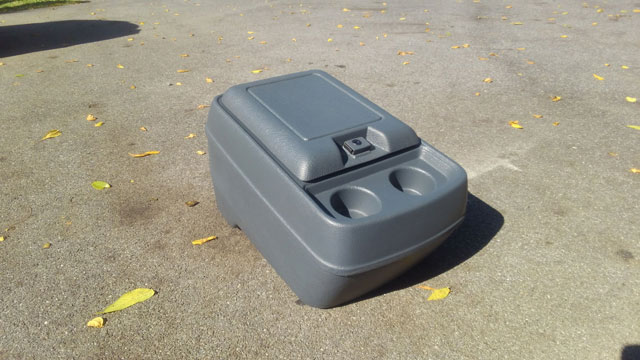
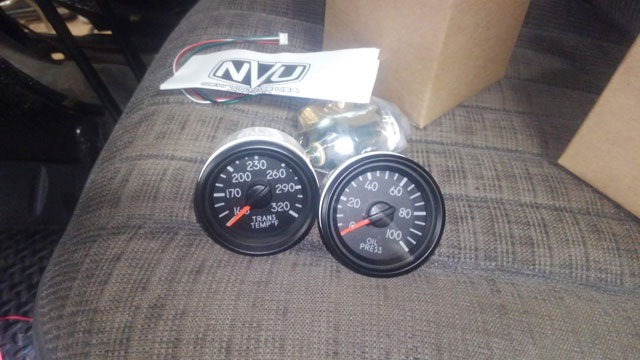
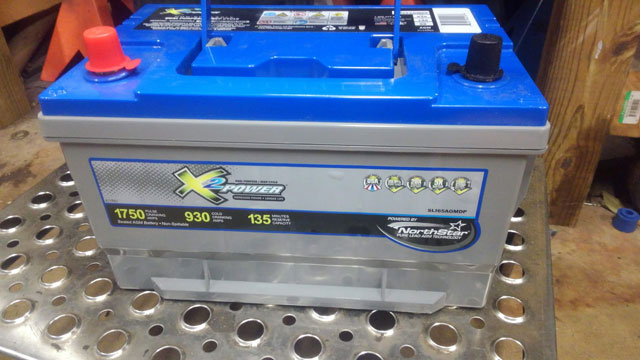
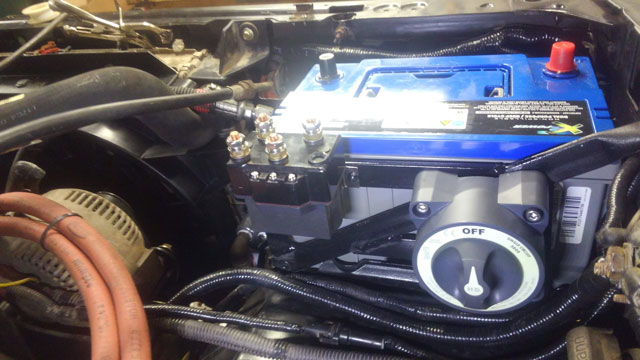
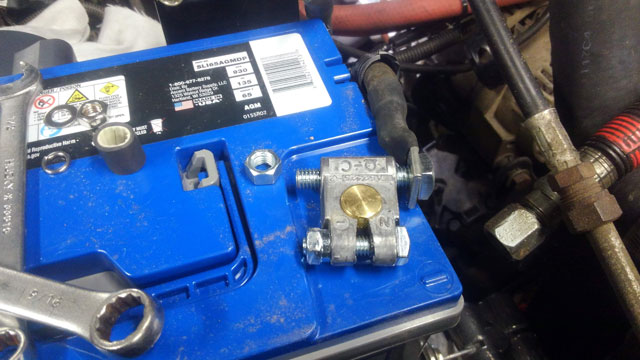
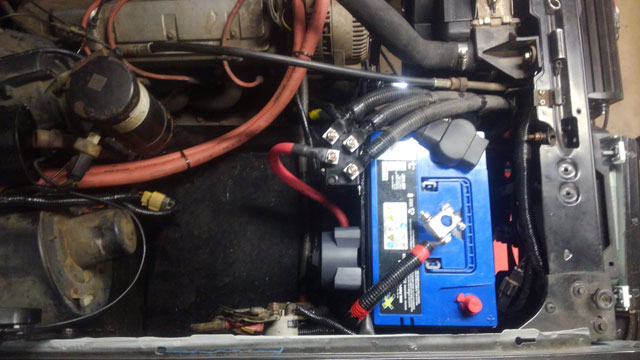
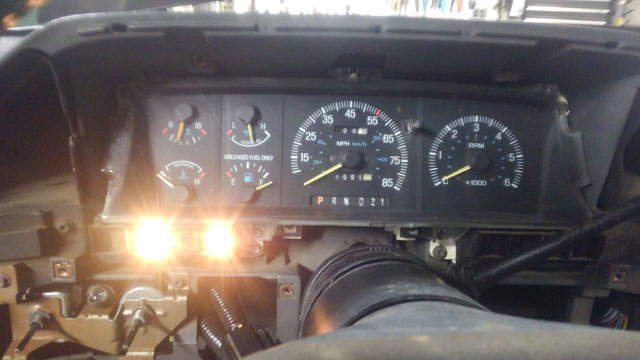
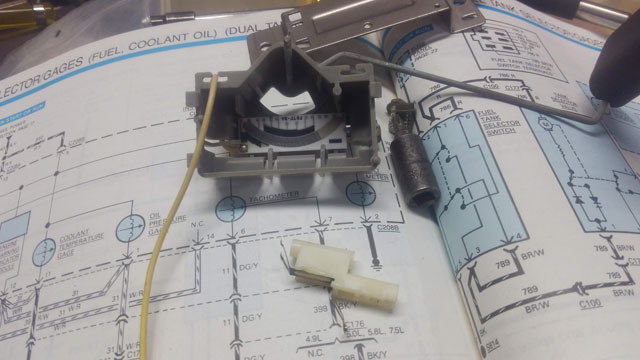
So ive had pretty good luck with the Badlands Wireless winch remotes. So i bought a second, and wired it into the bronco! Hidden here in front of the battery: and some simple wiring to the contactor: The power source is the switched output of my disconnect, that way the receiver only has power when the winch does. So from there i directed my attention to the dash. Removed the pocket from the dash panel, and made a switch panel (out of a cheap plastic tray from walmart) to take its place: The finished product; i also added a hole for in-cab winch control, and that little LED is for my fan controller, altho we'll talk about that in another post Laying out the wiring. I bought 12 conductor cable, so everything would be bundled together, and color coded: Youll note 3 extra wires. The brown is going to be supplied with a key hot, which will turn on certain accessories (such as the OBA & elec fan) as soon as i turn the key on. The 2 black wires are spares, just in case i decide to add an additional switch down the road; itll all already be wired up and ready to go, ill just have to stuff a switch in somewhere and tie in to those wires. Going in for the final install: ...and done! I routed the harness thru the firewall where the cruise control used to enter, so no extra holes in the firewall. For now the cable is just laying across the engine bay, but the next step (starting tomorrow hopefully) will be to wire up the relay box for all this stuff! Ok, decided the next step actually was to re-install the OBA. This took longer than i thought, but atleast its done! So with the York on the passenger side down where the smog pump used to be, i had to completely rebuild my manifold. Started with the bracket to mount it: after multiple tries, the rough draft: the oil return for the york crank case is buried down there. I can barely see it, let alone get to it So i bent up some 1/4" stainless tubing, to get it out and in the open: Much better! manifold done and installed! That round black cylinder next to the alt is my intake filter. 3½ gallon tank underneath the rear bench seat: air chuck at front bumper: ...and the air chuck at the rear bumper: I still have to re-run the air line for the ARB. Now that the solenoid is on the other side of the engine bay,the supply tube is no longer long enough, so i have to get some more. But aside from that (and the wiring), the OBA is done! So with that done, it looks like i cant put it off any longer, and next week ill be doing a ton of wiring. So now i have a ton of wiring to do. I need to wire up the OBA, ARB, electric fan, line lock, and winch control. So im going to build a whole harness for control wiring so i can install the switches in the dash, and then run over to a relay box on the passenger fender liner. Lots of wires to run, and im surrently stil designing the harness, so this part will prob take me a week or two to sort it all out. i bought a new relay box off Amazon, check this thing out: 6 relay box with fuses. Came with all the pins to make all the connections plus they include spares, and silicone boots to seal underneath. $20 on Amazon So now im working out the wiring diagram. Yesterday i got notification of shipment for my electric fan controller so hopefully ill have that this week since ill need it to build this harness. So i decided to test my winch wiring. This is the switch im going to use in the dash, for in-cab controls, complete with temp wiring to see if the winch works ...which it does! Winch cable is finally rewound! So i guess this week ill begin laying down wires to start building my aux harness. Hopefully i can get that done quickly, because im hoping to have the truck done by thanksgiving! Ok seriously though. Got the gauges wired! I decided to do it a little differently this time. So i made this harness that goes down into the dash, but it goes to a connector, so its not hardwired into the truck: That plug goes into the dash harness. key hot to power the gauges, ground, illumination, and then of course the two wires that go to the sending units. That harness is built into the dash so i dont have any pics of it. But! and lit up! Paired with some LED bulbs for the dash, and they match perfectly, i love em Black windshield trim! ...and new windshield installed! I got my center console cleaned up and ready to go: Cup holder inserts were backordered, now look like theyll be arriving this weekend, so i guess next week we'll be doing the cupholder mod and getting this installed! I took all 5 locks (doors, tailgate, glovebox & console) over to the locksmith to get them all rekeyed, to match the tailgate key for my 96. Yay for sharing keys! Ill get those back sometime next week. I started wiring these up today too: Theyre from New Vintage USA. They make some really nice gauges. These are their aviator series, but with a twist: normally the aviator series would illuminate red, but they custom made this set to be green like stock :cool: They even do full cluster replacements for our trucks, which is pretty cool. Unfortunately i wont be able to complete the gauge install this week as my pod is cracked so i had to order a new one which i wont get until this weekend. But im hoping to get them all wired up so i can just install them once it arrives (and i get it painted). Picked up a battery the other day. Northstar AGM So now its time to make battery cables! Well, i also need to wire up the winch power, so im doing both at the same time. I have a disconnect to kill the winch power, and next to it is a runva reversing contactor which im using for winch power instead of a bulky solenoid pack The disconnect is a Blue Sea HD Disconnect. This bad boy is rated to 600a continuous duty! Shouldnt have any problem handling the winch. I bought military style connectors so i can use 3/8 lugs on my cables to connect to the battery: ...and finally, the money shot! Winch is fully wired, the disconnect, power to the truck is done, everything is 100%. The winch is wired 100% is 2/0 gauge cable, and i used 1/0 for the truck power. Should me more than enough for anything i throw at it! Took me all day to sort out how i wanted to route everything, but im pretty happy with the end result. So that meant the next thing to do, was to turn the key! First thing i noticed was my empty fuel tank showing full, so i dropped the tank and disassembled and cleaned the sending unit. With that sorted and properly working i figured i might as well try cranking the motor over. Hasnt run in a few years so i figured id run the starter for 30 seconds or so, and get oil up to the heads. Verify fuel pump runs: check. Added gas to the tank and grounded the test pin to prime the system. So there was nothing left to do at this point but to just go for it. Well.....
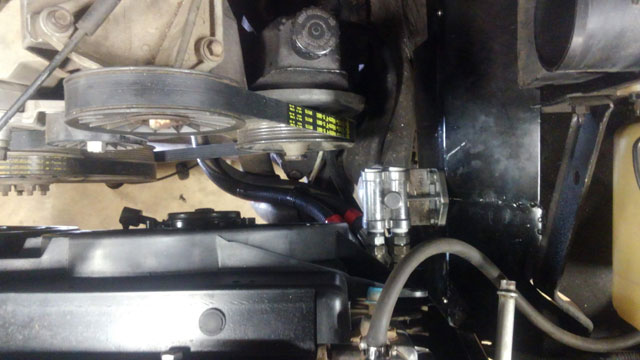
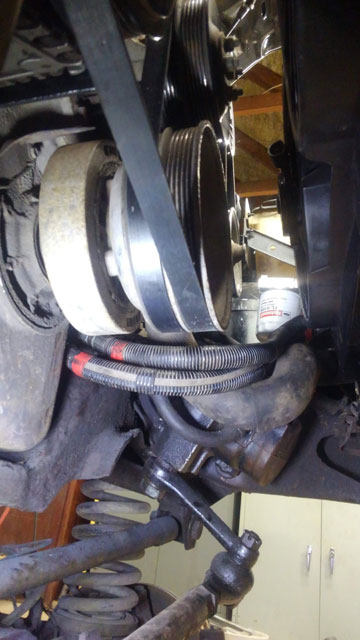
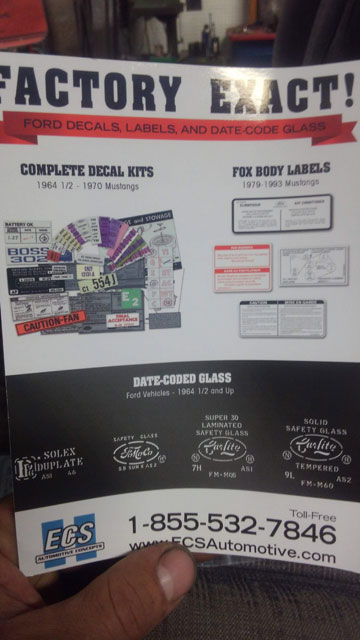
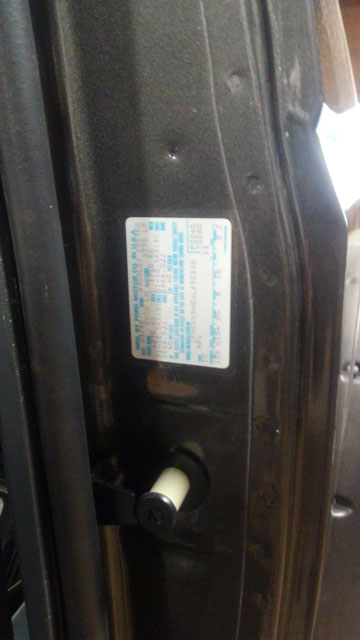
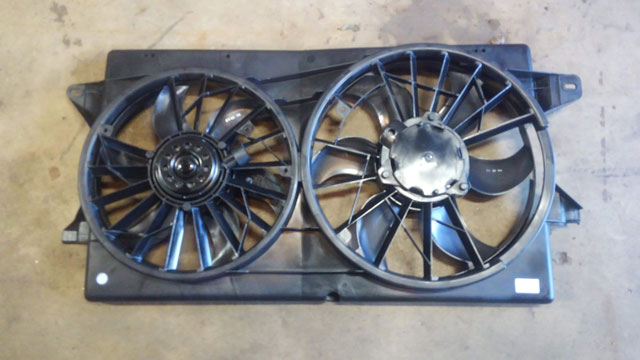
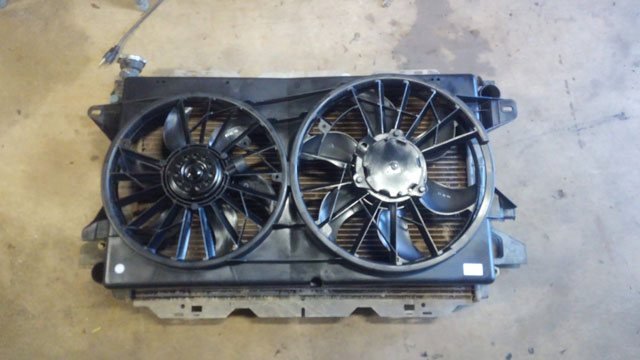
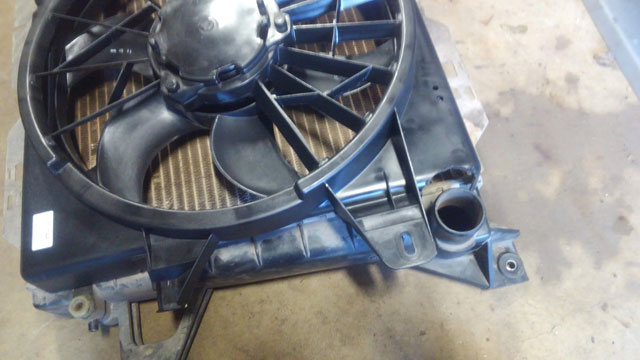
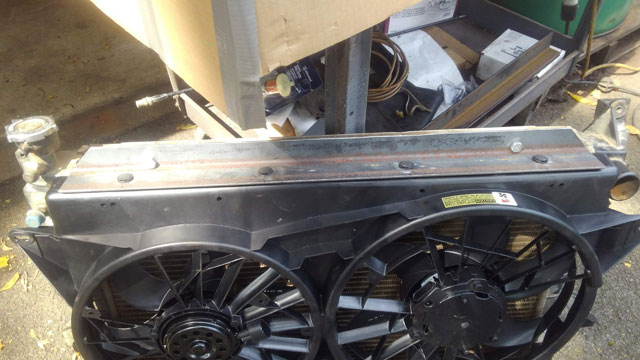
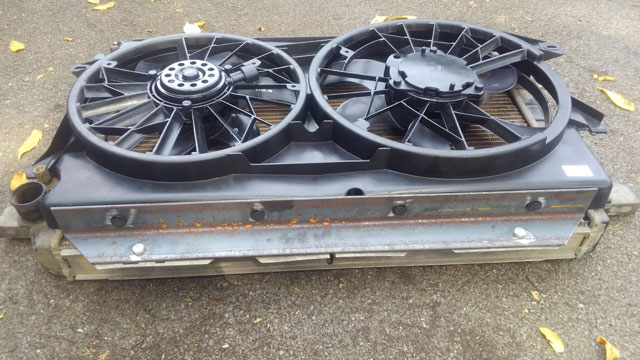
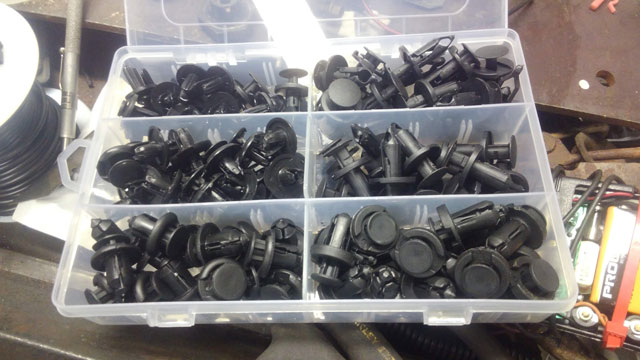
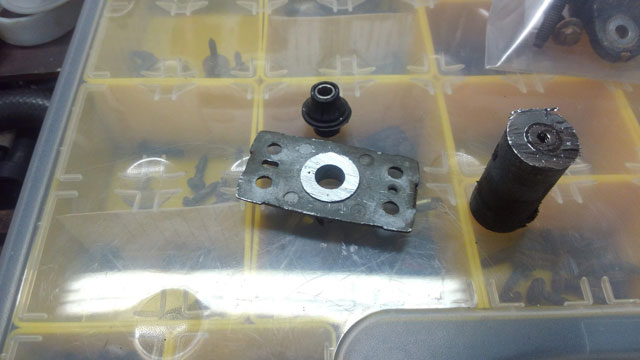
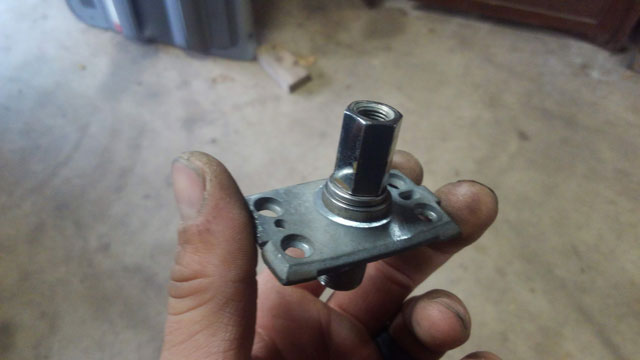
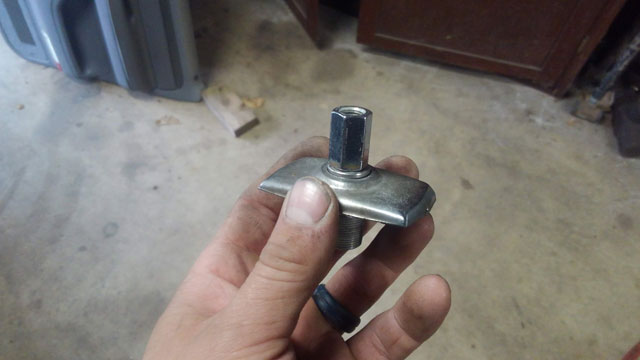
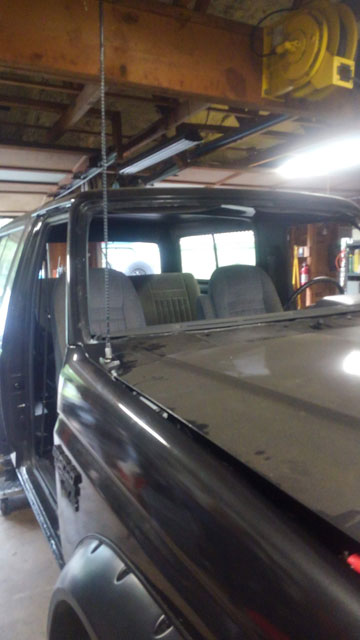
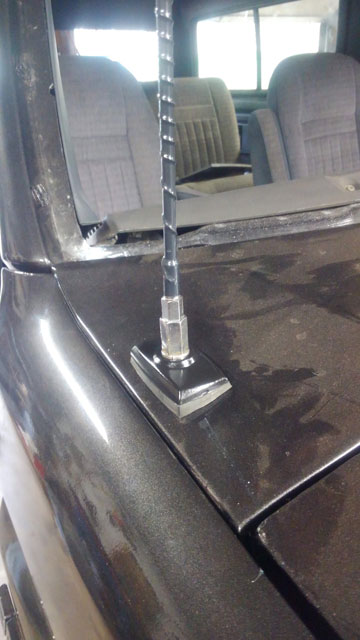
...she's alive! Fired right up, and purrs like a kitten. Well, a kitten with no exhaust anyway! Of course the electric fan interfered with my remote oil mount so i had to change the plumbing up a bit, but i got it to work My feed hoses are -8 AN, and wrapped in loom to protect them. With the intake reinstalled, you can barely even tell the oil filter is in there. its super tight and was a PITA to get it all put together, but fortunately changing the oil filter should be pretty easy. I also got one more thing. I called up ECS Automotive Concepts because they do OEM stickers and placards Because.....as it would turn out, they are authorized by Ford to reprint our VIN stickers! SO i was able to get a nice clean sticker to replace by original, which was faded to the point of being illegible: It looks 100% spot-on to the factory sticker; no one would ever know its not original. So i got my electric fan installed: I used to use the large volvo fan, but im switching to the Windstar fan, since it fits our radiators so much better: Did some minor trimming here to clear the upper radiator hose: I had to trim the shroud similarly for the lower hose, but apparently i dont have a pic of it. I was trying to figure out how to mount it to the radiator, and i came up with this: Its 2x2 angle iron trimmed to fit the radiator. Bolts to the top and bottom of the radiator using existing holes, and then i used 4 removable body panel pins to hold the fan to the brackets Here's hoping it works! I dont have my fan controller yet, so i havent tested it! Ok so picking up where i left off on the CB. I really wanted to put the antenna in the back corner behind the taillight, but then remember the way i built the bumper, that corner is double wall + laminated, and it would never work! So i came up with a different idea: FM radio sucks! Who needs it anyway, amirite??? Sawed the back off the feedthrough The antenna stud fits! That was easy! I had to very carefully open up the hole in the chrome cap ever so slightly, so the lock washer would fit thru it ...and installed! I thought that was gonna suck do do, but turned out to be a pretty easy project. I should be getting my new antenna cable in the mail today, so next week ill hook it up and try tuning the CB, see how it works. |
Categories
All
Archives
June 2024
|
